The Handmade Wedding is the new series from the Homes Network where we show you how to create the perfect country-style wedding. Watch our videos for a whole host of simple, pretty makes and take a look at this episode where Kate shows you how to make burlap cutlery holders for your wedding tables. To make this you will need:- Burlap- Scissors- Glue- A ruler- A penStep 1: Take your burlap and measure out 35cm by 12cm and cut it out.Step 2: Then take a knife and fork and place it on top of the burlap. Fold the burlap over about three quarters of the way up so you can still see the cutlery at the top. Step 3: Take out the cutlery and line the edges of the burlap with glue, sticking it down at the fold you have already made. Remember to only stick down the three sides so there is a slot for the cutlery to go in.Step 4: Decorate the cutlery holders as you wish. Add a bow by taking a piece of twine and looping both sides of it to form a bow shape. Put a small bit of glue in the middle and stick the bow down. Then take a small button and put a bit of glue in the centre of the bow and stick this on top to create a pretty bow effect.Step 5: To add to the cutlery holders, you can make table numbers to match. To do this, take some burlap and fold it in half.Step 6: Then draw a triangle onto the burlap and cut it out. Fold it back over to reinforce the fold and lay a piece of string down the middle. Put some glue along the edges and fold it back over to stick it down. Step 7: Either using a stencil or doing it free hand, draw your table number on the bunting flag and repeat this for all table number decorations.Step 8: Lastly, tie the bunting flags to whichever jar or object you are using as your centrepiece.Take a look at all the other videos in this series if you’re looking for other pretty, rustic accessories to suit your wedding theme.
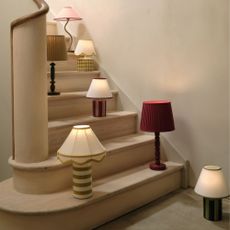 M&S' striped table lamps are our new lighting obsession – we might even prefer them to the viral Kirsten lamp
 How often should you mow your lawn? A month-by-month guide to cutting your grass, according to experts
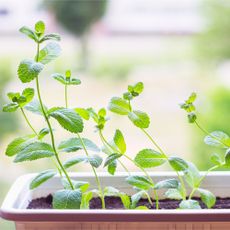 How to grow mint from seed – expert tips for super easy (and tasty) herbs on tap

