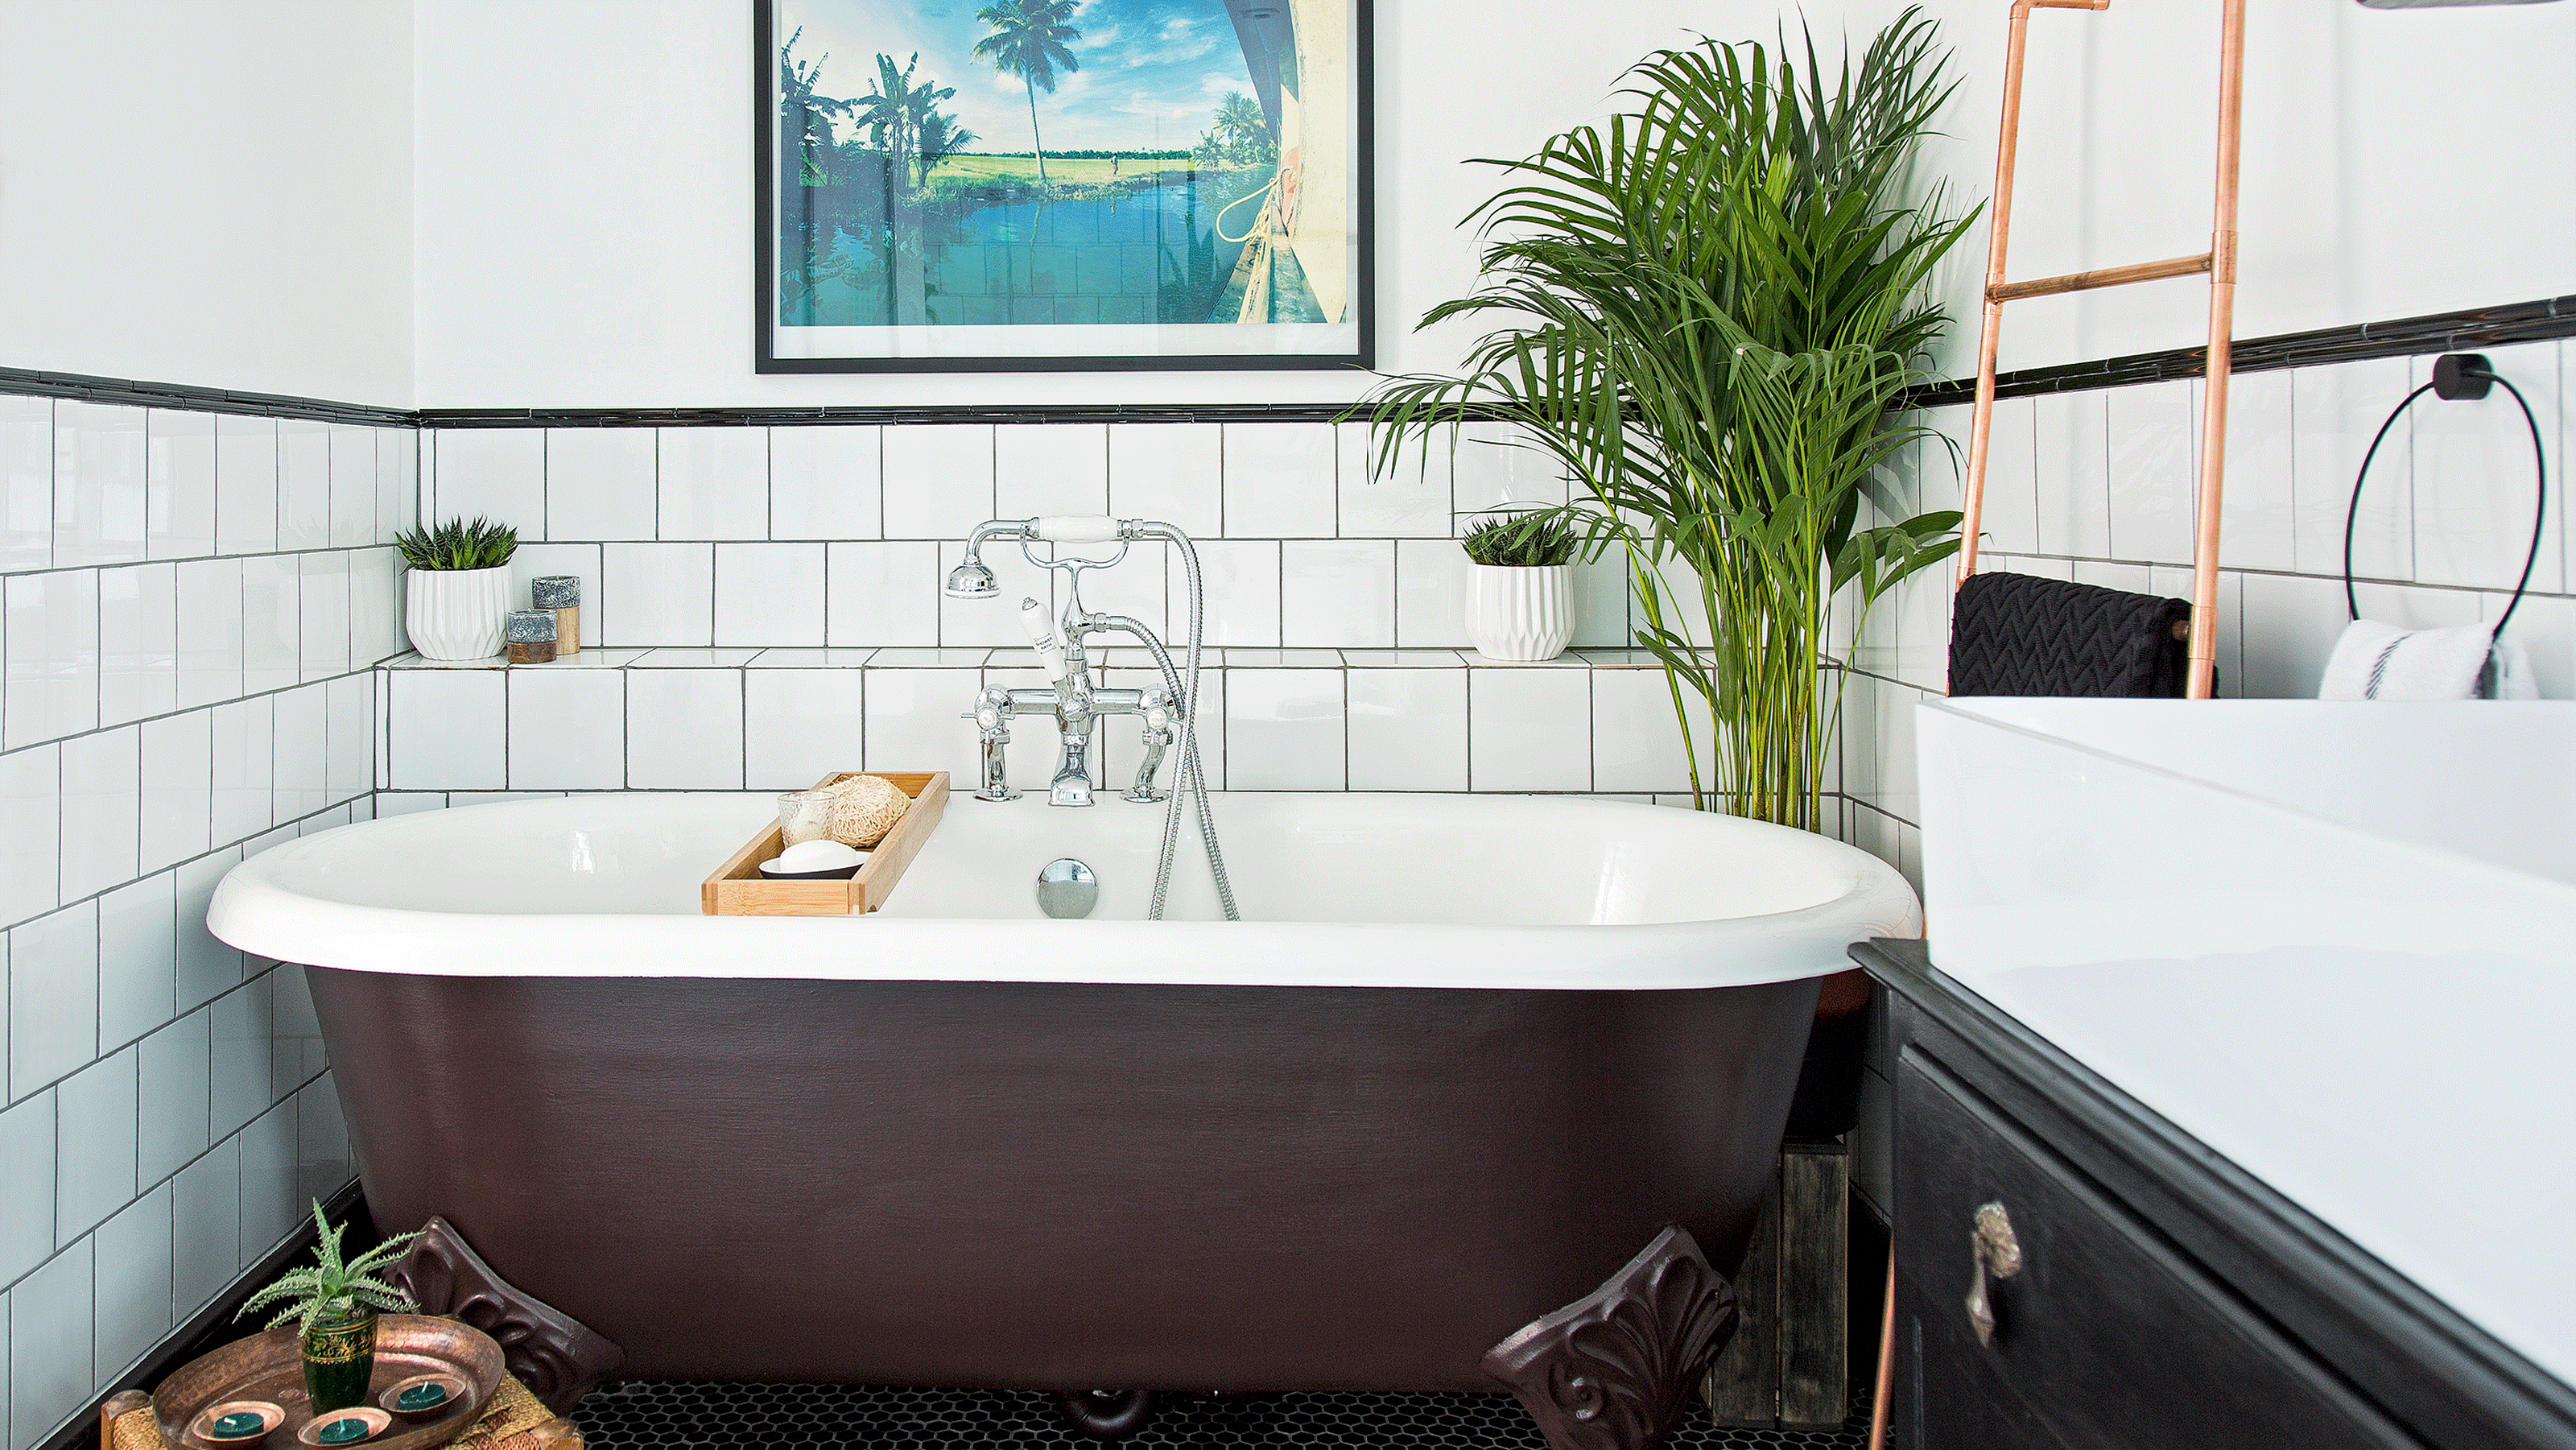

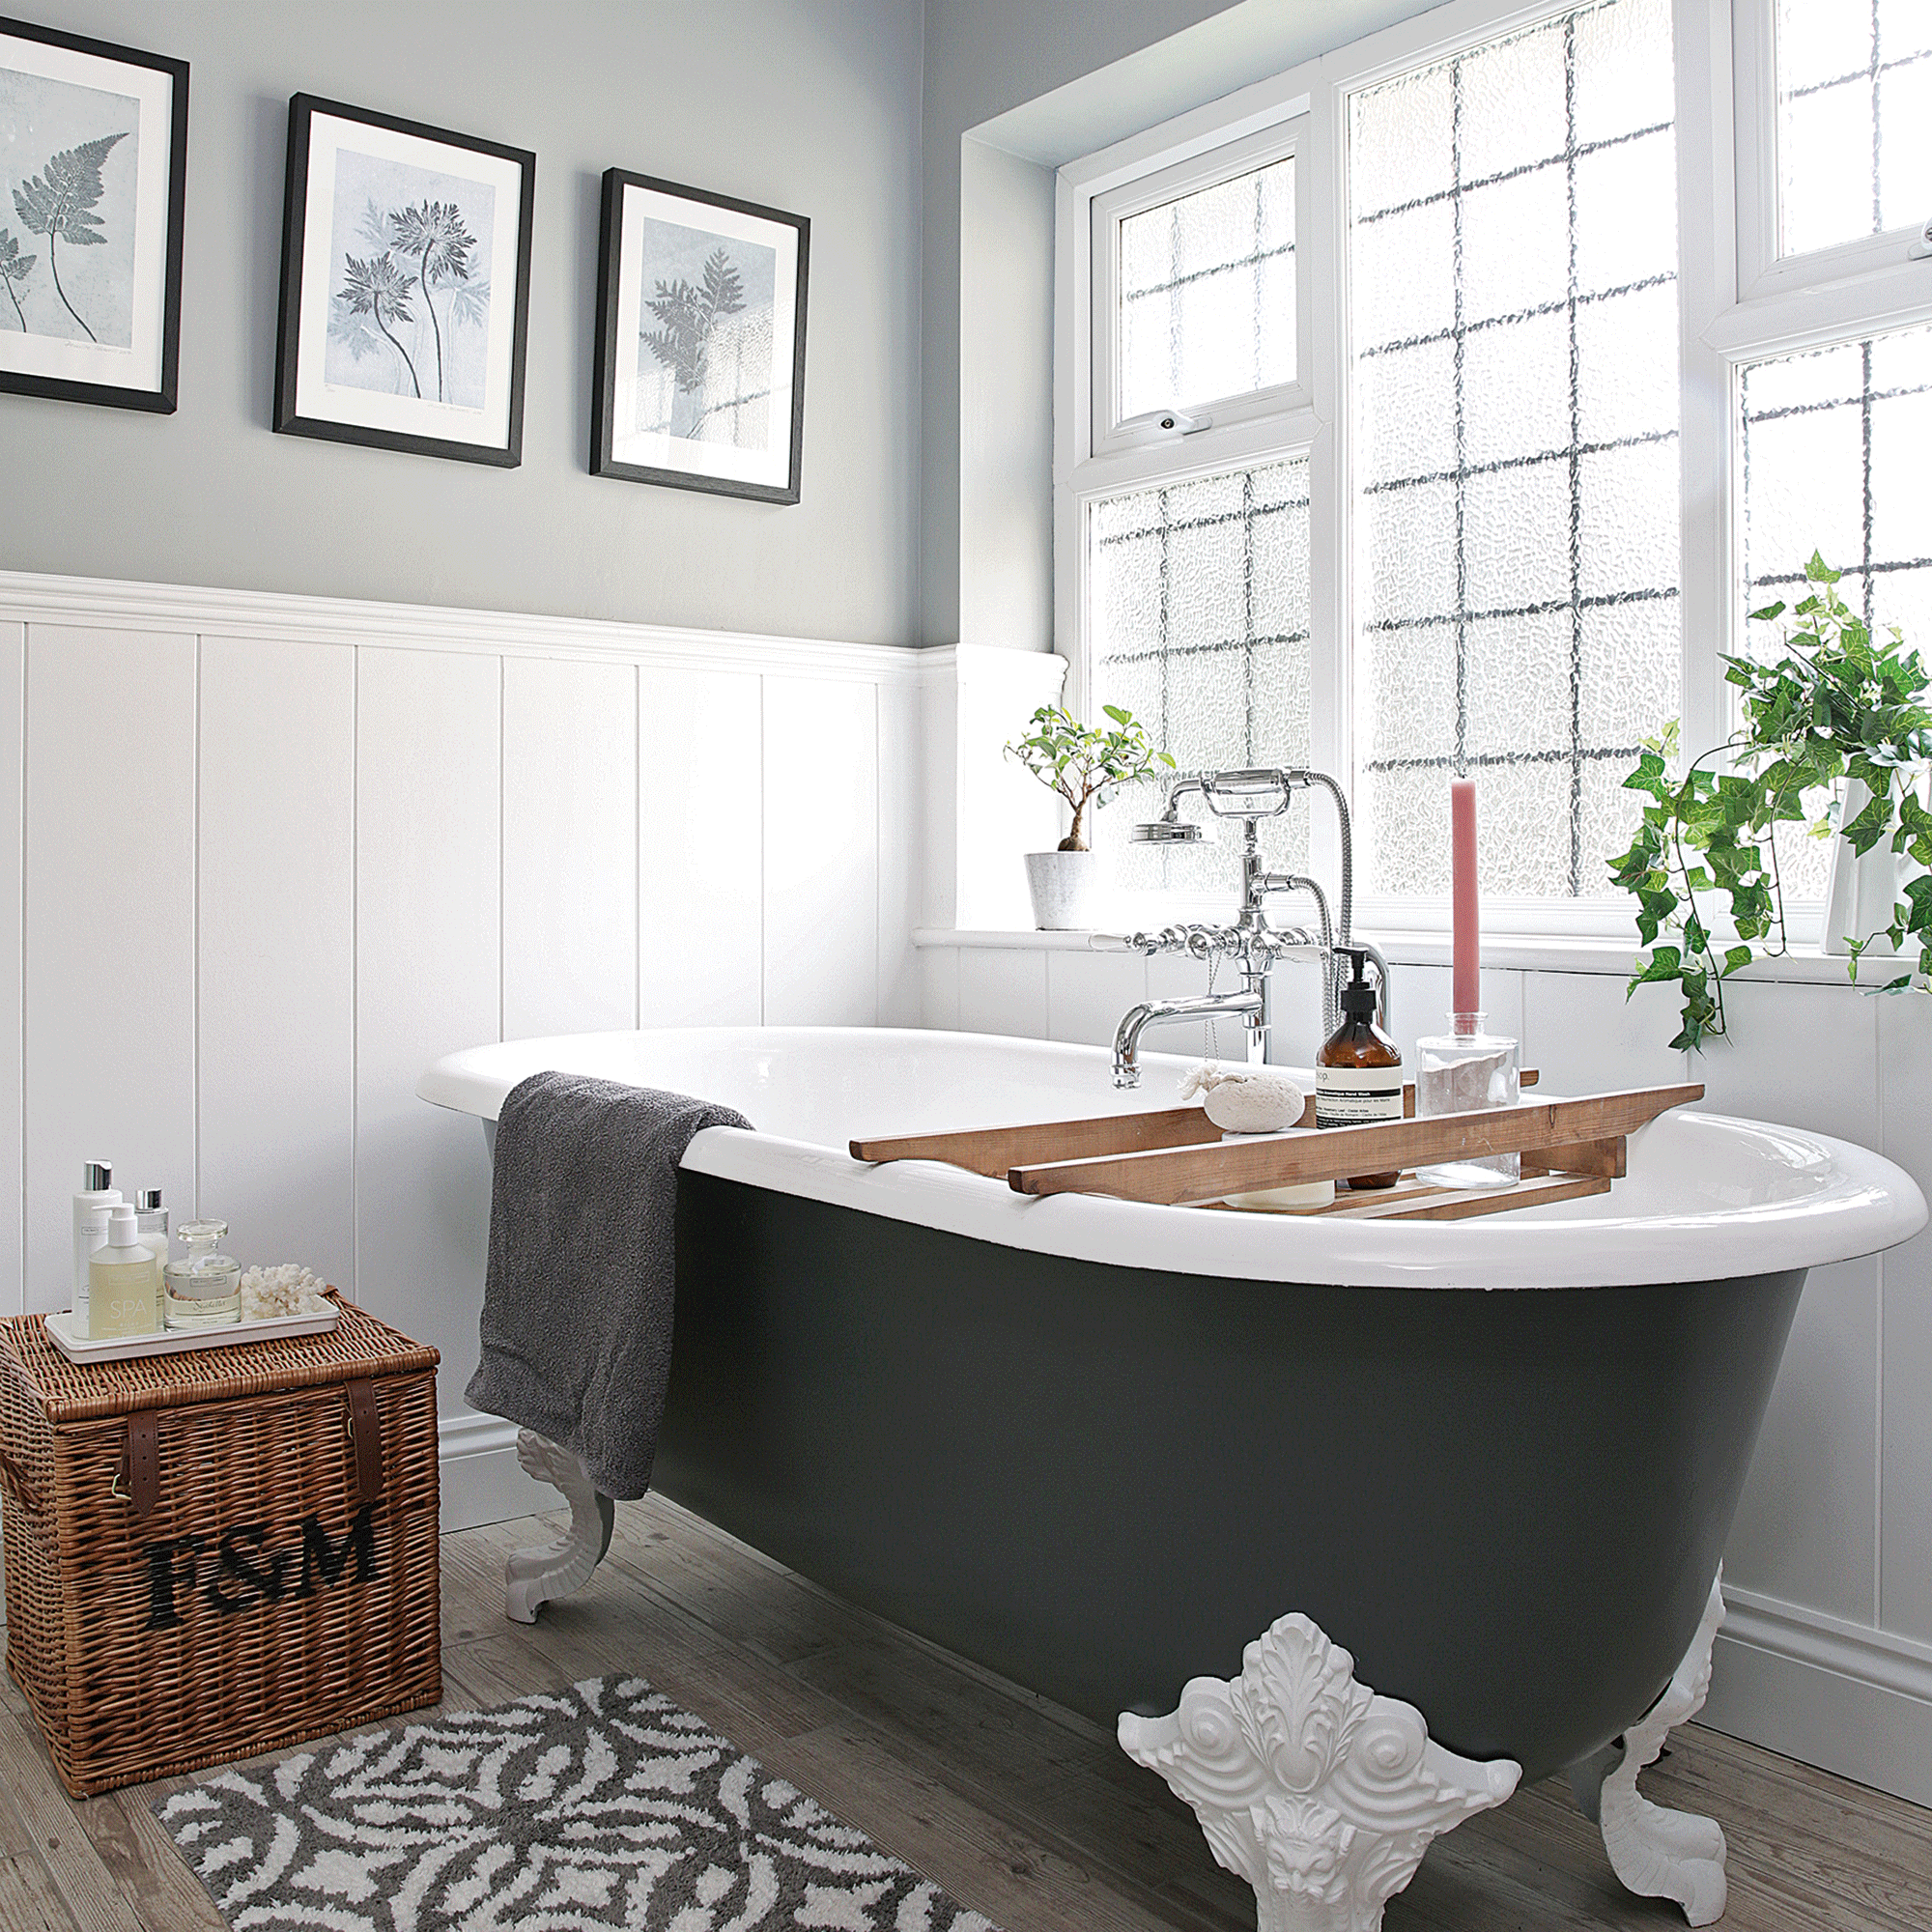
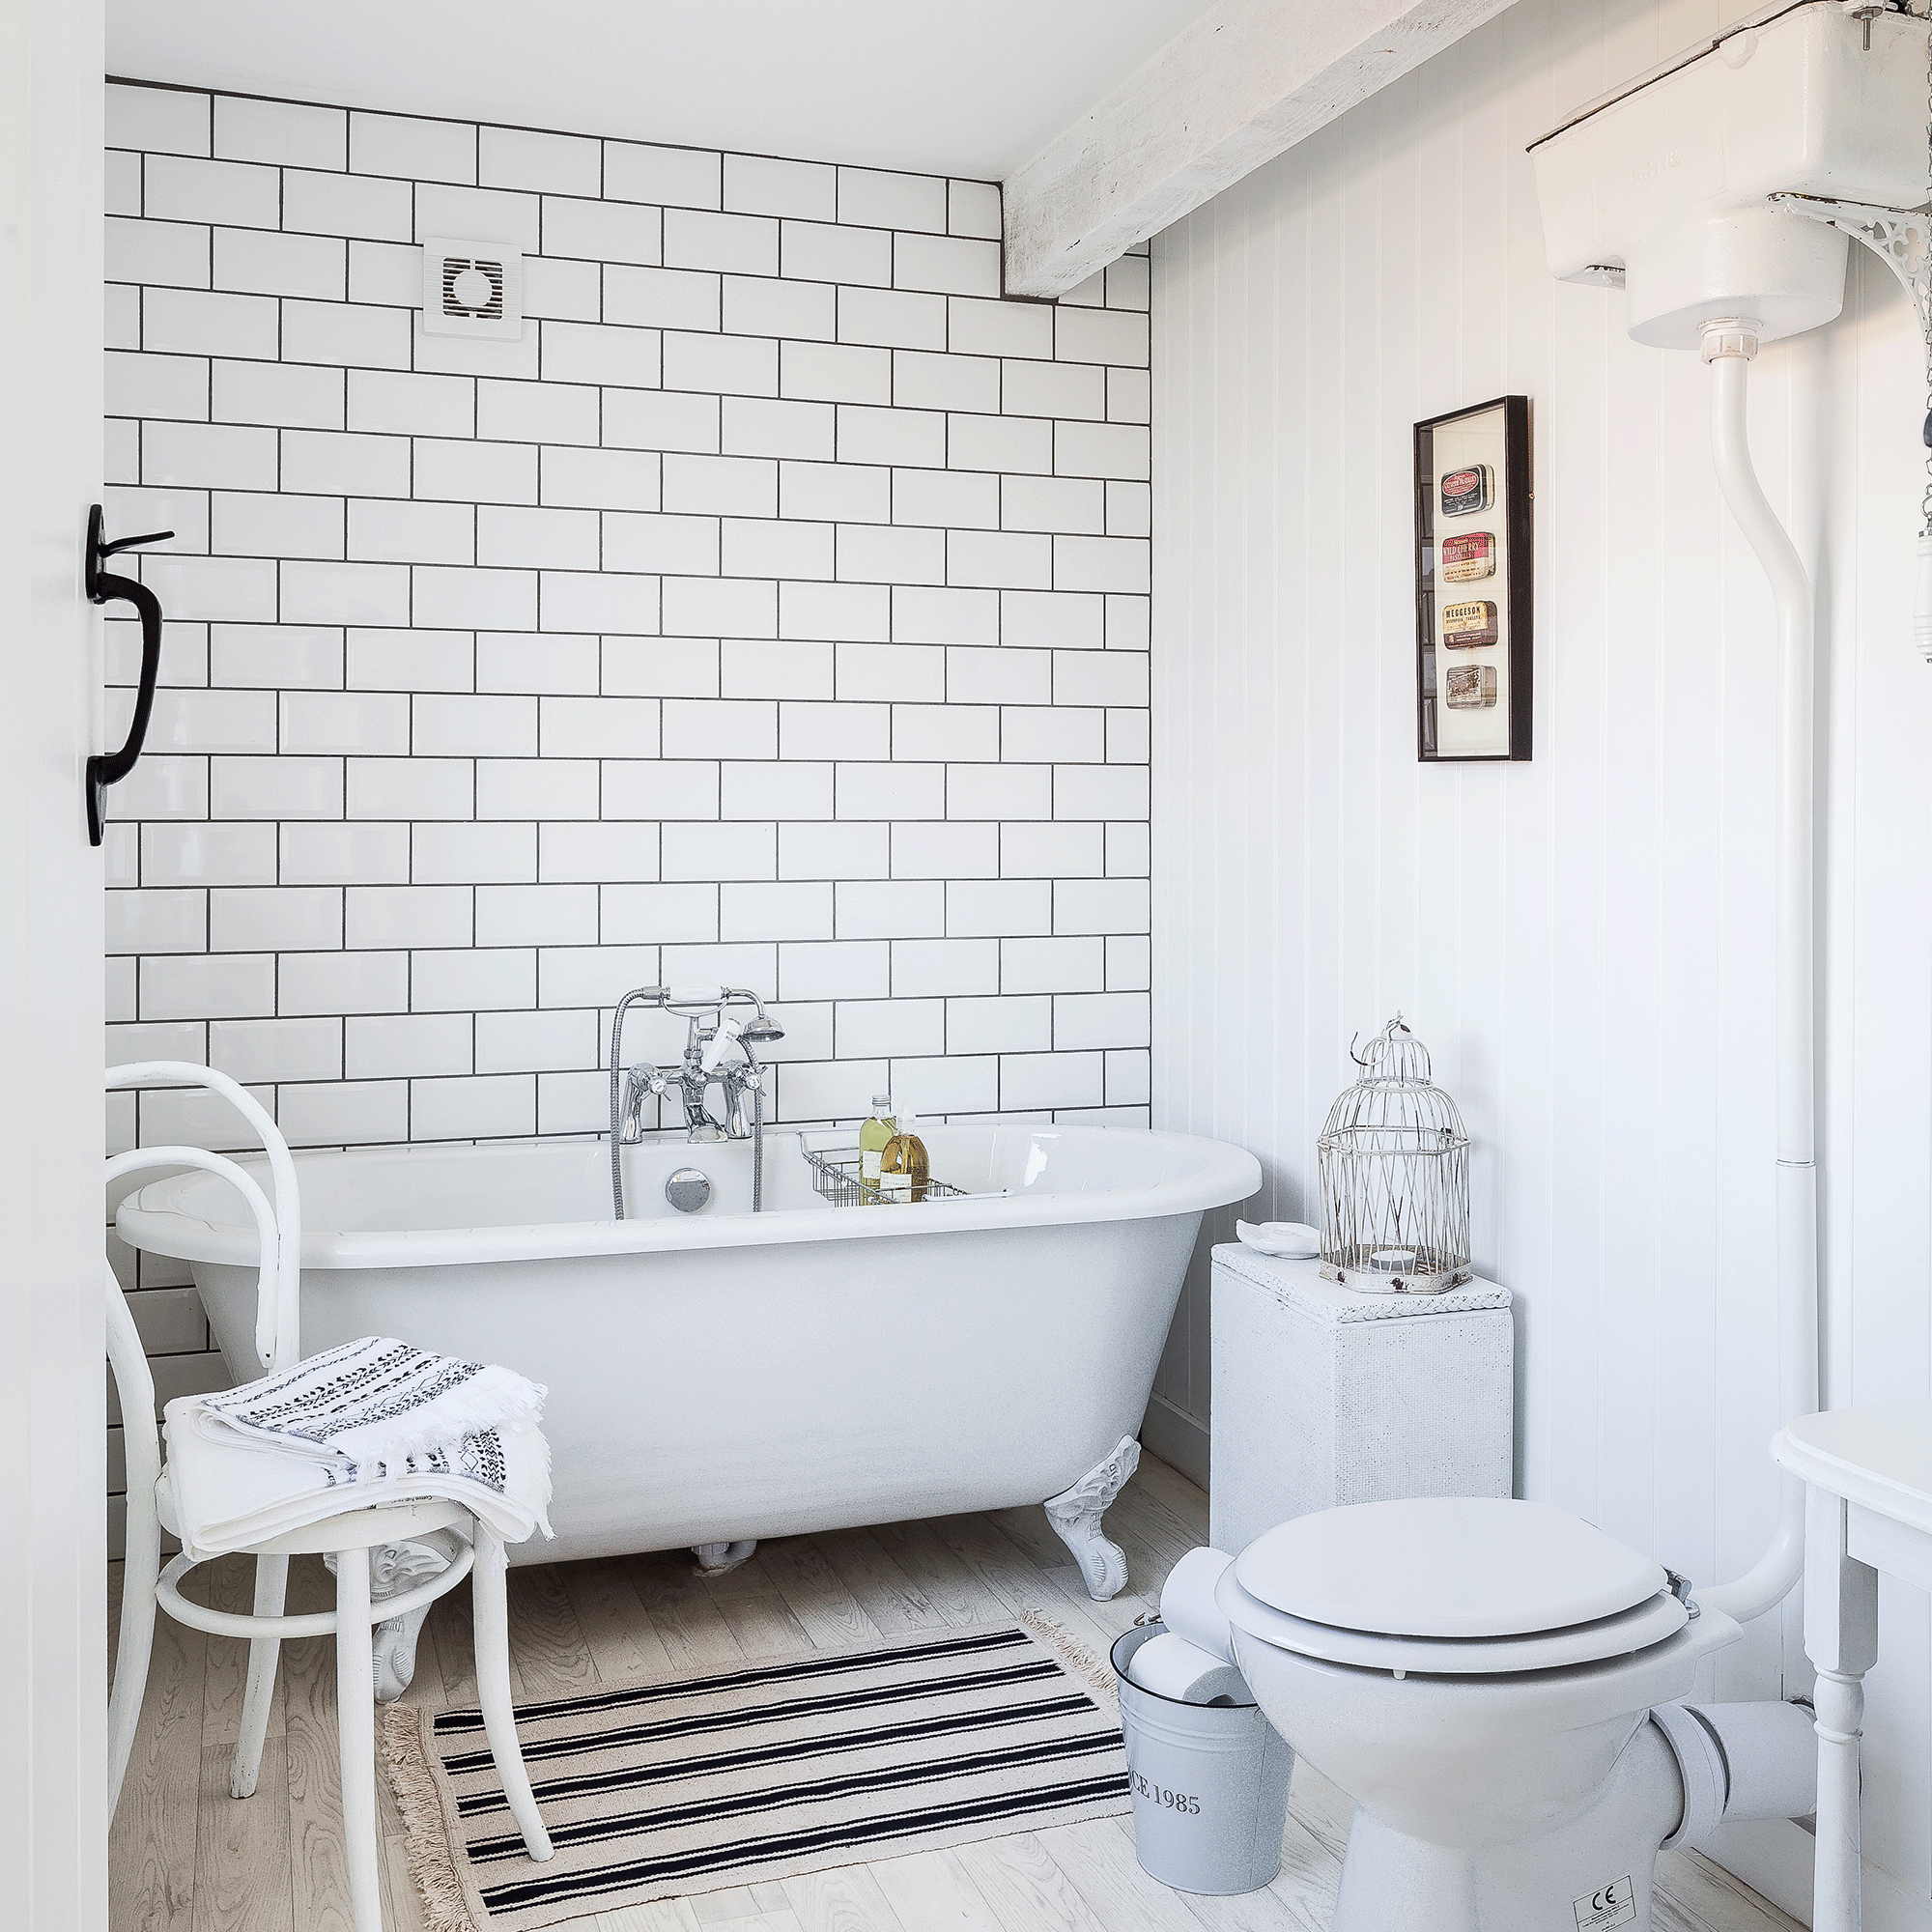
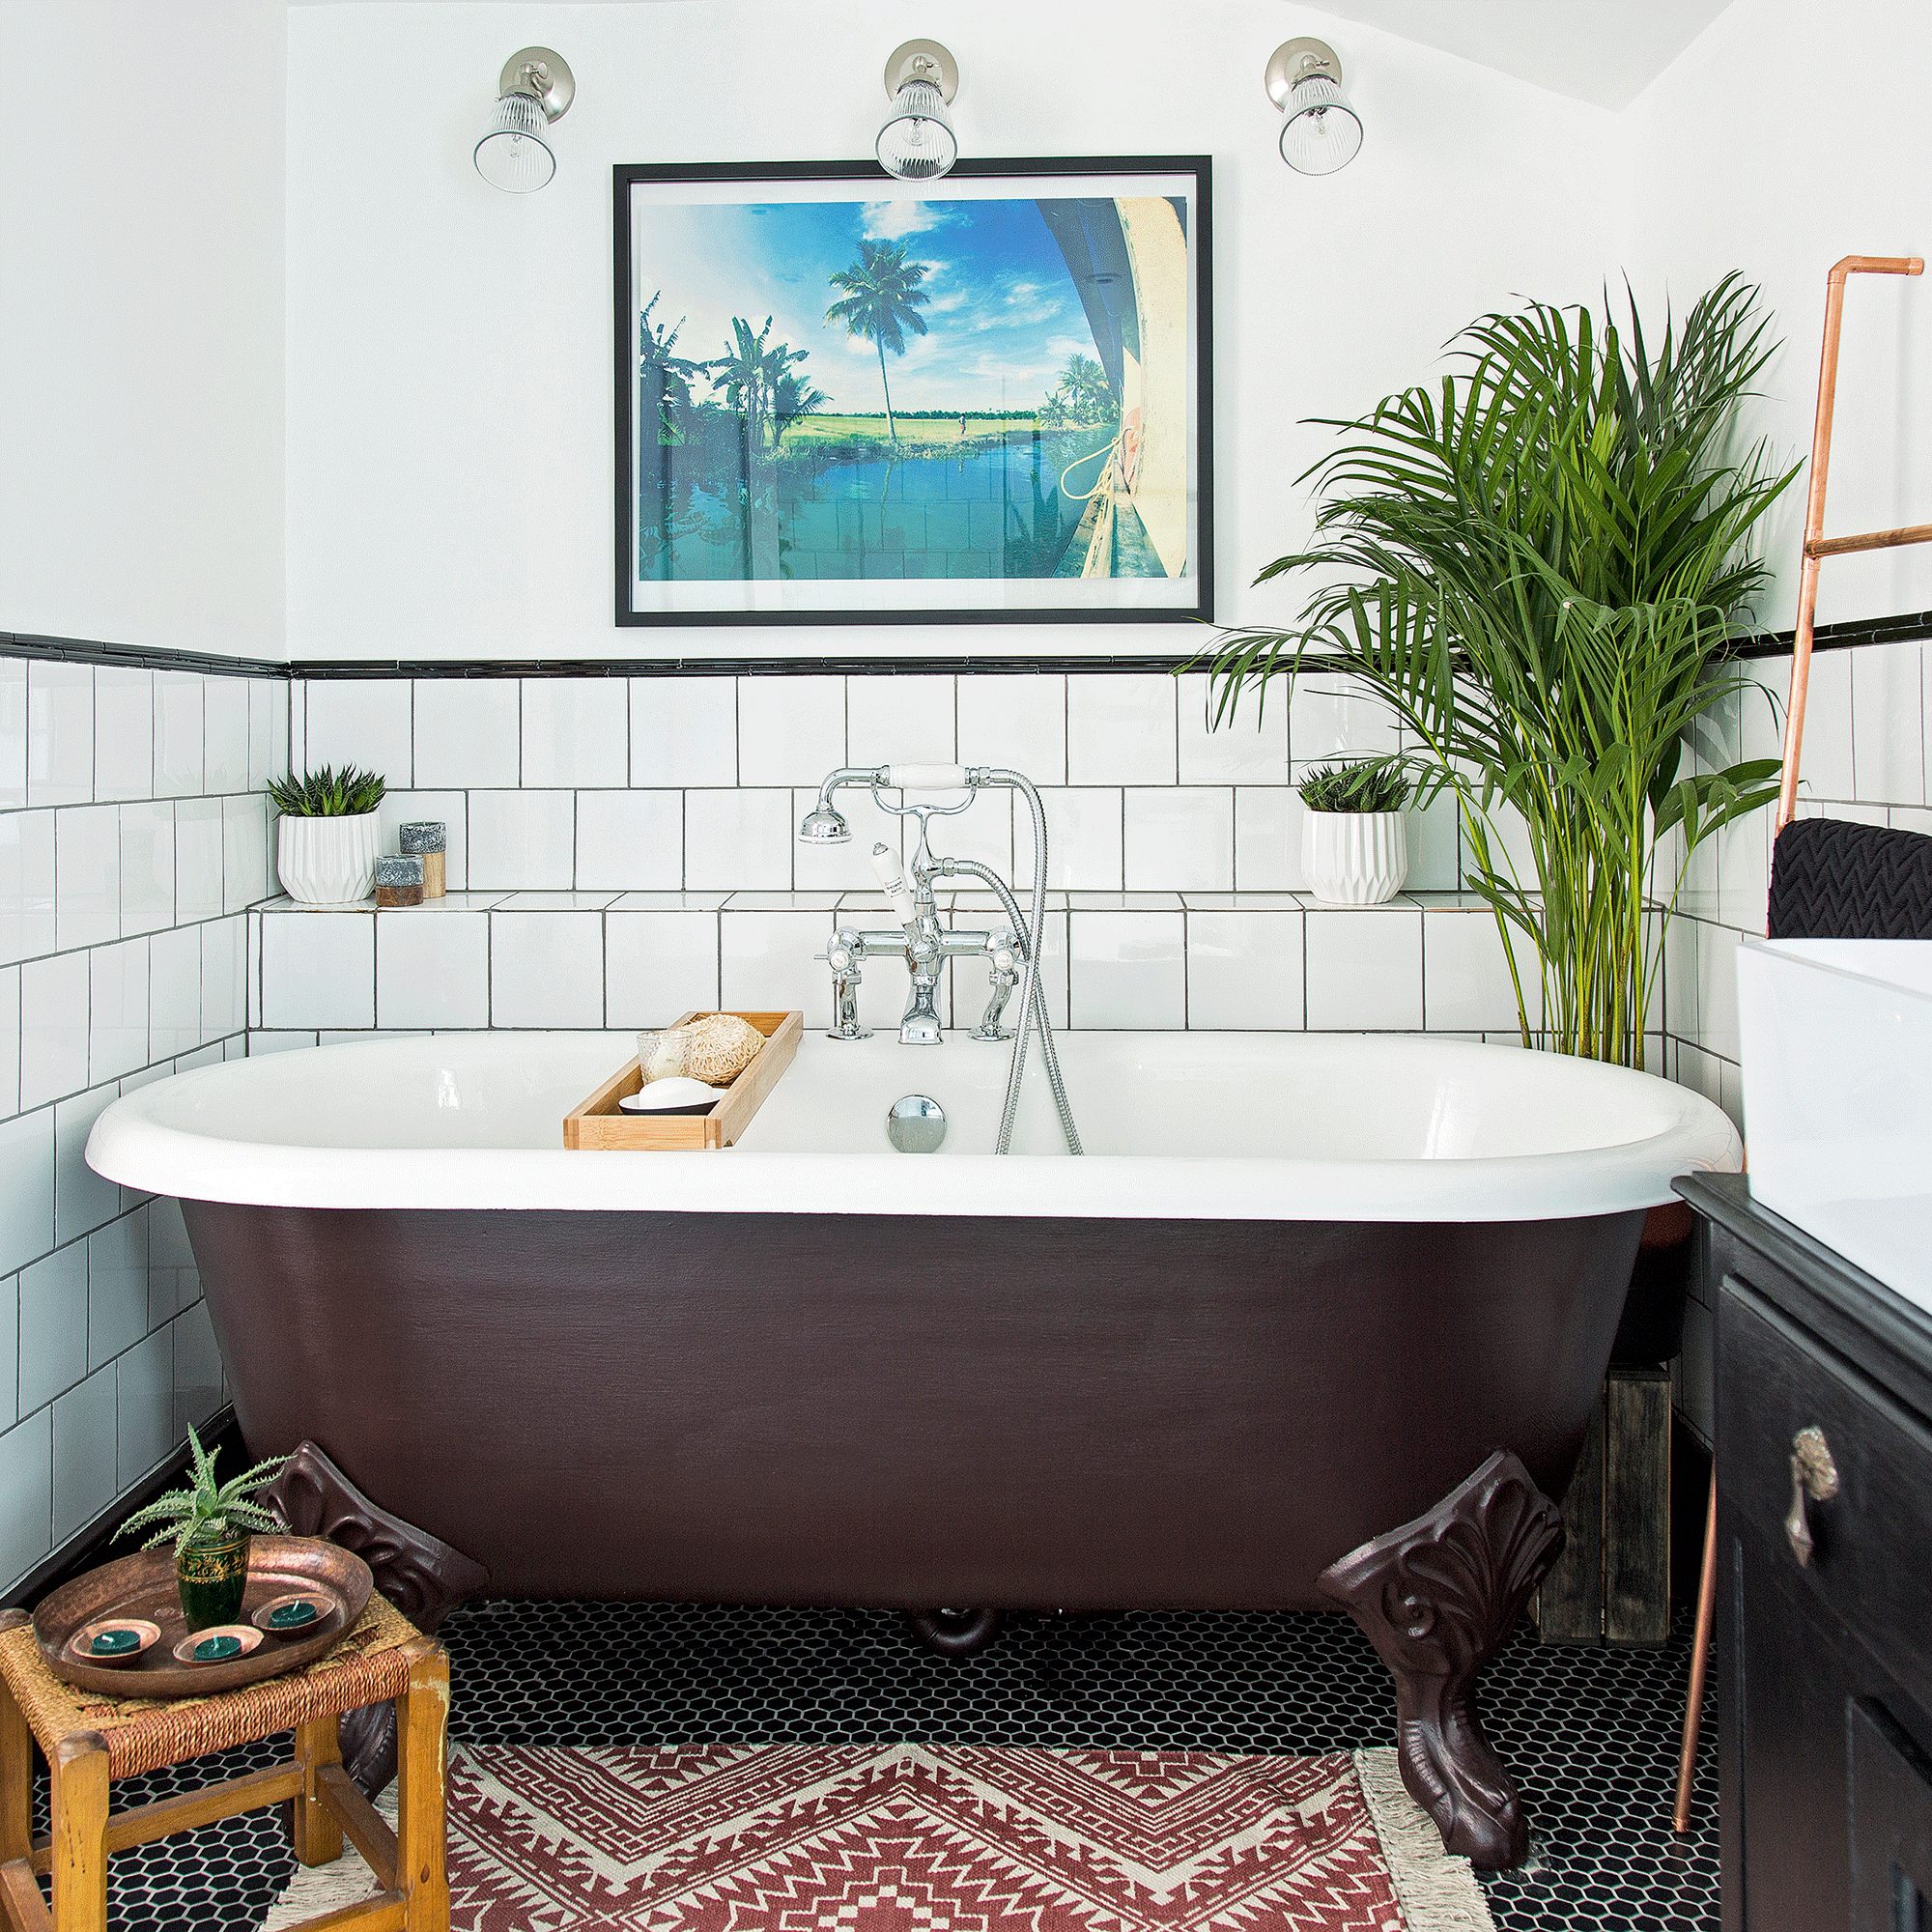
Enamelled steel and enamelled cast iron bathtubs offer style and durability in spades. Nevertheless, over time, they can get damaged and worn and it is important to understand how to repair bath enamel. Yellow staining and discolouration, chips, cracks and flaking enamel are common problems with older tubs – but don’t throw yours out just yet!
You could save yourself money and be more eco-friendly by learning how to refresh your bathroom ideas with DIY touch ups and resurfacing worn bath enamel. ‘Most handy homeowners can renew the appearance of old worn tub with a bath enamel paint,’ says Scott Poole, managing director at Renotub.
What causes worn bath enamel?
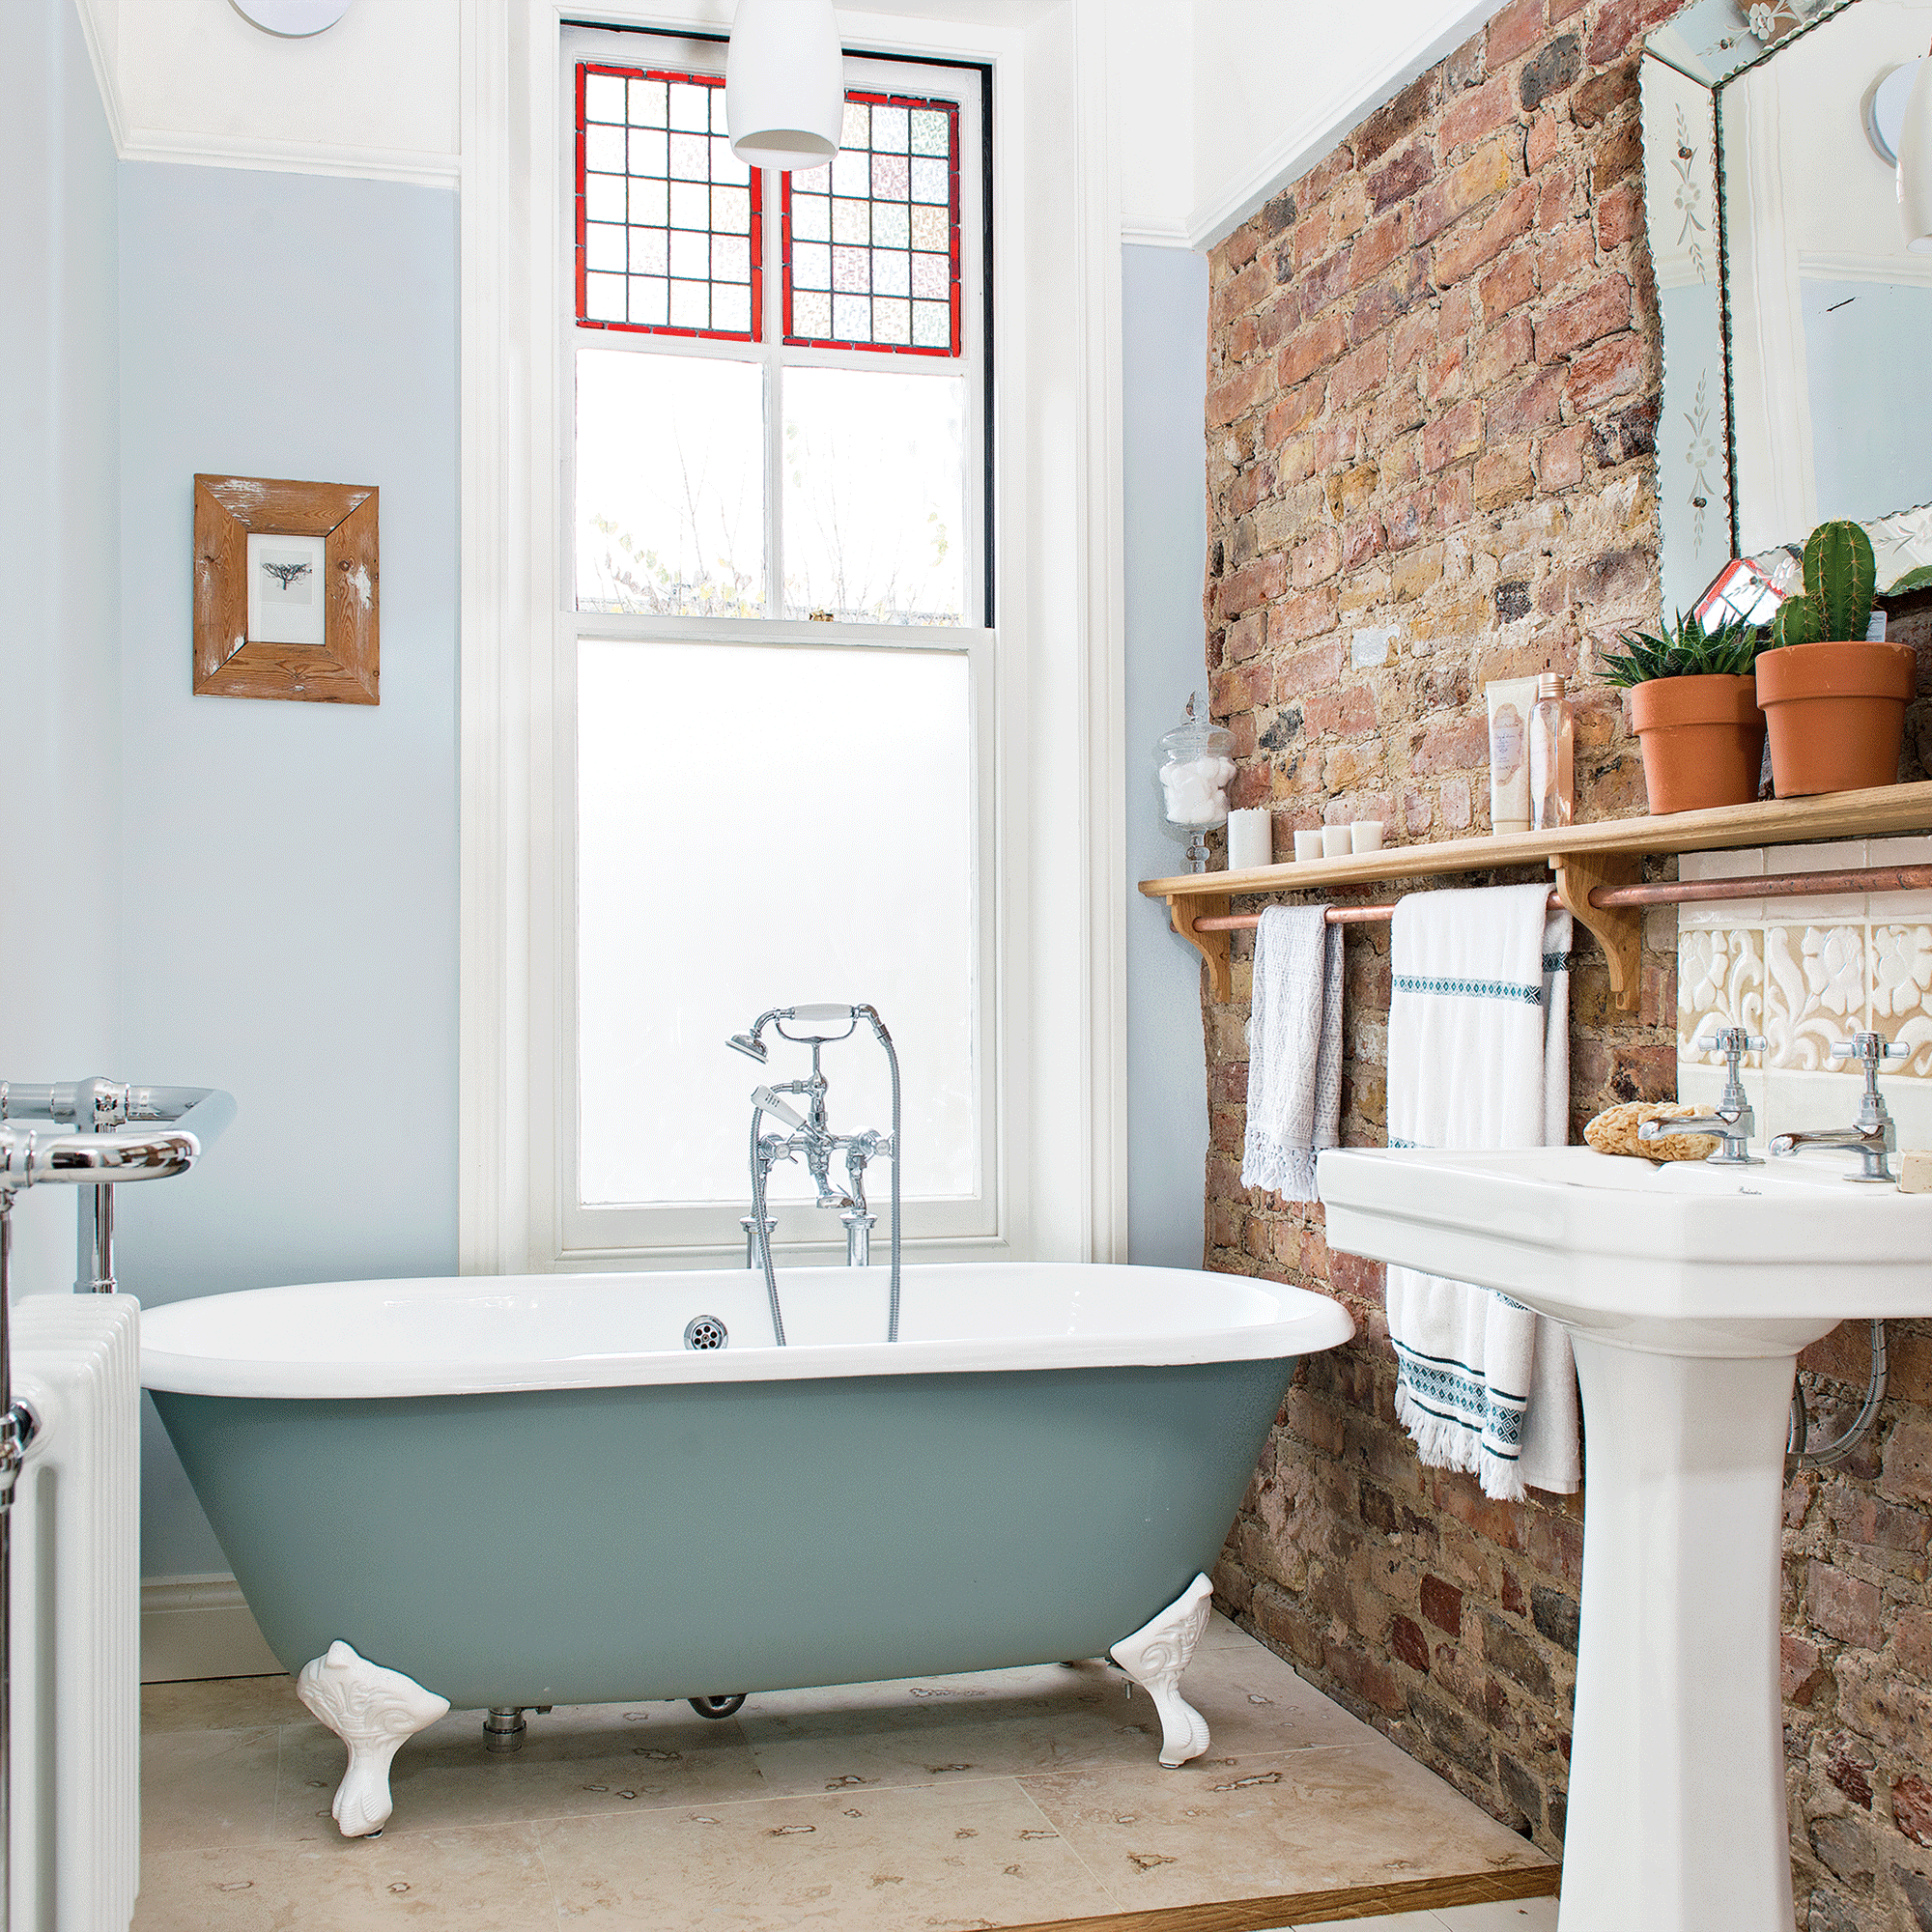
Enamel baths are metal tubs made of cast iron or pressed steel, finished with a protective coating called vitreous enamel (sometimes known as porcelain enamel). Over time, the bath can start to discolour, giving rise to yellow or brain staining, and the surface might become pitted.
These issues can arise due to a lack of regular cleaning, use of bleach or other unsuitably harsh chemicals, deposits from shampoos etc and/or a build-up of limescale in hard water areas. Enamel can also wear if water is allowed to pool or drip onto the surface for sustained periods.
Leaving bathmats in-situ and failing to repair leaky taps are also common causes of damage. Similarly, if the bath has been incorrectly installed or settled over time, water might not be draining properly.
How to repair bath enamel
Repairing worn bath enamel is possible for the savvy DIYer, thanks to the availability of modern touch-up products and enamel resurfacing paints. A tub of enamel paint large enough for two full refinishing coats can cost as little as £26 from places like Amazon, and you can do the job in just a few hours. Here’s how to do it:
1. Repair any cracks & chips
‘It’s always recommended to repair any chips or small cracks prior to resurfacing,’ says Scott.
How to repair chips in a bath is quite simple, as is how to repair a cracked bath. You can purchase filler and kits to help repair your bath.
2. Buy a suitable resurfacing product
If you’re just looking to touch up a small area, colour-match the product to your bath – remember that there are many different shades of white. If there are larger patches or multiple areas to treat, it’s usually best to resurface the whole tub.
3. Cover fixtures & fittings
If the entire bath needs resurfacing, first carefully apply masking tape to the taps, drains, other fittings, sealants and side-panels to protect them. Cover the bathroom floor, sink, WC, shower panels etc with dust sheets.
4. Make sure the surface is smooth
Sand down any crack or chip repairs you carried out in step 1 so they’re flush. ‘Next, thoroughly abrade the bath surface with a suitable 600-grit abrasive sandpaper and remove any loose paint and rust with a wire brush,’ says Scott. This creates a key for the enamel paint to adhere to.
5. Clean the bath
Scrub the bath thoroughly with a mild soapy solution. Simply fill the tub with hot water and liquid dishwashing soap, then wipe using a soft sponge or cloth.
Avoid acidic products, cream cleaners, steel wool and other abrasive products, as these can further damage enamel.
6. Remove tough stains
To tackle tougher stains, try mixing bicarbonate of soda with a little water to create a paste – apply to the stain, leave for 45 minutes and wipe away with a damp sponge.
7. Repeat as needed
Repeat this two-stage cleaning process until the tub is as spotless as it can be, then allow to dry thoroughly.
8. Paint on the enamel
Wearing gloves and ensuring the room is well-ventilated, apply the enamel refinishing paint as per the manufacturer’s instructions. Some systems are ready-mixed, while others need to be mixed on-site.
Most products can be brushed, rolled or sprayed on. ‘Use a top-quality, fine bristle brush and apply in one direction only for a smooth surface. Feather the edges as you paint to avoid hard lines,’ says Scott.
9. Add another layer
To get a high-quality finish, you’ll usually need to apply the enamel paint in two thin layers (follow the manufacturer’s guidelines for drying times between applications). Thicker coats will increase the risk of unsightly drips; if any do appear, smooth them out quickly.
10. Wait for it to dry
Allow the finish to cure to its full hardness before using the bath. Depending on the product, this could take anything from 48 hours to a week. If you’ve chosen a good DIY bath enamel repair system and applied it correctly, it should last for 10 years or more.
Is professional bath resurfacing worth the money?
Professional bath enamel refinishing typically costs £400-£700 plus VAT, depending on the type of tub and labour rates in your area. This might include repairs to minor blemishes, but significant chips and cracks will cost extra.
Nevertheless, it can still count as a budget bathroom idea as the price should still be much cheaper than ripping out and replacing a good-quality bath. What’s more, many specialist companies offer warranties of 5+ years, and are experts in colour-matching to get the perfect finish for your refurbished bath enamel.
How durable is modern bath enamel?
If you’re thinking of installing a new bath, then it’s worth knowing that modern enamel finishes are extremely durable. What’s more, there are some innovative options on the market that mean you’re not limited to standard cast iron or steel.
‘Our Iso-Enamel process combines special minerals and stone powders, giving a luxurious experience in a bath that’s less than half the weight of cast iron, so you don’t have to spend hundreds of pounds on reinforcing your bathroom floor,’ says Phil Etherden, managing director at The Albion Bath Co. ‘Iso-Enamel will also happily stand up to all cleaning products, even limescale removers, with no fear of discolouration, scratching or chipping.'
-
 This George Home garden furniture set sold out within days – but the designer lookalike is finally back in stock
So snap yours up before it's gone again!
-
 IKEA has launched a collection of furniture for gamers - but it looks comfy and stylish enough for every home
The range will be released later this year…
-
 Seasonal re-decorating made simple – how to balance trend and tradition
Refresh your home decor with a helping hand from EE


