Kärcher WD 6 P Premium Wet and Dry Vacuum Cleaner review
Looking for a durable vacuum that is big and powerful enough to tackle heavy-duty cleaning indoors and out, whether wet or dry? We put the rugged Kärcher WD 6 through various tests to discover if it really is man enough for ALL the jobs.
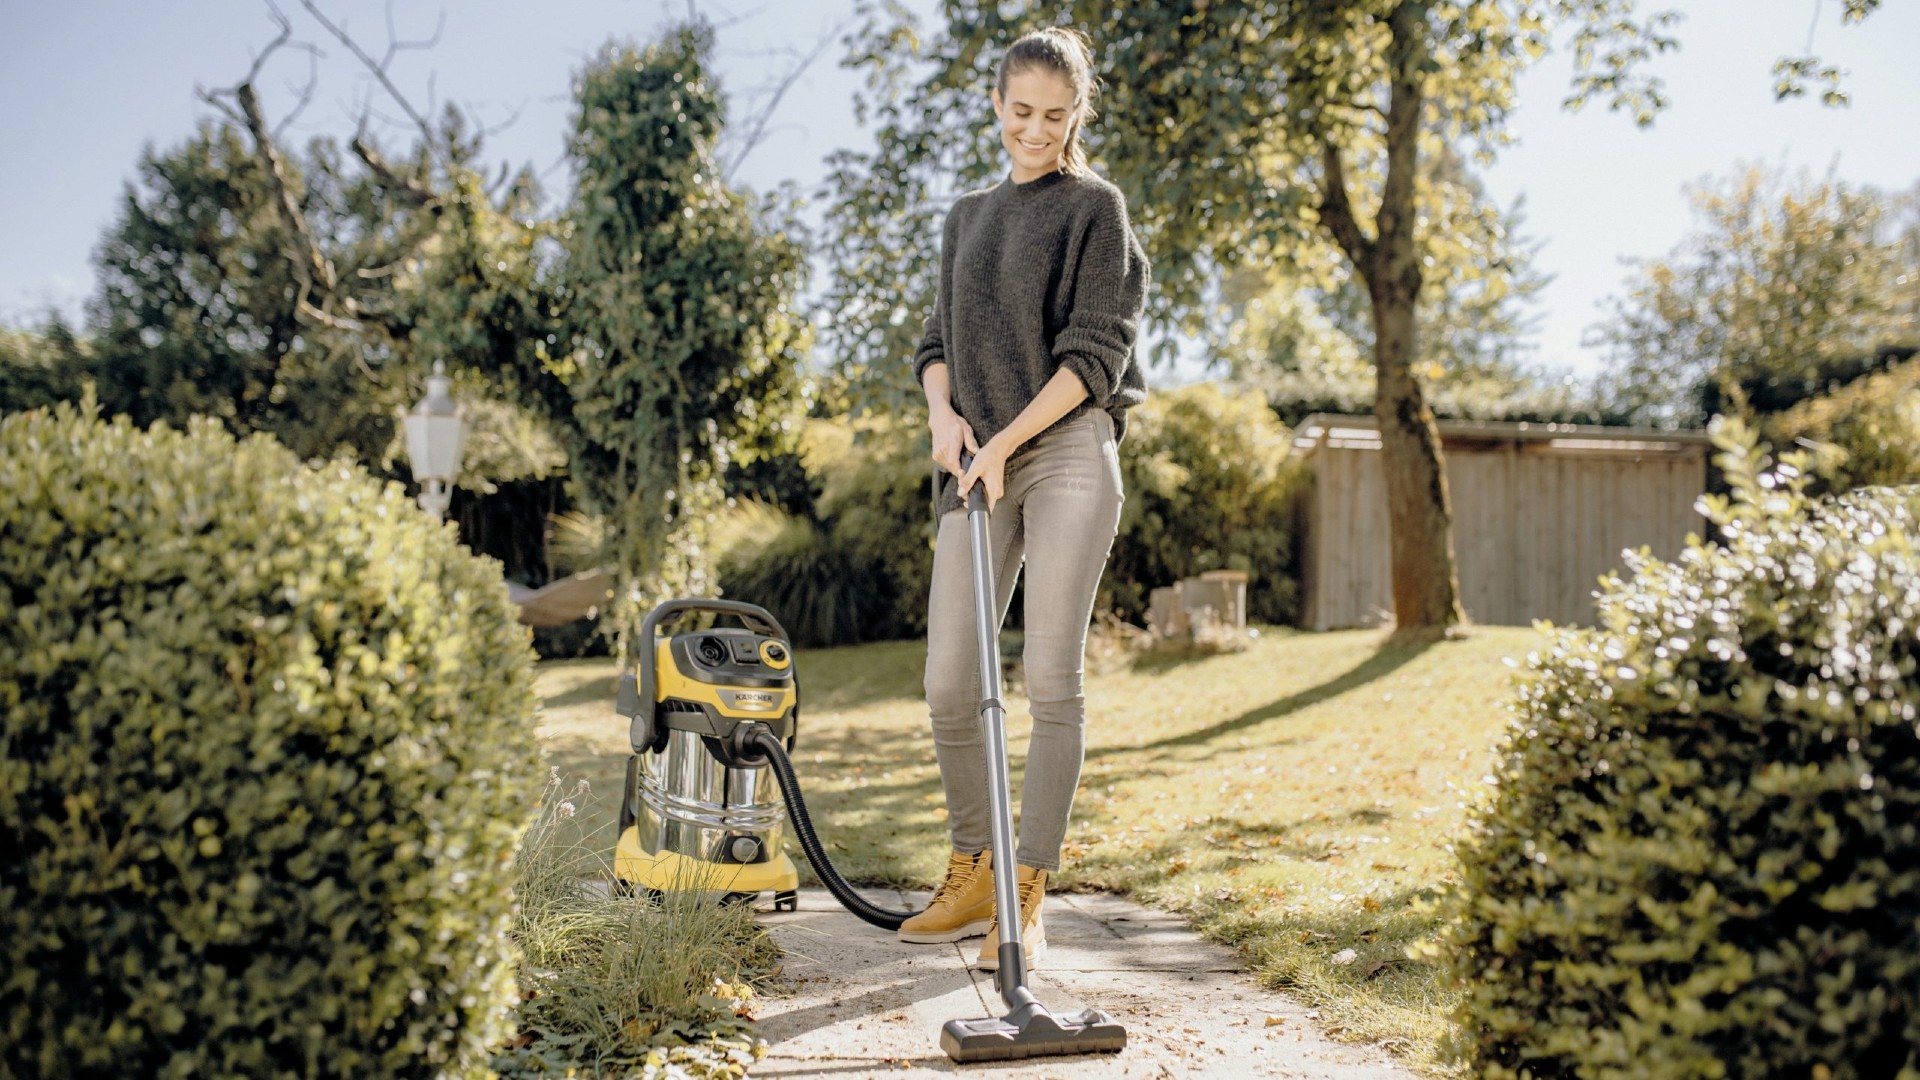
The Kärcher WD 6 is a genuinely good buy, if you do a lot of DIY or other messy jobs, and have outdoor space and a garage or garden shed to store it in. It is not a great vacuum choice for a third-floor apartment that’s already beautifully decorated! It is incredibly robust and offers impressive suction (and blowing) with a huge capacity cylinder that’s easy to empty whether the contents are wet or dry. In terms of price, this is the top and most powerful model in the Wet & Dry range and well worth its £220 (approx.) price tag.
-
+
Powerful
-
+
Heavy duty
-
+
On-board tool storage
-
+
Power socket
-
+
Blower function
-
-
Heavy
-
-
Static shock can be an issue
Why you can trust Ideal Home

The Kärcher WD 6 P Premium wet and dry vacuum cleaner is a powerful beast of a machine that will soon become your best pal, particularly if you’re tackling a major renovation and/or are DIY mad. The Kärcher WD 6 is the newest iteration of this popular brand’s wet and dry collection, which also includes cordless models and more compact, albeit less powerful, designs.
It is designed for use inside and out, and for both wet and dry applications. Gardeners will love the blowing function for clearing leaves out of gravel, motorists can make quick work of valeting their vehicles and aquarists can even use it to change the water in their fish tanks. We tested the Kärcher WD 6 for three weeks and tackled various hardcore cleaning tasks to see how it performed.
Read on to discover what we thought of the Kärcher WD 6 and whether you really need this out-sized appliance in your vacuum collection. Speaking of vacuum cleaners... whilst you're here, it may be worth you (also) checking out our best vacuum cleaners buyer's guide to see some top picks for cleaning carpets and hard floors.
While it may resemble an overgrown Minion, its flexibility and power really does make it worth making room for a Kärcher WD 6 in your home (or preferably in the garage). To be clear, this machine is not designed to replace your domestic Dyson, but rather be the vacuum you reach for when you don’t want to break your Dyson! It will breezily remove renovating rubble, sawdust, muddy water and major dirt from your life, and the power tool function is a definite plus is you’re frequently found in DIY mode.
Kärcher WD 6 P Premium
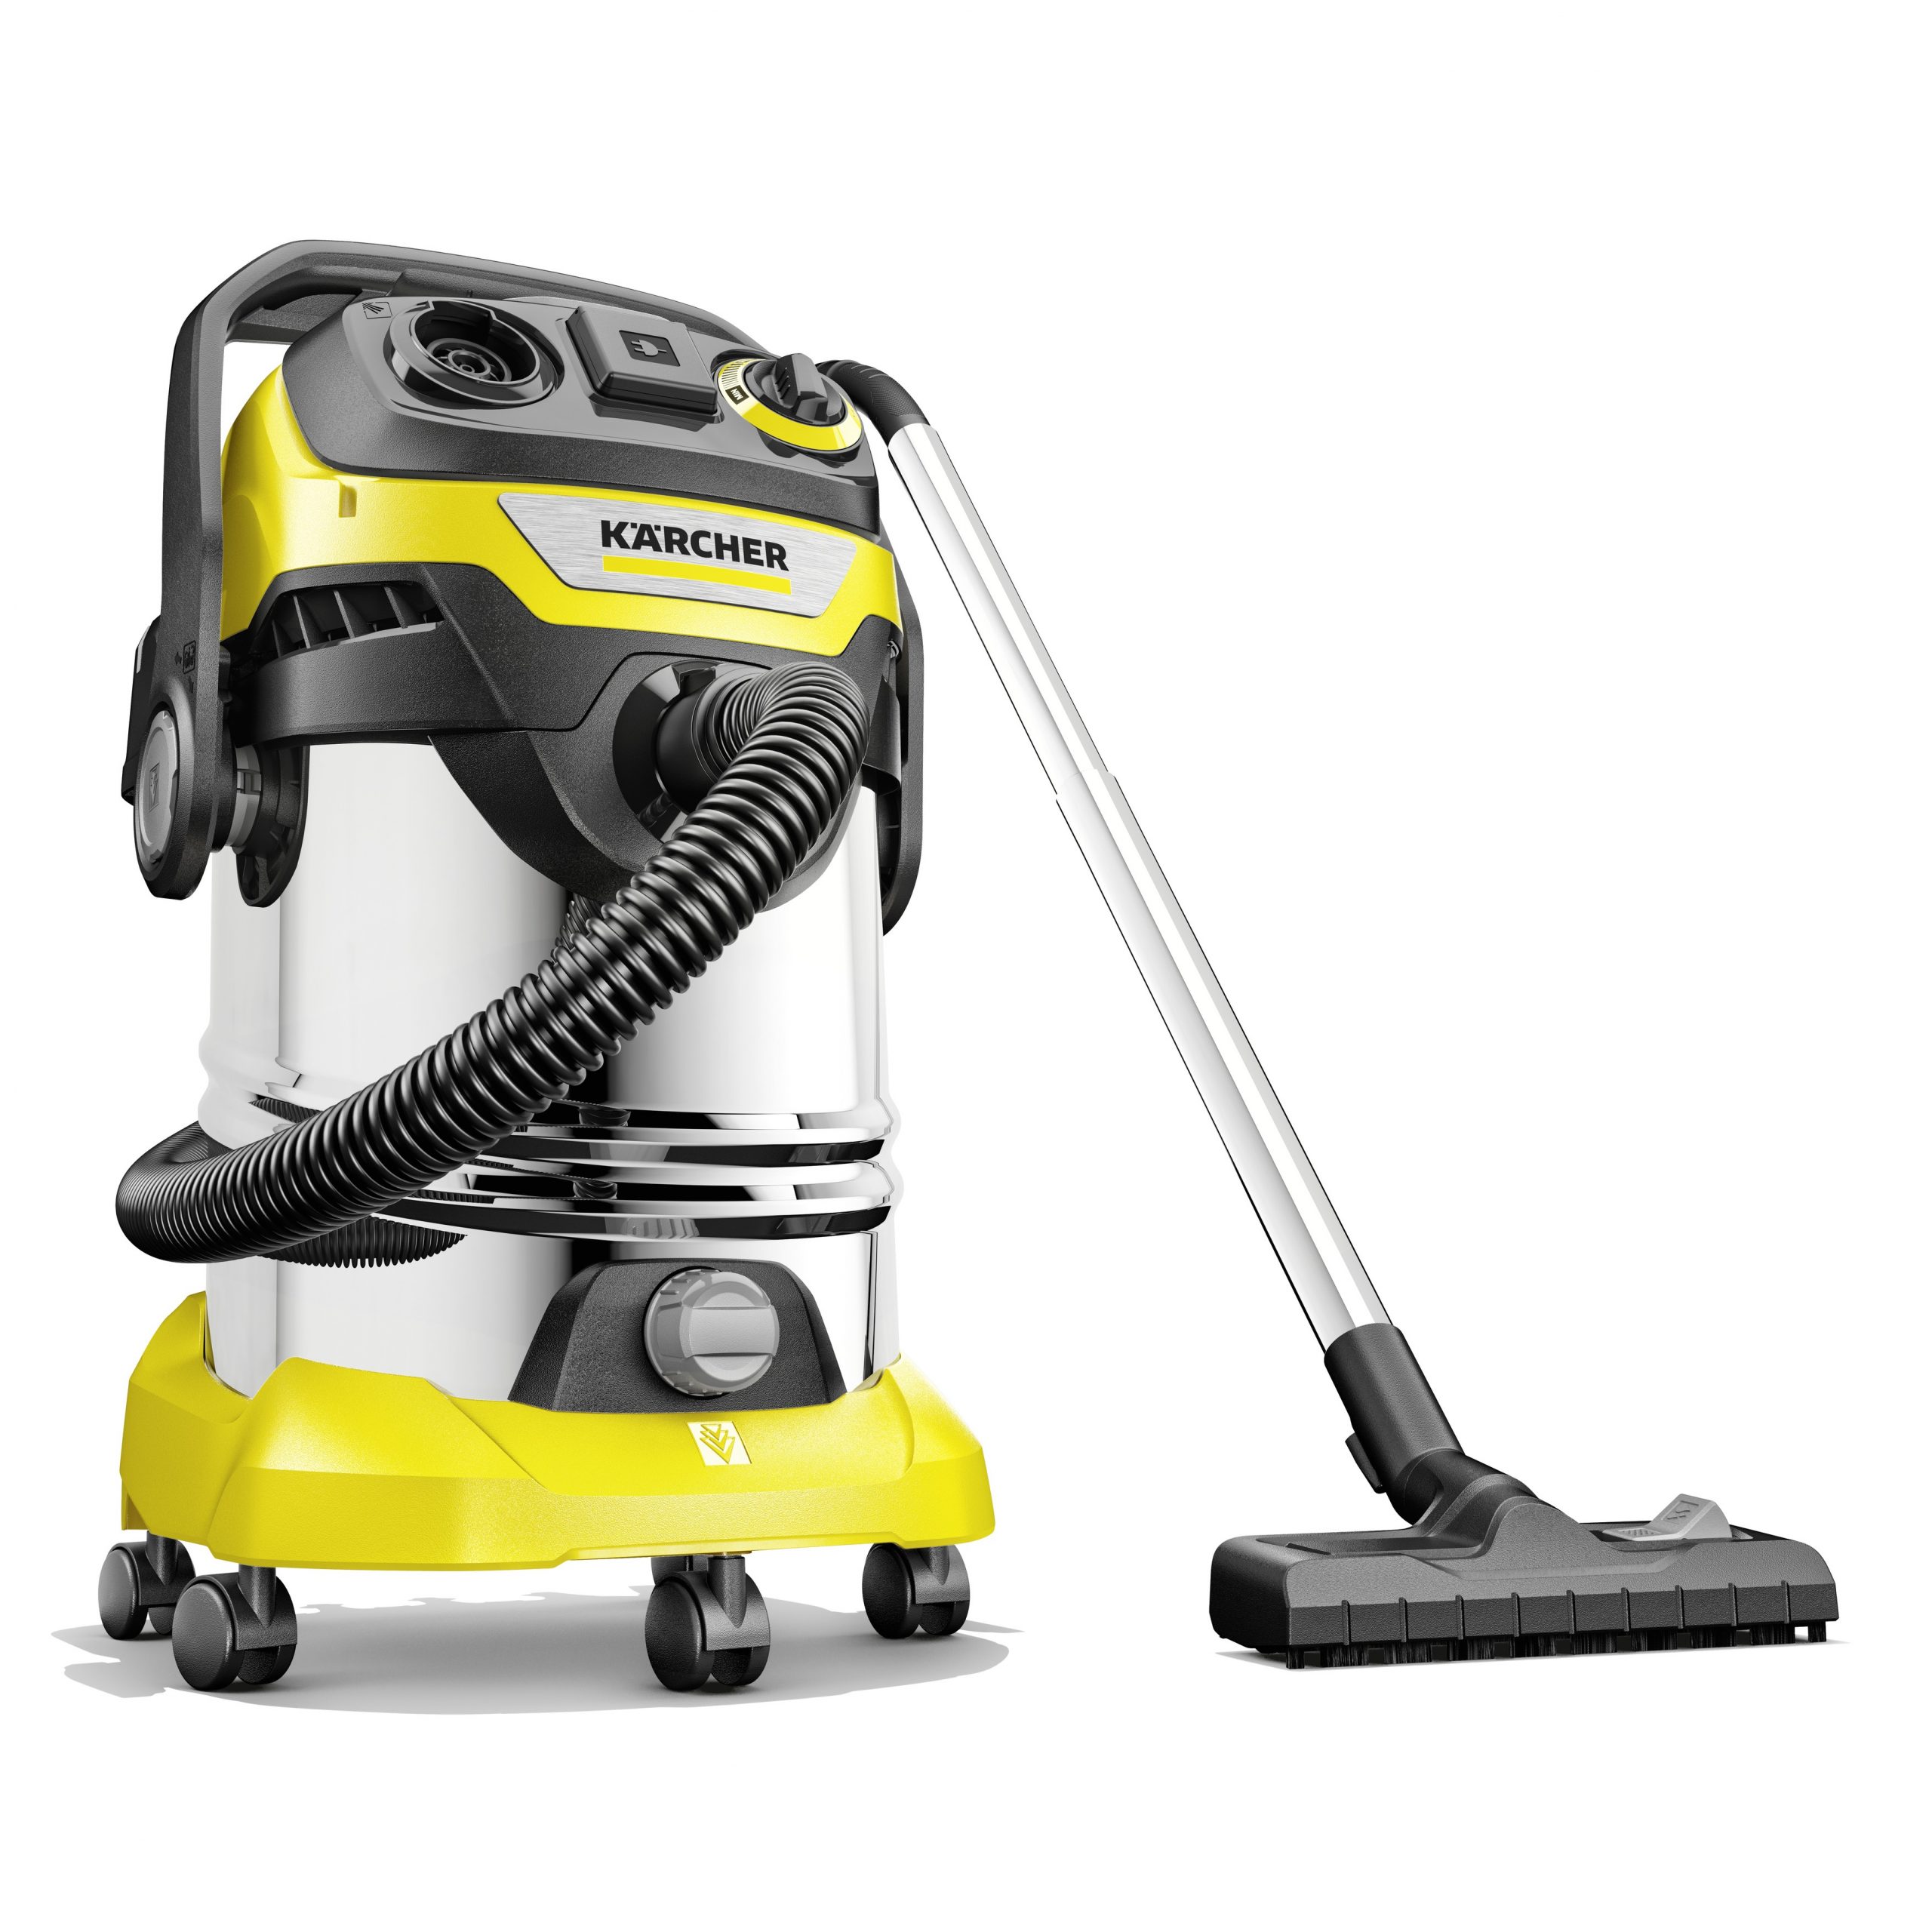
Product specs:
- Capacity: 30L
- Power type: mains
- Cord length: 8m
- Hose length: 2.2m
- Wattage: 1300W
- Dimensions: L41.8 x W38.2 x H69.3 cm
- Weight: 9.6kg
- Accessories included: Filter bag, Flat pleated filter, Accessory storage bar, Crevice nozzle, Flexible hose and adapter for attaching handheld tools like sanders.
Who will the Kärcher WD 6 suit?
Sold as the perfect vacuum to tackle all the hardcore jobs your indoor vacuum can’t handle, the Kärcher WD 6 will suit DIY enthusiasts, gardeners, and anyone with a car, especially if they also have a garage to put it in. Although it’s a bit too unwieldy and bulky to be used daily indoors, it will come into its own should your washing machine flood, when stripping wallpaper or for clearing up any pet-related disasters.
Testing the Kärcher WD 6
My husband and I are nearly at the end of our fourth (and hopefully final) renovation project – a detached Victorian house in Devon, where he has built his cabinetmaking workshop at the bottom of the garden. We used the Kärcher WD 6 to tackle a few clear-up jobs that had been building up over the winter, both indoors and out. Over three weeks, we burned through so much cleaning, including:
- Dirt and debris from the patio
- Sawdust in the workshop (by the tree-load)
- Yet more sawdust when using the hand-sander
- Two cars and a van
- Muck and hair from under three pet crates
- And emptied the pond
Unboxing
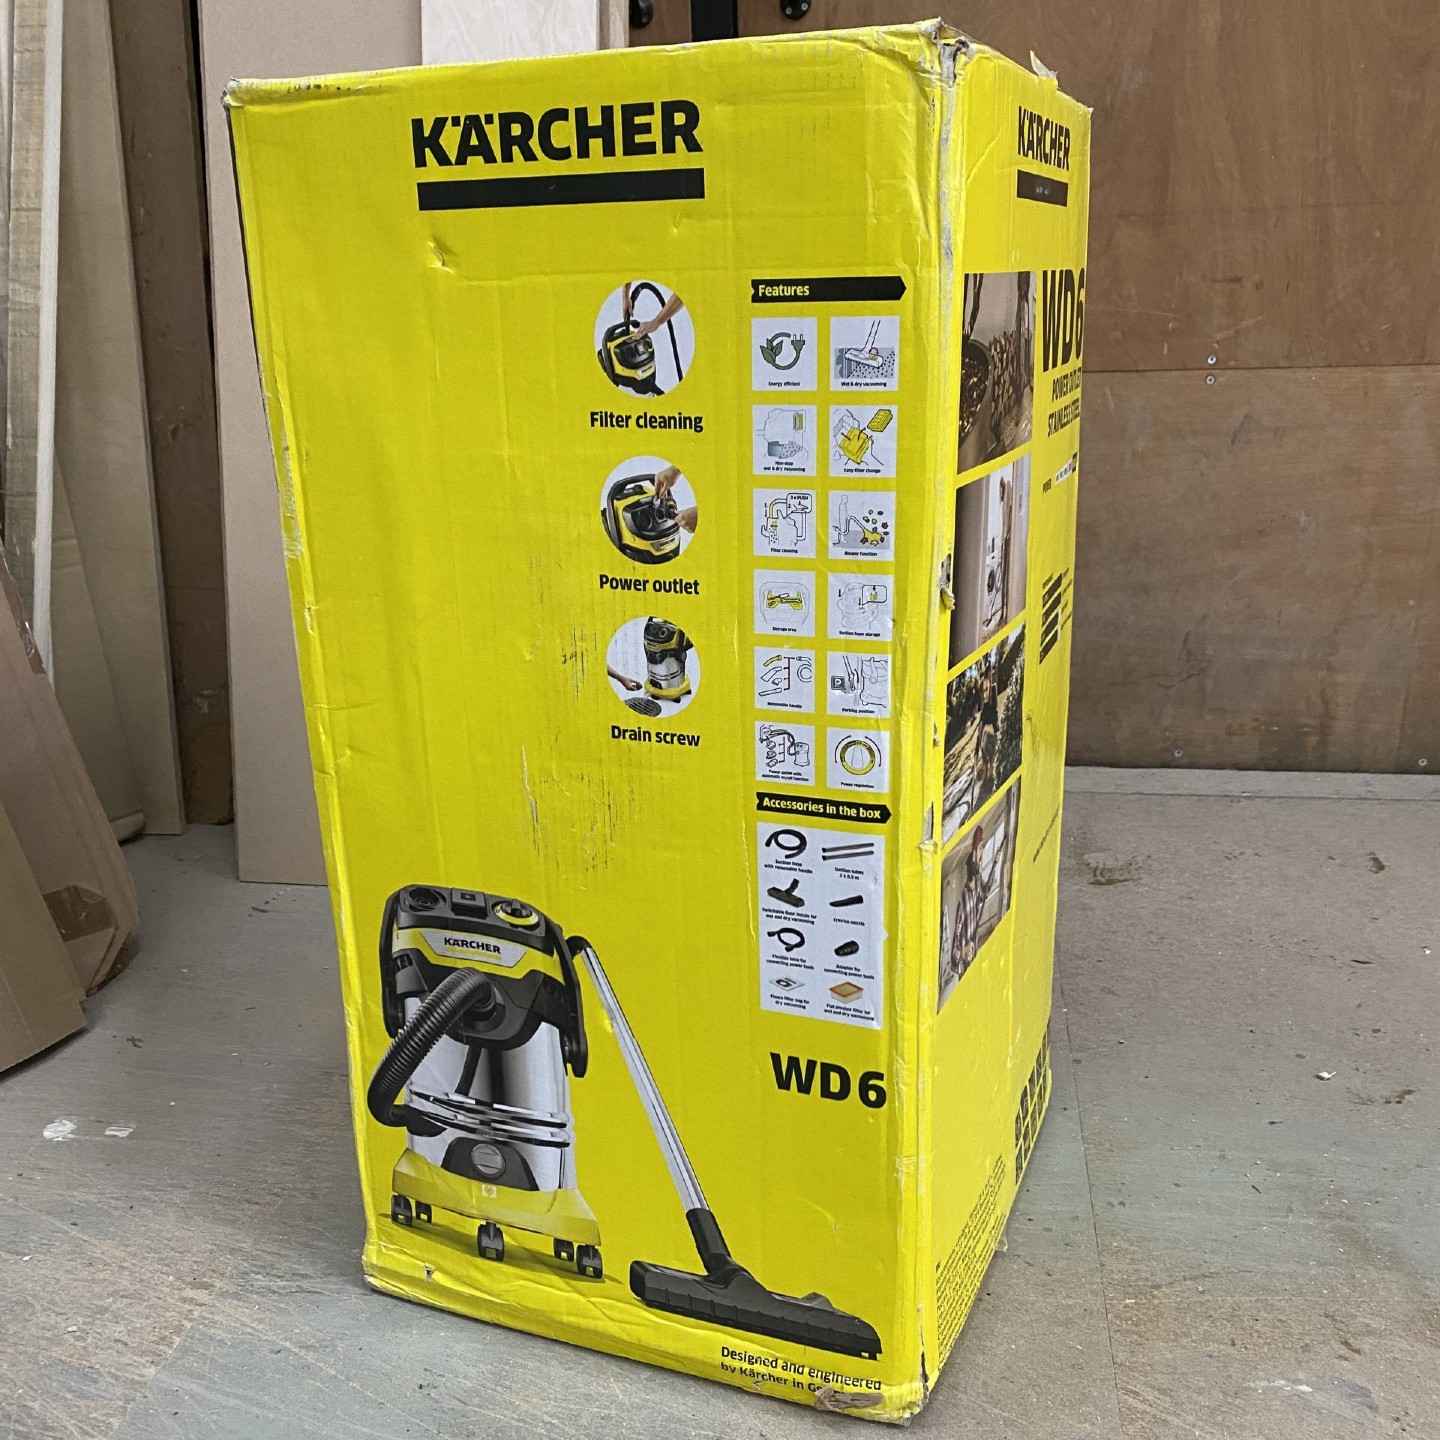
The Kärcher WD 6 is neatly packaged in cardboard with a really satisfying absence of pointless plastic. I had a little moment when I feared the hose had been left behind, before I found it curled up inside the vacuum!
Setting up
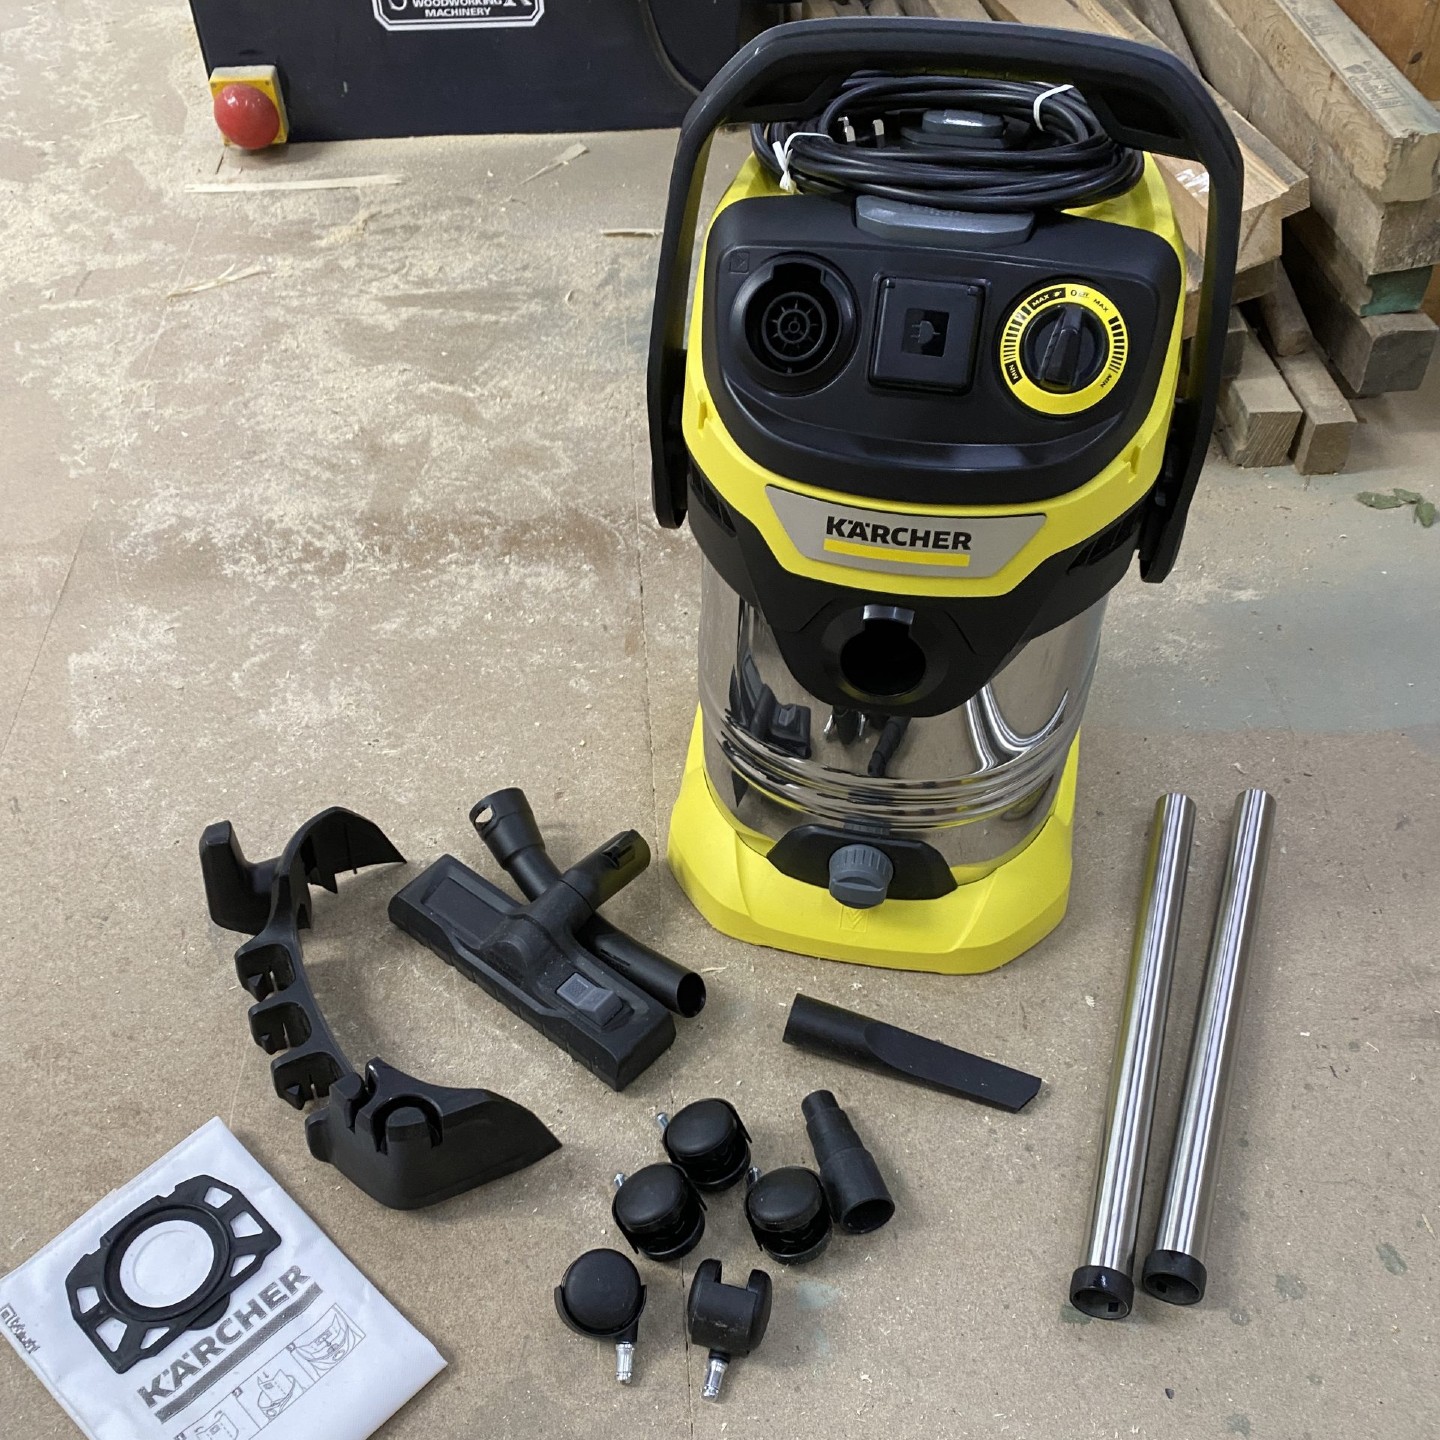
Setting up was fairly intuitive and I didn’t really need to look at the instructions as it was pretty obvious what went where. However, they are picture-based so if you’ve never seen a cylinder vacuum before you won’t struggle to follow how to connect the hose, floor nozzle and accessories holder. Opening the Kärcher WD 6 to put on the dust bag is a simple affair too; just pull the handle right down and the lid lifts off. I did struggle to get the wheels attached – they’re push-in – but with a bit of perseverance and brute force, they clicked into place.
What is the Kärcher WD 6 like to use?
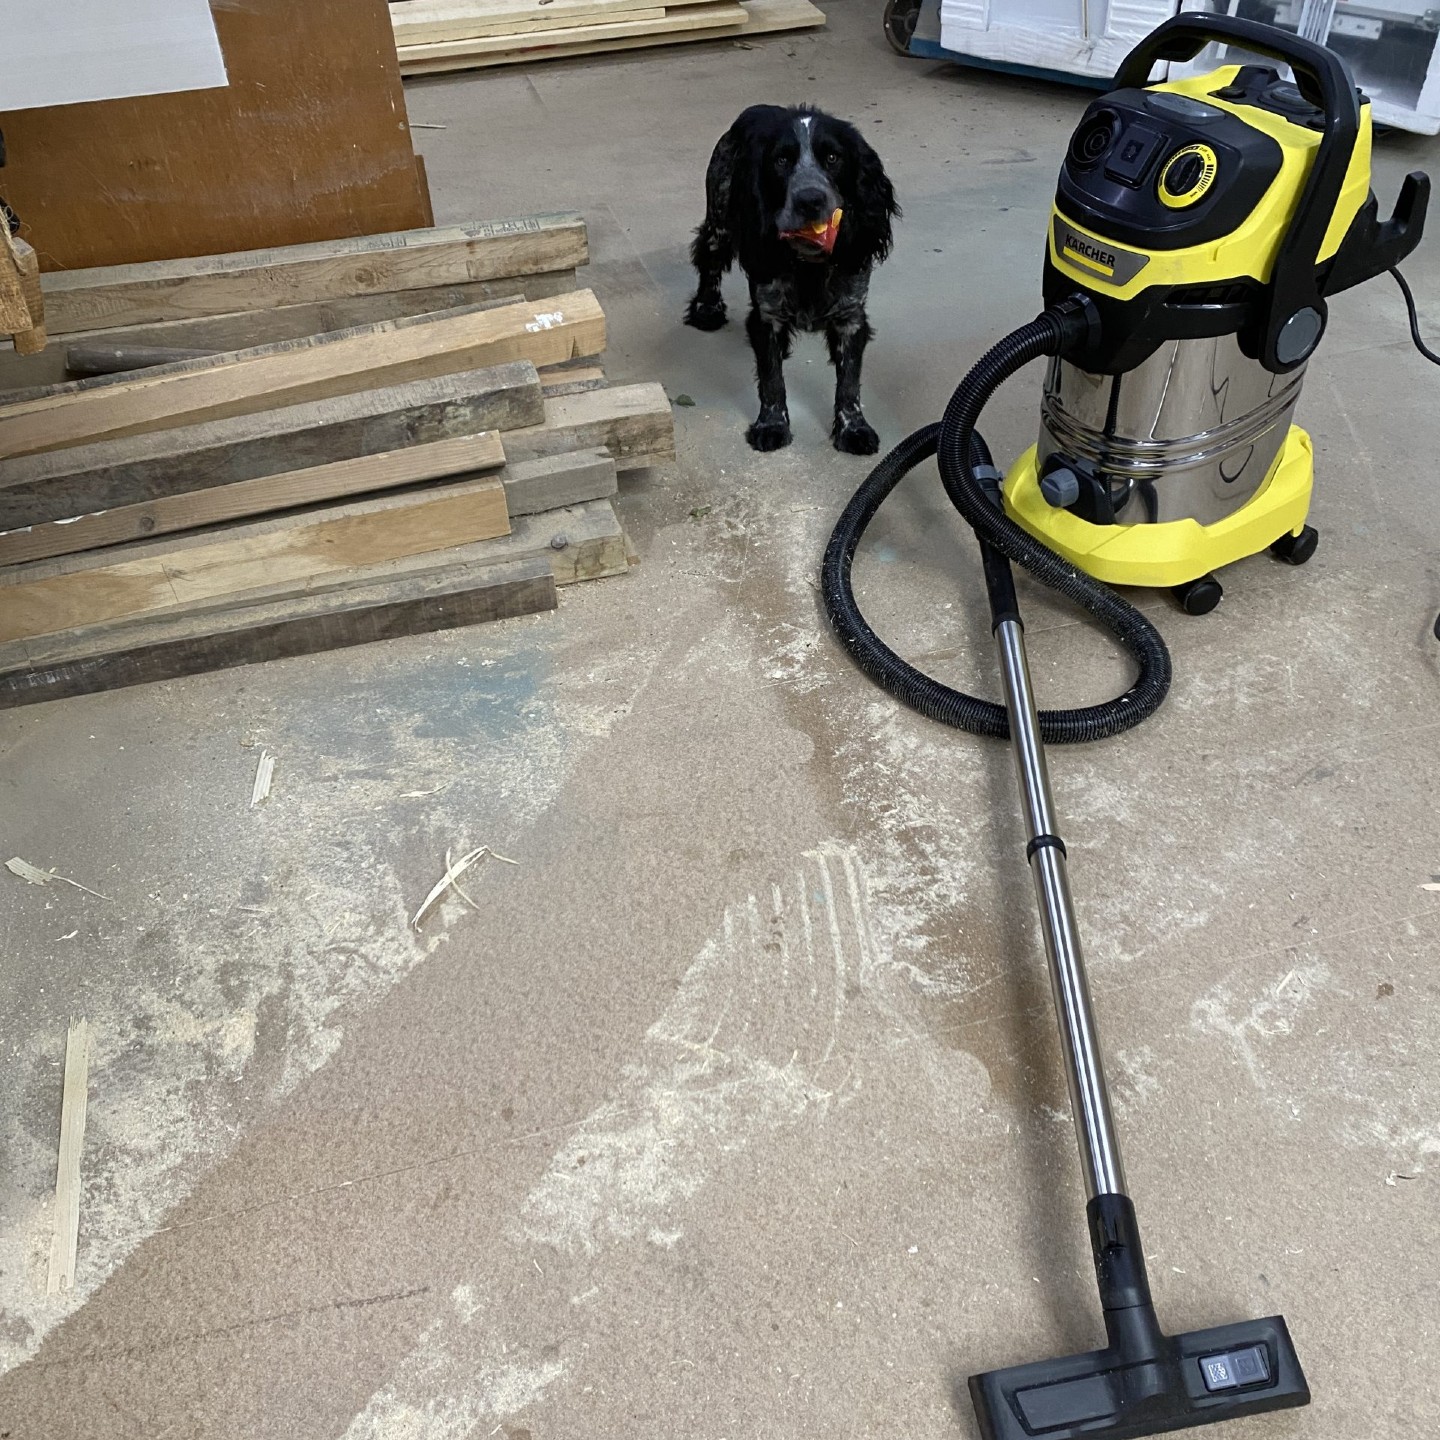
With the machine all set up, it was time to start vacuuming. The first task I tackled was a good clean up in the workshop that my cabinetmaker husband has built at the bottom of our garden. There is a team of four makers working there, who use soft brooms to sweep away the bigger piles of sawdust and offcuts etc while they work, plus there are numerous hoses for sucking sawdust directly from the machinery and out to the wood-pellet maker. So, we’re not talking huge volumes of solid sawdust; this task was more about getting all the fine dirt and dust that a regular broom leaves behind. The guys were very happy to hand over the job to me!
Dry mode
To operate the Kärcher WD 6 in dry mode, you should first choose whether to use a dust bag. If you’ve got a huge area of debris to cover (e.g. a patio covered in autumn leaves), you’ll quickly fill a dust bag, which could wind up expensive. Replacement dust bags cost around £14.99 for four. In this instance you’d be wise to go bagless and enjoy the full 30L capacity without having to change bags.
However, as mentioned, our workshop floor (and probably most garage floors belonging to keen DIYers) contains fine sawdust, and general dirt-based dust, and the advice for cleaning any fine dust (including plaster and cement powder), is to use the dust bag to help prevent the filter from clogging up quickly and make the vacuum easier to empty and generally keep it clean inside. This is a standard style dust bag, albeit the biggest I’ve ever come across, that slots over the hose inlet inside the cylinder and self-seals with a thin rubber seal.
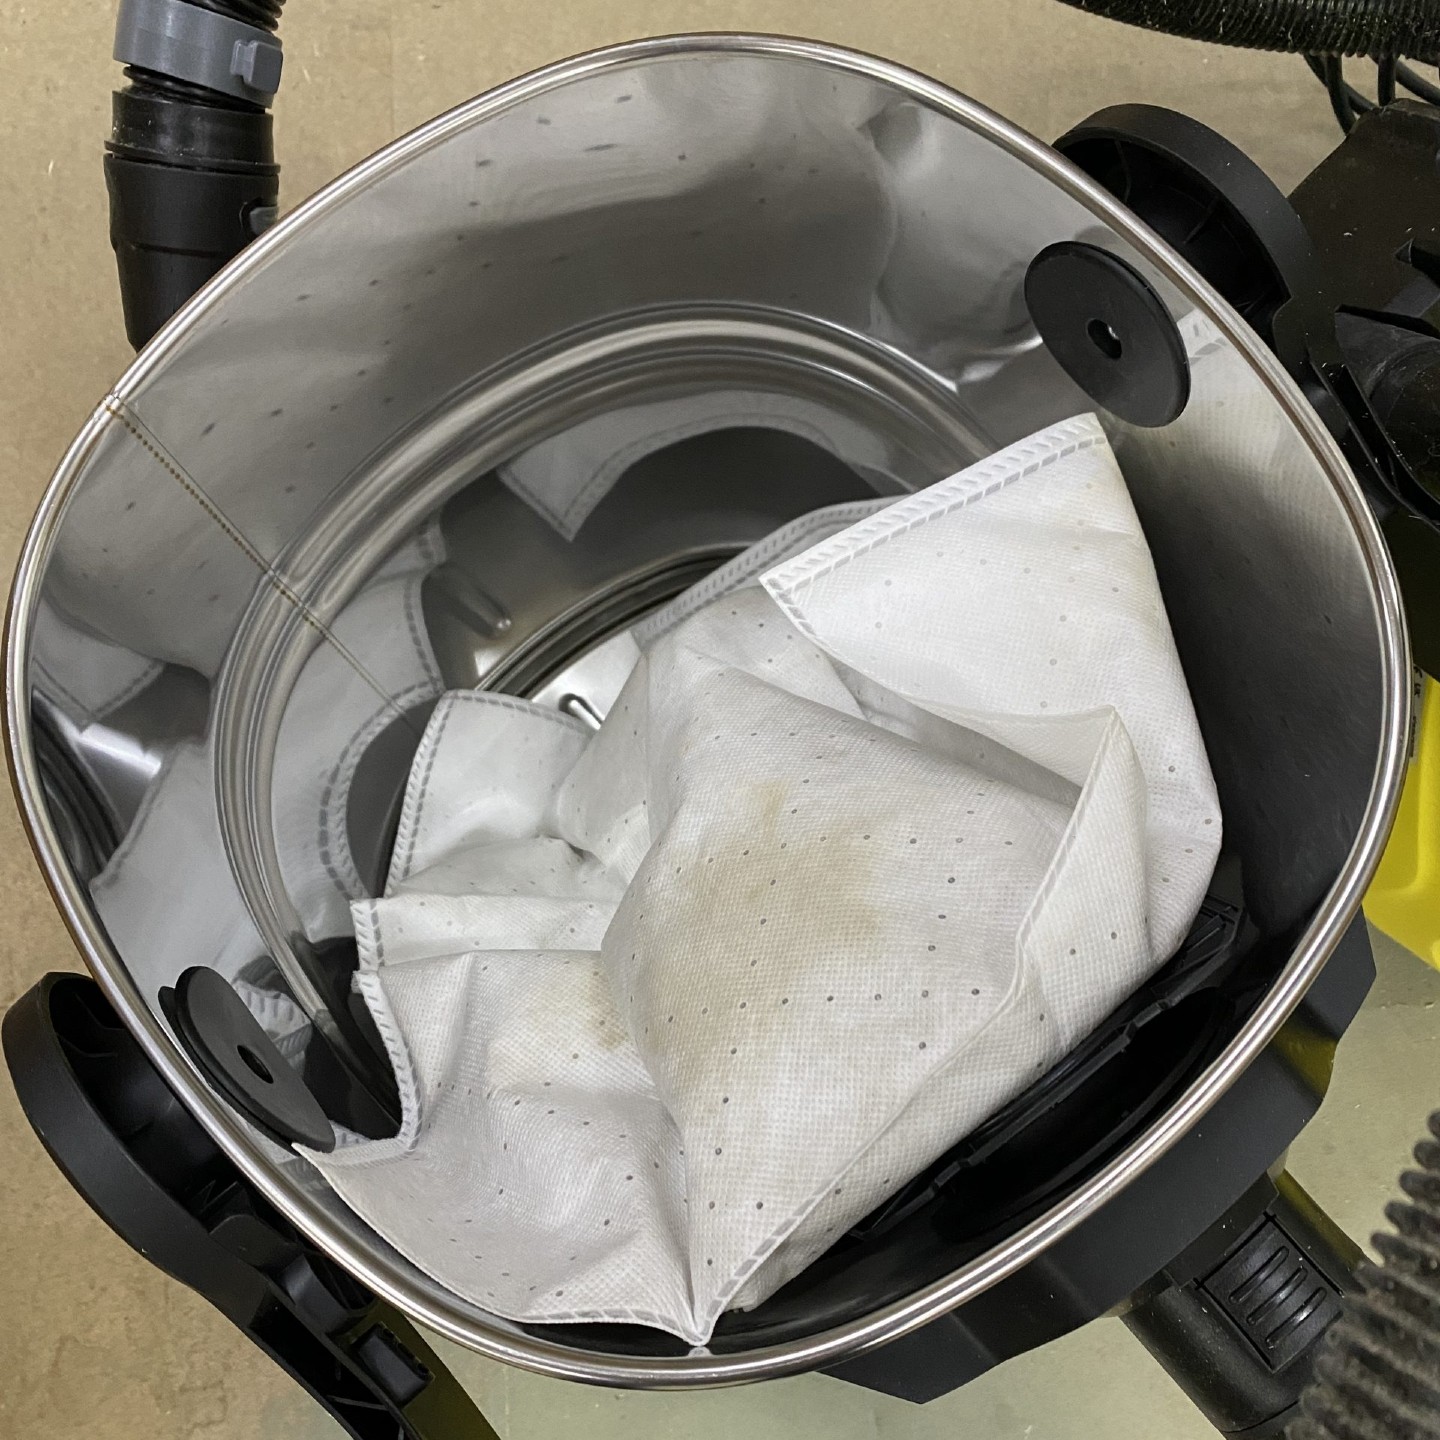
Once the lid is back on, and the handle pointing up to lock the lid in place, simply turn the rotating on/off switch to max and feel the power! The advantage of using the Kärcher WD 6 over a broom (so retro) on our workshop floor was the results were much, much better. The vacuum is clearly powerful and made light work of getting into all the nooks and crannies, too.
I also used the blowing function to push sawdust out from under some of the bigger machines where I couldn’t get the vacuum hose far enough underneath. To do this, you just have to move the hose from the main outlet to the blowing outlet further up and turn it on. The blowing function would also be useful for airbeds and other inflatables, as well as blowing away leaves in Autumn. I didn’t clean the whole workshop, that would have taken all day and isn’t something anyone in a domestic setting would be likely to do (my excuse). But I did a good 1.5 hours, covering an area about the size of a double garage, and the dust bag was pretty much full by the time I lost my mojo. I think there was more sawdust lurking under the machines than I’d anticipated.
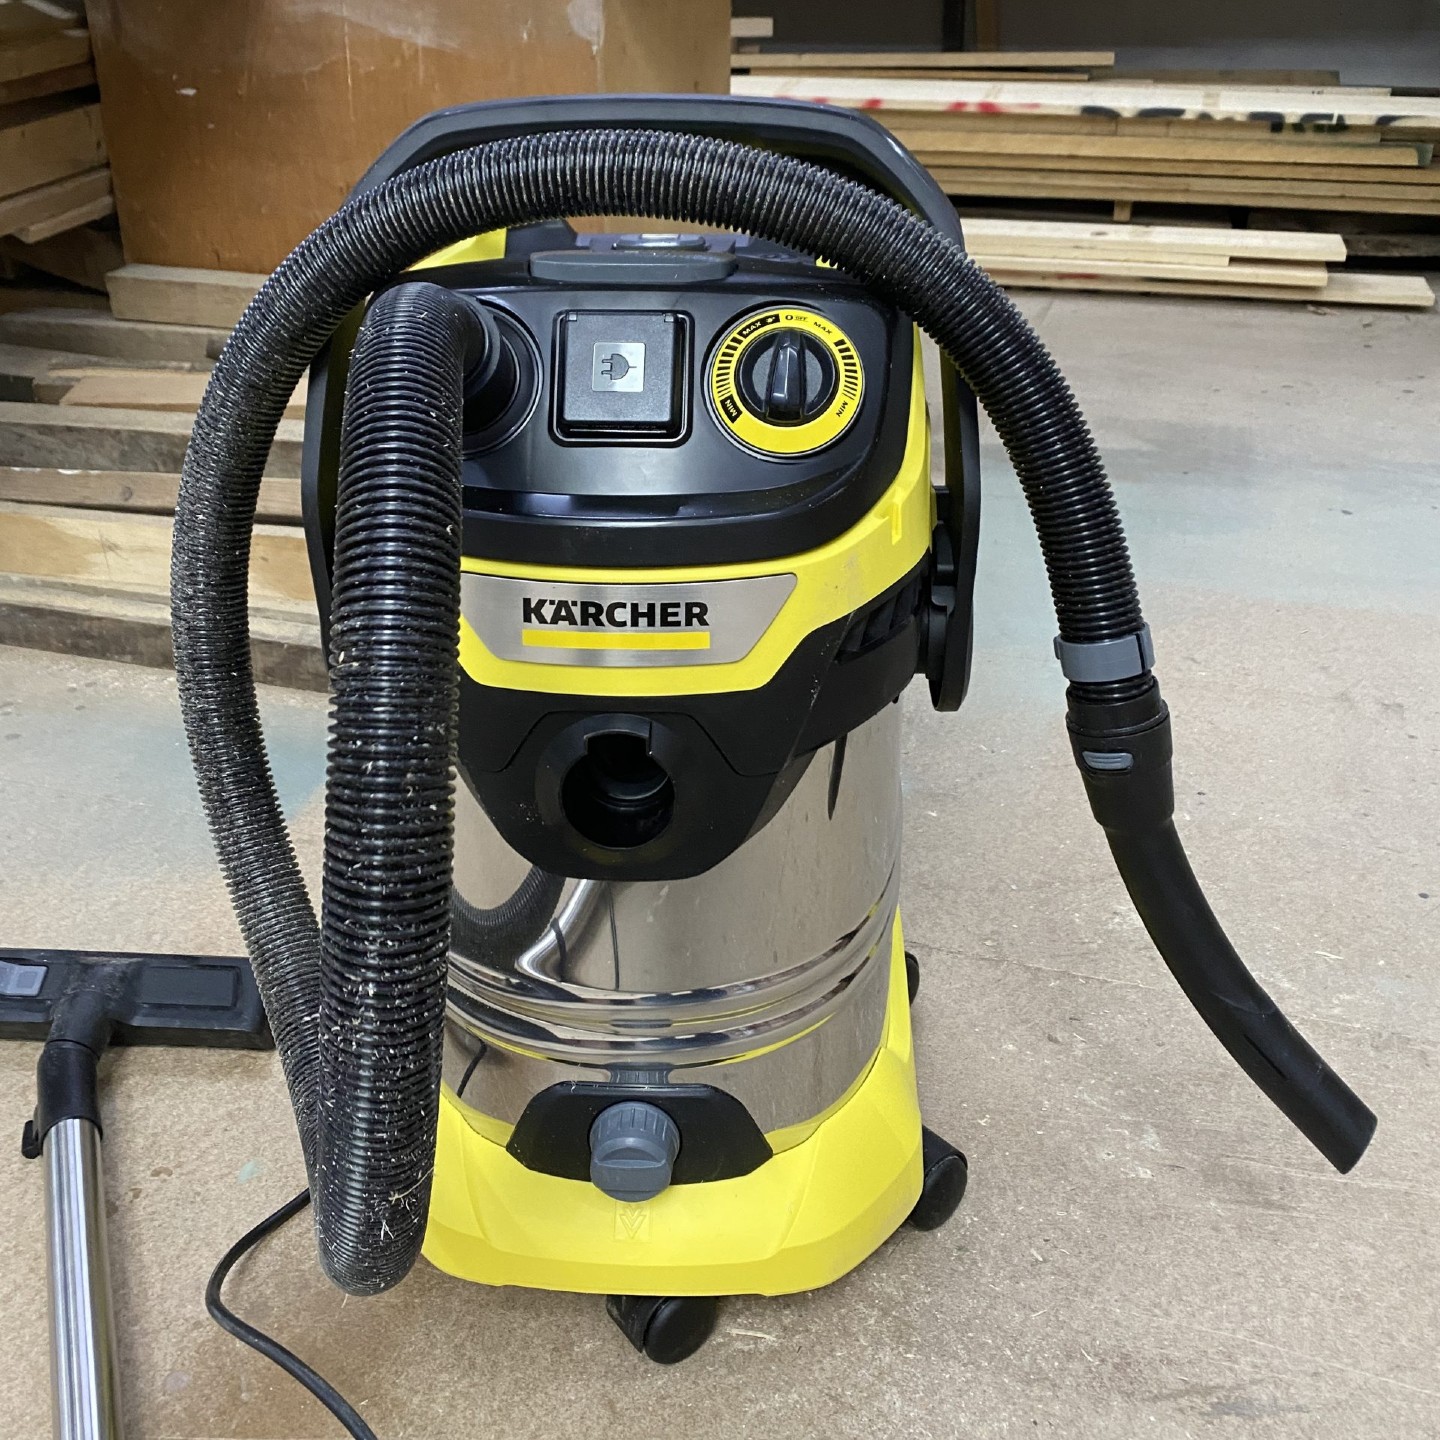
Highlights worth mentioning include the impressive 8m-long cable which minimised the number of times I had to move sockets, and the super smooth castor wheels on the base (there are five) that make the Kärcher WD 6 so easy to pull along. It’s also very easy to switch between the crevice nozzle and floor attachment, without excessive tugging.
One slight downside for me was the number of static shocks I experienced. I’d guestimate about a dozen before I put on some gloves, took off my jumper and avoided touching any metal parts. In the Kärcher’s defence, I am especially prone to them and the dry, filtered air in the workshop, combined with my shaggy wool jumper probably didn’t help matters.
Wet mode
I tested two jobs to check out the performance in wet mode; vacuuming out the water after cleaning the car foot mats and emptying our small pond. Oh and also a fair few wee puddles, curtesy of the pup. The flat pleated filter is suitable for wet and dry use so there was no need to remove it before starting but I did check there was no dust bag inside. Once the dust bag was removed, I started with the car mats. Flipping the foot attachment to wet (rubber strips instead of brushes) using the rocker switch, I vacuumed them in the same way I would if they were dry. I was impressed by the suction, which felt seriously strong; a point proved by the impressive volume of muddy water in the cylinder when I was done with just the first mat.
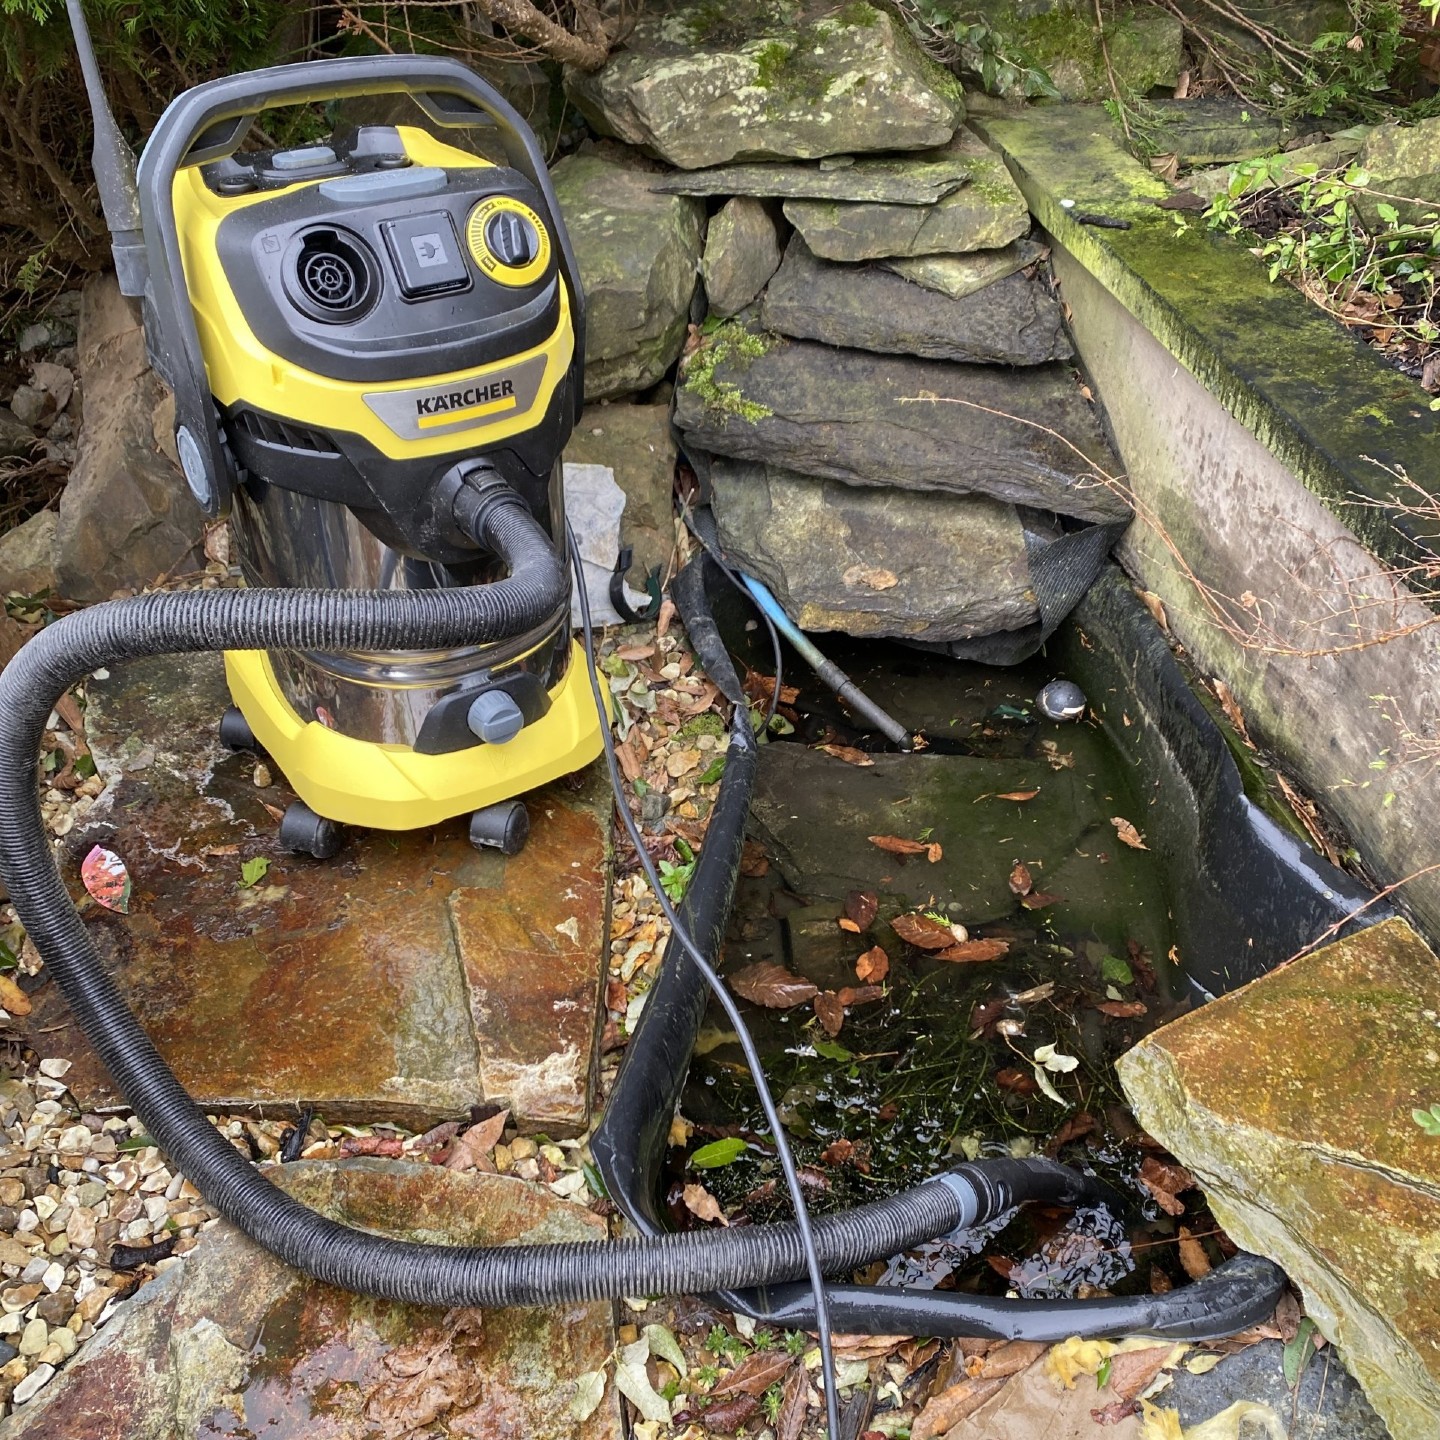
The pond, which I was emptying because our puppy was taking far too many baths (then running through the house) so we’d decided to plant a tree there instead, was next. Without the Kärcher WD 6 I would have had to bucket out as much as I could, then use a hose syphon that involved sucking the end and potentially ending up with a mouthful of stagnant pond water. Yuck. In less than 10 minutes I had cleared the pond, emptying the cylinder three or four times in the nearest storm drain. Given my shoulder injury I was very grateful for the handy drain screw in the base of the cylinder, which meant I didn’t have to lift it fully loaded to tip the water out.
Using the power tool attachment function
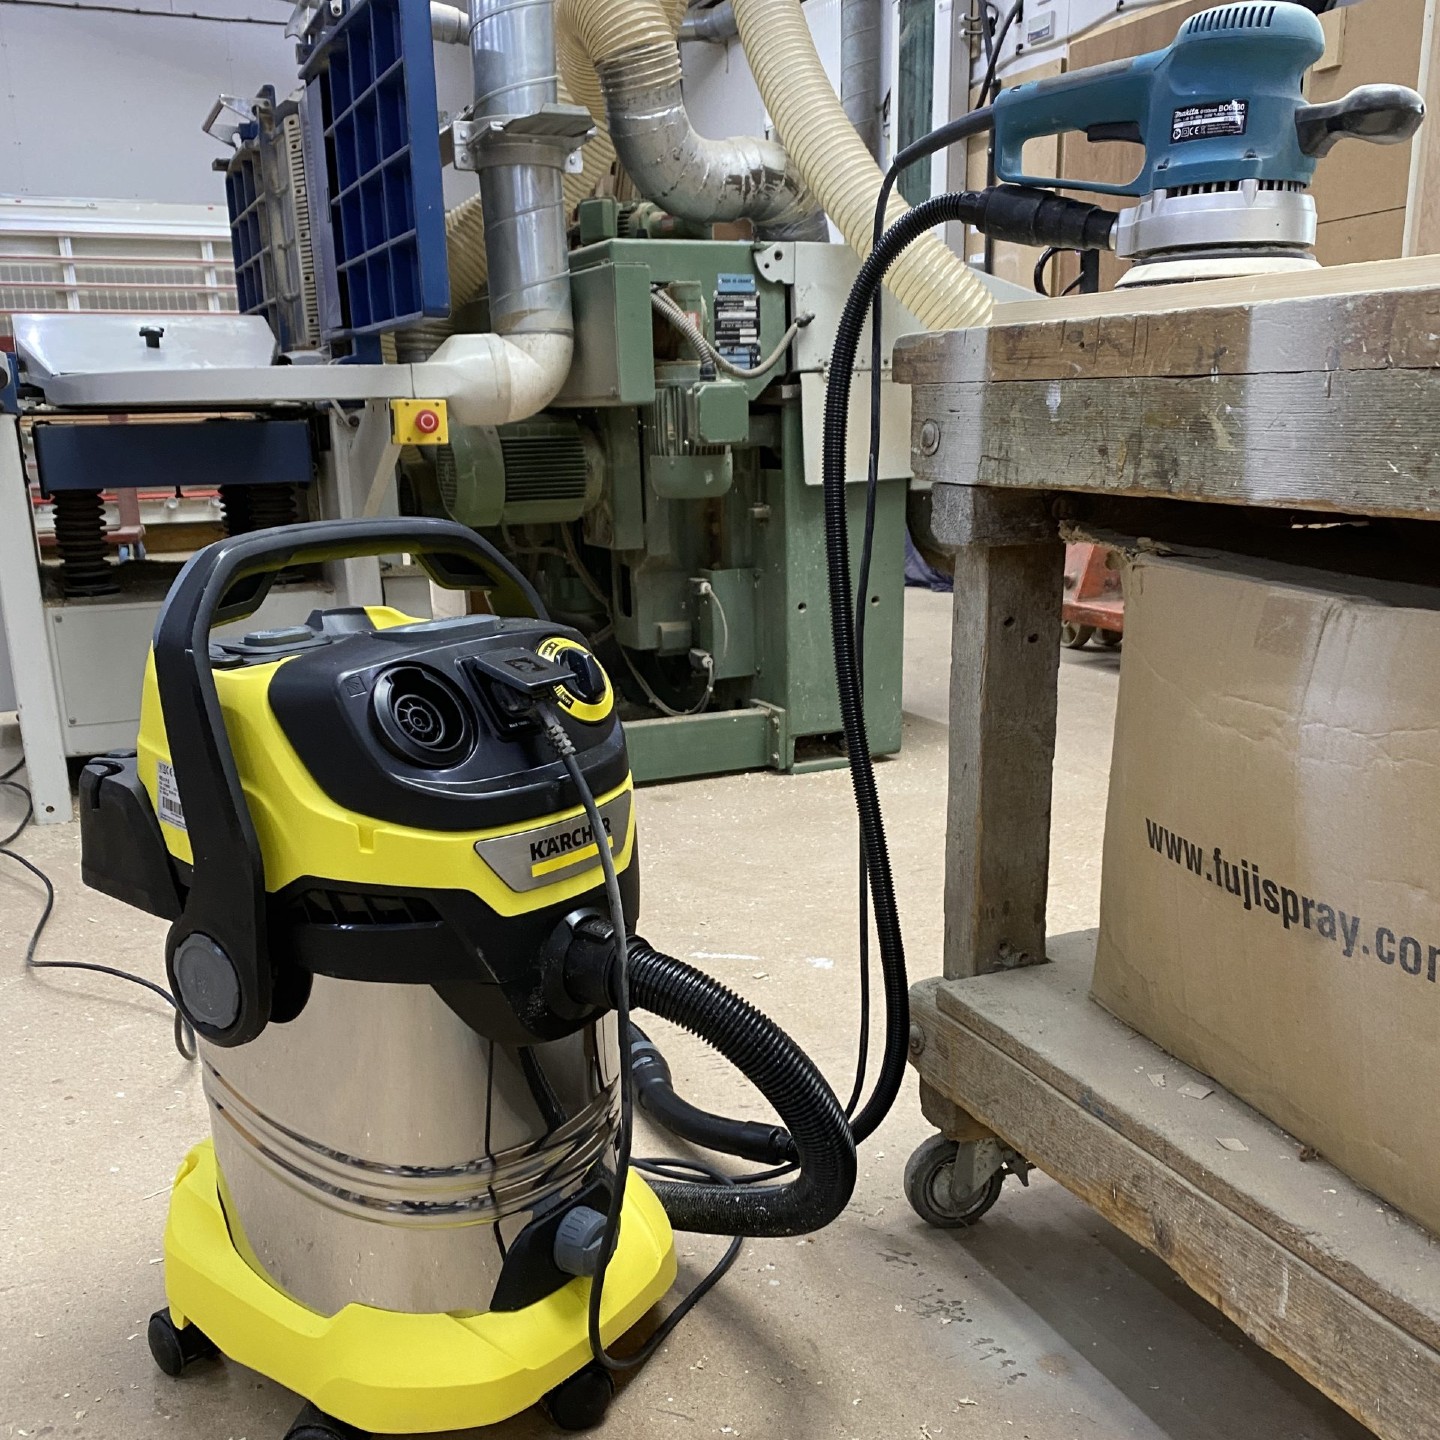
The power tool feature is another stroke of pure genius, which I tested with an orbital sander. I simply plugged the tool into the socket on the front of the Kärcher WD 6, then added the smaller tool hose onto the end of the main hose, using the adapter connection to fix it to the vent at the back of the sander. I didn’t need to look at the instruction book to do this as it’s not my first rodeo with this type of thing, but the instructions are again picture-based and easy to understand.
The especially clever part is that the suction automatically stops and starts when the tool is switched on and off, so you don’t need to activate two machines. If you do any sander or power saw-based DIY in the home, the Kärcher WD 6 would make a huge difference to the levels of dust in the air, and eventually covering every single surface. You can also buy a drill attachment that catches the dust that falls when you drill into a wall.
What else can you do with the Kärcher WD 6?
You can basically vacuum anything you like, wet or dry. I used it to clear the wet leaves from around the patio, clean the interiors of our cars (a loathsome job made much easier by the powerful suction and long-reach crevice nozzle) and even suctioned up poop from the crevices of the rabbit hutch. Inside, I cleaned beneath the dog crates, which were embarrassingly filthy, and then had a quick vacuum round the rest of the ground floor while I was on the case.
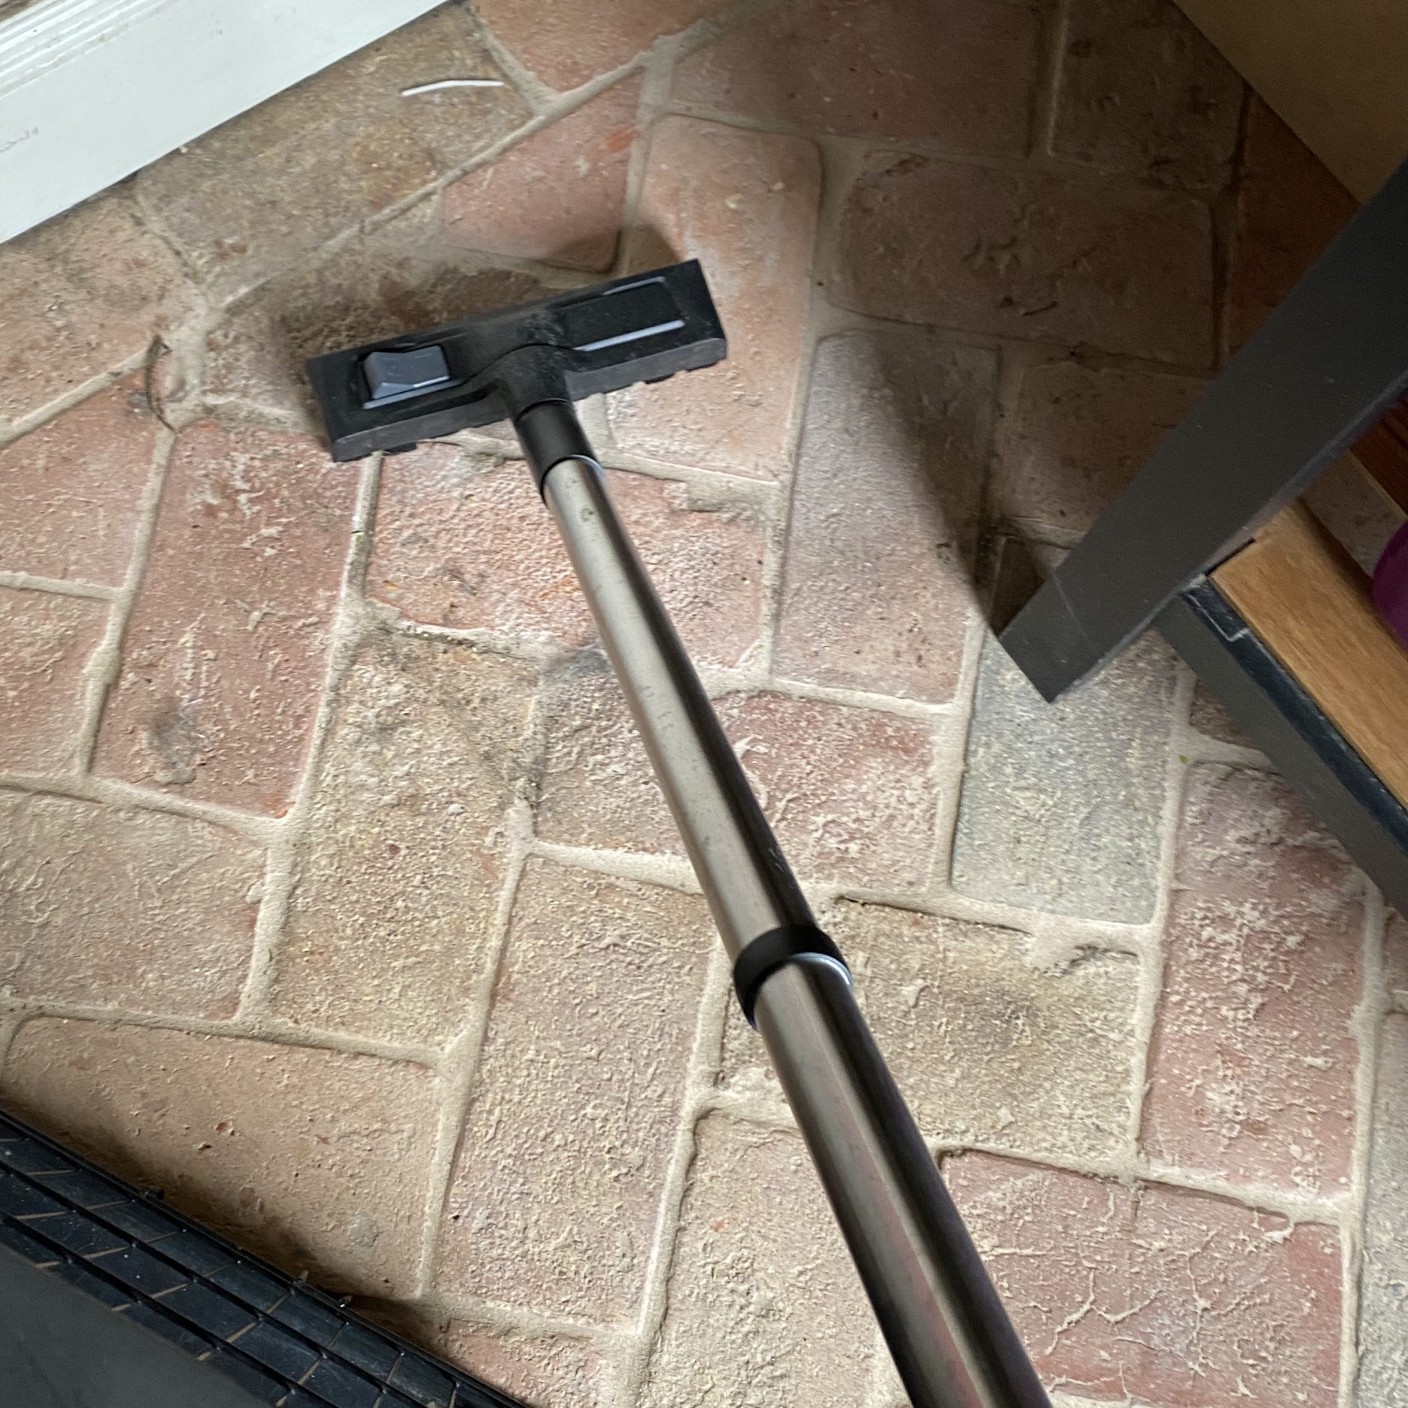
I usually use a combination of cordless vacuum and robot vacuum downstairs and was surprised by how much the Kärcher WD 6 picked up given the robot had already done a full circuit before breakfast. Let’s not forget the many times I used the Kärcher WD 6’s wet suction powers to help clear up puppy accidents. In combination with an antibacterial cleaning spray of course!
Storage and maintenance
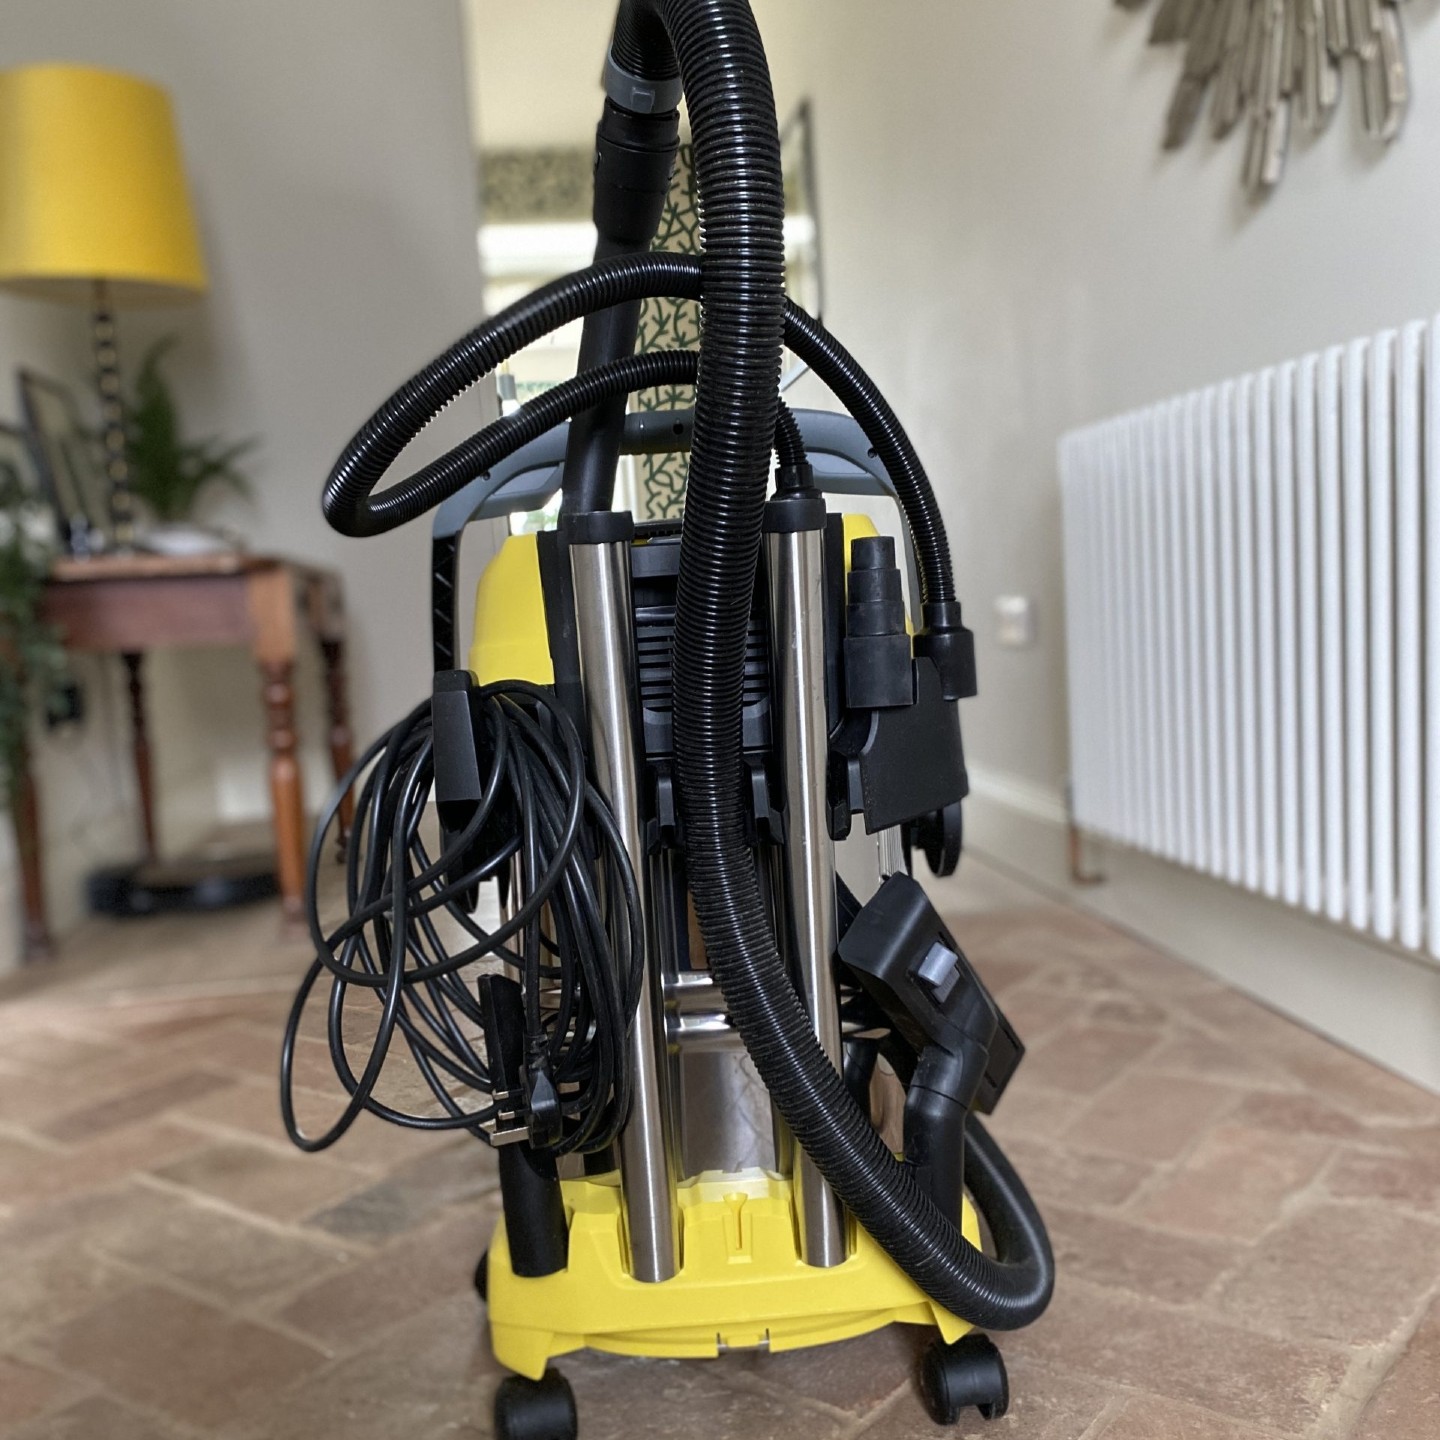
Storage isn’t exactly the Kärcher WD 6’s forte. It’s a big beast, and with all the will in the world, you can’t get away from the fact it will take up a lot of space if you want to store it in the house. A garage is the best place for this bad boy, ideally an attached garage so you can grab it the minute you fail to let the puppy out again. There are plenty of hose, cord and accessories clips on the back, so it tucks together neatly but it’s still the size of your average toddler! I would also have appreciated a couple more nozzle tools, especially one with a brush, but the Kärcher WD 6 has standard 35mm suction tubes so will work with most vacuum attachments out, plus you can buy them as an extra.
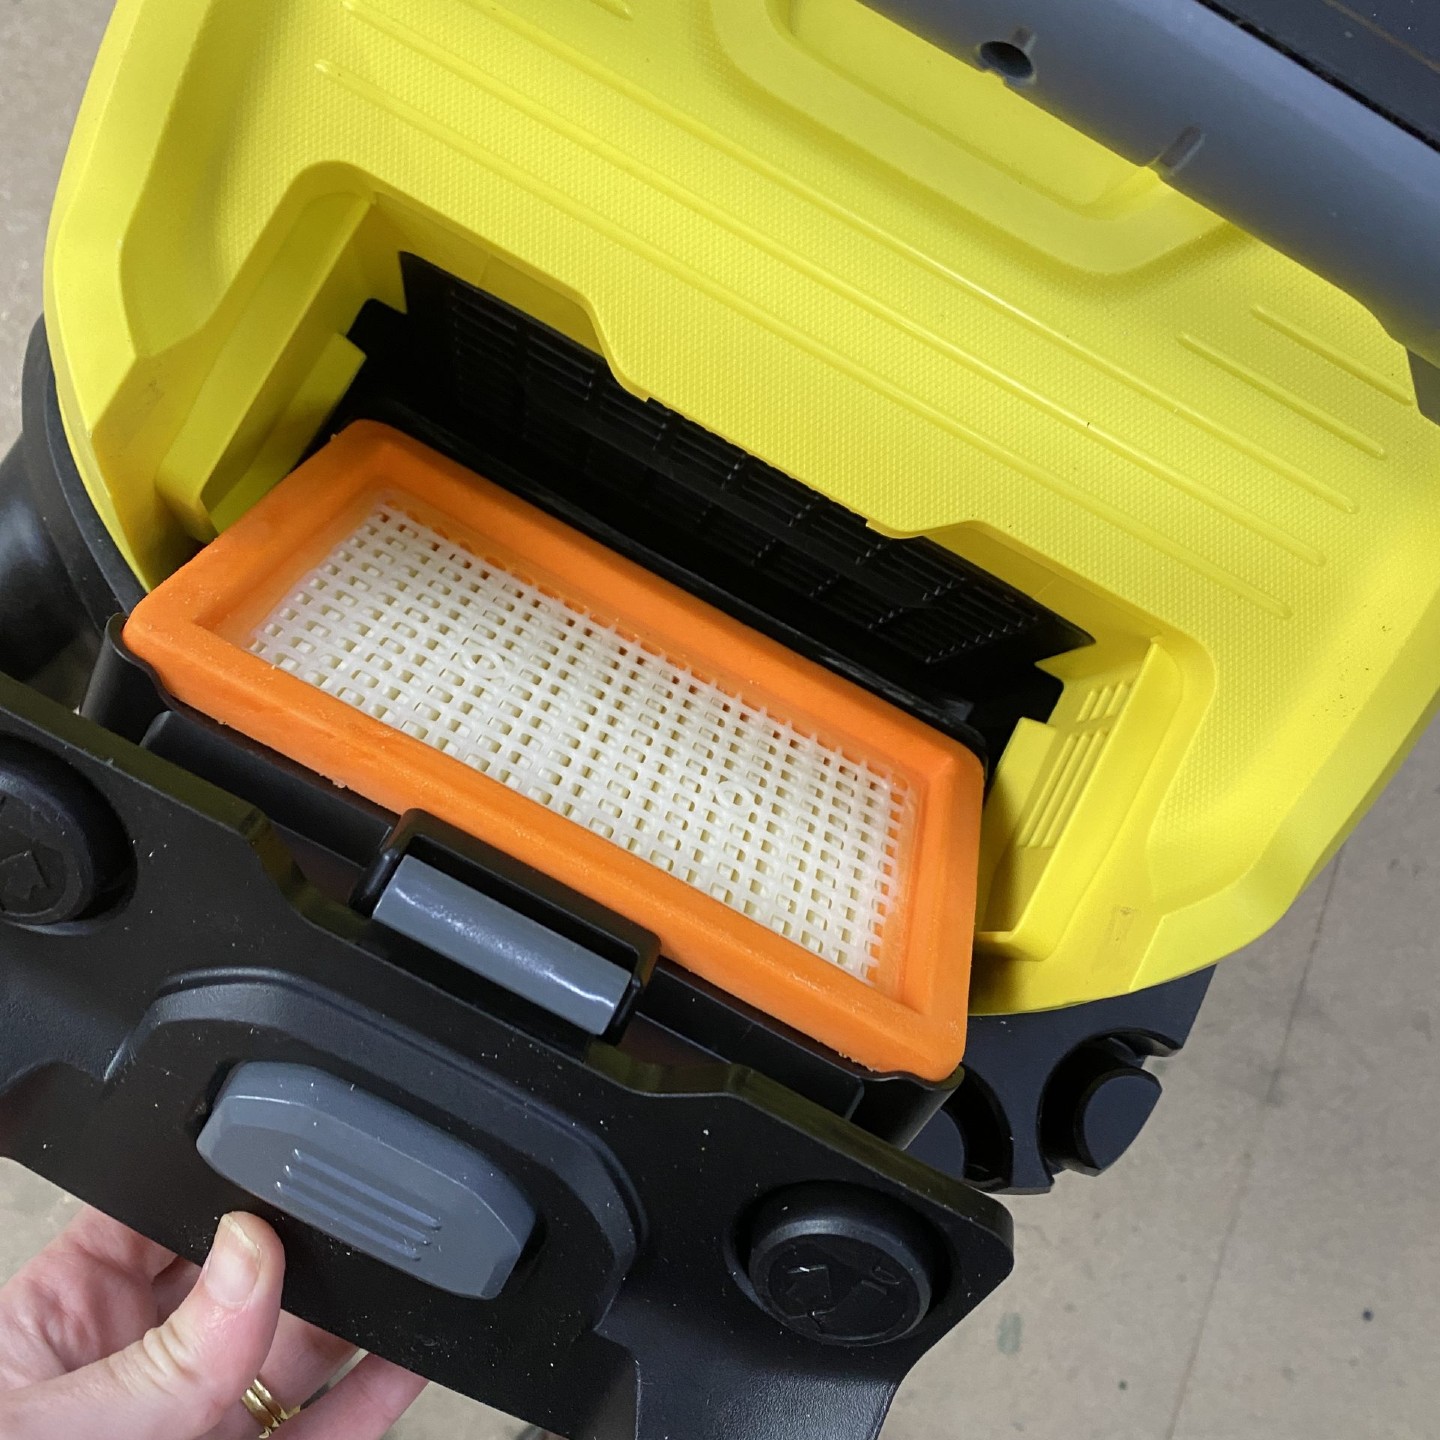
Maintenance is a dream. The Kärcher WD 6 has a filter cleaning system that sucks fine dust out of the flat pleated filter without having to remove it. This is particularly useful for quickly restoring full power if you’ve been vacuuming high levels of dust. Once the hose has been inserted in the hose-shape rings above the filter, you just press the large filter cleaning button two or three times. The filter is also very easy to remove for a more thorough clean, which can include washing it under running water (and fully drying before putting it back in) if it’s really congested.
Keeping the filter clean definitely makes a difference to the power levels so it’s worth cleaning regularly. Kärcher says after every use but I’d say that would be a significant use, like cleaning the entire garage or clearing up after wallpaper stripping. Once a week worked for me (plus a quick filter blast after the workshop job), but it was easy to tell when it needed doing due to loss in suction. Similarly, you could easily tell when the dust bag needed changing because of the change in motor tone – which became higher pitched – and of course reduced suction.
Ideal Home’s verdict: is the Kärcher WD 6 worth the money?
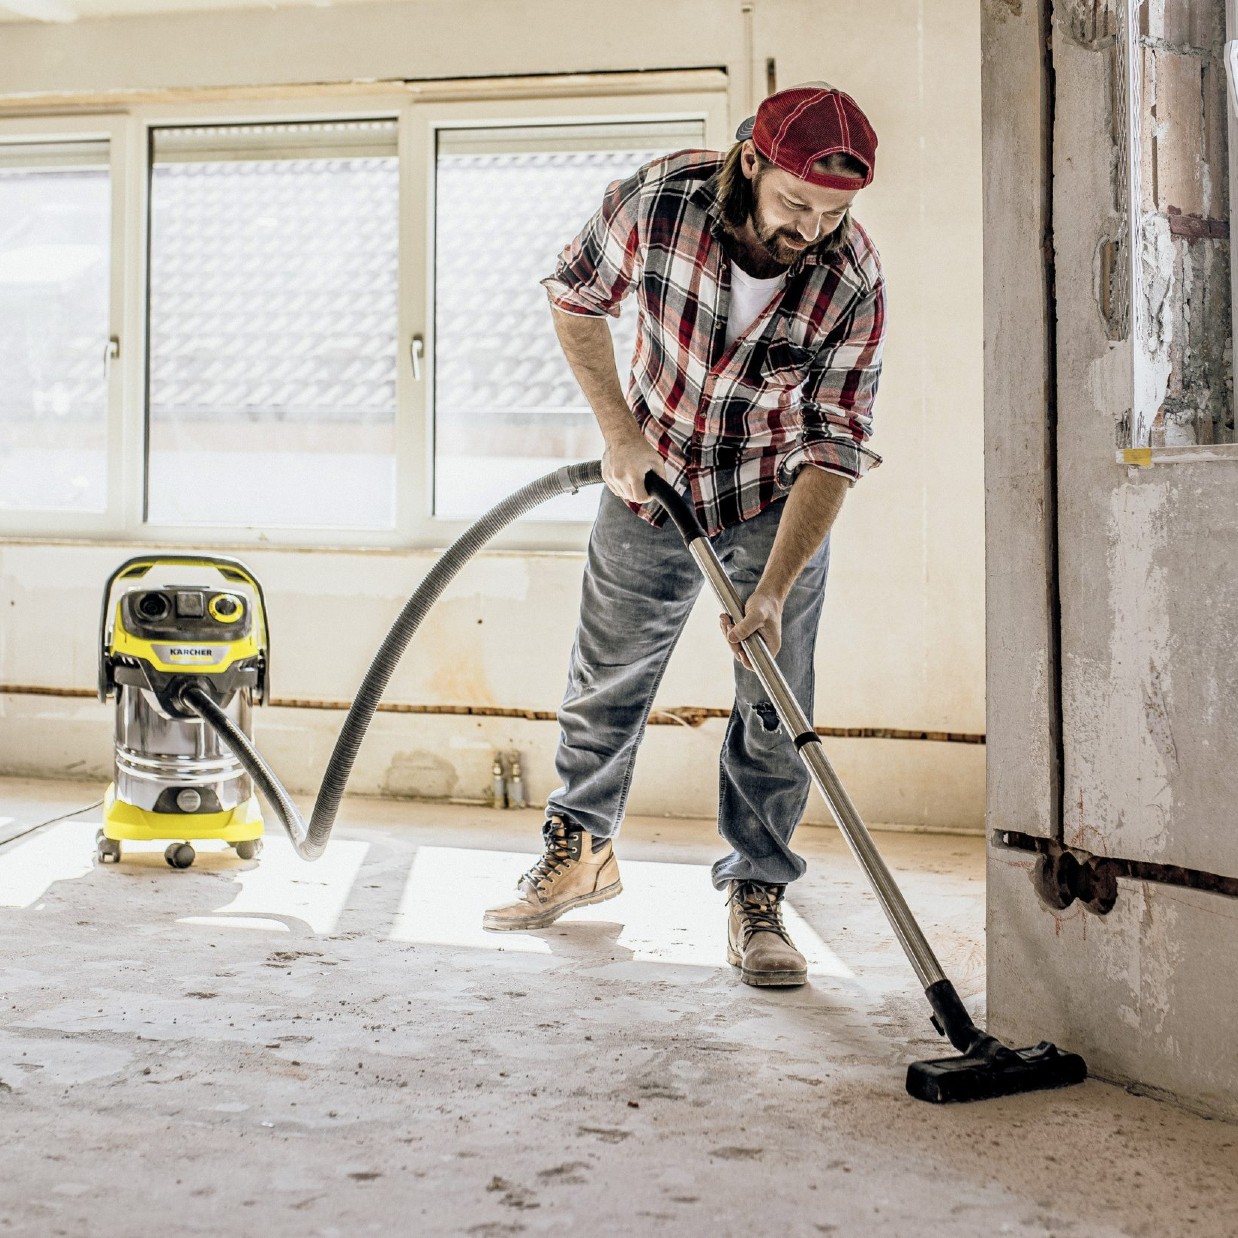
The Kärcher WD 6 is a genuinely good buy, if you do a lot of DIY or other messy jobs, have outdoor space and a garage or garden shed to store it in. Puppy optional. It is not a great vacuum choice for a third-floor apartment that’s already beautifully decorated!
It is incredibly robust and offers impressive suction (and blowing) with a huge capacity cyclinder that’s easy to empty whether the contents are wet or dry I have never had use of a wet vacuum before, and I was surprised by how many jobs I found for it to do during my three-week test period. In terms of price, this is the top and most powerful model in the Wet & Dry range and well worth its £220 (approx.) price tag.
I did struggle with static electricity in the workshop but nowhere else, so it was probably more an environmental issue than the Kärcher WD 6. Also, I didn’t find the floor head very good on interior carpets – no glide – but, to be very clear, this vacuum isn’t designed for normal everyday cleaning of the ‘quick-the-inlaws-are-coming’ variety. Finally, it could benefit from a few more accessories, but they can be bought separately. The Kärcher car interior cleaning kit set looks especially useful.
About this review, and the reviewer
Linda Clayton is a freelance interiors journalist specialising in kitchens, bathrooms and home tech. She is a serial renovator, currently on her fourth project, and has tested many home appliances, DIY tools, mowers and other garden power tools in the last 20 years, often with help from her cabinetmaker husband.
She was sent this product to test in a home setting, which is always our preference, but Linda was deemed a particularly good candidate to push it to the max because she always has plenty of decorating on the go, lots of outdoor space that needs tidying, and three mucky vehicles to clean. Oh, and there is a massive woodworking workshop at the bottom of her garden!
We are not given any compensation for our reviews, but may be allowed to keep the product, meaning we can test it over a greater length of time, and update if required.
Sign up to our newsletter for style inspiration, real homes, project and garden advice and shopping know-how

Linda Clayton is a professionally trained journalist, and has specialised in product design, interiors and fitness for more than two decades. Linda has written for a wide range of publications, from the Daily Telegraph and Guardian to Homes & Gardens and Livingetc. She has been freelancing for Ideal Home Magazine since 2008, covering design trends, home makeovers, product reviews and much more.