This bathroom makeover is a masterclass in creating a timeless high-end look
Knowing where to spend and where to save was the key to success with this luxe bathroom transformation

Annabelle Grundy
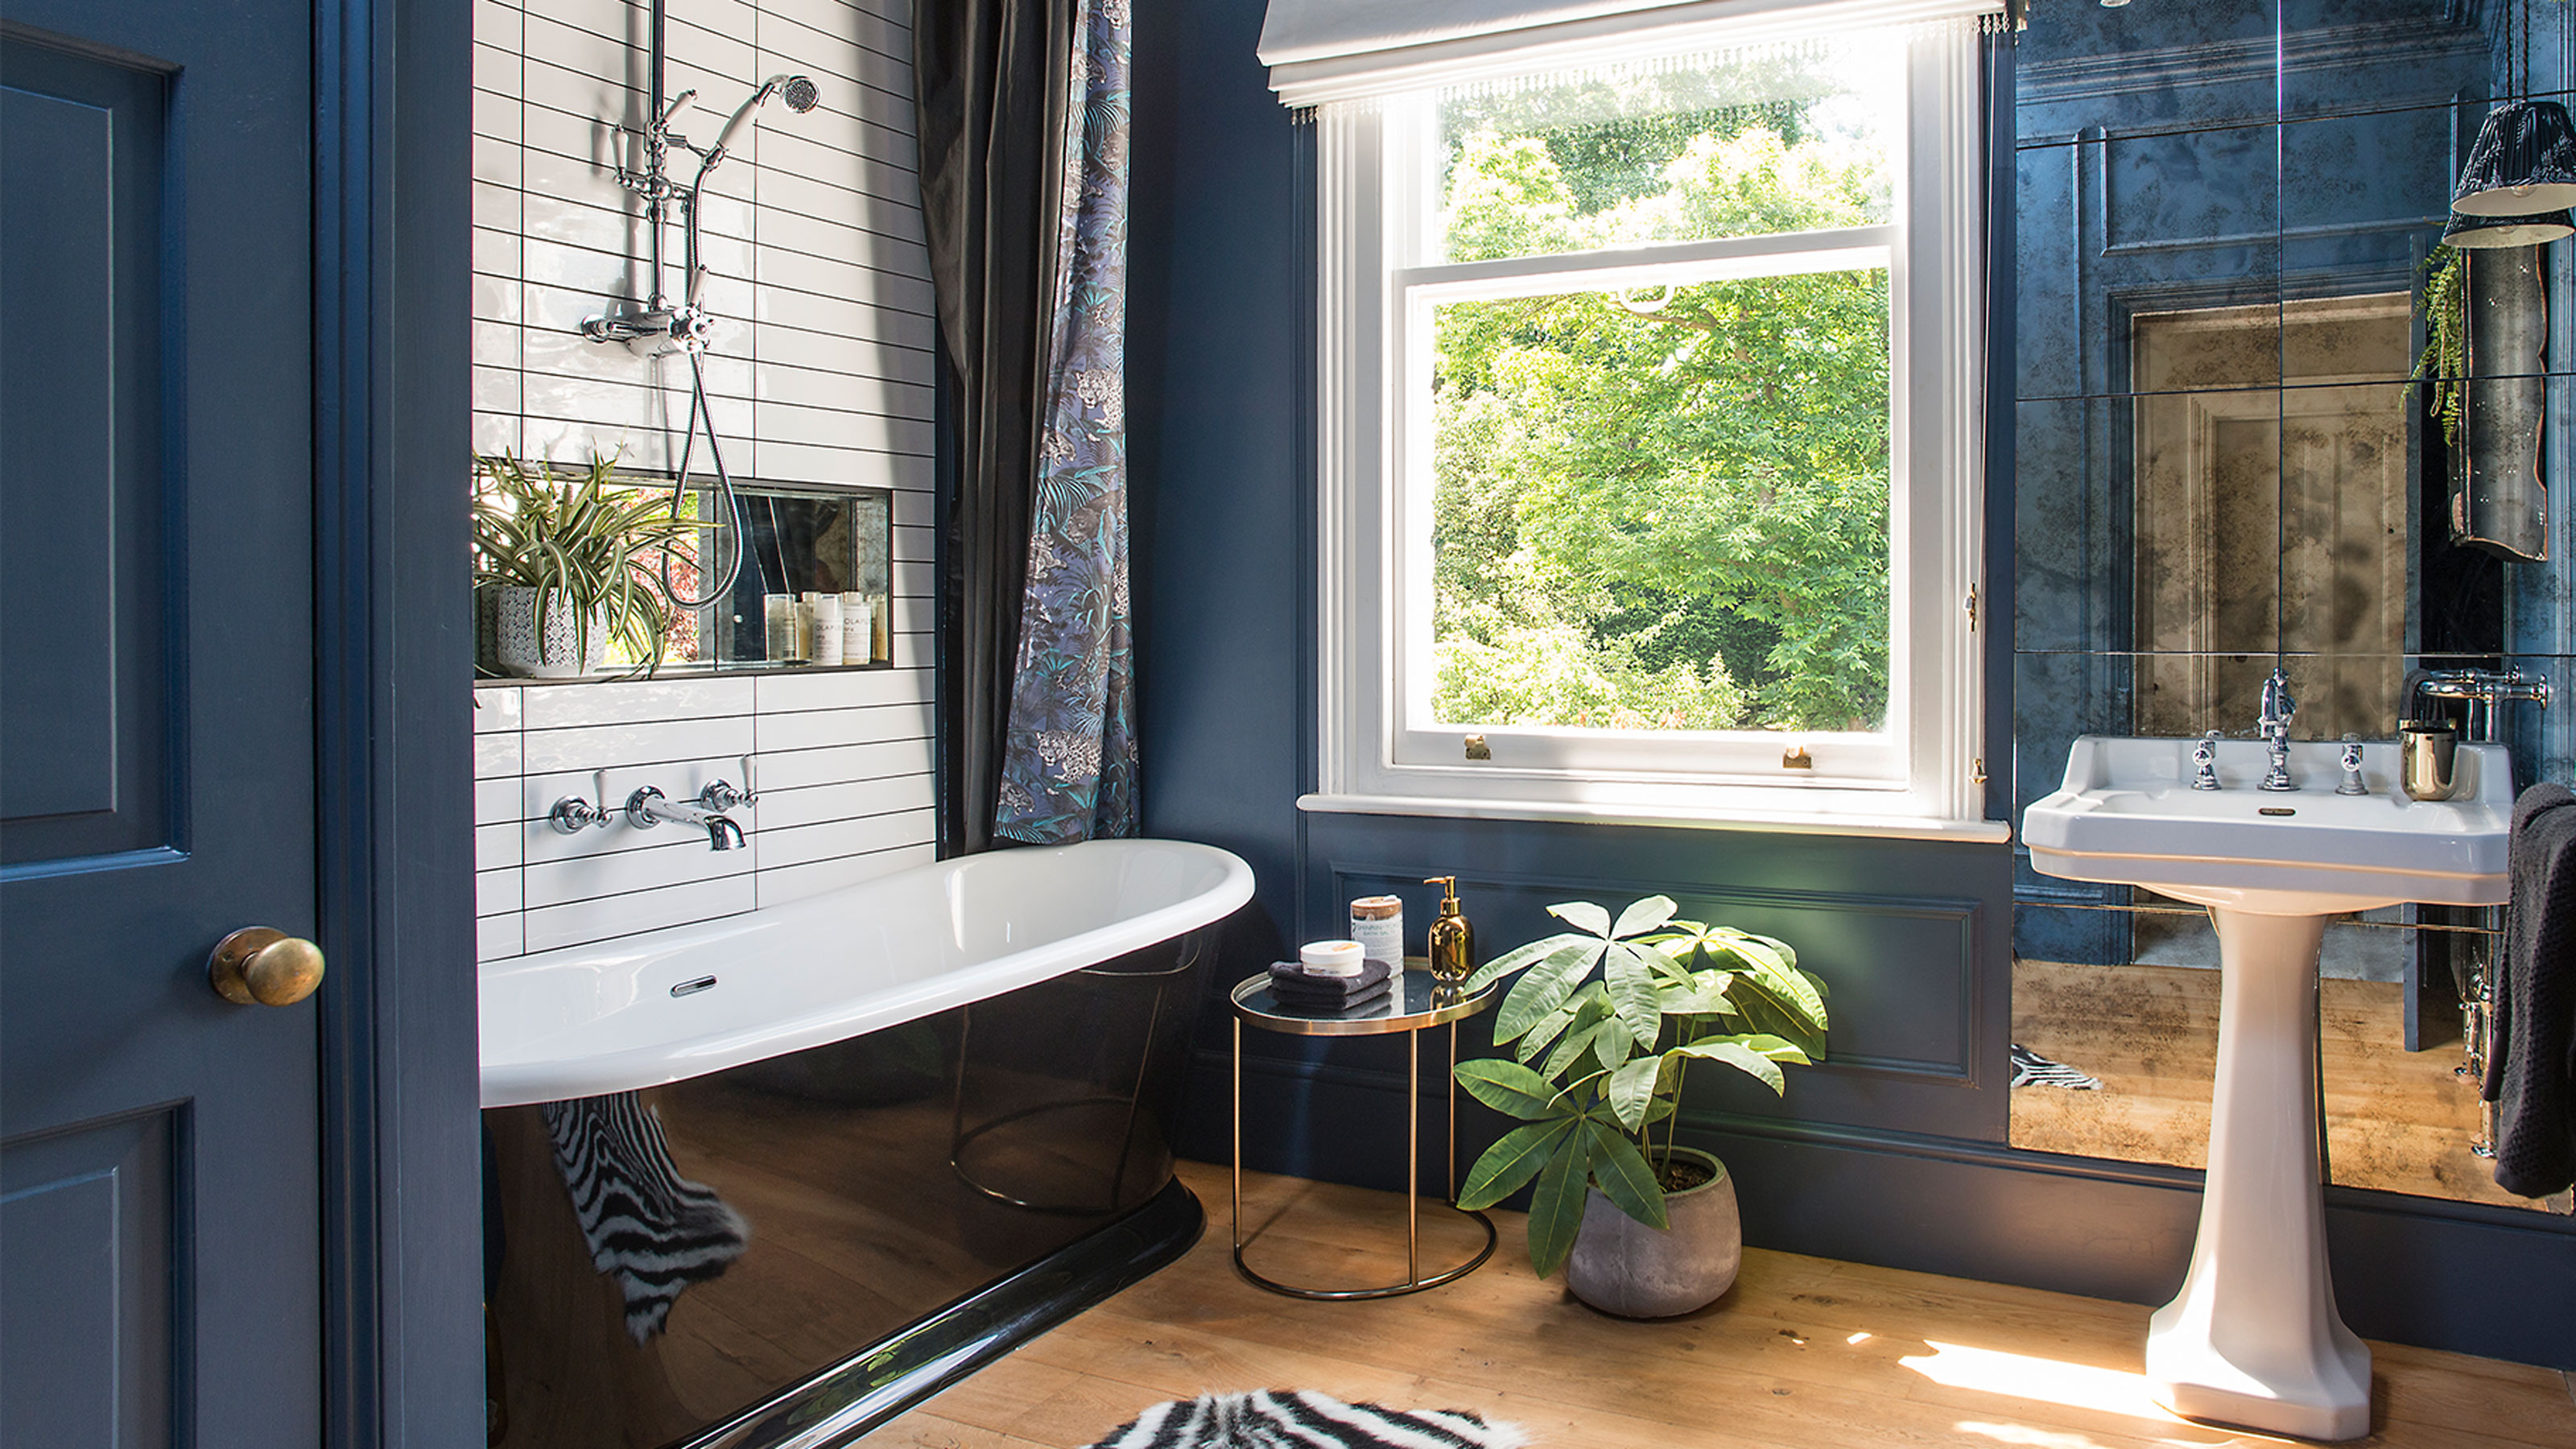
Interiors trends come and go, so when the owners set to work transforming the bathroom ideas of their family home, choosing neutral basics and classic fixtures and fittings was the key to creating a timeless look that wouldn’t date a few years down the line.
‘My style is modern and timeless, and I like impact, and a touch of glamour,’ explains the homeowner. ‘I made sure the fixtures I chose, like the bath, taps and tiles, were all neutral. That gives me scope to create a completely different look in time, just by changing the walls and accessories.’
Before the bathroom transformation
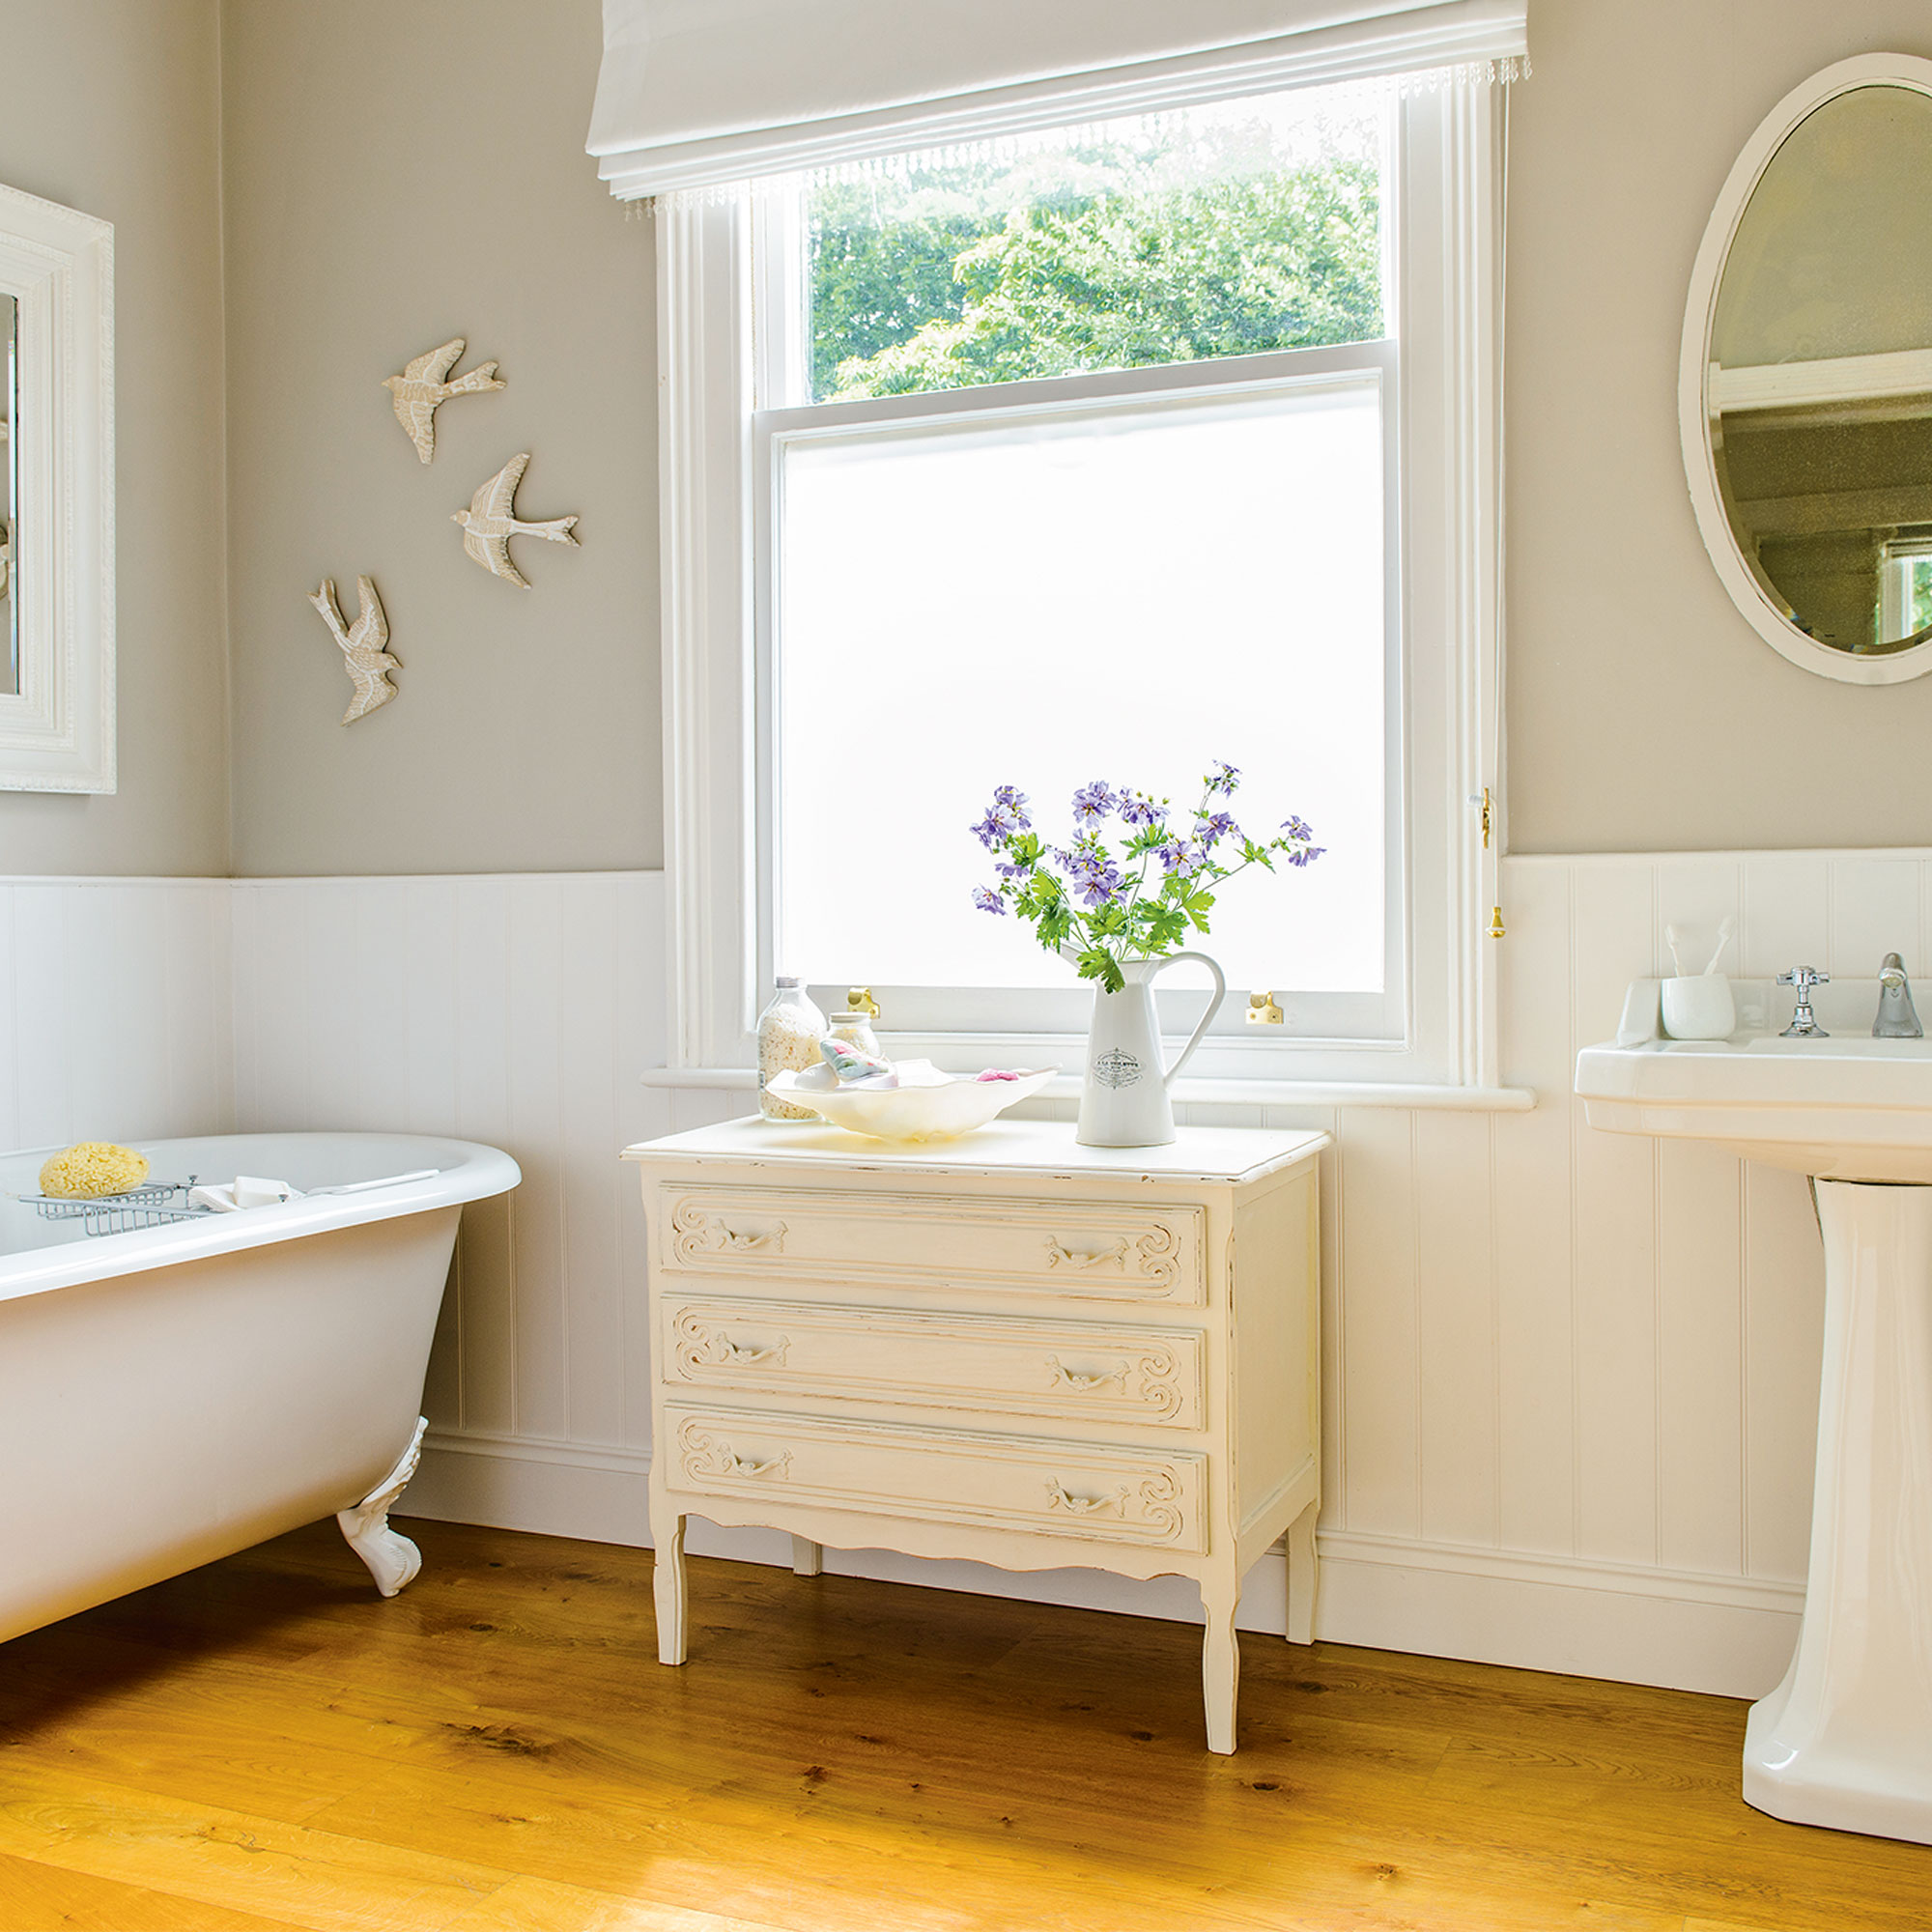
‘The bathroom we’d inherited originally was just incredibly old-fashioned,’ explains the homeowner, ‘I’d re-done it all some years ago, but my pale, pretty scheme was looking tatty and very out of step with the rest of the house.’
‘There was no shower in the bathroom and I’d gone off the pale, French-inspired look I’d had for some years. The whole room seemed tired, especially the painted tongue-and-groove panelling.’
The bathroom afterwards
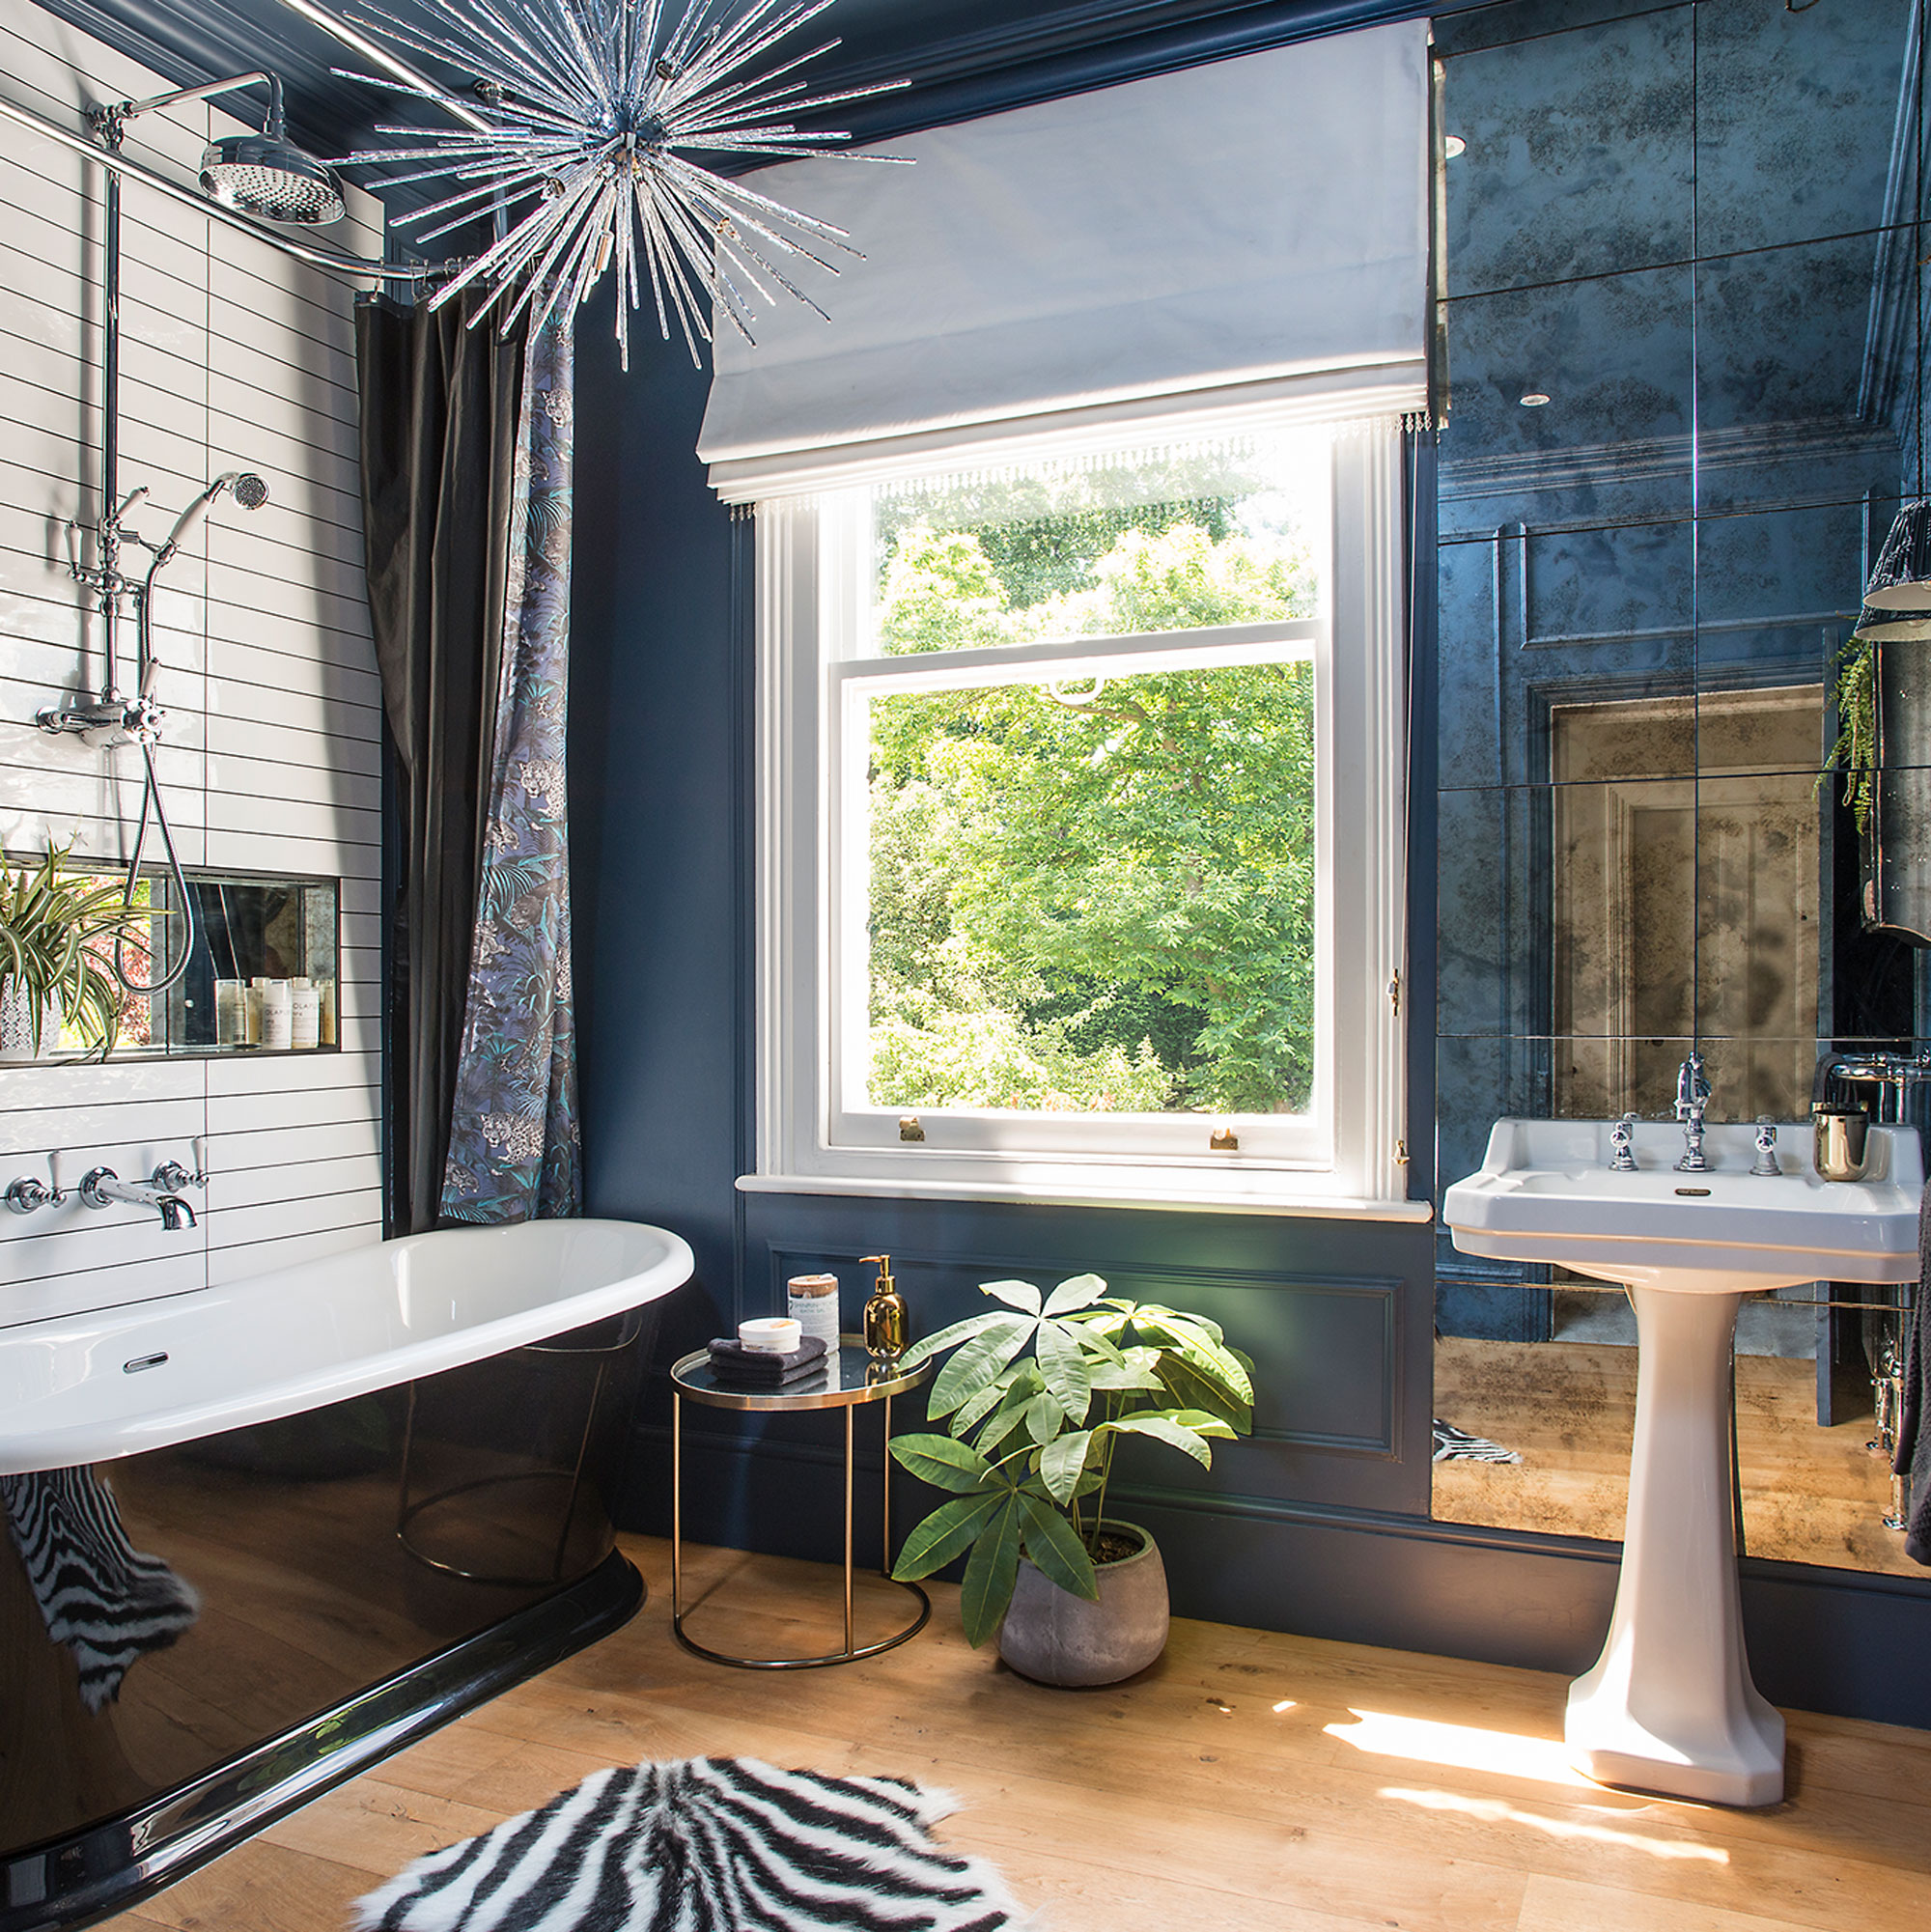
‘I’m a serial updater and it was definitely time for a change,’ explains the homeowner. ‘The look had to be strong, modern, and flexible too - and in tune with the rest of the house.’
‘Although I wanted a completely fresh look, it was important to control spending, and keep things flexible. I wanted drama and practicality, with a freestanding bath as the centrepiece. We also decided to hang on to the basin and existing layout to minimise plumbing alterations.
‘The loo is next door, and we thought about knocking through, and maybe including a walk-in shower, but this is the main bathroom, so it’s actually useful having a separate loo. We’d have had to relocate the airing cupboard and hot water cylinder, too, which would have been a massive, expensive job and I couldn’t see much benefit in doing it, as the room is still a nice size.’
Sign up to our newsletter for style inspiration, real homes, project and garden advice and shopping know-how
Statement bath
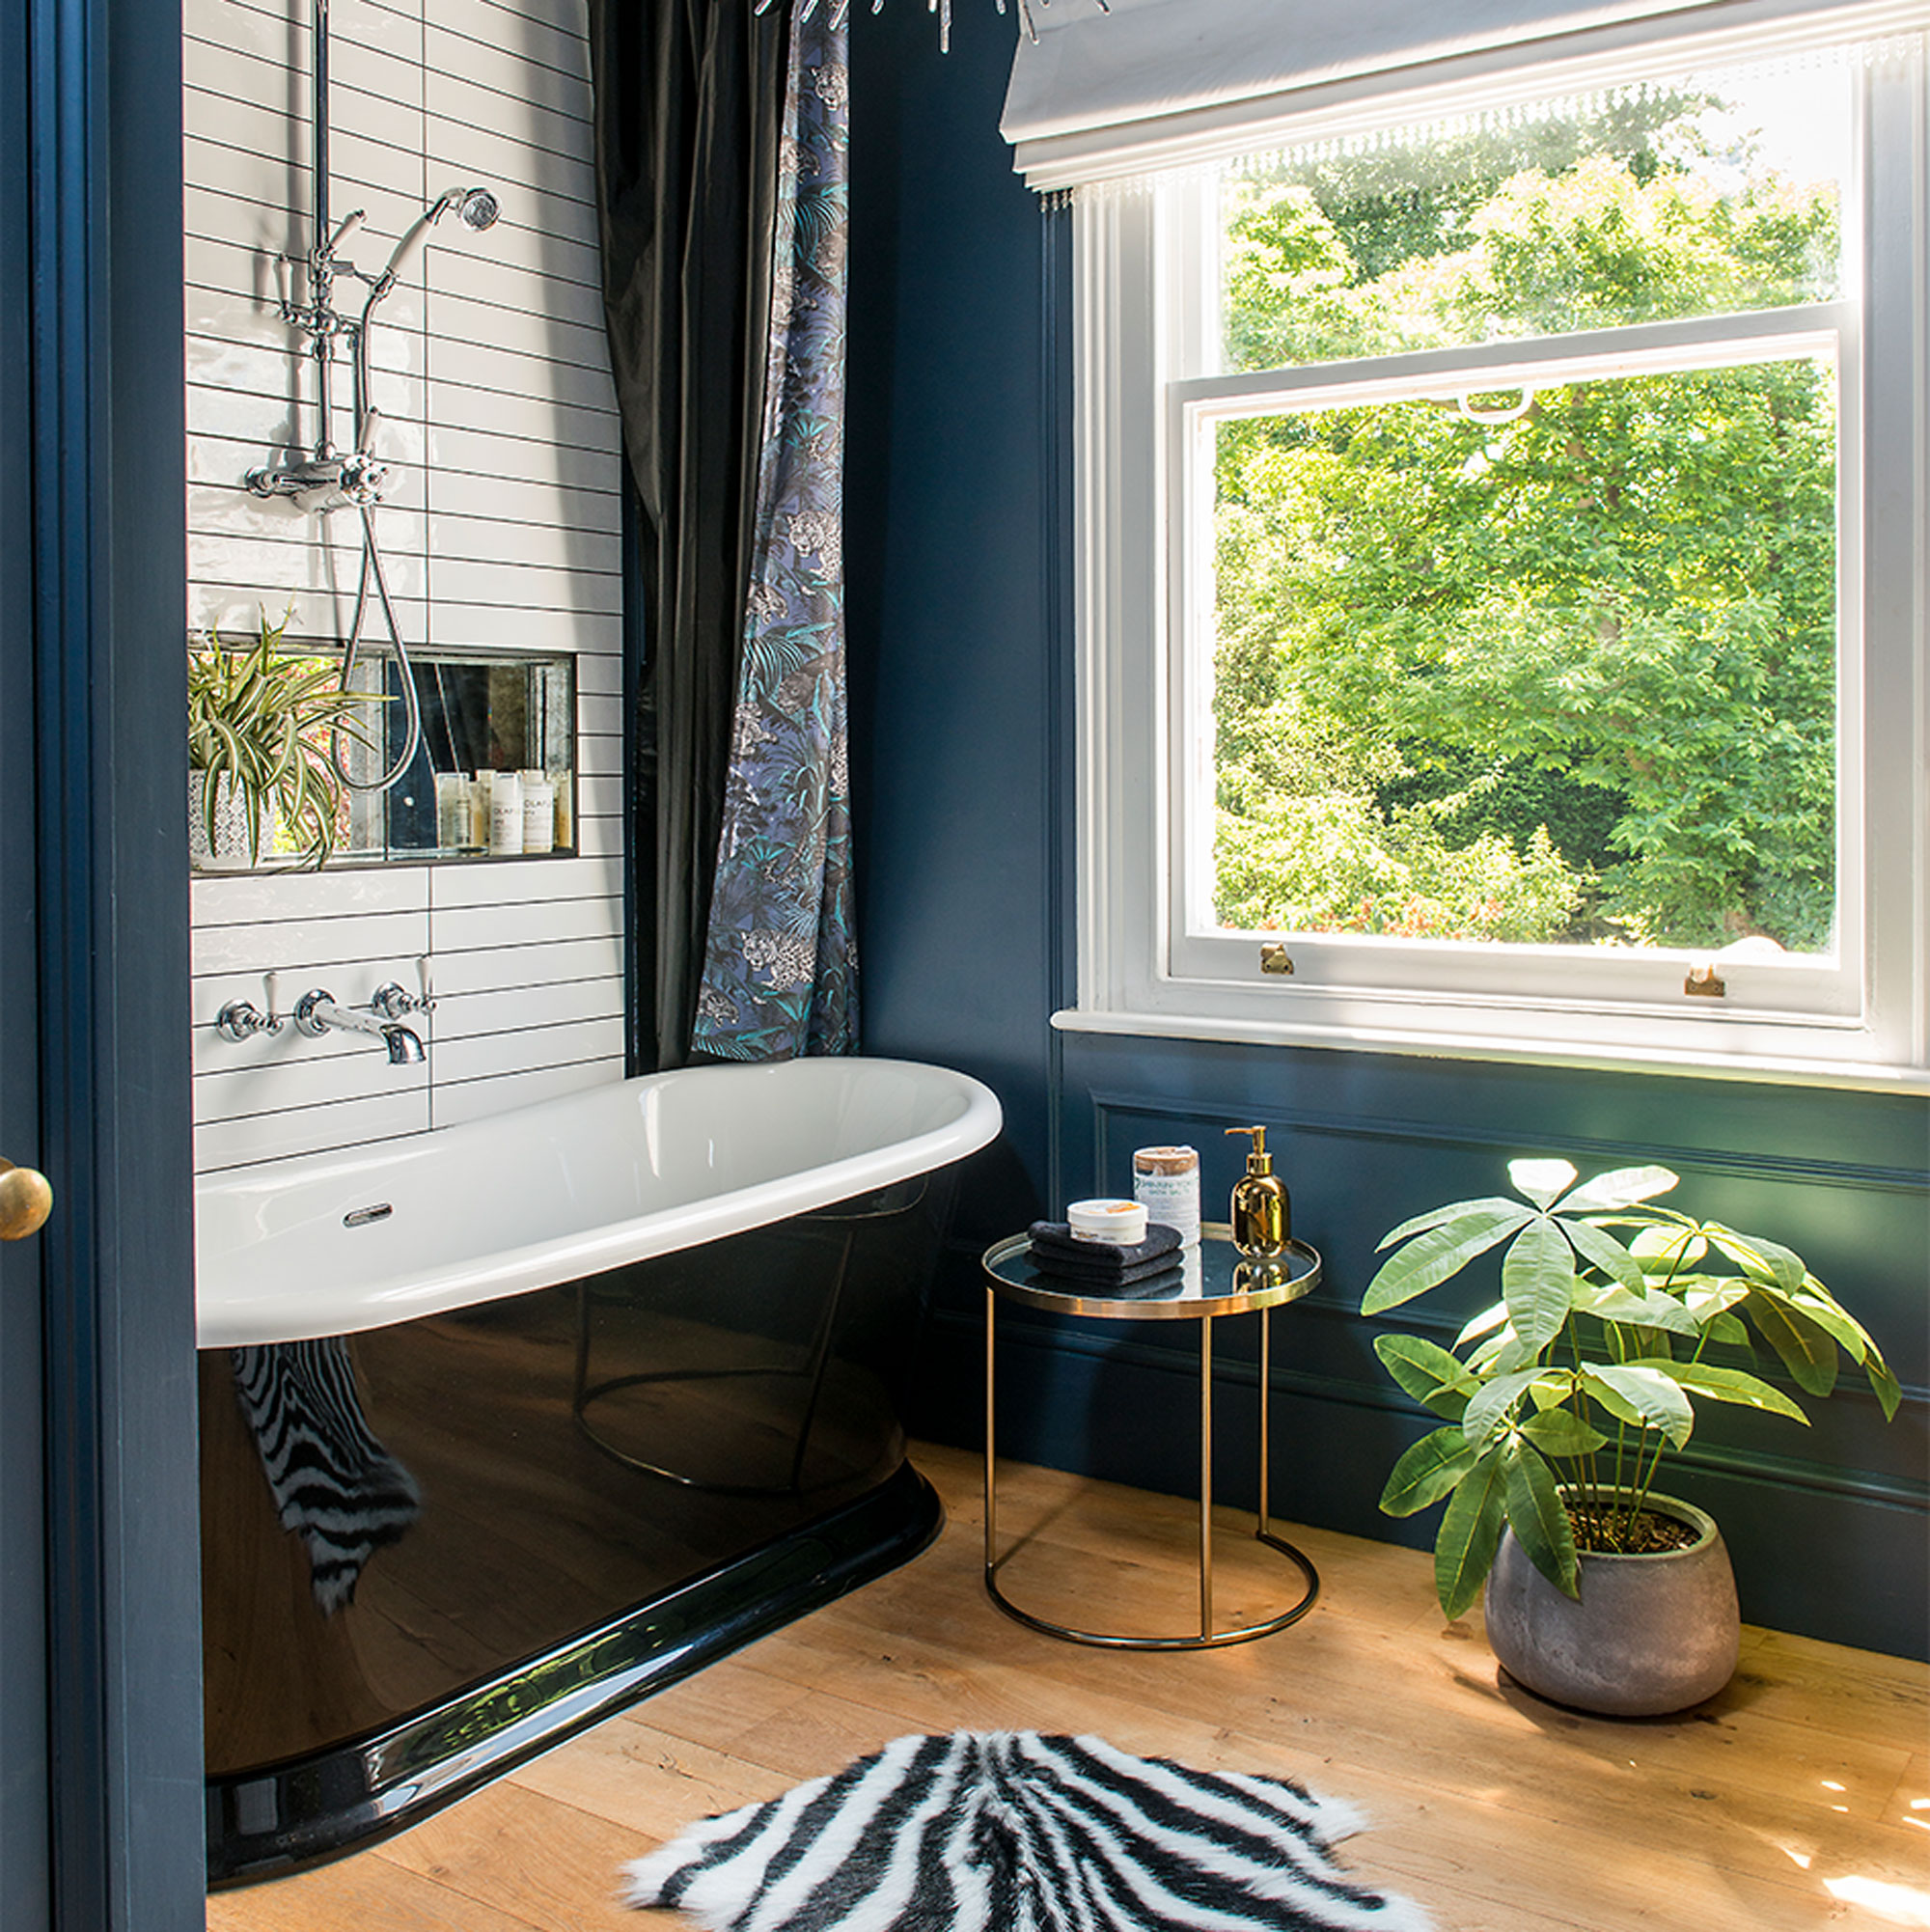
‘Top of my wish-list was the black bath. Instead of a traditional, claw-foot style, I shopped around for a contemporary, affordable tub-type bath, to sit squarely on the floor. An over-the-bath shower was my only option. A fixed shower screen would have been tricky to match with the bath, but the curved shower rail and curtain made a great alternative. I completely fell in love with the shower curtain print and it’s a great way to get on-trend pattern and interest into the room.’
Get the look: Charlotte Edwards Rosemary bath, £1319.99, Crosswater. Belgravia exposed shower valve, shower head and handspray, £1,045, both Drench. Chatsworth chrome oval shower rail, £199, Victorian Plumbing.
Chic colour scheme
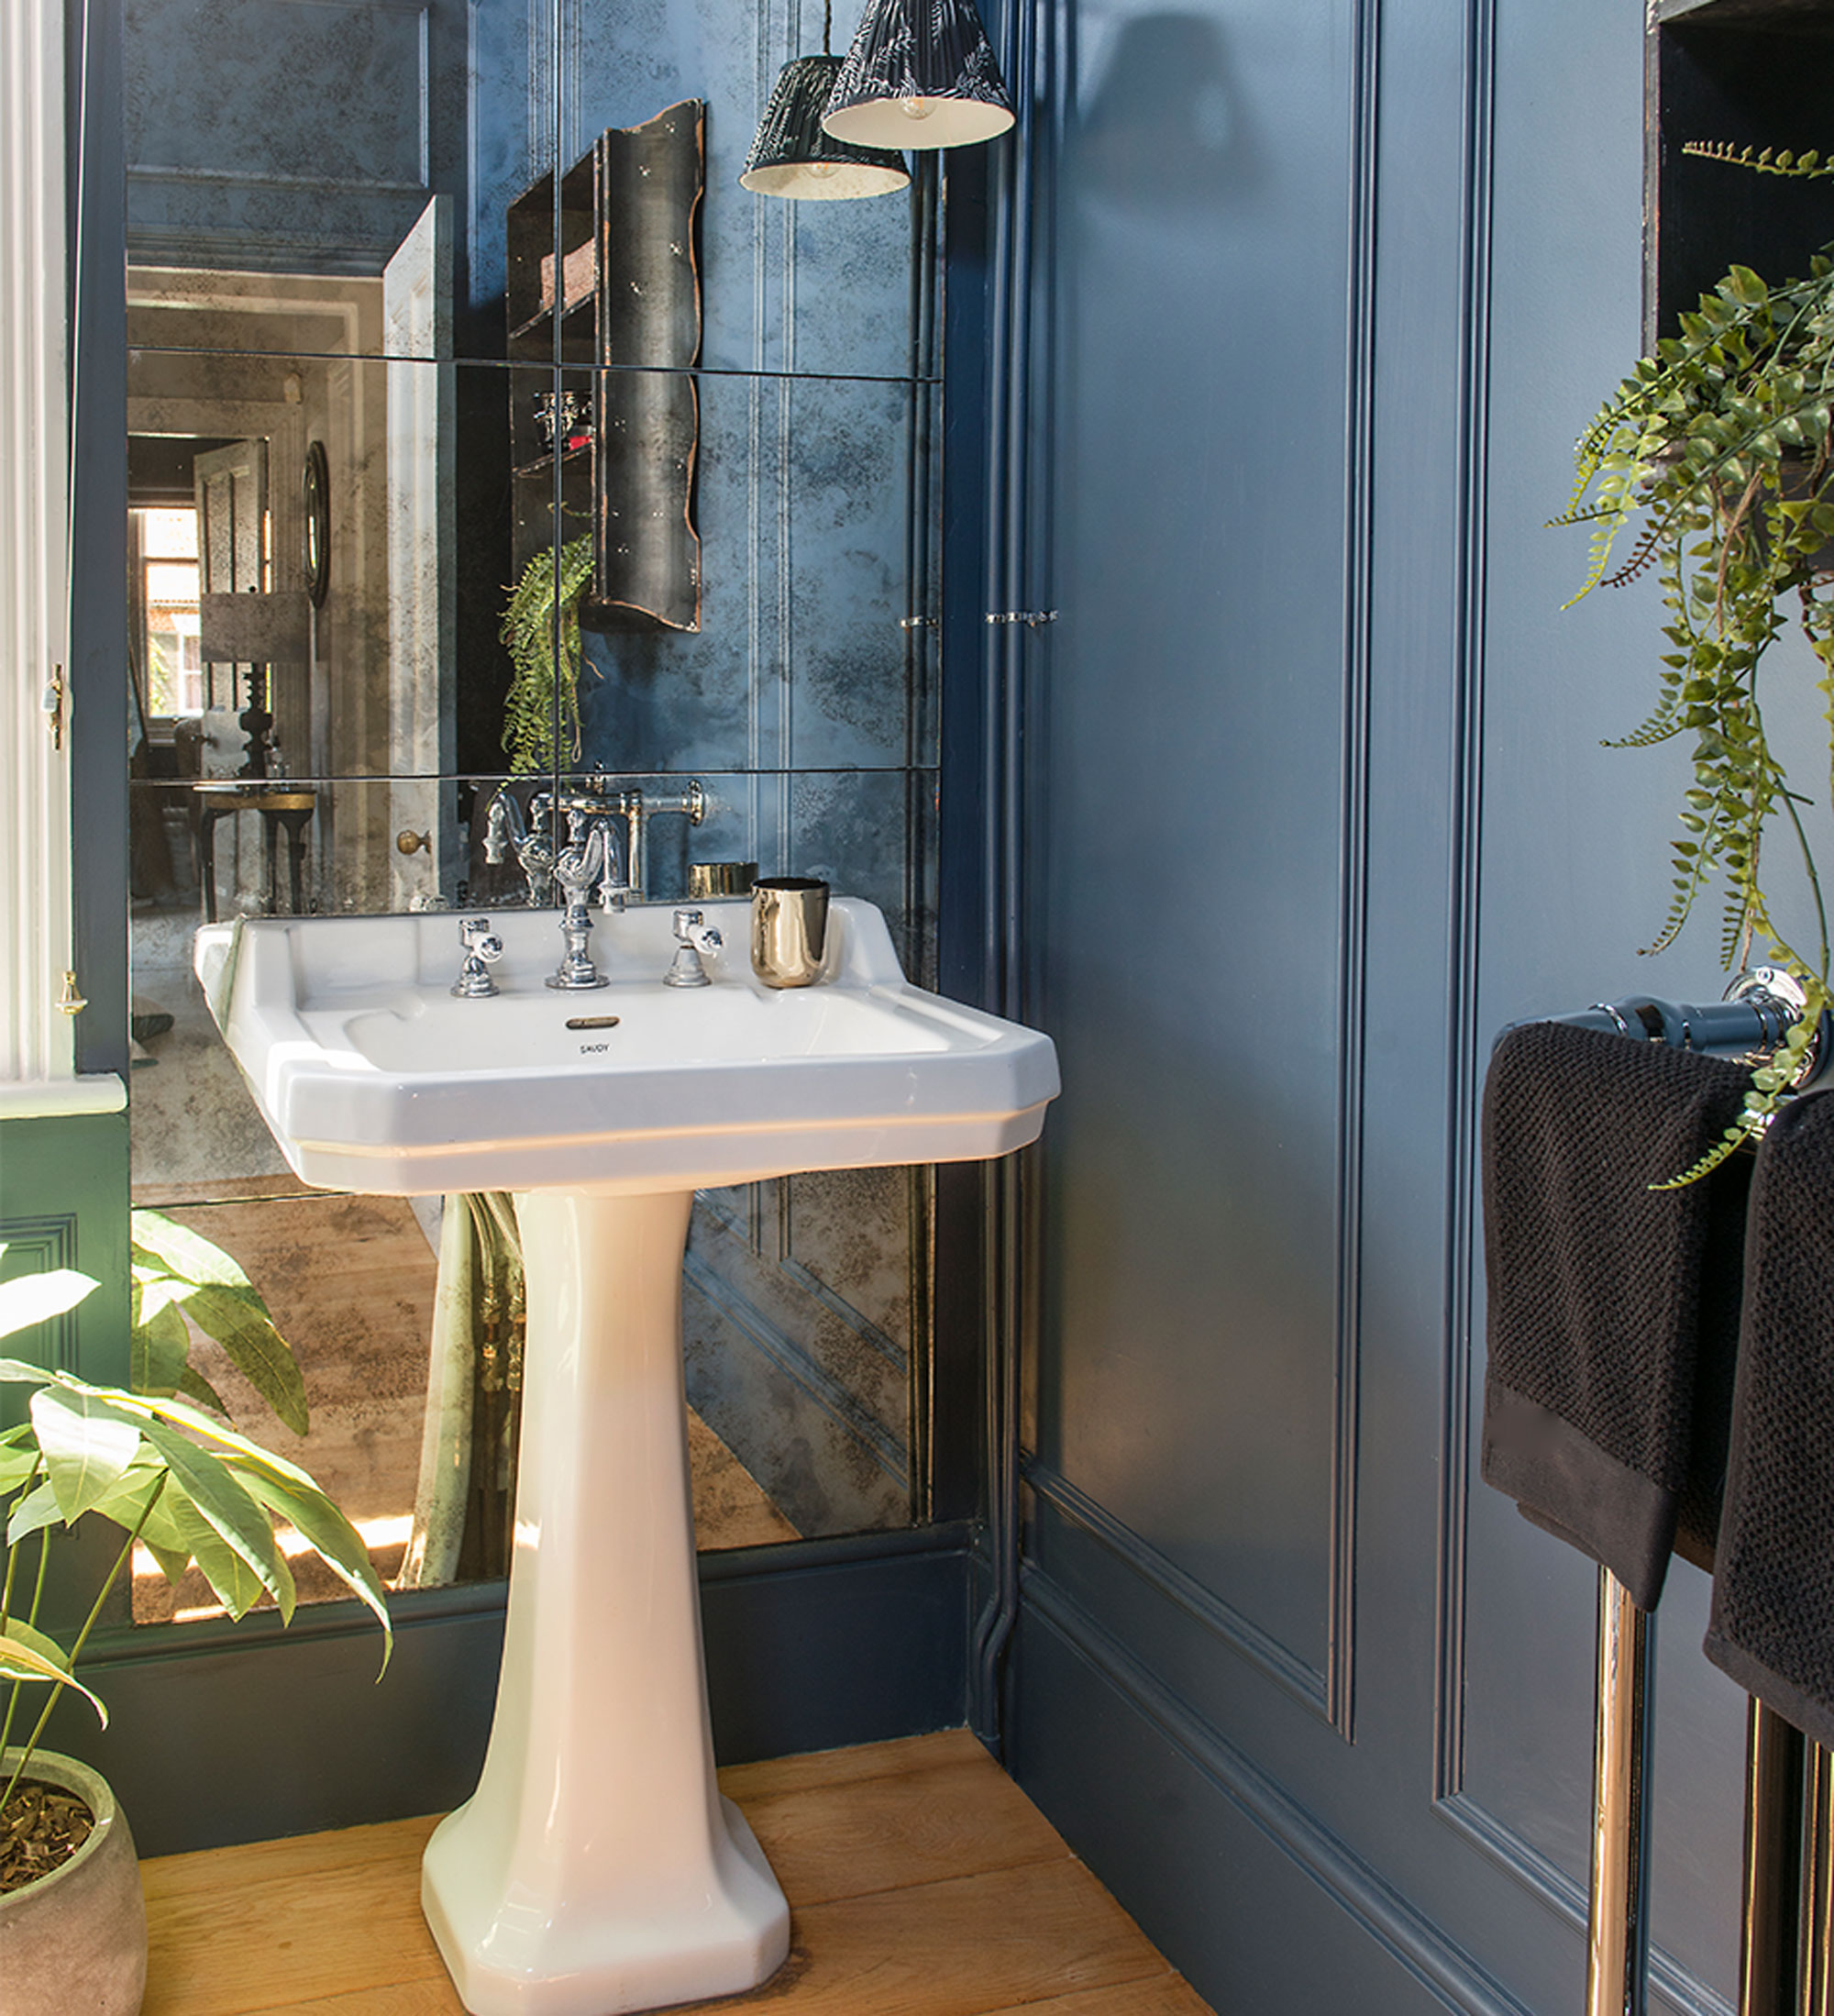
‘I kept the colour palette narrow, just deep blues, black and white, but used two different tiles, a plain white one and an antiqued mirror one, to build up texture and detail. I also put up a cornice and a faux wall-panelling effect – two inexpensive effects that really brought elegance and depth to the room.’
‘Having a clear link from one room to the next, is another driver for me, so although the bathroom isn’t ensuite, I knew I’d repeat the deep blue tones I’ve got in the adjoining bedroom.’
Focal point light fitting
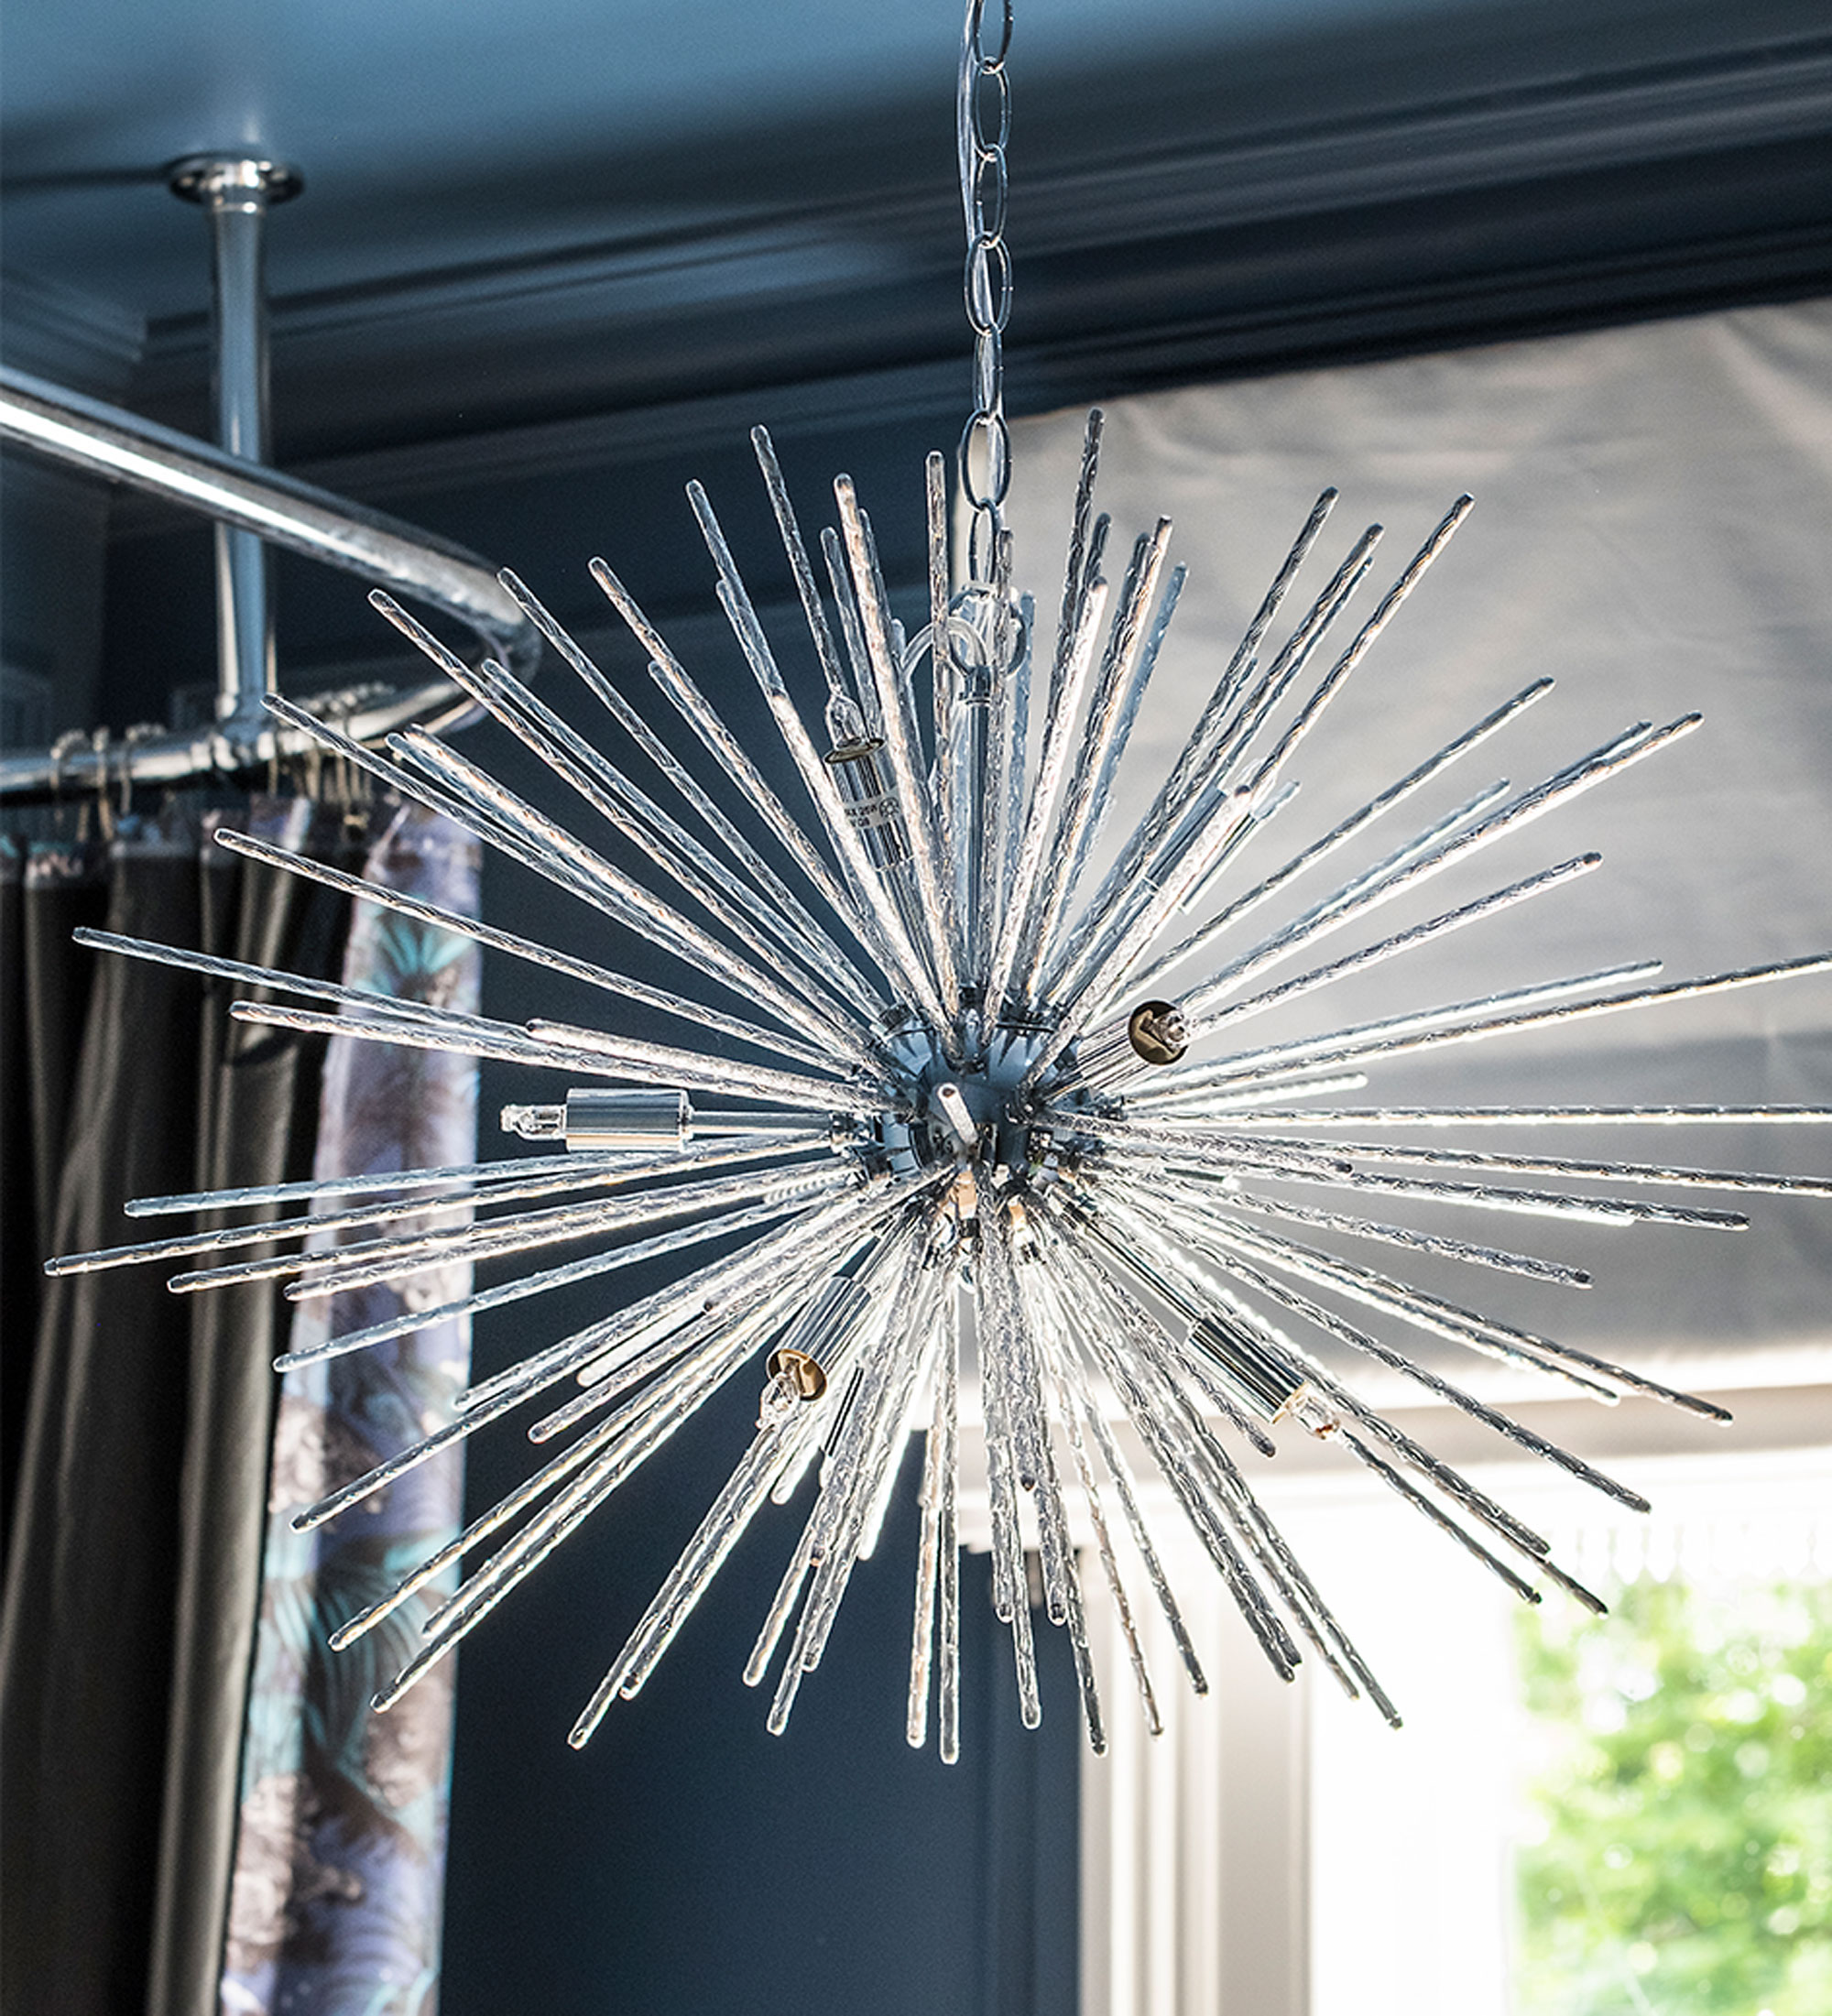
‘I love statement lighting and I’d set my heart on a big, sputnik-type pendant light. I searched high and low, but everything was way out of my price-range. I kept going though, and I was over the moon when I finally spotted an affordable one on eBay. I added a cute little pendant light by the basin too. That one’s got a vintage feel, in tune with the pedestal basin, and I like the contrast.’
Feature tiling
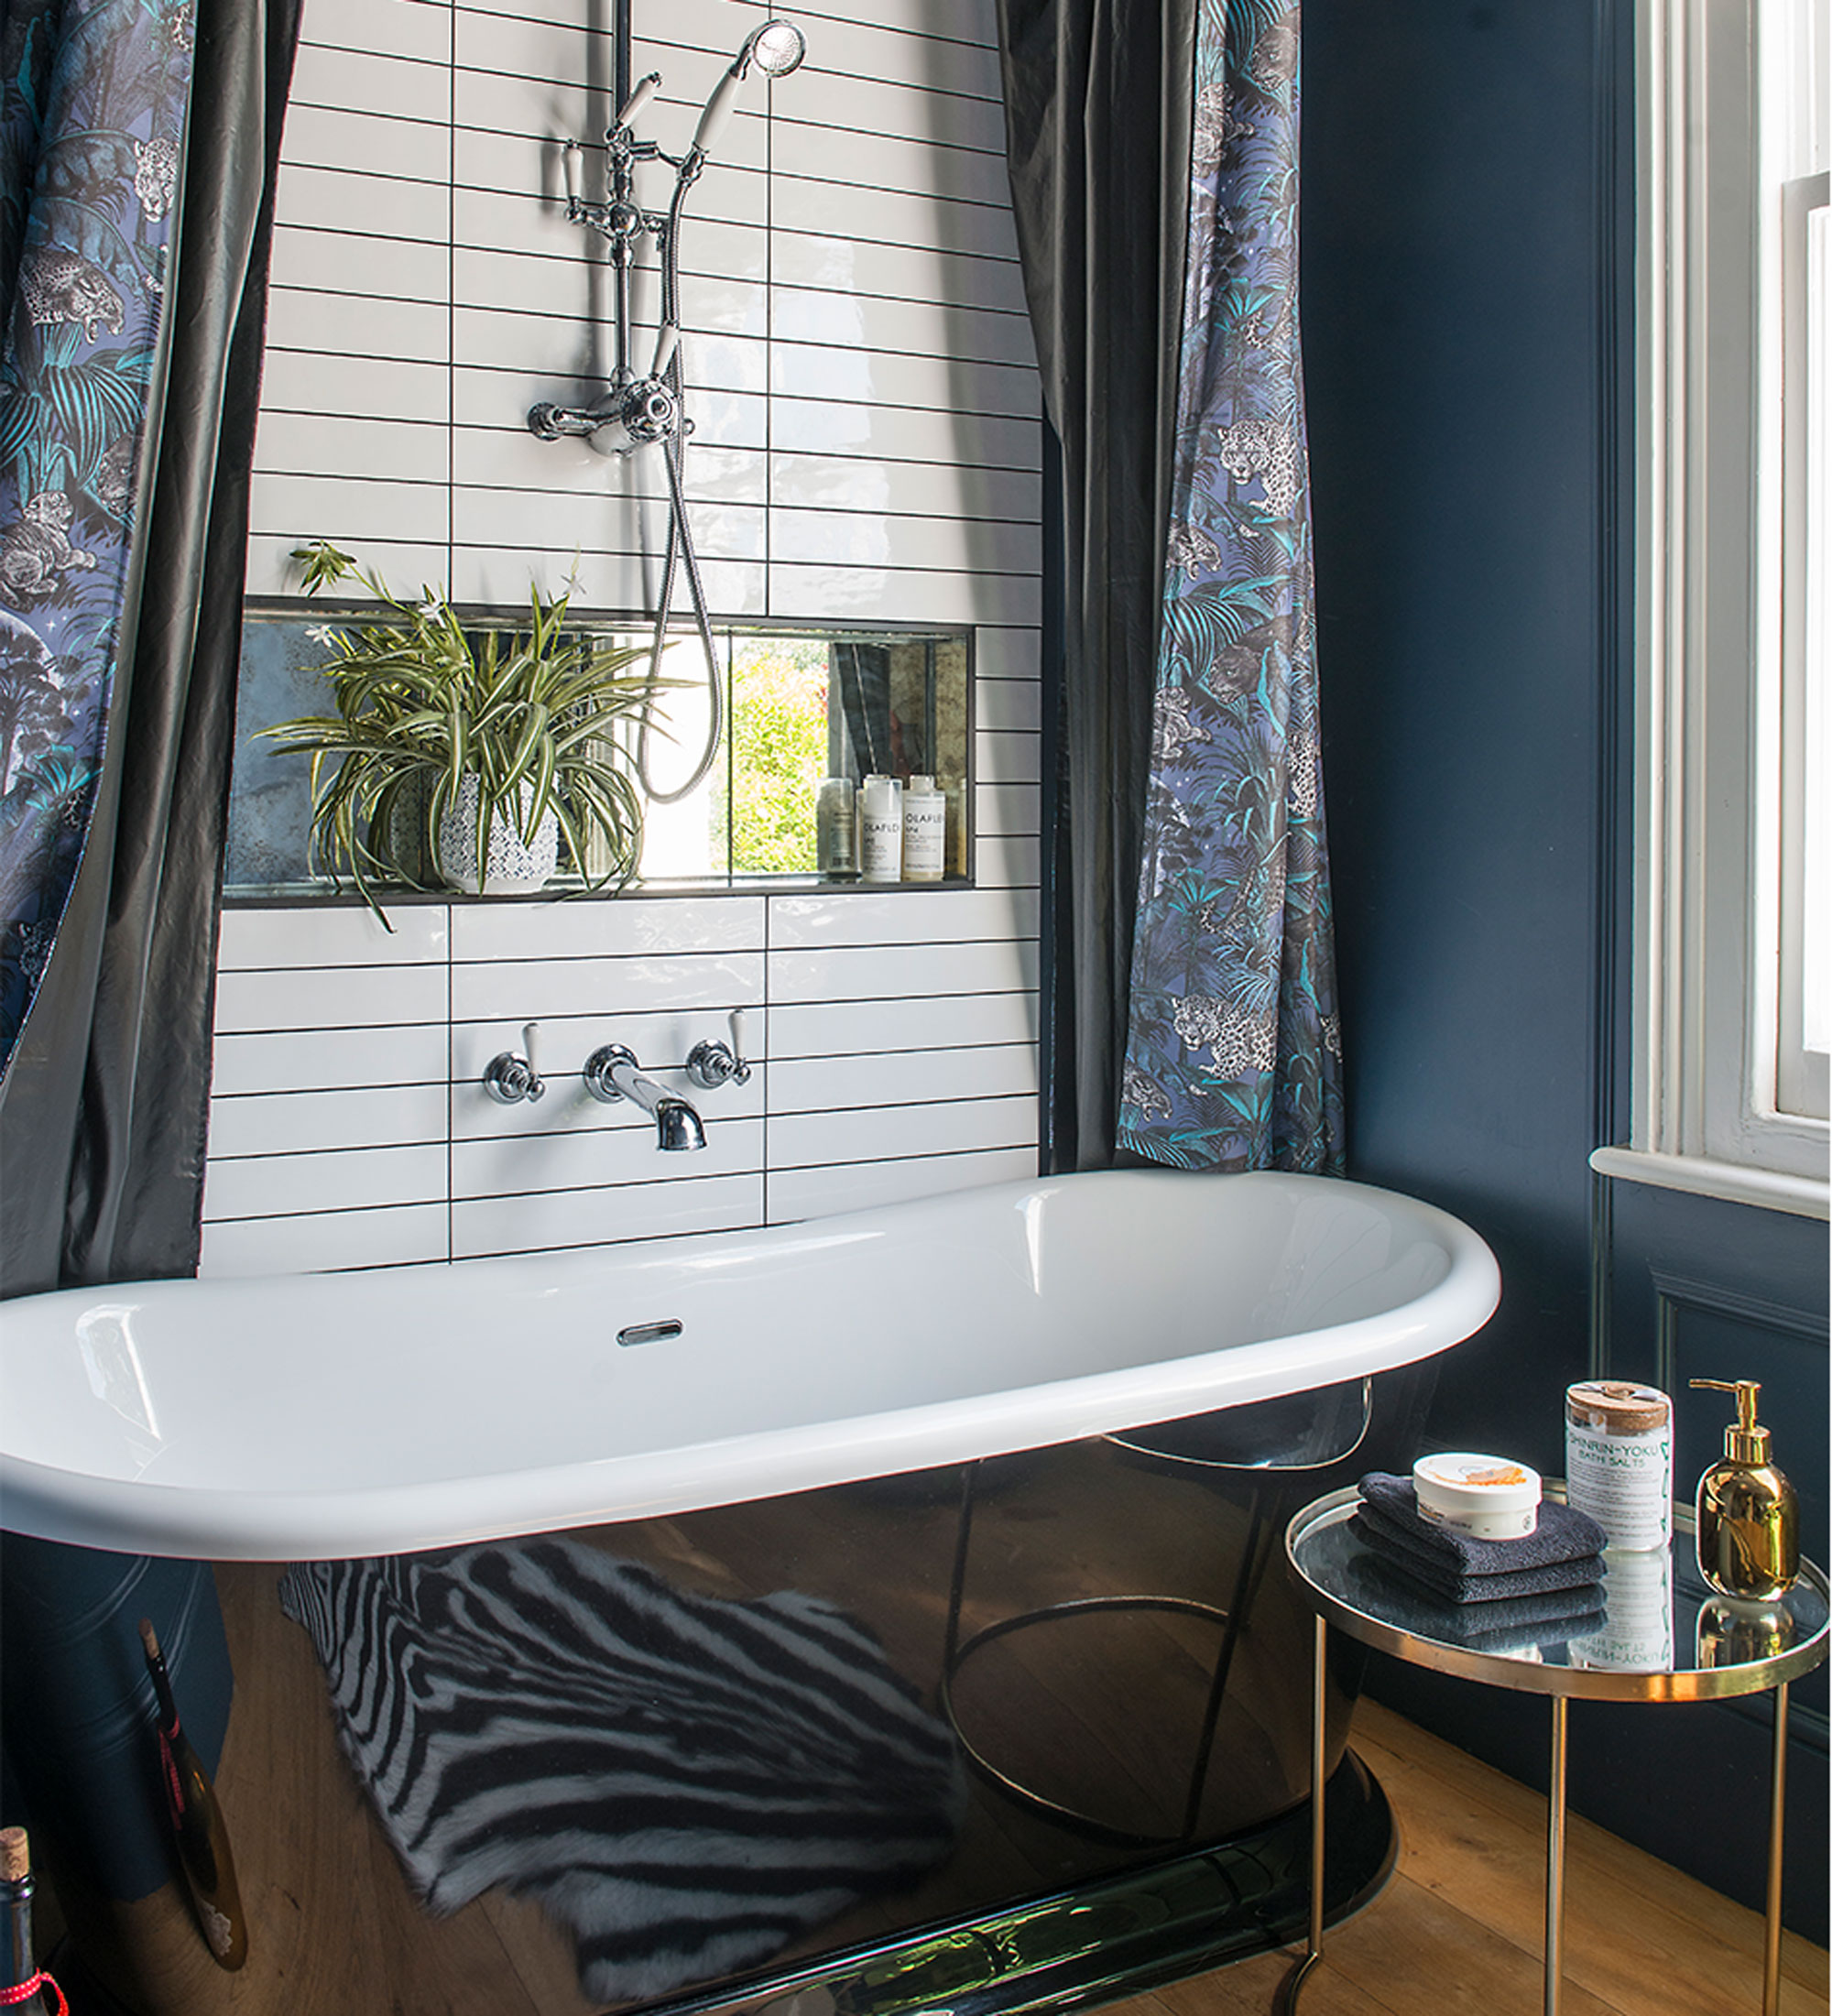
‘Tiling was a must because of the shower, but I didn’t want too large an expanse. I’ve got black grout, to match the bath and play up the monochrome effect.’
‘My patterned shower curtains are a key detail and the design is gorgeous, but as and when I want a different look, they’d be super-easy to change.’
Get the look: Monastir White 400x65cm tiles, £50.31sq m, Mandarin Stone. Nocturnal Faunacation shower curtains, £50 each, Divine Savages.
Mirror detail
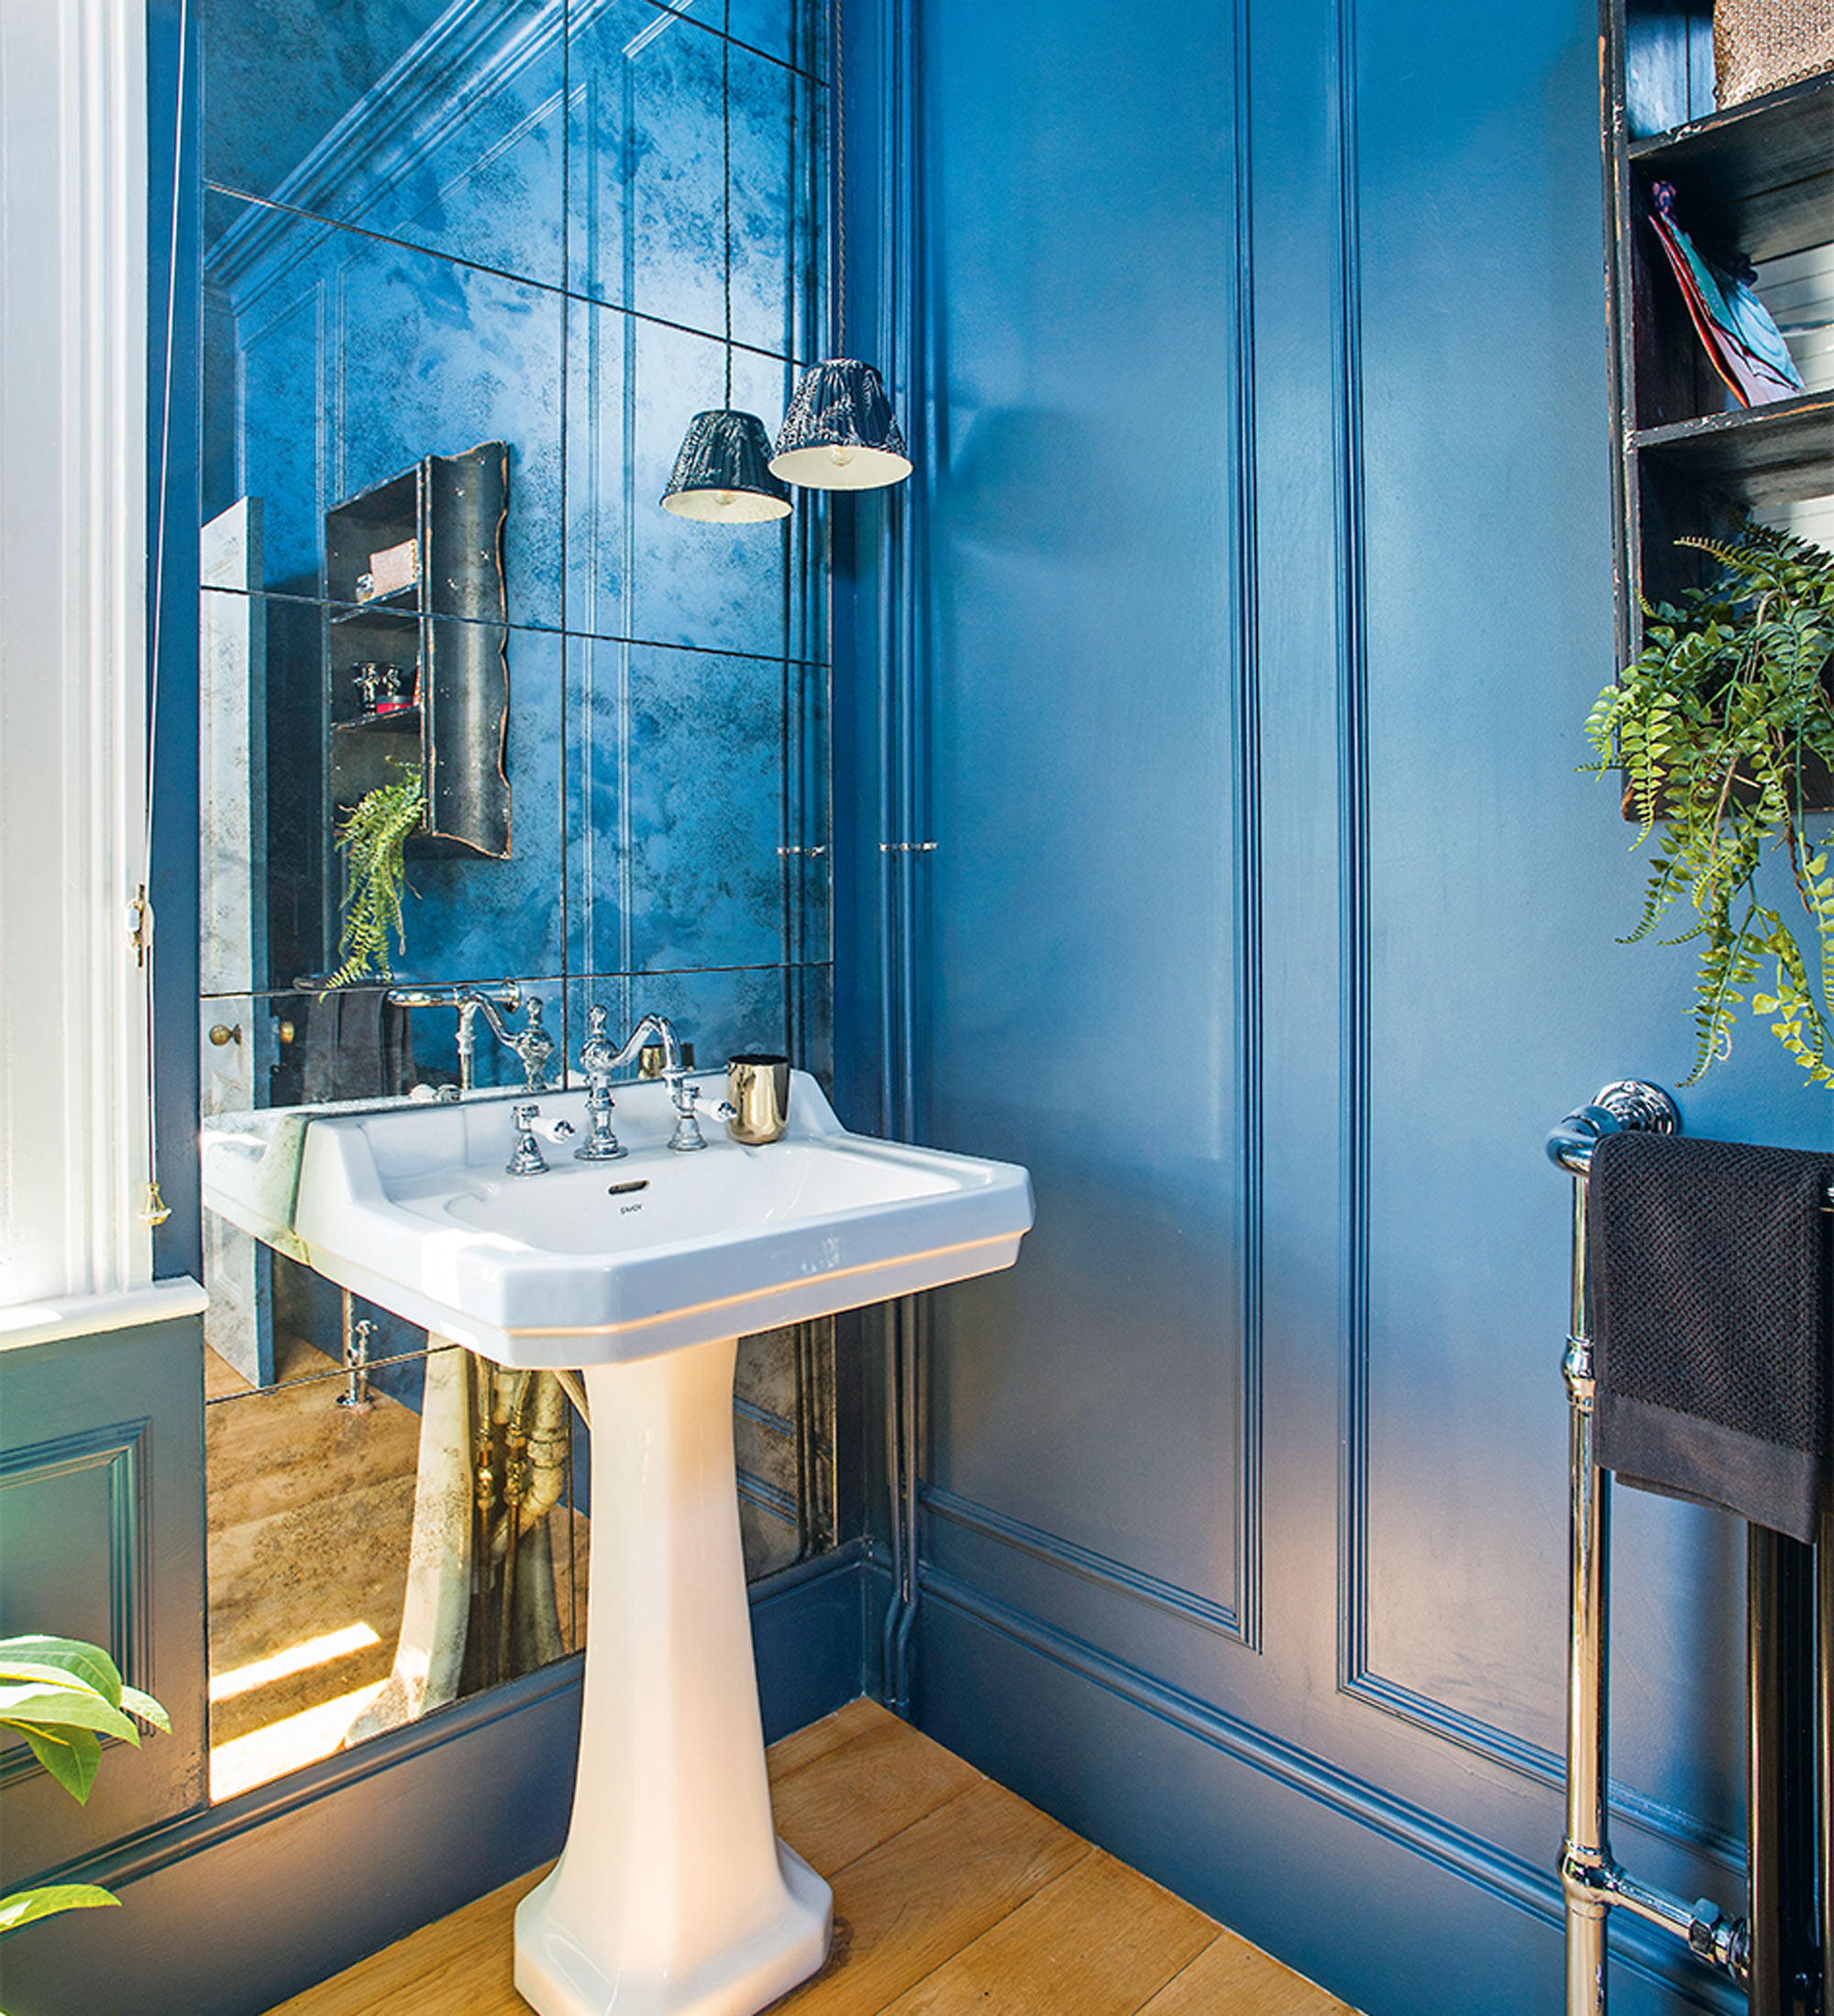
‘I fell in love with the romantic vibe of these antiqued mirror tiles. They weren’t expensive, and they work beautifully with my pedestal basin.’
‘I’ve used Farrow & Ball’s Stiffkey Blue on the ceiling and cornice, as well as the walls – I like the seamless effect and it puts the focus onto the bath and shower’
Get the look: Walls painted in Stiffkey Blue Modern emulsion, £56 for 2.5 litres, Farrow & Ball.
Perfect print
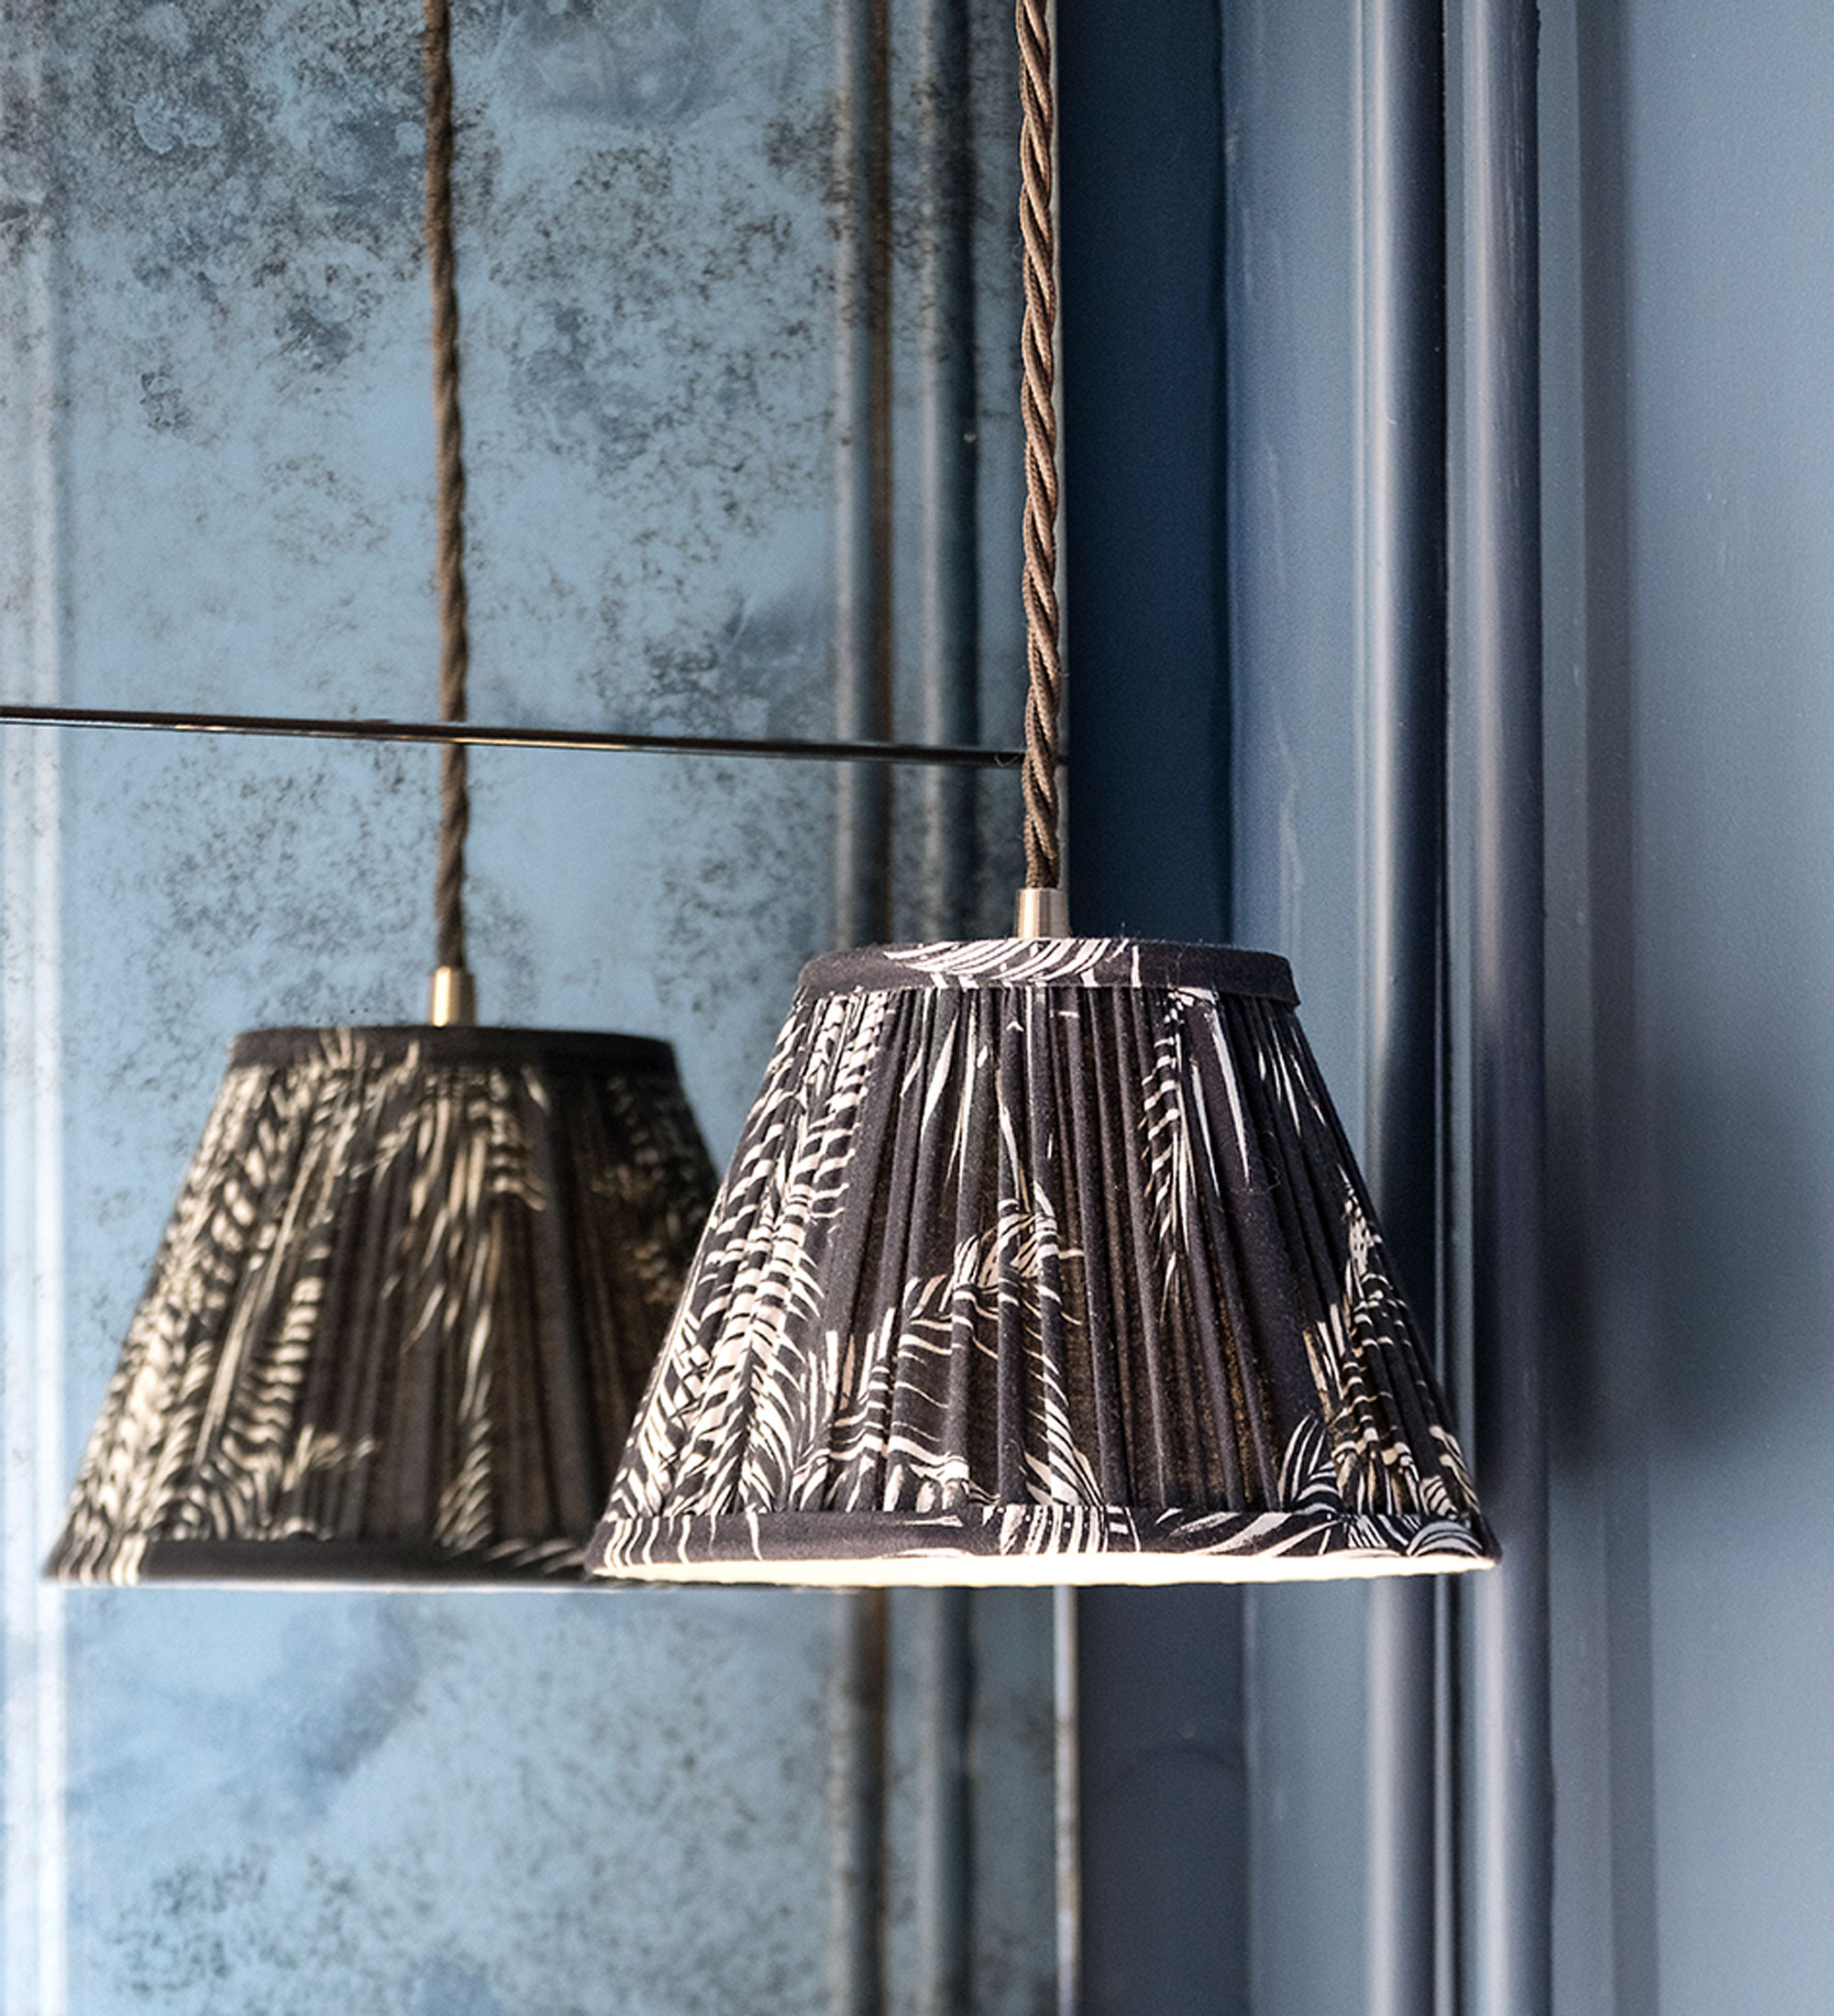
‘I just wanted a bit more interest and detail around the basin. This little pendant from Pooky was perfect - I loved the traditional pleated shade and twisted flex’
Get the look: Matthew Williamson print pendant light, £62, Pooky.
Timeless fittings
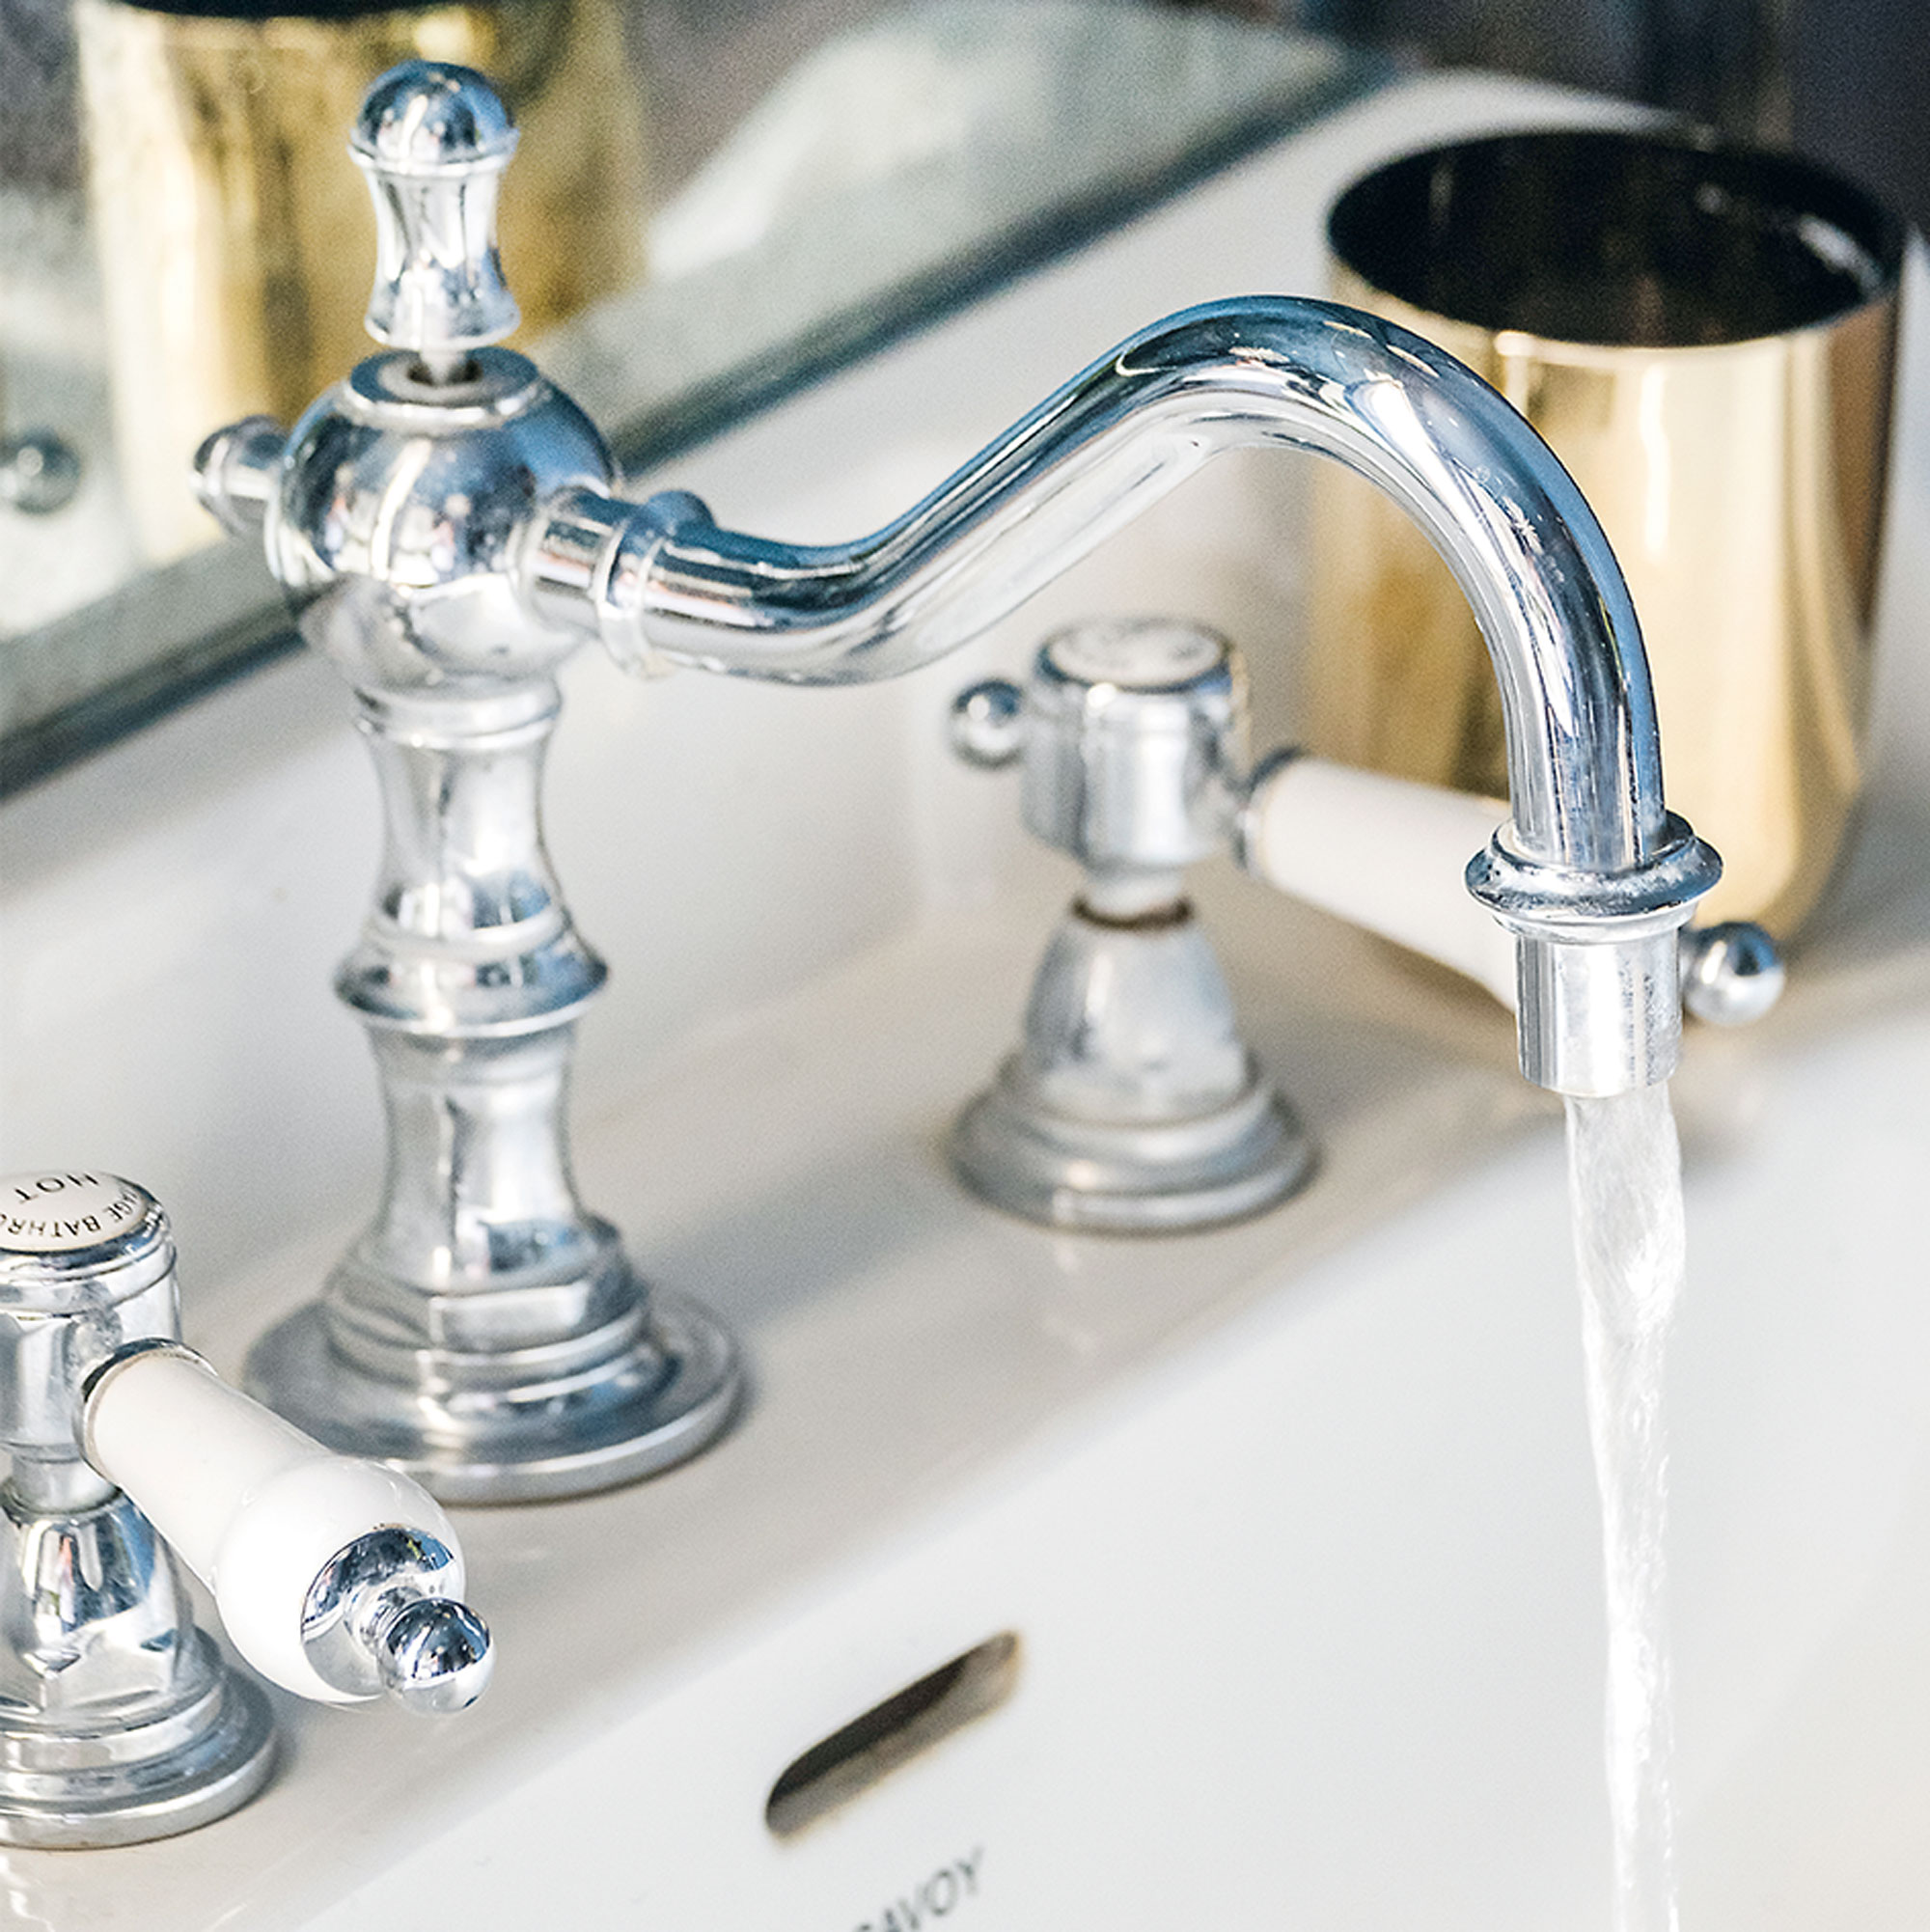
‘I replaced the old basin and taps with classic styles a little while ago, so no need to alter them again, and they’ve blended in perfectly with my new look’
Get the look: Heritage Glastonbury basin mixer, £300, Victorian Plumbing.
Finishing touches

‘I needed a bit of extra storage. This little black shelf unit came with mirror panels, so it was ideal for my scheme and fits perfectly above the radiator.’
'I’m really pleased with how it’s turned out, though, as it feels grand and luxurious. The flow from room to room is great now, and I know I can keep the bathroom looking fresh with just a few tweaks.’
Faux wall panelling
Give your room a smart, panelled effect for a fraction of the cost of the real thing.
Start by rubbing any uneven spots to get a smooth surface. Then simply draw the outline of each panel onto the wall with a pencil and ruler. Measure carefully, check for symmetry around doors and windows, and be sure to line the panels up with skirtings and covings, even if they aren’t perfectly level.
Once you’re happy, measure and cut lengths of softwood beading to form the sides of each panel. Use a handsaw and mitre block to cut the ends at a 45 degree angle, so they’ll meet and form a neat right-angle.
Fix the beading to the wall with wood glue, following the drawn lines. When the glue is dry, use decorator’s caulk to fill in any gaps where the wall is uneven, before painting.

Lisa is a freelance journalist who has written about interiors for more than 25 years. Previously editor of Style at Home magazine, she has worked on all the major homes titles, including Ideal Home, Country Homes & Interiors, 25 Beautiful Homes and Homes & Gardens. She has covered pretty much every area of the home, from shopping and decorating, crafts and DIY to real homes and makeovers and now regularly writes gardening stories for Ideal Home.