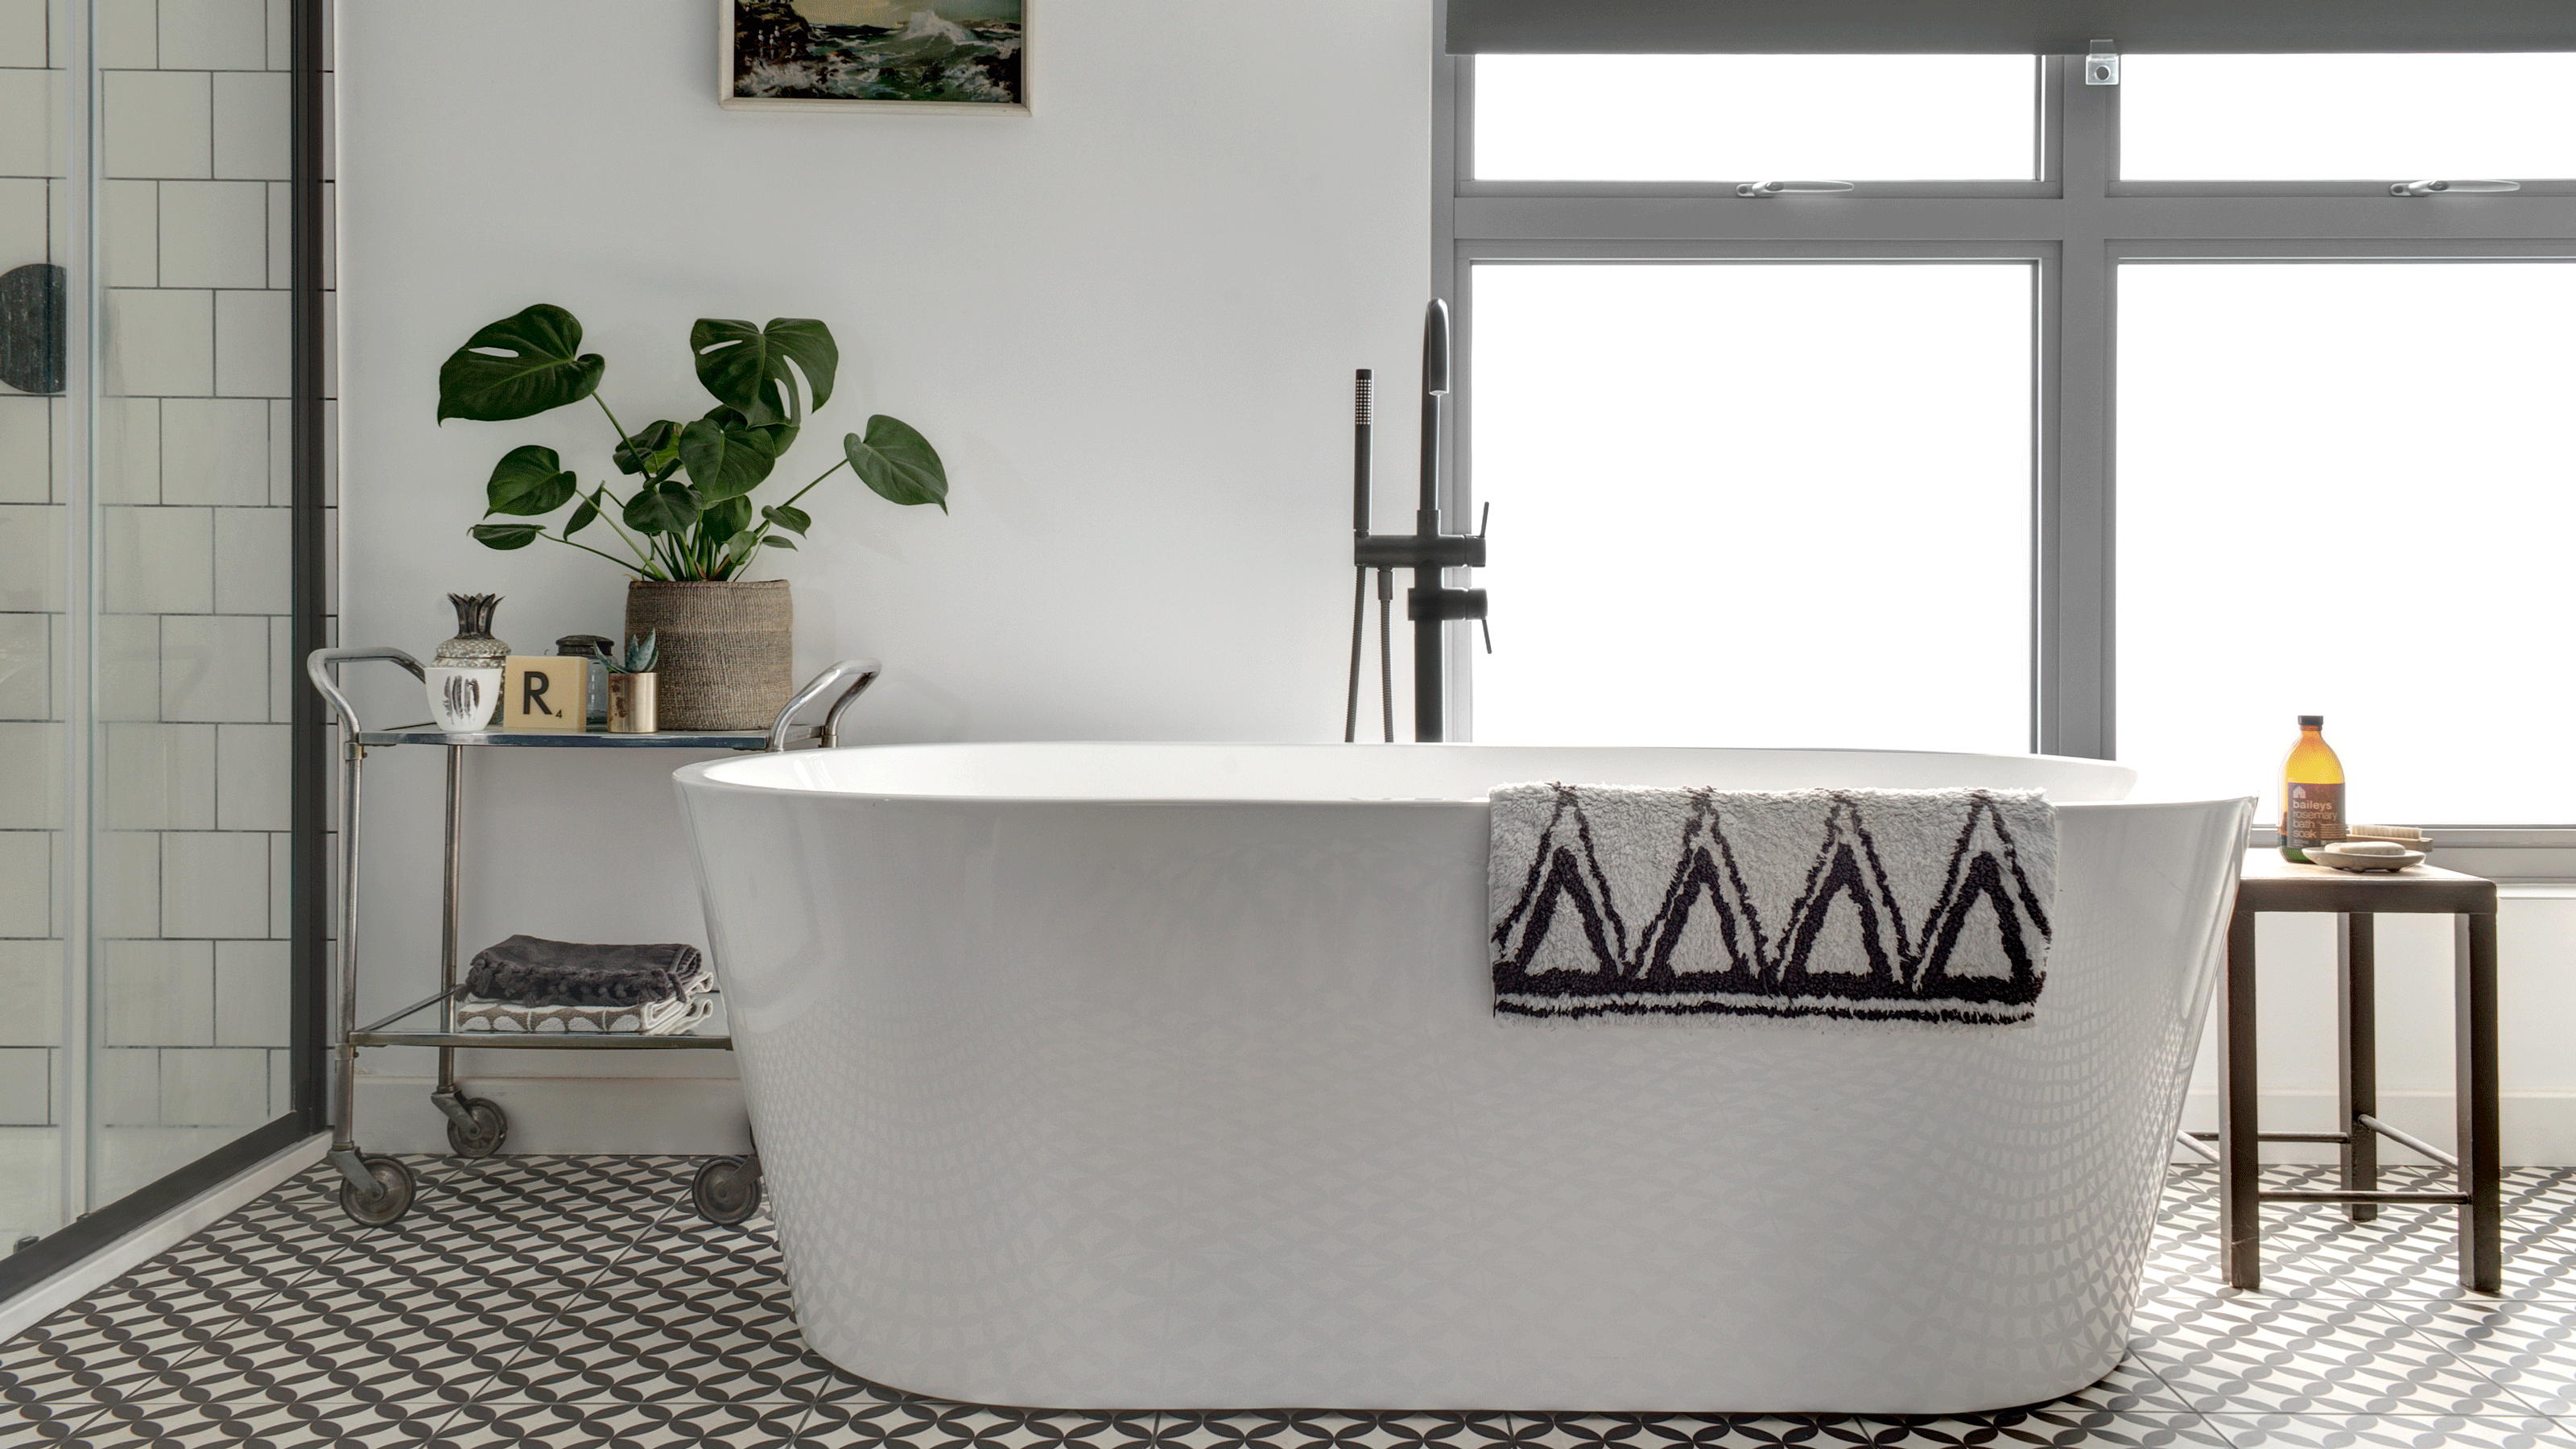

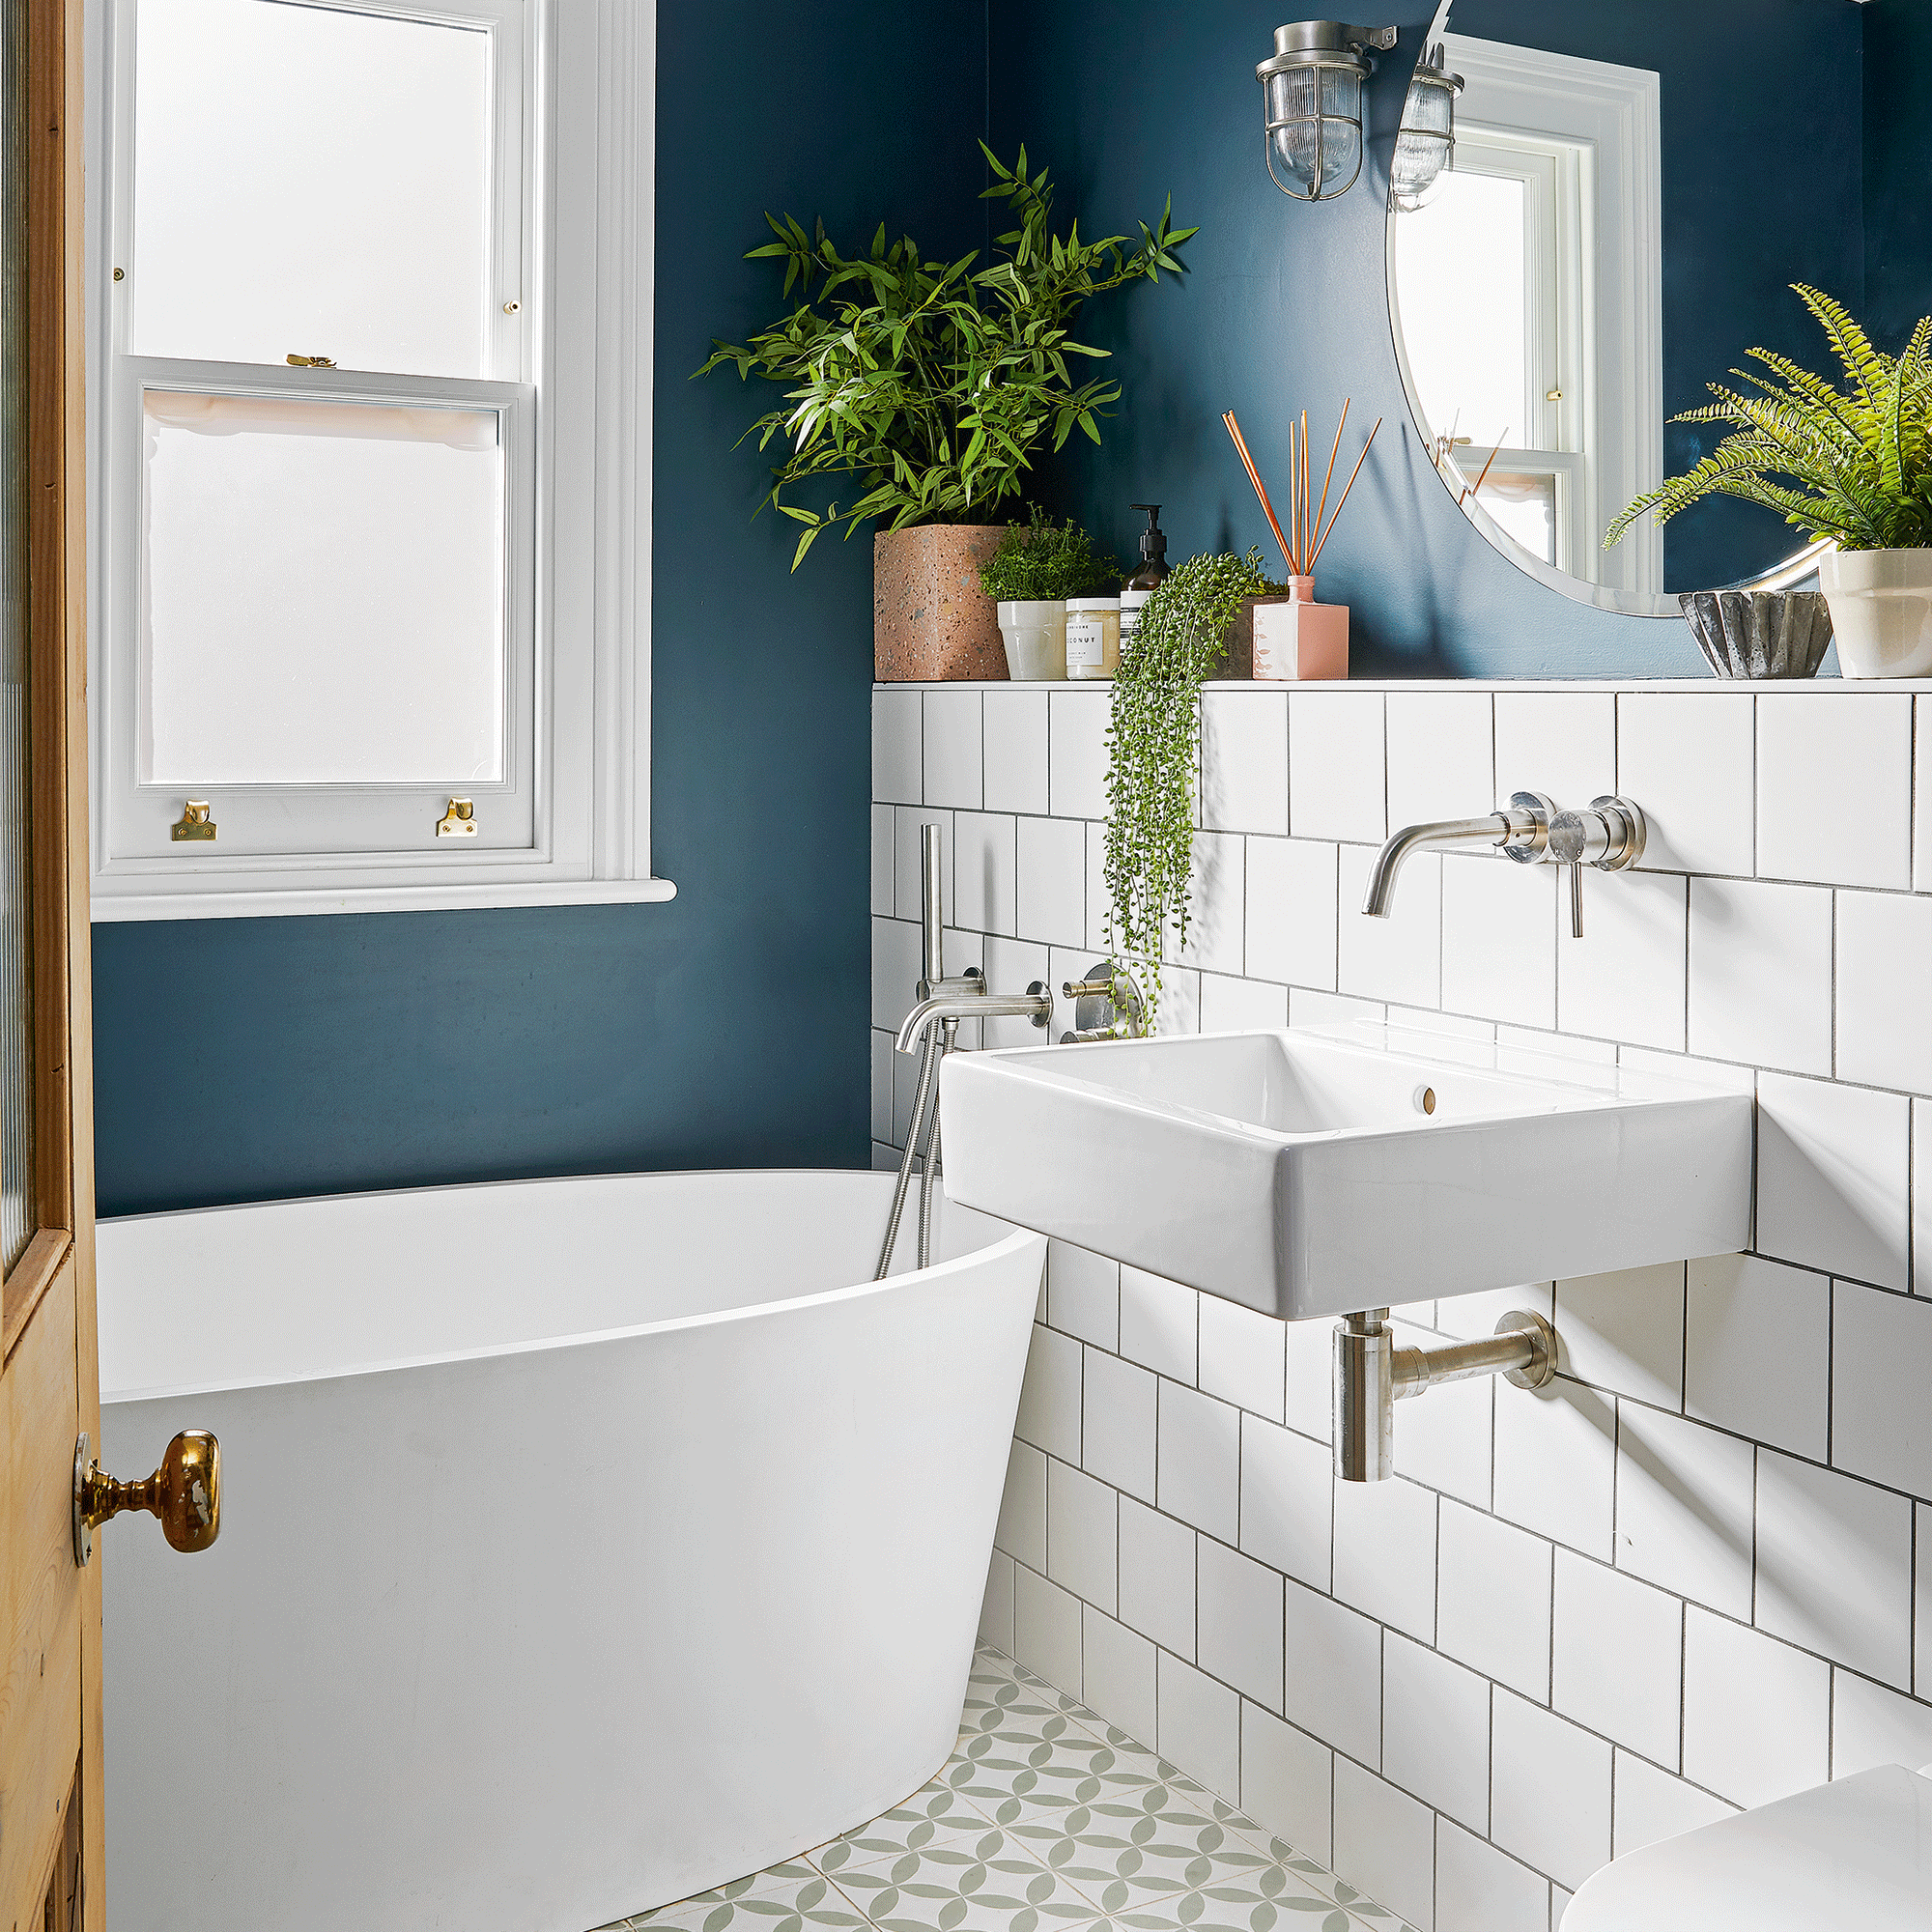
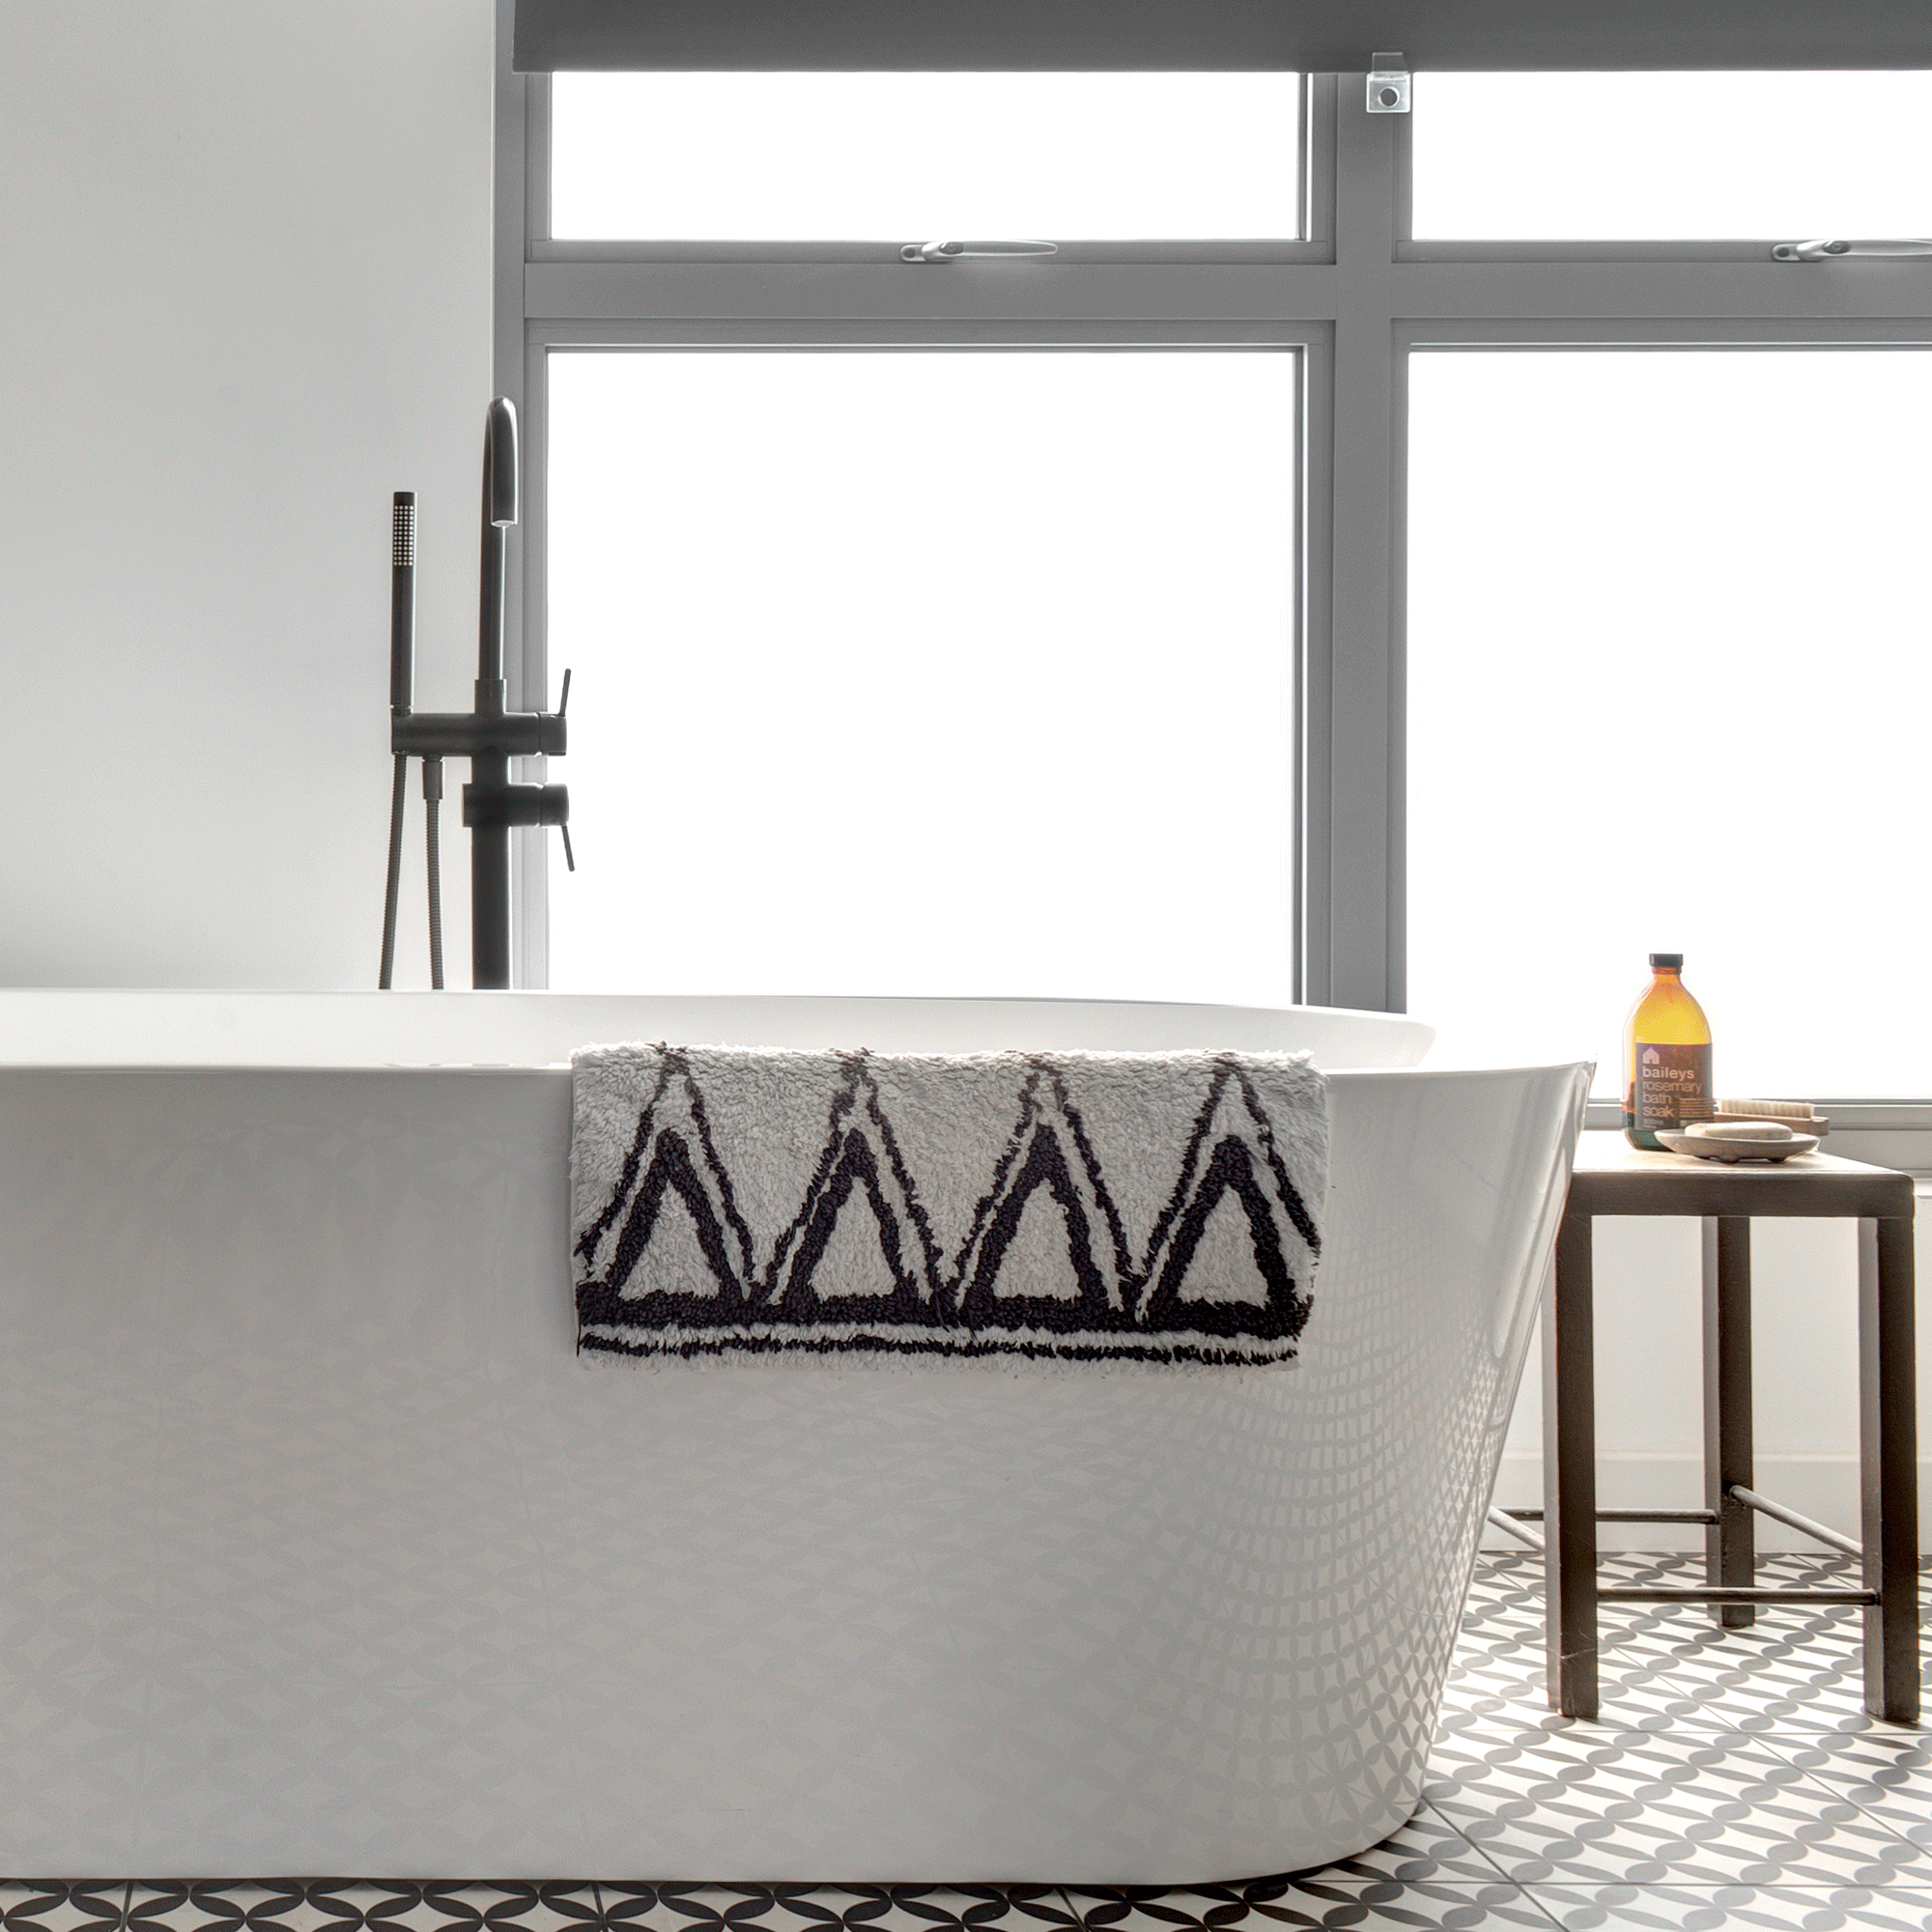
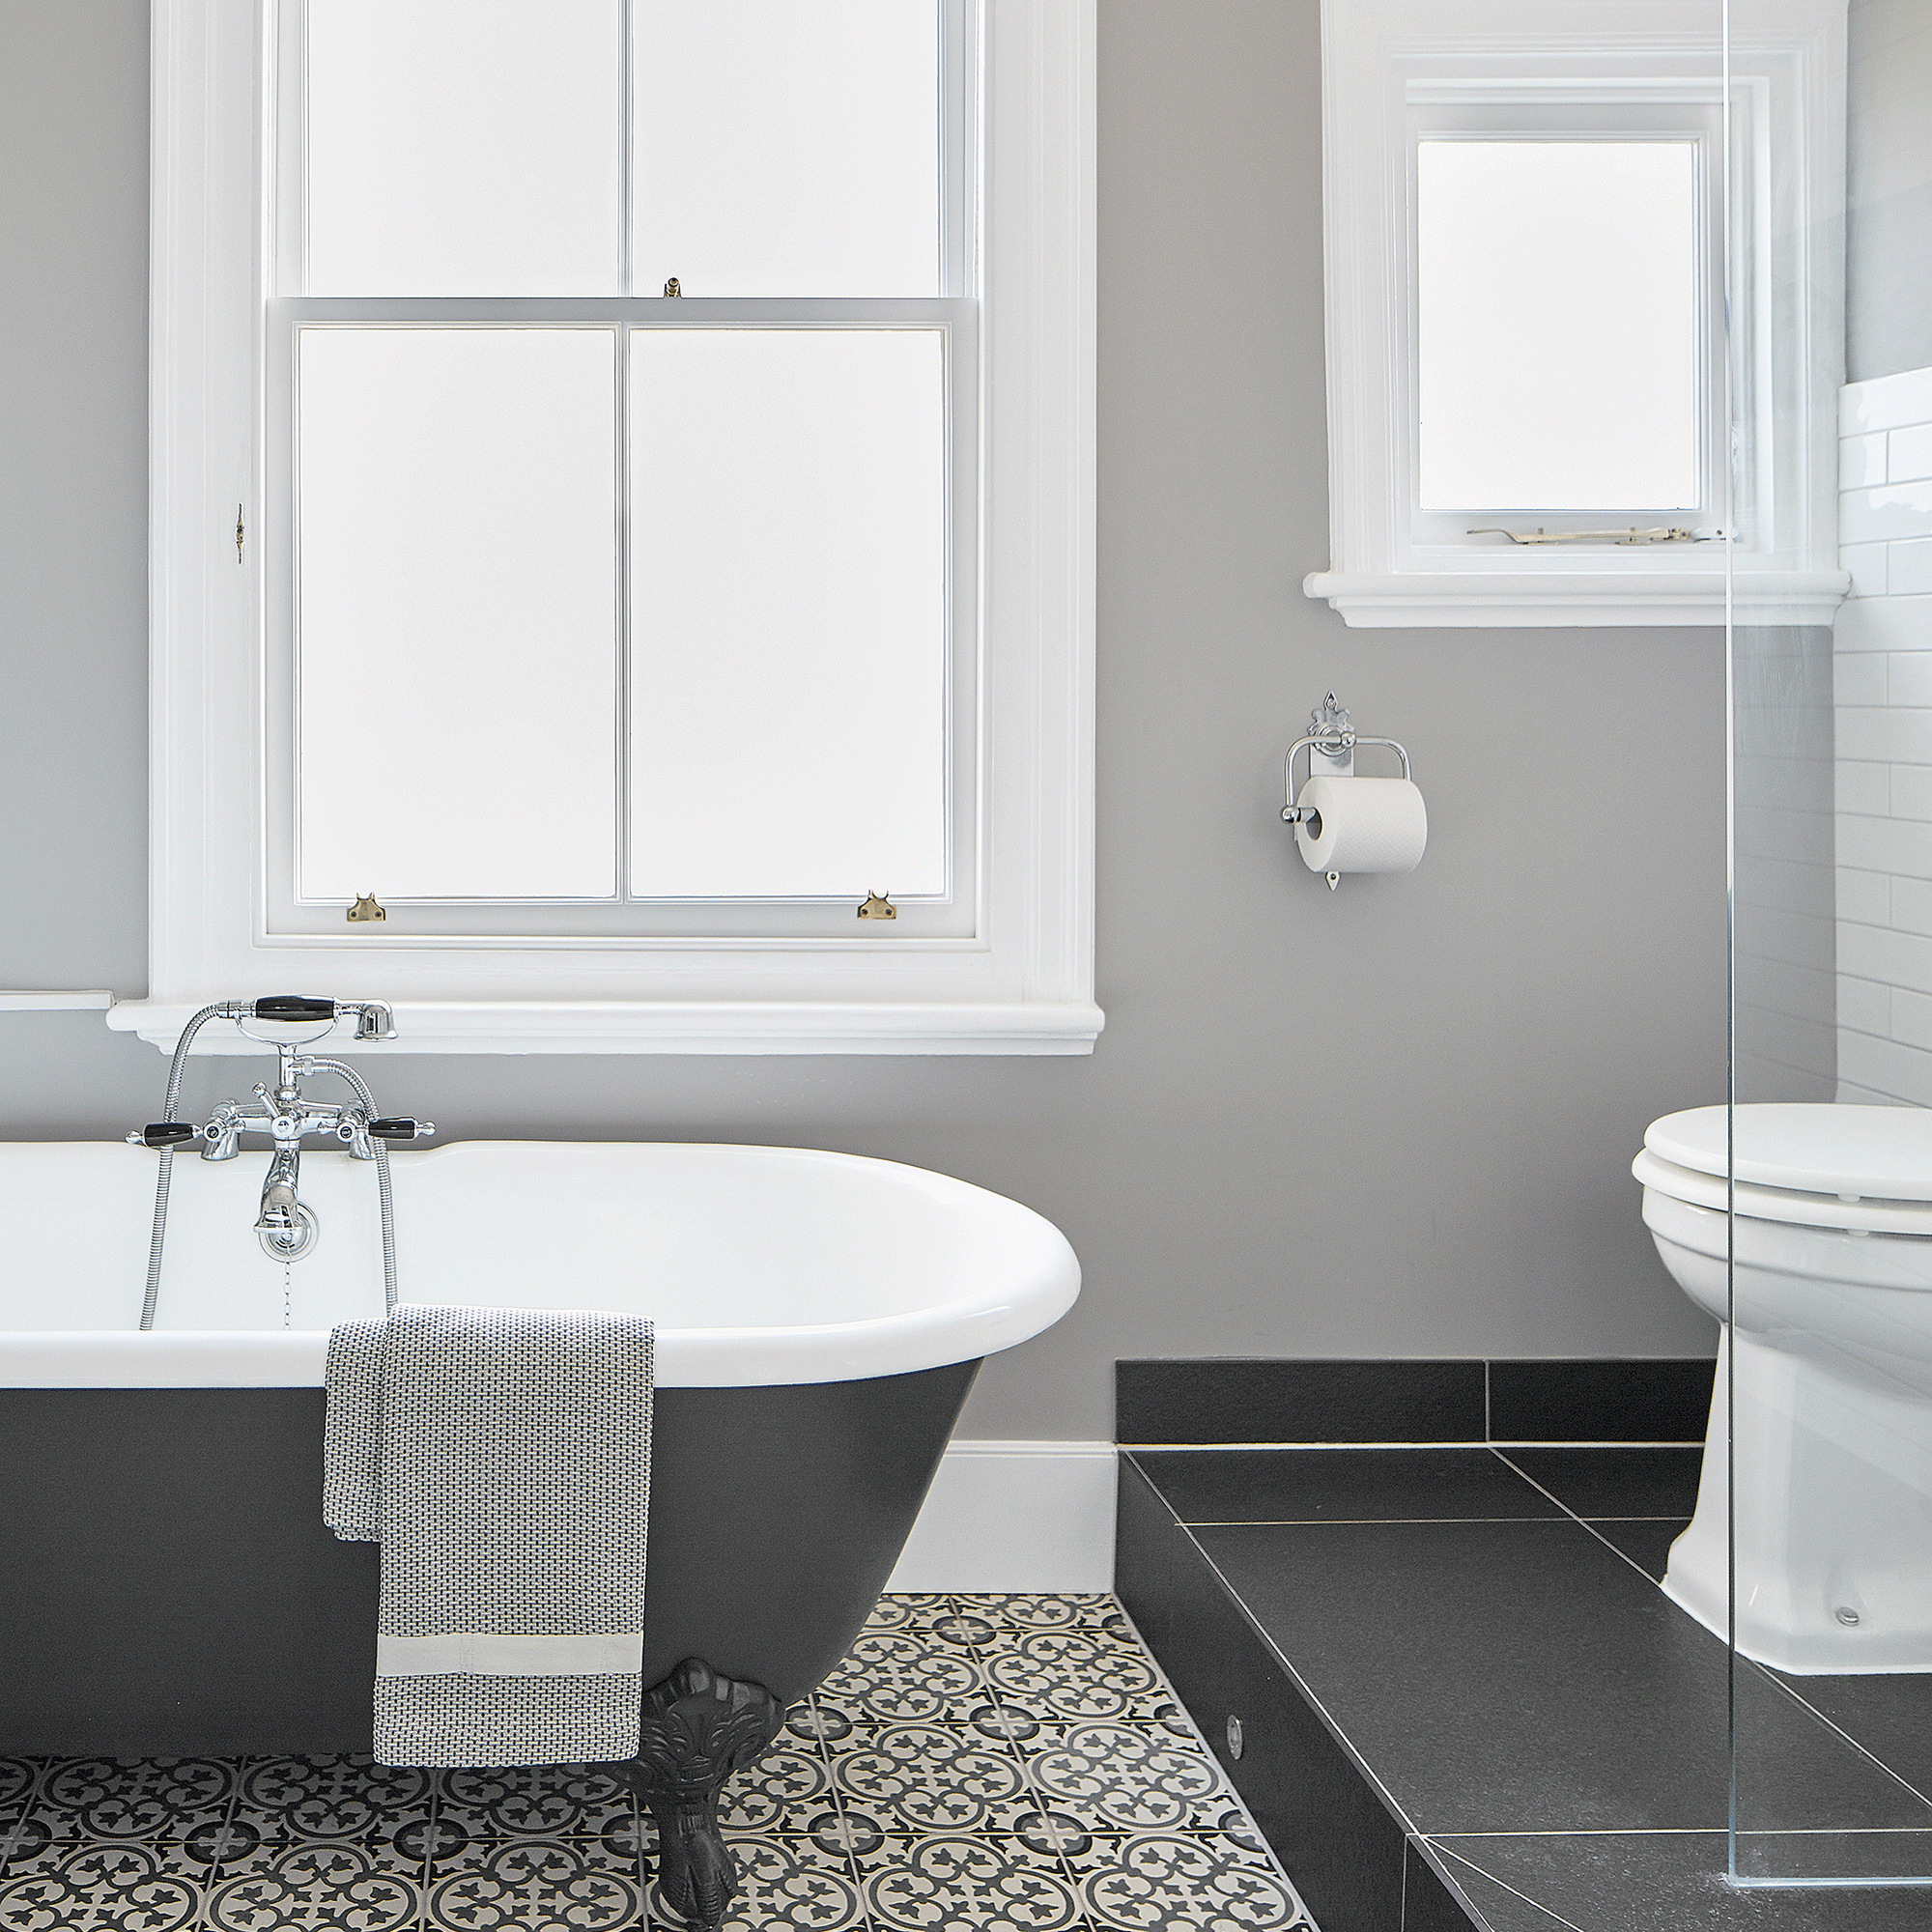
Modern bathtubs are manufactured to be very durable, but it’s still possible to find yourself needing to repair a chip in a bath. That’s true whether your tub is made of any of the common sanitaryware materials, including acrylic, stone resin, fibreglass, enamelled cast iron or enamelled steel.
If you’ve chipped your bathtub, don’t despair! You may not need to go to the expense and disruption of replacing it. Similar to how to fix a cracked bath you can repair bath chips quickly and effectively yourself.
‘It’s quick and easy to DIY repair bath chips,’ says David Ewens, managing director at Cramer UK, which provides a repair kit suitable for acrylic, enamel and composite baths. ‘Everything you need is in the kit and most handy people can do it.’
What causes chips in baths?
Damage during installation, or whilst renovating your bathroom, is one of the most frequent causes of chips in baths. Dropped tiles and tools can easily puncture the surface of any tub.
Other common causes of bath chips include dropping heavy objects like shampoo bottles, candles and hair clippers. Repeatedly opening bathroom or cabinet doors against a bath’s lipped edges is also likely to lead to damage. Or an enamelled finish might simply start to flake after many years of service.
Bath chips are unsightly and a surefire way to ruin your beautiful bathroom ideas. But they can also develop into more significant problems. For instance, chips in enamelled baths can expose the cast iron or steel structure below to water, causing corrosion.
How to repair a chip in a bath
The first step is to find the most suitable filler and finish for your tub. Small blemishes may need nothing more than a simple touch-up kit, they are widely available via Amazon, bigger plumbing stores and online DIY retailers.
For larger chips, you’ll want a product that can deliver a durable fill and pleasing finish. Dedicated DIY bath chip repair kits are specifically designed for the job, available at reasonable prices and can be colour-matched to your bath.
If you’re not confident you can achieve a good result yourself, then speak to a professional chip repair company – their quote will be much cheaper if they don’t have to undo a bodge job first.
‘A professional is able to repair damage ranging in size from a small chip to a large hole,’ says James Winston, Research & development manager at Plastic Surgeon. ‘The extent of the damage will dictate the cost of the repair, which could be from £100 to £300 depending on the severity.’
The 10-step process detailed here can be used for baths, sinks, basins and shower trays. But do bear in mind this is an outline guide only. Always refer to the kit manufacturer’s detailed instructions before carrying out bath chip repairs.
1. Clean the bath with soapy water
Clean the whole tub, and the chip site, to avoid dirt or debris falling into the repair. Don’t use harsh chemicals or abrasive cloths and sponges, as these can damage some bath materials.
2. Degrease the chip area
Remove any stubborn bath scum using a suitable cleaner, such as isopropyl rubbing alcohol, and a soft cloth.
3. Tidy up the chip
Make sure the area is completely dry. Use a very fine sandpaper to smooth any damage or flaking enamel around the bath chip.
4. Apply masking tape
Mask up around the chip to ensure the filling compound doesn’t spread. If the repair product you’ve chosen includes a spray-on finish paint, then mask at least 20cm around the chip to protect against overspray. ‘Alternatively, cut a hole that’s bigger than the damage in a piece of card to cut off any overspray,’ says David.
5. Mix the bath chip repair compound
Mix the chip repair adhesive according to the manufacturer’s instructions. Most products comprise a filler and hardener. It will set quickly, so only prepare the compound once you’re sure you’re ready to go.
6. Apply the chip repair filler
Carefully build-up the damaged area using a spatula, filler tool or syringe. Don’t worry if you overfill slightly; you can sand back afterwards.
7. Use sandpaper to smooth the repair
Once the filler is dry, carefully sand down any excess using a fine sandpaper (often supplied with the kit).
8. Repeat filling if necessary
If your first pass hasn’t fully filled the bath chip, repeat steps 6-8 until you have a flush finish. Leave to dry according to the manufacturer’s instructions.
9. Apply any finishes
If your chip repair system includes a topcoat or glaze, it’s time to apply a thin layer. This might be a brush-on or spray-on product. ‘You’ll probably need two or three coats, and allow to dry in between,’ says David.
10. Leave to dry before using
Once the repair is complete, allow it to completely cure (dry and harden) before using the bath. Depending on the system, this might be a few hours or a few days.
How easy is it to match the colour of my bath?
If you want to achieve a seamless, near-invisible bath chip repair, look for kits that can be colour-matched to your tub. Some suppliers make the process easy for you by premixing their products in standard shades.
‘Our pigment is already included within the liquid acrylic, and we’re able to colour-match to bath manufacturers’ colour codes,’ explains Charlotte Davey from Anglo Adhesives. ‘Believe it or not there are eight shades of white out there.’
Should I resurface my enamel bath at the same time?
If you use a good-quality kit, the chip repair should be very robust. The more challenging part for a DIYer is often colour-matching the uneven finish of years-old enamel. For that reason, it’s quite common to opt for a full-scale resurfacing treatment alongside any spot-patching of chips.
Whether you do this DIY or call in a professional, re-enamelling the tub allows you to simultaneously address other problems in enamel baths, such as discolouration, pitting and flaking enamel.
-
 Worried about protecting your garden this summer? Here’s how a bespoke security kit can help
Keep your garden safe with the help of BURG-WÄCHTER.
-
 How to clean garden tools - Top tips to keep your hand tools and trusty lawn mower in check
Yes, you really do need to clean your watering can
-
 We try De'Longhi's latest superstar bean-to-cup coffee machine
This bean-to-cup coffee machine could curb your habit of buying iced lattes forever.


