How to fix a cracked bath yourself for a professional finish
Repair a cracked bath in ten easy steps How to fix a cracked bath yourself with professional advice


How to fix a cracked bath is easier than you would imagine. If you’ve got a cracked bath, as long as the damage isn’t significant, you can fix it yourself without involving a professional or needing to fork out for a replacement tub to bring your bathroom ideas back up to scratch
‘Repair kits on the market have been improved to cover a multitude of different damage on different materials, systems and angles,’ says Charlotte Davey, managing director at Anglo Adhesives.
What causes cracked baths?
Before you repair a cracked bath, it is important to understand what created the damage so it doesn’t happen again. There might have been an obvious impact, such as from dropping something heavy onto the tub – or the crack could be linked to a more fundamental issue to do with the construction of the bath.
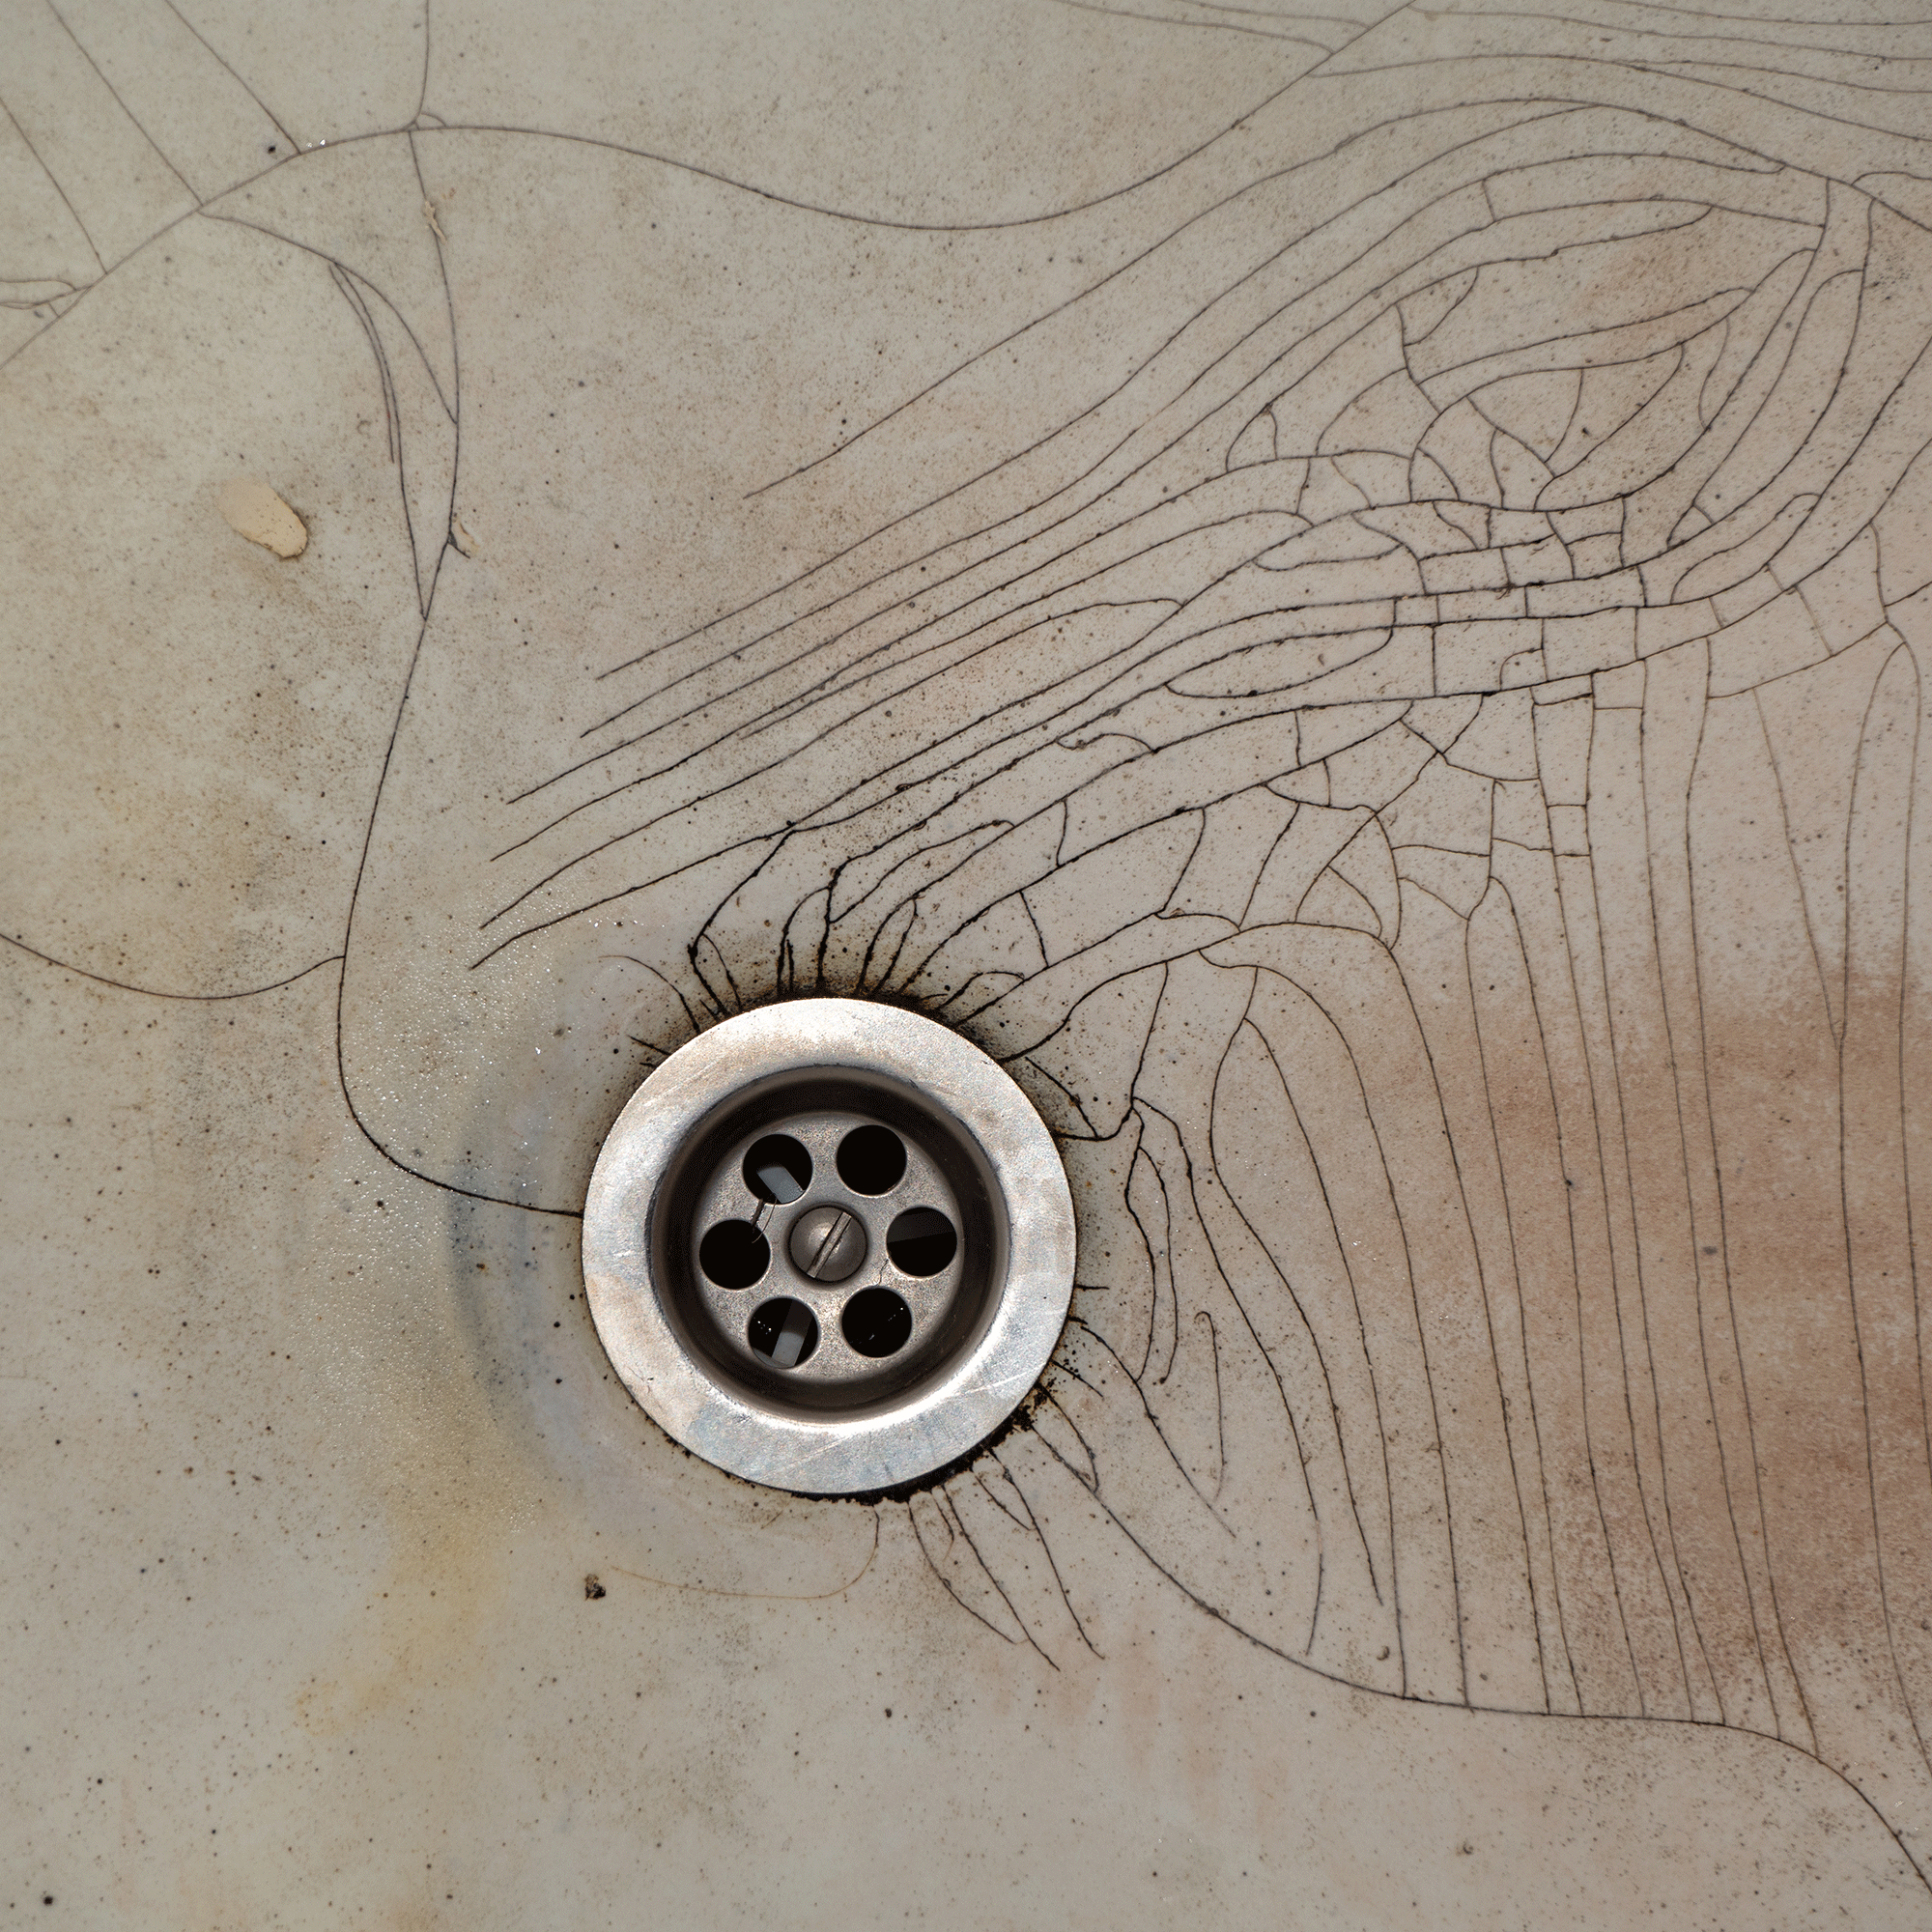
If it’s unclear how the crack formed, look at whether the tub is sufficiently supported underneath. A poor base can create weak spots. Lots of smaller cracks across the base of a bathtub are probably a sign the support structure has failed.

It is also worth investigating the accessories, like ill-fitting bath drains, or fittings that have been over tightened. Not using the best cleaning products can also lead to cracks, depending on the material of your bath. However, sometimes damage to baths is just due to general wear and tear over time.
How to repair a cracked bath
When learning how to fix a cracked bath there are ten steps you need to follow, to mend your bath like a pro.
1. Understand the bath material
What the bath is made from will impact on what type of repair product is suitable. You might be able to tell from inspecting the crack itself; or, if there’s a bath panel, take this off to look at the underside.
Sign up to our newsletter for style inspiration, real homes, project and garden advice and shopping know-how
2. Assess how serious the crack is
Hairline cracks and small damage generally only need surface repair, but if it’s major and causes a leak, check that it’s possible to fix yourself before buying a product.
‘The larger the damage, the more noticeable the repair will be when using a DIY repair kit, which do have limitations,’ says James Winston, research & development manager at Plastic Surgeon. ‘Calling a professional will avoid a failed repair and potential water leaks.’
Charlotte adds: ‘Weigh up the cost of repair versus replace – including the time, effort and material involved.’
3. Buy a suitable bath repair kit
There are various products available to buy online and from DIY retailers. You can pick up a bath repair kit for under £17 on Amazon.
It is very important that you make sure you get a kit that’s suitable for your bath type. You will need to know whether your bath is made of fibreglass, acrylic, porcelain, enamel or ceramic. Each surface will require a different type of epoxy to repair it.
Some kits will come with everything you need, while others will focus on the essentials. It is a good idea to check what comes in the kit in case you need to buy additional protective gloves, sandpaper etc.
4. Clean the bath

Remove any dirt or debris around the crack, then sand with fine-grit sandpaper to break away any loose bits and create a good surface for the filler to stick to.
It is important to clean the surface thoroughly to remove all soap scrum and other residues before applying the epoxy. An abrasive cleaner such as Astonish The Good One, and rubbing alcohol can be used to make sure the surface is thoroughly prepared. Make sure you allow it to dry completely after cleaning.
5. Protect any fixtures & fittings
Cover and protect your taps and drain with plastic coverings or similar to prevent damage from the materials you’re using.

6. Create a key for the filler
Your repair compound needs to be able to adhere properly to the edges of the crack. ‘With some bath types you can cut a 1-2mm groove along the crack with a Stanley knife, which provides a key for the resin,’ says David Ewen, managing director at Cramer UK.
7. Prepare the repair agent
Always refer to the product’s specific directions, but generally these kits involve mixing the filler with a hardening agent before applying it to the crack. Most bath crack repair kits use epoxy resins, putties and/or liquid fillers.
8. Apply the fix
Spread the filler product into the bath crack – some kits come with syringes or sticks for you to use. Creating as smooth a finish as possible will make step 9 easier.
9. Let it dry
The time it takes for the filler to dry differs between products, from as little as two hours to 24 hours-plus.

10. Sand down & polish
Buff the area to create a surface that sits flush and smooth with the rest of the bath. Repeat stages 8-10 if necessary.
Will I need to paint the bath?
You’ll want the crack repair to match with the rest of the bath, so how can you make sure to get a perfect finish?
Most baths are white, for instance, but remember that not all whites are the same tone. Some products, such as Anglo Adhesives’ bathtub repair kit, are colour matched in the factory to make sure you’ve got the right shade. This means you don’t need to apply any sprayed or painted finish to the bath afterwards.
If your repair kit isn’t already colour-matched, you may need to blend in a pigment or use a specialist bath spray paint to ensure the crack repair blends in seamlessly with the rest of the tub.

How can I tell what material my bath is made from?
Generally, if there’s give when you press on the bath then it’s acrylic or fibreglass – acrylic is the most popular option in the UK. With metal baths covered with vitreous porcelain enamel, it’s a little trickier to tell if the material is steel or cast iron, but the latter are very heavy so probably have lots of extra support.

Emily Batesmith is a journalist and senior magazine editor specialising in homes, renovation and self-build. She’s spent more than a decade creating content for the UK’s leading homes titles on a huge variety of topics that help people to realise their dream property. Her writing ranges from practical advice on installing money-saving renewable tech and inspiring interior ideas for the perfect living space, through to in-depth guidance on building systems and products, and easy-to-navigate DIY guides.