When to cut back irises – and why it's such an important task
The experts reveal the best time to cut back the beautiful blooms

EDITOR’S NOTE: An earlier version of this article included a quote from a purported expert whose credentials we have not been able to verify. The quote has been removed. We regret this lapse in our verification process and have updated our internal protocols to reduce the risk of recurrence.
Irises add a pop of colour to any garden design and are one of our favourite flowers to get that cottage garden aesthetic. But when should you start to cut back irises this year? We spoke to the experts to find that out and more.
‘Cutting back irises is an essential part of garden maintenance, as not only will it keep your garden looking neat and tidy, but it also will help maintain the health of your plant,’ reveals Andrew White from Rhino Greenhouses Direct.
‘Trimming allows the plant to redirect energy from maintaining longer leaves to reinforcing its rhizomes (plant stems),’ adds Sean Lade, gardening expert and founder of Easy Garden Irrigation. ‘This ensures a robust growth cycle and a vibrant display in the subsequent bloom season. In essence, it's a proactive measure to keep your irises healthy, vigorous, and blooming beautifully year after year.’
‘Many species of irises are prone to several diseases and pests, such as root rot, that can quickly spread and kill your plant. By cutting back your irises, you are minimising the risk of diseases spreading within your plant, especially over the winter months,’ he continues.
Cutting the leaves and stalks back also allows good air circulation around the plant.This stops the plants from being overcrowded in your garden borders or outdoor space more generally.
But exactly when should you start thinking about getting your secateurs or pruning scissors out? Here is the expert advice you’ve been looking for.
When to cut back irises
‘Irises should be cut back once they've finished flowering,’ suggests Steve Chilton, garden expert at LeisureBench. ‘This is usually around this time of year, so late summer/early autumn or more specifically September-October.’
Sign up to our newsletter for style inspiration, real homes, project and garden advice and shopping know-how
‘Cutting them back once they've finished flowering allows the plant to store nutrients in its roots for the next flowering season and future growth. It's important that they can do this before the first frost,’ Steve continues.
‘Although it may be tempting to cut back your irises throughout the summer, irises should only be cut back in late summer and early autumn when the plant has finished flowering, the blooms have begun to fade, and leaves of your plant have turned brown,’ agrees Andrew.
What you'll need
- Secateurs, sharp scissors or cutting shears; the Gardena Bypass Secateurs from Argos are a great option
- Disinfectant; try this FELCO FELCO981 Plant Resin Remover Spray from Amazon
- Gardening gloves; these Kew by Spear & Jackson Gardening Gloves from John Lewis & Partners have plenty of 5 star reviews
- A bucket or bag to collect the trimmed foliage
How to cut back irises – a step-by-step guide
1. Check that your irises have finished flowering
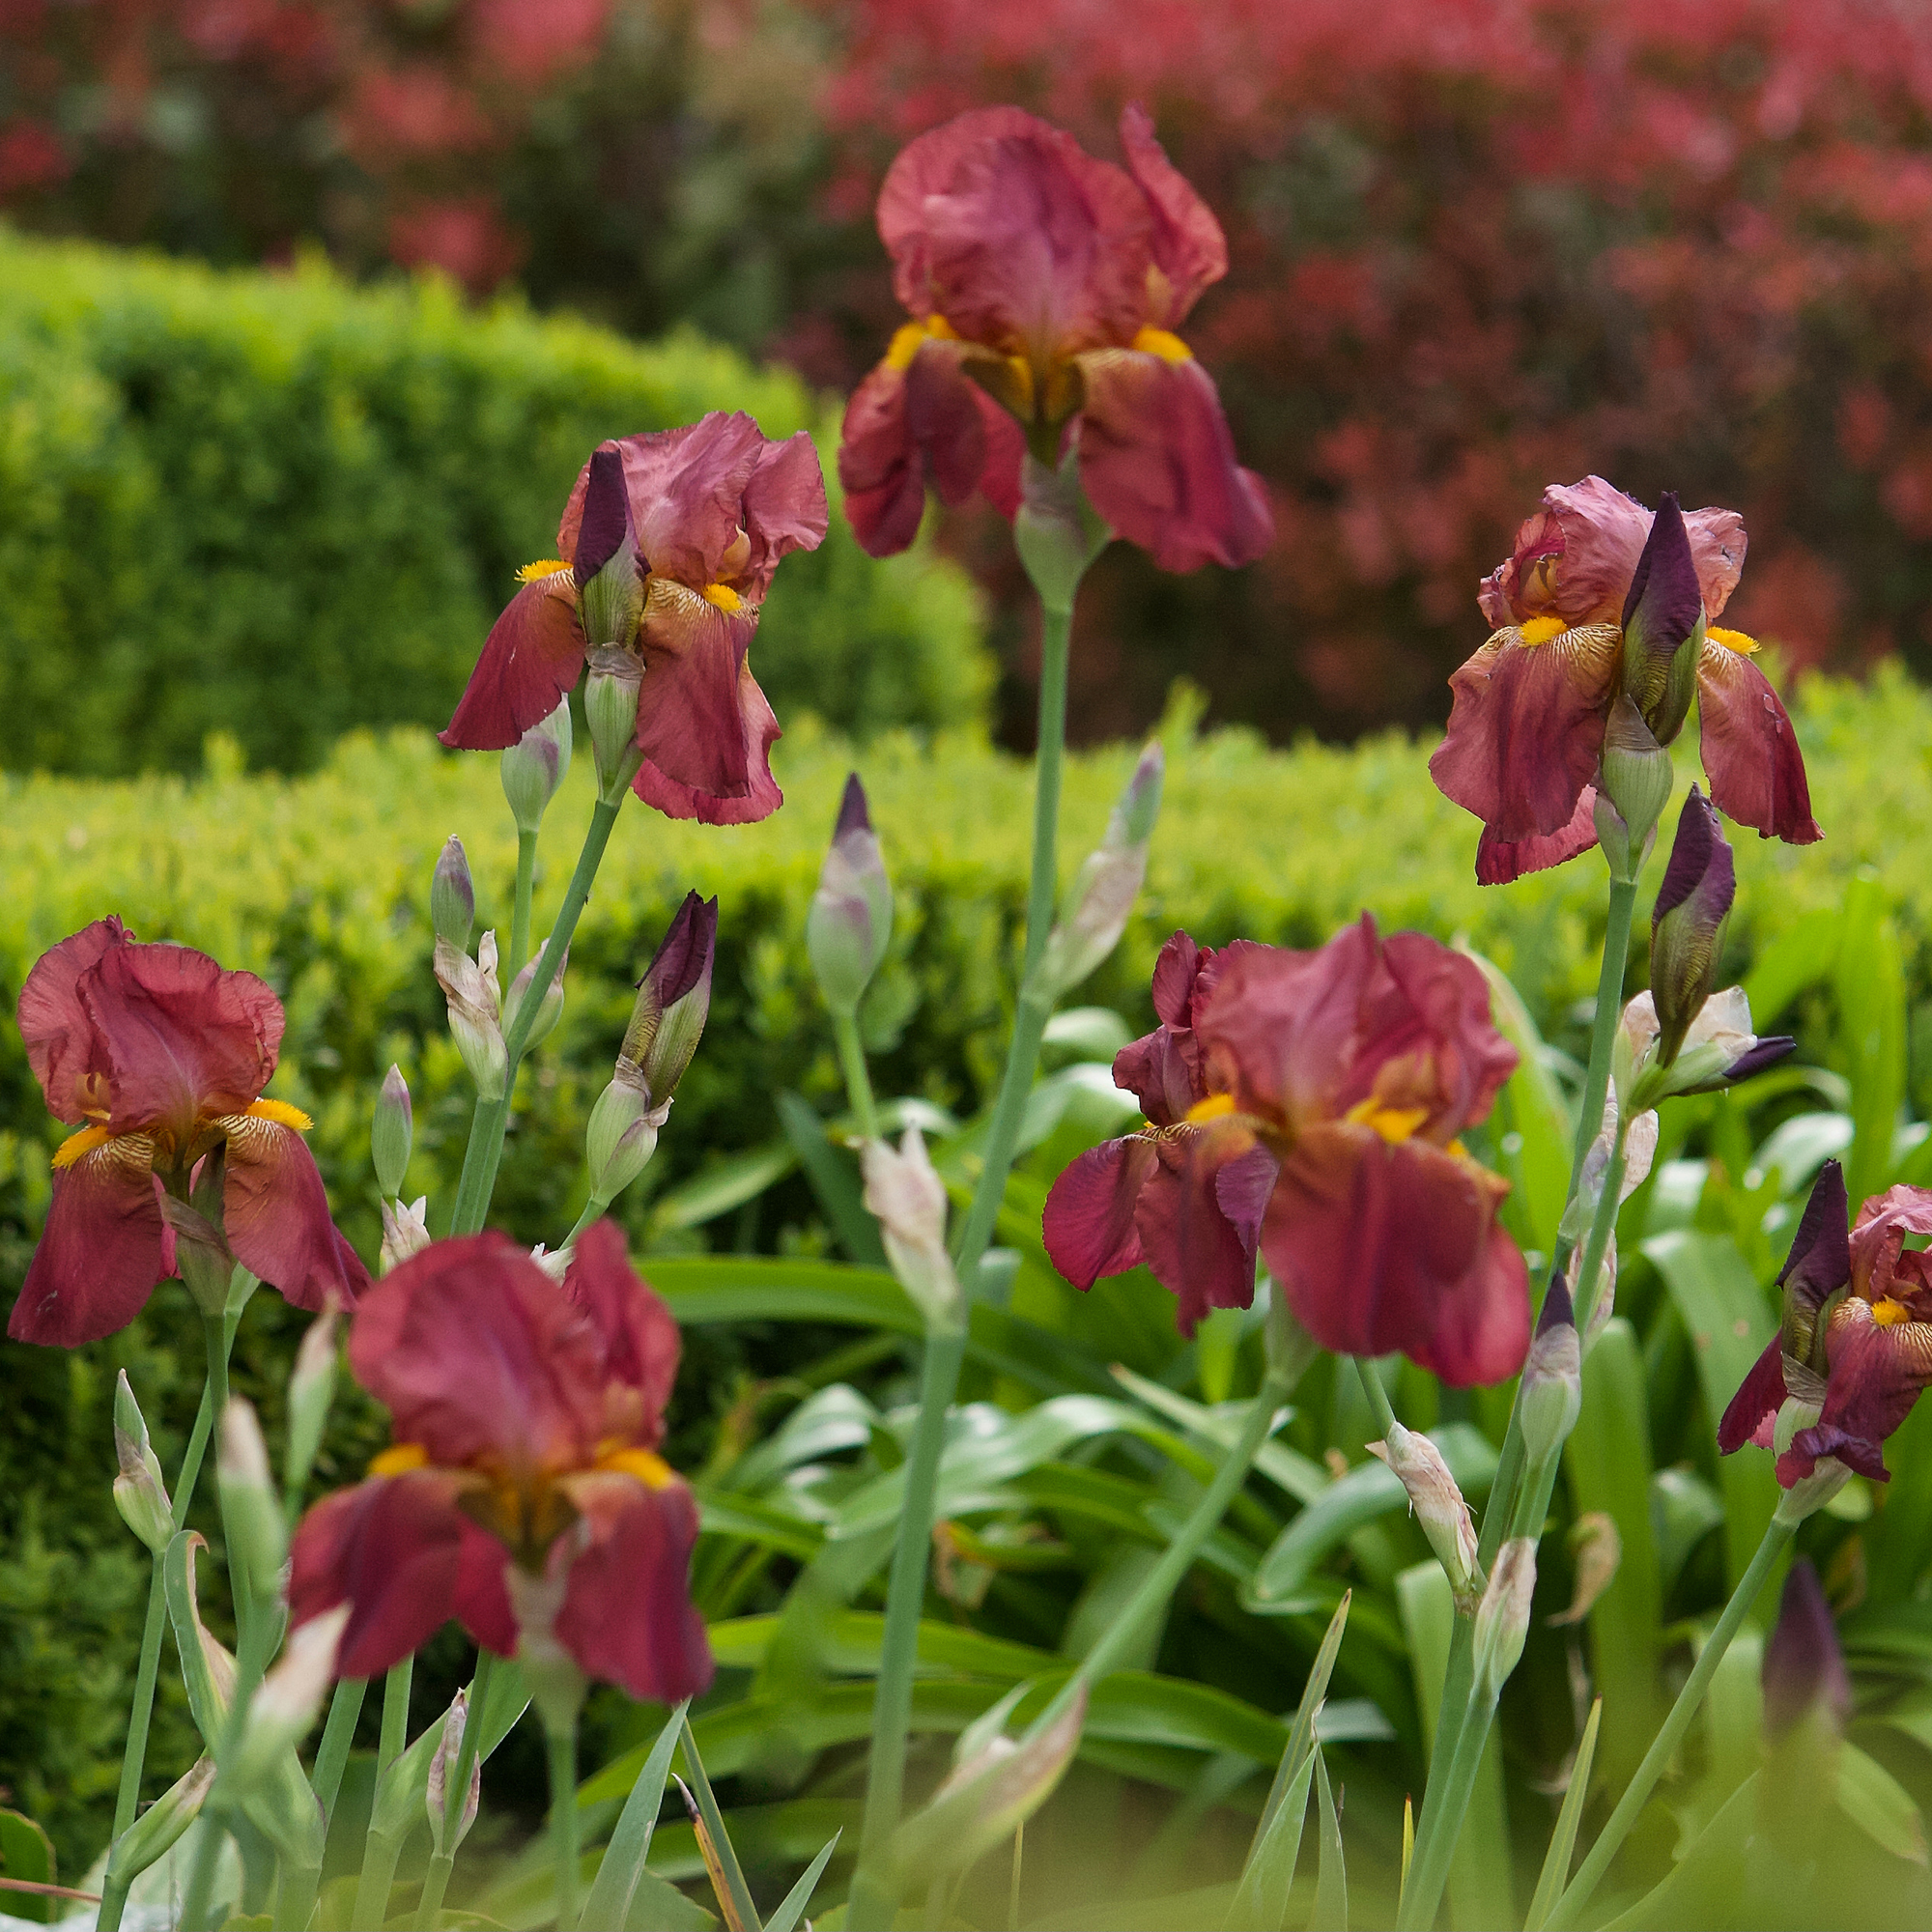
Once the ‘blooms have withered and the foliage turns yellow or brown,’ it’s time to start cutting back your irises, outlines Tim Marshall, head gardener at Raby Castle.
‘This usually occurs in late summer to early autumn,’ affirms Andrew. So, now – when the weather is starting to turn – is a great time to start thinking about cutting back your irises.
2. Prepare and sanitise your tools
Then it’s time to ready your secateurs, shears or sharp scissors by giving them a wipe with disinfectant. We also recommend wearing gardening gloves throughout the entire process to keep your hands clean and protected.
And according to Josh Novell, Director of Polhill Garden Centre, ‘some irises have sharp leaves that can irritate your skin, so it's a good idea to wear gloves while working with them, especially if you have sensitive skin.’
Additionally, you may want to work ‘on a dry day,’ advises Sean. ‘Wet plants can slip, leading to messy cuts and potential injury.’
3. Remove any old or dead foliage
‘Using your pruning shears or sharp scissors, begin to cut the stem of your plants, to remove the wilted blooms and dead or diseased leaves from your plant,’ says Andrew. ‘Ensure that your cuts are clean, to avoid damage or trauma to the healthy growth and are close to the base of the plant. Aim to cut about 3-4 inches above the ground.’
Tim agrees, ‘gently grasp the dying leaves at their base and use the secateurs to cut them close to the ground. Be careful not to damage the rhizomes or emerging new growth.’
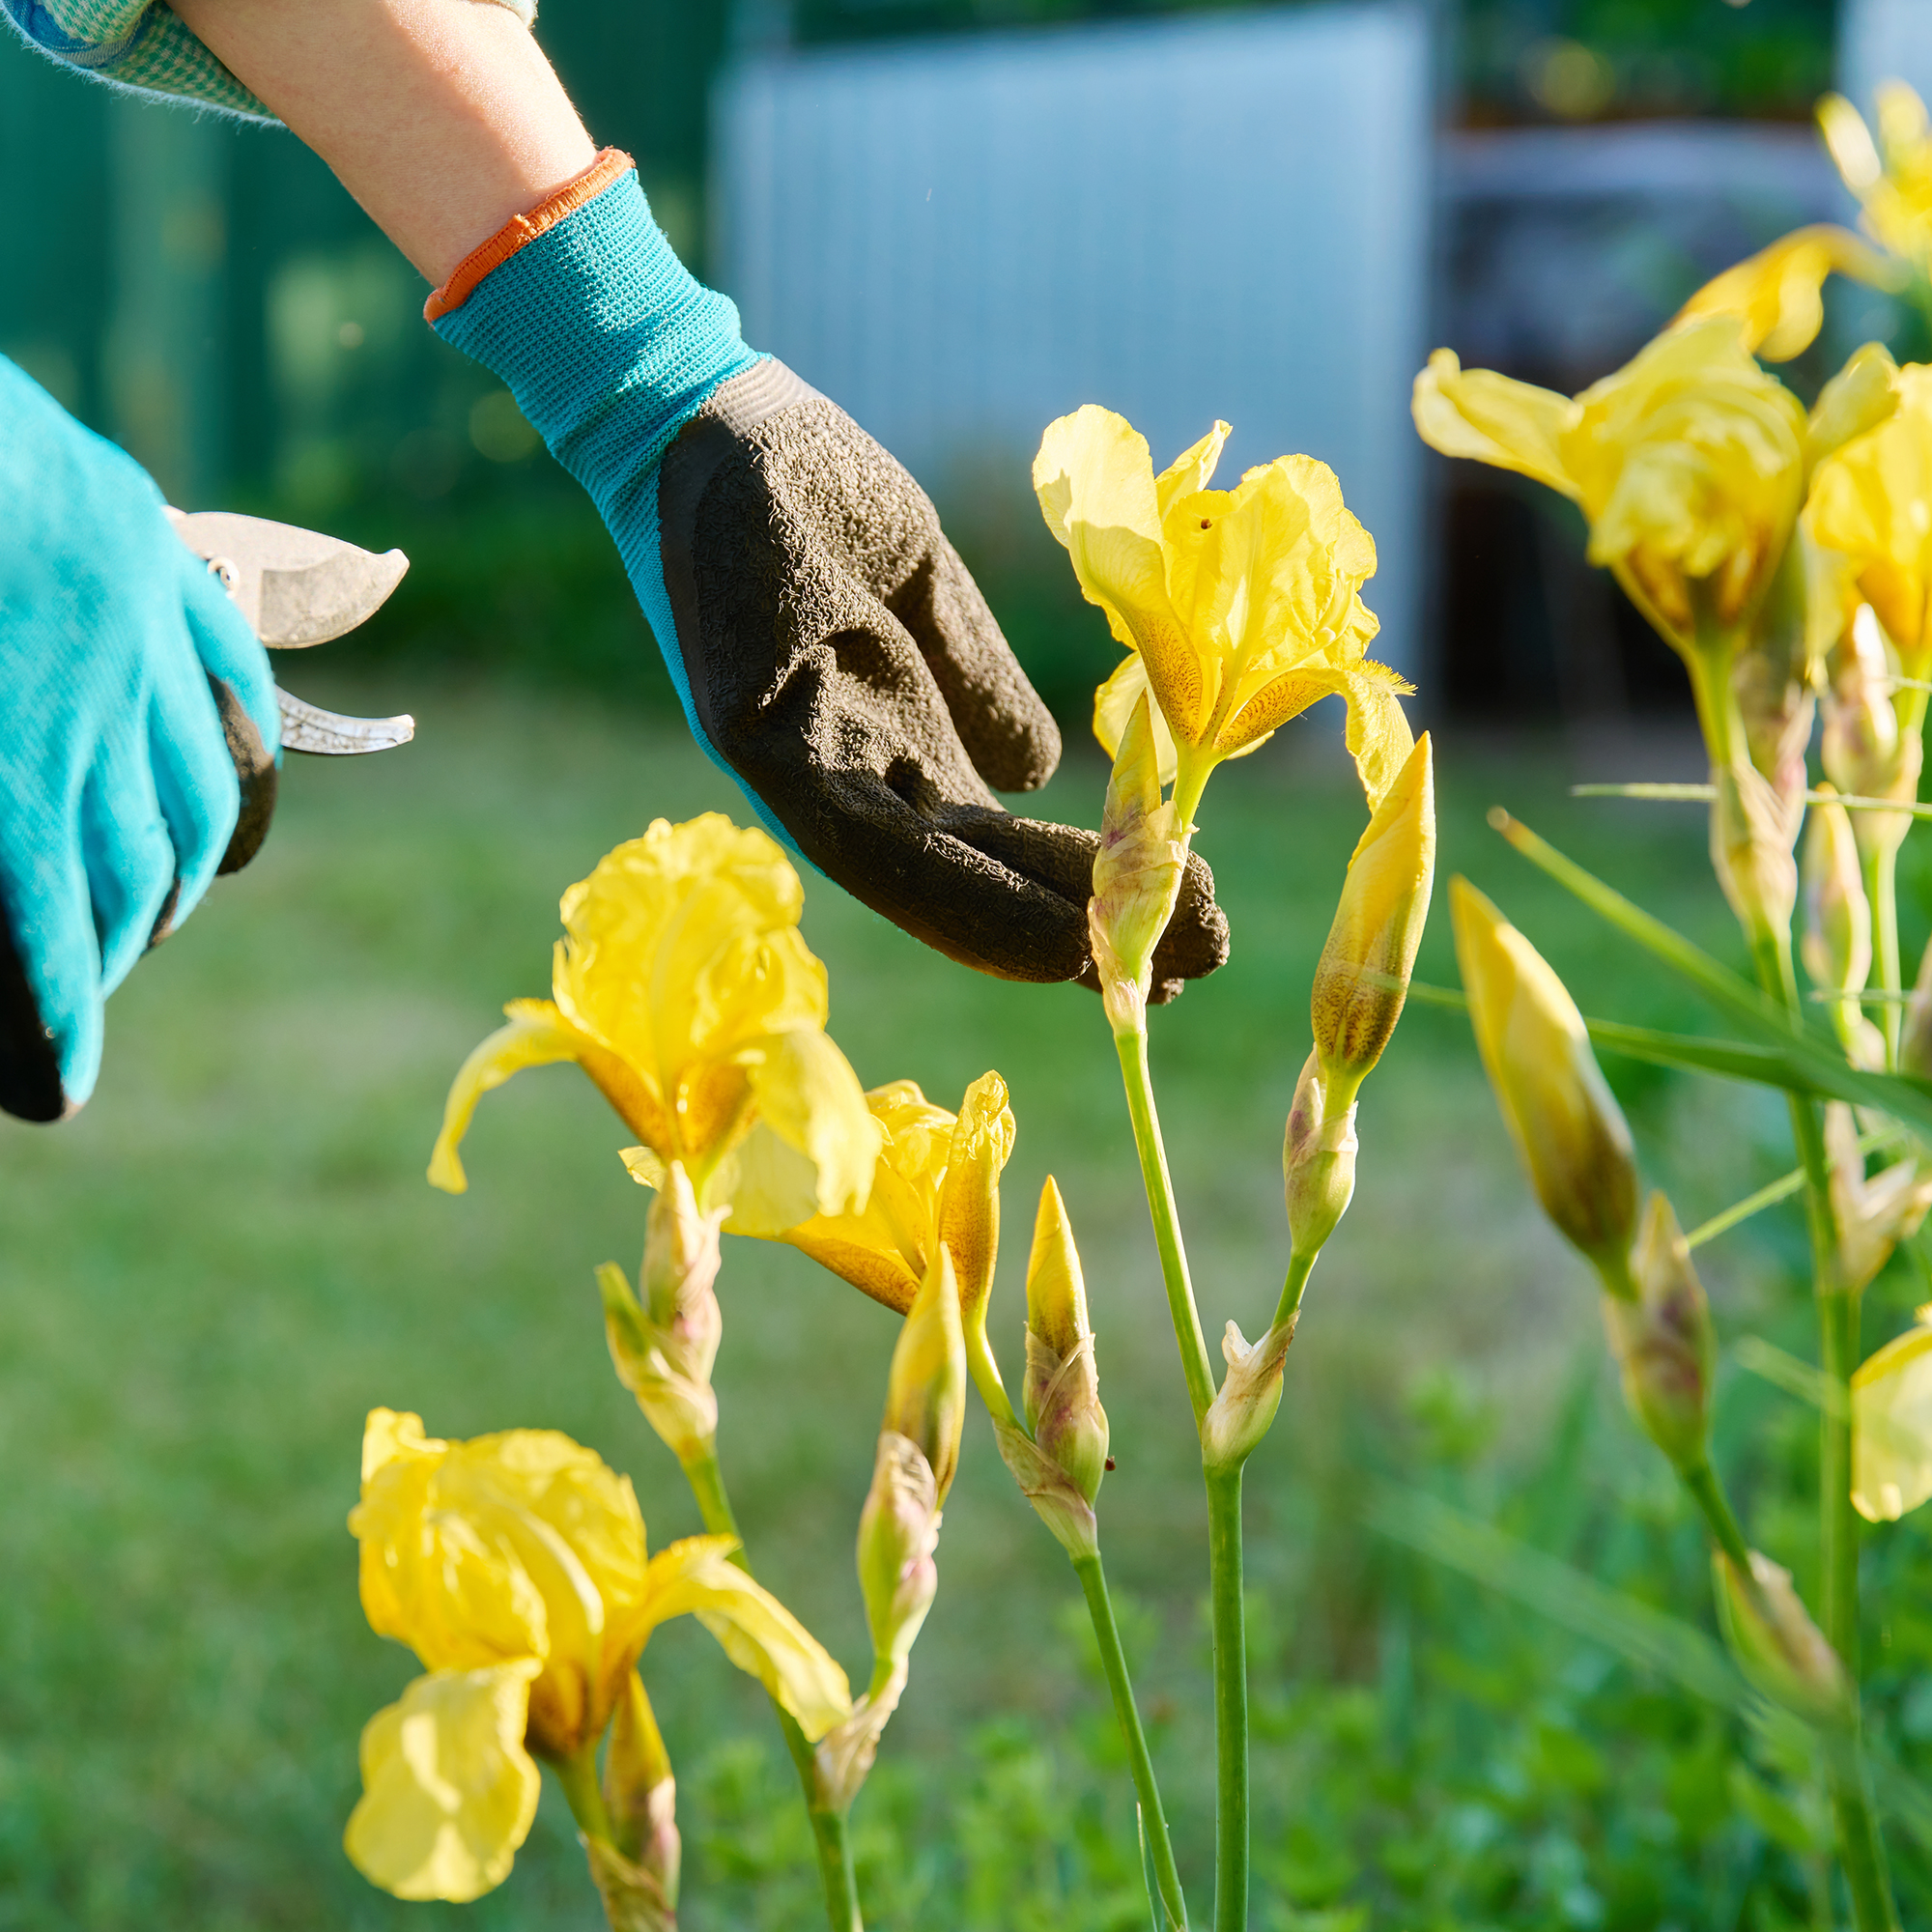
4. Cut back some healthy leaves
‘Cut back the healthy leaves, leaving around 10cm of stem out of the soil. This means that the plant will still be able to get enough sunlight, but prevents the leaves from over-growing’ suggests Steve.
5. Divide your irises if necessary
‘If your irises have become overcrowded or the rhizomes need division, this is an ideal time to perform this task,’ says Tim. ‘Dig up the clump of irises, carefully separate the healthy rhizomes, and replant them in well-prepared soil.’
This will give your irises more room to grow and thrive.
6. Don’t forget to tidy up
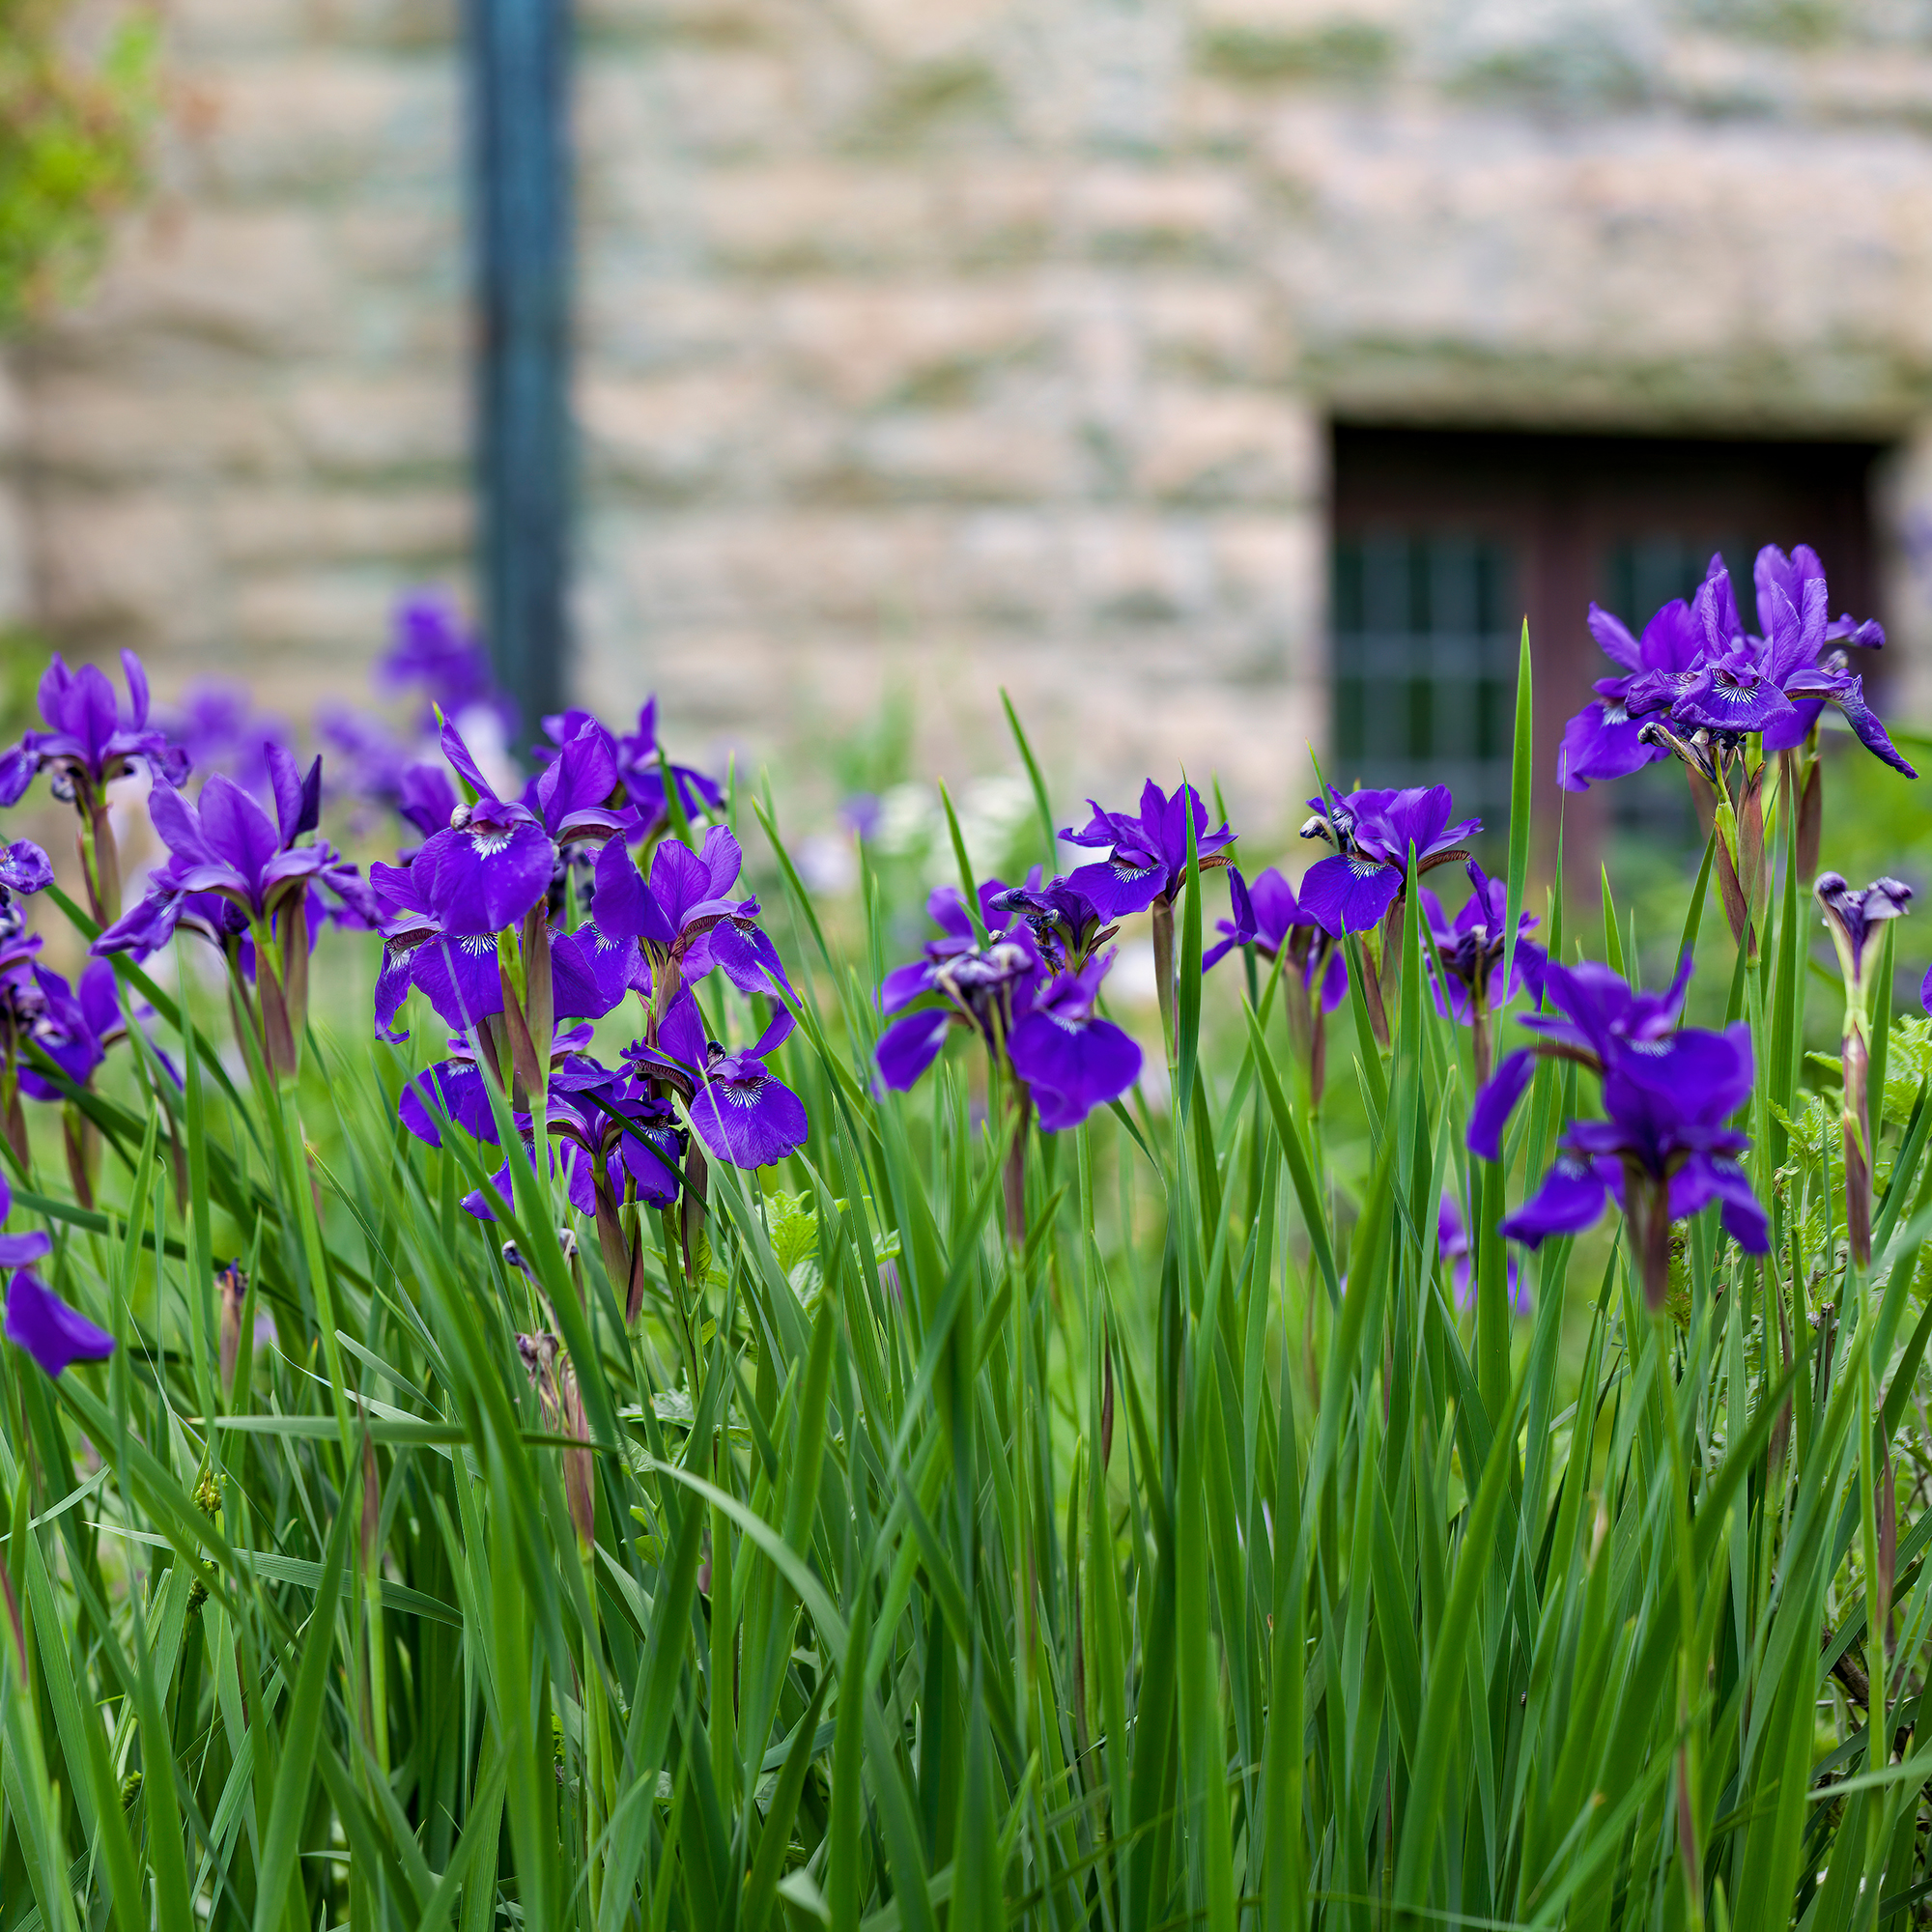
Once you’ve trimmed your irises, make sure to ‘collect your trimmed foliage into your bucket or bag,’ says Andrew. ‘This will not only make it easier to clean up but will help prevent the spread of any pests or diseases in your garden.’
As you tidy it away, it can also be a great time to check the trimmed foliage ‘and the plant for any signs of disease, such as leaf spot and rhizome rot, as these are much easier to look out for once the plant is trimmed and you can get a good look at everything,’ proffers Daniel Scholfield, Director of The Expert Gate Company.
‘If there’s any signs of disease on the plant itself, you can either attempt to rectify the situation with fungicides or remove the plant from your beds before the infection has a chance to spread. If the infection seems to be contained to parts of the plant that you have cut off, then simply put them in your regular waste bin and keep an eye on the plant for any signs of the infection going forward,’ he continues.
And don’t forget to clean and disinfect your tools once you complete this gardening job.
7. Water and potentially fertilise and/or mulch
‘After cutting back your irises, give them a good watering to help them recover from the pruning,’ Josh remarks. You can also apply a balanced fertiliser to give your plants extra nutrients. While ‘adding mulch will also help by keeping weeds at bay and retaining moisture for the irises,’ Josh adds. But these are both optional steps.

Ellis Cochrane has been a Freelance Contributor for Ideal Home since 2023. Ellis has been writing about homes, interiors and gardens for four years now, with her also contributing to House Beautiful, Country Living, Expert Reviews, Real Homes and Stylist.