Are robot lawn mowers worth it? We tried the Flymo EasiLife GO 250 Robotic Lawn Mower to see if it's worth the investment
Tired of mowing the lawn? This smart, little robot will do it for you.
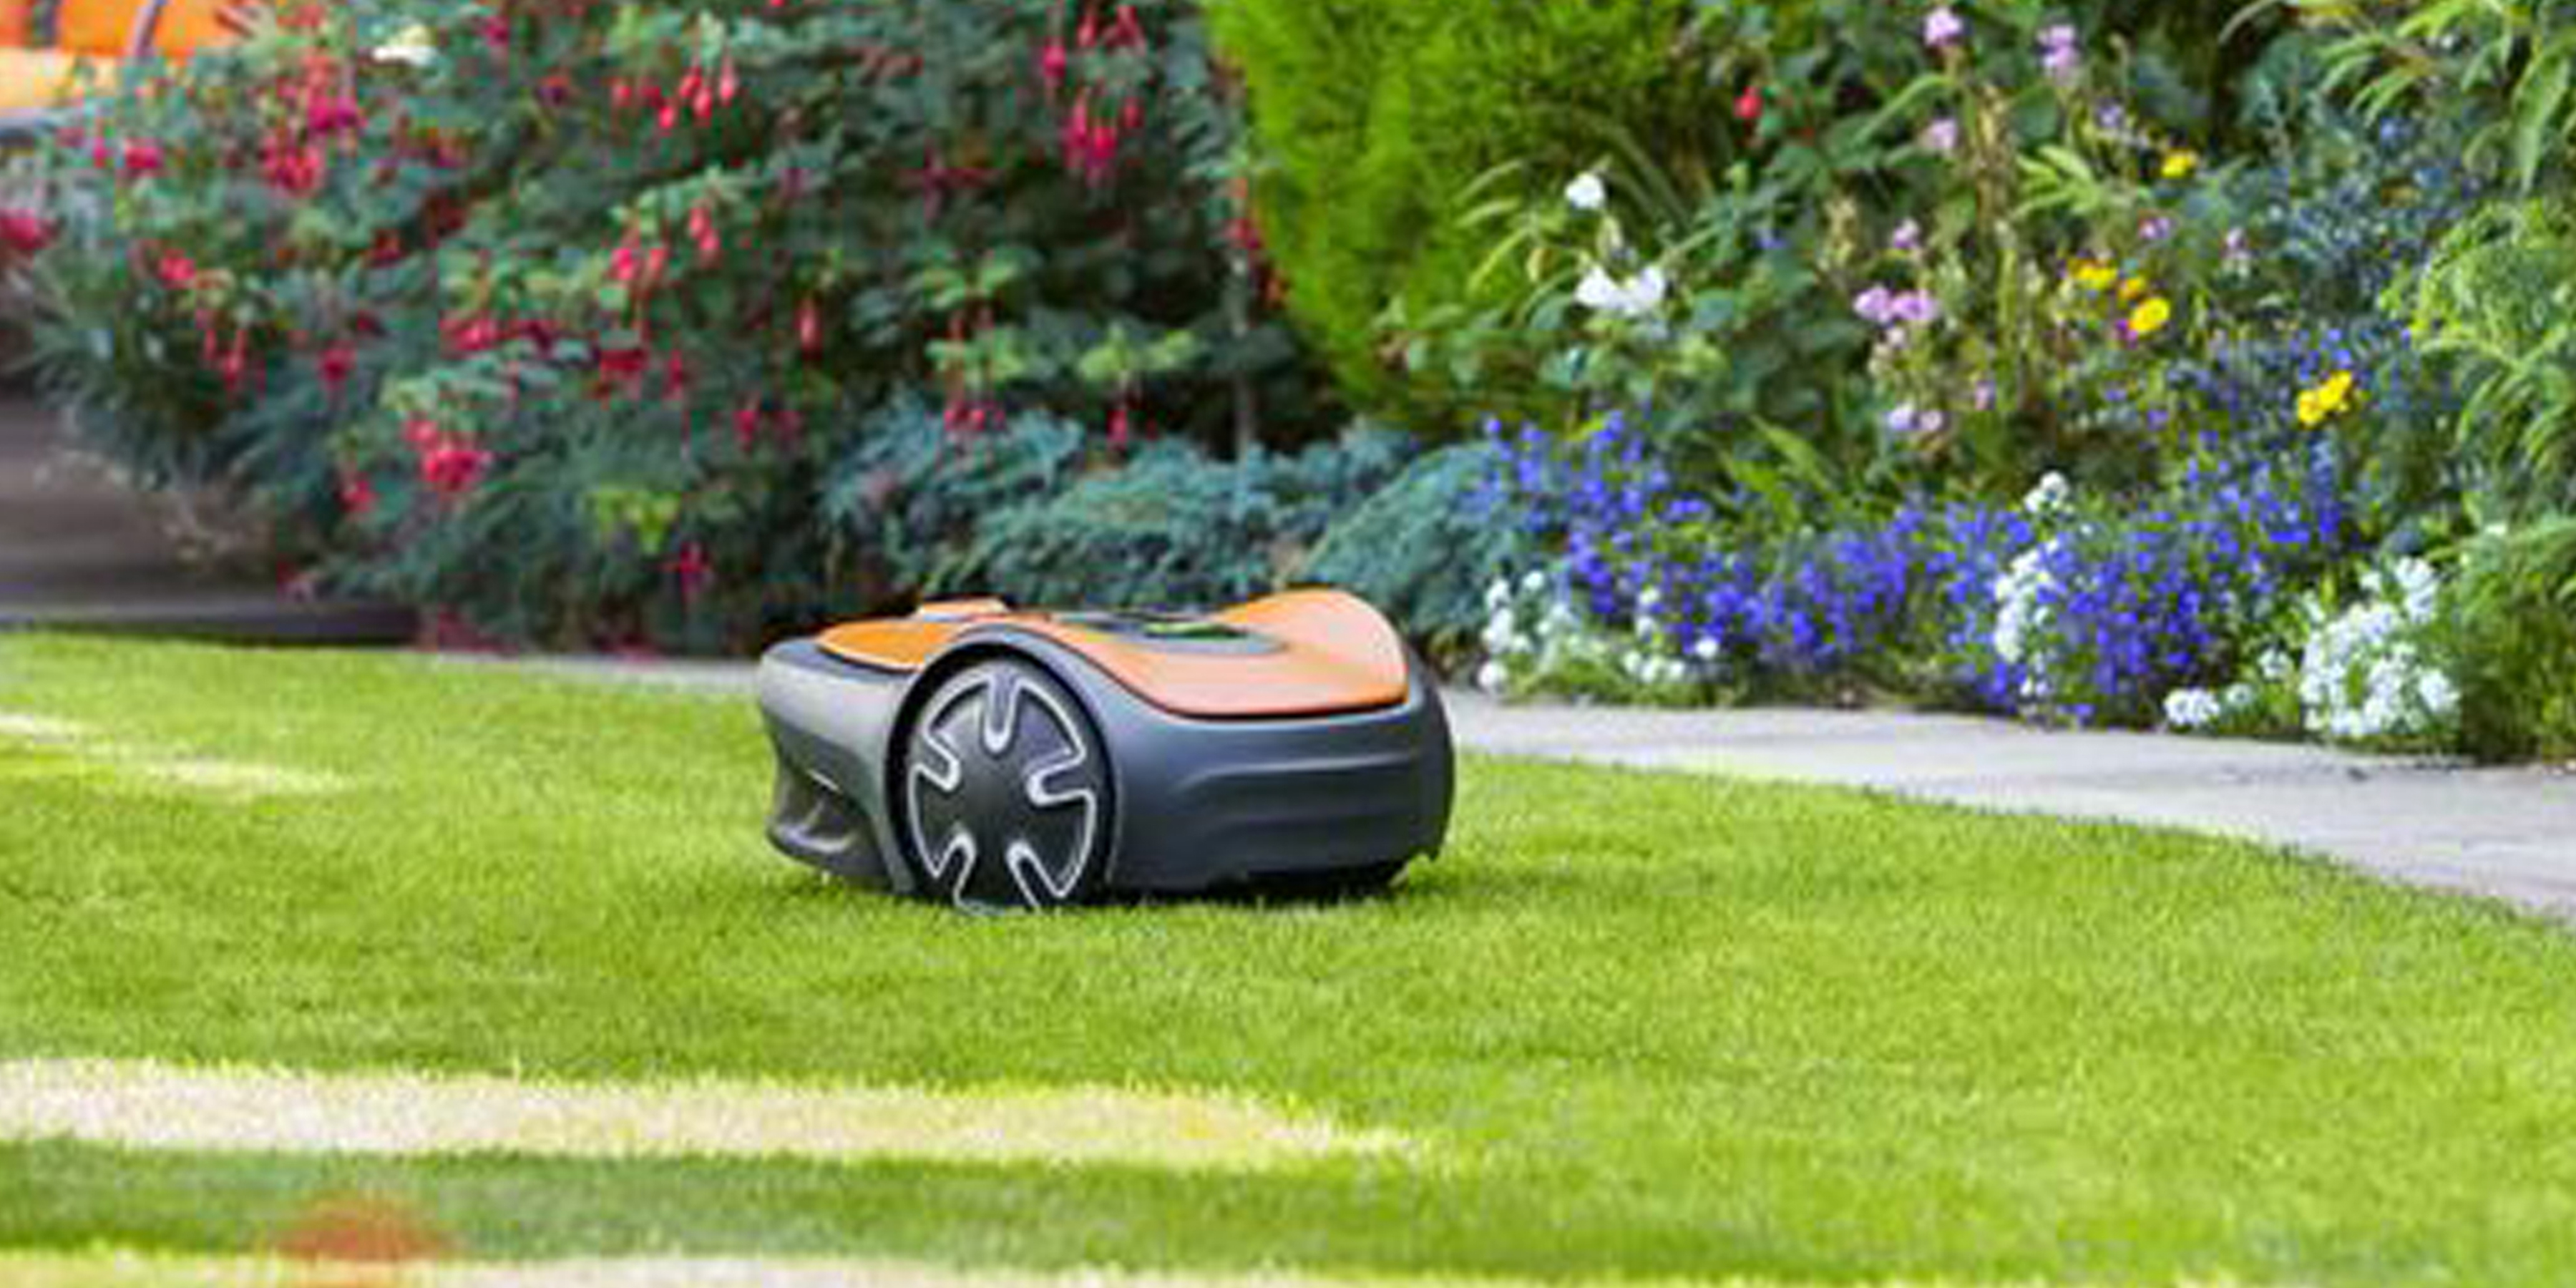
The Flymo EasiLife GO 250 Robot Lawn Mower is a steep investment at £639.99, though it is seriously kitted out with the features you need to automate your lawn mowing schedule. With a barely noticeable presence in your back garden, we found that this is a star buy for keeping things neat and tidy - if you can stretch to the RRP.
-
+
Effective mowing
-
+
Subtle presence, with quiet operation and gentle movement
-
+
An accessible introduction to robotic lawnmowers
-
-
Product type requires an outdoor power supply
-
-
The app is a bit fiddly
Why you can trust Ideal Home
Robotic lawnmowers have become much more accessible and affordable since the first examples started nibbling tech lovers’ lawns in the mid-noughties.
Nowadays, you can get hold of a quality robotic lawnmower for roughly double the price of a regular iteration of the best lawn mowers. For many gardeners, the massive saving on time and effort that a robot mower can bring is well worth the added investment.
In this review, our product tester gets to grips with the Flymo EasiLife GO 250, a highly-rated, low-maintenance robotic lawnmower that’s ideal for tending small or medium-sized lawns up to 250㎡. The downside? It comes in at £639.99.
Let’s find out whether this robotic mower really does make life easier, and whether that price tag is worth paying.
Flymo EasiLife GO 250 Robotic Lawn Mower product specs
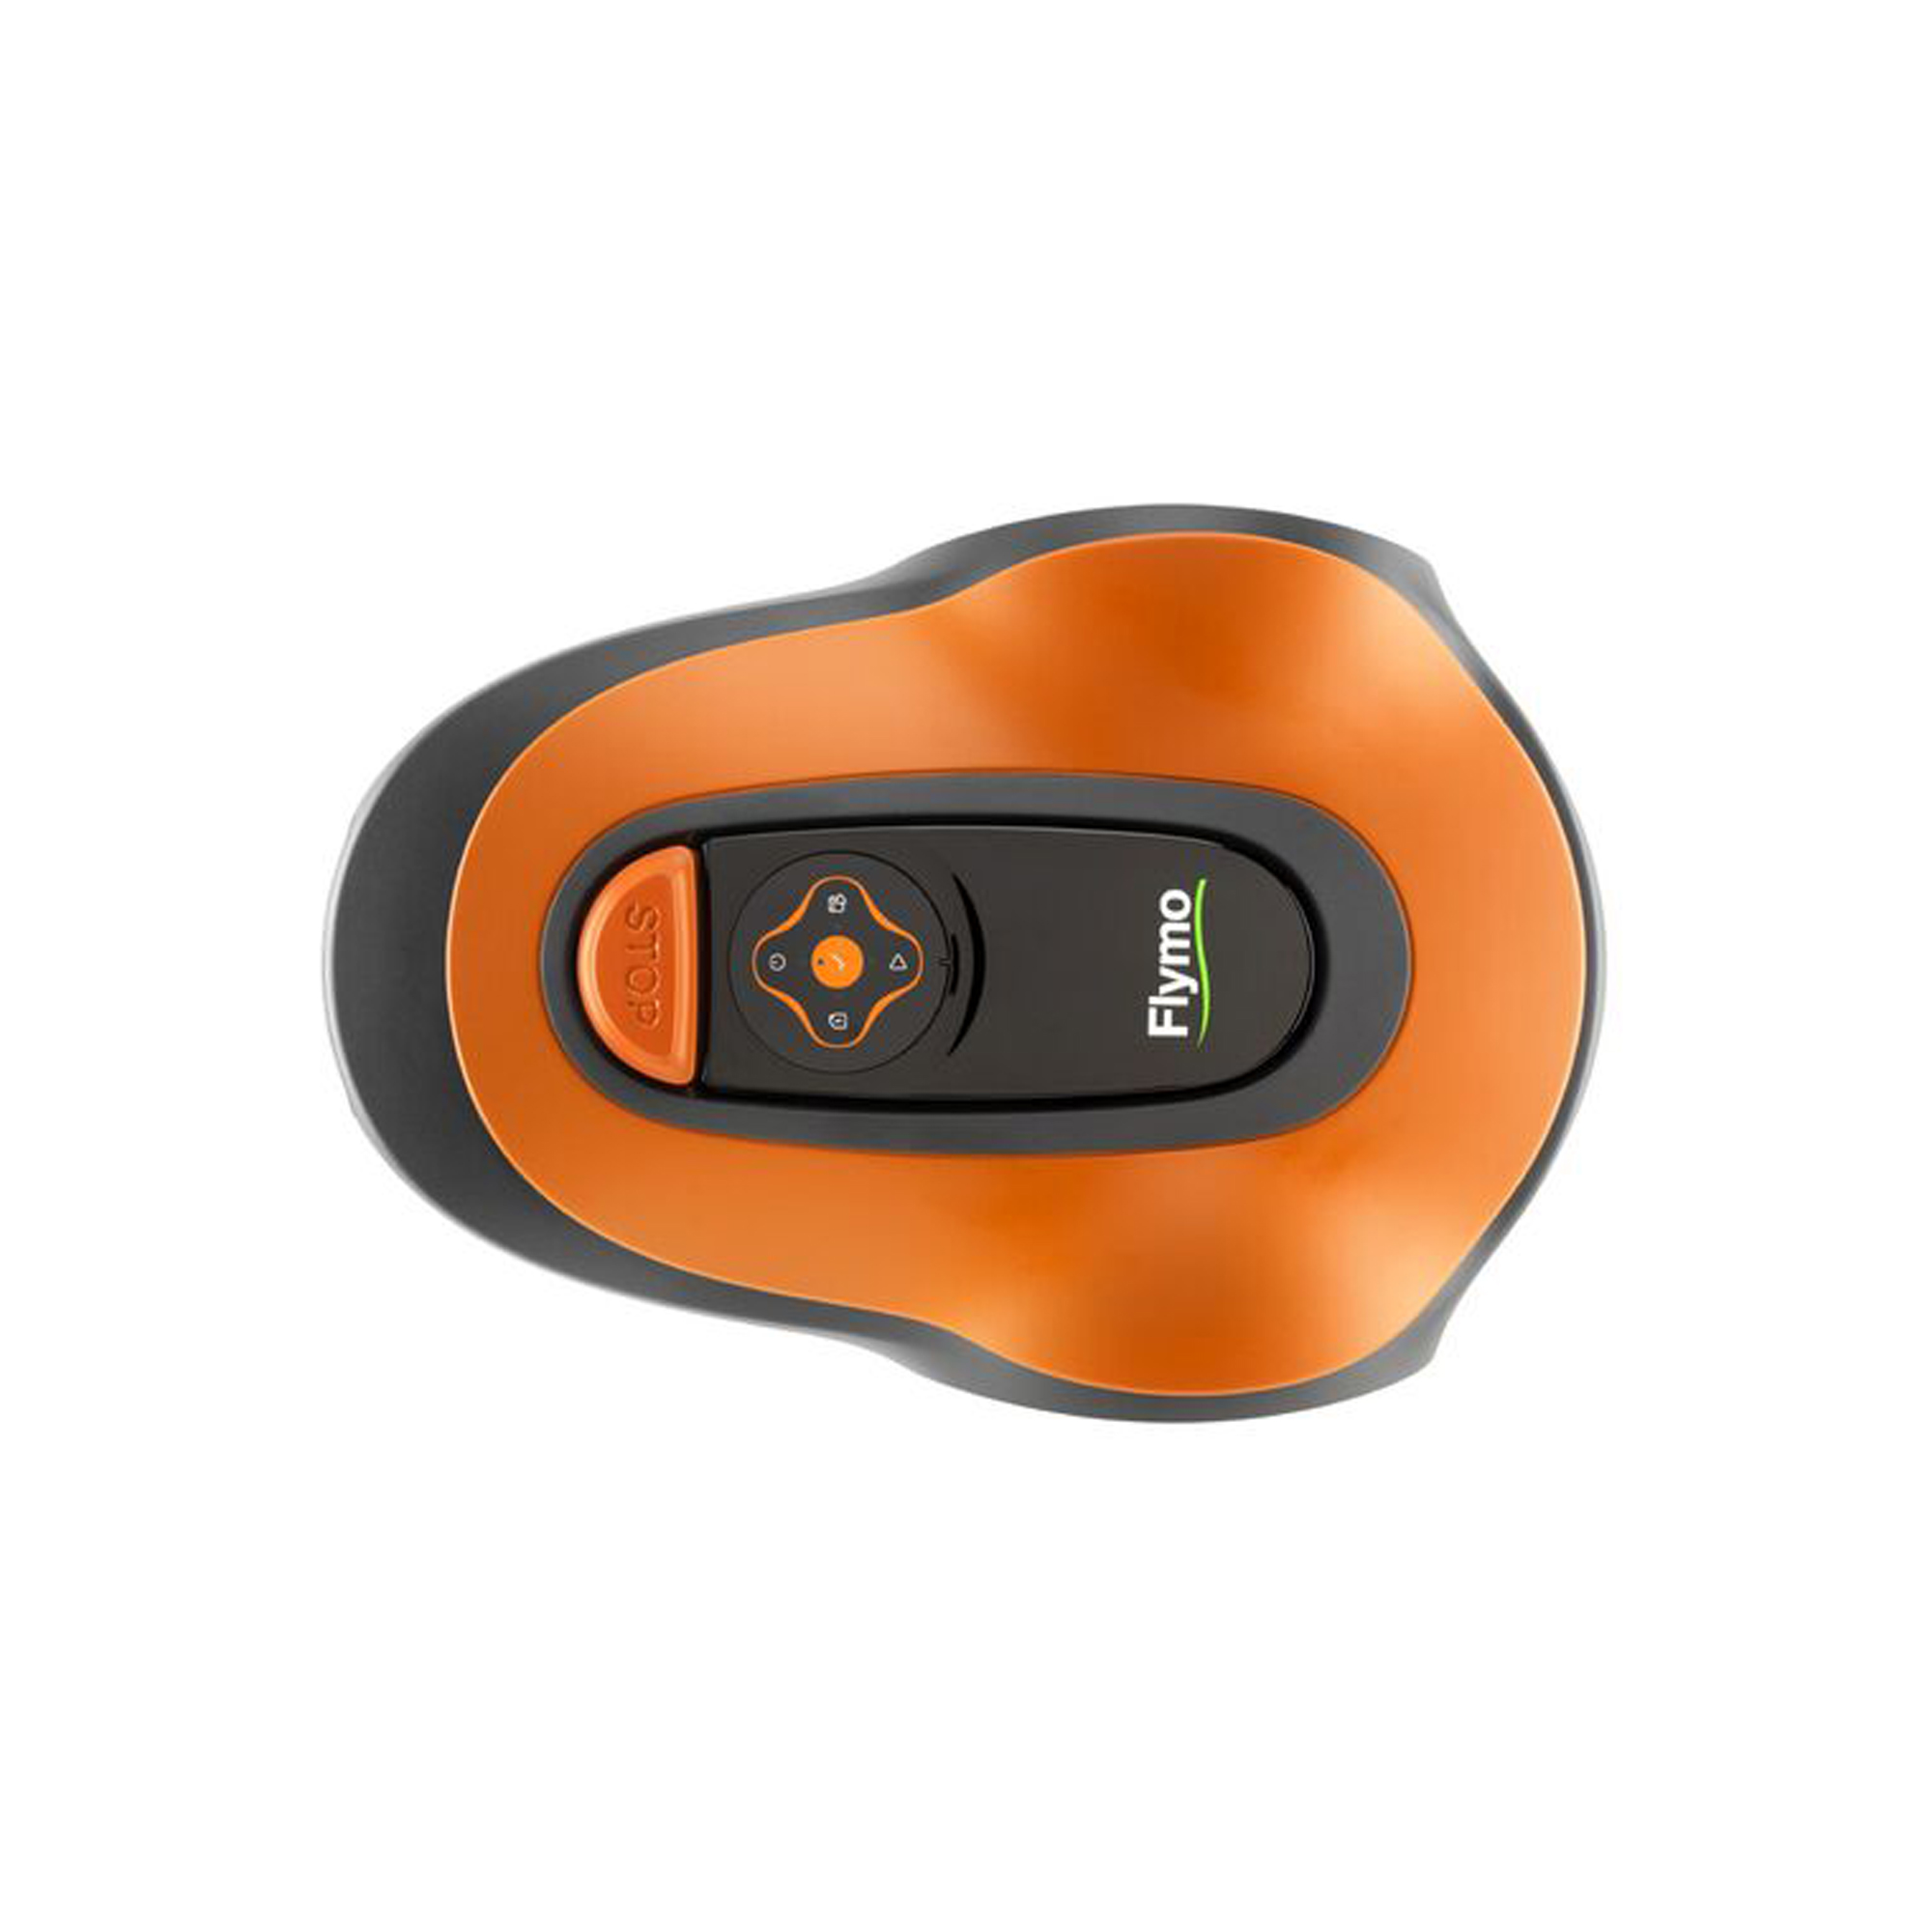
- Cutting width: 16cm
- Cutting height: 20-50mm
- Maximum lawn area: 250㎡
- Slope tolerance: 25%
- Max noise level: 58db
- Dimensions: 51.8 x 33.7 x 21.5 cm
- Mower weight: 12.44kg
Who reviewed this robot lawn mower?

Pete Wise is a freelance writer and product reviewer from Leeds. His articles about gardening products have been published by titles including The Independent, Evening Standard – and now, Ideal Home. When Pete isn’t busy writing, he can often be found in one of his local libraries, pubs or national parks.
Setting up the Flymo EasiLife GO 250 Robotic Lawn Mower
Before you start using the EasiLife GO 250, there’s a fair amount of setup to complete. You’ll need to prepare multiple components, including the charging dock where the robot will power up, the boundary wire that will mark out the area where the robot can mow, the robotic lawnmower itself, and its companion app.
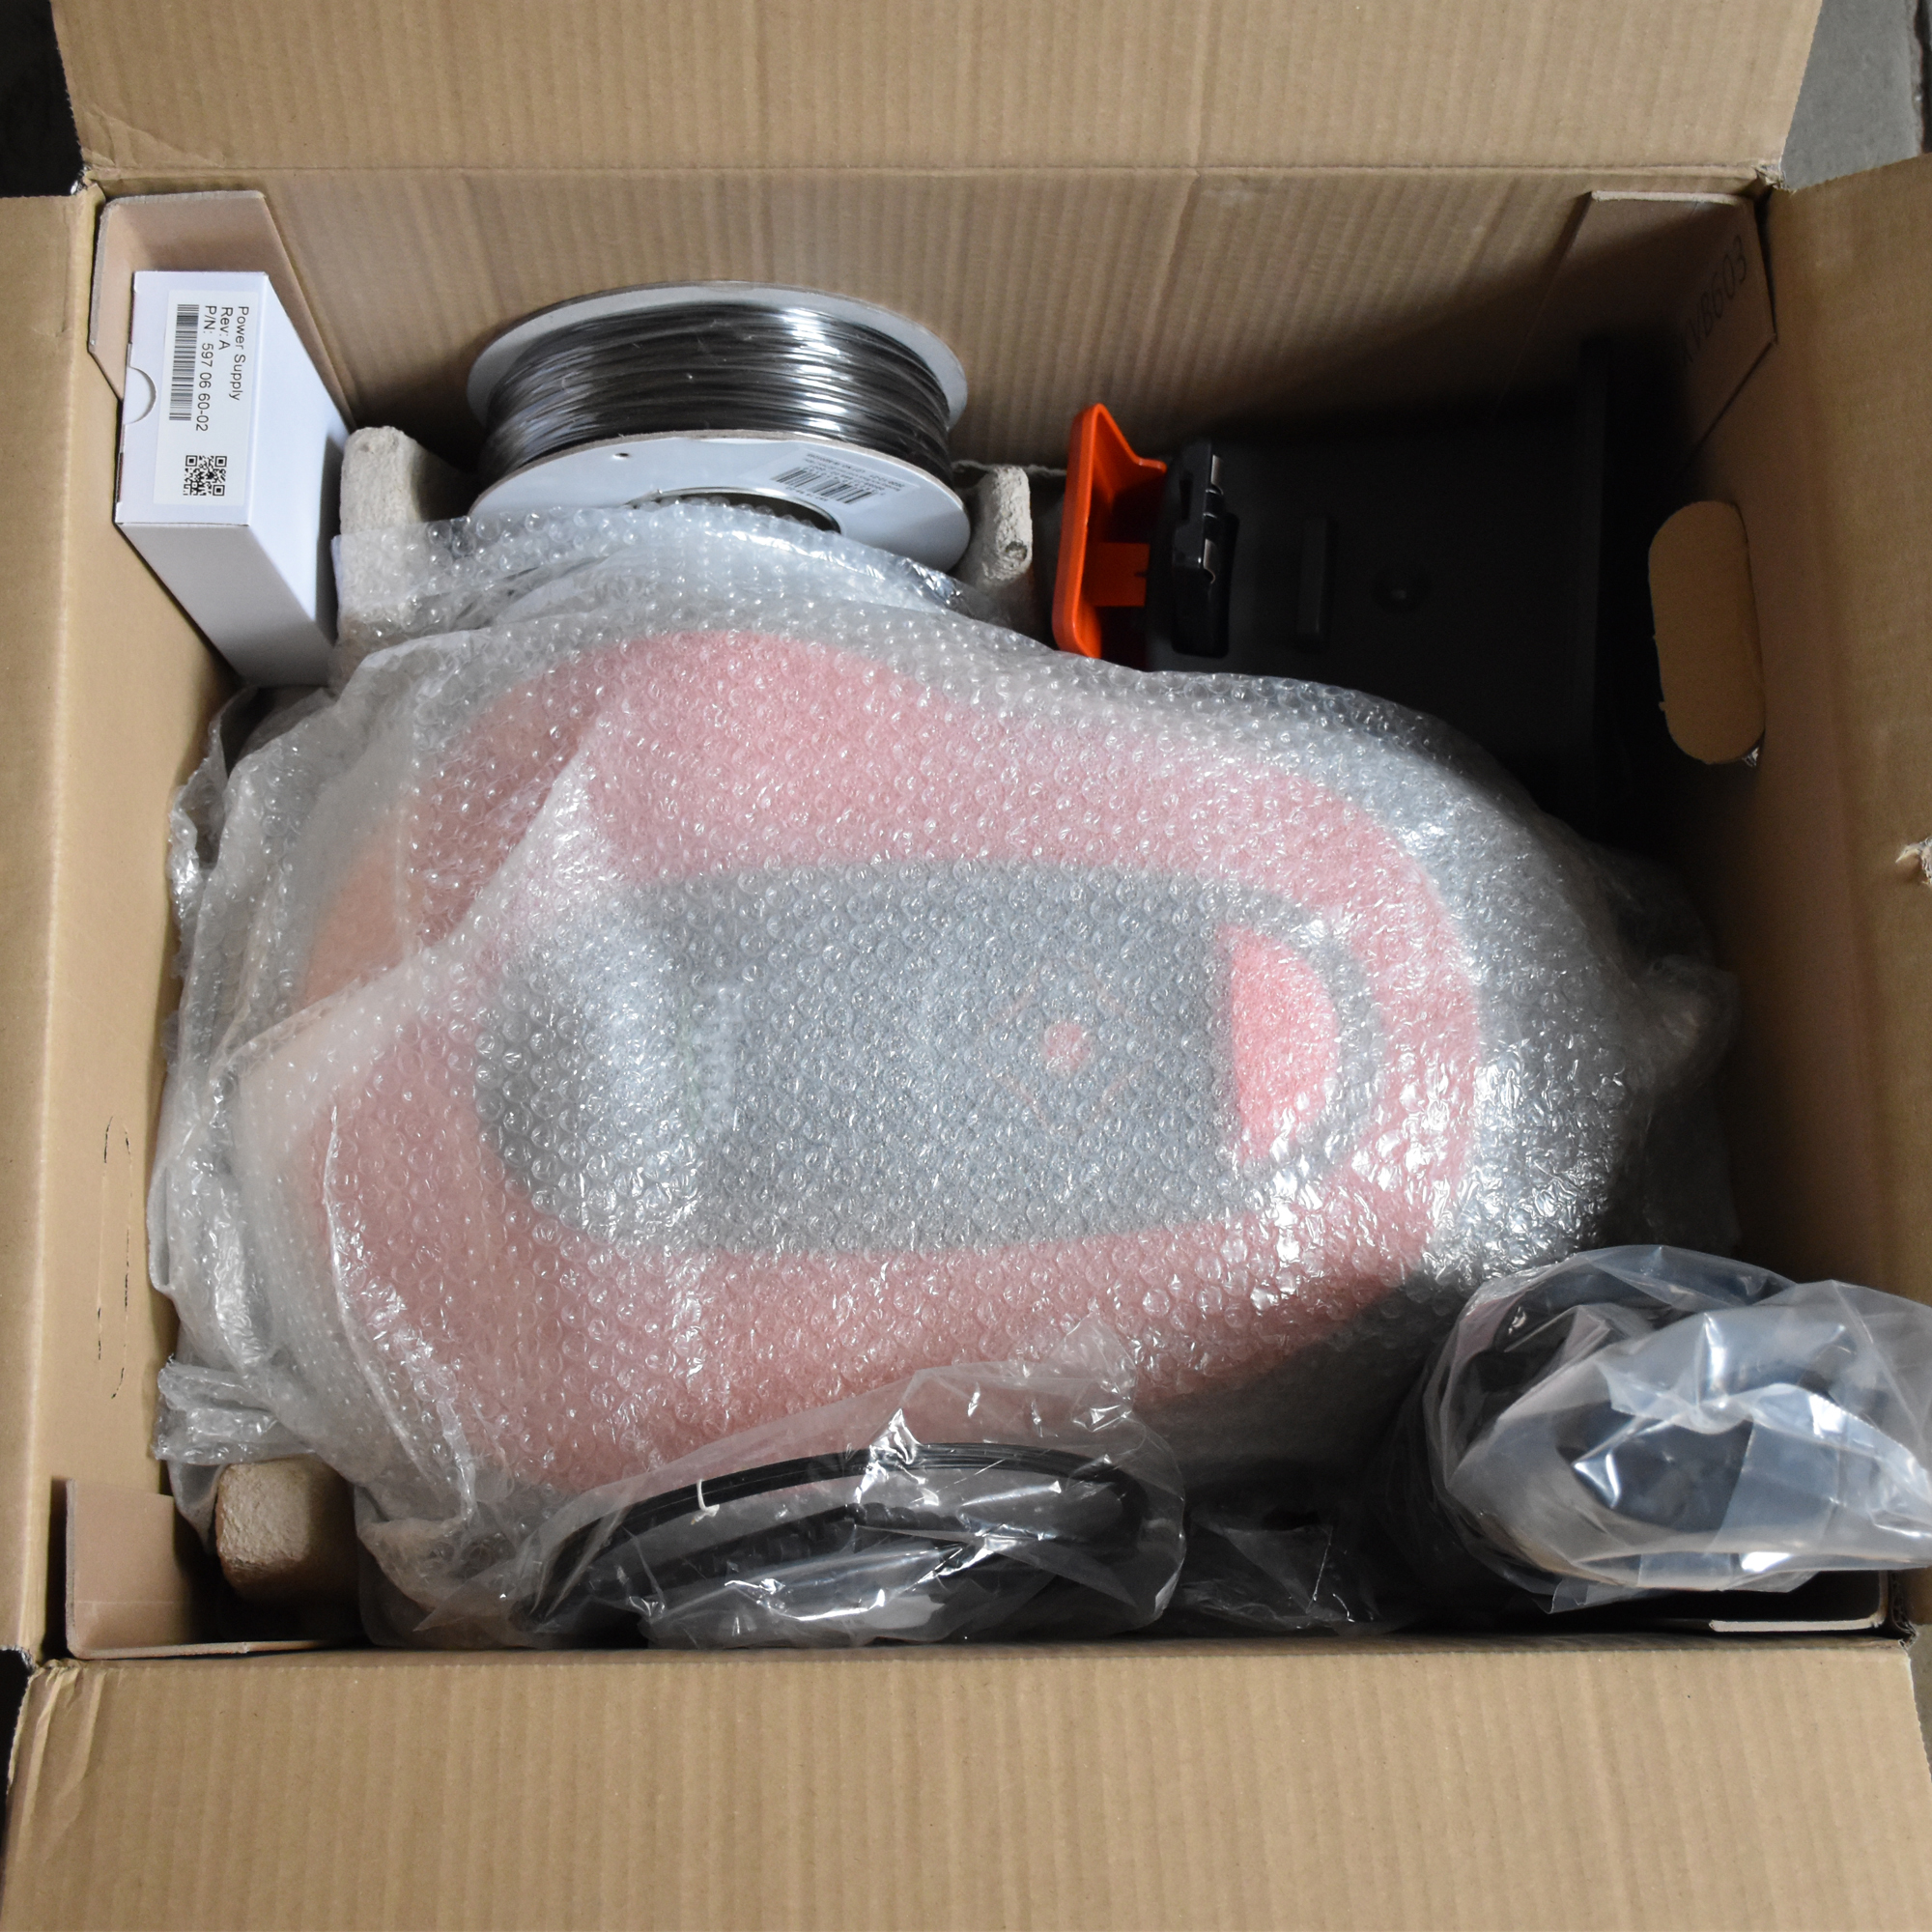
The setup process starts with the charging dock. Think carefully about where to place this dock. It needs to be in a location where it can be supplied by an outdoor power socket, in such a way that the power cable does not cause a trip hazard or impede a driveway. There’s no possibility of using the mower without a constant mains power supply, as both the charging dock and the boundary cable need to be powered at all times. Also, consider the security of the robot: can it stay outside in your chosen place, without a high risk of theft? By the way, it takes a bit of force to click together the two parts of the charging dock, so don’t be shy about it.
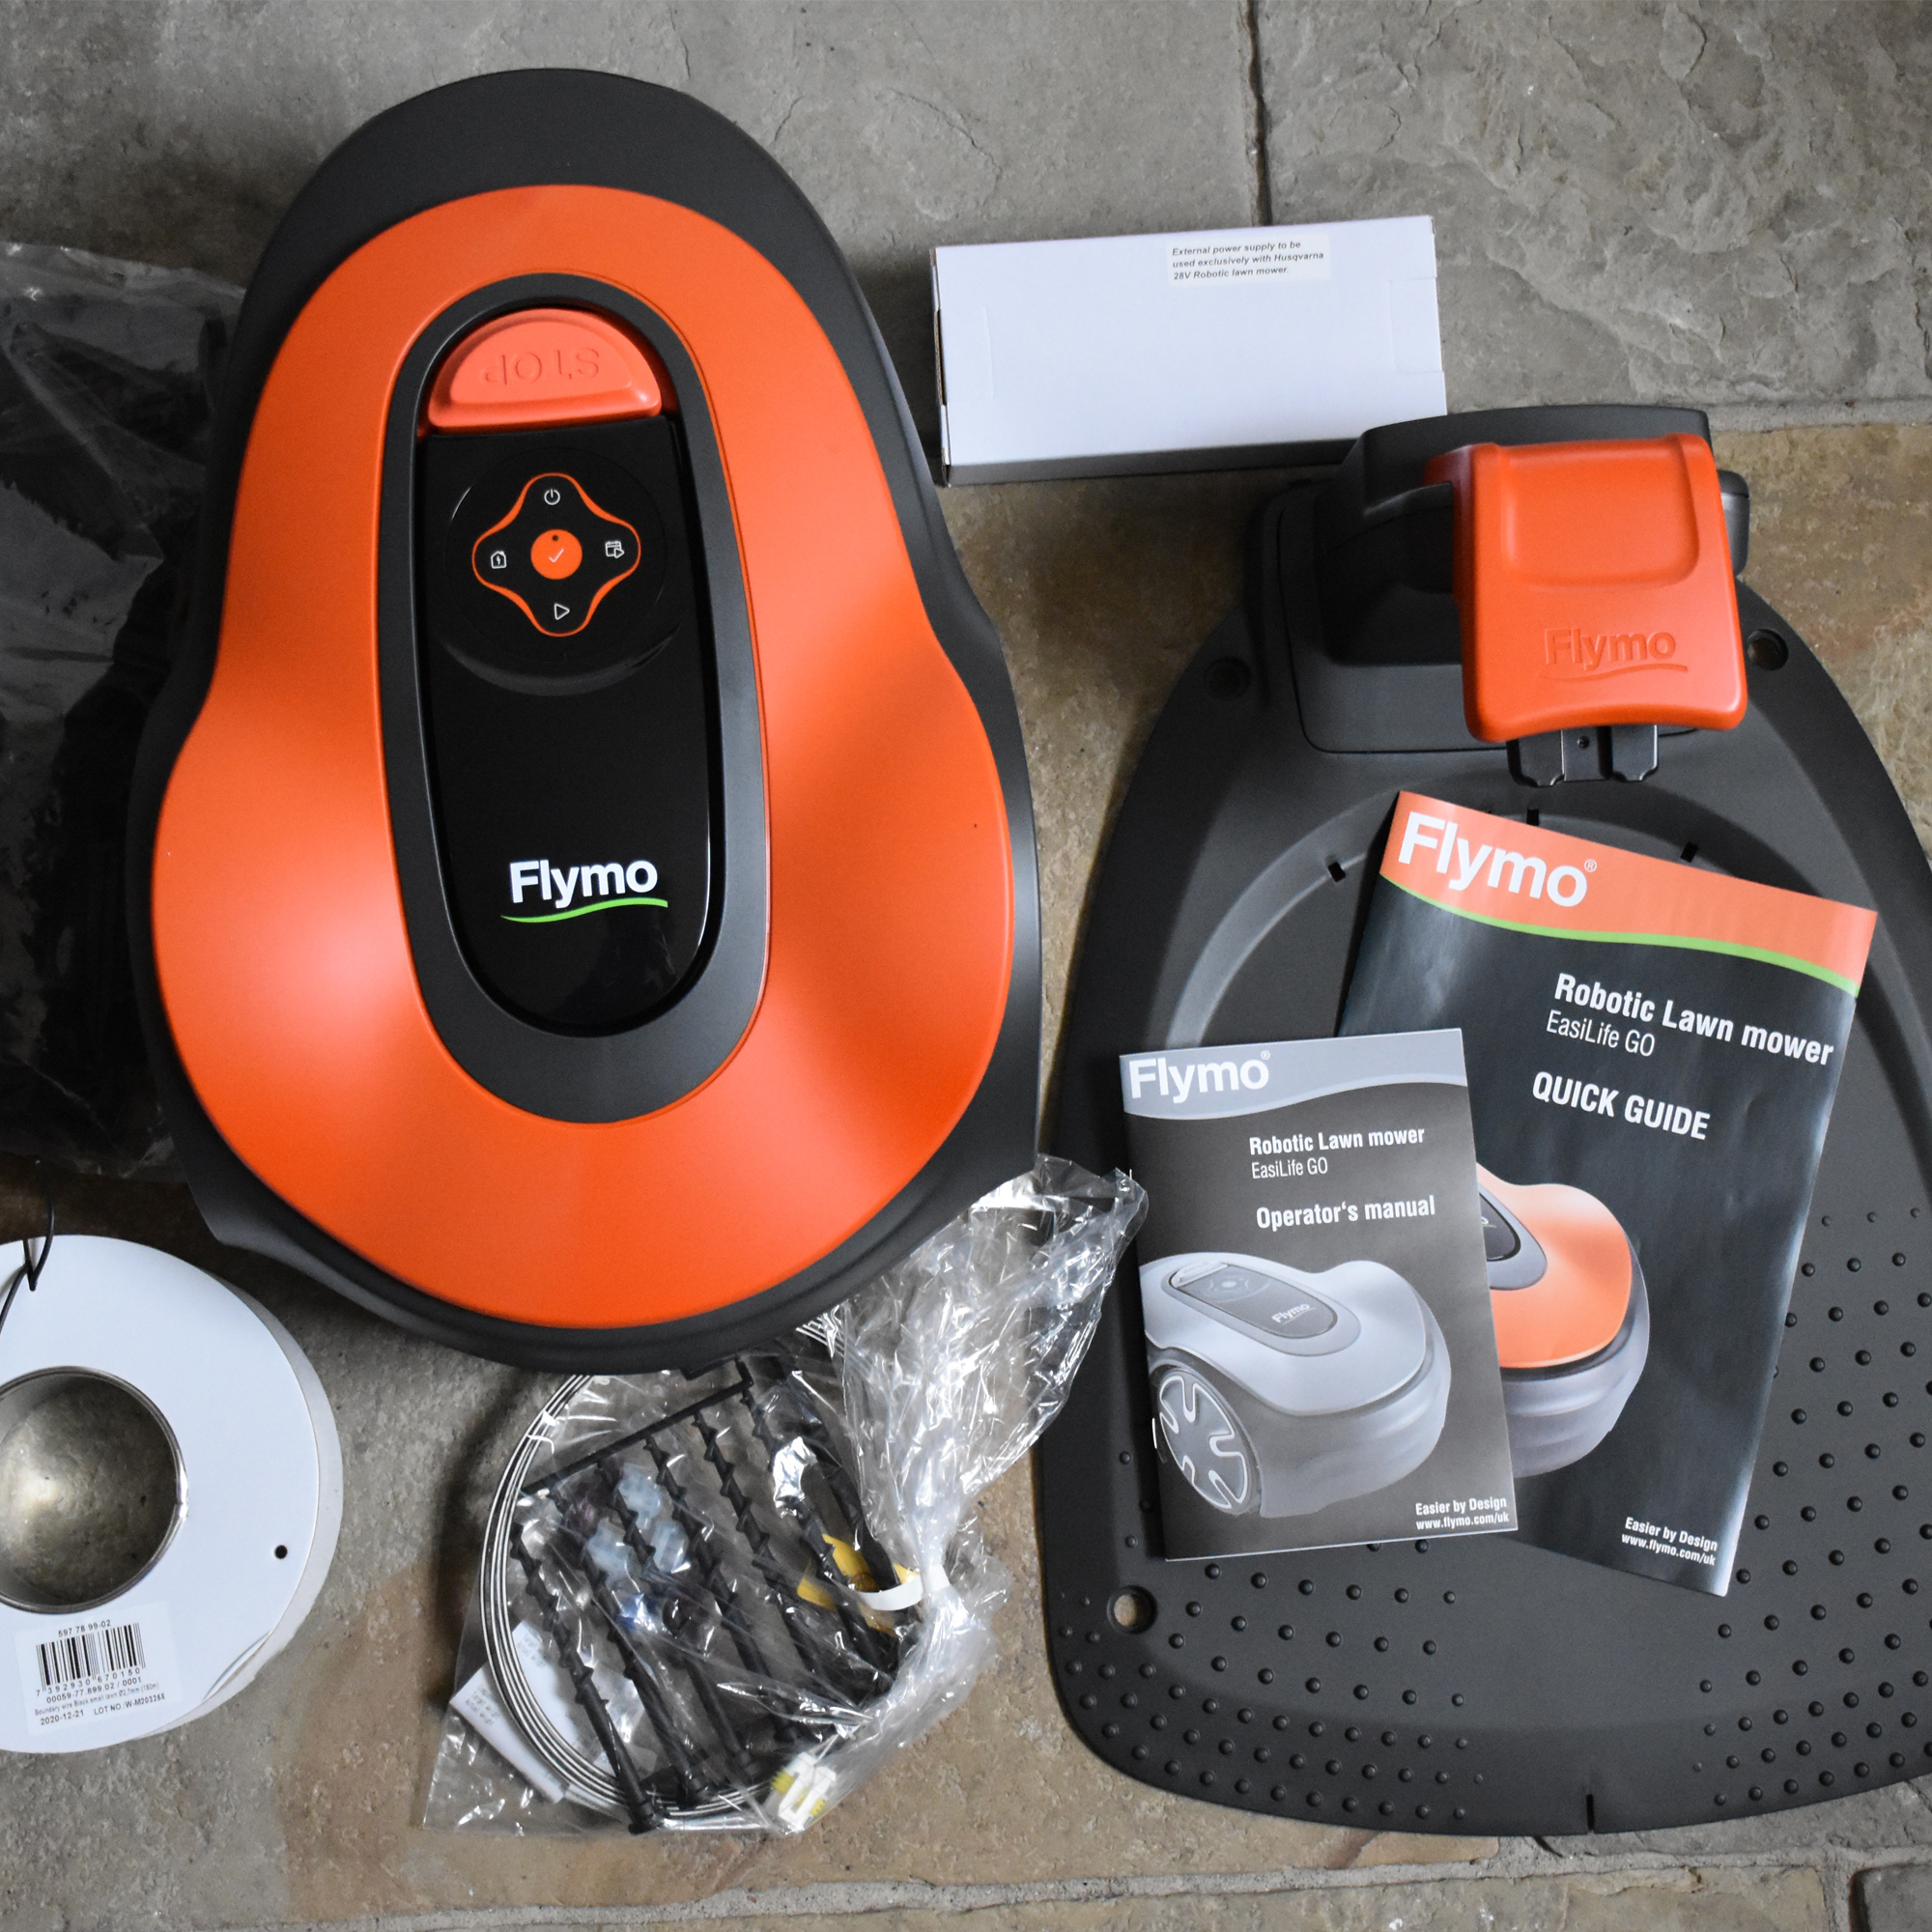
Setting up the connection between the charging dock and the power supply is a simple case of connecting a few cables. Once the dock is connected to the mains, you can slot the robot lawnmower into its charging position, allowing it to power up while you lay the boundary wire.
Sign up to our newsletter for style inspiration, real homes, project and garden advice and shopping know-how
The boundary wire is a crucial component that ensures the robot only cuts where you want it to cut. It’s an electrical wire that plugs into the charging base, so that it can emit a signal that tells the mower not to travel beyond it. There are two ways to install the boundary wire: stake it out (we chose this option) or bury it. You may need a soft-faced hammer or mallet to drive in the stakes, depending on the hardness of your soil. The front of the robot will actually cross the boundary wire by about 20 cm, so leave a good amount of distance between the wire and delicate plants or objects.
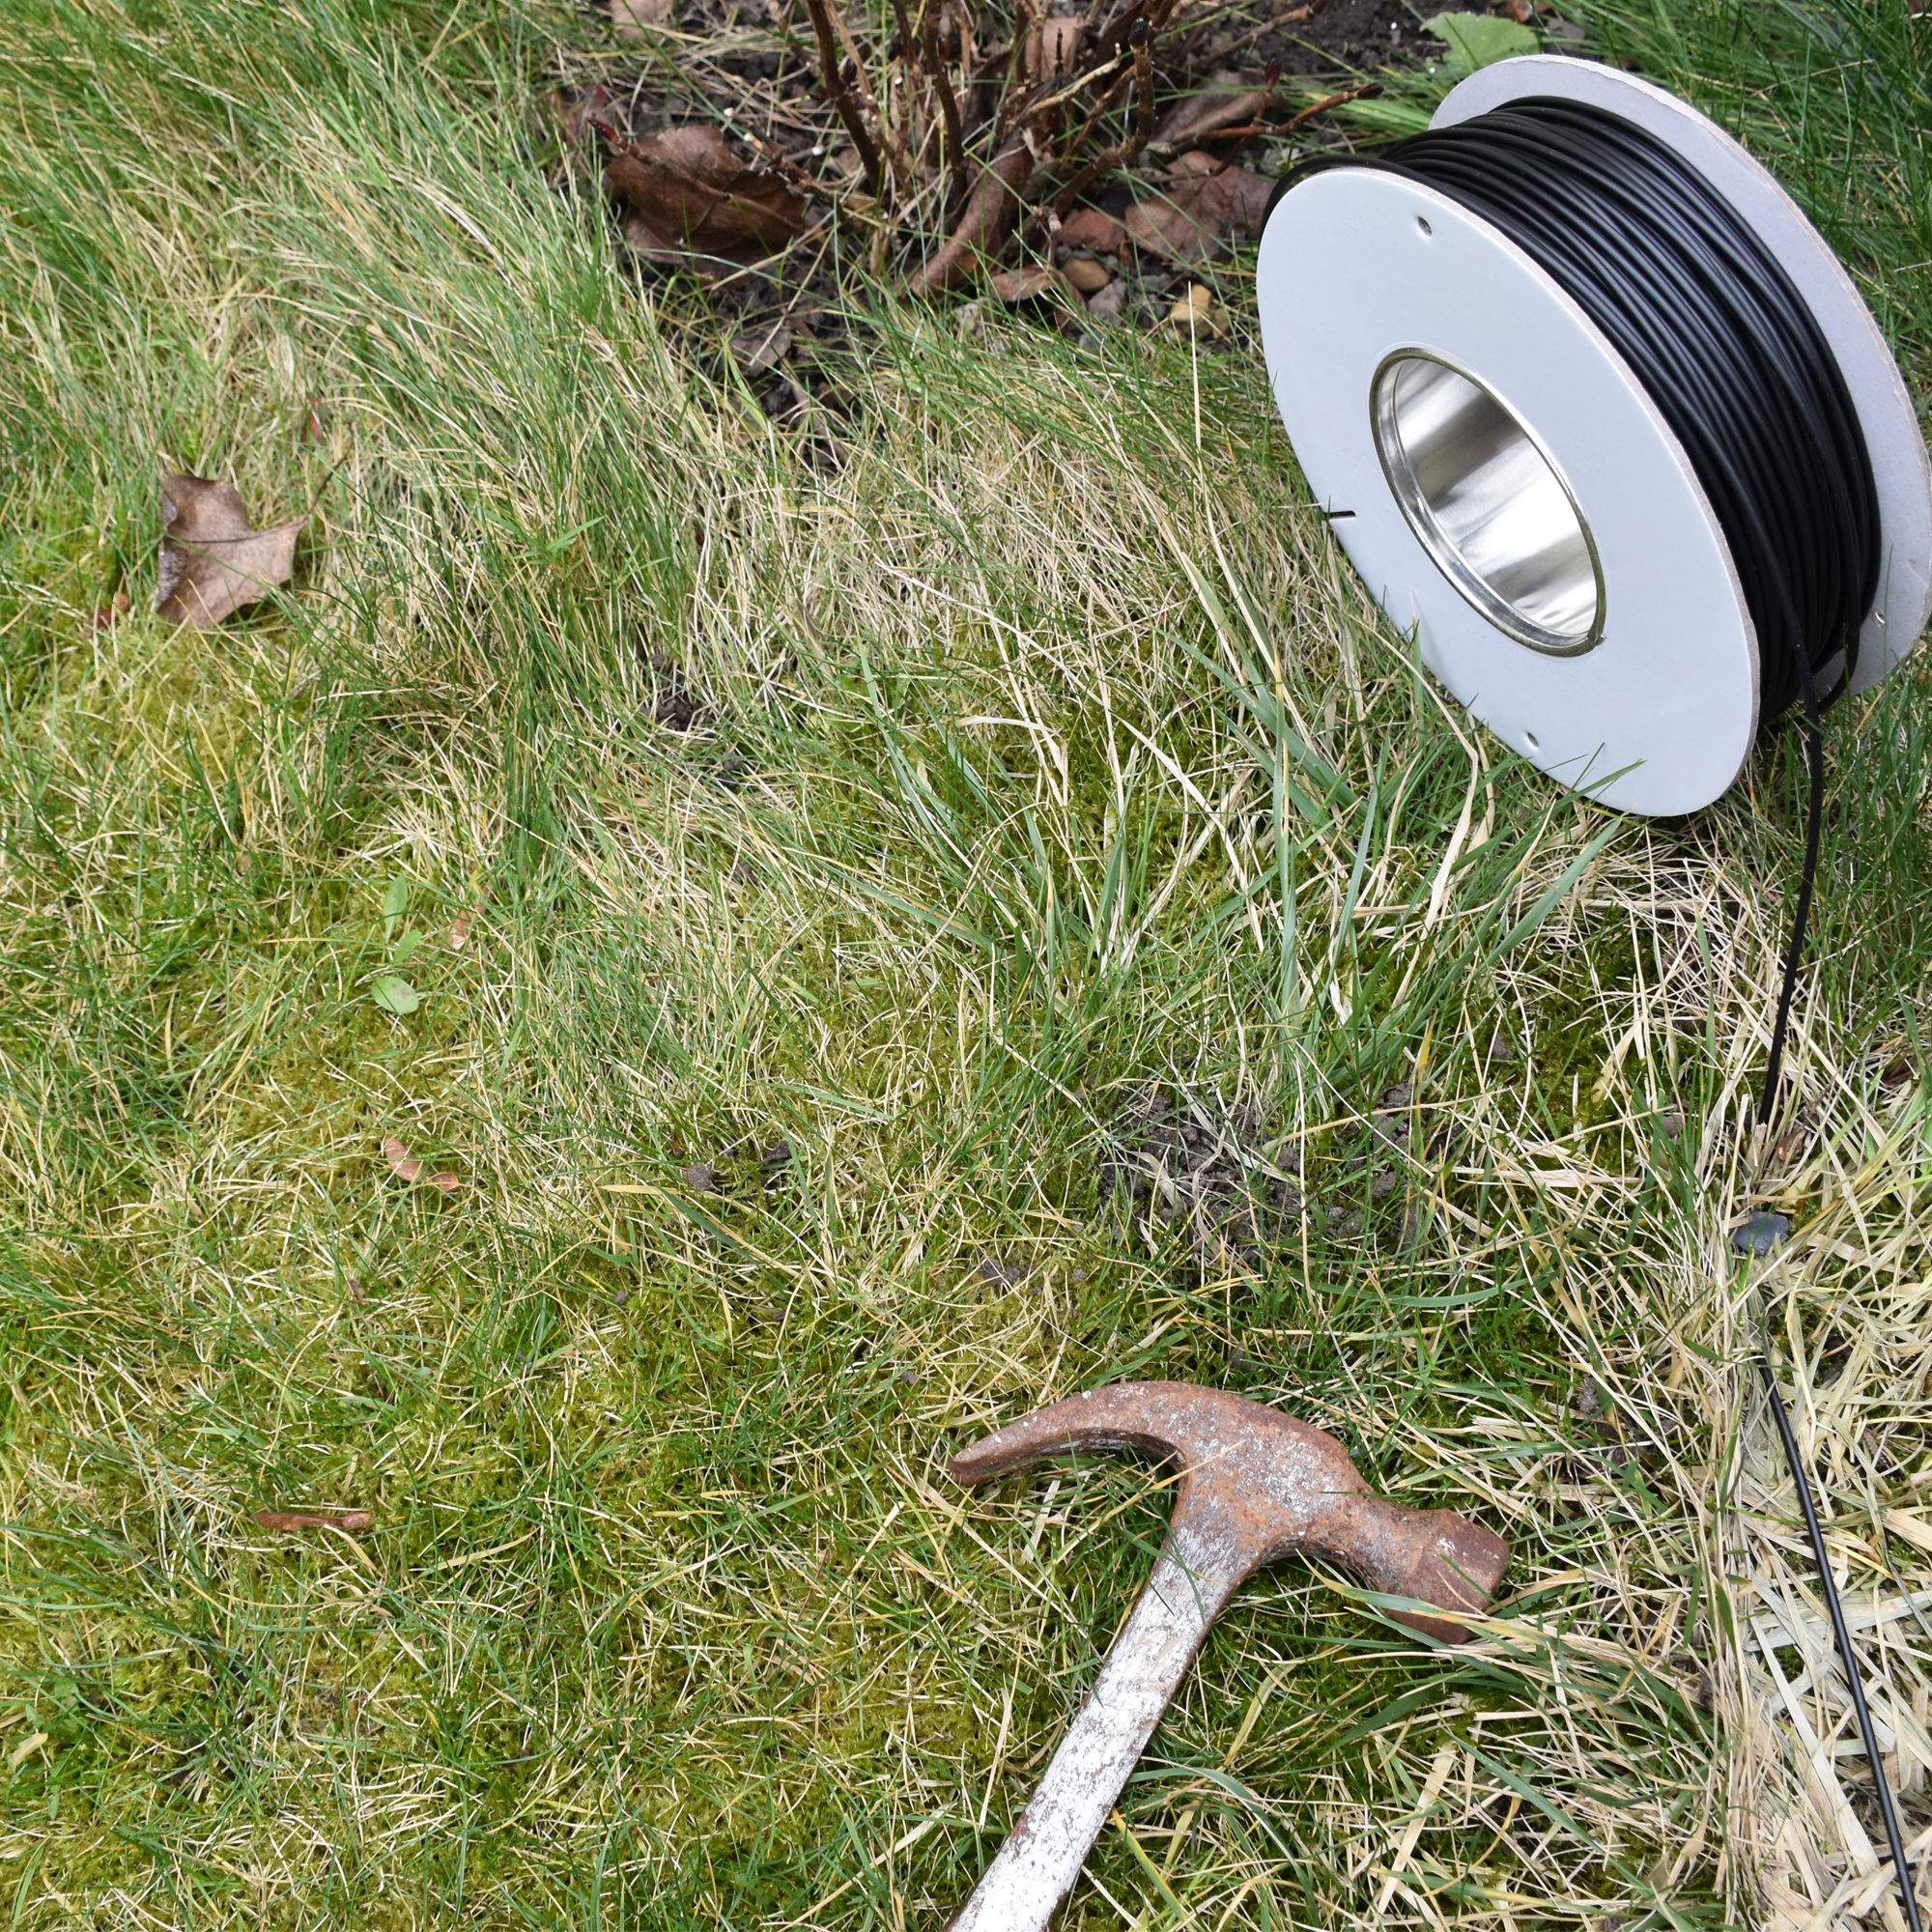
You also have the option to install a guide wire to help the mower find tucked-away parts of the garden, such as narrow strips of lawn.
Once set up, the robot must be charged for a good few hours, before it’ll be ready to use. If you try to make it mow with a low battery, it will just lurk sullenly in its dock.
All things considered, setting up the Flymo EasiLife GO 250 is fairly laborious, but straightforward so long as you follow the instructions. You’ll need a hammer or mallet, wire cutters, and a pair of pliers (all sold separately) to complete setup. The payoff for this initial work is that you’ll save an almighty amount of effort on mowing the lawn in the long run!
Using the Flymo EasiLife GO 250
The great joy of using the Flymo EasiLife GO 250 (and indeed, the whole point of it) is that you don’t need to put very much effort into its daily operation.
We found that the most convenient way to use the mower was via its connected smartphone app, ‘Flymo EasiLife’. The app could perhaps be a little clearer, but it does give you plenty of useful options to manage your mower. These include scheduling mowing sessions (up to 2 per day, which should be more than enough), and starting a quick mow on the spot. We found that by scheduling mowing sessions at various time slots throughout the week, we could ensure that the robot kept the lawn thoroughly mowed at all times, while avoiding inconvenient times of day.
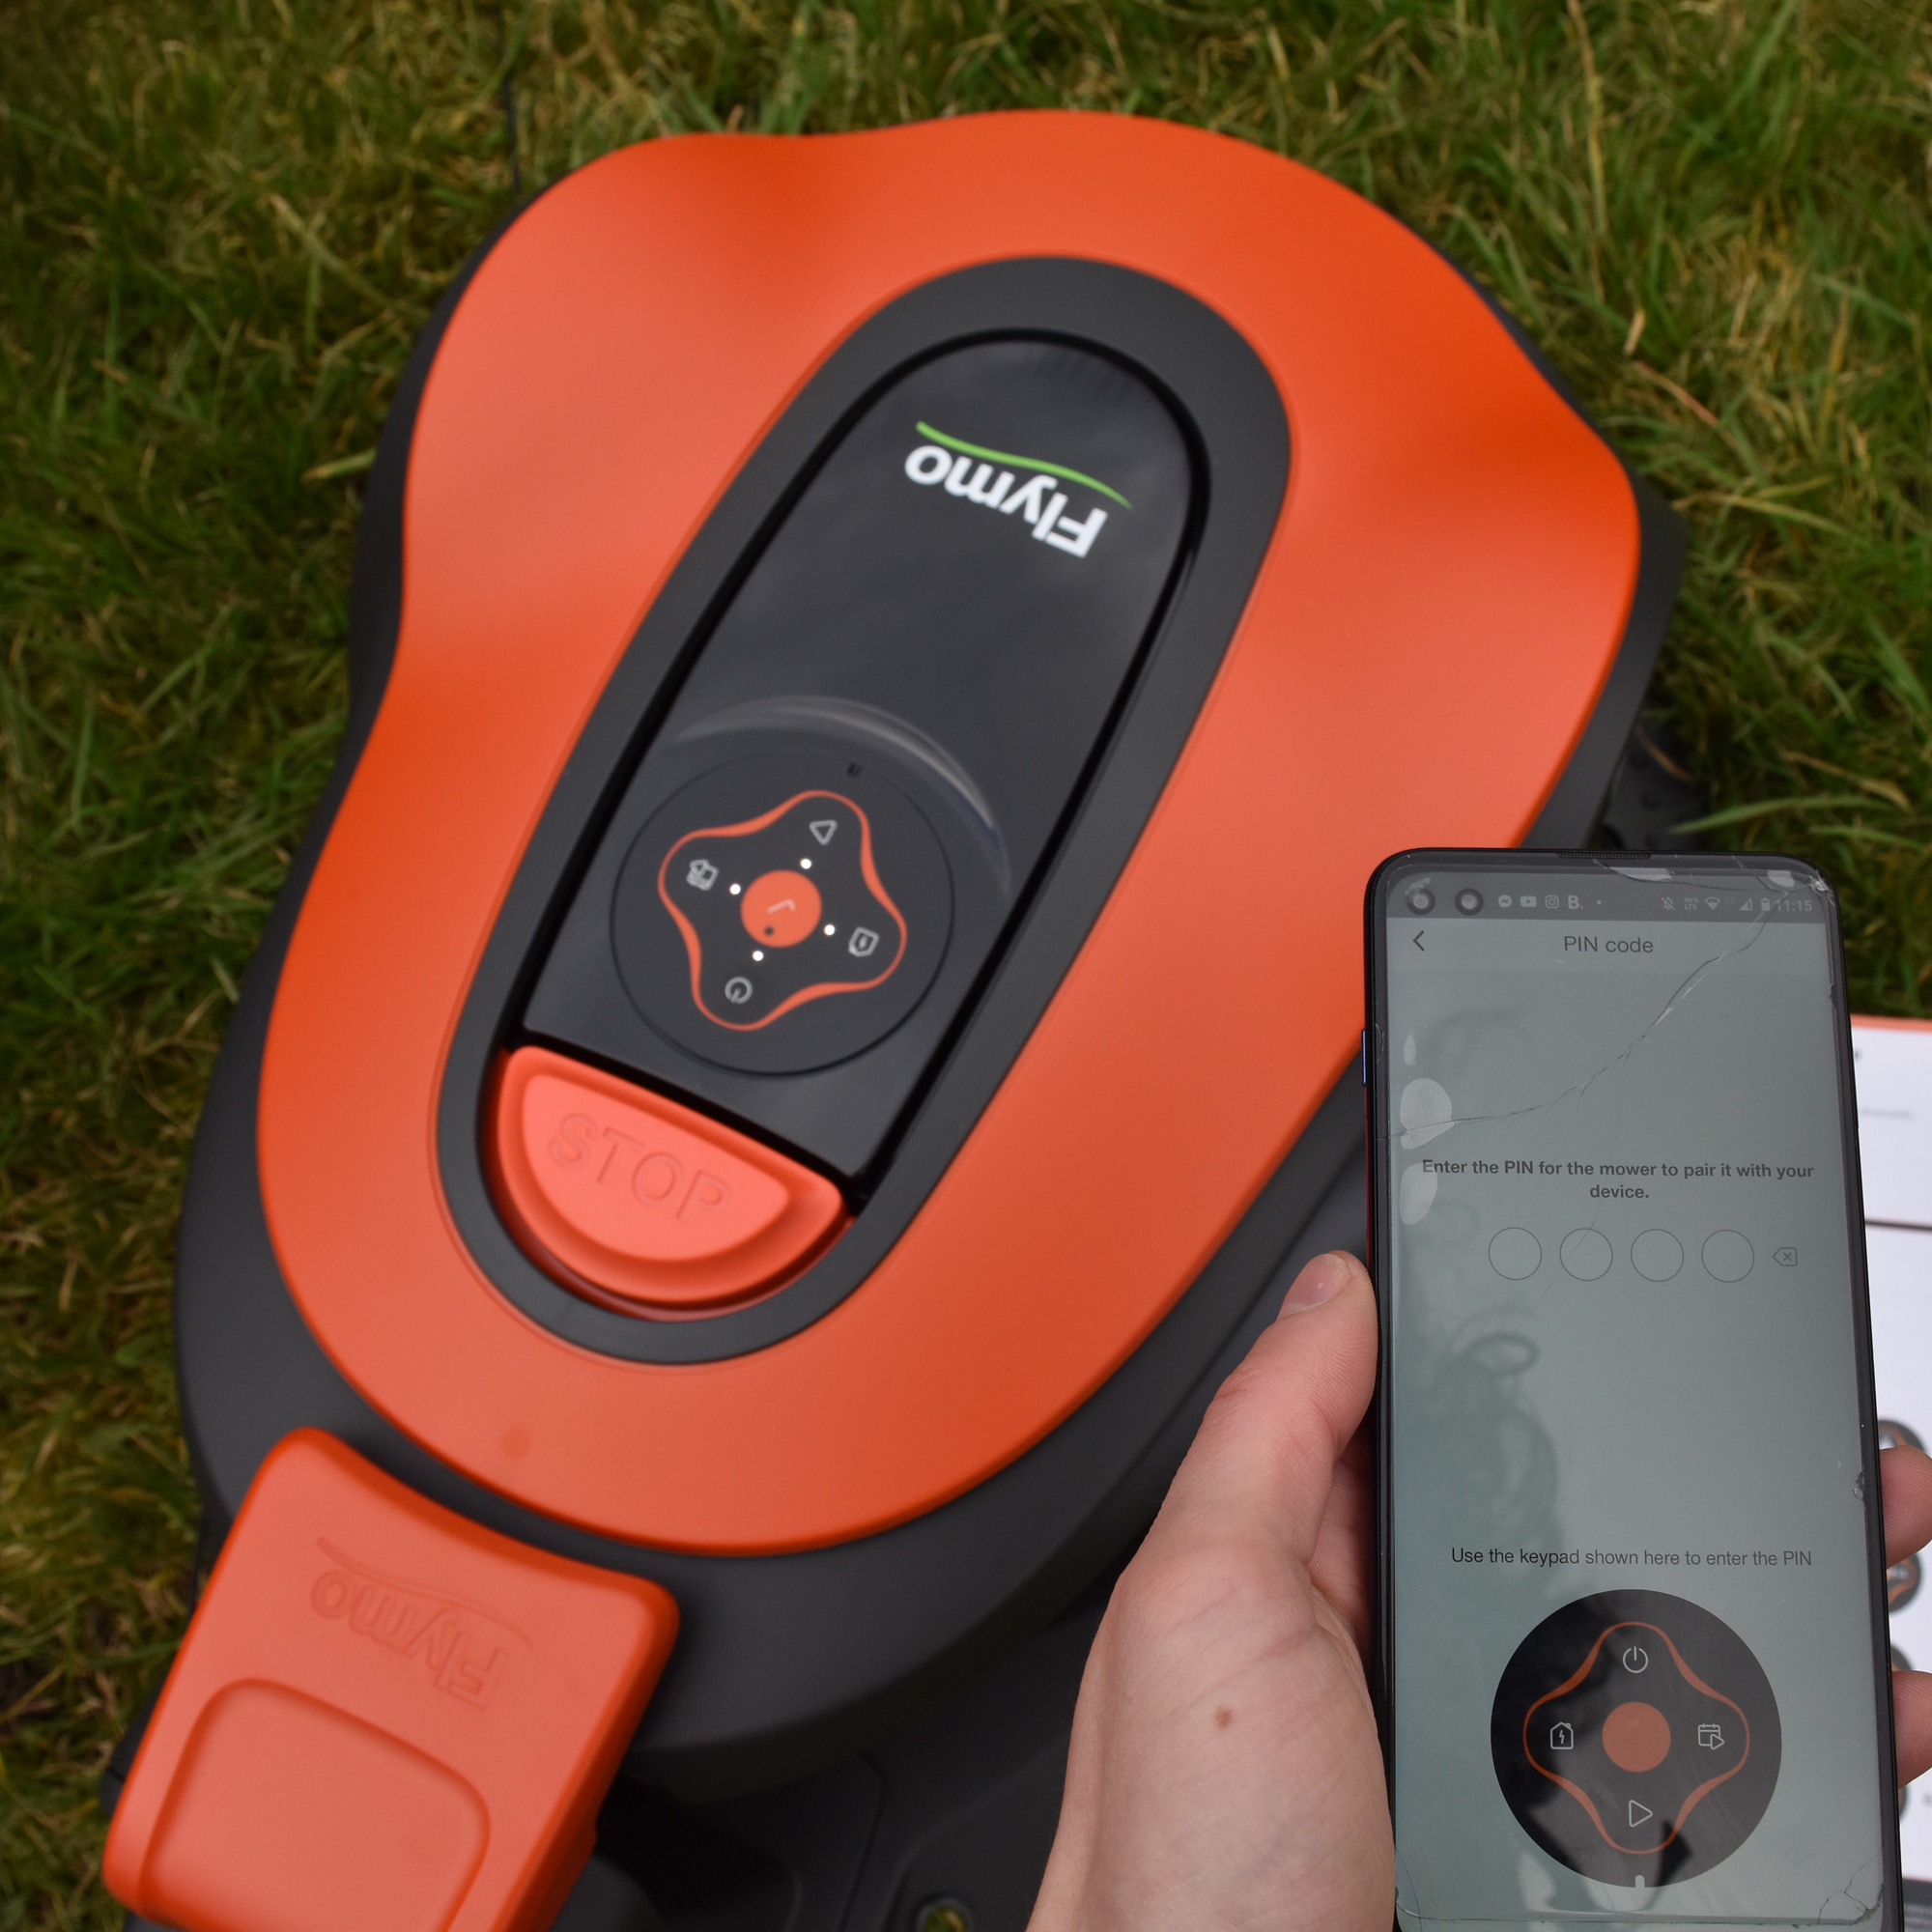
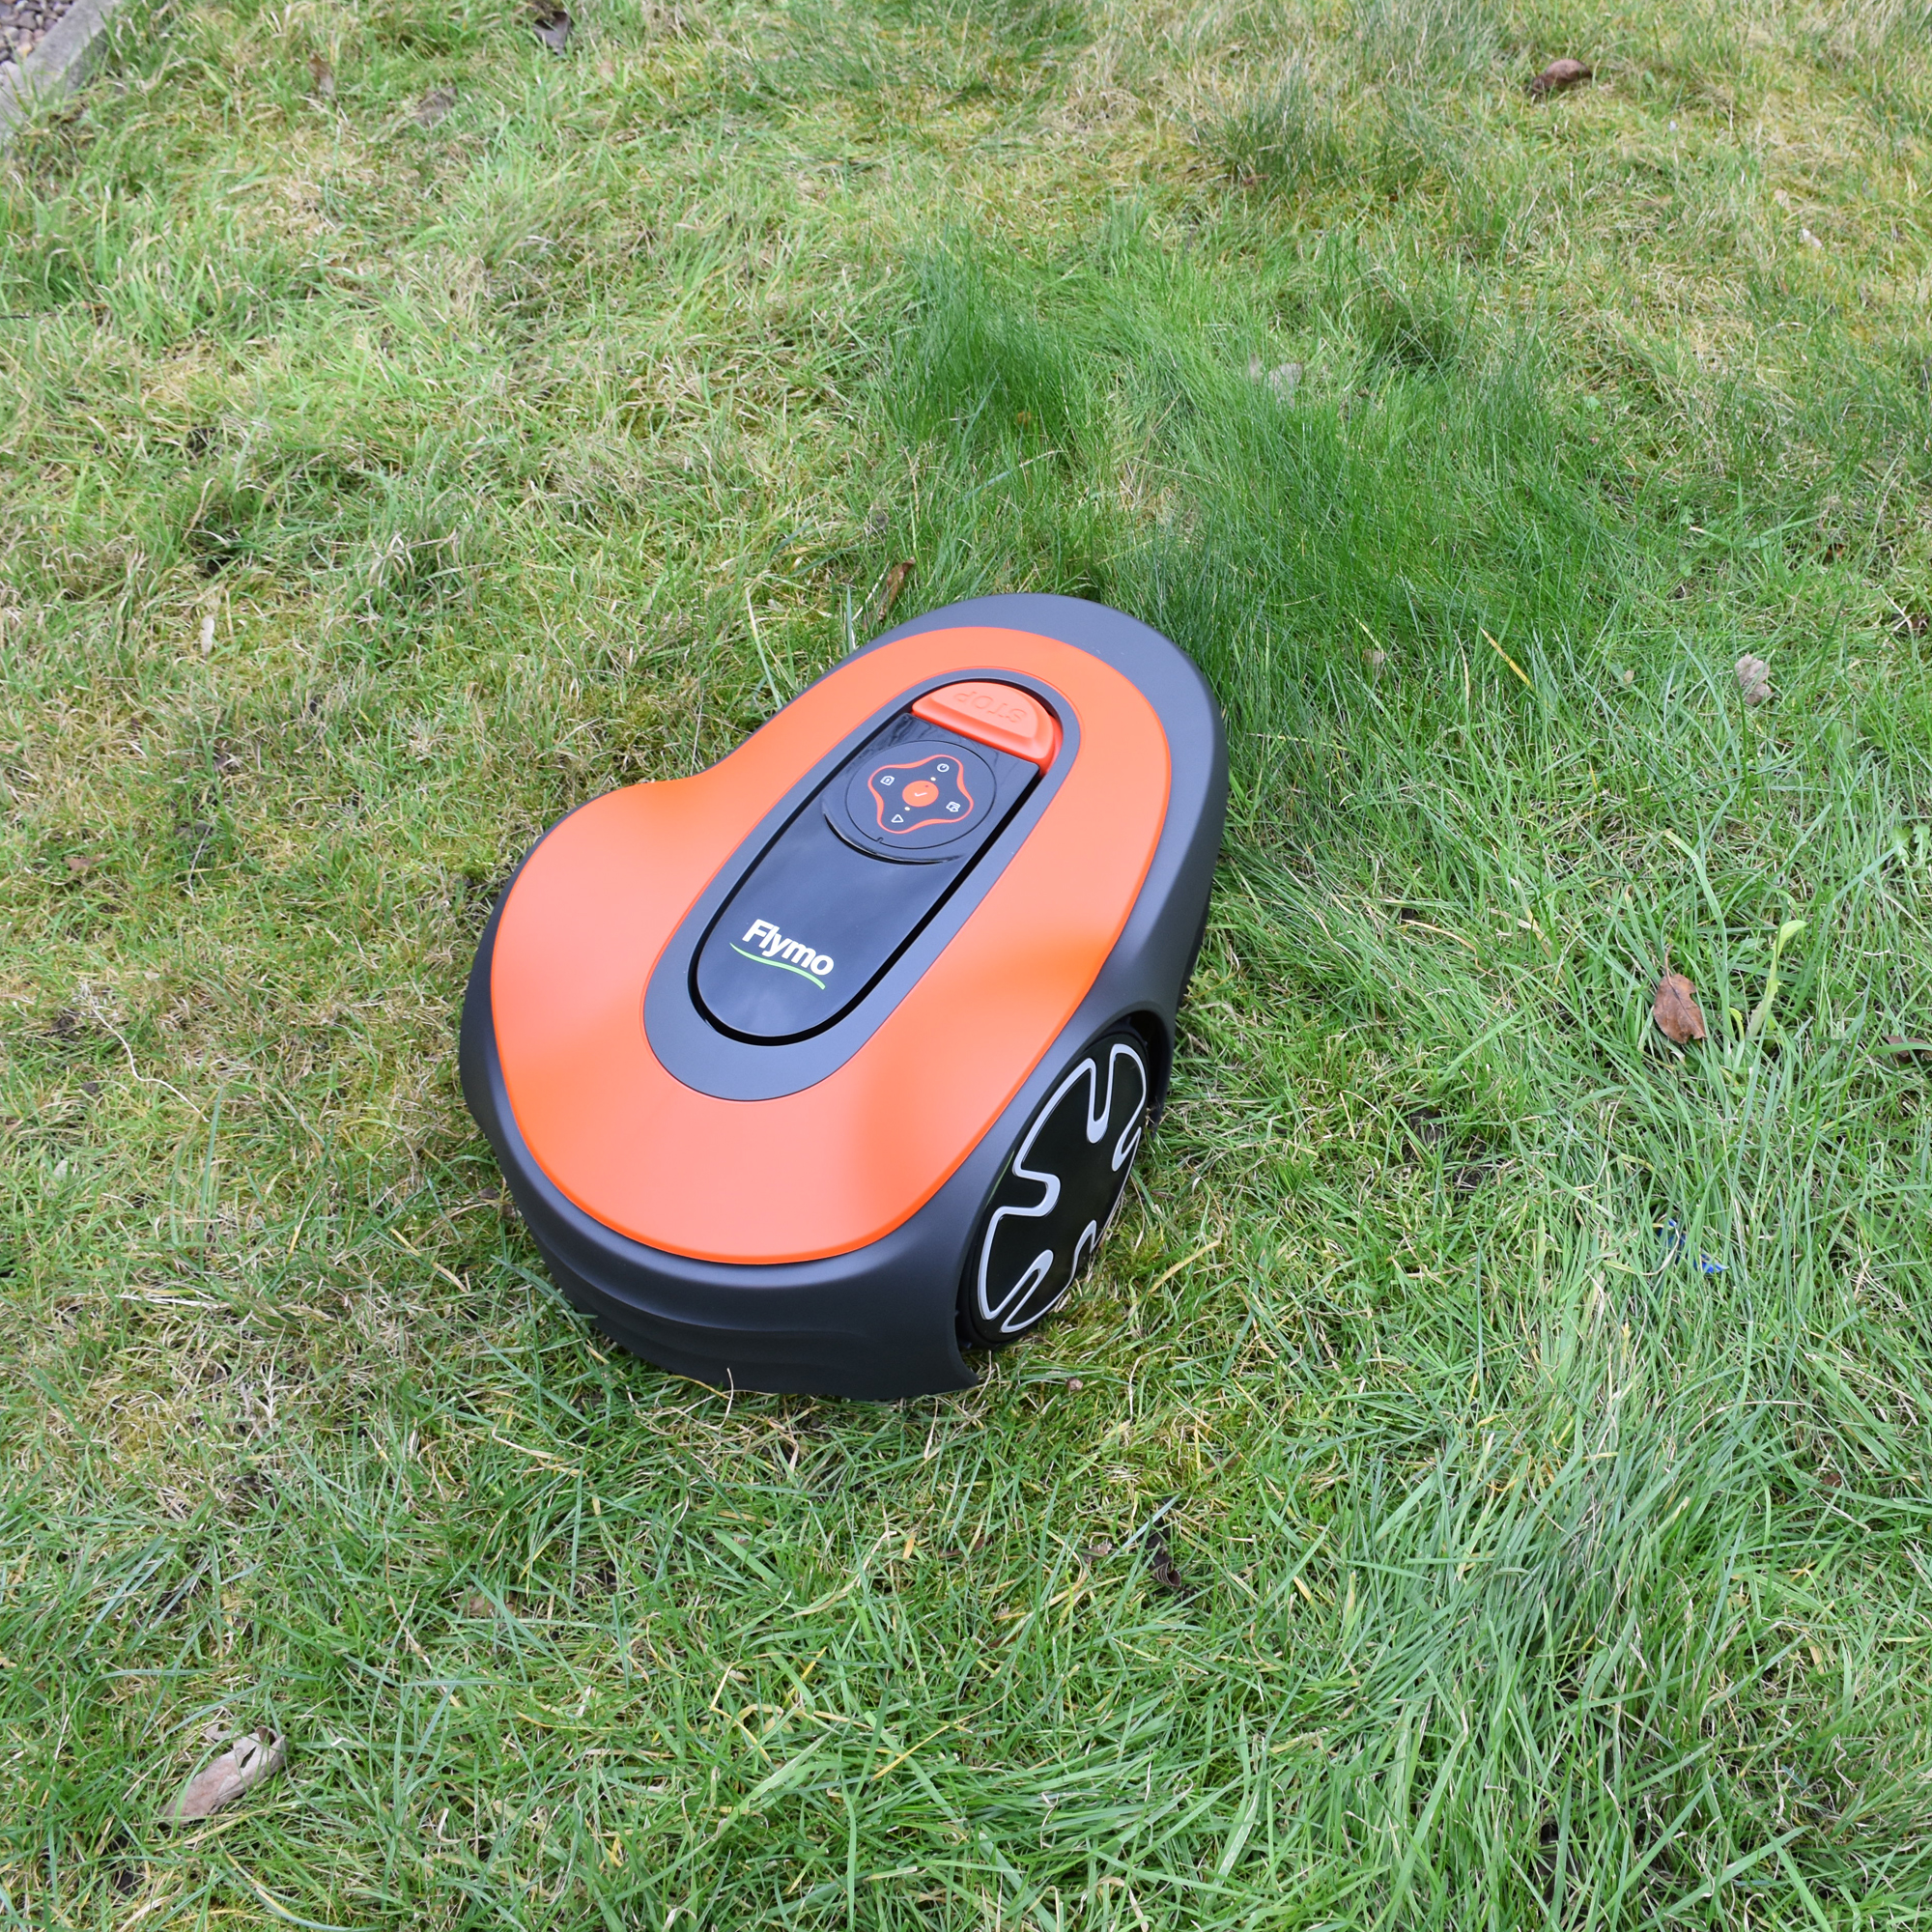
The robot itself feels really well built, looks cute (an important quality in any household robot), and is easy to operate manually via the buttons on its upper side, if you prefer not to use the app. It mows extremely quietly. People in your garden will barely notice the noise – let alone your neighbours.
It’s important to note that the EasiLife GO 250 doesn’t actually collect grass. Rather, it cuts the grass frequently and allows the short cuttings to settle back into the lawn. Not only does this approach save you the effort of emptying cuttings into the garden waste bin; it also “greencycles” your lawn, supplying the soil with a steady supply of nutrients and reducing the need to apply additional fertilisers. The only downside is that the lawn might not look quite as crisp as it would if the cuttings were collected.
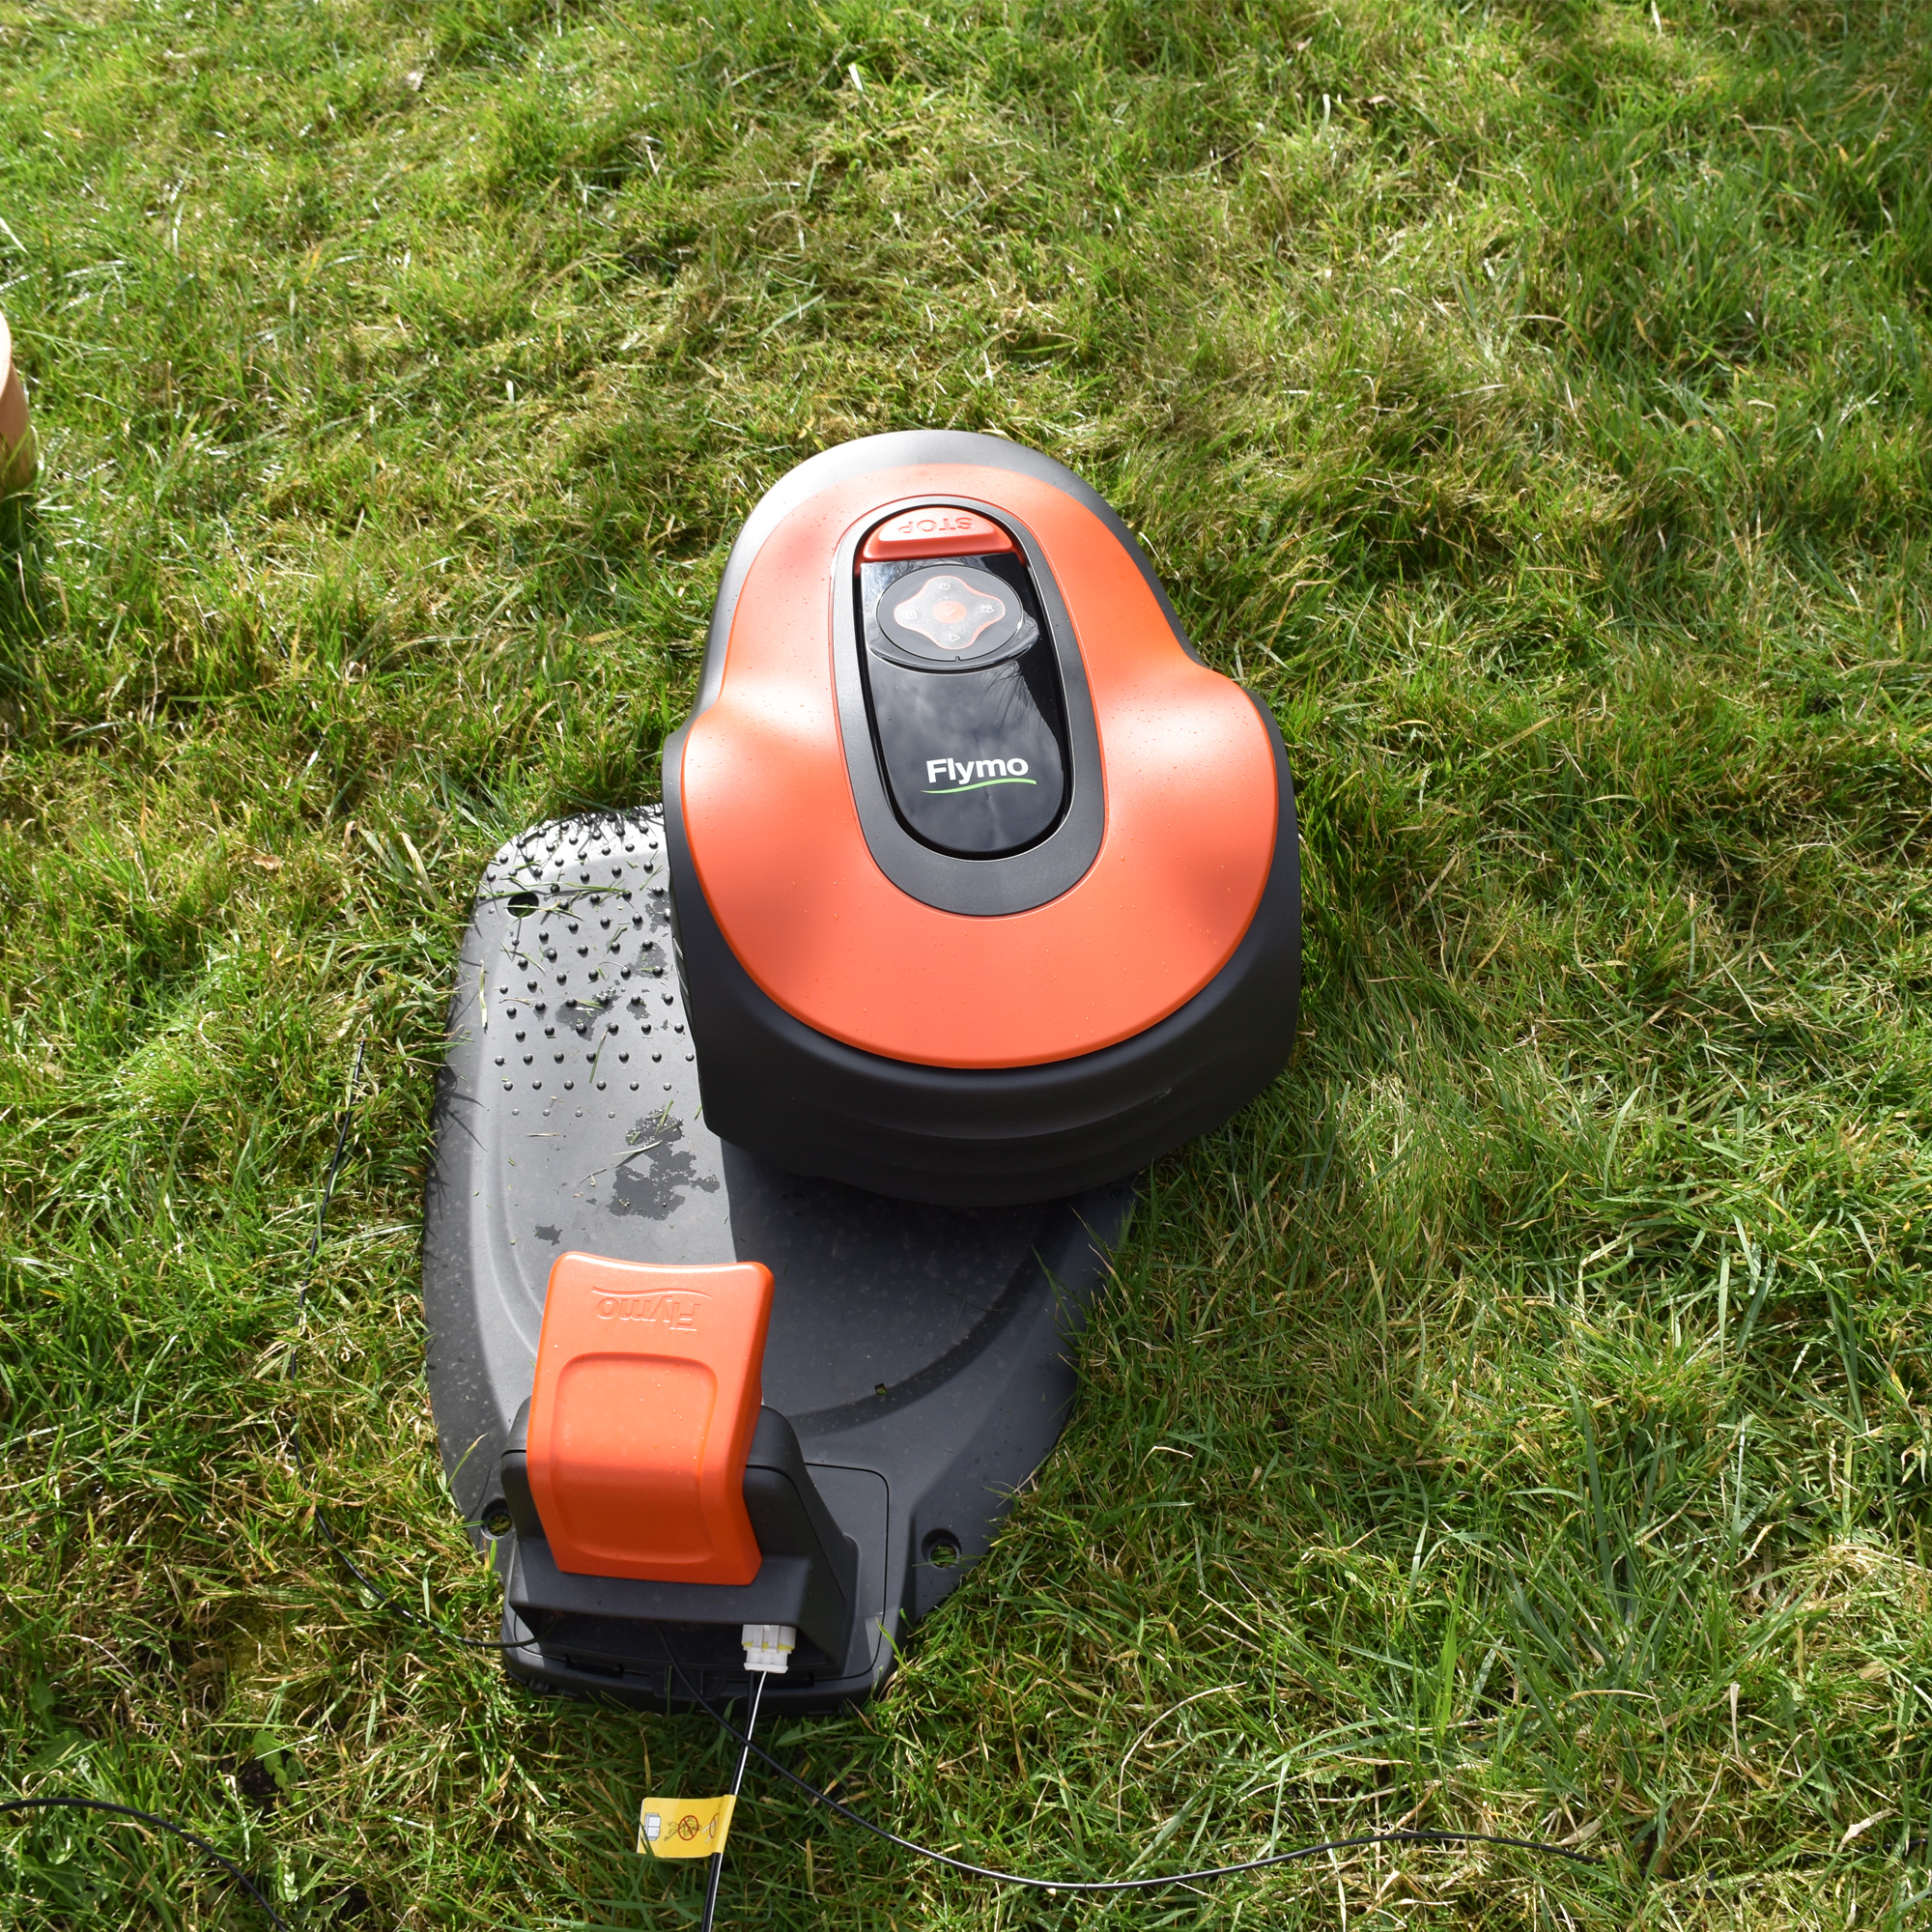
We were impressed with the job that the EasiLife GO 250 did of cutting our reviewer’s lawn. During its scheduled mowing sessions, the robot gradually travelled across the lawn, again and again, in an apparently random pattern. The lawn soon started to look much neater, with the grass cut to a nice, even height.
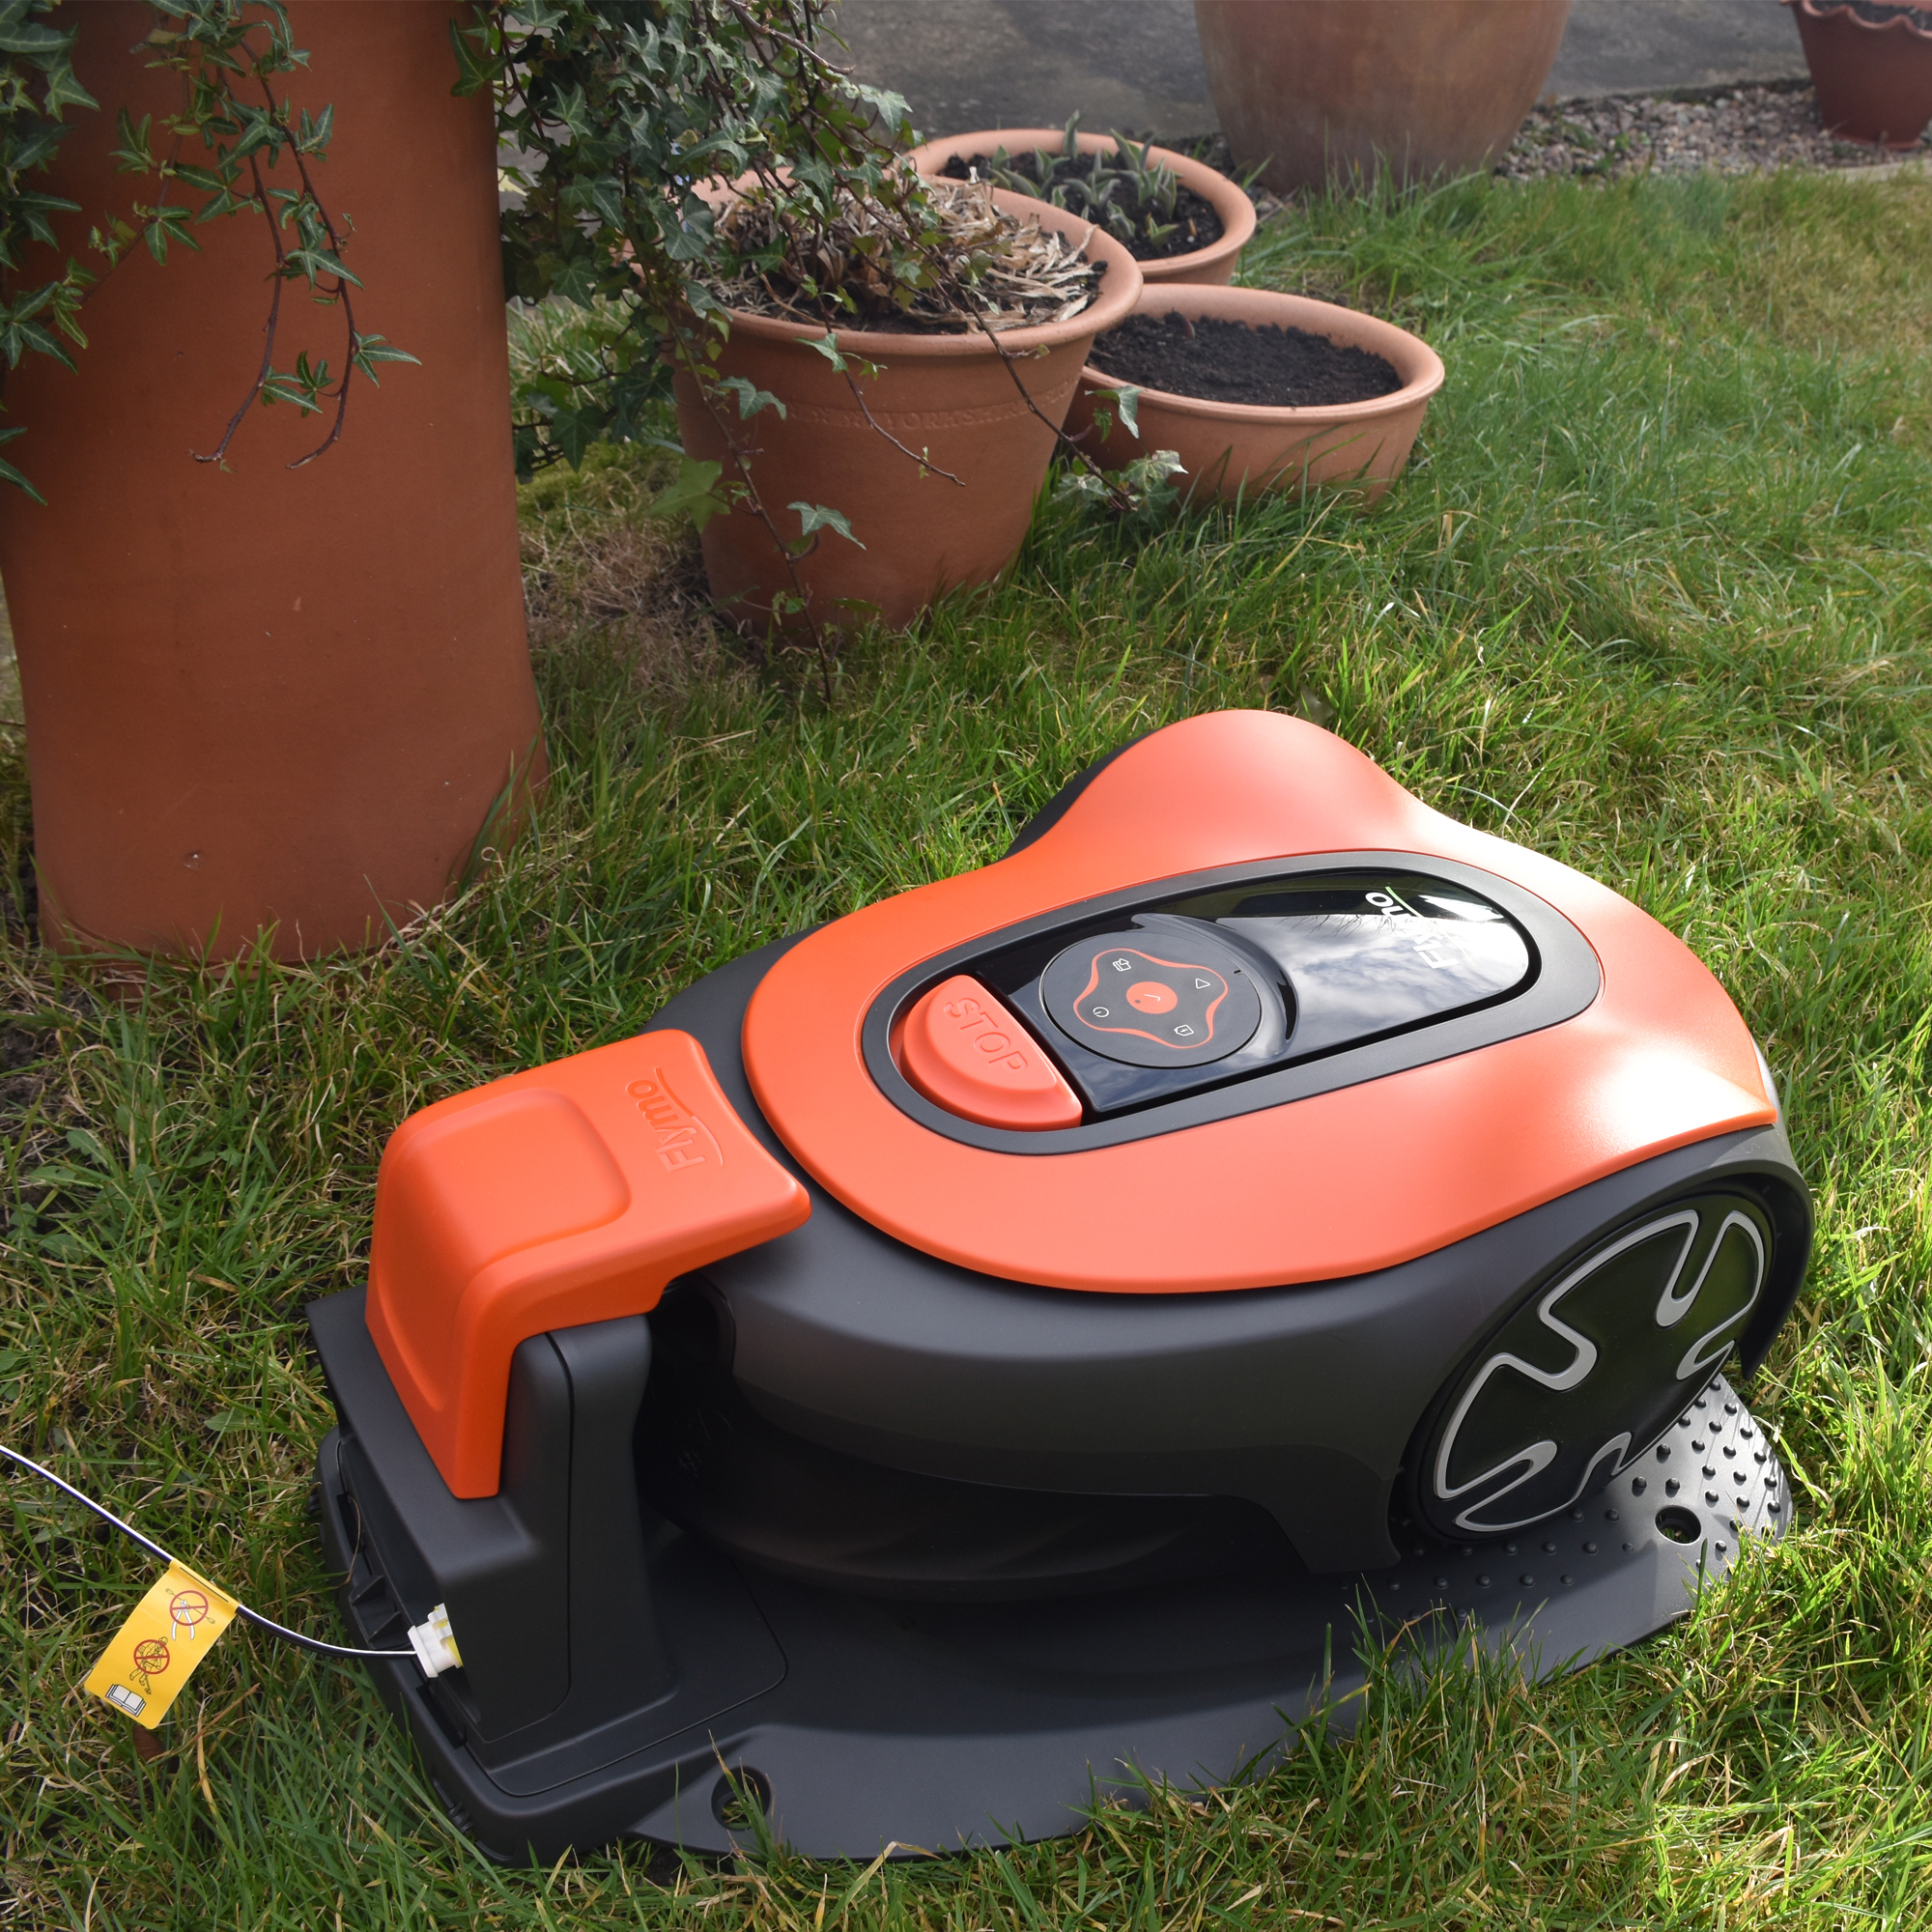
The mower did a good job of adjusting its course when it bumped into an obstacle (such as our unsuspecting reviewer’s leg), and it stayed within the area marked out by the boundary wire. The robot did get snagged on the boundary wire at one point, but this was because we hadn’t staked the wire down tightly enough. By using plenty of stakes to pin the wire tightly to the ground, you should be able to avoid this type of problem.
Maintaining the Flymo EasiLife GO 250
Superbly waterproofed, weatherproofed and resilient to wear-and-tear, this hardy little robot is a joy to take care of.
It’s a good idea to check the mower’s wheels and blades once every now and then, to ensure there’s no cut grass or detritus causing a blockage. Use a soft brush to clean the components and leave them clear.
The EasiLife GO 250 lives outside, and as a result it is bound to get marked by rain, dirt and unruly wildlife from time to time. In our testing period, this happened within a few days of placing the robot and charging dock on the lawn. So, to keep the robot in sparkling condition, you’ll have to wash it regularly. The easiest option is to simply rinse the machine with a low-pressure garden hose. Remember to prop it up and wash the underside while you’re at it.
Putting the EasiLife GO 250 away during the winter, after grass stops growing, is highly recommended to prolong the robot’s lifespan.
Should you buy the Flymo EasiLife GO 250?
The Flymo EasiLife GO 250 really does make life easier in the long run, with reliable, unobtrusive mowing performance and easy configuration via the Flymo EasiLife smartphone app. Initial setup requires a fair bit of effort and consideration – but once everything is properly configured, the robot handles its job beautifully. Provided that you have an outdoor power socket and a suitable place for the charging dock, this robotic mower can keep your lawn in great shape with minimal input and upkeep.
About this review, and the reviewer
Pete Wise is a freelance writer and product reviewer from Leeds. He reviewed this robot lawn mower in his garden over a period of a few weeks, as part of Ideal Home's commitment to how we test products that we advise to you.