How to hang a rain chain and where to place it for the best water flow – experts share tips to make it both pretty and practical
Transform your rainwater harvesting set-up into a Japanese-inspired design feature with our expert tips

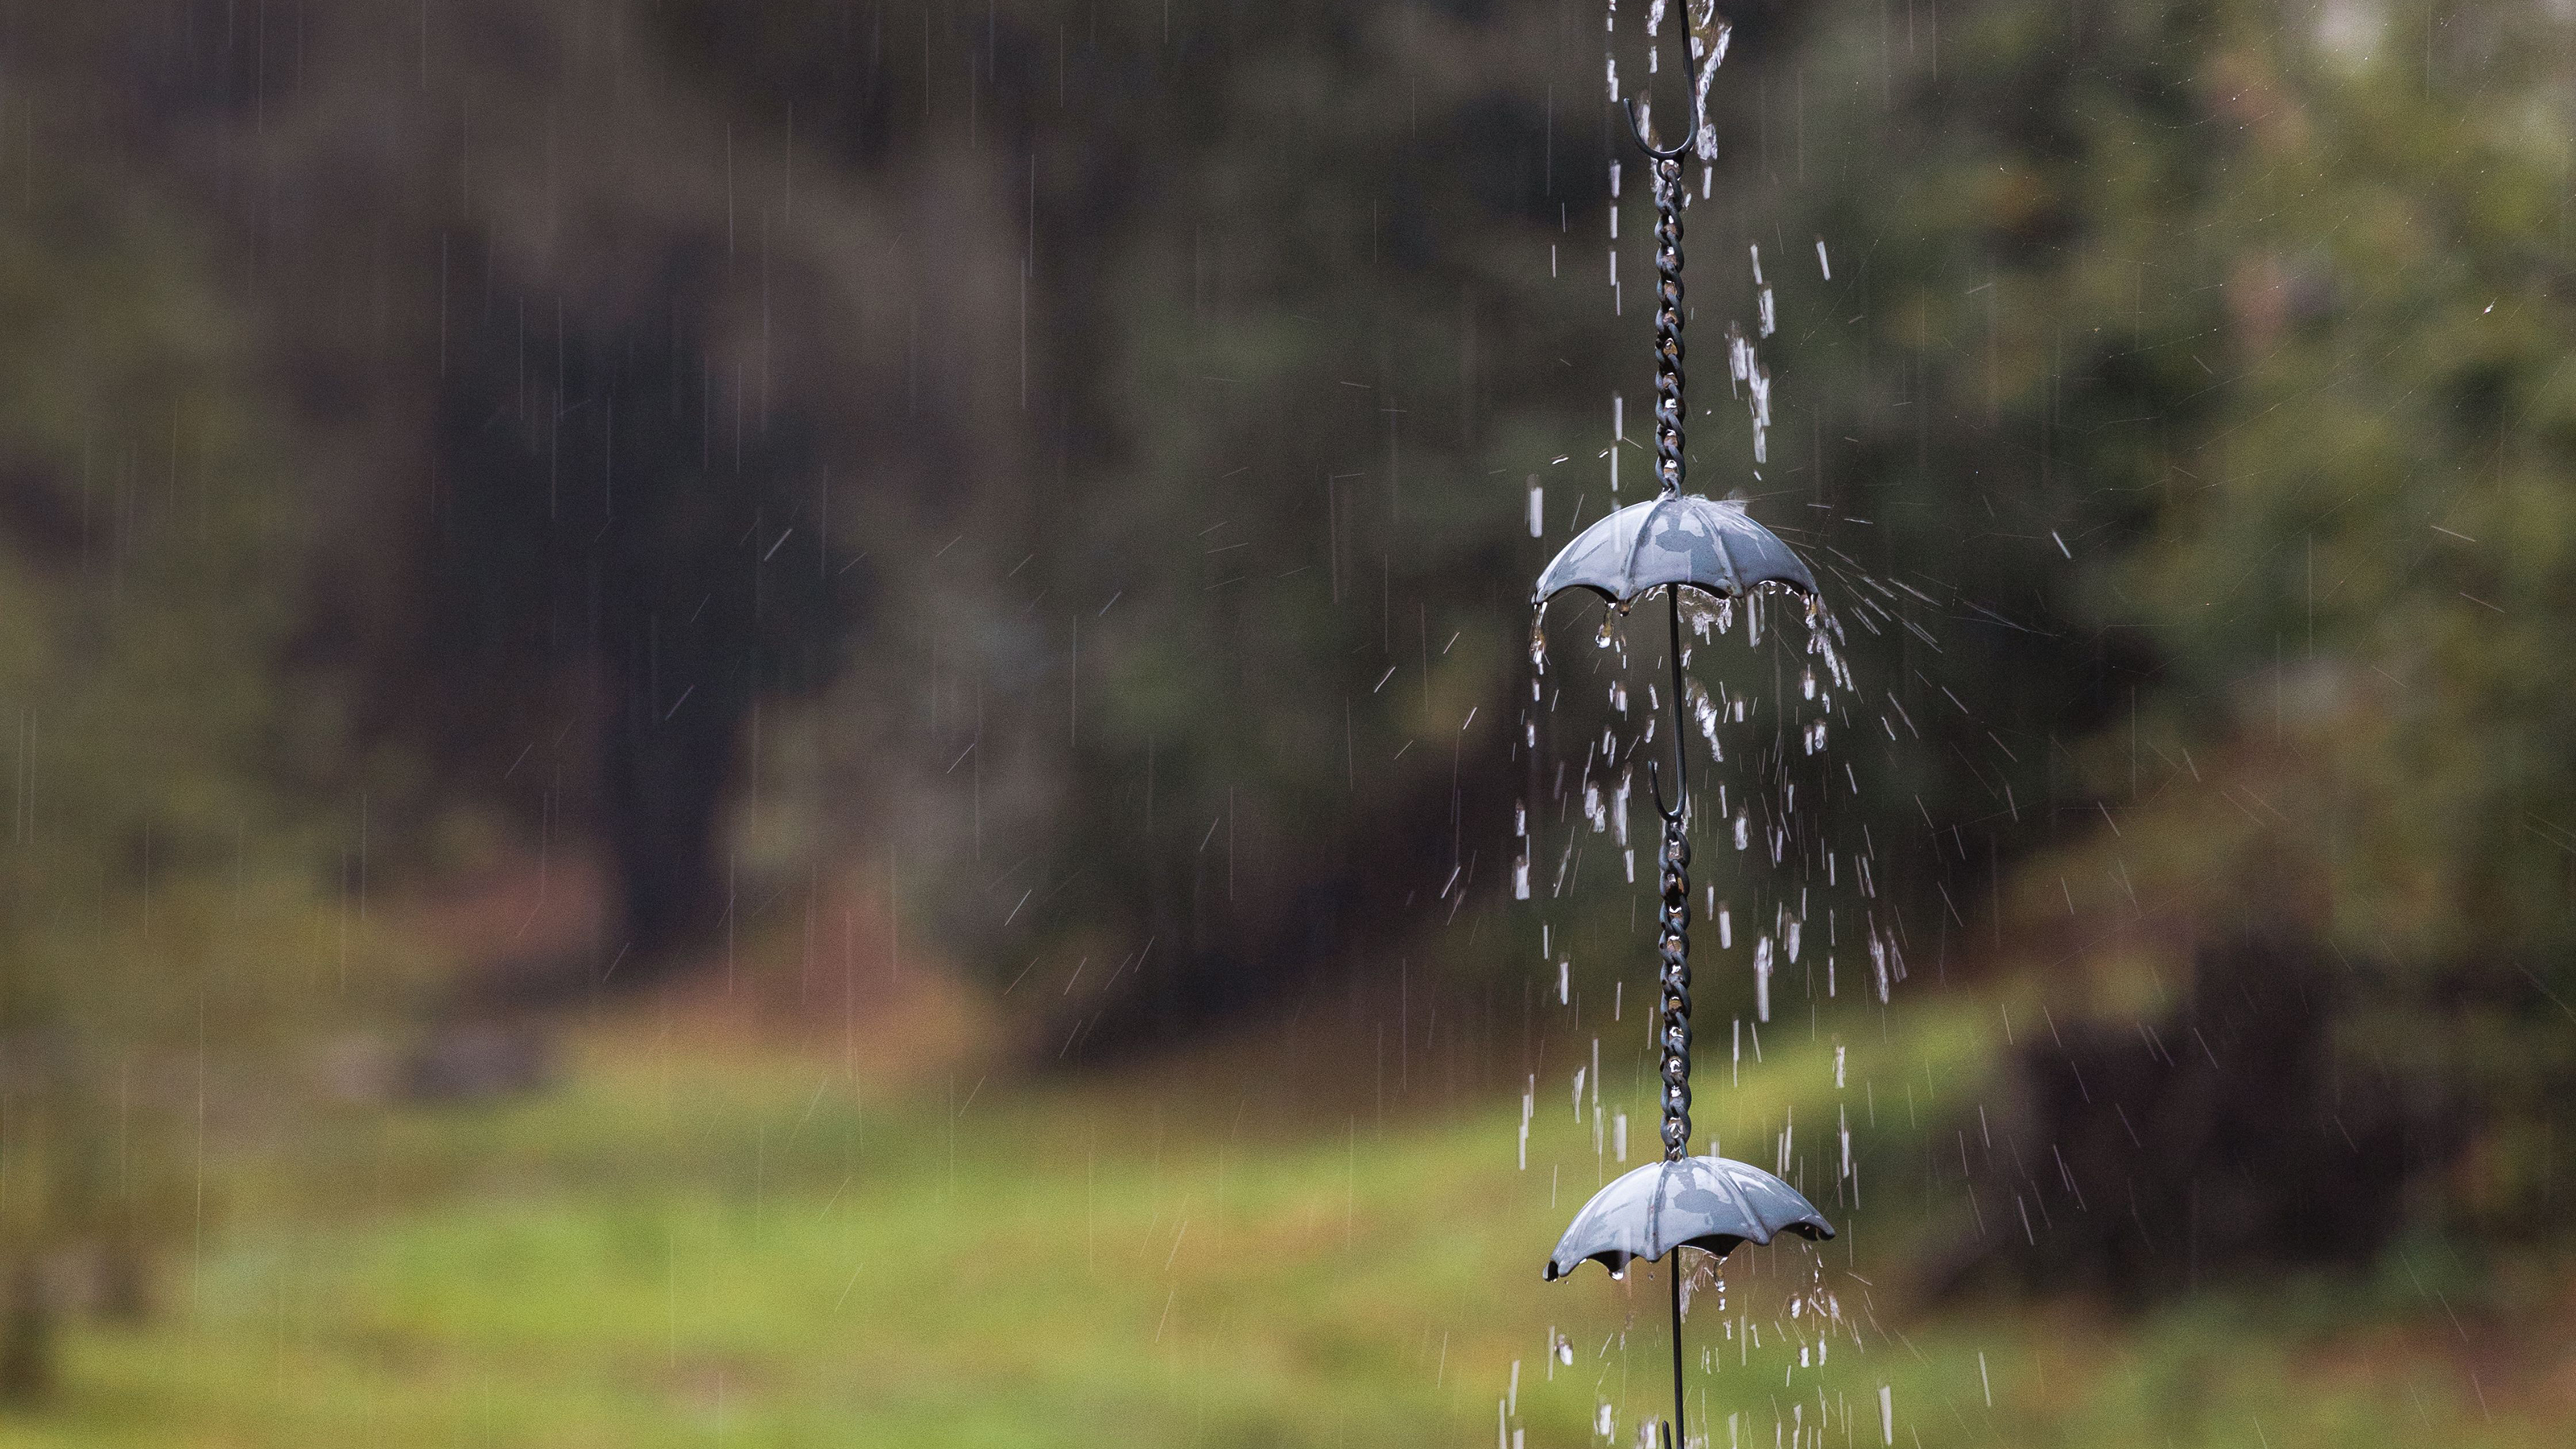
Forget clunky downpipes, jump on the rainscaping garden trend and use rain chains to guide rainwater from your roof to the ground.
‘Rain chains are living sculptures – both functional and beautiful – transforming the simple act of rainfall into a choreographed dance of light, sound, and movement,’ says landscape architect Robert Thrussell at Daniel Combes Garden Design.
‘In the UK, we typically rush water away from buildings. But maybe it’s time to be more creative and be glad with the forecast of rain.’
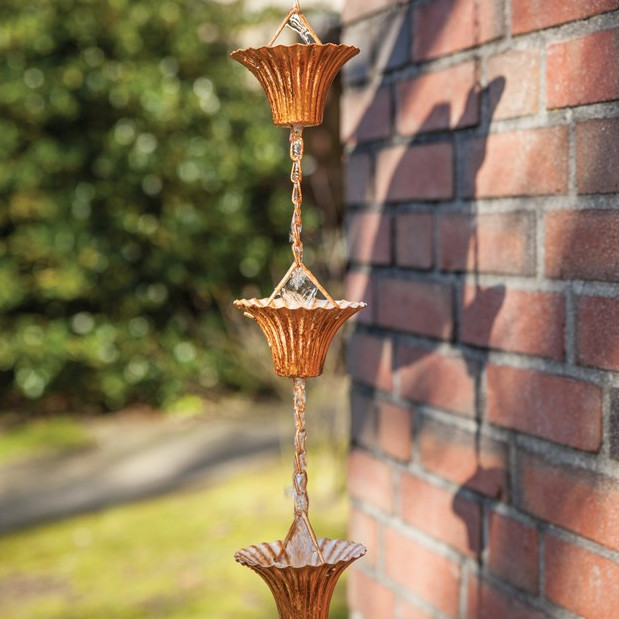
But what exactly is a rain chain? Originating in Japan, these elegant chains create a mesmerising dance of water that’s as practical as it is decorative. But while they look effortless, there are a few important things to consider to get them working properly, especially in the changeable British climate, where we all need to think about how to manage heavy rainfall in our gardens.
Here’s exactly how and where to hang a rain chain, with expert advice to help you get it right the first time.

With a lifelong love of gardens, landscape architect Rob brings a keen eye for detail to every project. At Daniel Combes Garden Design, Rob helps create gardens that blend architectural structure with naturalistic planting, all rooted in a strong sense of place. When he’s not designing thoughtful outdoor spaces across the UK, he’s often indulging his passion for history as a member of the Weymouth & Portland Metal Detecting Club.
How and where to hang a rain chain
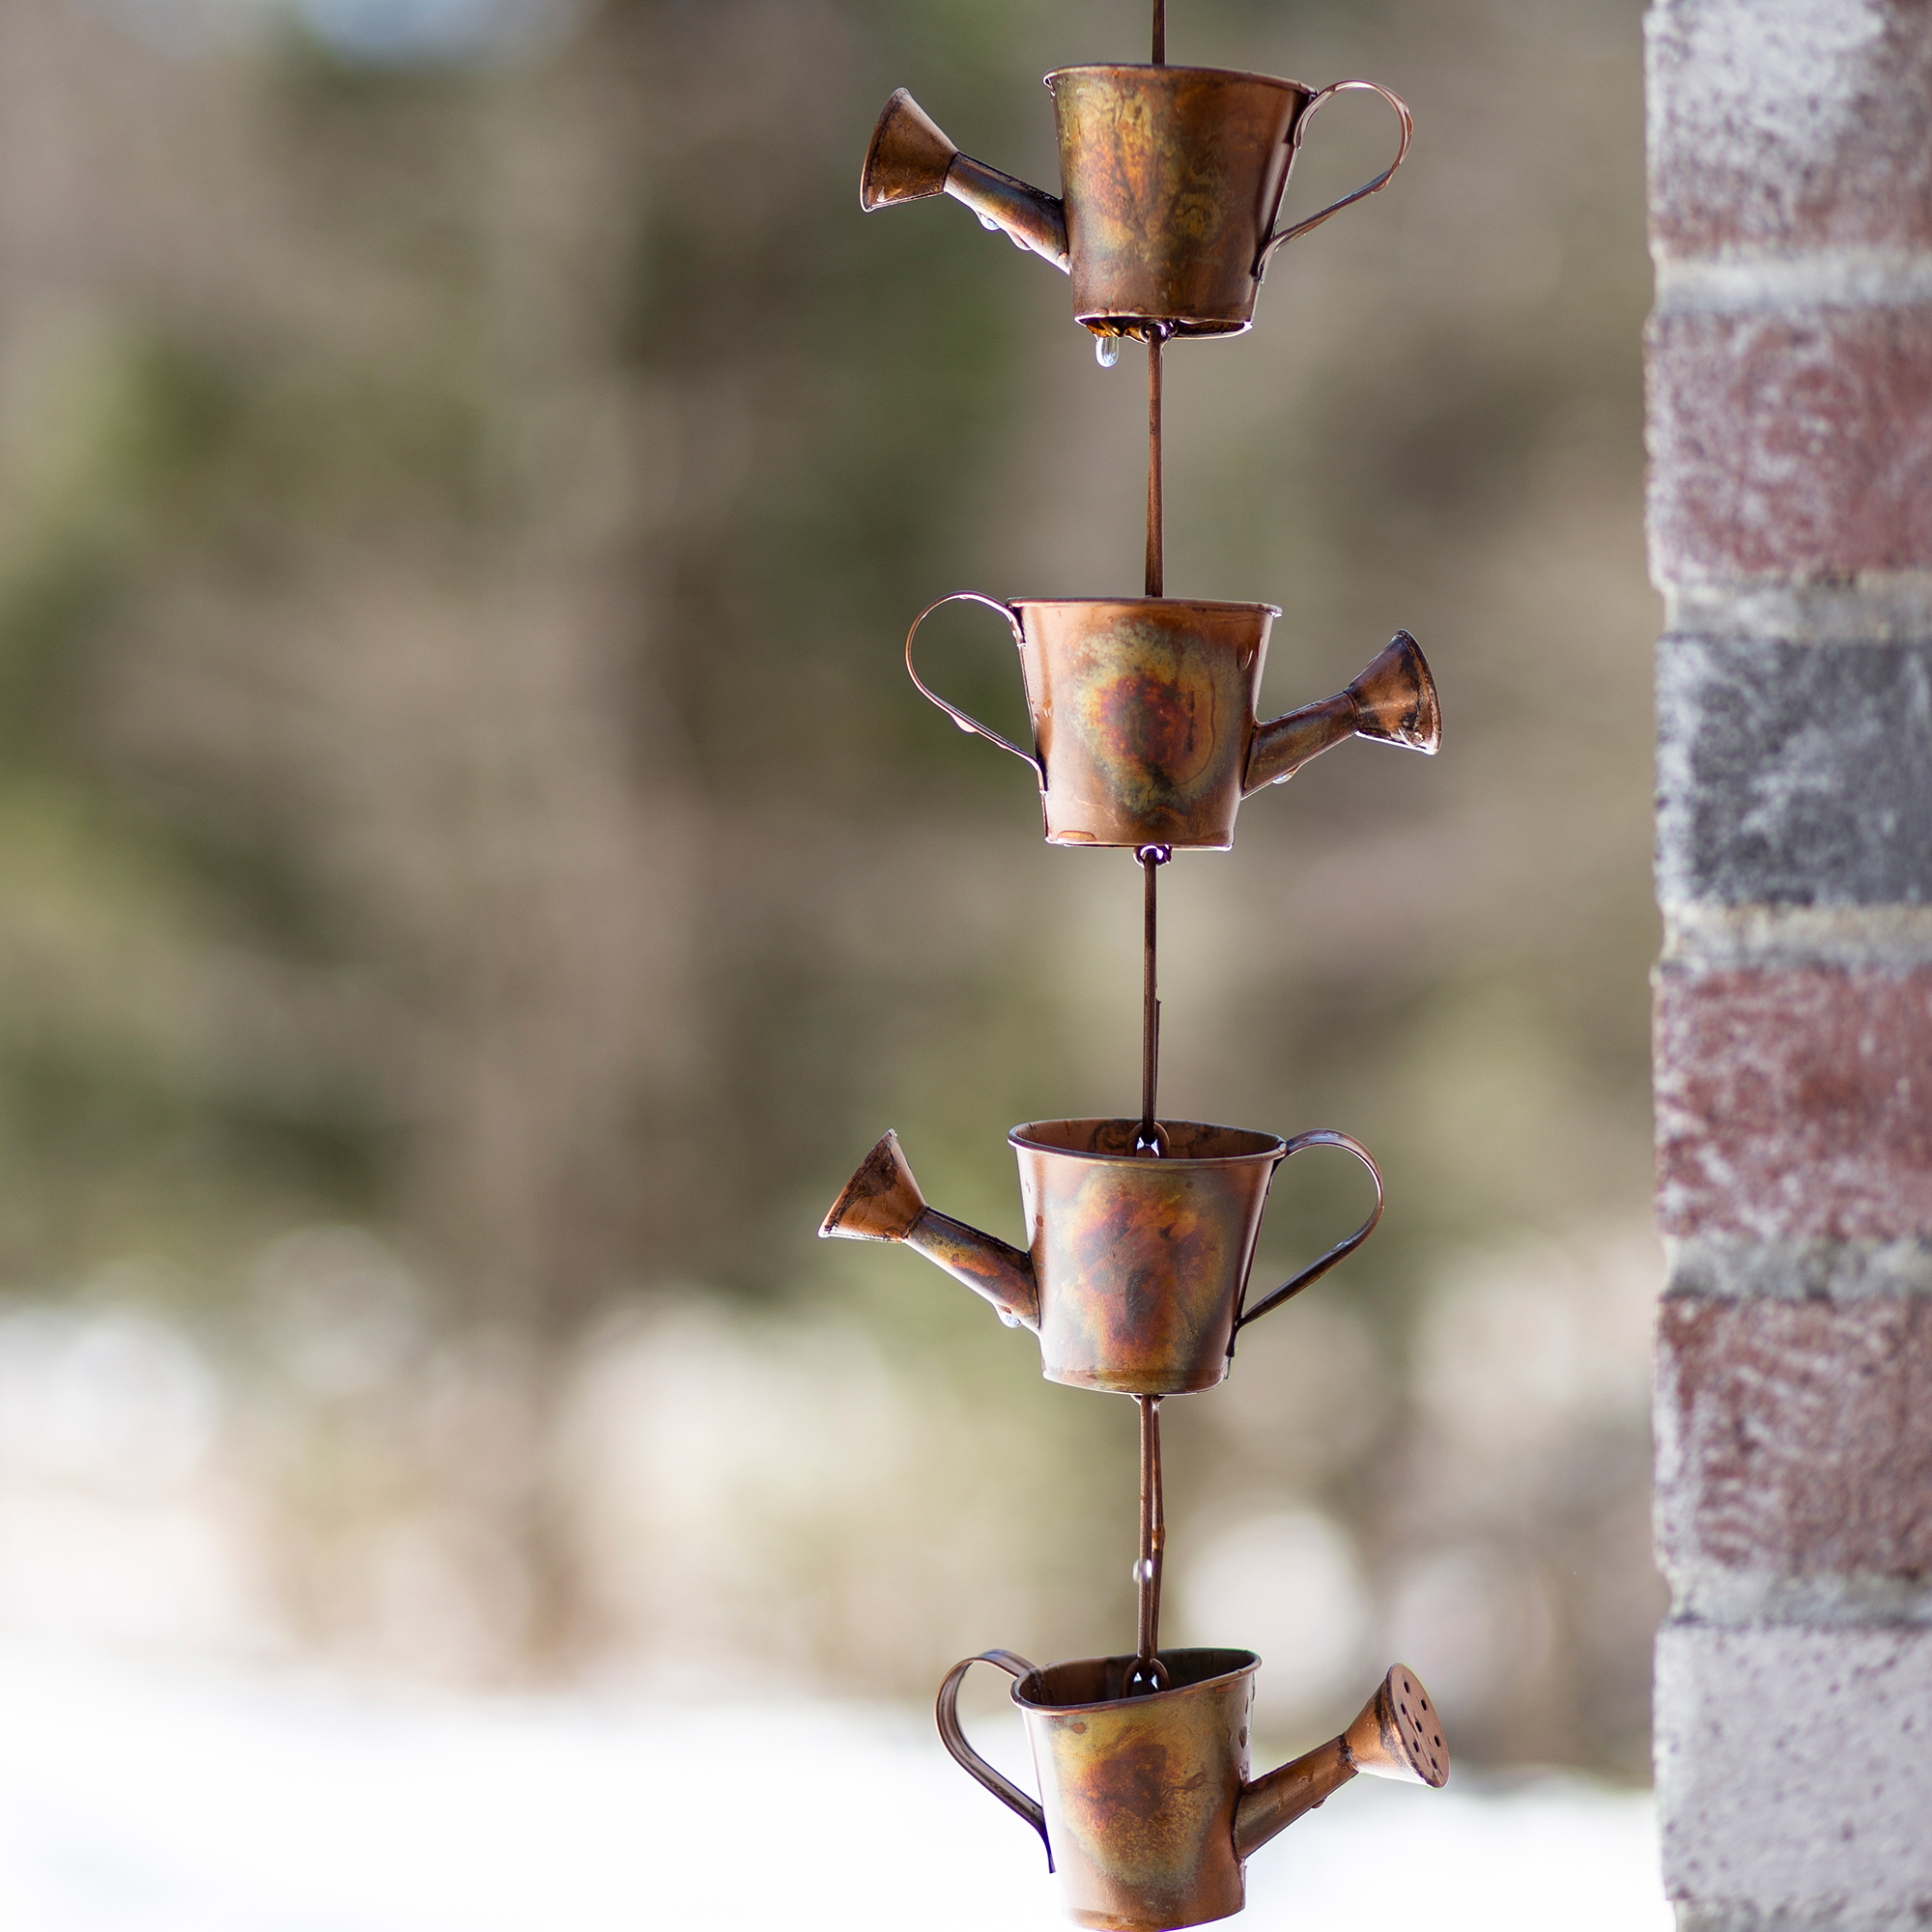
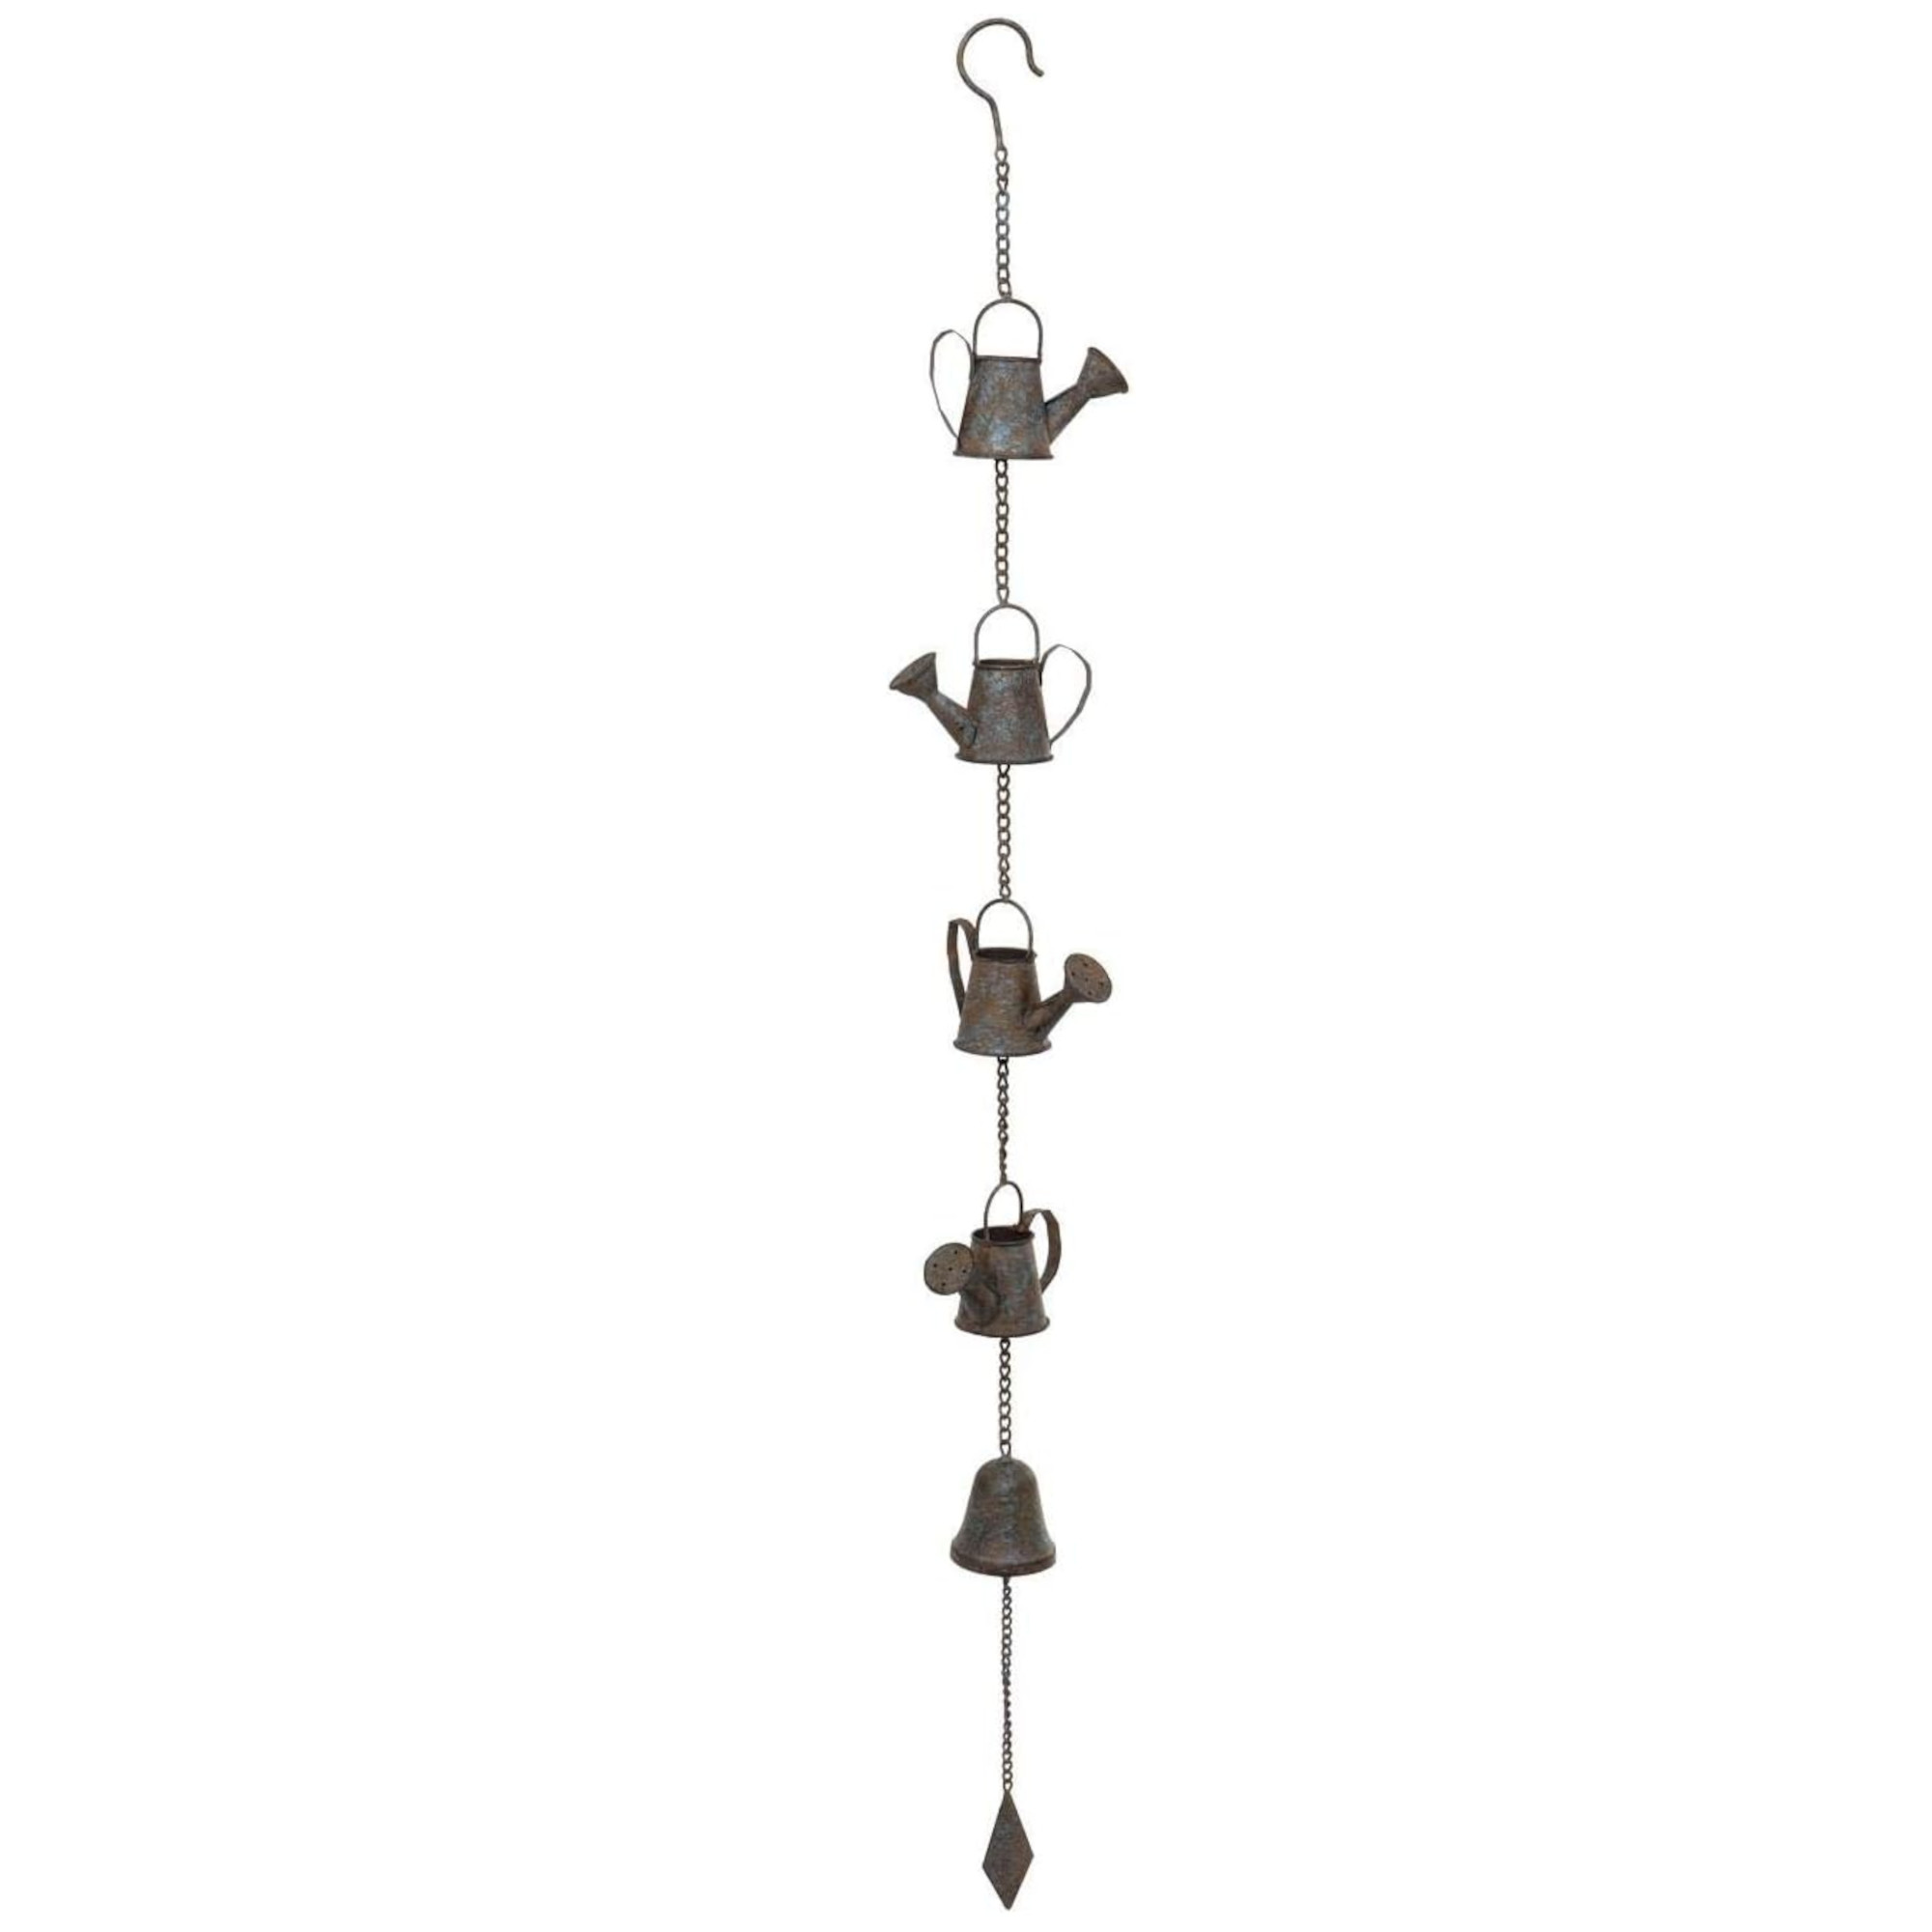
Rain chains come in lots of designs, from flowers to this pretty watering can version (you can get a similar look with the London Ornaments watering can rain chain on Amazon).
1. Choose the right spot
Rain chains can only perform properly if they’re hung in the right place. Ideally, you’ll want:
- An overhanging roof eave: A decent overhang ensures the rain chain can be positioned away from the exterior wall, ensuring water drips neatly into the chain without running back along the house. ‘If it’s too close, your facade could get excessively wet, potentially leading to internal dampness,’ adds Rob.
- A clear drop: To avoid splashback or water damage, position your rain chain so it hangs at no more than 2-2.2 metres from the ground. ‘Any higher and the water tracking becomes unpredictable,’ advises Carol Costello, Business Development Lead at Cullinan Studio.
- Sheltered conditions: Rain chains aren’t suited to very windy locations. ‘On a previous project, the chains were replaced with hoppers because the winds pushed water horizontally across the facade,’ Carol explains. If your garden is exposed, consider a traditional downpipe instead.
Carol also has a word of warning for those wanting to install rain chains on timber-clad houses: ‘Make sure the base of the wall has been properly detailed to keep the structure and cladding dry,’ she explains. ‘All timber should be a minimum of 150mm off external ground level with a more robust material (brick or block) at the base of the wall.’
Sign up to our newsletter for style inspiration, real homes, project and garden advice and shopping know-how

With over 25 years in architecture, Carol champions the power of collaboration at Cullinan Studio to tackle complex challenges. She has led the design of cultural, education and infrastructure projects, guiding clients through both design and the organisational change that follows. Beyond her work at Cullinan Studio, she’s passionate about walkable cities, community food growing and opening up careers in architecture to young people from all backgrounds.
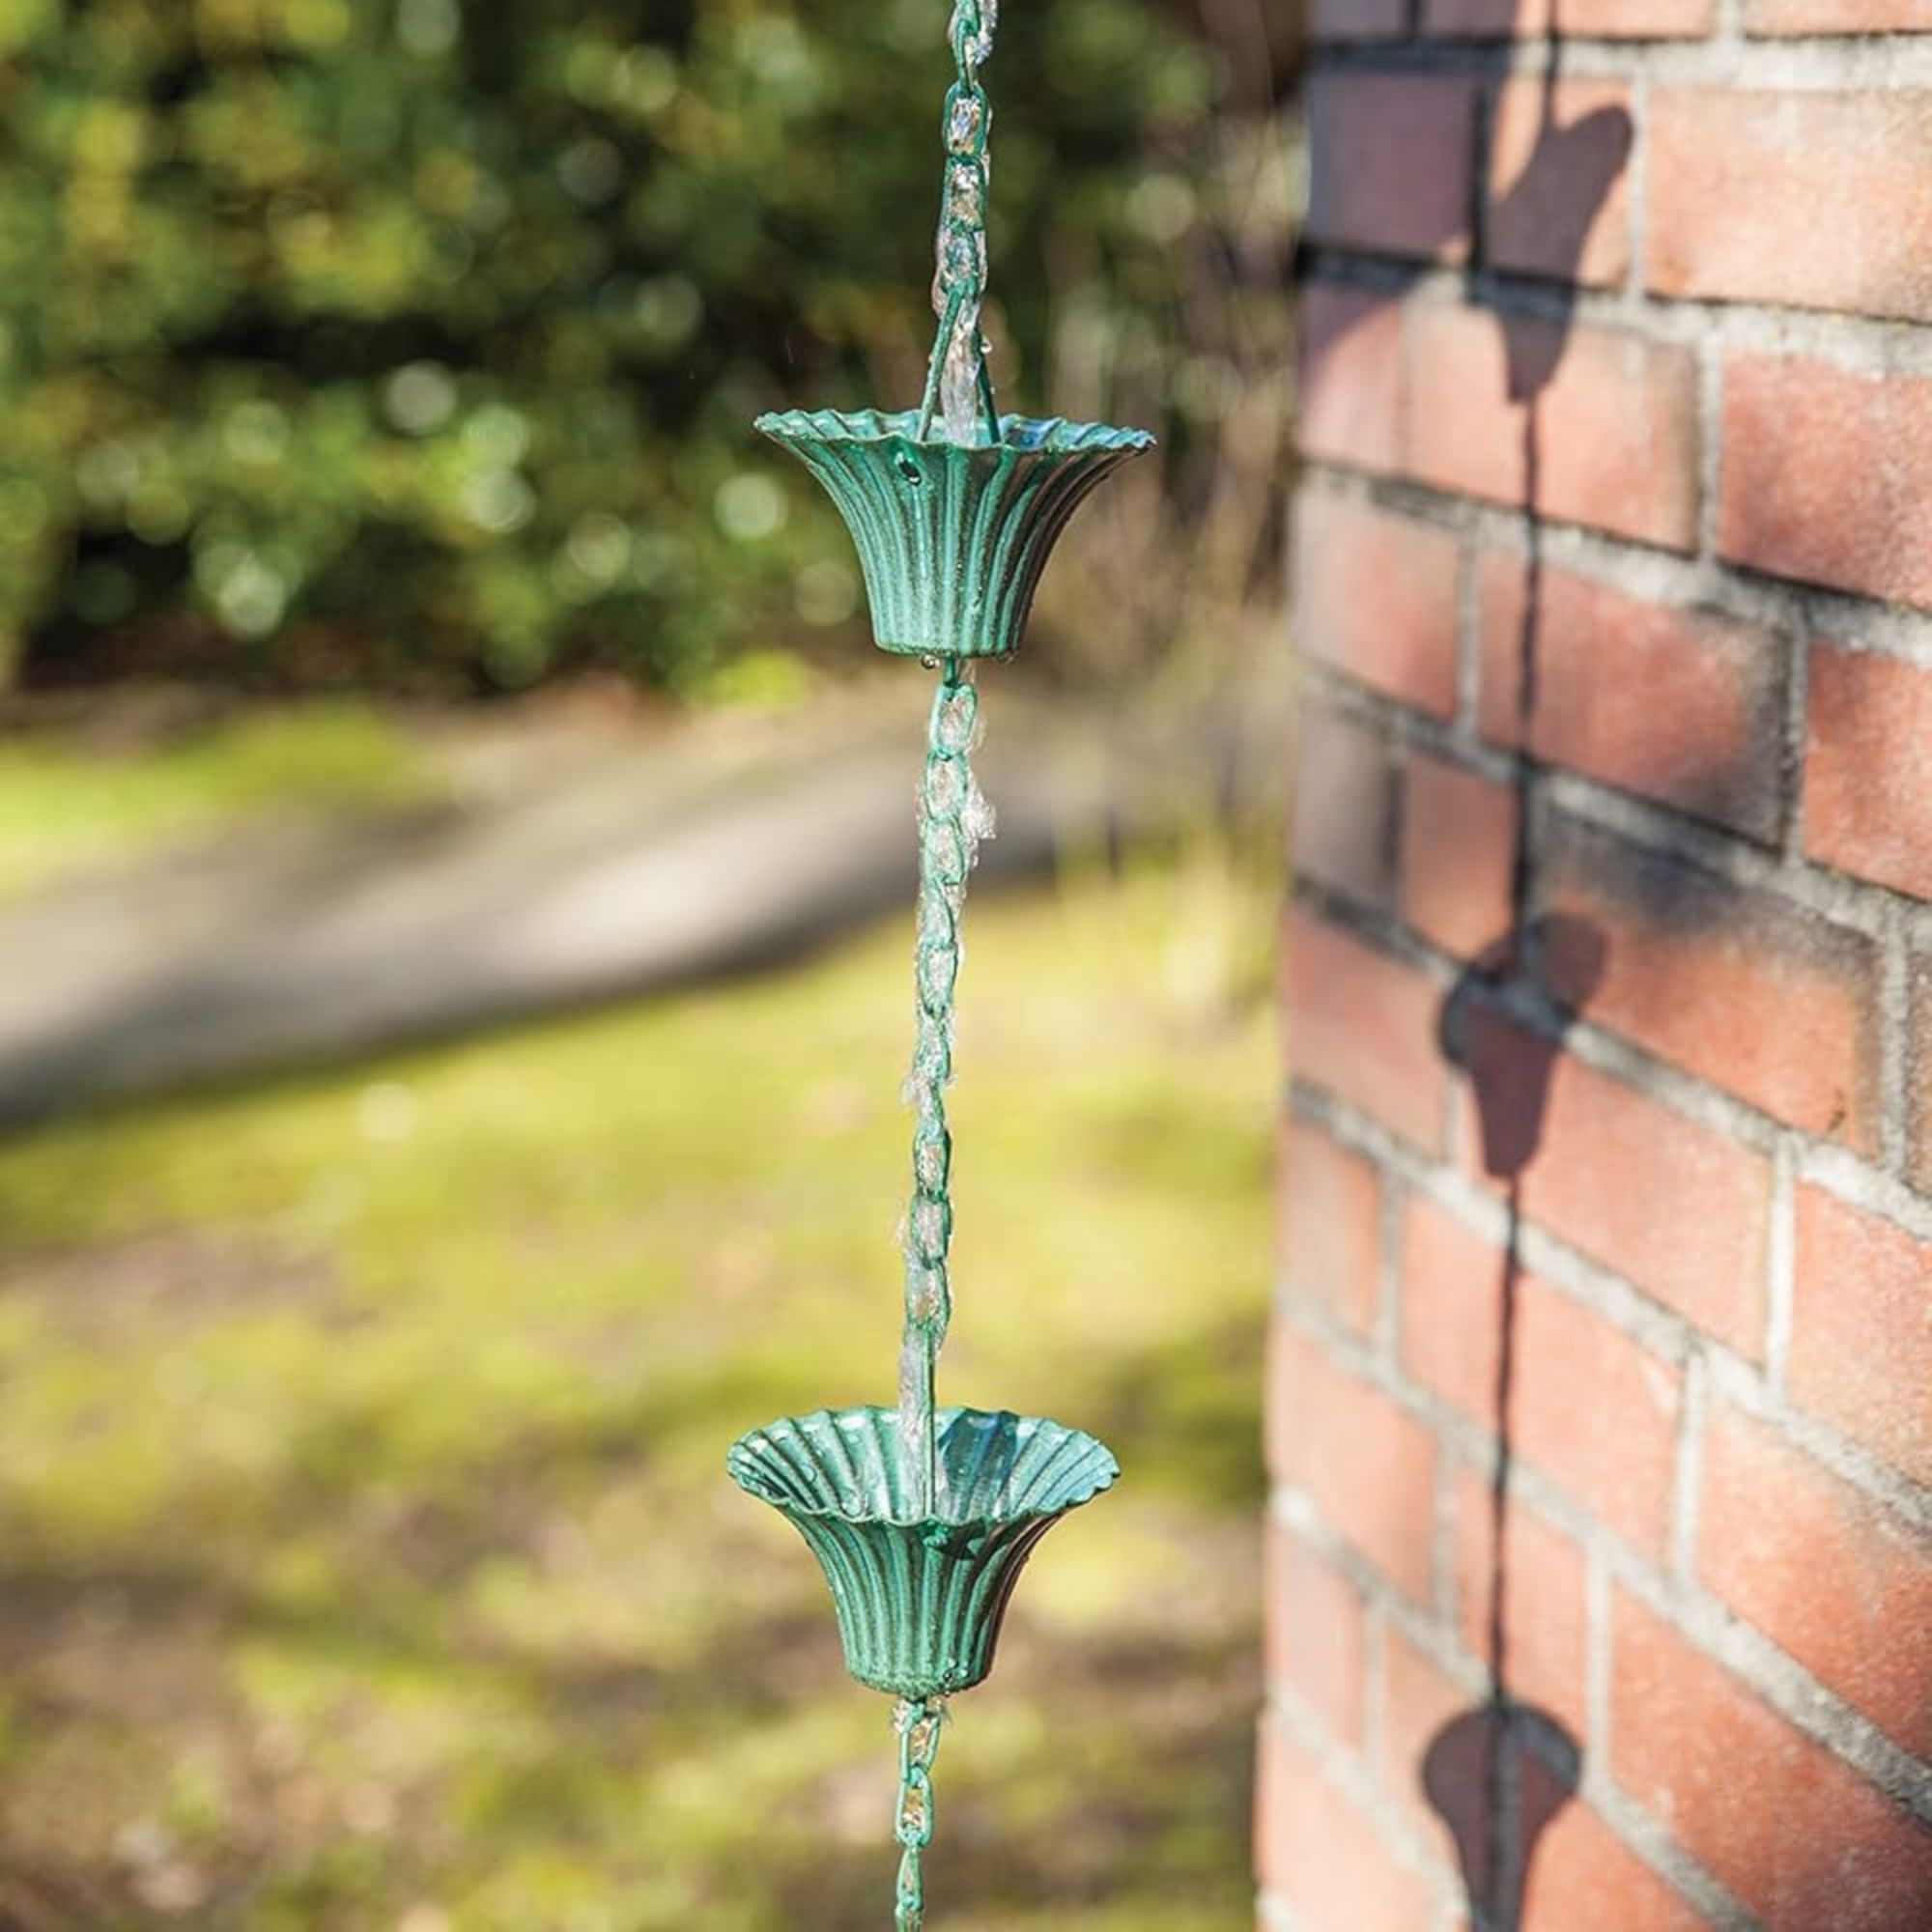
2. Fit a gutter outlet or spout
You’ll need a way to feed water into the chain. Many rain chains are hung from an open gutter outlet or spout. ‘This works well because it directs water cleanly into the first cup or link,’ says Carol. If your gutters have enclosed downpipes, you may need to adapt them or invest in a conversion kit (like this kit from Amazon, £15.89). – most rain chain suppliers offer these.
3. Fix the chain securely
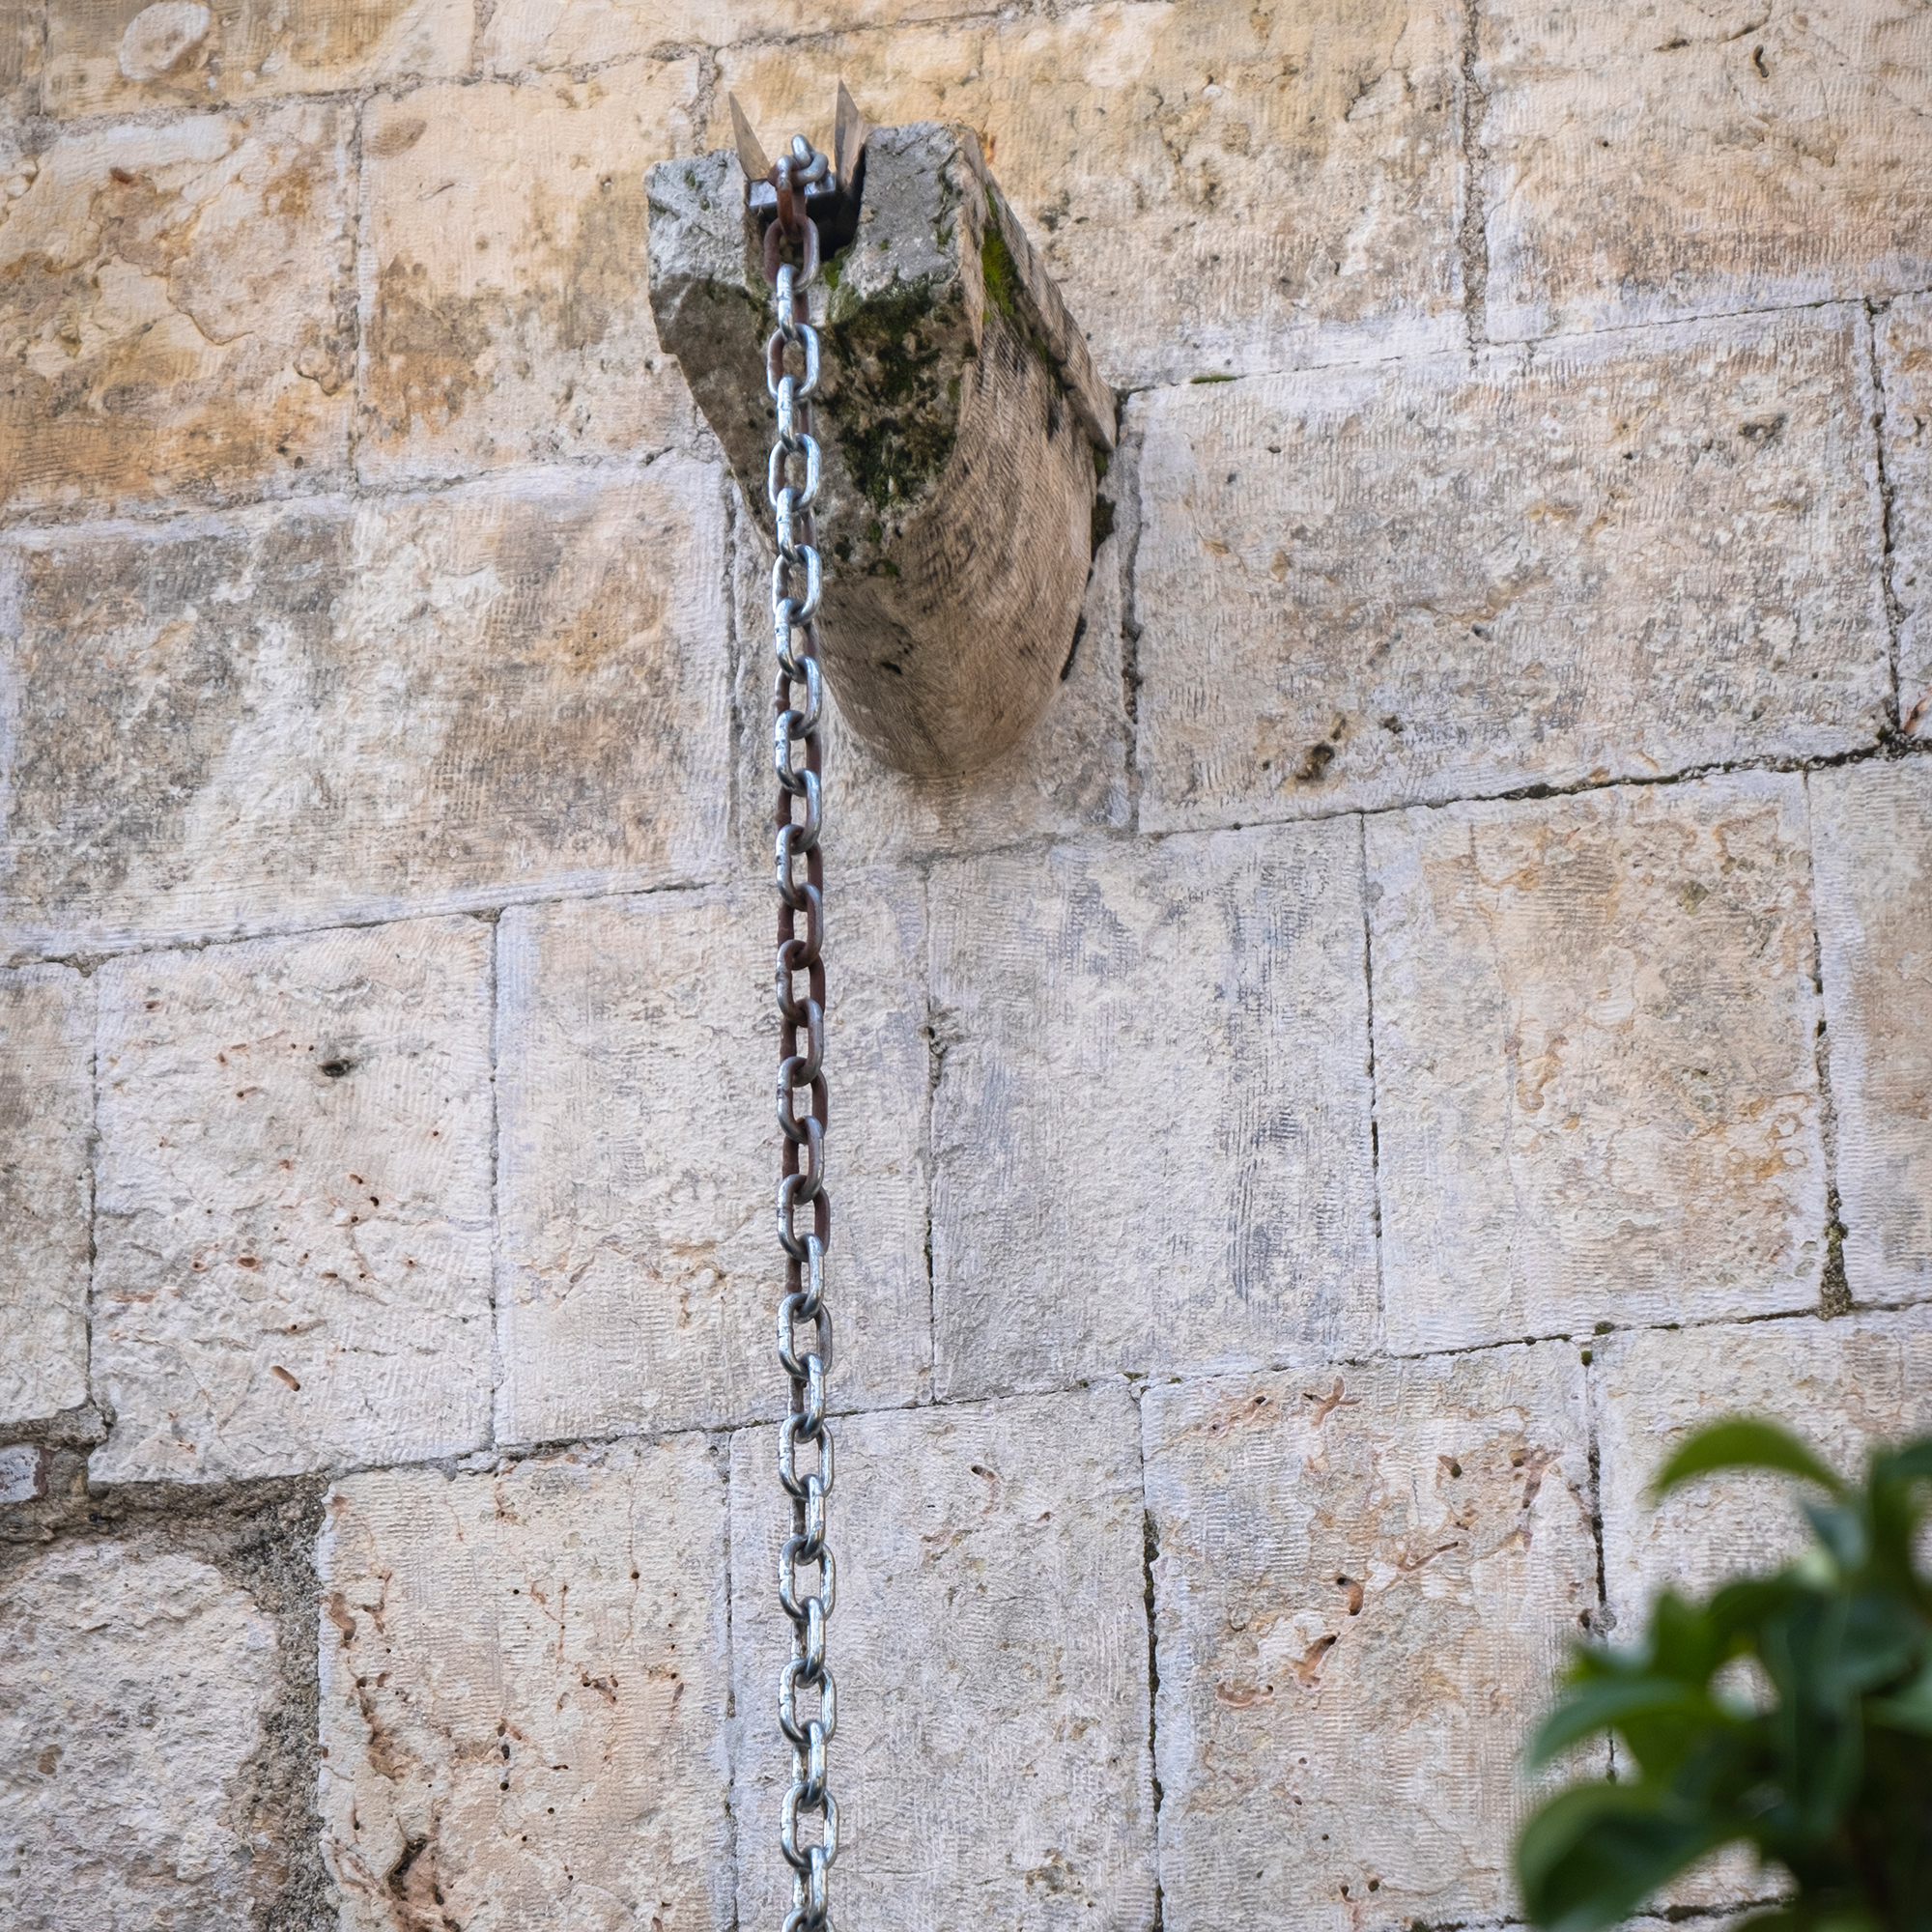
Rain chains may look delicate, but they get surprisingly heavy when it rains. Use a robust fixing bracket or V-hook designed for your chain’s weight.
Step-by-step:
- Remove your existing downpipe or outlet.
- Attach the rain chain bracket securely to the fascia or guttering.
- Hang the rain chain from the hook, checking it’s straight and centred.
- If you live in a windy area, consider fixing it to the ground with a anchor stake or pin, which you can buy from your rain chain provider.
4. Prepare the base
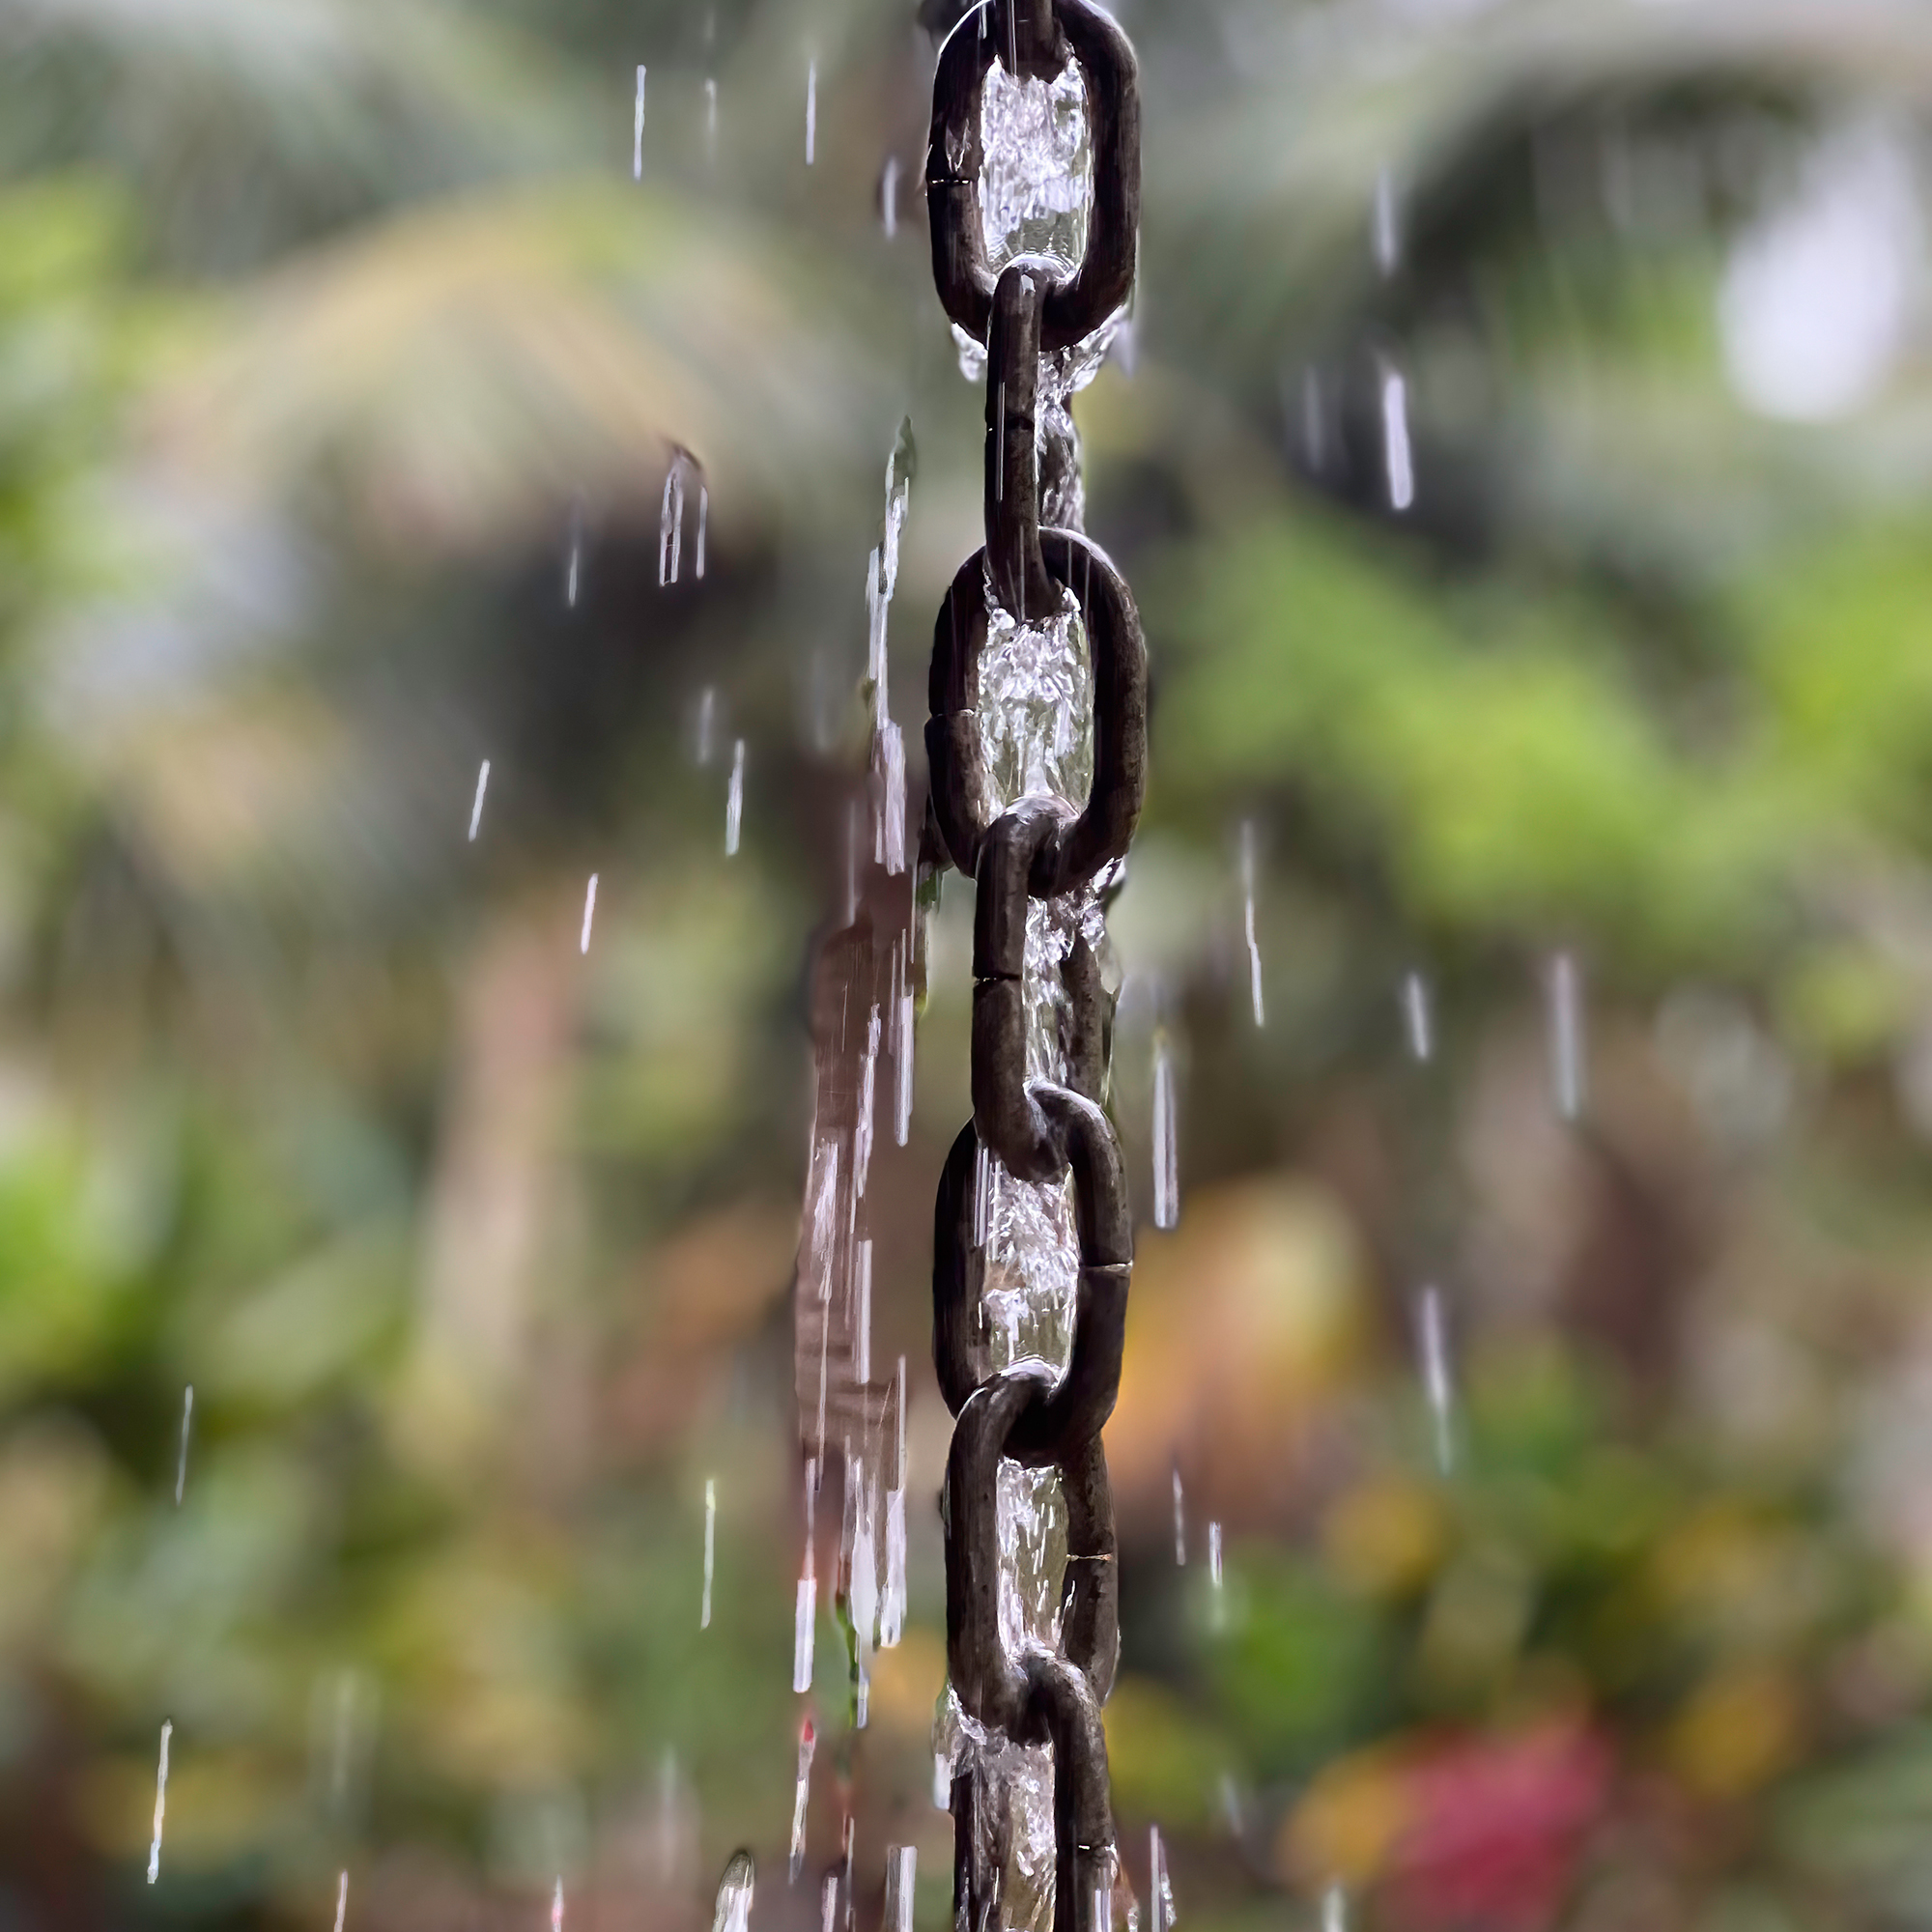
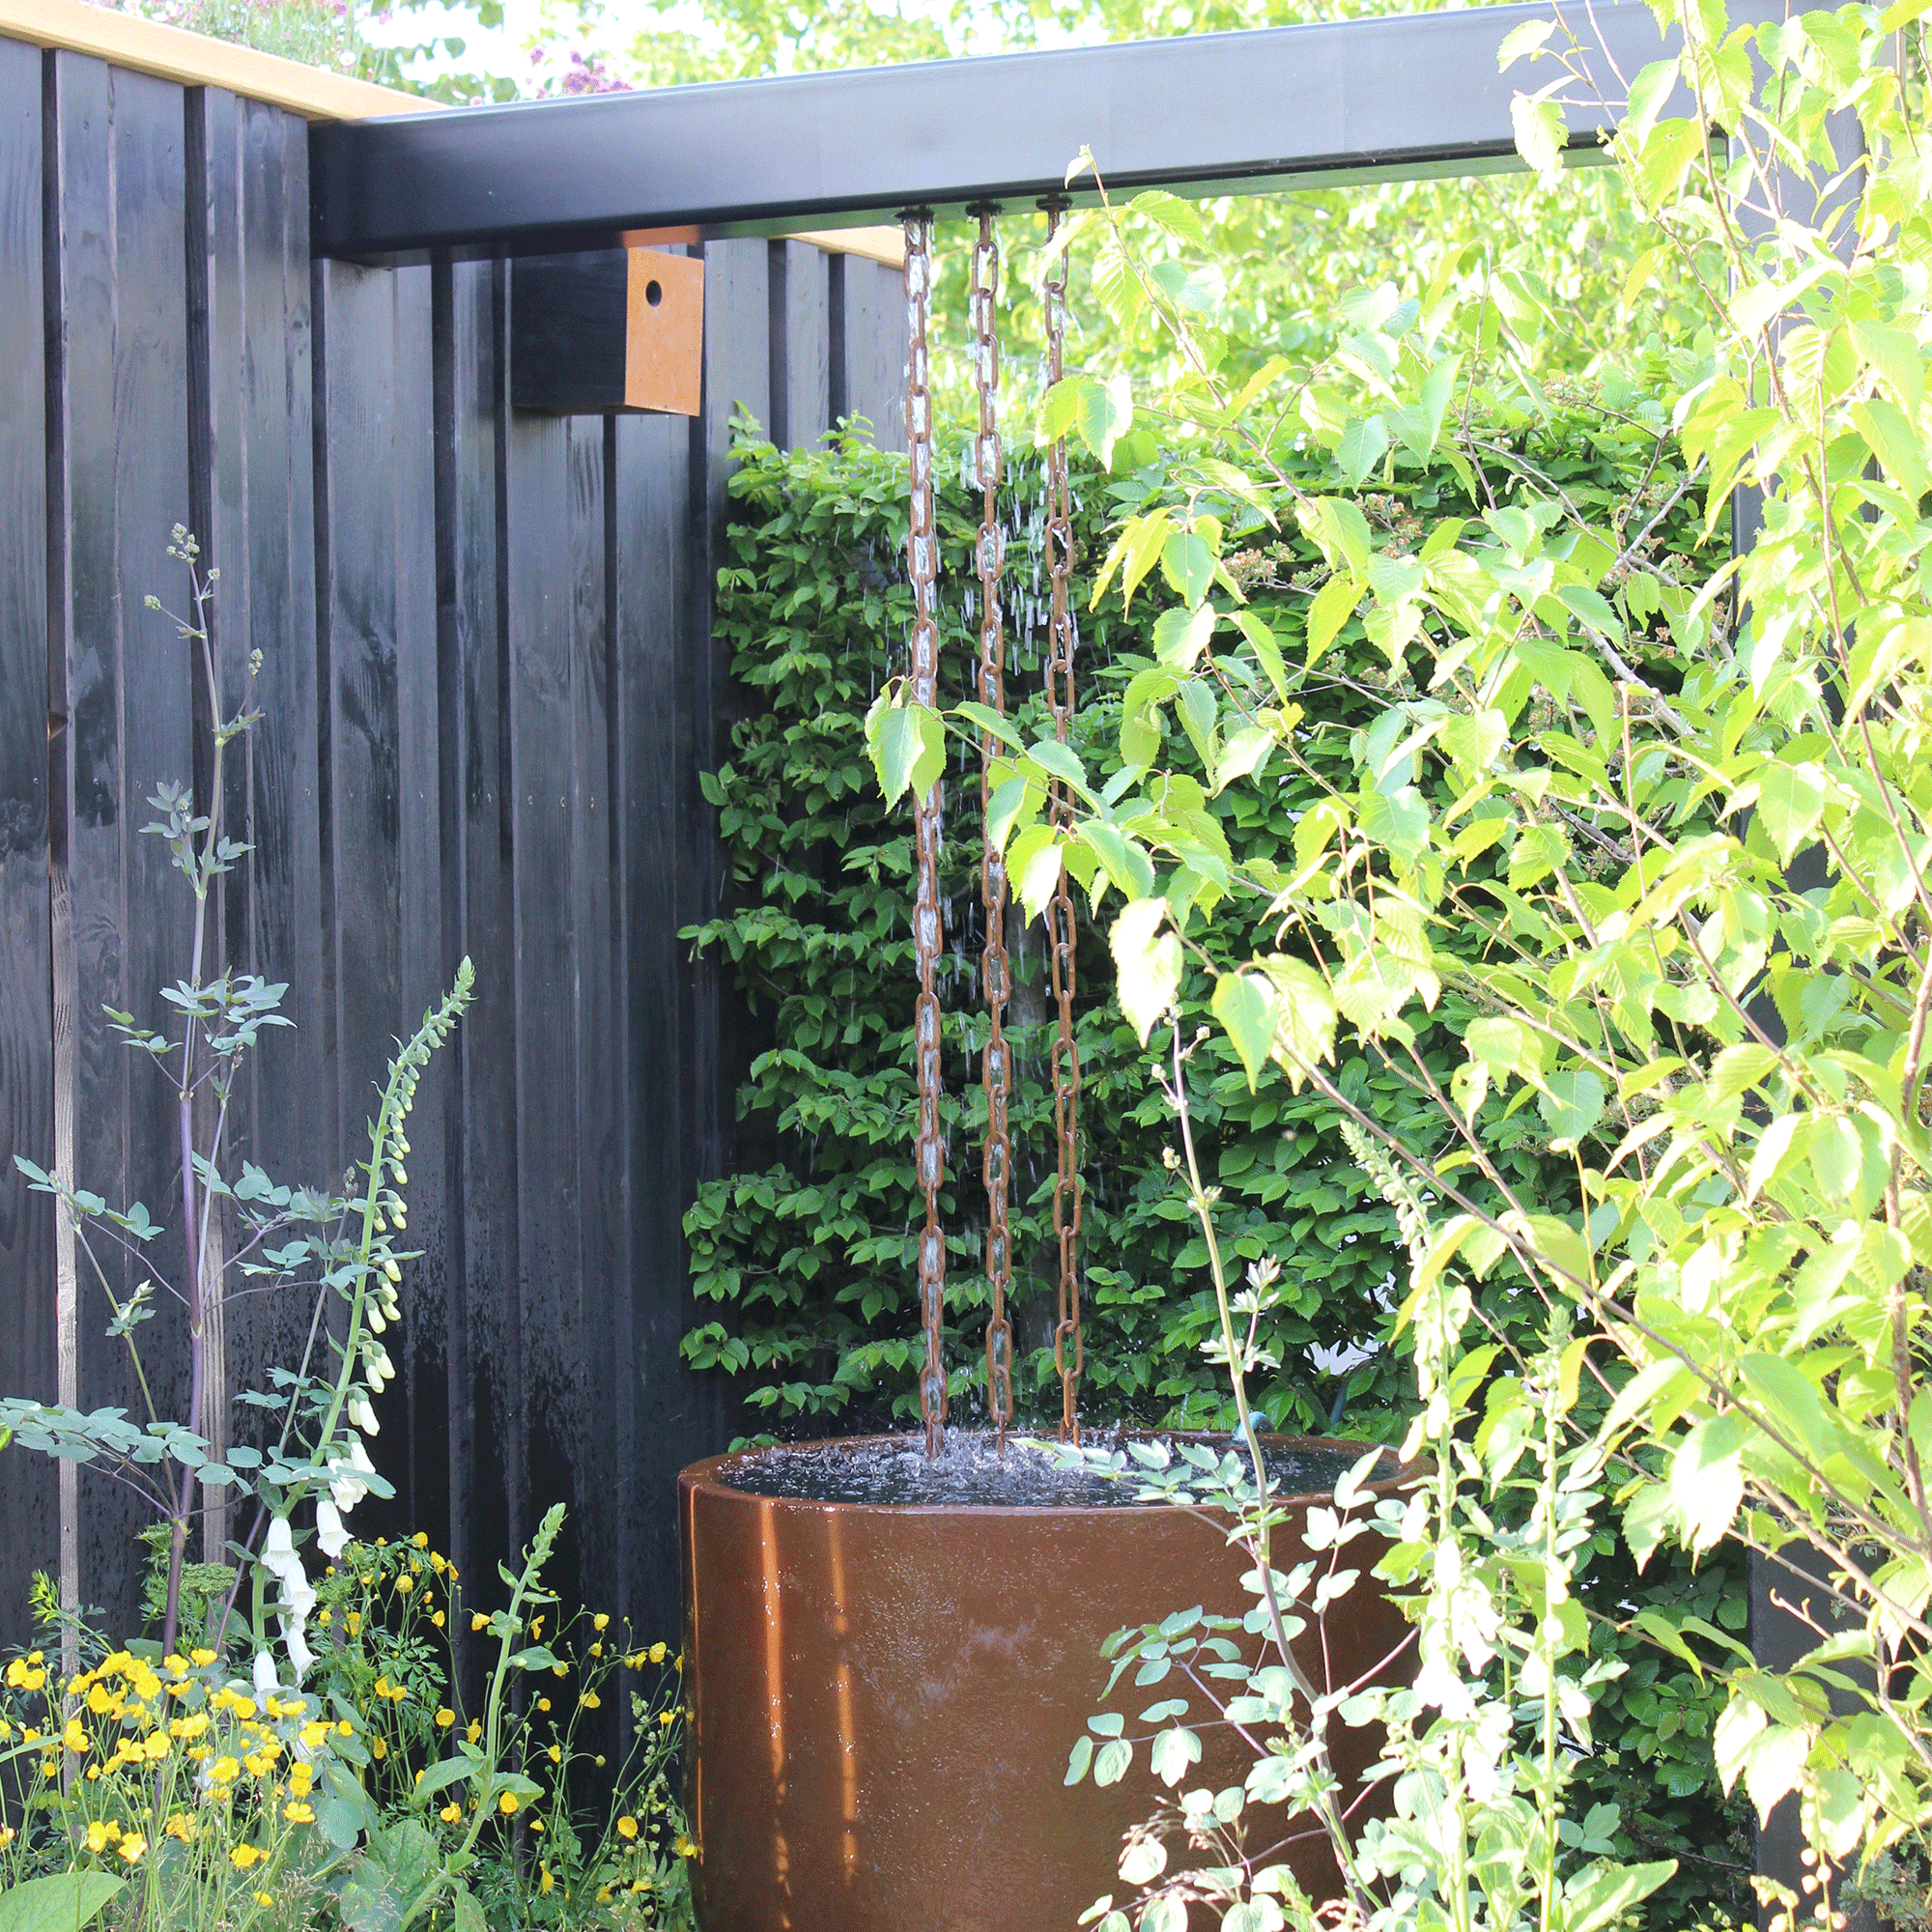
Rain chains need something to feed into to disperse or collect the water and reduce splashback. If you’re replacing your downpipe, the chain will naturally be positioned above a drain – problem solved!
However, if you’re choosing a new position, you can incorporate a new gravel bed, which means you may be able to secure the end down with the stones, too. And for those looking for rain harvesting ideas, a rain barrel or water butt like this stylish galvanised steel water butt, £249.99 from Crocus, or this water butt with a simple design, £94.99 at Amazon, works best.
5. Consider scale and style
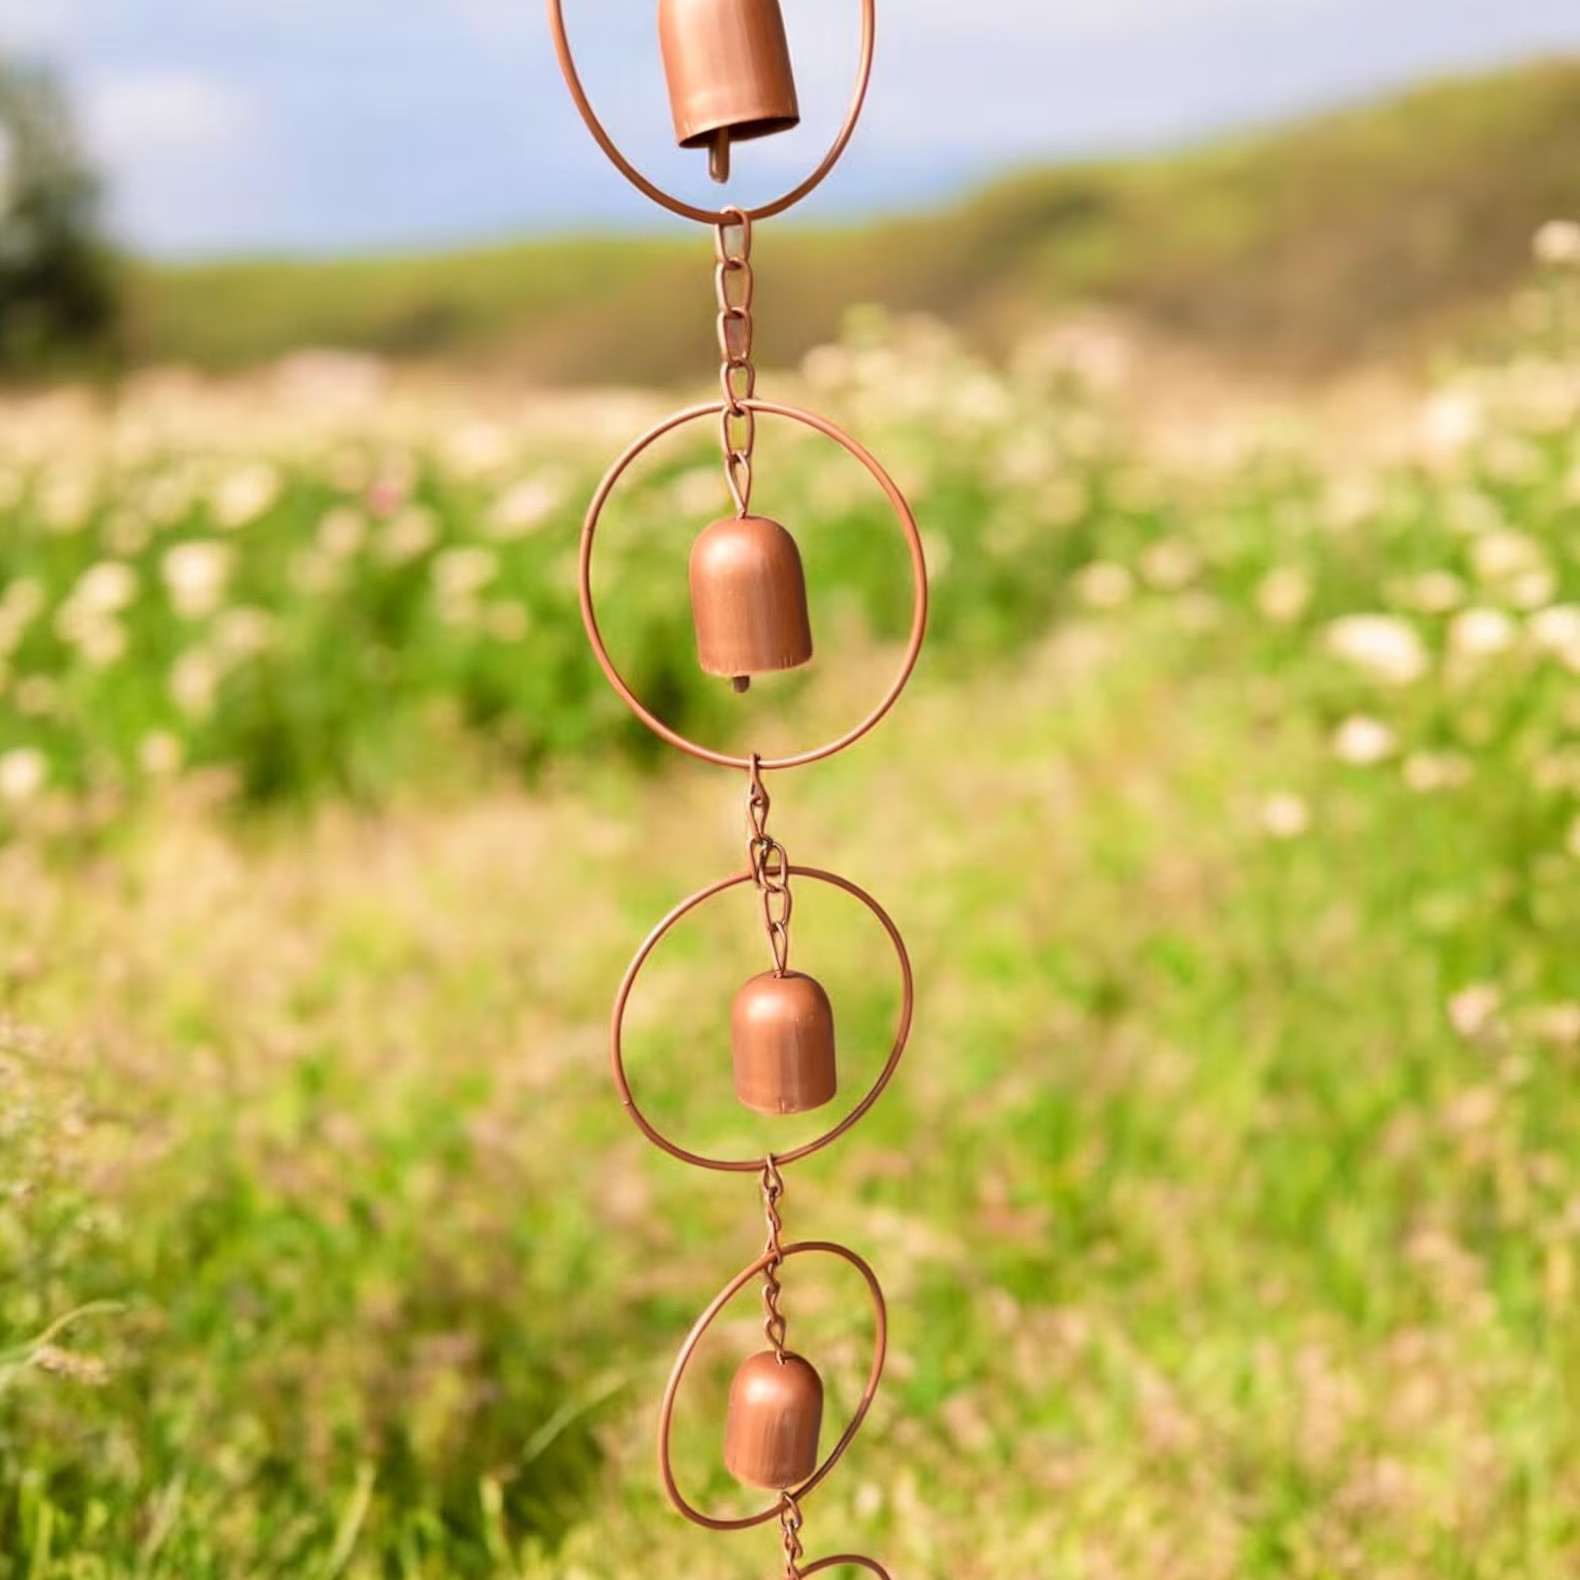
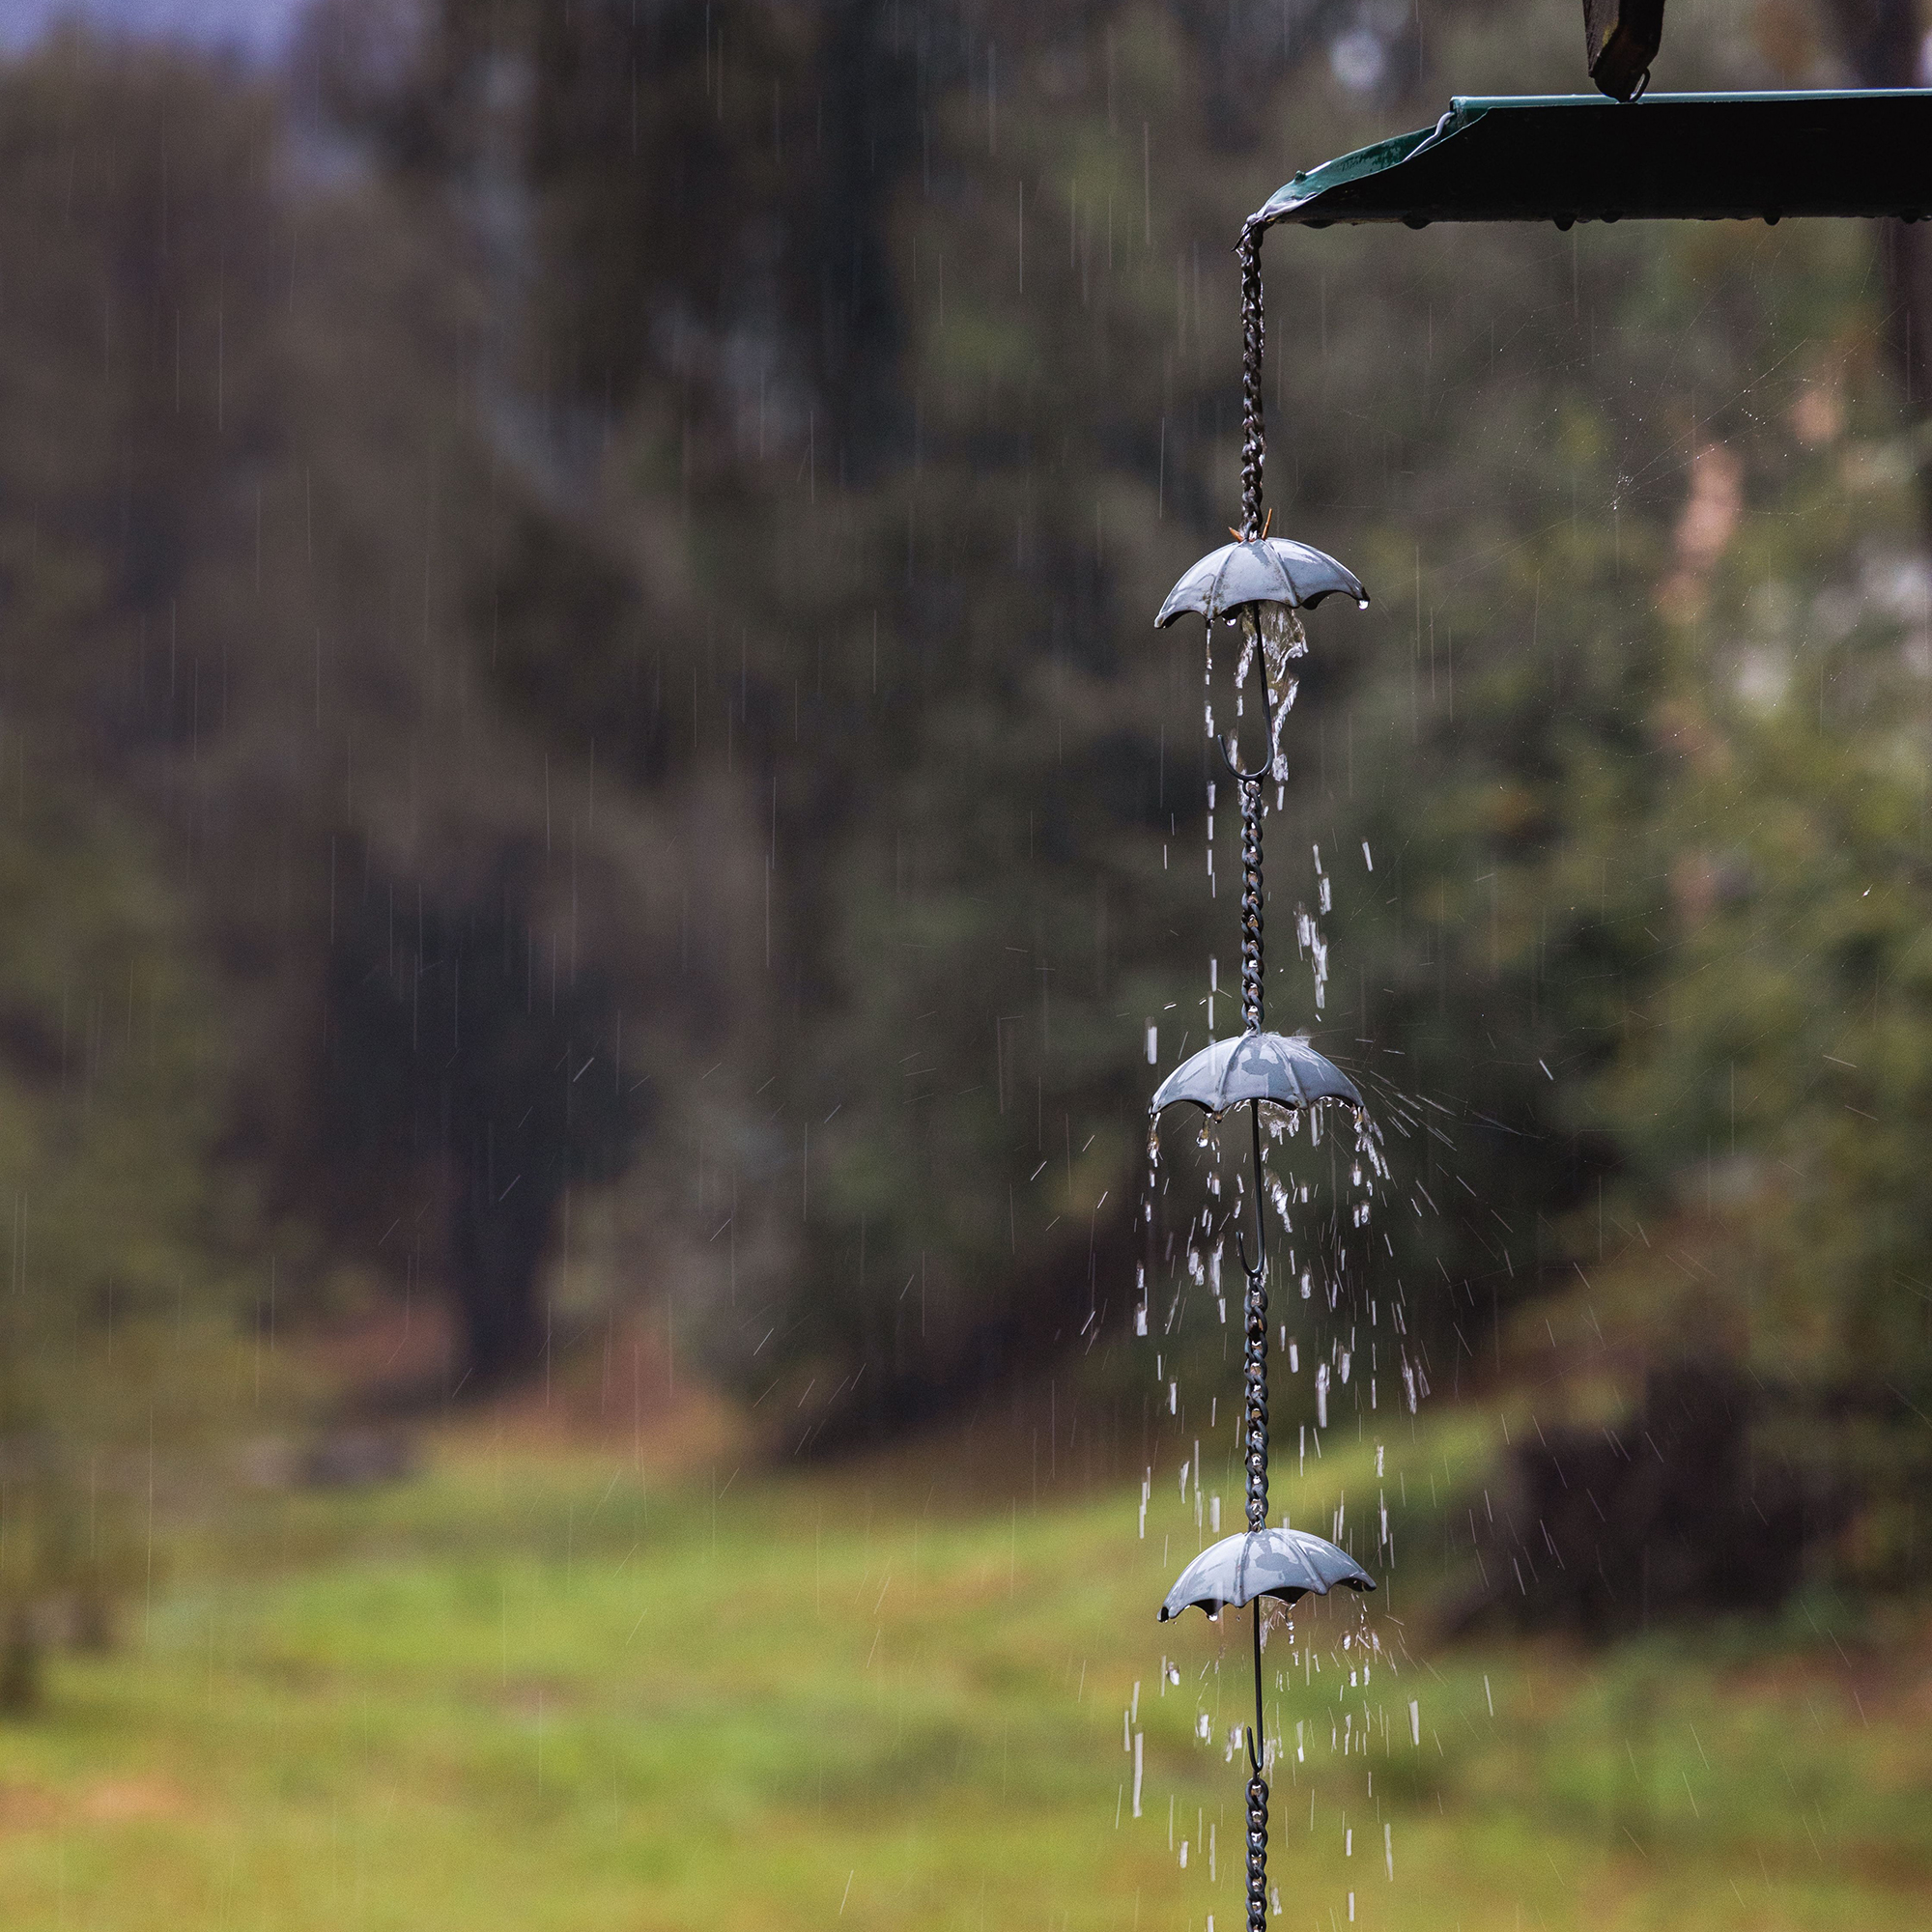
Rain chains come in all shapes, from simple link designs to ornate cups. Rob recommends thinking about proportion.
‘Consider the volume of water your rain chain needs to cope with,’ he says. ‘Larger roofs or areas with intense rainfall may need a wider chain or several chains side by side so the water clings properly and prevents more of a waterfall effect.’
In terms of aesthetics, rain chains are a chance to create a focal point. Rob adds: ‘They suit contemporary settings particularly well, where architecture takes inspiration from other places and defies tradition. Think minimalist lines, sculptural forms or even mixed materials.’
6. Maintain your rain chain
A rain chain is only as effective as the gutter above it. ‘You must keep your gutters clear and in good repair,’ Carol explains. ‘It’s all part of a healthy drainage ecosystem.’
Once a season, check for:
- Leaves and debris in the gutter or chain cups
- Rust or corrosion on metal chains
- Any loose fixings
7. Enjoy the show
Finally, don’t forget that part of the joy of a rain chain is in watching it work. ‘Traditional Japanese homes have covered verandas or walkways (known as ‘engawas’) that frame a view of the rain,’ Rob says.
‘Imagine sitting with a cup of tea, watching the water dance its way down the chain. It’s a small but powerful way to connect with nature.’
Quick checklist for installing a rain chain
- Choose a sheltered spot under an overhanging eave
- Fit a gutter outlet or open spout like this gutter adaptor from Amazon, £17.42
- Hang the chain no higher than 2–2.2m
- Install a sturdy fixing bracket and anchor it down if you live in a windy area
- Prepare a drainage solution beneath
- Keep your gutters maintained
- Take a moment to enjoy the rainfall
Where to buy rain chains
Now you’re ready to install your own rain chain and turn grey days into something to celebrate.
Natalie Osborn began her career in interiors journalism 15 years ago and went on to manage a portfolio of magazines, including the UK's leading kitchen garden magazine, Grow Your Own. Her two allotments (because one is never enough) are home to fruit, vegetables and heaps of cut flowers, ranging from delicious loganberries and burgundy red sunflowers to sweet yellow ball-shaped courgettes (better for dodging gluts) and a veritable farm of dahlias of every shape and size.
