We upcycled a stool and you won't believe the makeover!
Always wanted to try an easy upcyling project? Here's a step-by-step guide for recovering a wooden stool
We turned a sturdy but tired looking stool into a fabulous occasional seat with a quick and easy re-do that anyone can try at home, even if you're a complete upcycling novice!
We took our project to Amanda Girling-Budd - a guru of traditional and modern re-upholstery who runs The School of Stuff - to get some expert guidance on giving an old piece of furniture a new lease of life.
The project
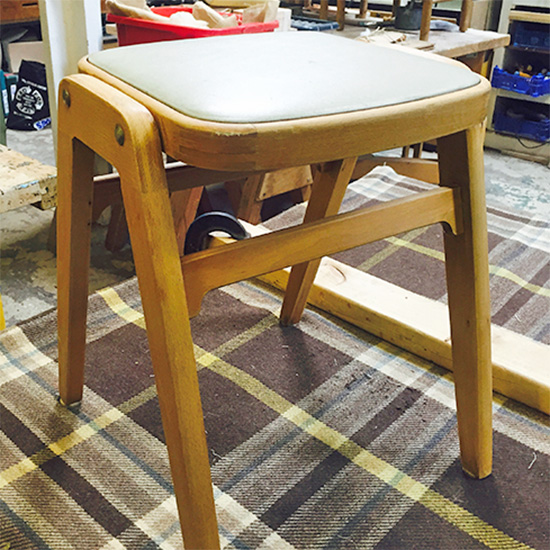
This 1950s wooden stool was an eBay bargain; the wooden legs were stable and in good condition but the drop-in seat had a tired grey vinyl cover that looked dull and shabby.
Before...
After...
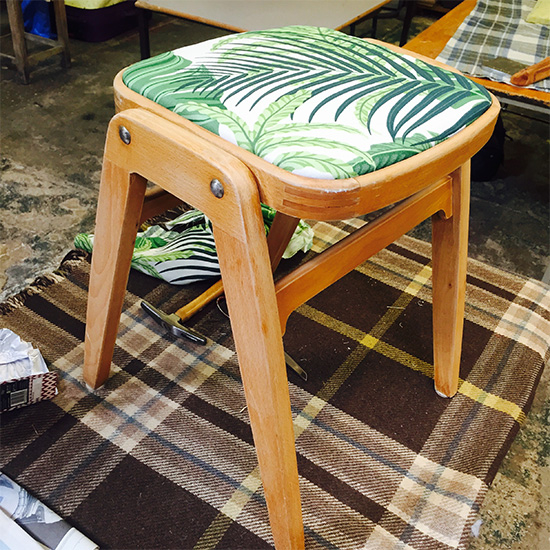
The end result!
Using a bold botanical print in fresh green and white has lifted the whole piece and brought it bang up to date. This is perfect for occasional seating in the living room or even for taking outside into the garden if there are extra guests.
Here's how to do it...
Step 1
Remove the seat from the frame - this stool had simple wooden latches that opened and the seat pad lifted out. You may need to check for screws but any drop-in seat should release fairly easily.
Sign up to our newsletter for style inspiration, real homes, project and garden advice and shopping know-how
Step 2
Remove the staples pinning the old covering to the underside of the seat.
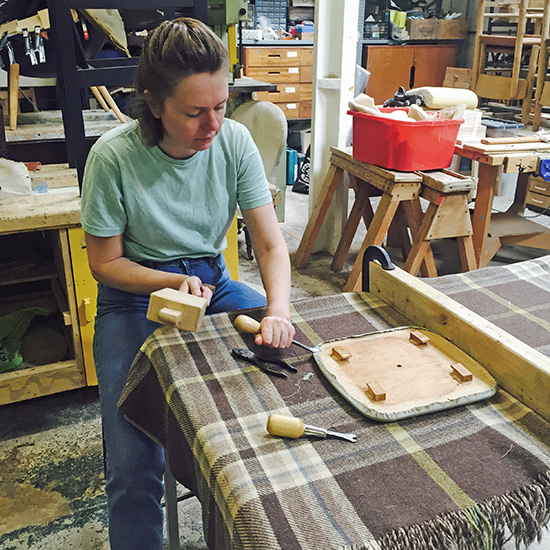
The best and safest way to do this is with a shovel ended staple remover and wooden mallet. Secure the seat pad against a block to stop it slipping - an outside wall behind a table is fine for this - and slip the pointed end of the tool under the staple facing away from your body and tap with a wooden mallet. (Top tip: use a wooden mallet on wooden handled tools and metal hammers on metal handles.)
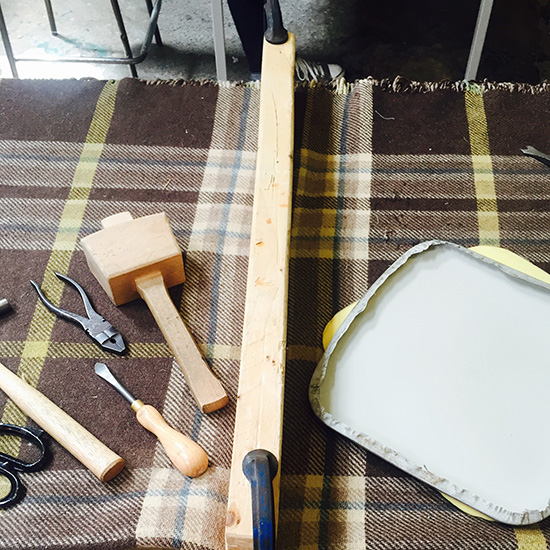
If the whole staple doesn't come loose, remove with pincer pliers and watch out for any sharp ends. If any break off leaving a point, hammer them in flat to the seat. Pull over the old covering and foam and discard.
Step 3
Draw around the wooden seat onto a new piece of foam and cut it out. It's useful to measure the height in the original seat pad to try and match it with new materials.
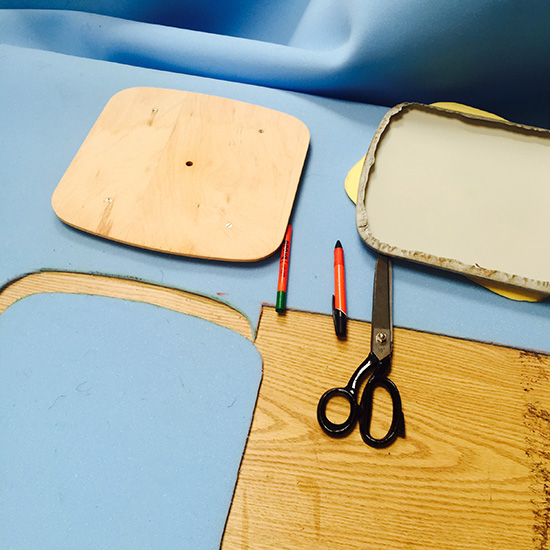
Glue the foam to the seat pad using spray adhesive. Cover the foam with a layer of wadding (cotton, viscose or polyester) to add comfort and prevent your fabric from bunching up.
Step 4
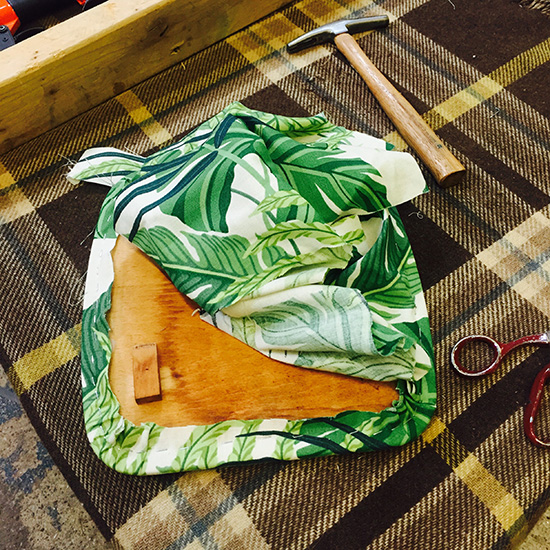
If your fabric has a large pattern experiment with the placement until you're happy with it. Flip the whole thing over, and anchor each side with a staple or tap in 10mm fine tacks. Then turn it back over and make sure the fabric is on straight and it is taut.
Step 5
Once the four holding staples or tacks are in place and the fabric is smooth you can continue tacking or stapling the fabric out from the centre staple up towards the corners, keeping the fabric quite tight. For the corners, pull the fabric tight diagonally over the corner and tack it, then fix a series of folds either side to take up the slack in the fabric. Repeat until all the corners are secured and then trim the fabric.
Fit the seat back into the frame and there you have it! The next stage is too clean and way the wooden legs to bring the colour back to them and it should lookbetter than new.
We've got tons more upcycling project ideas including this great guide on 4 ways to upcycle a kitchen table.