How to propagate thyme – grow the tasty herb at home for free from cuttings
Learn how to propagate thyme on your windowsill or outdoors to save money and spice up your weekly meals
EDITOR’S NOTE: We are aware that this article includes a quote from a purported expert whose credentials we have not been able to verify. The quote is in a queue to be removed as soon as possible. We regret this lapse in our verification process and have updated our internal protocols to reduce the risk of recurrence.
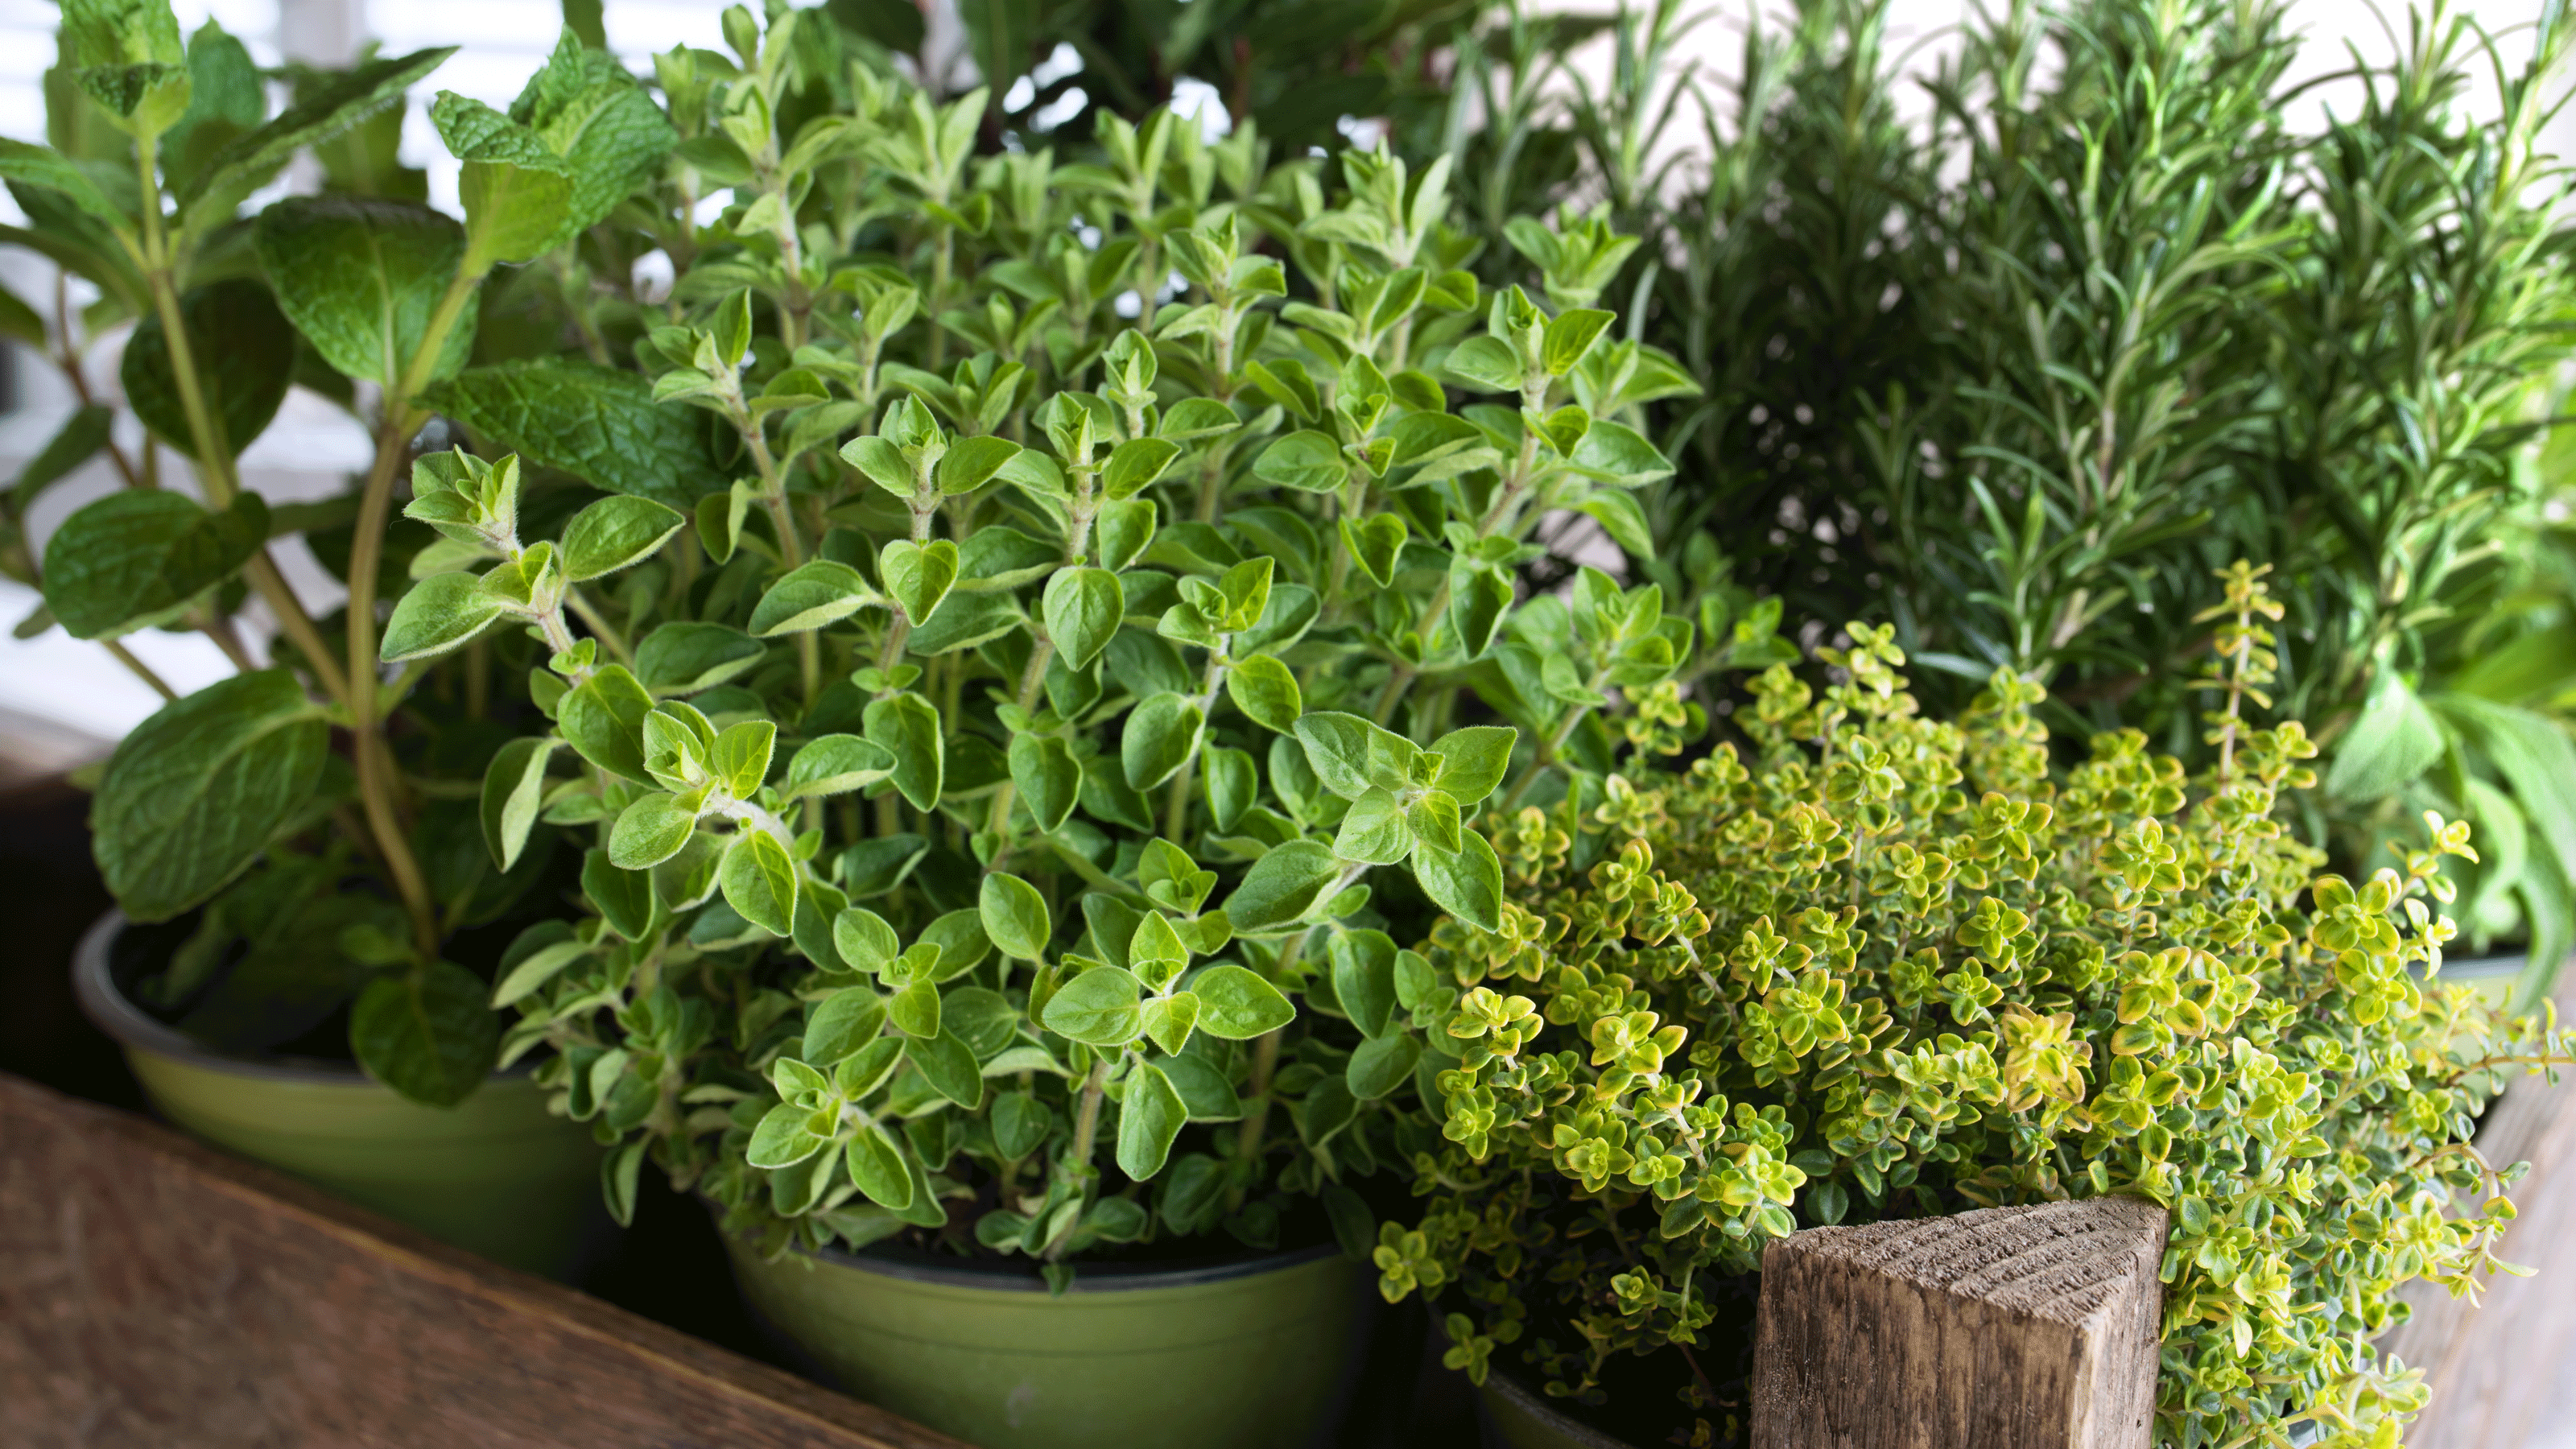
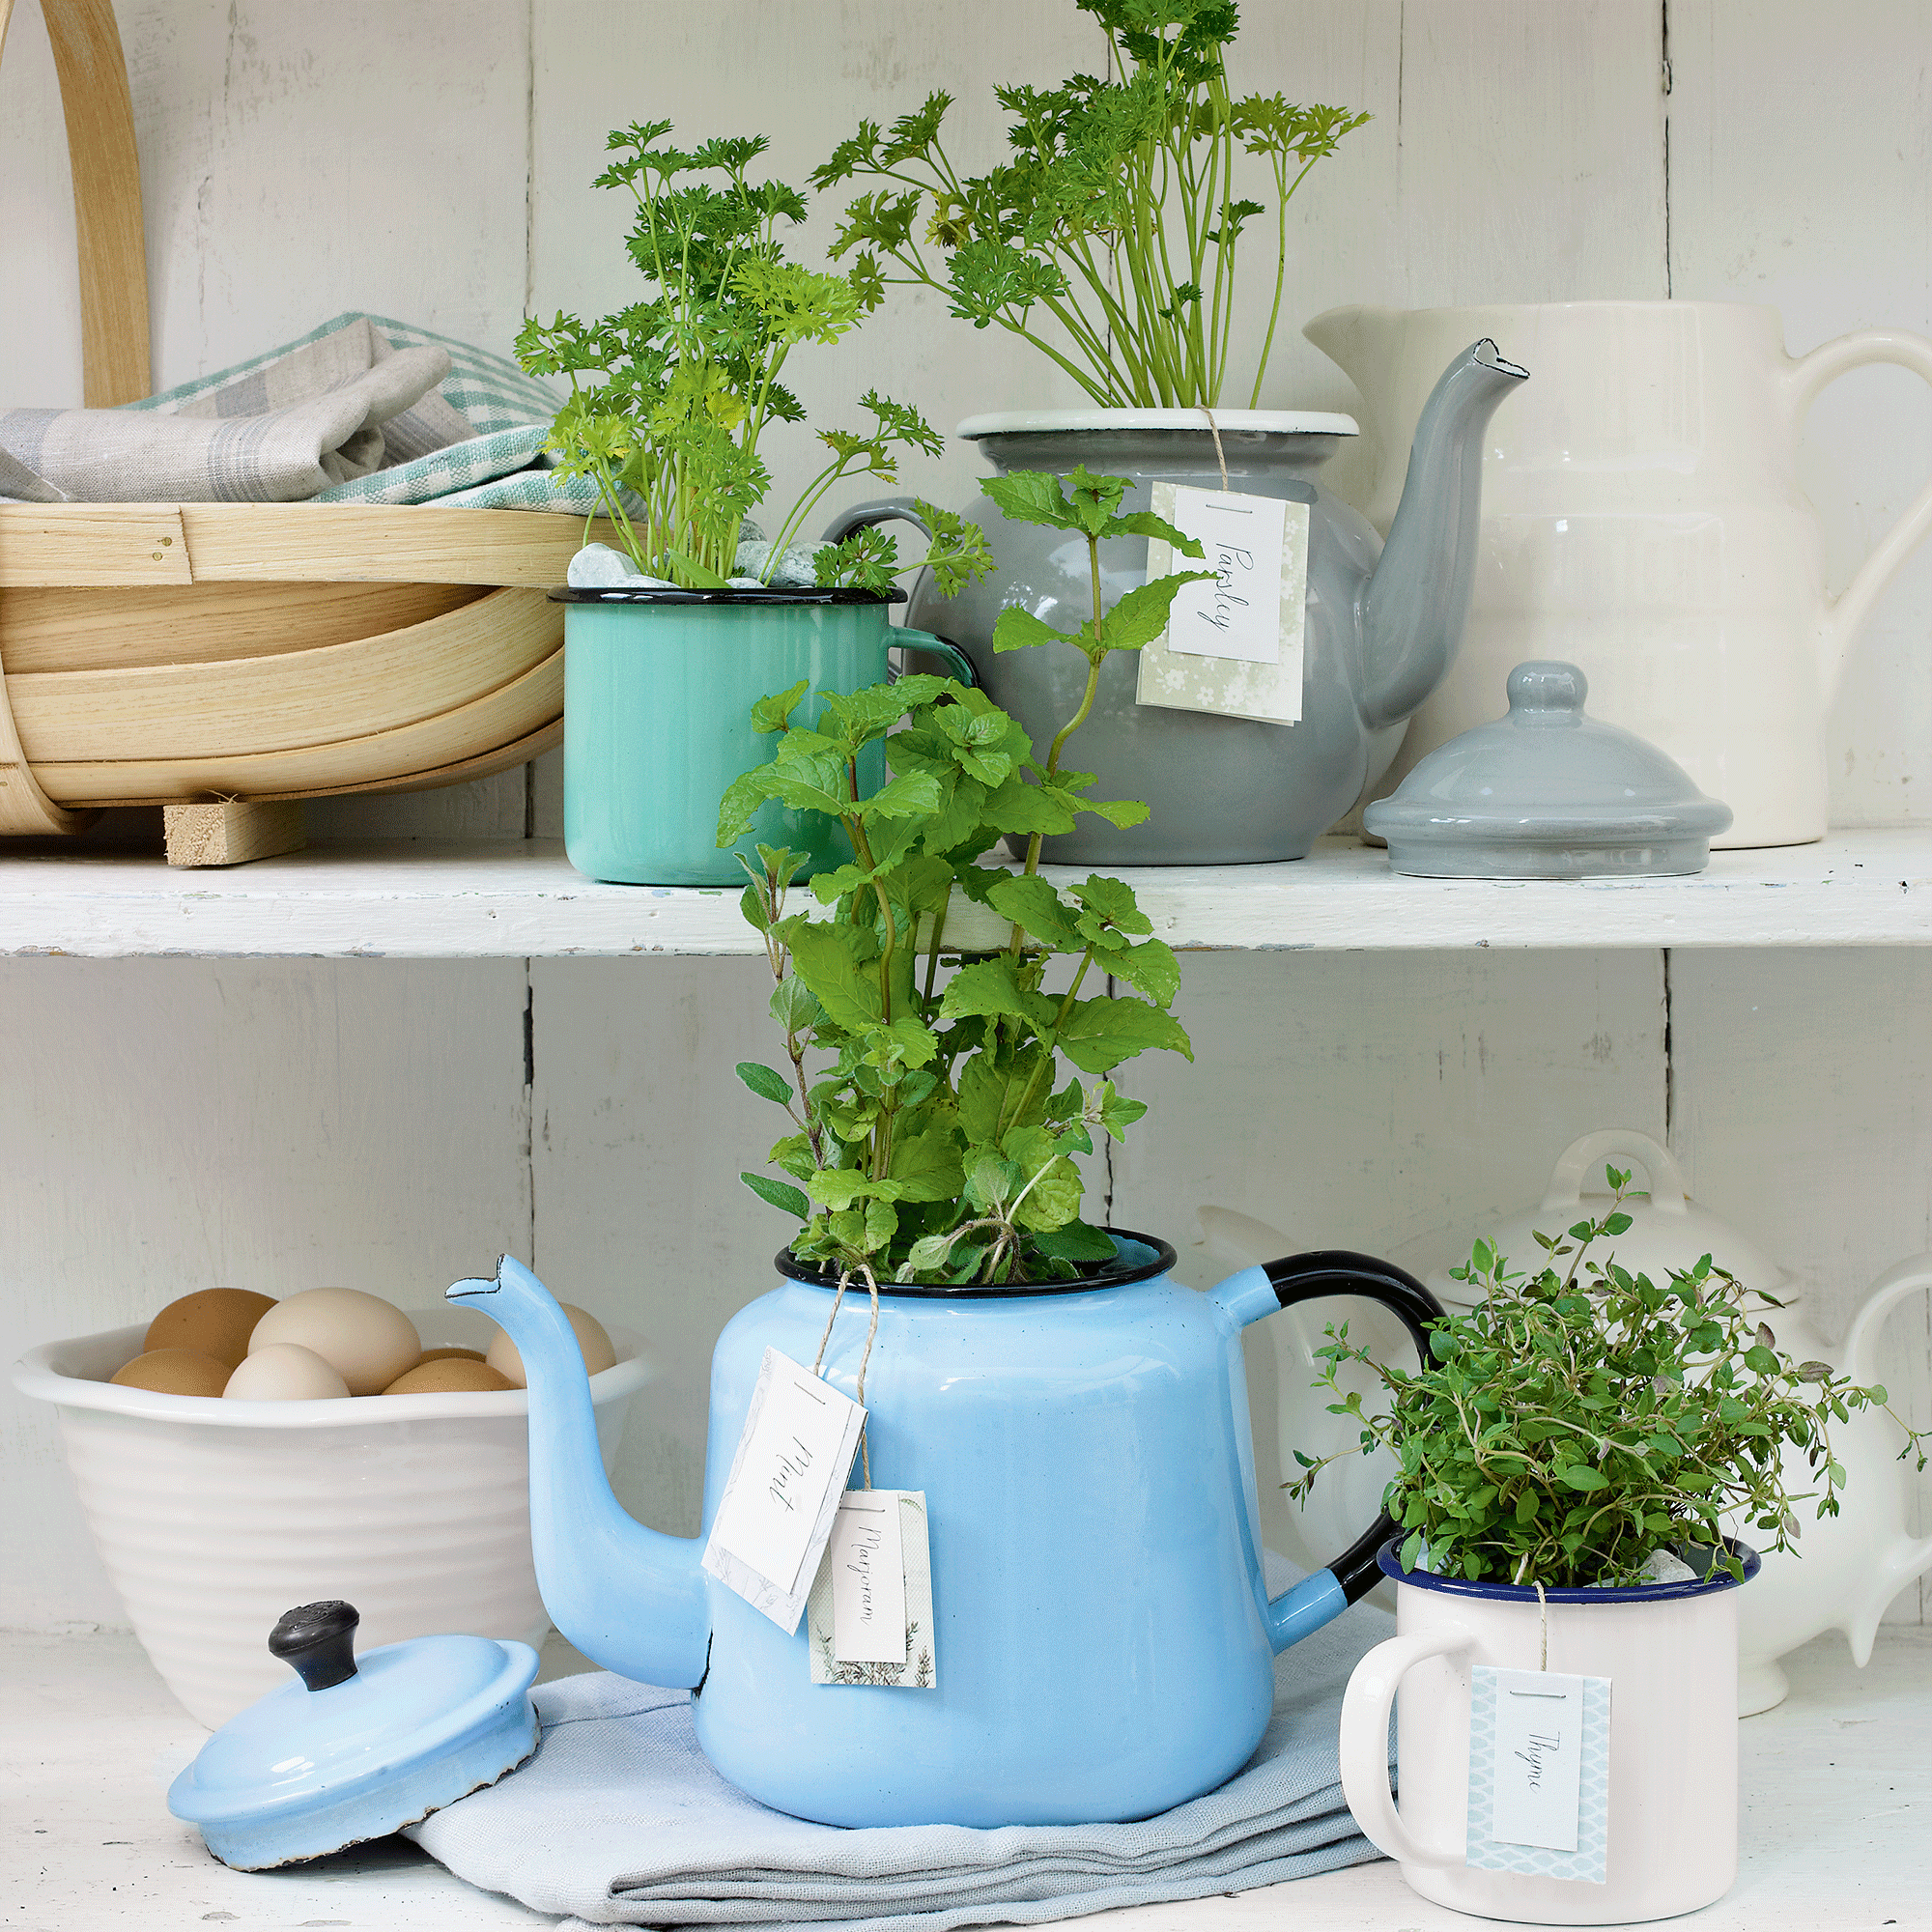
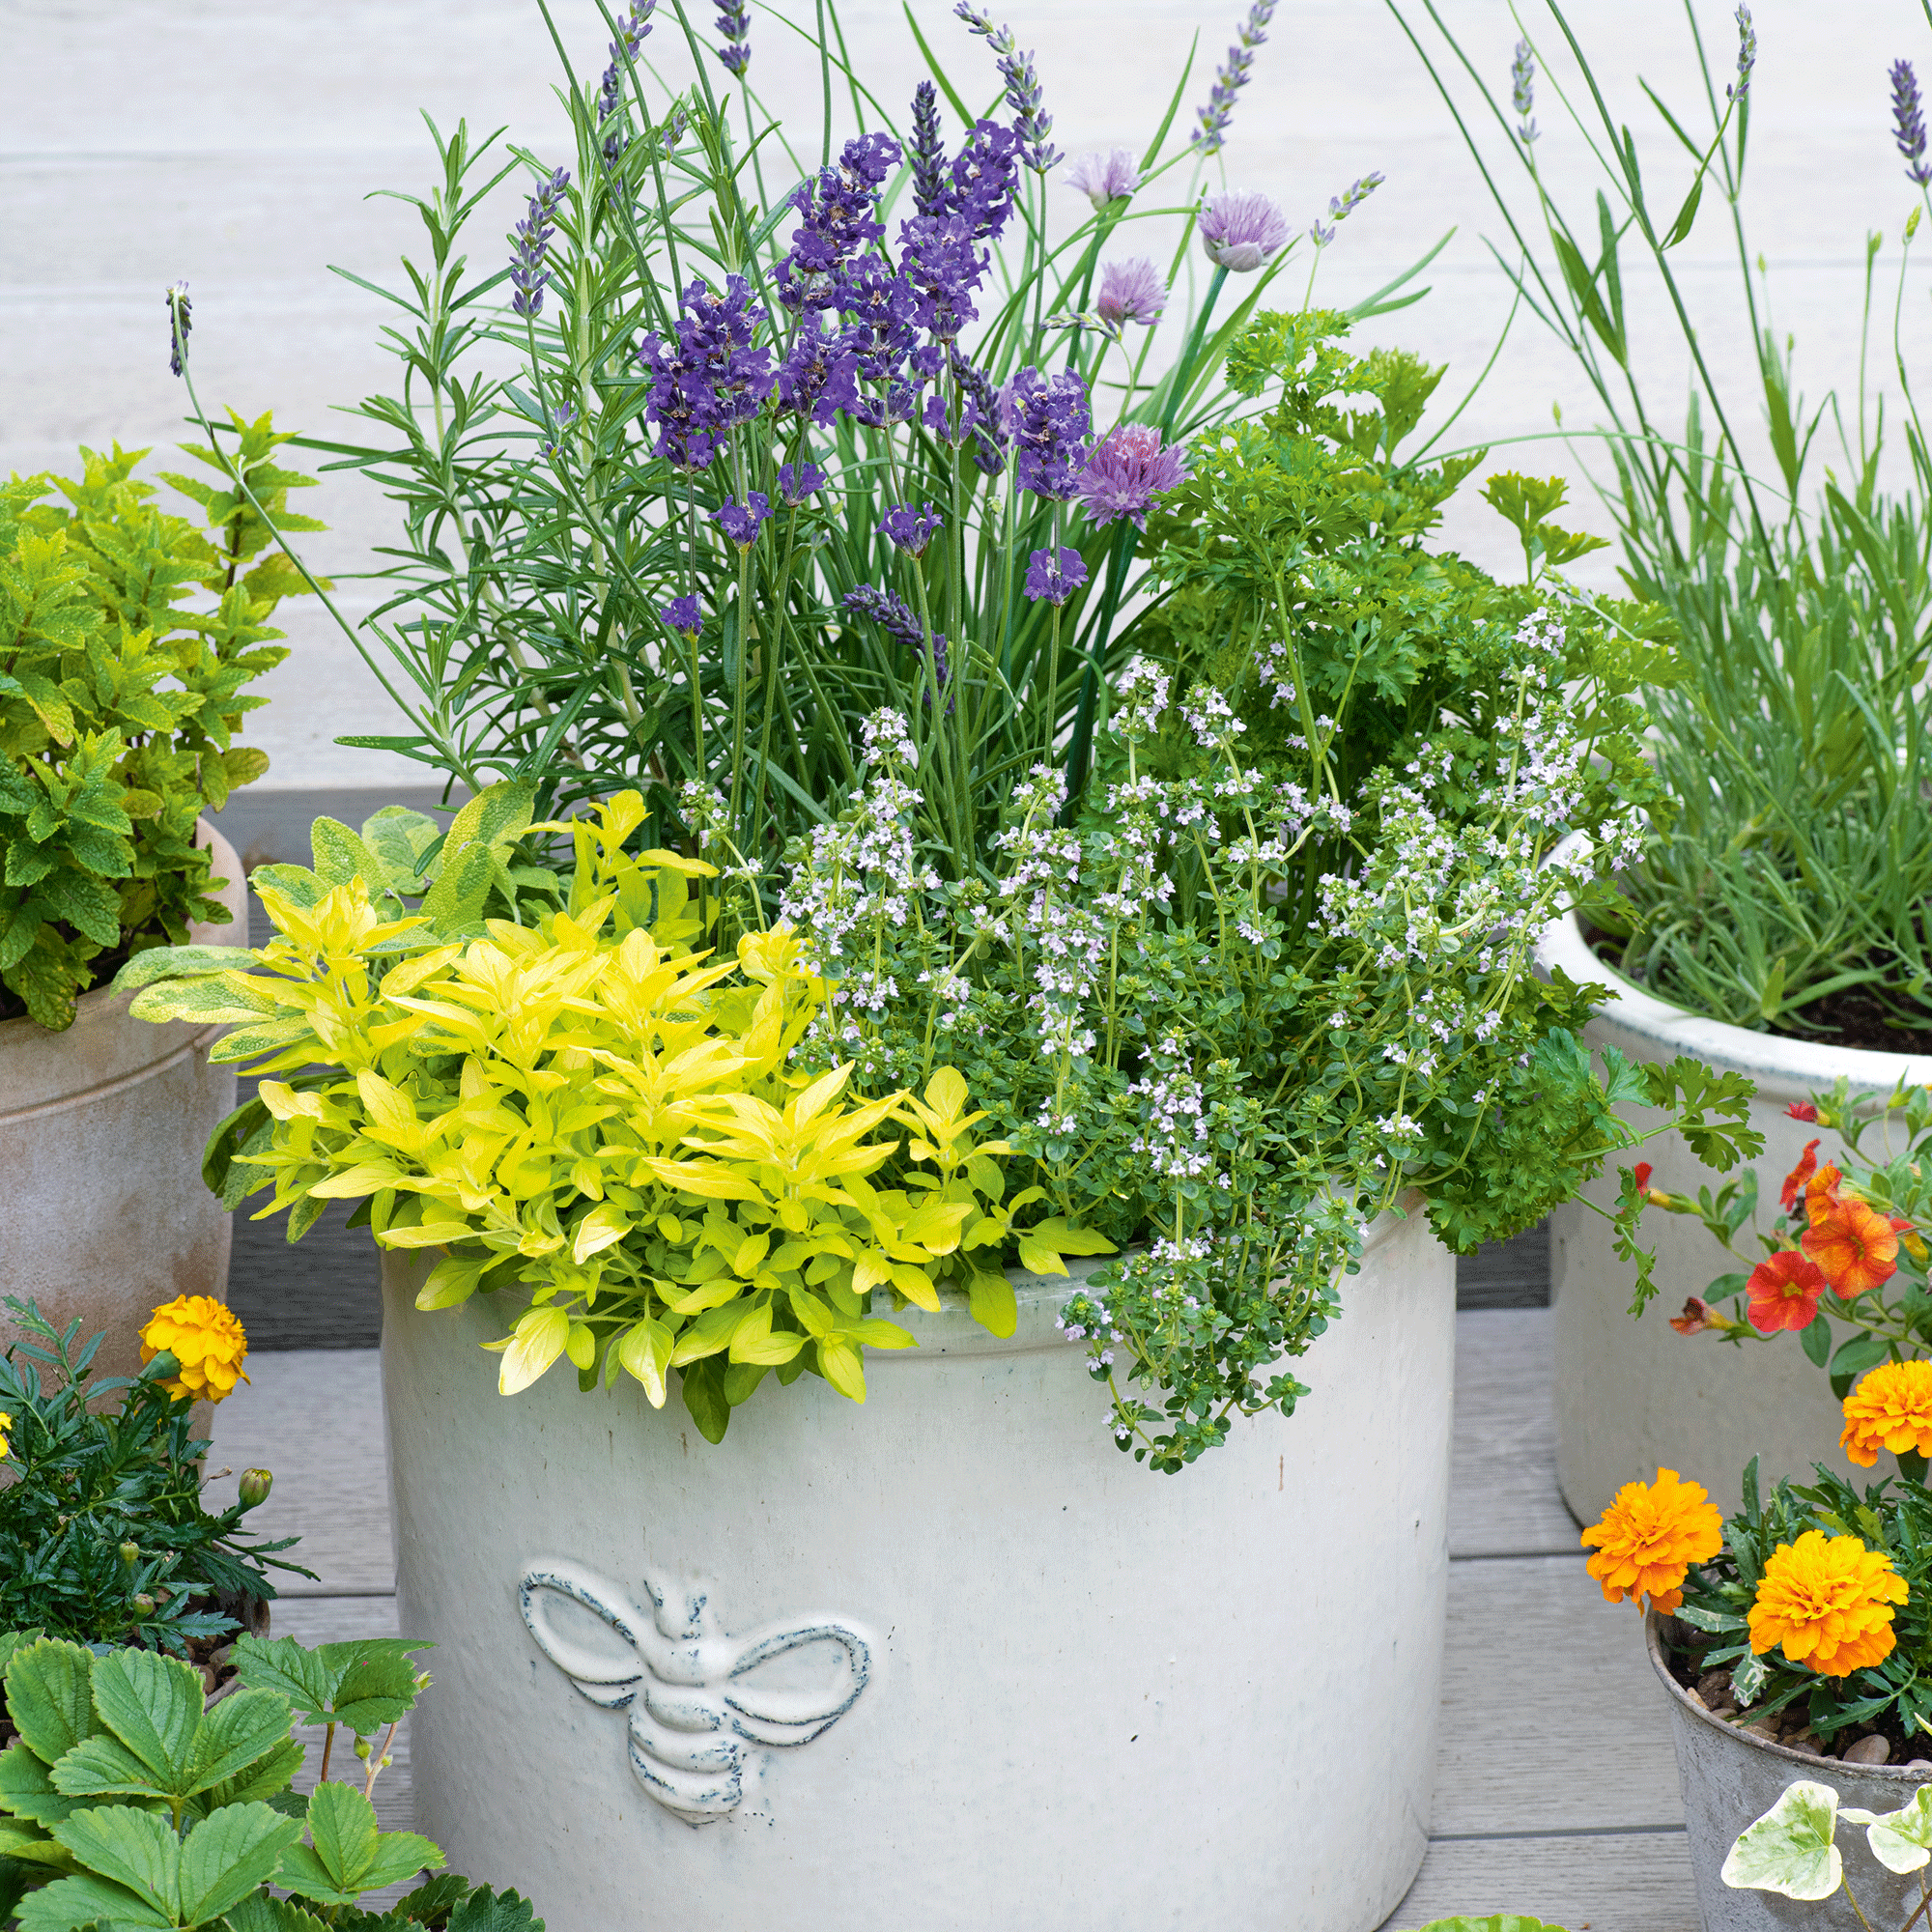
Knowing how to propagate thyme can be especially handy over the summer months. Whether you’re looking to add the earthy and citrusy herb to pasta, sauces, pizza or chicken, growing your own thyme saves you from purchasing it time and time again.
Propagating also means you don’t need to grow the herb from seeds or buy a new plant, so it's the ultimate money-saving hack for adding to your herb garden ideas easily.
‘Once established, thyme needs very little maintenance,’ details Fiona Jenkins, Gardening and Plant Expert at MyJobQuote.co.uk. This is why it can be a great option for those of us who are looking for inexpensive plants to grow or are new to gardening.

How to propagate thyme
Propagation is one of the best budget garden ideas, as you can do it for little to nothing and learning how to propagate thyme is actually a lot easier than you may think.
There are two distinct ways to propagate thyme – either by cuttings or division.
‘Regardless of your preferred method, late spring and early summer is usually the best time to propagate thyme, as the plant will be in active growth and the warm, sunny weather will help it to flourish,’ says Daniel Carruthers, director of sales at Cultivar Greenhouses.
What you’ll need
- Thyme cuttings from a healthy plant
- A pot with a drainage hole; this BRUNBÄR plant pot with saucer from IKEA is a great budget-friendly option
- Compost; try the Westland John Innes No.2 Peat-free Compost from B&Q
- A hormone rooting agent; such as this Doff Natural Rooting Powder from Amazon
- A pair of secateurs or clean, sharp scissors
- A dibber or pencil
- The top half of a clear plastic bottle or clear plastic bag and four small stakes
step-by-step
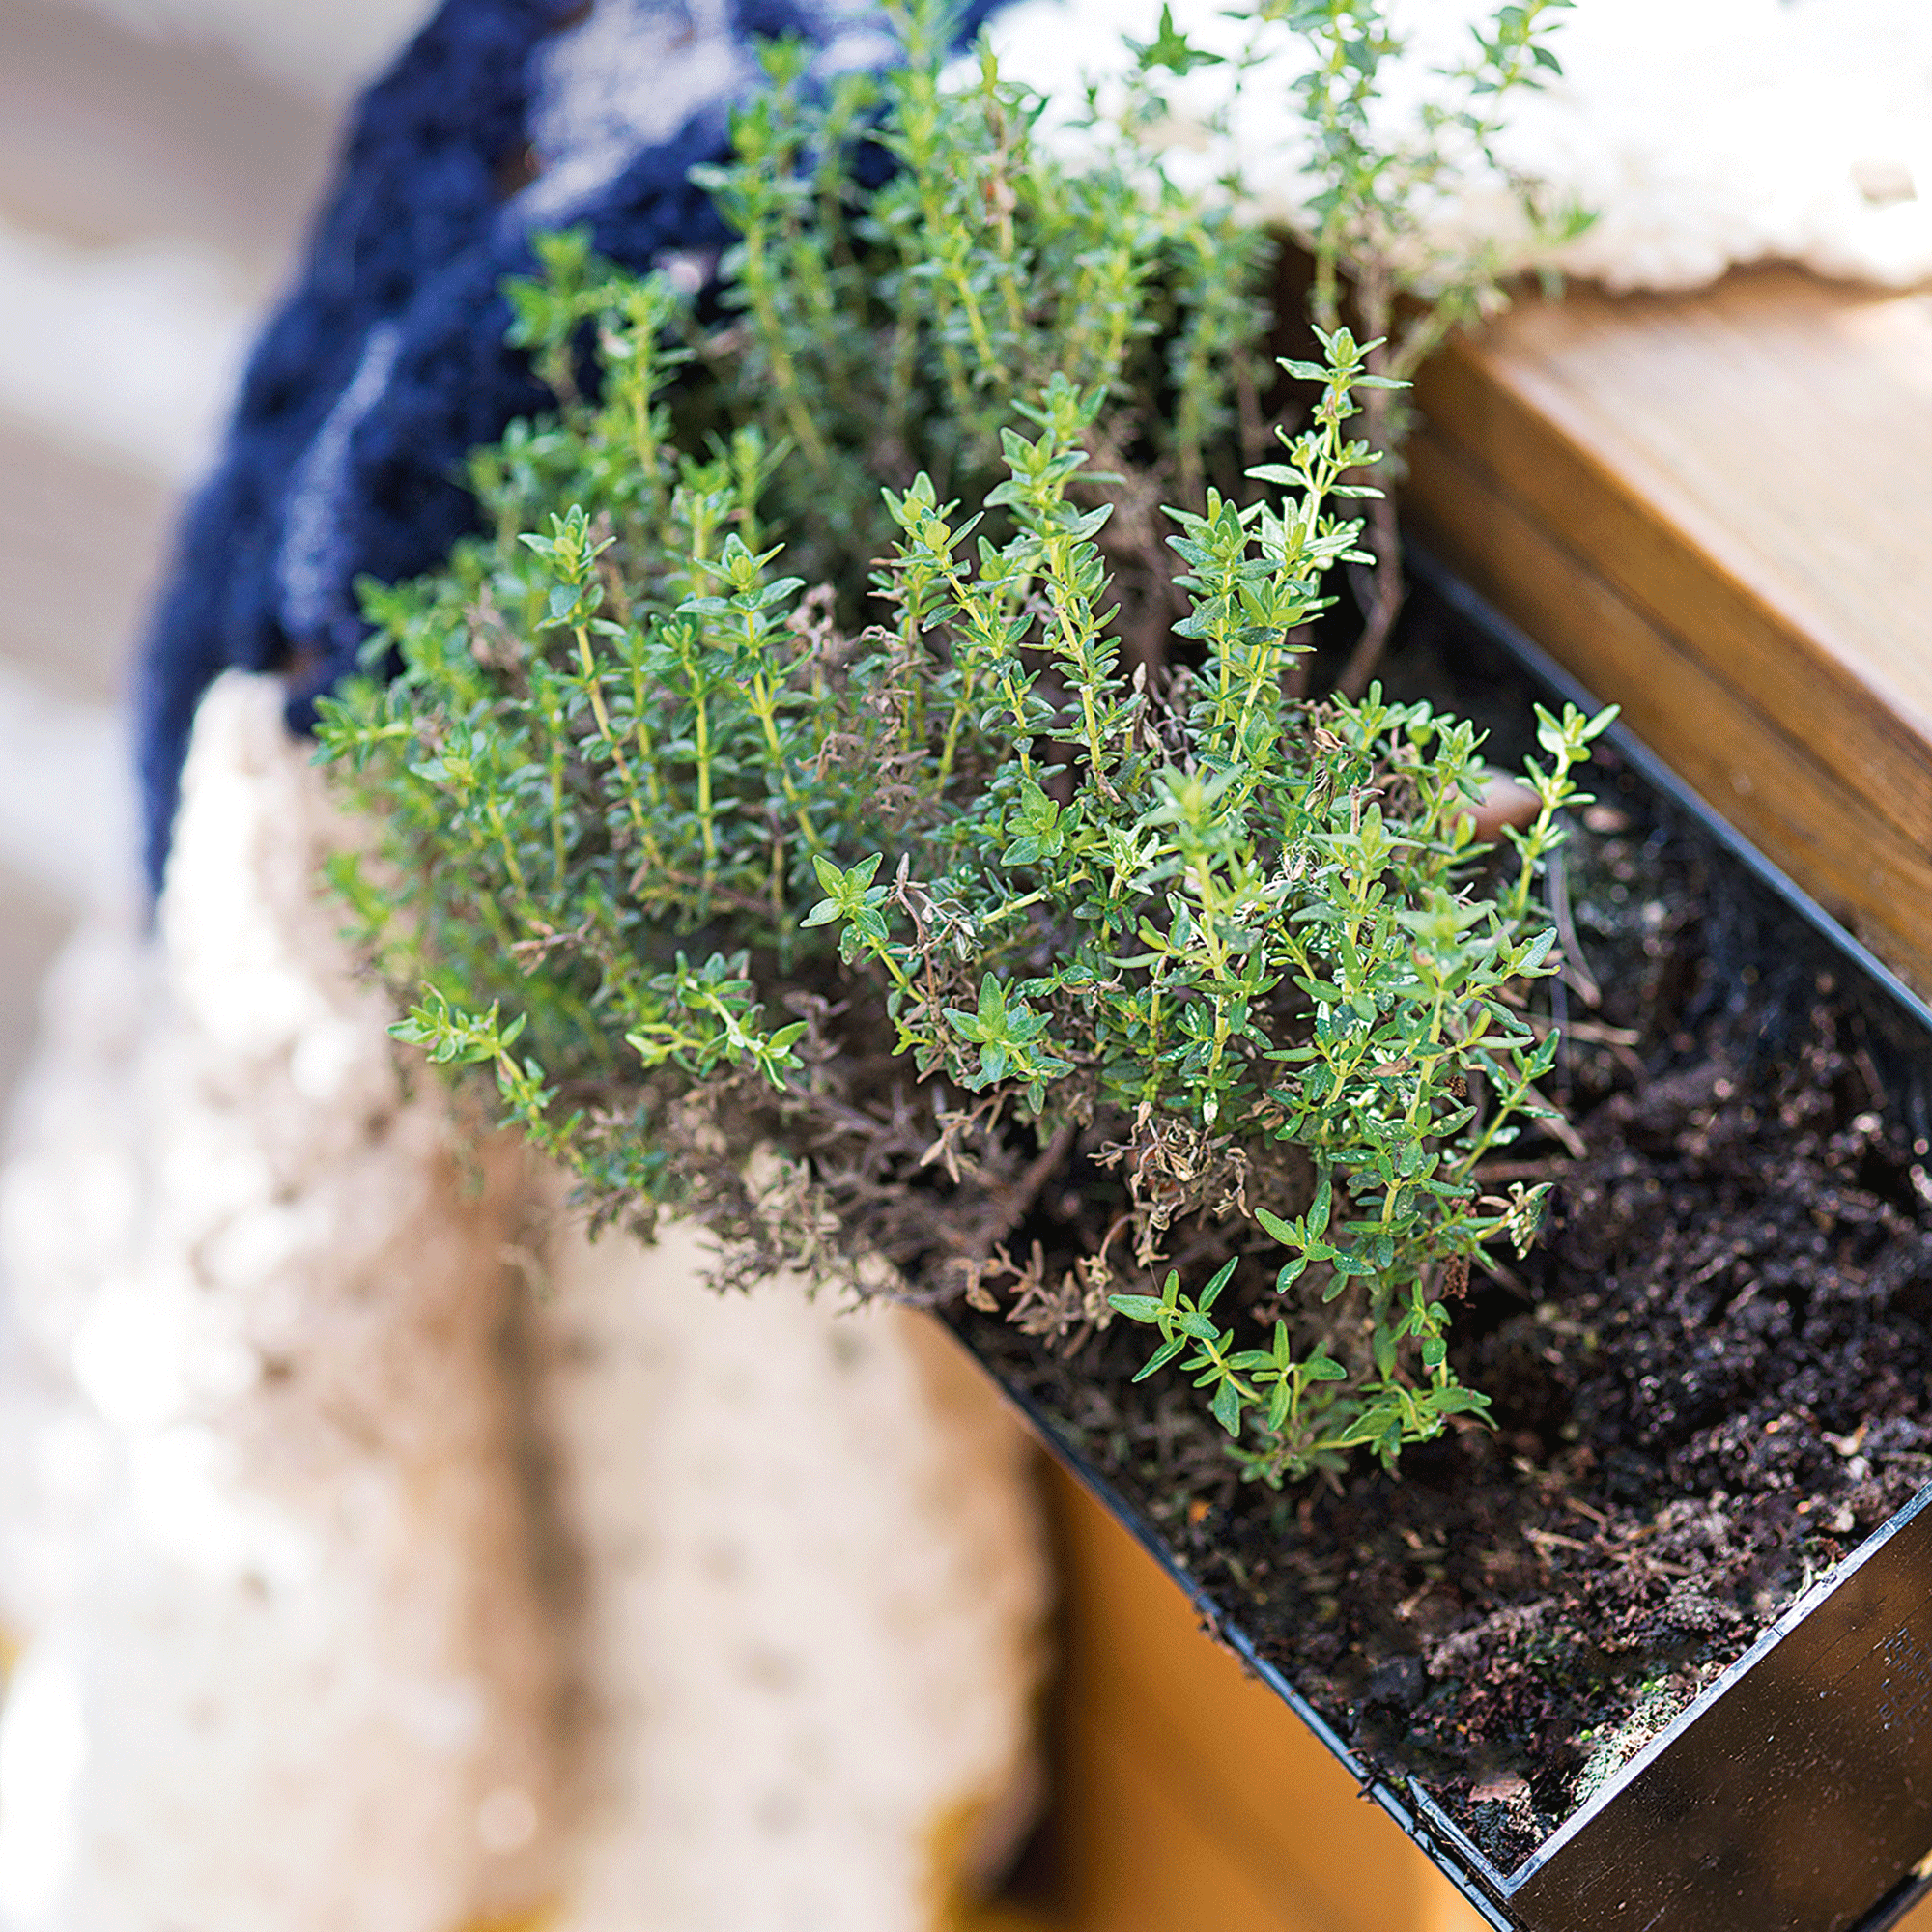
1. Choose a well-established thyme plant
Make sure that the thyme plant you’re taking a cutting or division from has no signs of pests or fungal-growth, before you get started. Ideally it will be a well-established plant that has plenty of stems to spare.
‘If you are using the cutting approach, the aim is to take a piece two to four inches long,’ recommends Daniel. ‘Simply take your established thyme and find a stem with three or more nodes (that’s the place where a new leaf will emerge), and snip just below a node (or set of leaves) and you have your cutting.’
This is what you will use to propagate your own thyme. Before you start potting the Mediterranean-style herb, you’ll want to strip the leaves from the bottom couple inches of the stem. Then you’re ready to pot.

2. Prep and set up your pot
Planning and prep is essential to avoid any moisture loss when you go to move your cuttings or divisions over to a pot or container.
Let’s start with moving a cutting over into a pot. Opting for a small pot with a drainage hole at the bottom is key. Once you’ve filled it with some peat-free compost, use ‘a stick or dibber to make some holes around the edge of your pot,’ suggests Fiona.
Angela Slater, gardening expert at Hayes Garden World recommends dipping, ‘the cut end into the hormone rooting powder, as this increases the chances of success.’ Then you’ll want to gently insert your cutting straight into a pot filled with fertile compost.
Unlike herbs such as basil or sage, which prefer water propagation, thyme is drought-tolerant, so you can place your cuttings directly into soil.
3. Or get your division ready to be potted
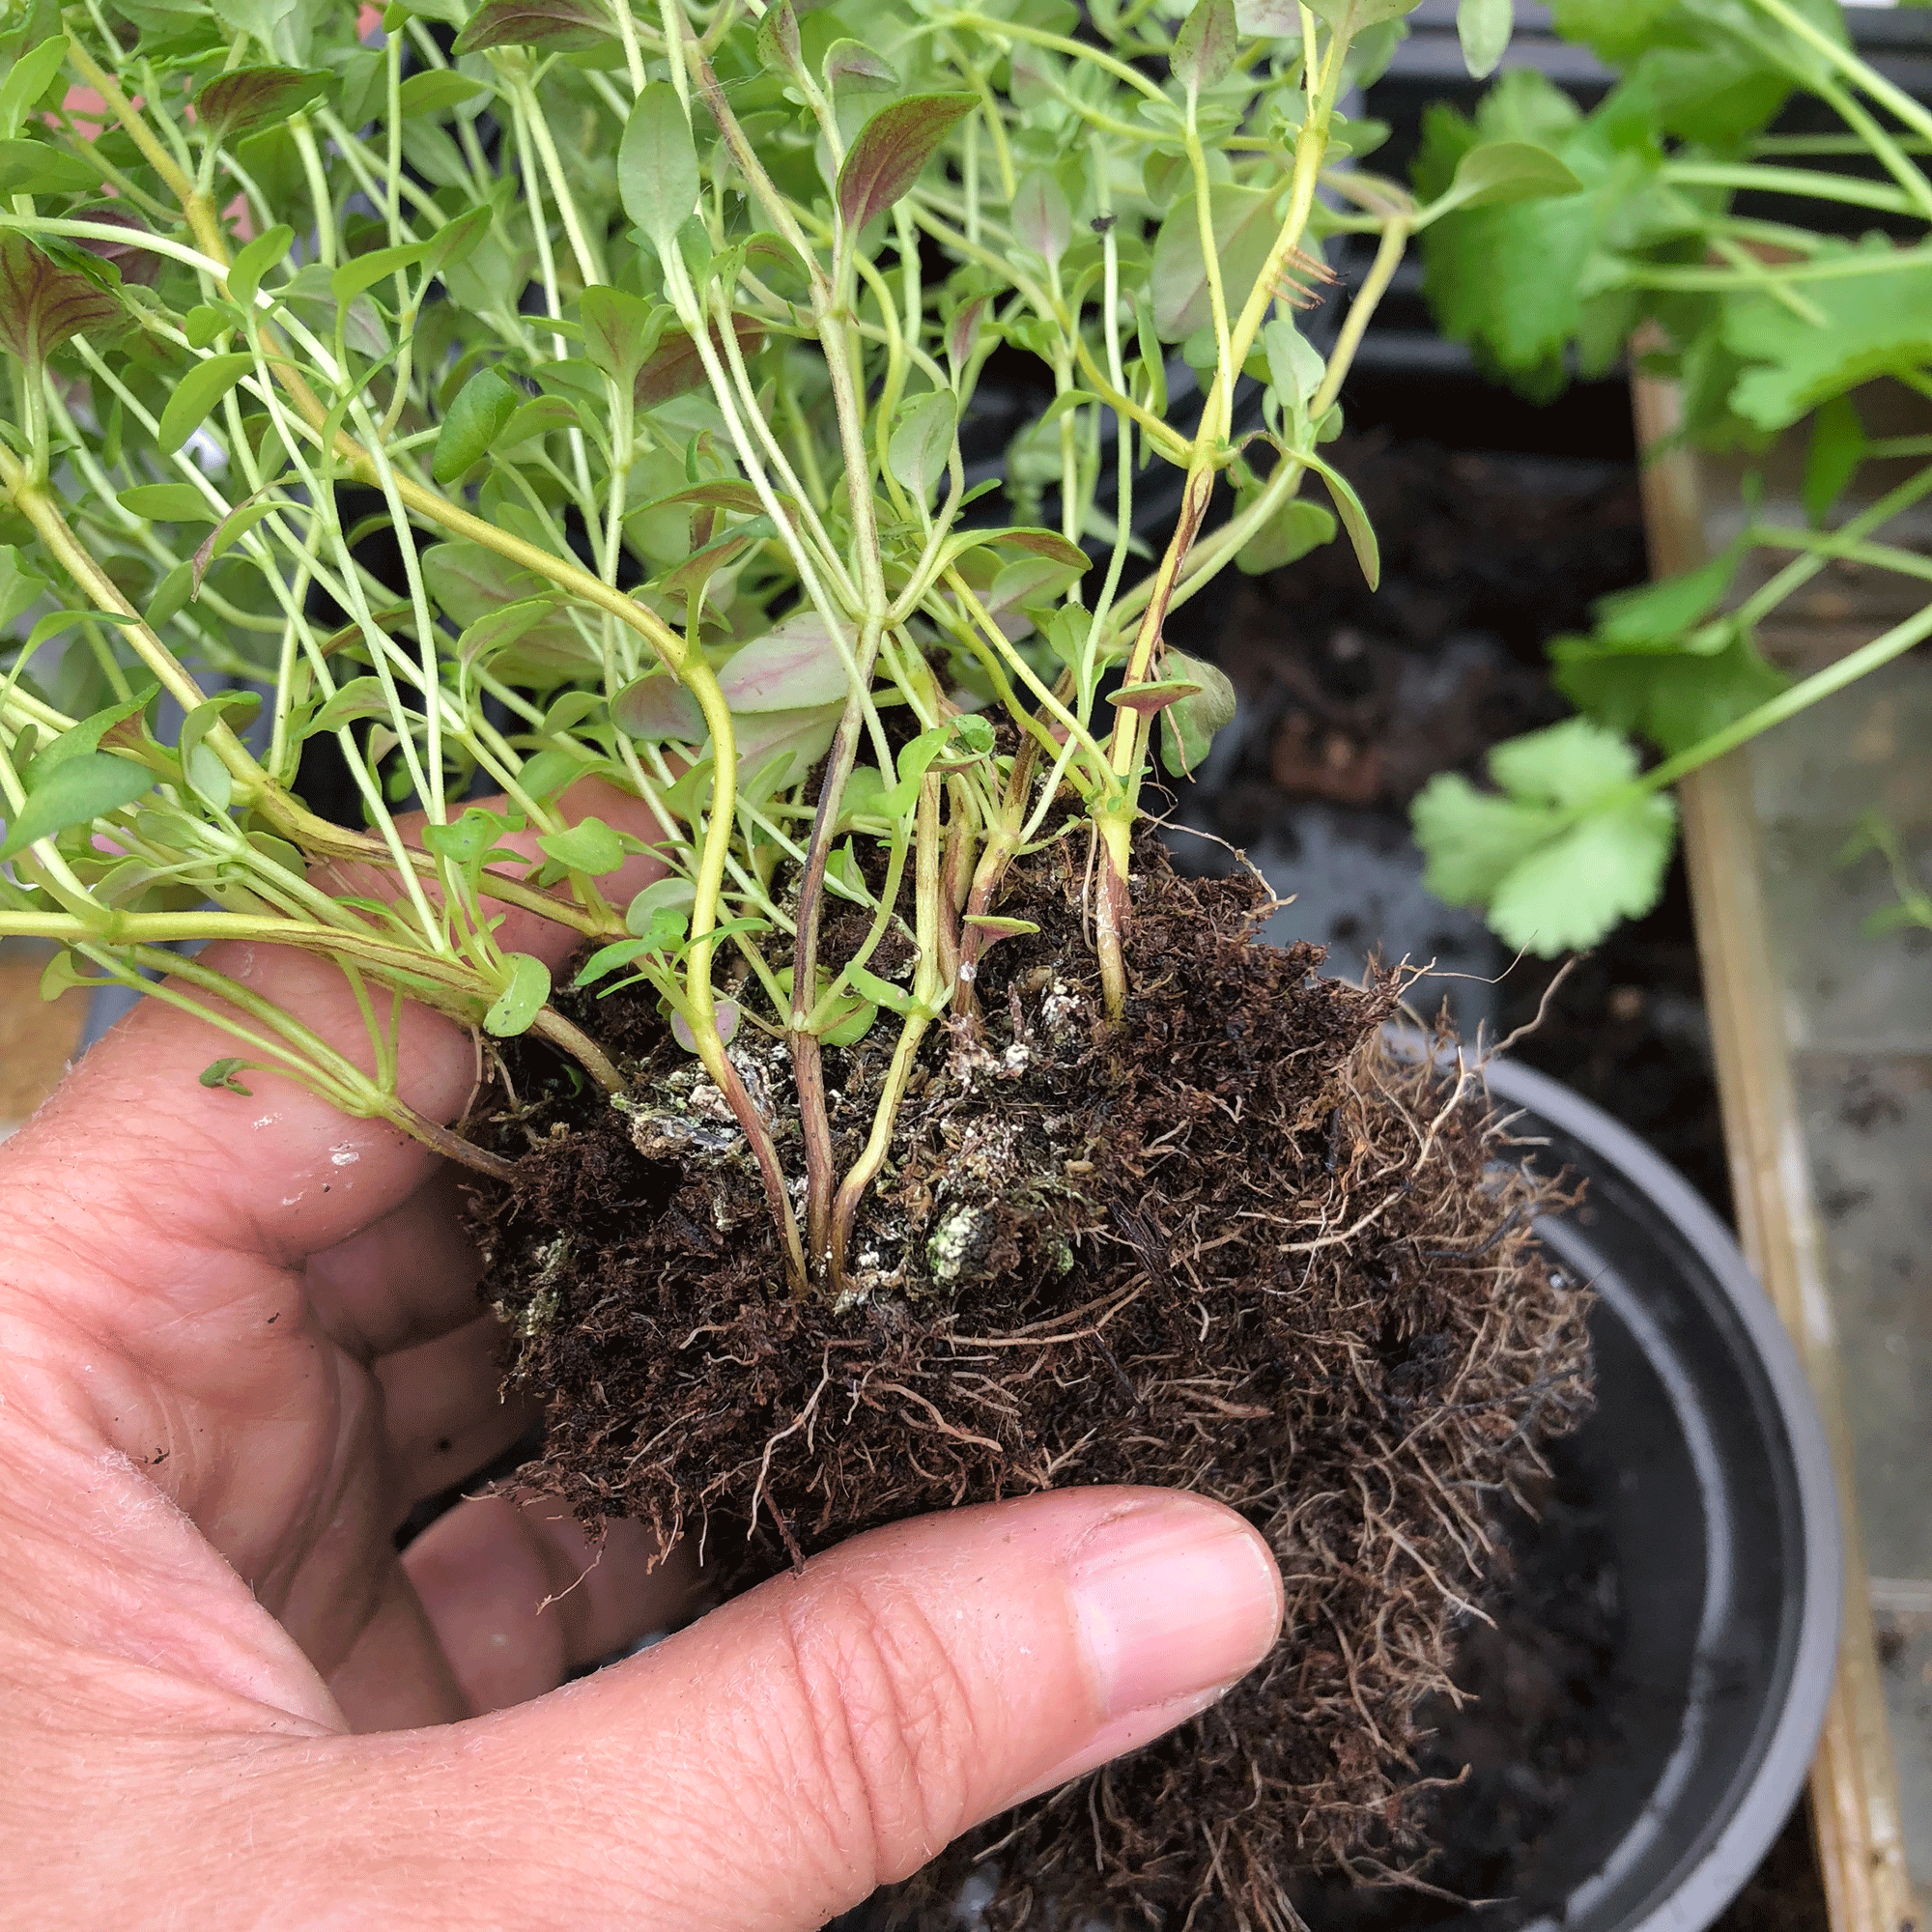
‘If you are using the division approach, take your established plant out of its container, or dig the entire plant up if it is in the ground,’ Daniel instructs.
‘Next, gently separate the root ball into two plants, and tease the roots so that they become loose – this will help it root down when replanted. Then, simply place both plants into fresh, fertile compost, firm down and water well.’
It’s also worth noting that this method is usually most successful when you do so with well-established plants, as opposed to relatively young ones, Daniel concludes.
4. Water regularly
Even though thyme is drought-tolerant, ‘young plants need watering regularly, especially if you’re growing it in pots,’ outlines Fiona.
If you don’t water your propagated thyme enough initially, it will suffer and could potentially die. But consequently, watering too much can lead to root rot, so you want to strike the right balance.
If your propagated thyme looks green and fresh, this is normally a good sign that it is thriving.
5. Cover with a plastic bottle or bag
After watering your newly propagated thyme, Fiona recommends covering them, ‘with the top half of a clear plastic bottle.’ This essentially creates your own propagator with something you would have ordinarily thrown away or recycled.
The plastic bottle allows moisture to be retained, while also increasing the temperature over the warmer weather. You can also use a clear plastic bag, along with four pieces of cane to stop the bag from touching the plants, to create the same environment. Or, ‘alternatively, place the pot in a cold frame or propagator,’ Fiona adds.
6. Harden off your cuttings
If you have chosen to use cuttings, these will ultimately need to become acclimatised to being outdoors gradually, before they are transferred outside. This is referred to as ‘hardening off’.
Doing this ‘allows the herb to gradually get used to the change in temperatures and become hardened to weather conditions, making your chances of growing a flourishing and long-lasting plant much higher,’ reveals Daniel.
‘To harden off, take it outside during the warmth of the day and place it in a partially shaded area. At night, bring it back inside. Gradually, over the space of a few weeks, put your herbs into a sunnier, more open spot during the day, and eventually, you will be able to plant your newly hardened rosemary plant outside for good.’
For those who have chosen to propagate thyme through division, these tend to be a bit tougher, so they can be placed directly outside in a sunny but sheltered spot.
7. Check for root development
Over the first few weeks roots should start to develop. For cuttings, you can gently tug on them to check for any resistance or carefully tip the pot on its side after a few weeks.
Once they’ve ‘established a good root system, you can transplant them into larger pots or directly into the garden,’ says Richard Mann, founder and owner of Premier Porcelain. ‘This will usually happen in around 6-8 weeks,’ on average.
Where to place your thyme in your garden or outdoor space
Regardless of which propagation method you’ve opted for, thyme plants ‘generally prefer bright, direct sunlight,’ says Daniel. So, you’ll want to ‘find a south-facing spot in your greenhouse or windowsill where they will receive at least six hours of full sun throughout the day.’
