How to install fence panels – a step-by-step guide
Everything you need to know to add or replace fencing in your garden

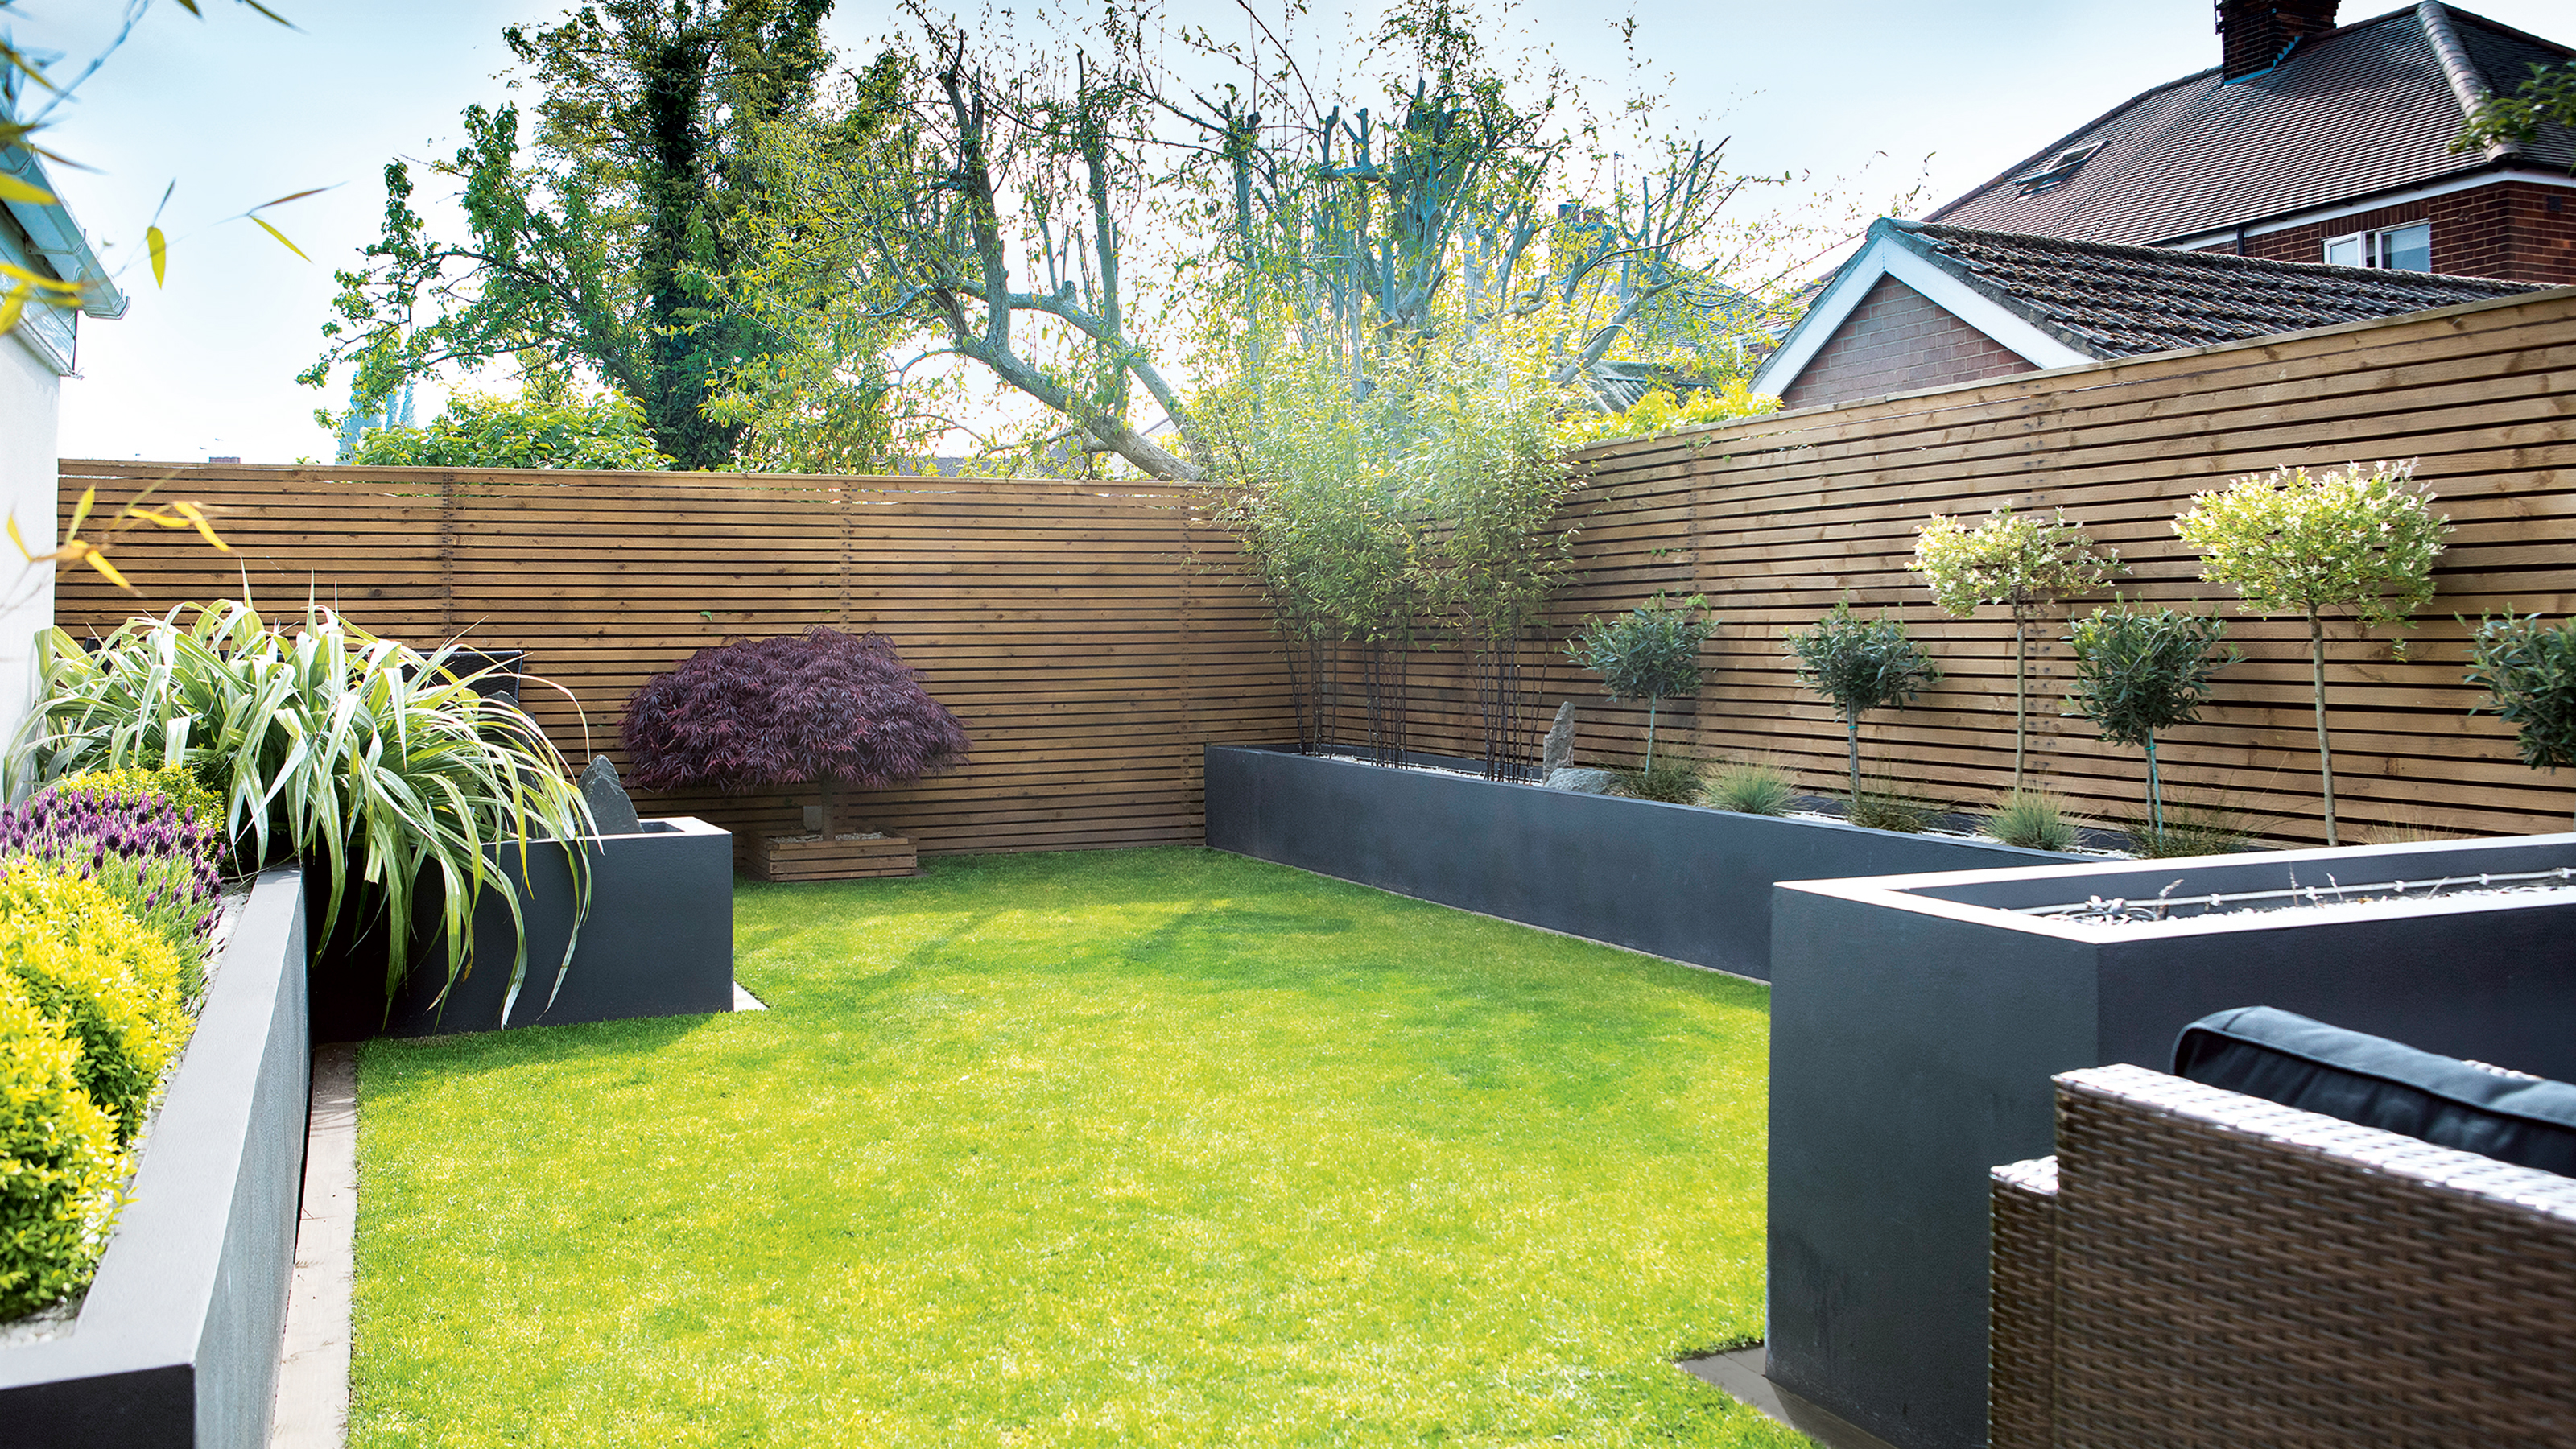
Sign up to our newsletter for style inspiration, real homes, project and garden advice and shopping know-how
You are now subscribed
Your newsletter sign-up was successful
EDITOR’S NOTE: An earlier version of this article included a quote from a purported expert whose credentials we have not been able to verify. The quote has been removed. We regret this lapse in our verification process and have updated our internal protocols to reduce the risk of recurrence.
Over winter, fencing can take a battering in stormy weather destroying panels and making old posts wobbly. Replacing a fence is a job you'll need a partner for, especially when it comes to putting the panels into position. Learning how to install fence panels may seem daunting, but if you're experienced at DIY, it's a project you can do yourself without hiring professionals.
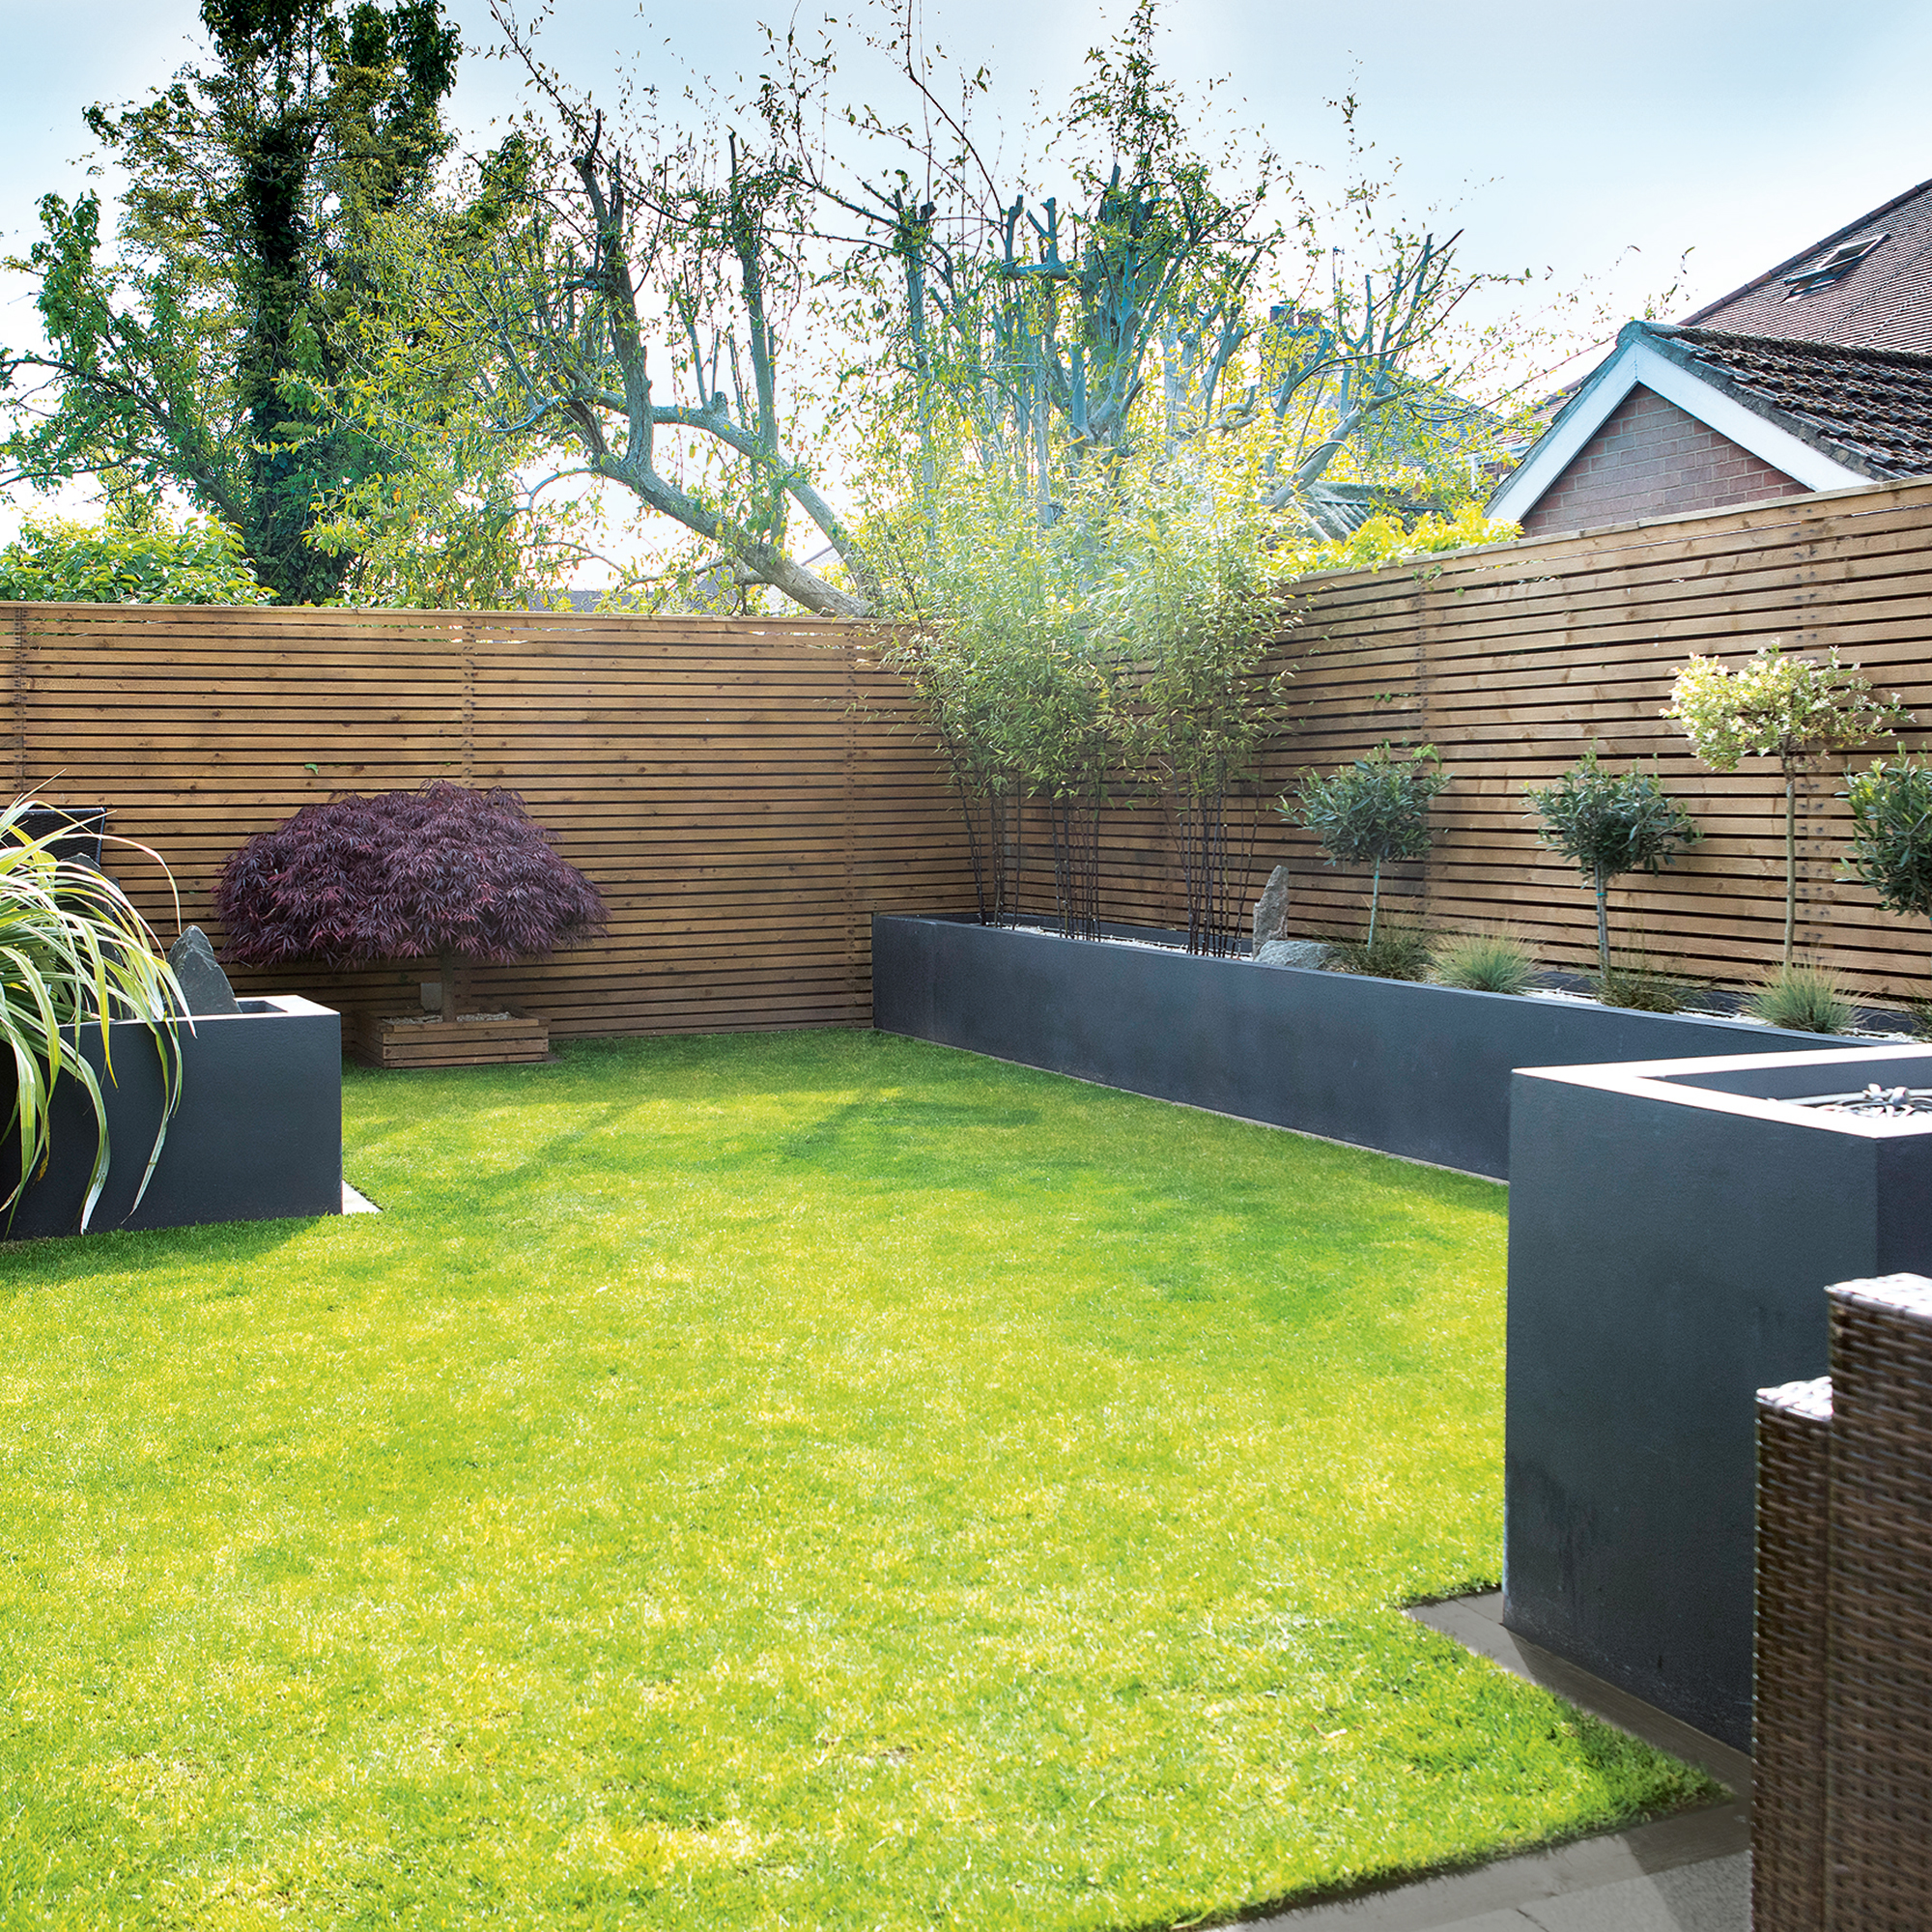
There are plenty of garden fence ideas to choose from including traditional featheredge or overlap panels, picket, slatted, hit and miss and composite designs. Overlap panels are among the cheapest, but they can easily be damaged in high winds, whereas featheredge or composite designs will be more hardwearing. Slatted and hit or miss designs are more contemporary in style.
How to install fence panels
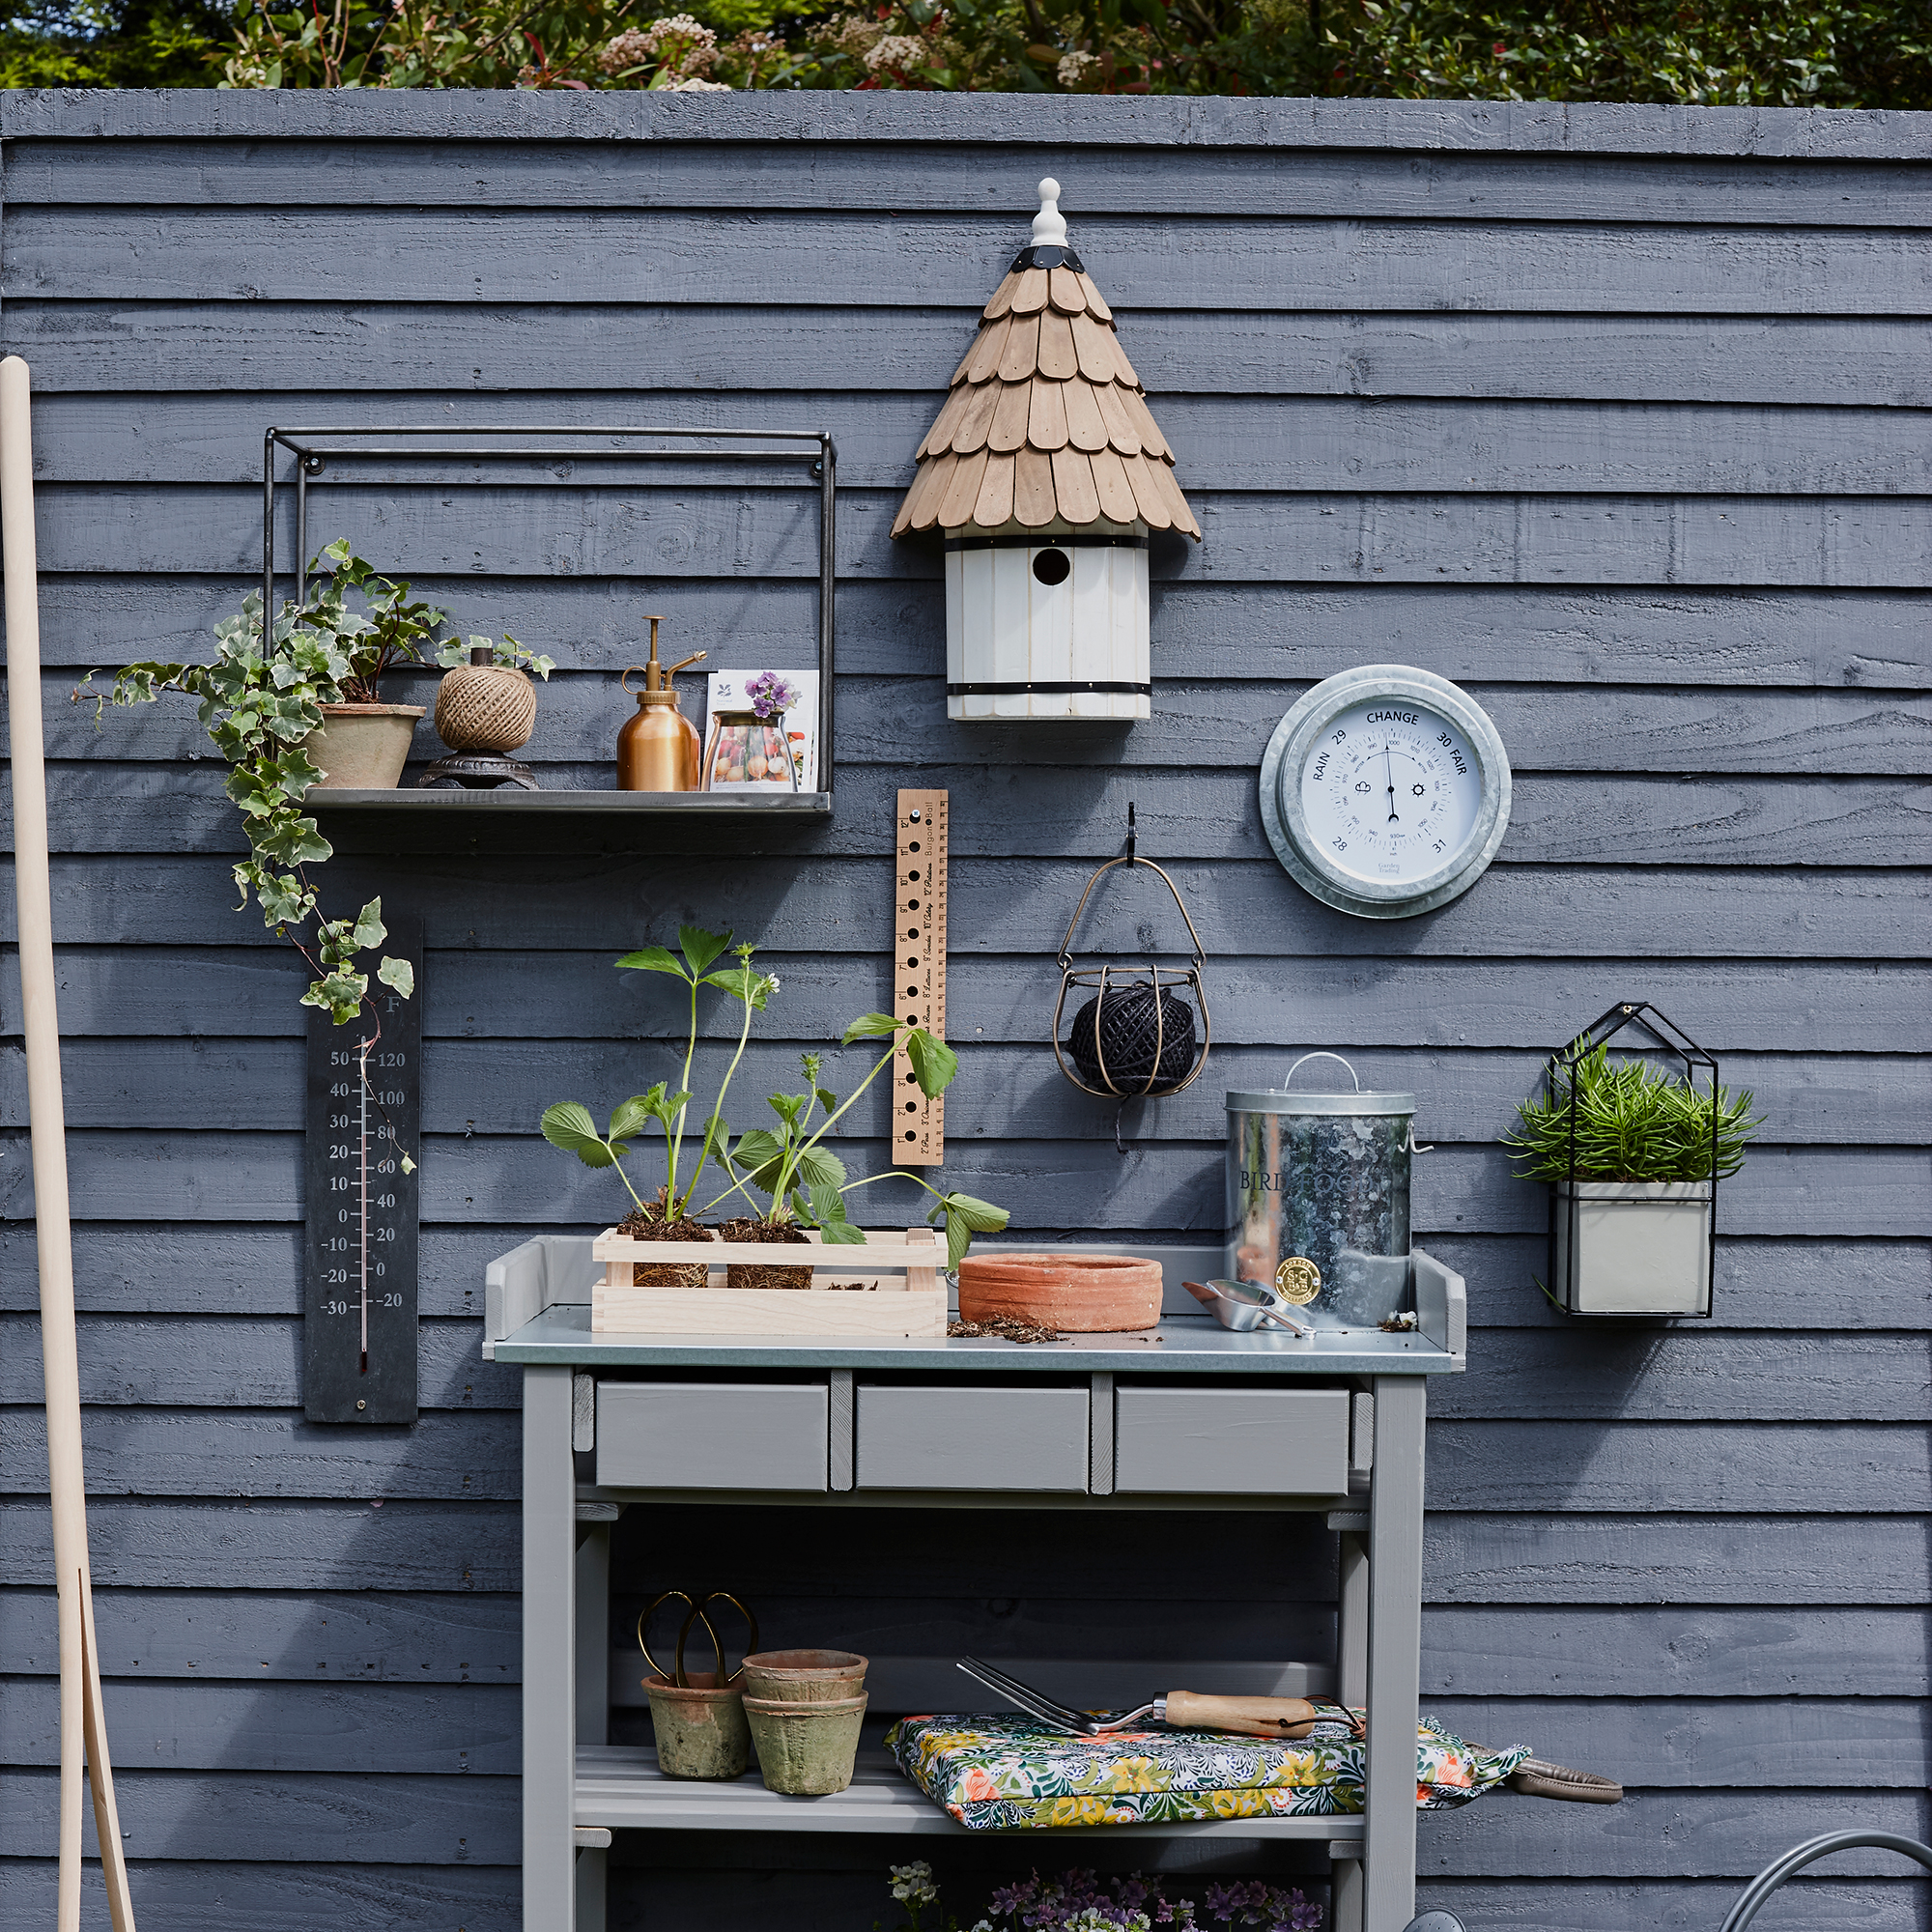
What you need to know before you get going, and what items you should have on hand to get the job done.
Check if you need planning permission
Another important consideration is whether you will need planning permission for before you learn how to install fence panels. If you live in a listed building, or next to one, you may need permission, this also applies if you live in a conservation area.
If your fence is next to a highway or footpath you won't need permission if the fence is under 1 metre in height, or 2 metres elsewhere. If you're unsure, contact the planning department at your local council for advice.
Talk to neighbours
When replacing a fence along a boundary with a neighbour, let them know what you're doing before you start and check your house deeds to determine who is responsible for the fence.
If the fence belongs to your neighbour and they won't repair or replace a damaged fence, you can build your own alongside it.
Sign up to our newsletter for style inspiration, real homes, project and garden advice and shopping know-how
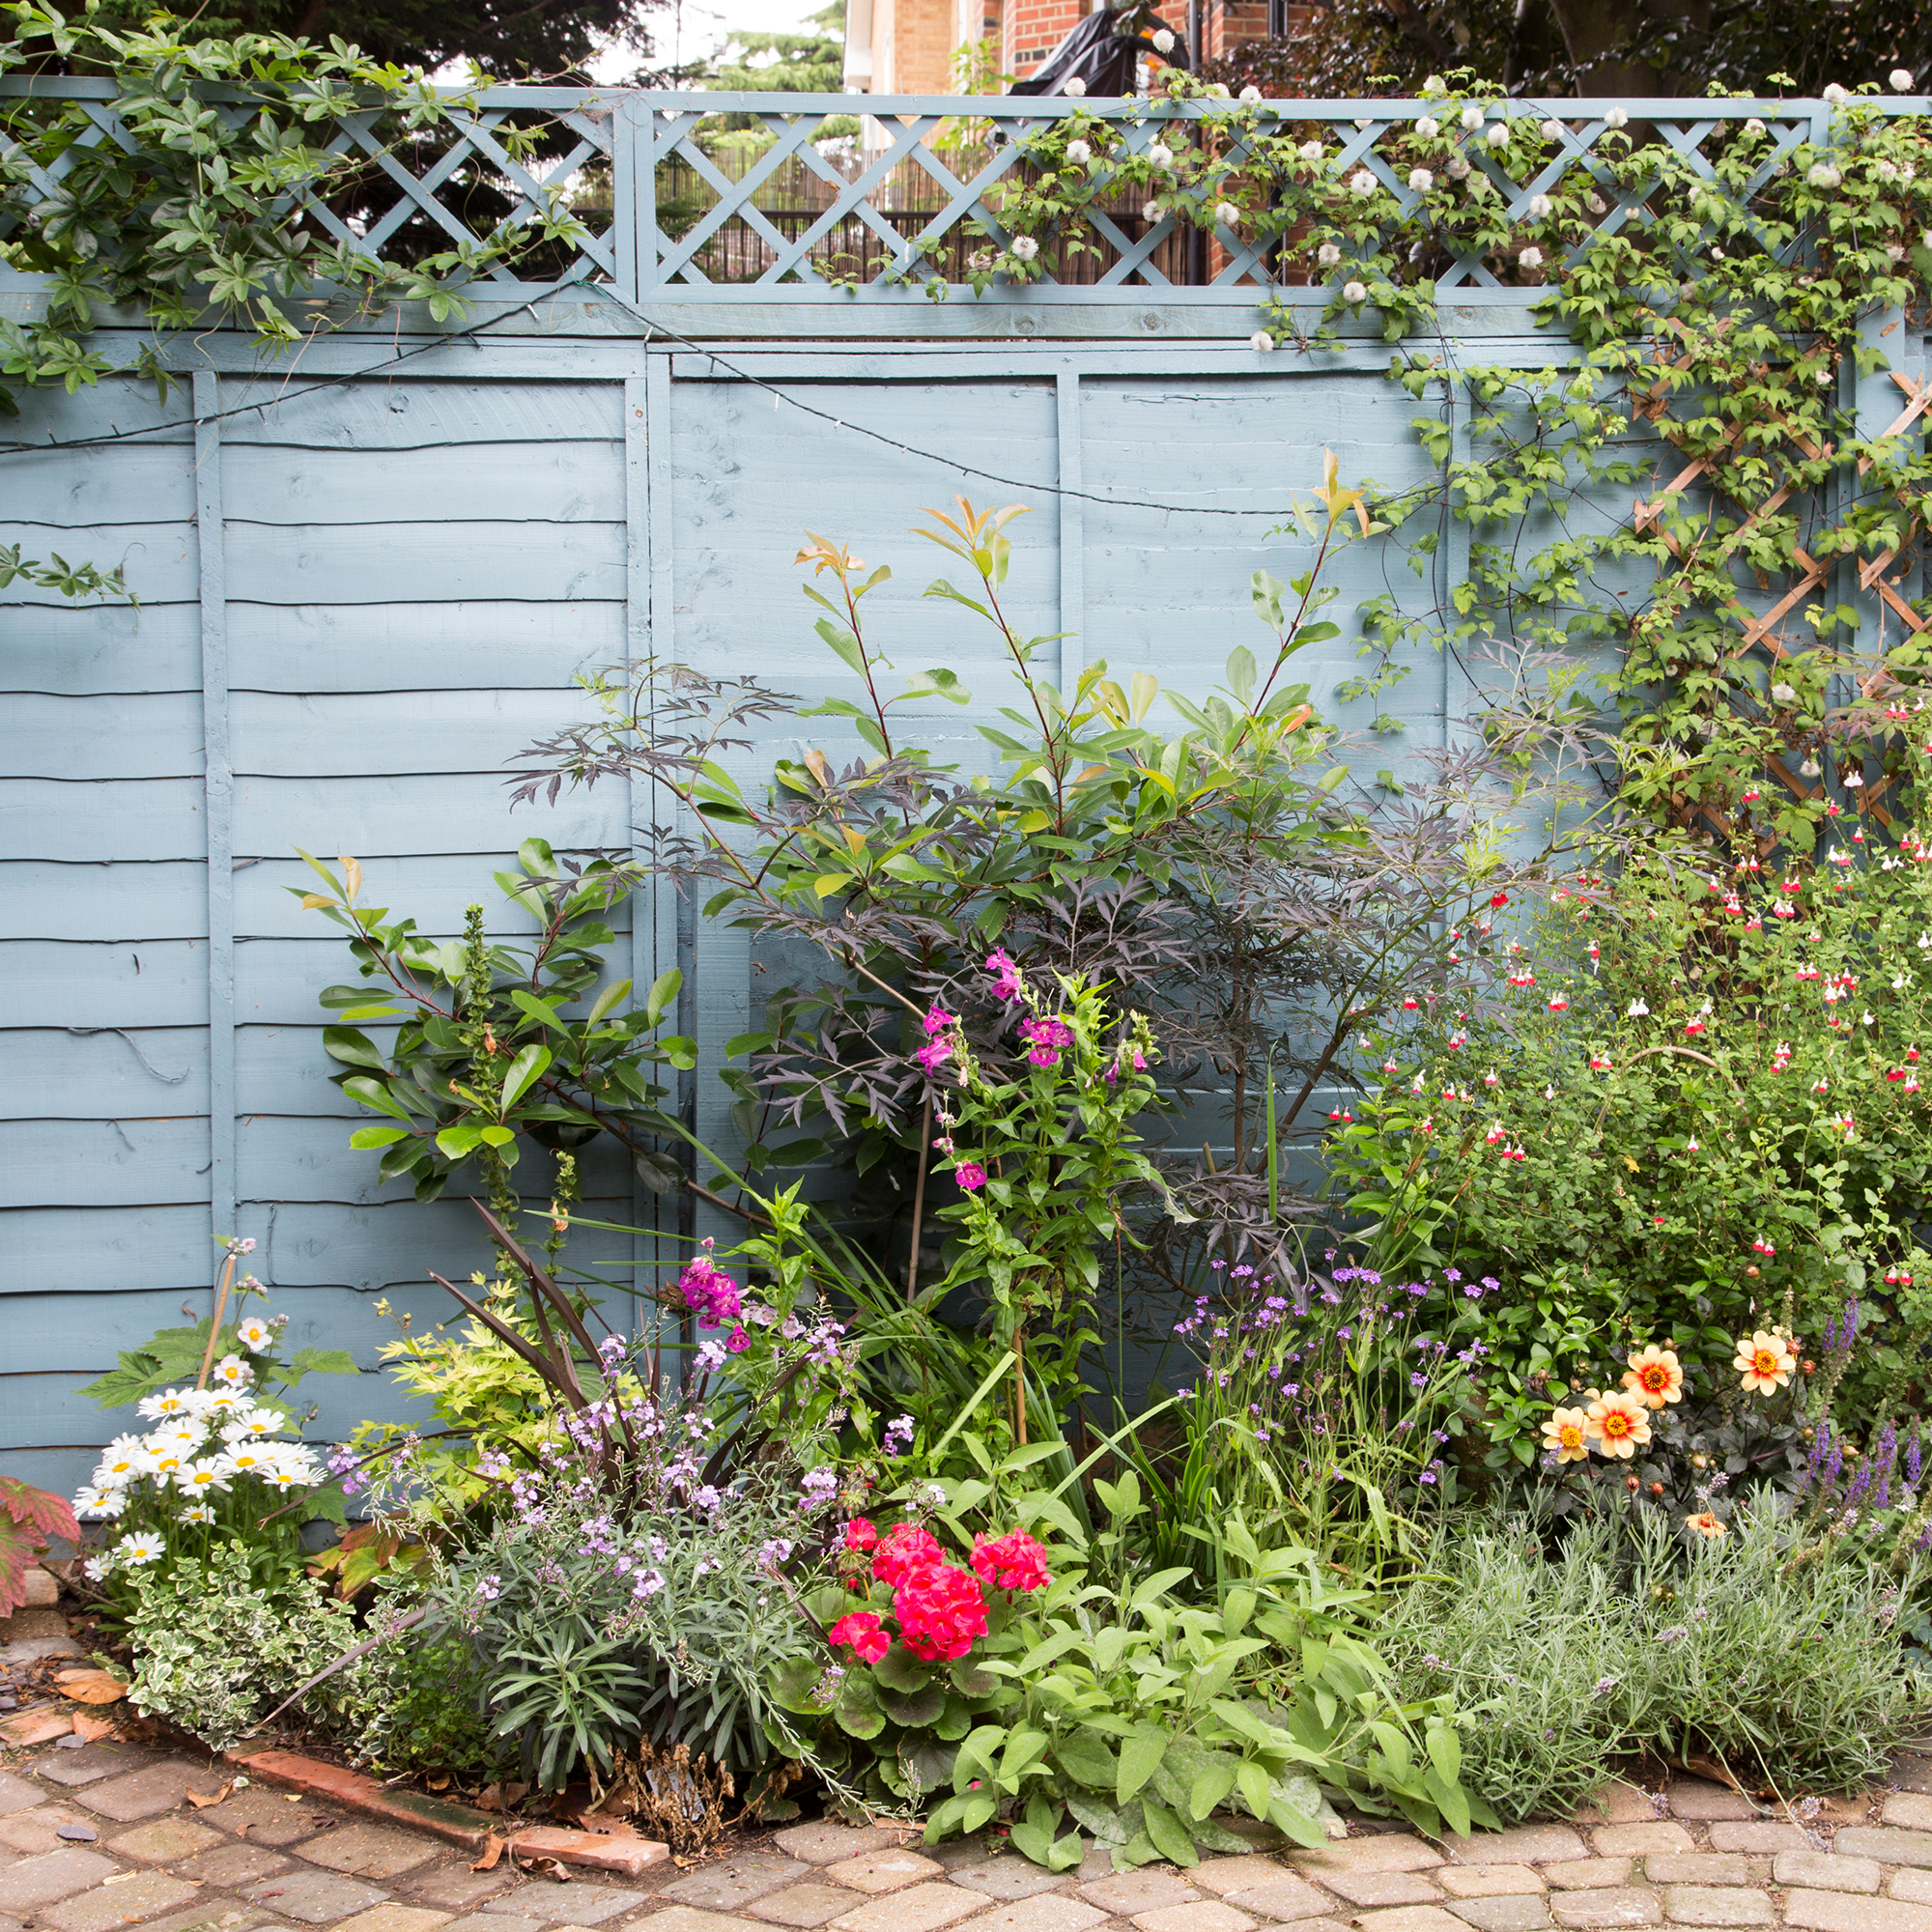
What you'll need
- Measuring tape, from £4.99, Amazon
- Level, from 9.99, Amazon
- Shovel
- Fence posts
- Fence panels
- Wooden stakes
- Wooden props (to hold up the fence posts)
- Drill
- Galvanised nails, available at B&Q
- Postcrete, £6.40 for 20kg, B&Q
How to install fence panels step by step

1. Clear the area
Before you begin discovering how to install fence panels, research garden layout ideas to find the best option for your space. If you're replacing an old fence, remove the existing one and the posts and clear the ground along which your fence will run and level out the ground if needed.
Measure the length of your fence panels and mark the position for your fence posts using wooden stakes. Measure the length again to double check.
2. Dig holes for fence posts
The next step in how to install fence panels is to get digging. Using a shovel, dig a hole in the ground for your first fence post, a depth of around 600mm should be sufficient.
The hole should be three times as wide as your post. Your fence post should be the height of the fence panel, plus the depth of the hole, so remember to take this into account when ordering them.
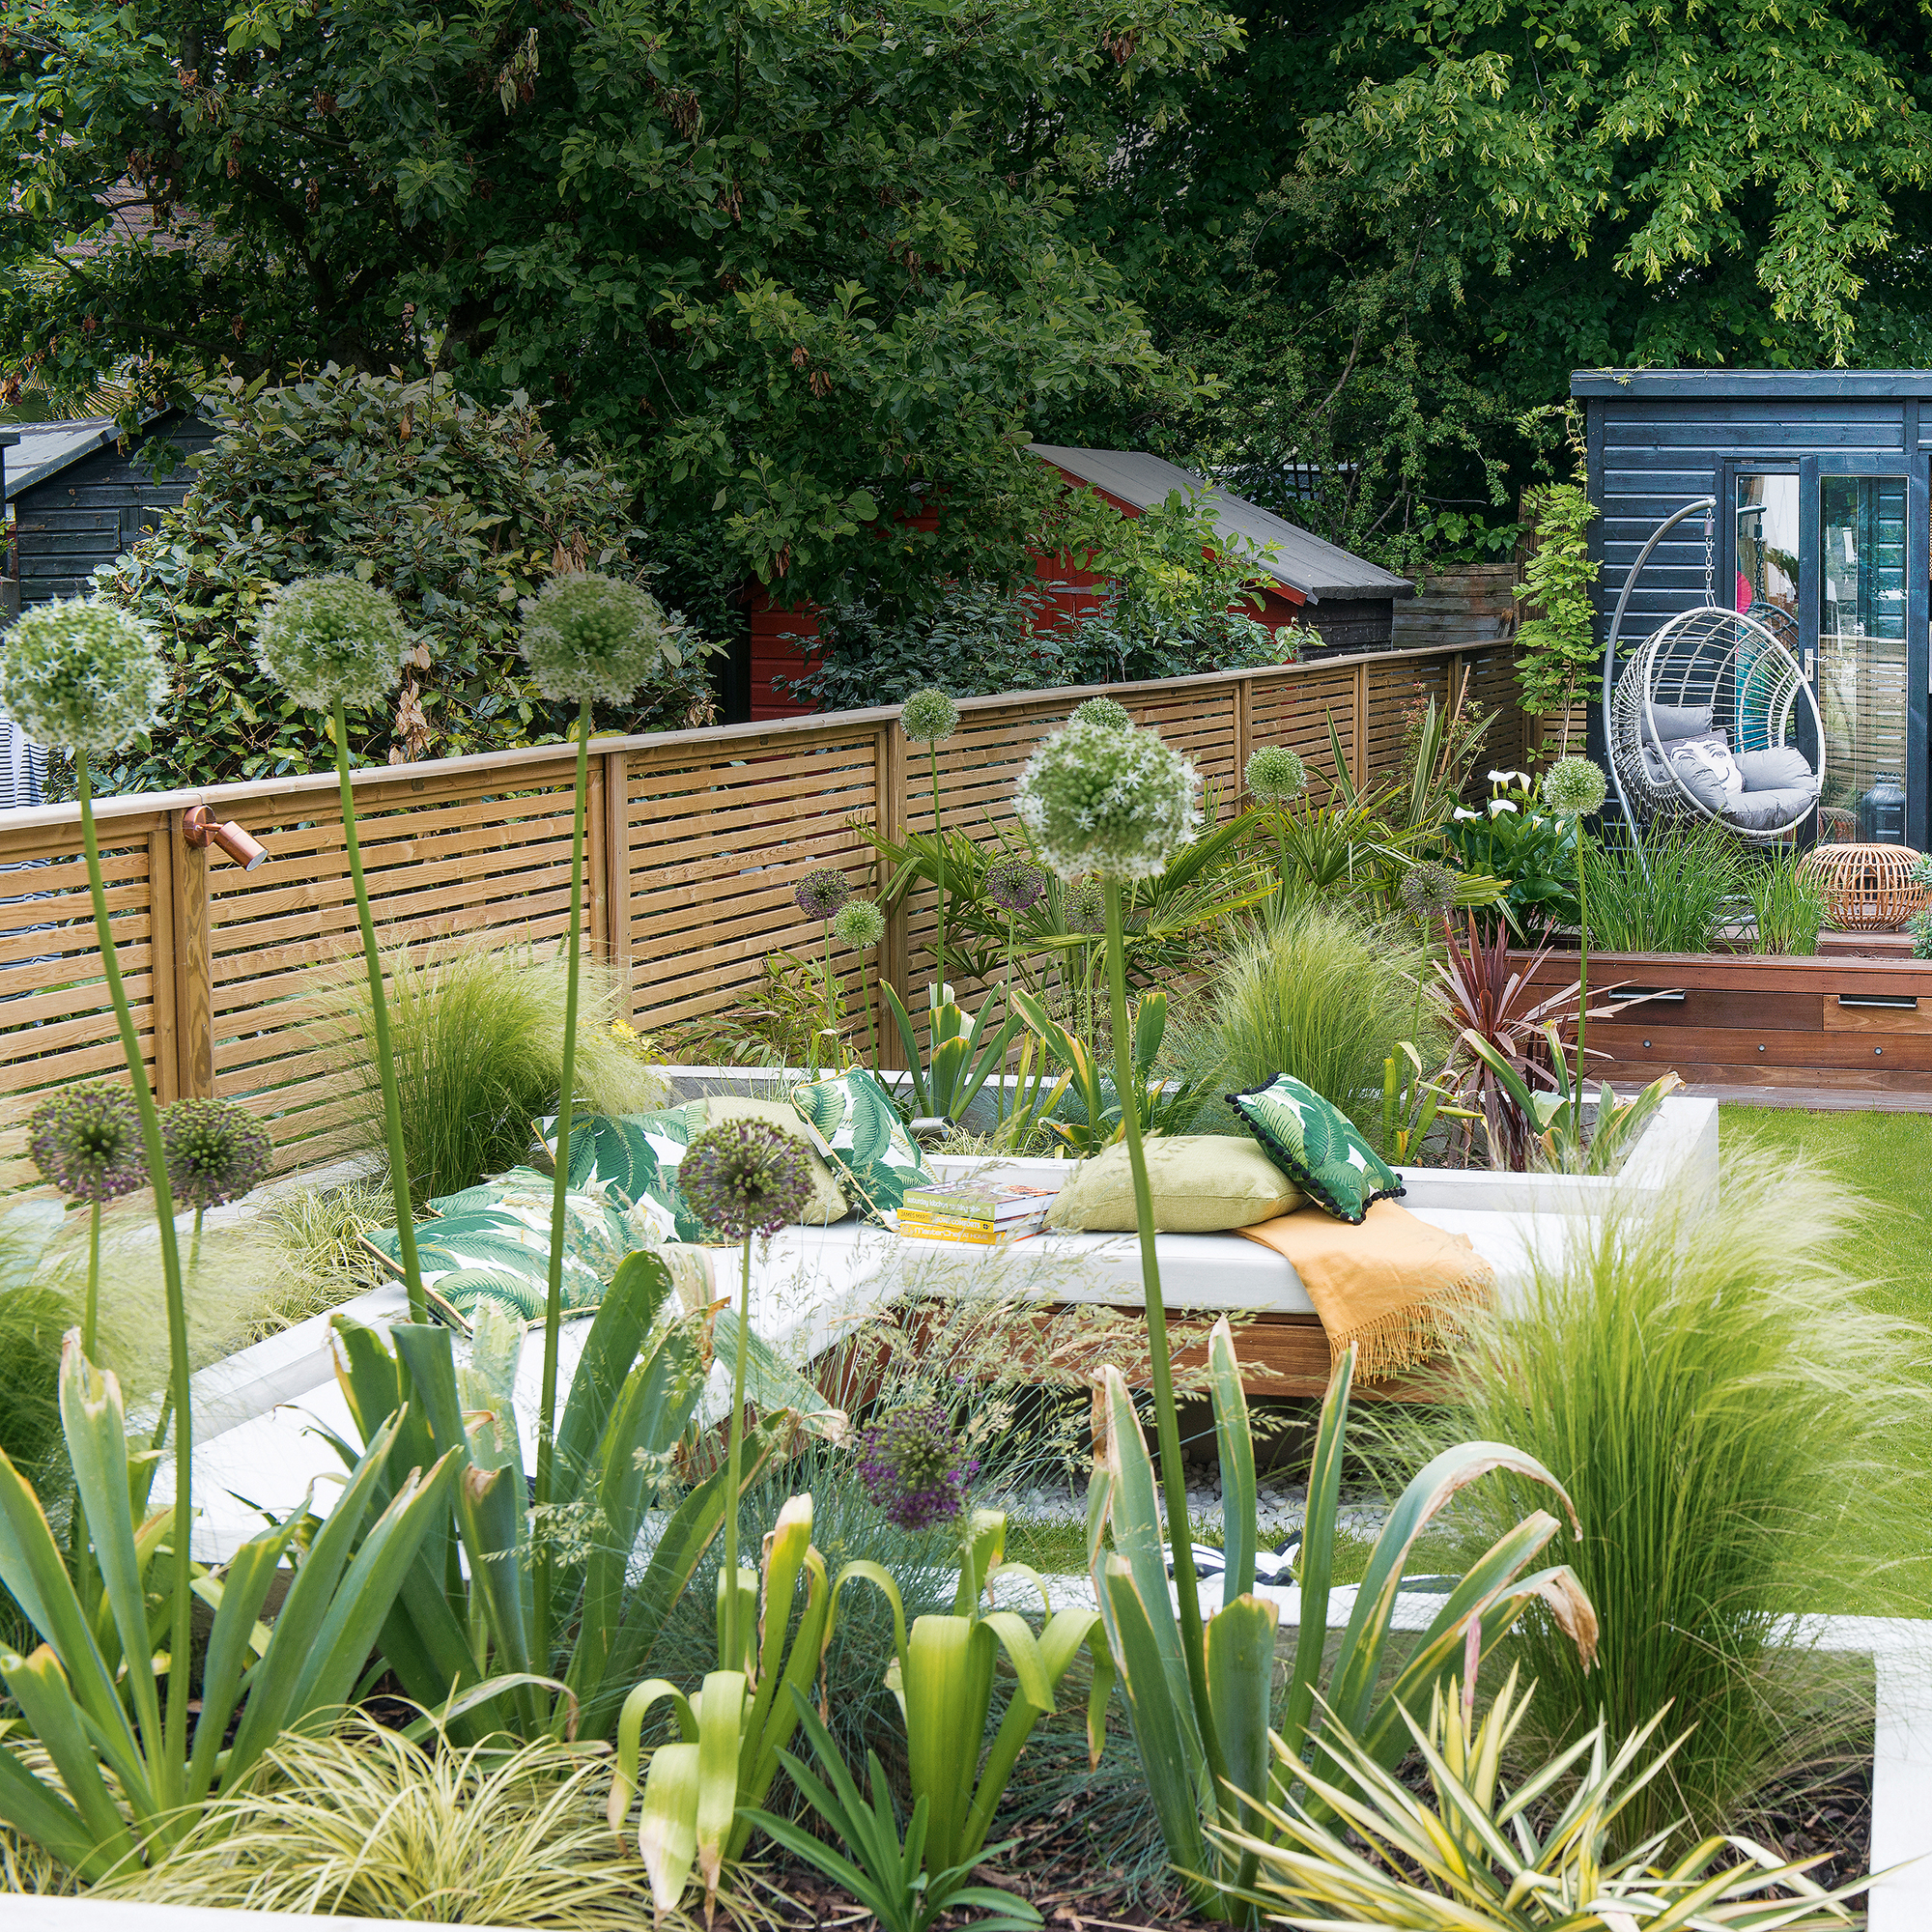
3. Put posts in place
Pop your first post into position and use your wooden props to hold the posts in position. You can make a wooden prop by attaching two pieces of wood together in a T shape. Check the fence post is level.
Following manufacturer's instructions, pour postcrete into the hole and use a trowel to smooth the postcrete into a slope so rainwater runs away from the post. Measure the distance to the wooden stake for the second fence post again and dig the hole for your second post.
Secure the second post in position as you did the first, checking the height is level with the first. Repeat until your fence posts run along the length of your garden and remember to check each one is level before the postcrete sets.
4. Add your fence panels
The final stage in how to install fence panels is to add the panels to the posts. Take your first fence panel and with a helper move it into position.
You can use fence clips or galvanised clout nails to connect the panels to the post. If you're using nails, drill six evenly spaced pilot holes down the batten frame on the fence panel and hammer the nails through the pilot holes and into the posts to secure the panel in place. Then repeat for the other side of your fence panel. Repeat the process for your remaining fence panels.

Amy Hodge has been working on interiors magazines for over 11 years. She's a freelance writer and sub editor who has worked for some of the UK's leading interiors magazines including Ideal Home, Style at Home and Country Homes & Interiors. She started at Style at Home just after it launched as food editor and is now chief sub editor for Ideal Home, Style at Home and Country Homes & Interiors.