These are the loft insulation dos and don’ts I swear by as someone who made the mistakes so you don't have to
Learn how to insulate a loft the right way by taking heed of the mistakes I made when trying to reduce heat loss in my own project

Sign up to our newsletter for style inspiration, real homes, project and garden advice and shopping know-how
You are now subscribed
Your newsletter sign-up was successful
As the owner of an old house, I have got used to wrapping up warm as winter draws near. The draughty original windows and floors are the main culprits when it comes to the decidedly frosty feel of my home – but on the first floor, so too is the loft insulation.
The ceilings on the first floor of my house are vaulted, which is a lovely feature, but means that there is little in the way of attic space. What I basically have is a little crawl area above my son's bedroom, accessed by a small hatch high up on the wall. It is big enough for storing Christmas decorations and toys that haven't seen the light of day since the kids grew out of them many years ago.
While we made a small effort to insulate this tiny loft, we definitely didn't carry out the job properly and I am well aware that this is one of the main reasons that the upstairs rooms feel freezing in the winter and boiling hot in the summer. I'm sharing the main mistakes we made – as well as the bits we got right – to help you when it comes to the success of your own project.
Mistake 1. We didn't look into recommended insulation thickness levels

Rather than look into the required insulation levels for our loft, we just popped in a random amount and hoped for the best. However, having spoken to insulation expert Samuel Hitch, MD of Buy Insulation Online about how to insulate a home, I now wonder if it is worth adding to our existing levels.
'Many people fail to install insulation to the recommended 270mm depth for mineral wool, which compromises performance,' explains Samuel. 'Another key error is laying the insulation in a single layer over the joists.
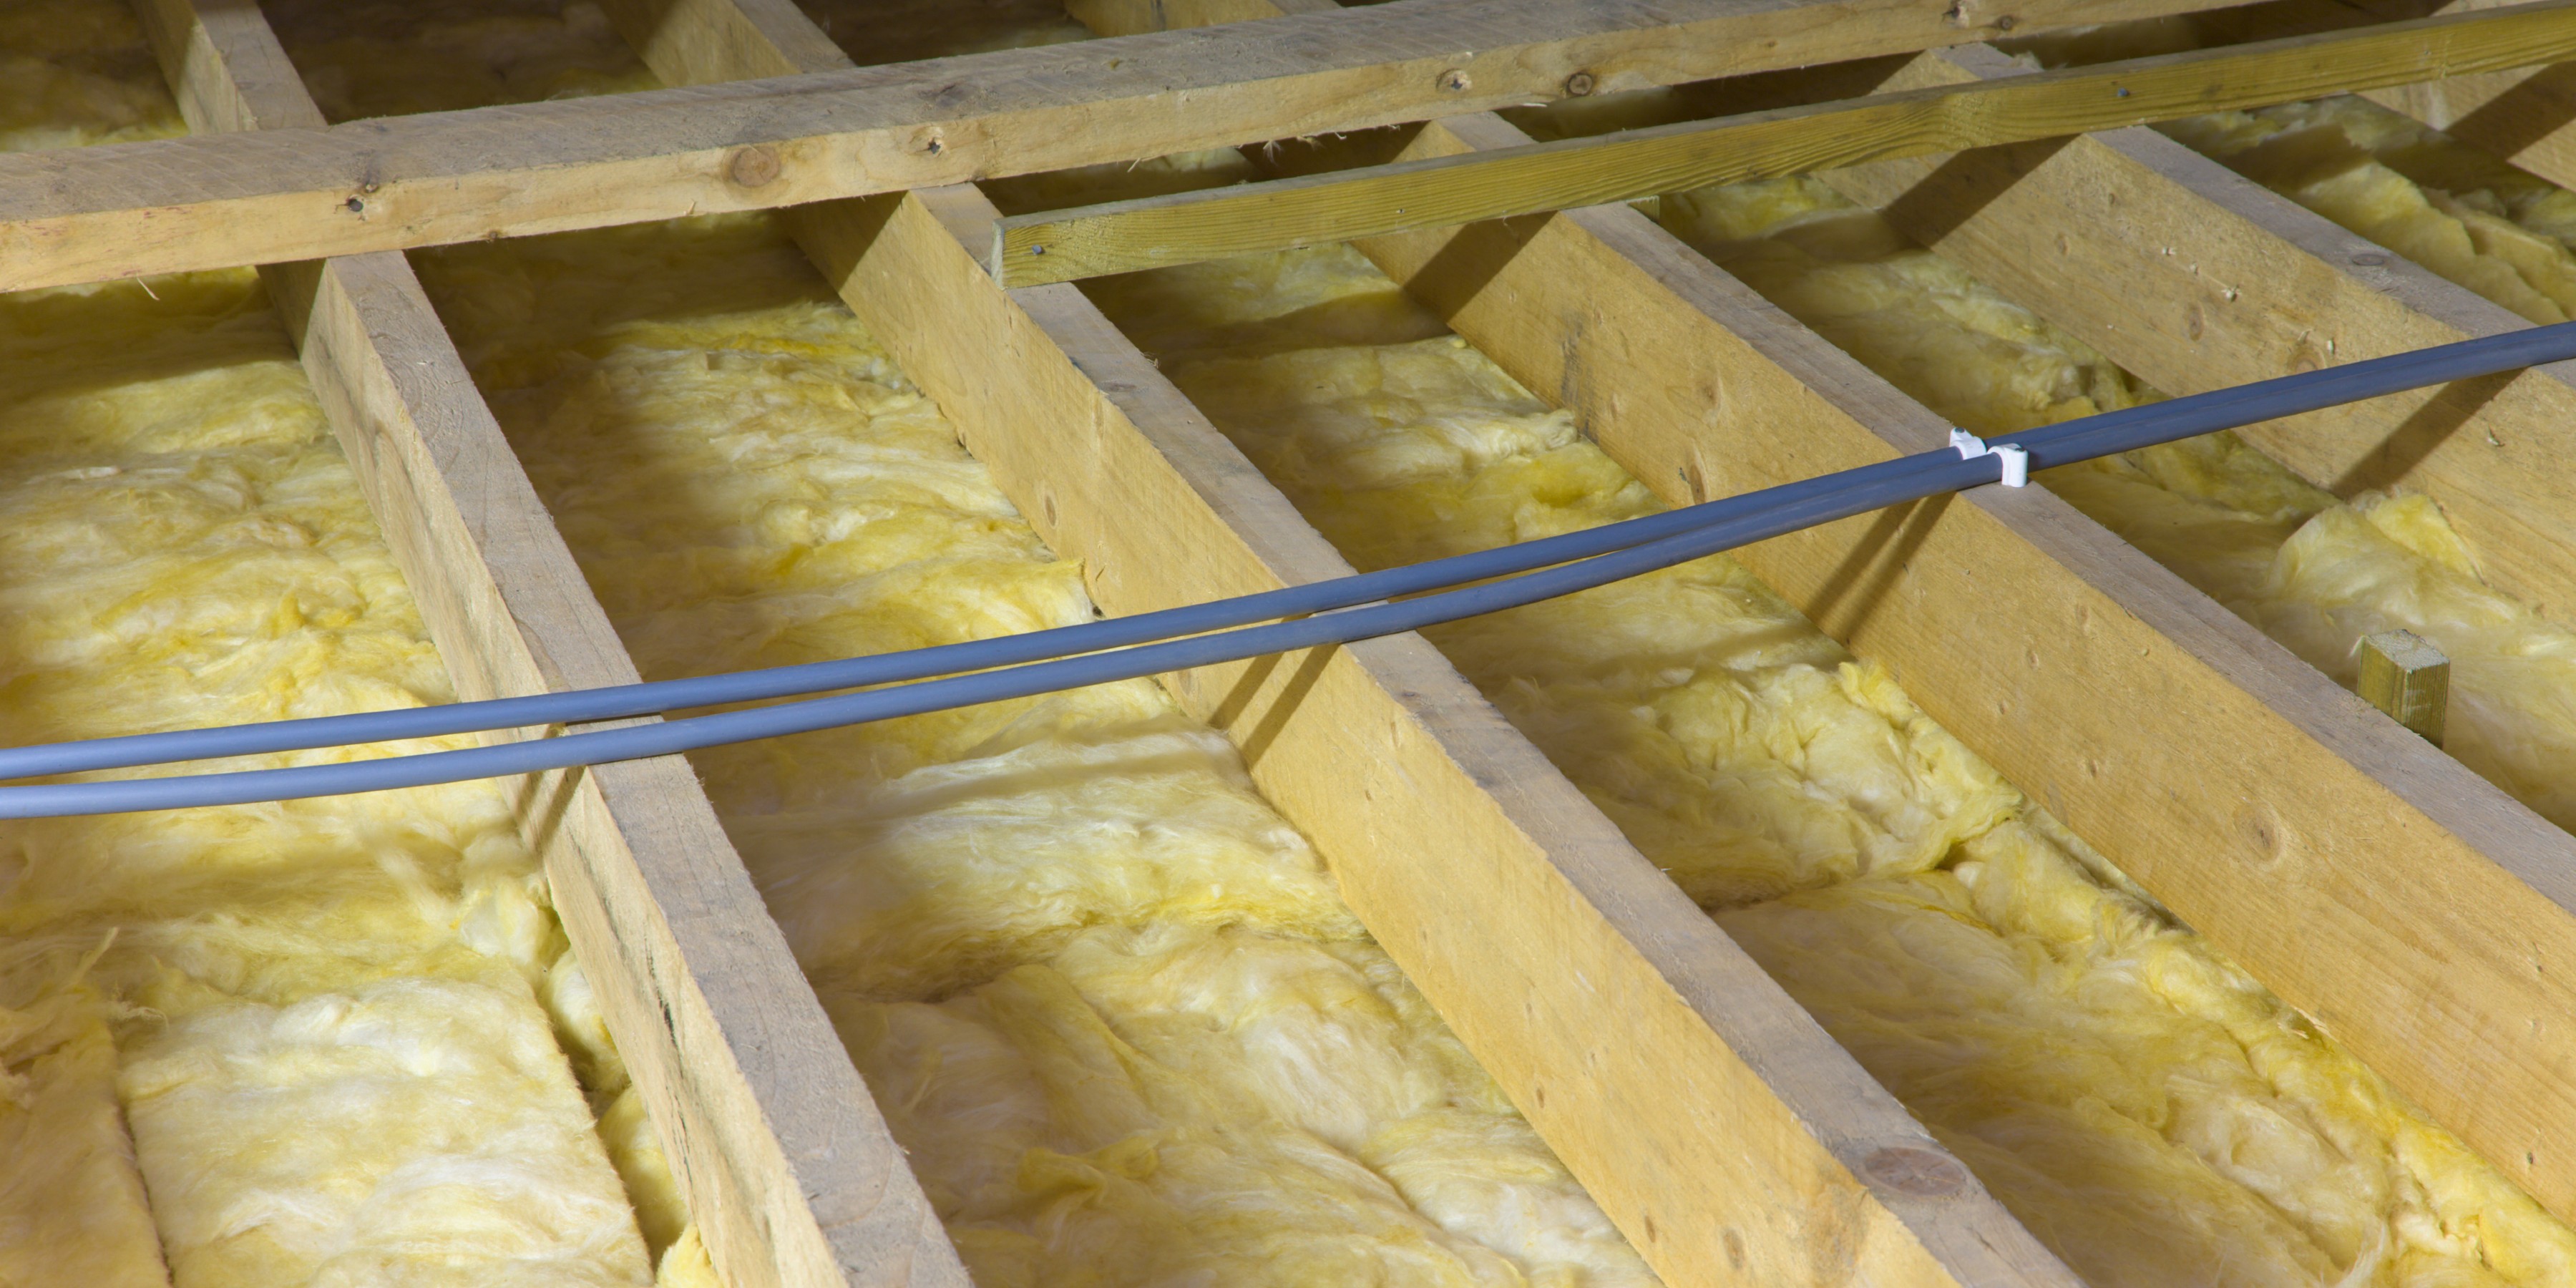
'The correct method involves two layers: a 100mm layer fitted snugly between the joists, and a second, 170mm layer, laid at right angles over the joists,' continues Samuel. 'This cross-layering method prevents heat from escaping through the timber joists themselves.'
We actually used rigid insulation boards in order to save space given the limited proportions of our loft meaning we should have been aiming for a depth of around 120mm to achieve the same u-value as with mineral wool.
Sign up to our newsletter for style inspiration, real homes, project and garden advice and shopping know-how

With over 20 years of expertise, Samuel leads a group of UK companies specialising in industrial insulation, mechanical engineering, and electrical construction estimating. His companies deliver comprehensive solutions across the construction sector, from technical insulation sales to MEP pre construction management.
Mistake 2. Compromising the insulation with our storage methods
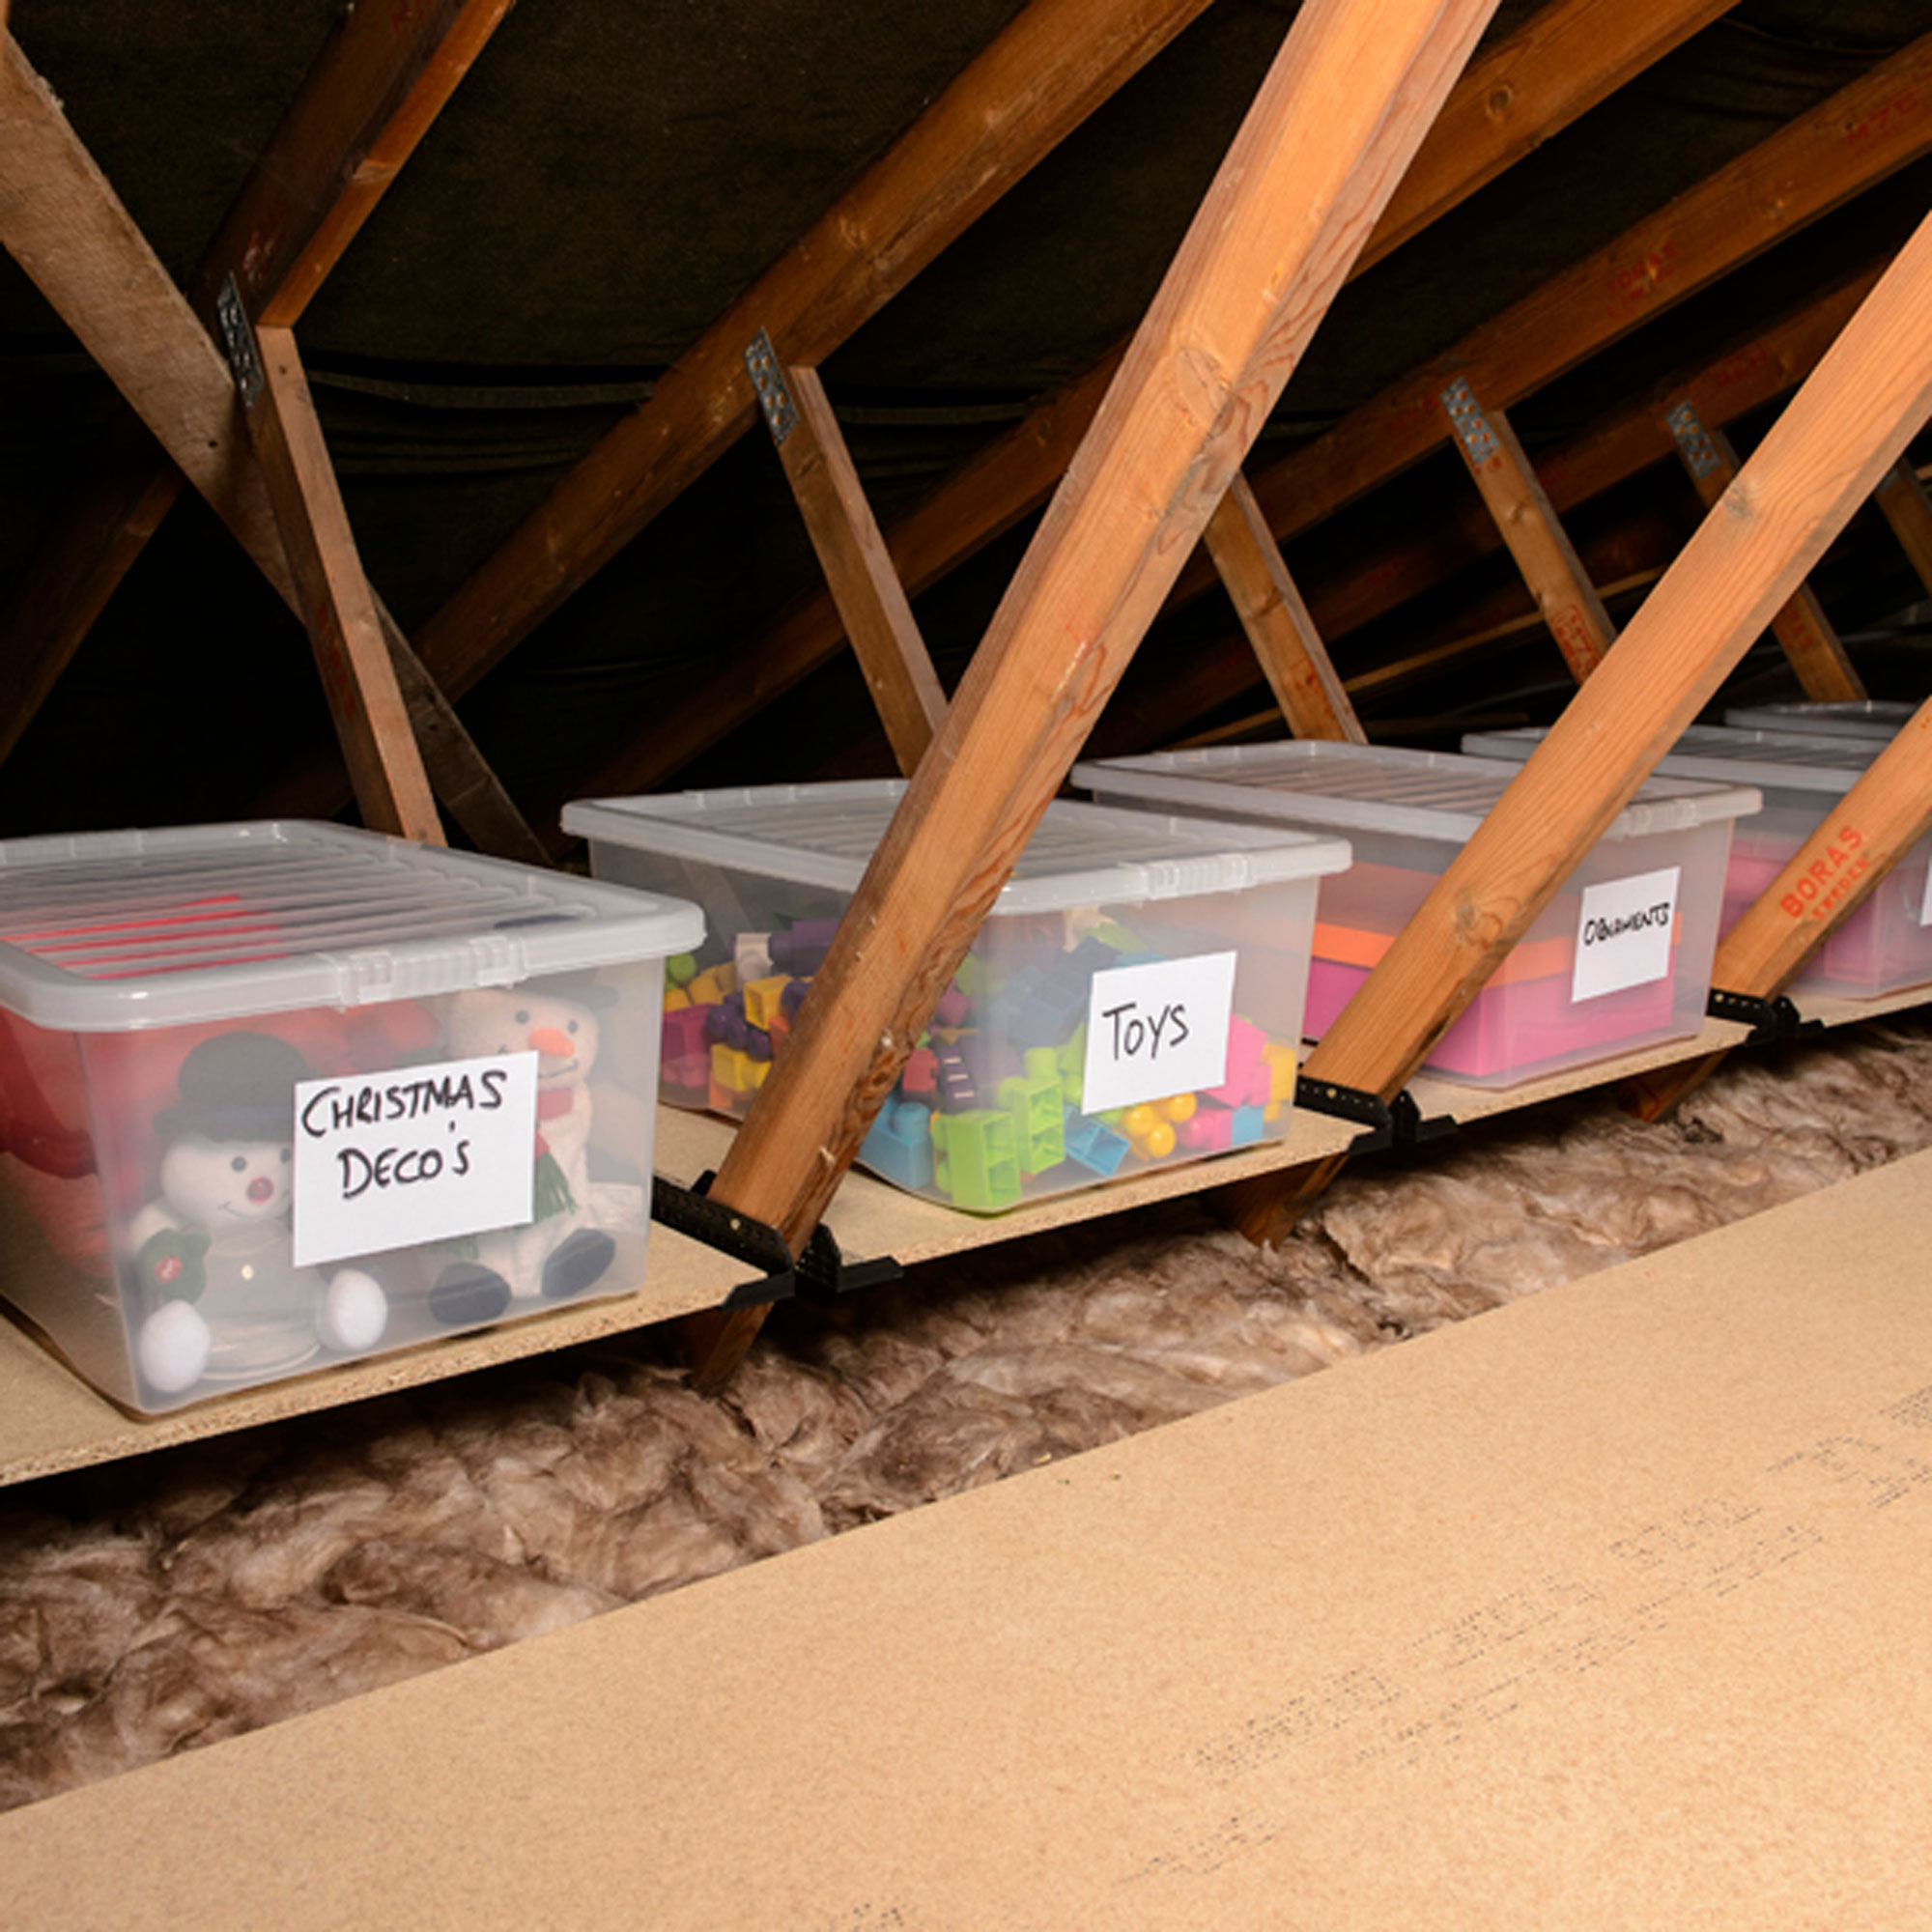
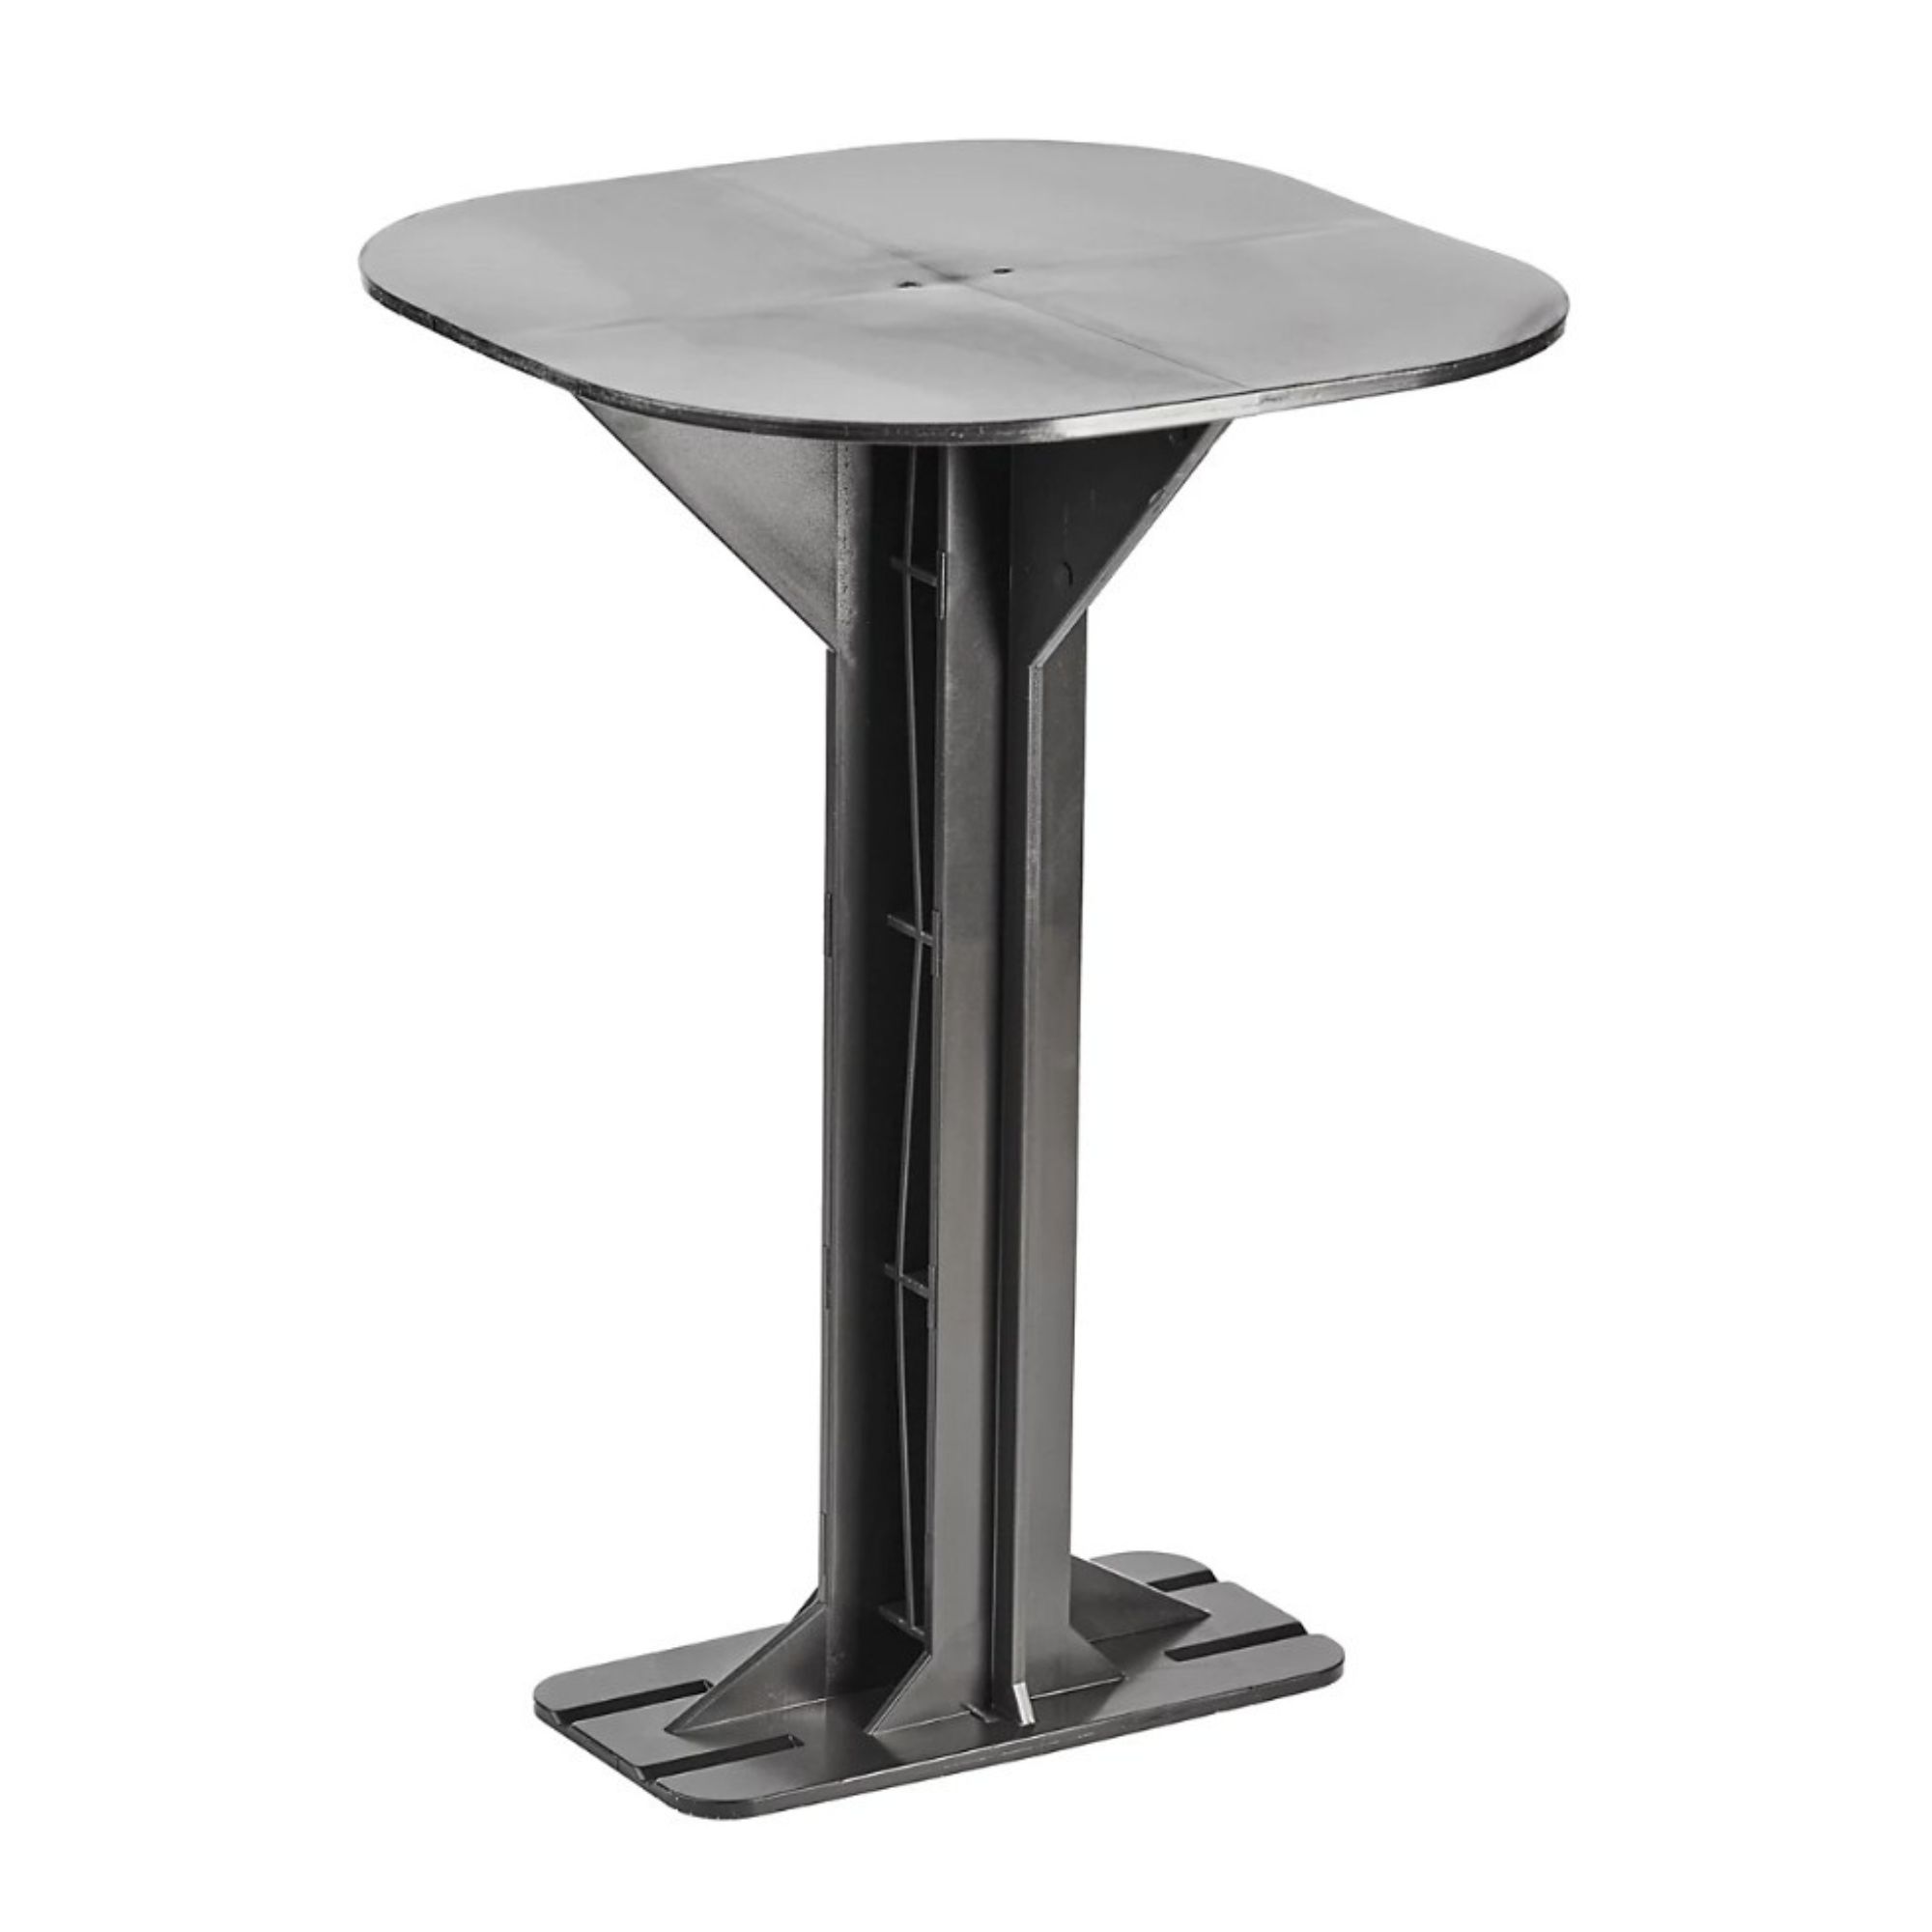
Using a product such as loft storage legs from Loft Leg would have meant the insulation beneath would not be compromised.
As I mentioned, our loft is on the small side and you can't stand up in it, meaning that getting all the stuff we want to store up there is awkward – there are definitely boxes and bags up there pushing against the insulation.
'Squashing insulation, typically by placing storage boards or boxes directly on top of it, is perhaps the most common mistake I see,' said Samuel. 'Insulation works by trapping air in its fibres and compressing it removes these air pockets and destroys its thermal performance. Research from the National Physical Laboratory found this can reduce its effectiveness by 50%.
'The correct method for maximising loft storage is to use raised loft legs, which create a platform for boards well above the full, uncompressed 270mm depth of insulation.'
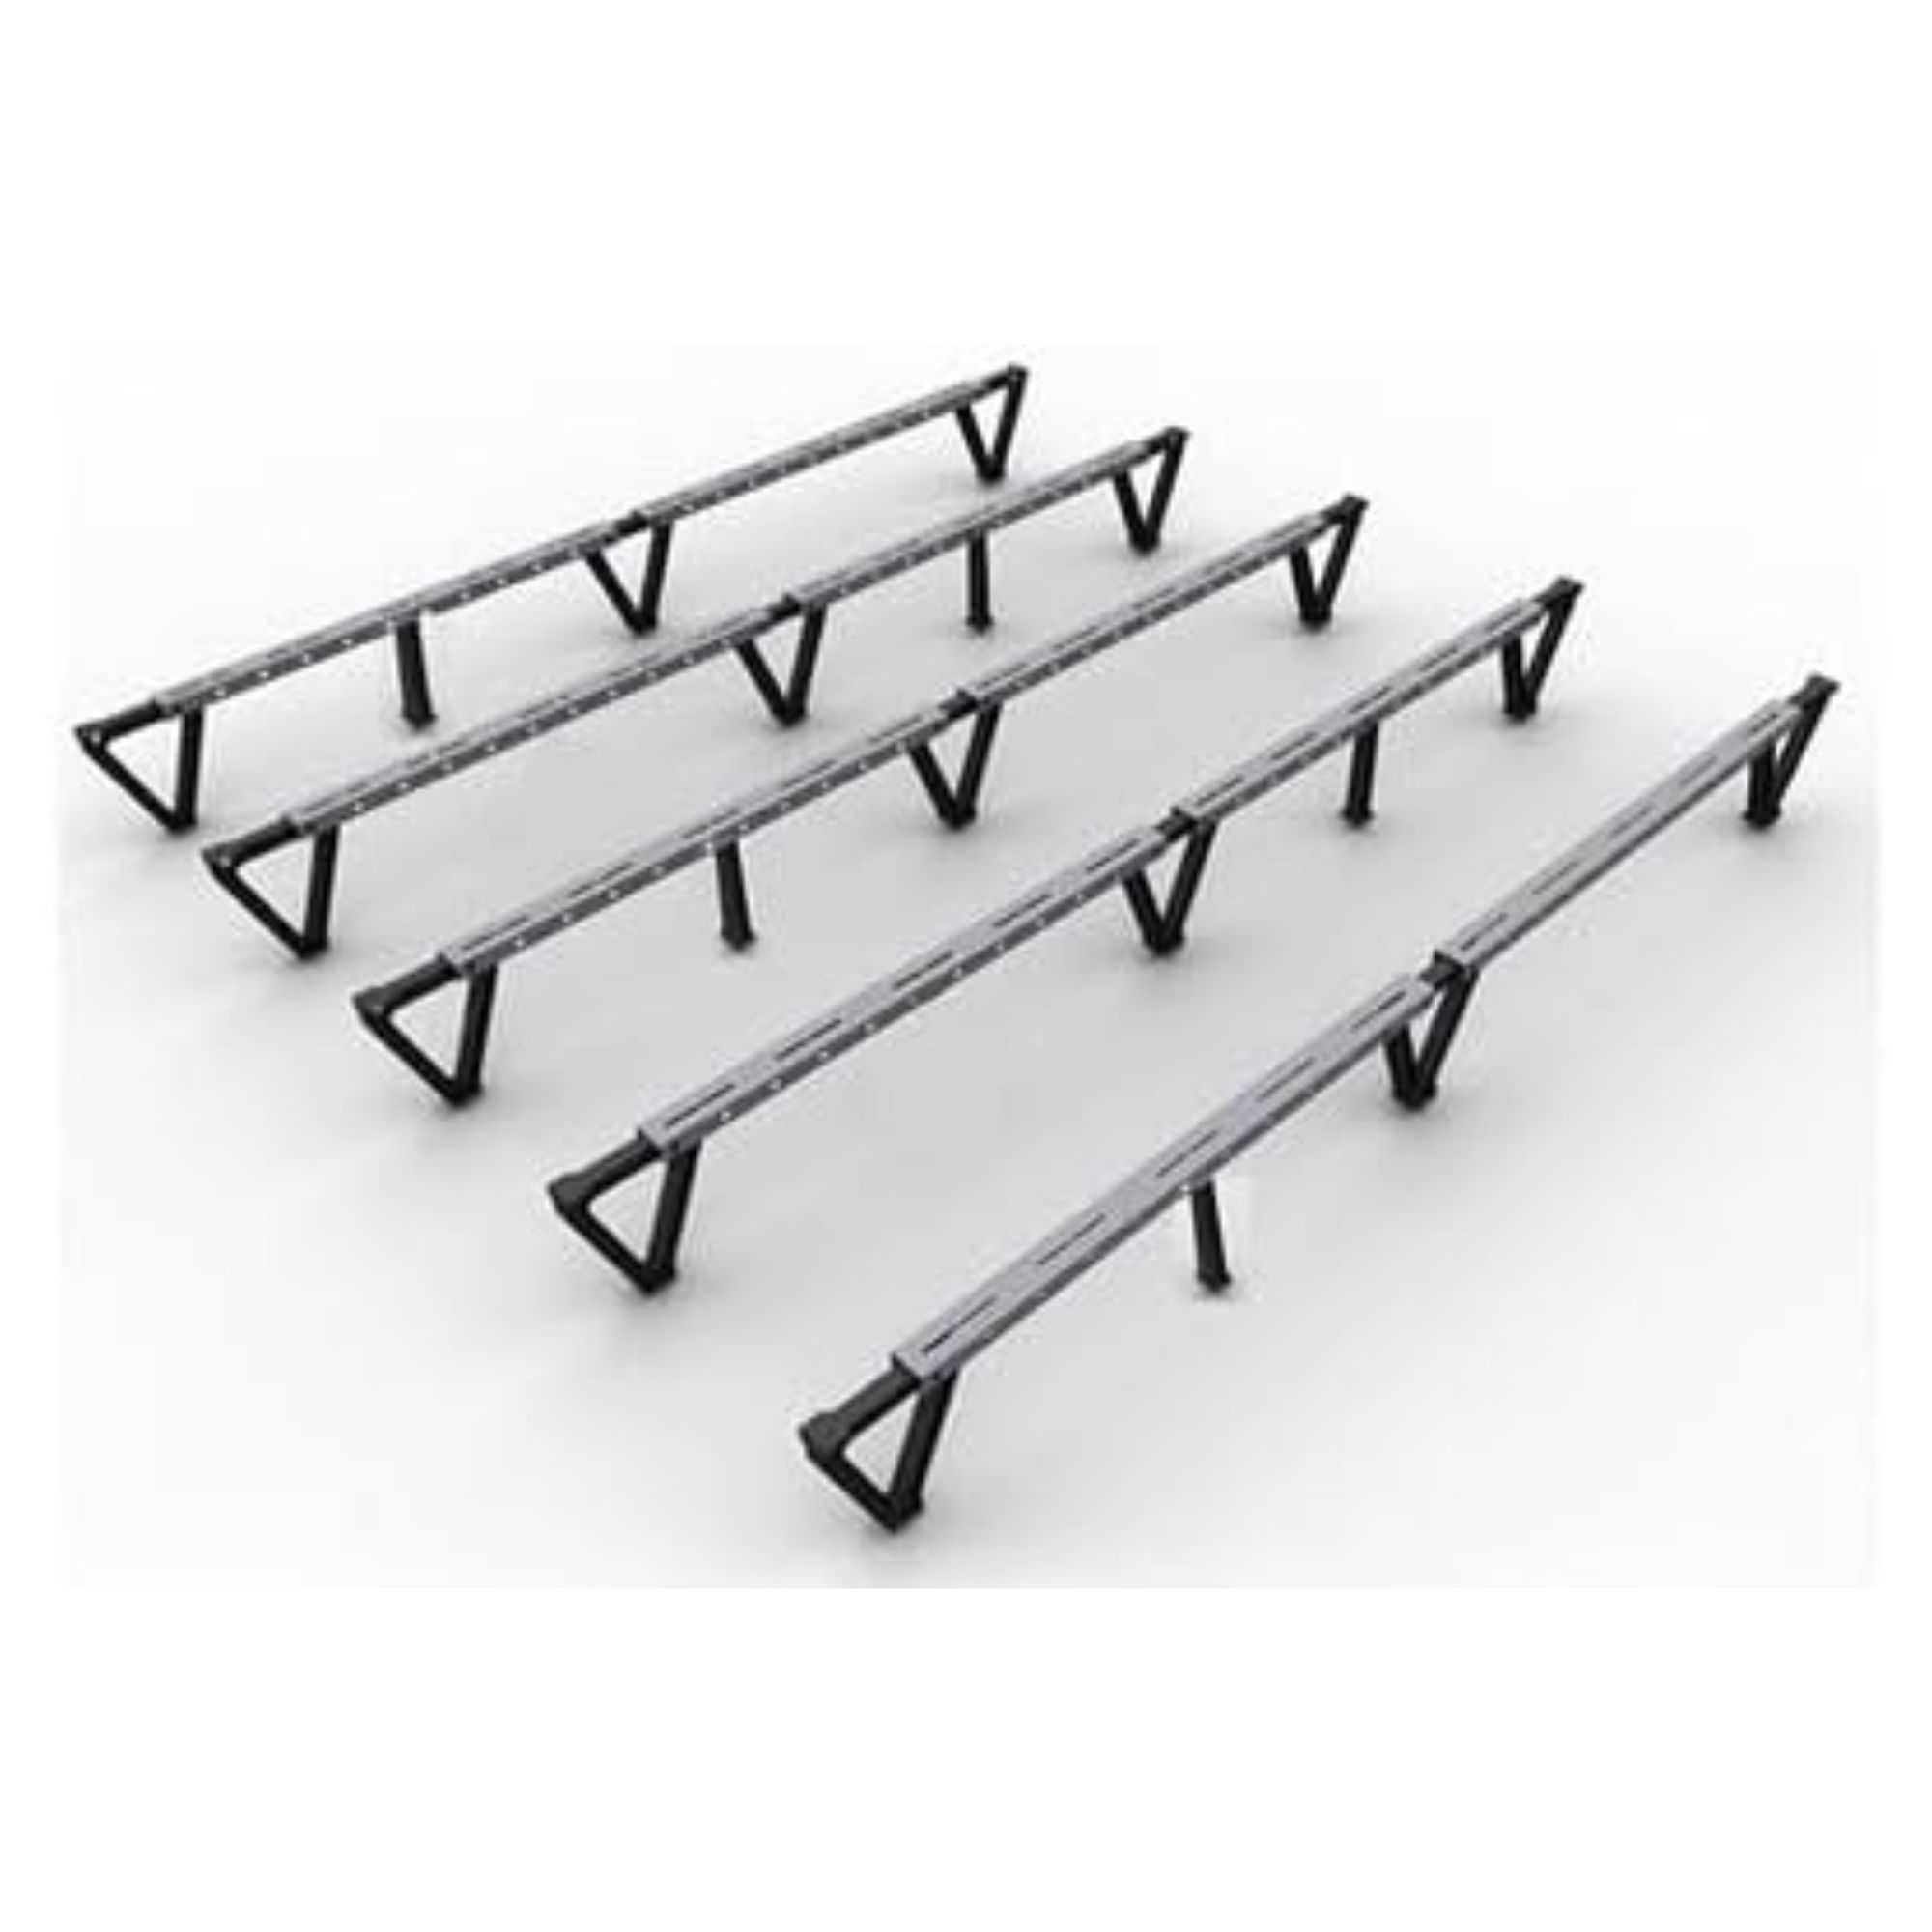
If you're looking to store particularly heavy items in your loft, then something more substantial than loft stilts might be required. This loft decking system will support the weight of whatever you store on your loft boards and keep your insulation intact.
Mistake 3. Failing to take ventilation into account
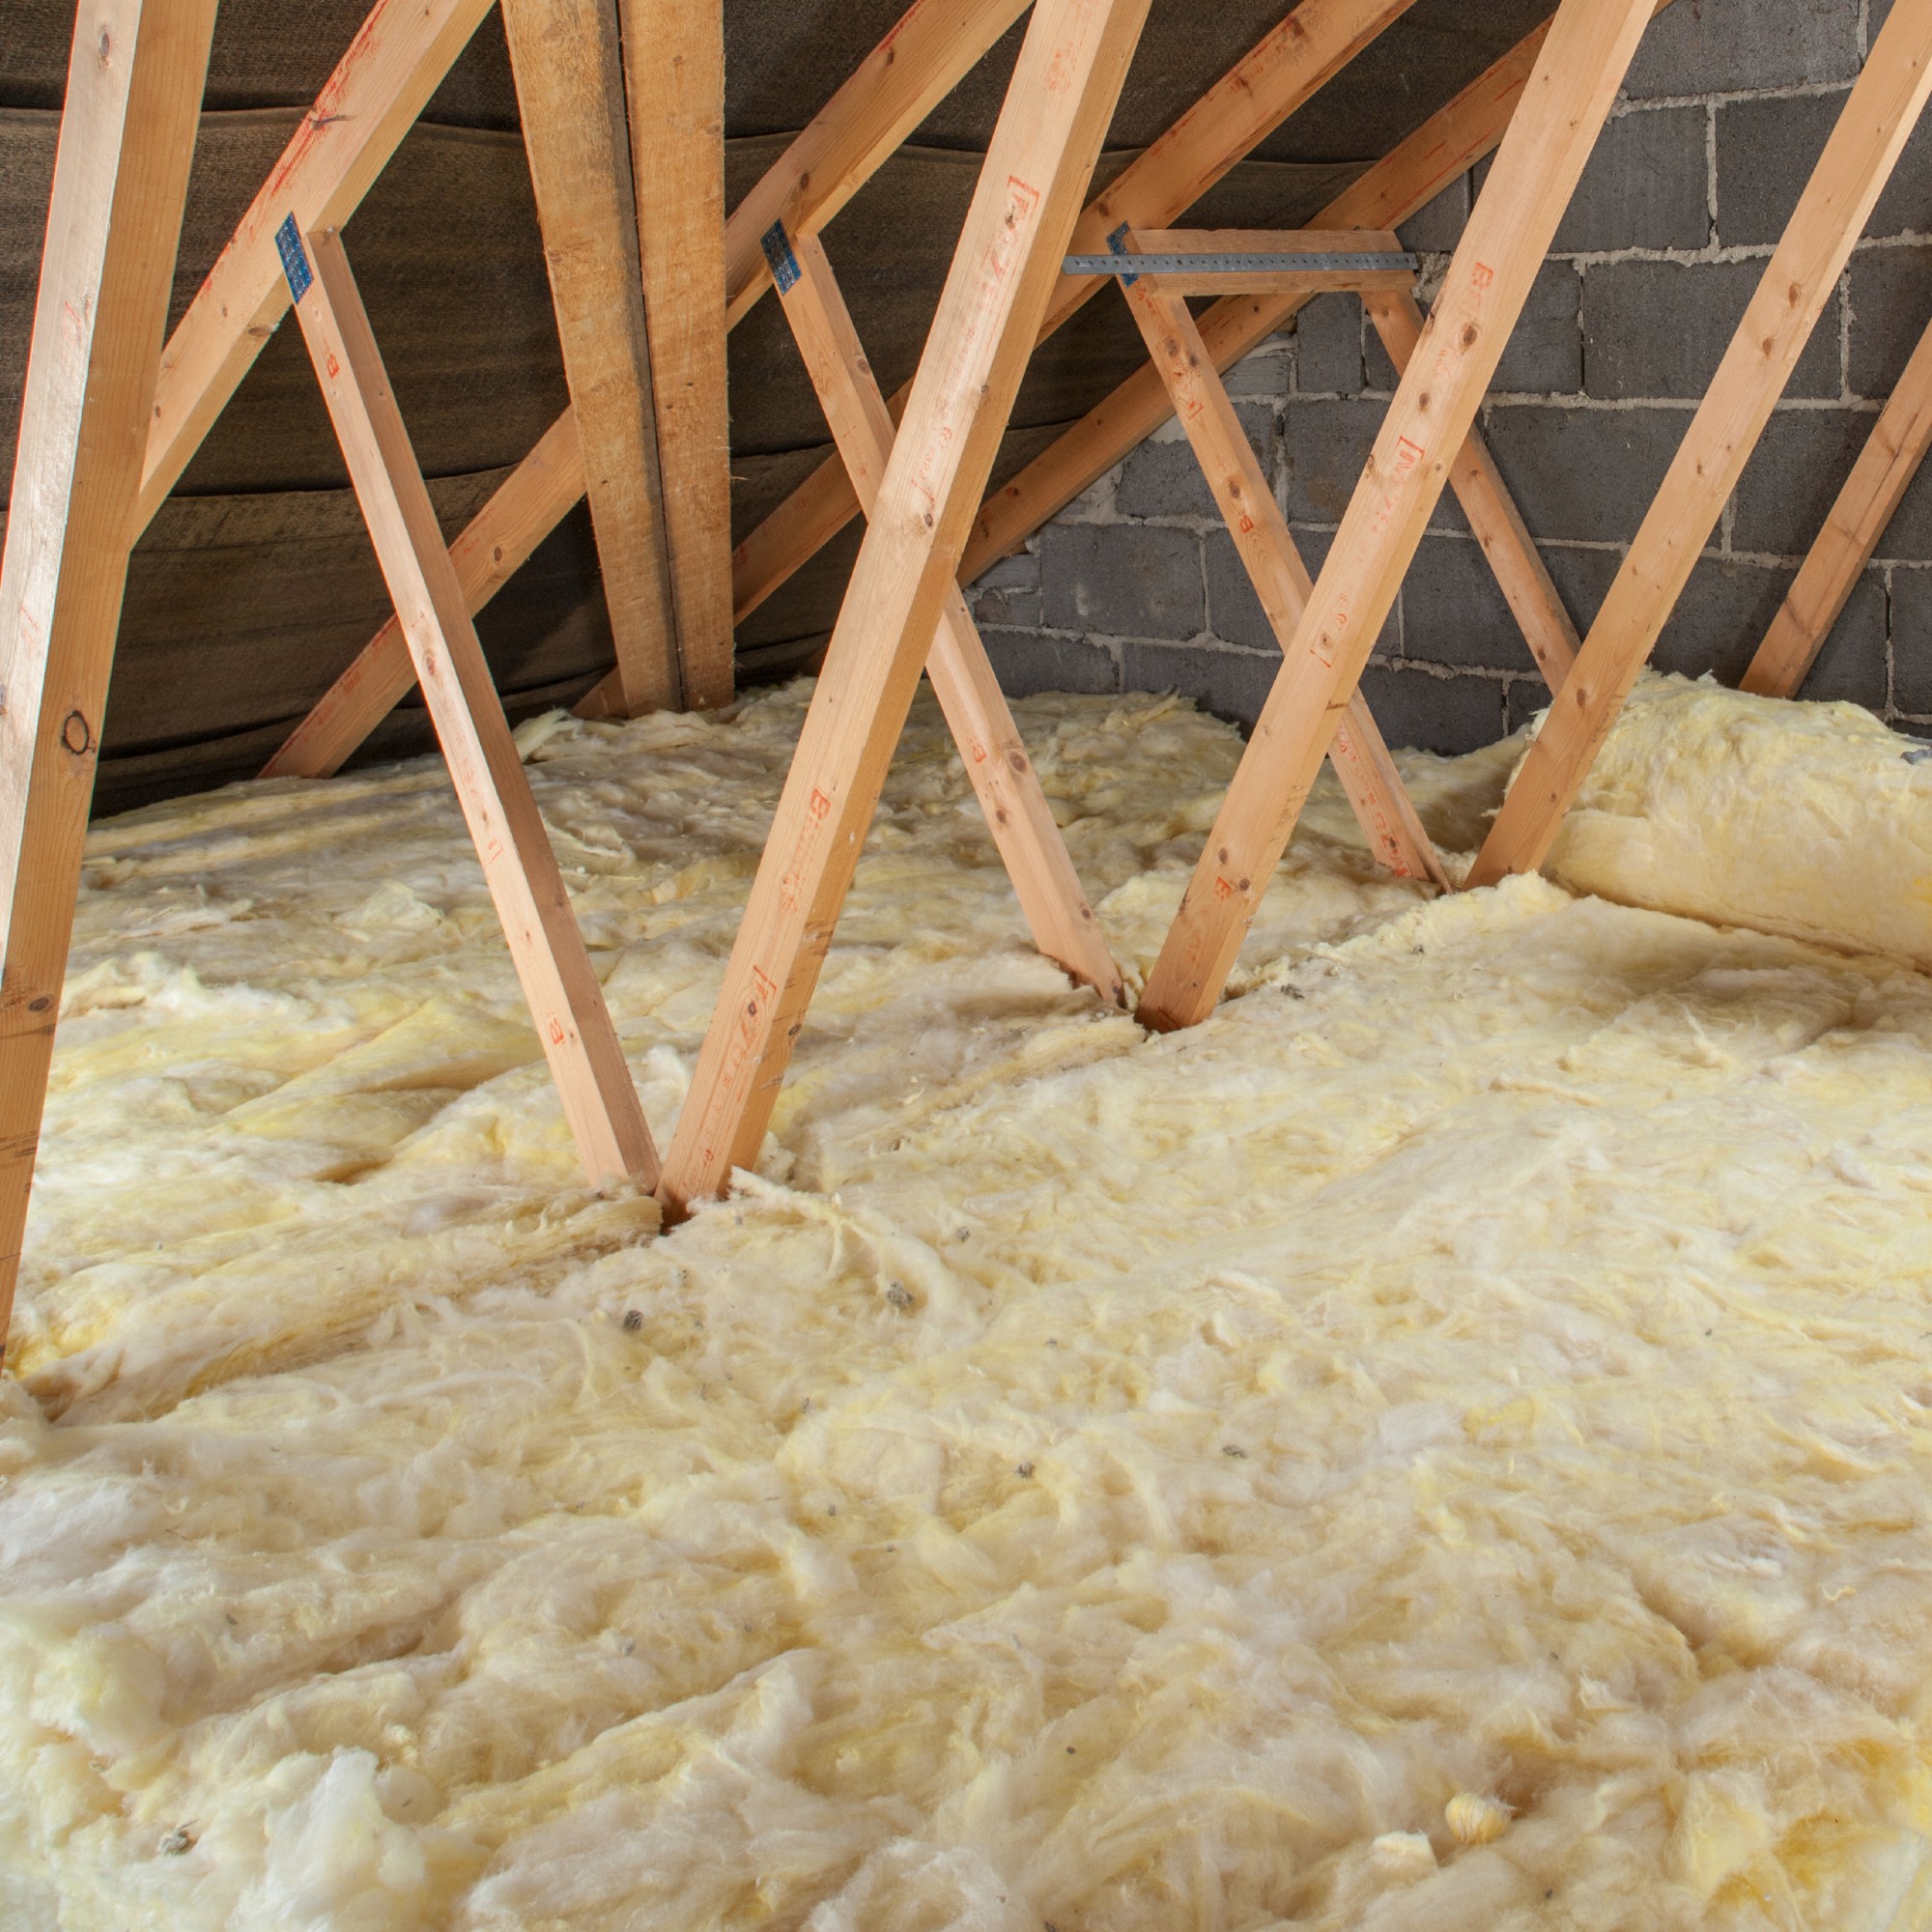
Proper home ventilation is key to the success of any loft space yet it can get overlooked when adding in insulation – certainly this is something we were guilty of, not only in the way the insulation has been installed but also when it comes to the sheer amount of 'stuff' we have squeezed into the area as a whole.
'A critical and dangerous error is blocking the ventilation path at the eaves (the edges of the loft),' explains Samuel Hitch. 'Pushing insulation right into the corners stops the airflow needed to remove moist air that rises from the house.
'In a newly cold loft, this trapped moisture will condense, leading to damp, mould, and the decay of roof timbers,' continues Samuel. 'Ventilation baffles should be used to keep an air gap open.'
Make sure you know the other areas you should never insulate to avoid damp and mould too.
Mistake 4. Taking a haphazard approach to cables and wires
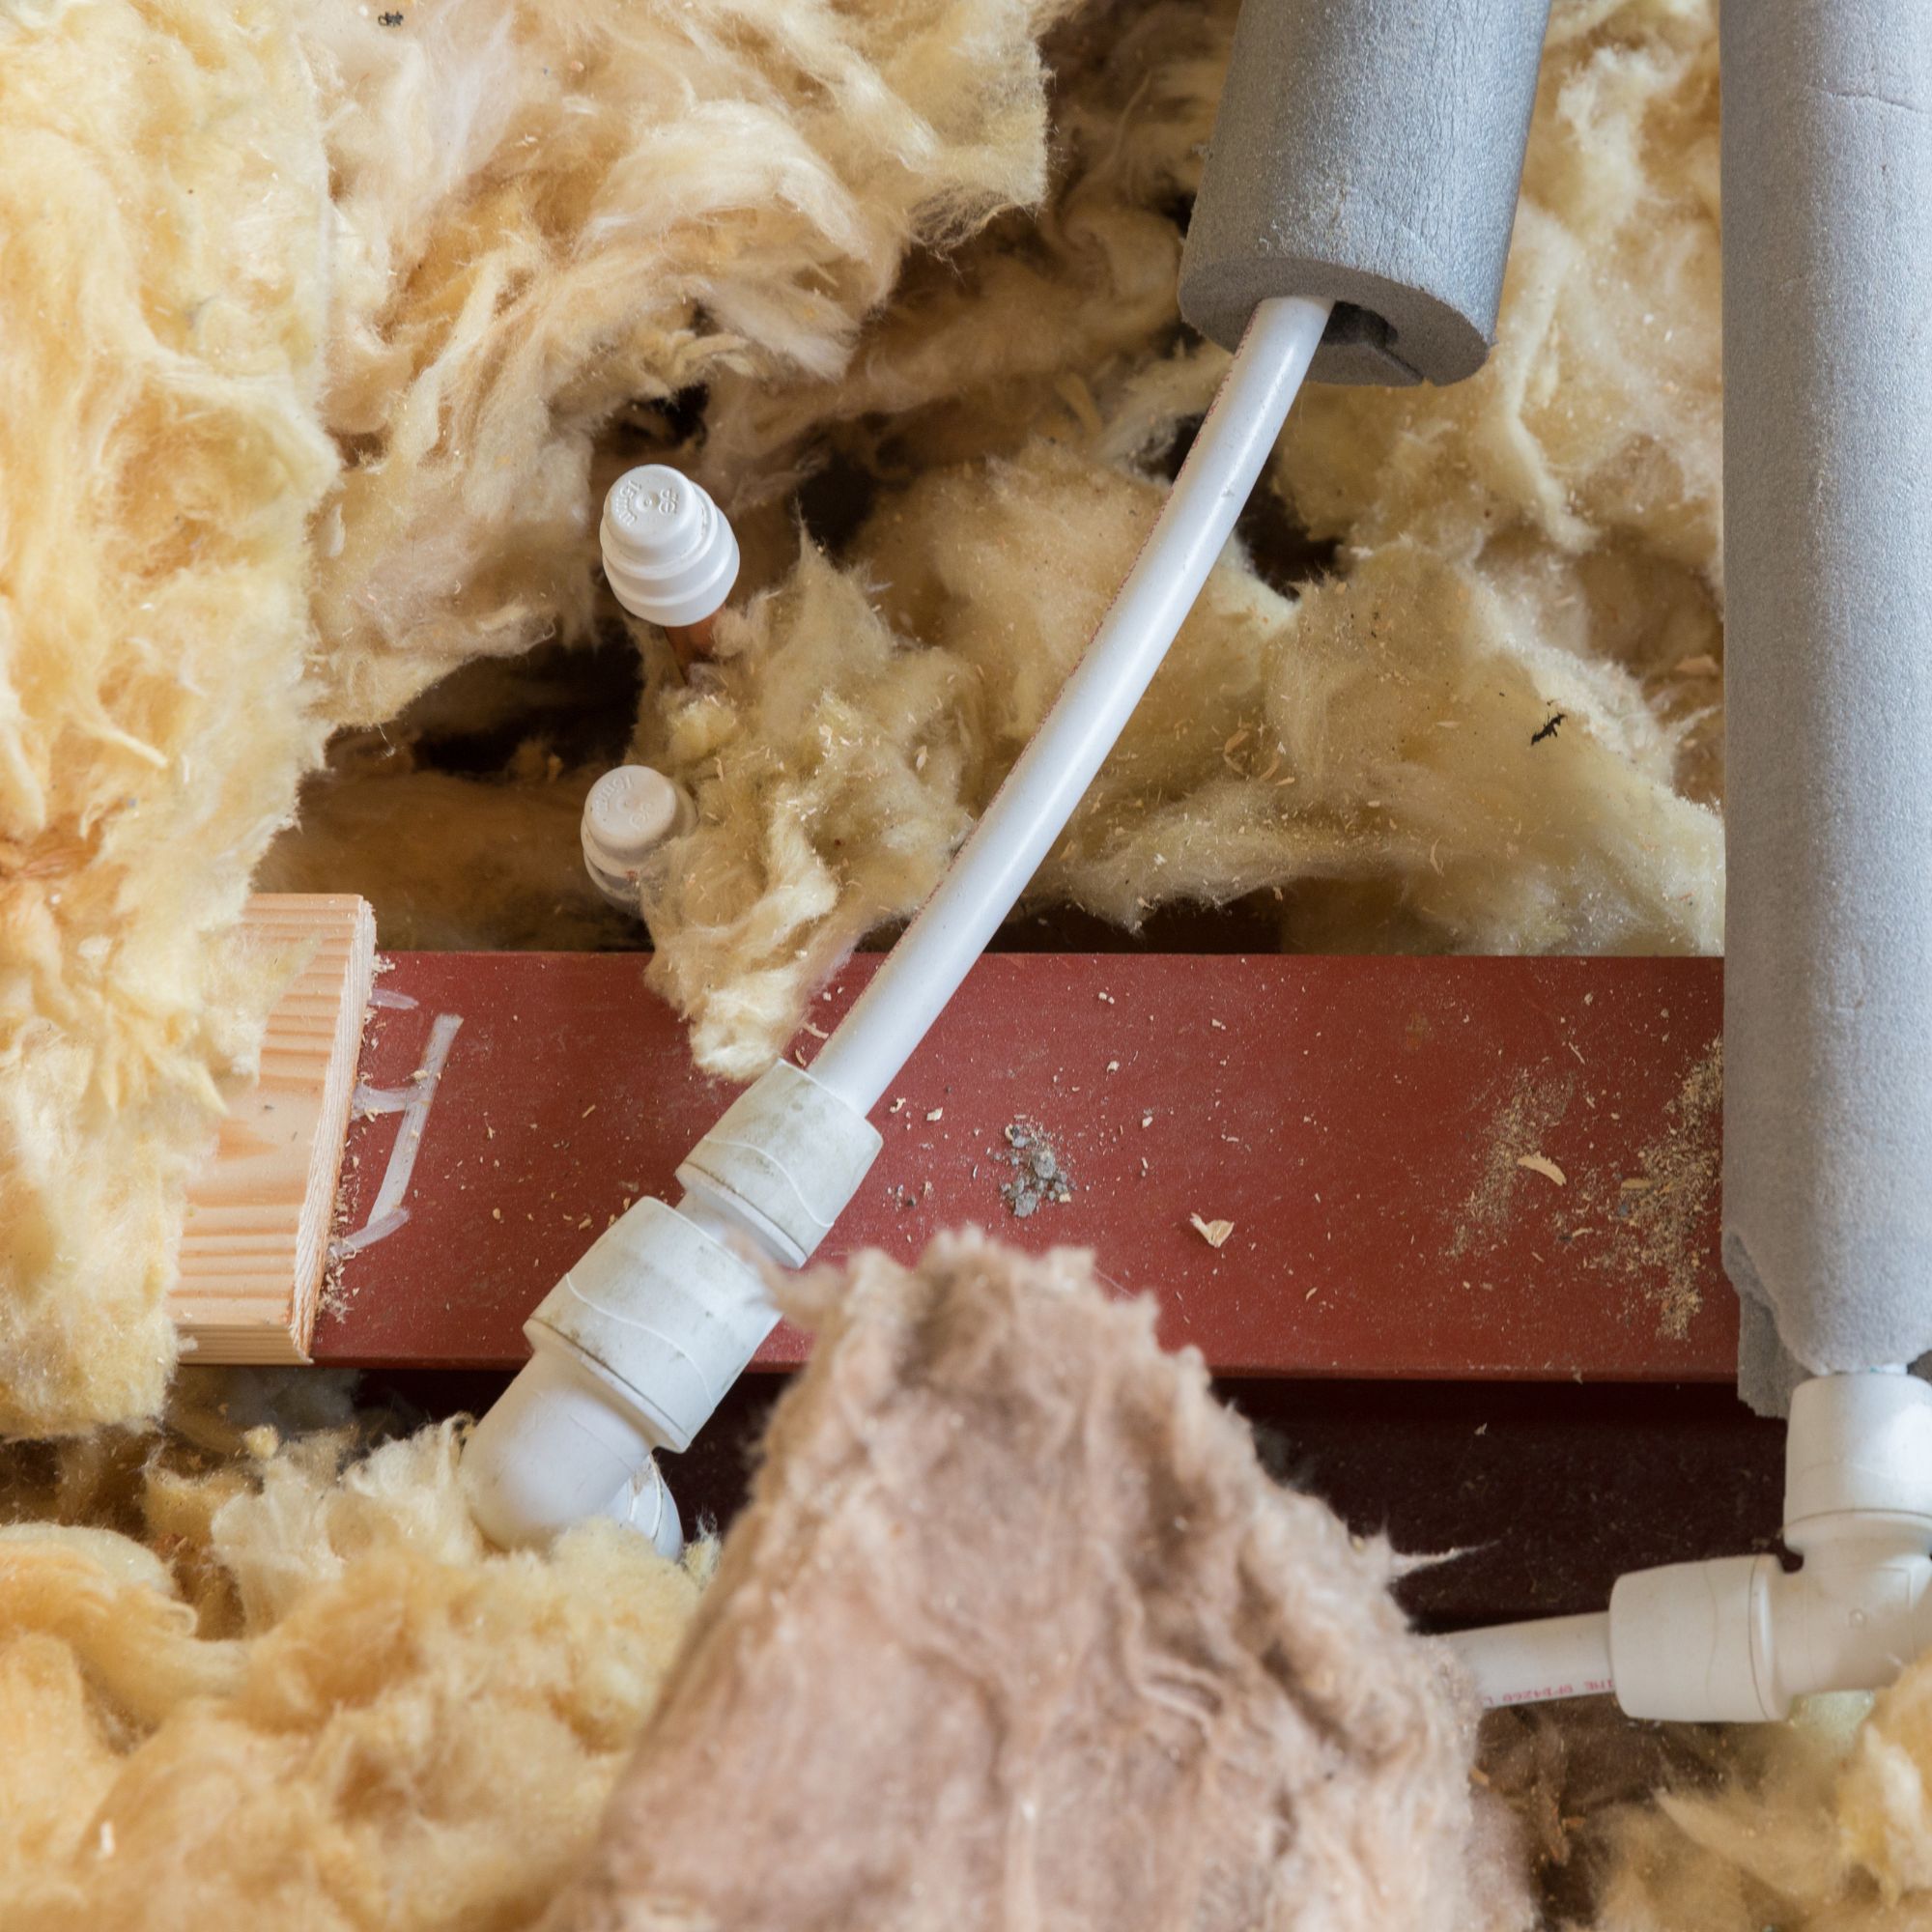
The only wiring in our loft space belongs to the television ariel, however when rummaging around up there at the beginning of the festive season, we commonly manage to interfere with it meaning terrestrial channels get knocked out. According to Samuel, many homeowners make the mistake of ignoring pipes and cables when it comes to insulating their loft space.
'Insulating the loft floor makes the space above it much colder, creating new risks,' says Samuel. 'A common oversight is failing to lag water pipes and tanks, leaving them vulnerable to freezing and bursting in winter.
'Another dangerous mistake is burying electrical cables under the insulation, which can cause them to overheat and create a fire hazard. Cables should always be lifted to lie loosely on top of the final layer.'
The things we got right when insulating our loft
While we made some mistakes with our loft insulation, we definitely got a few things right that have made a big difference to both how our home feels and our energy bills.
We purchased an insulated loft hatch
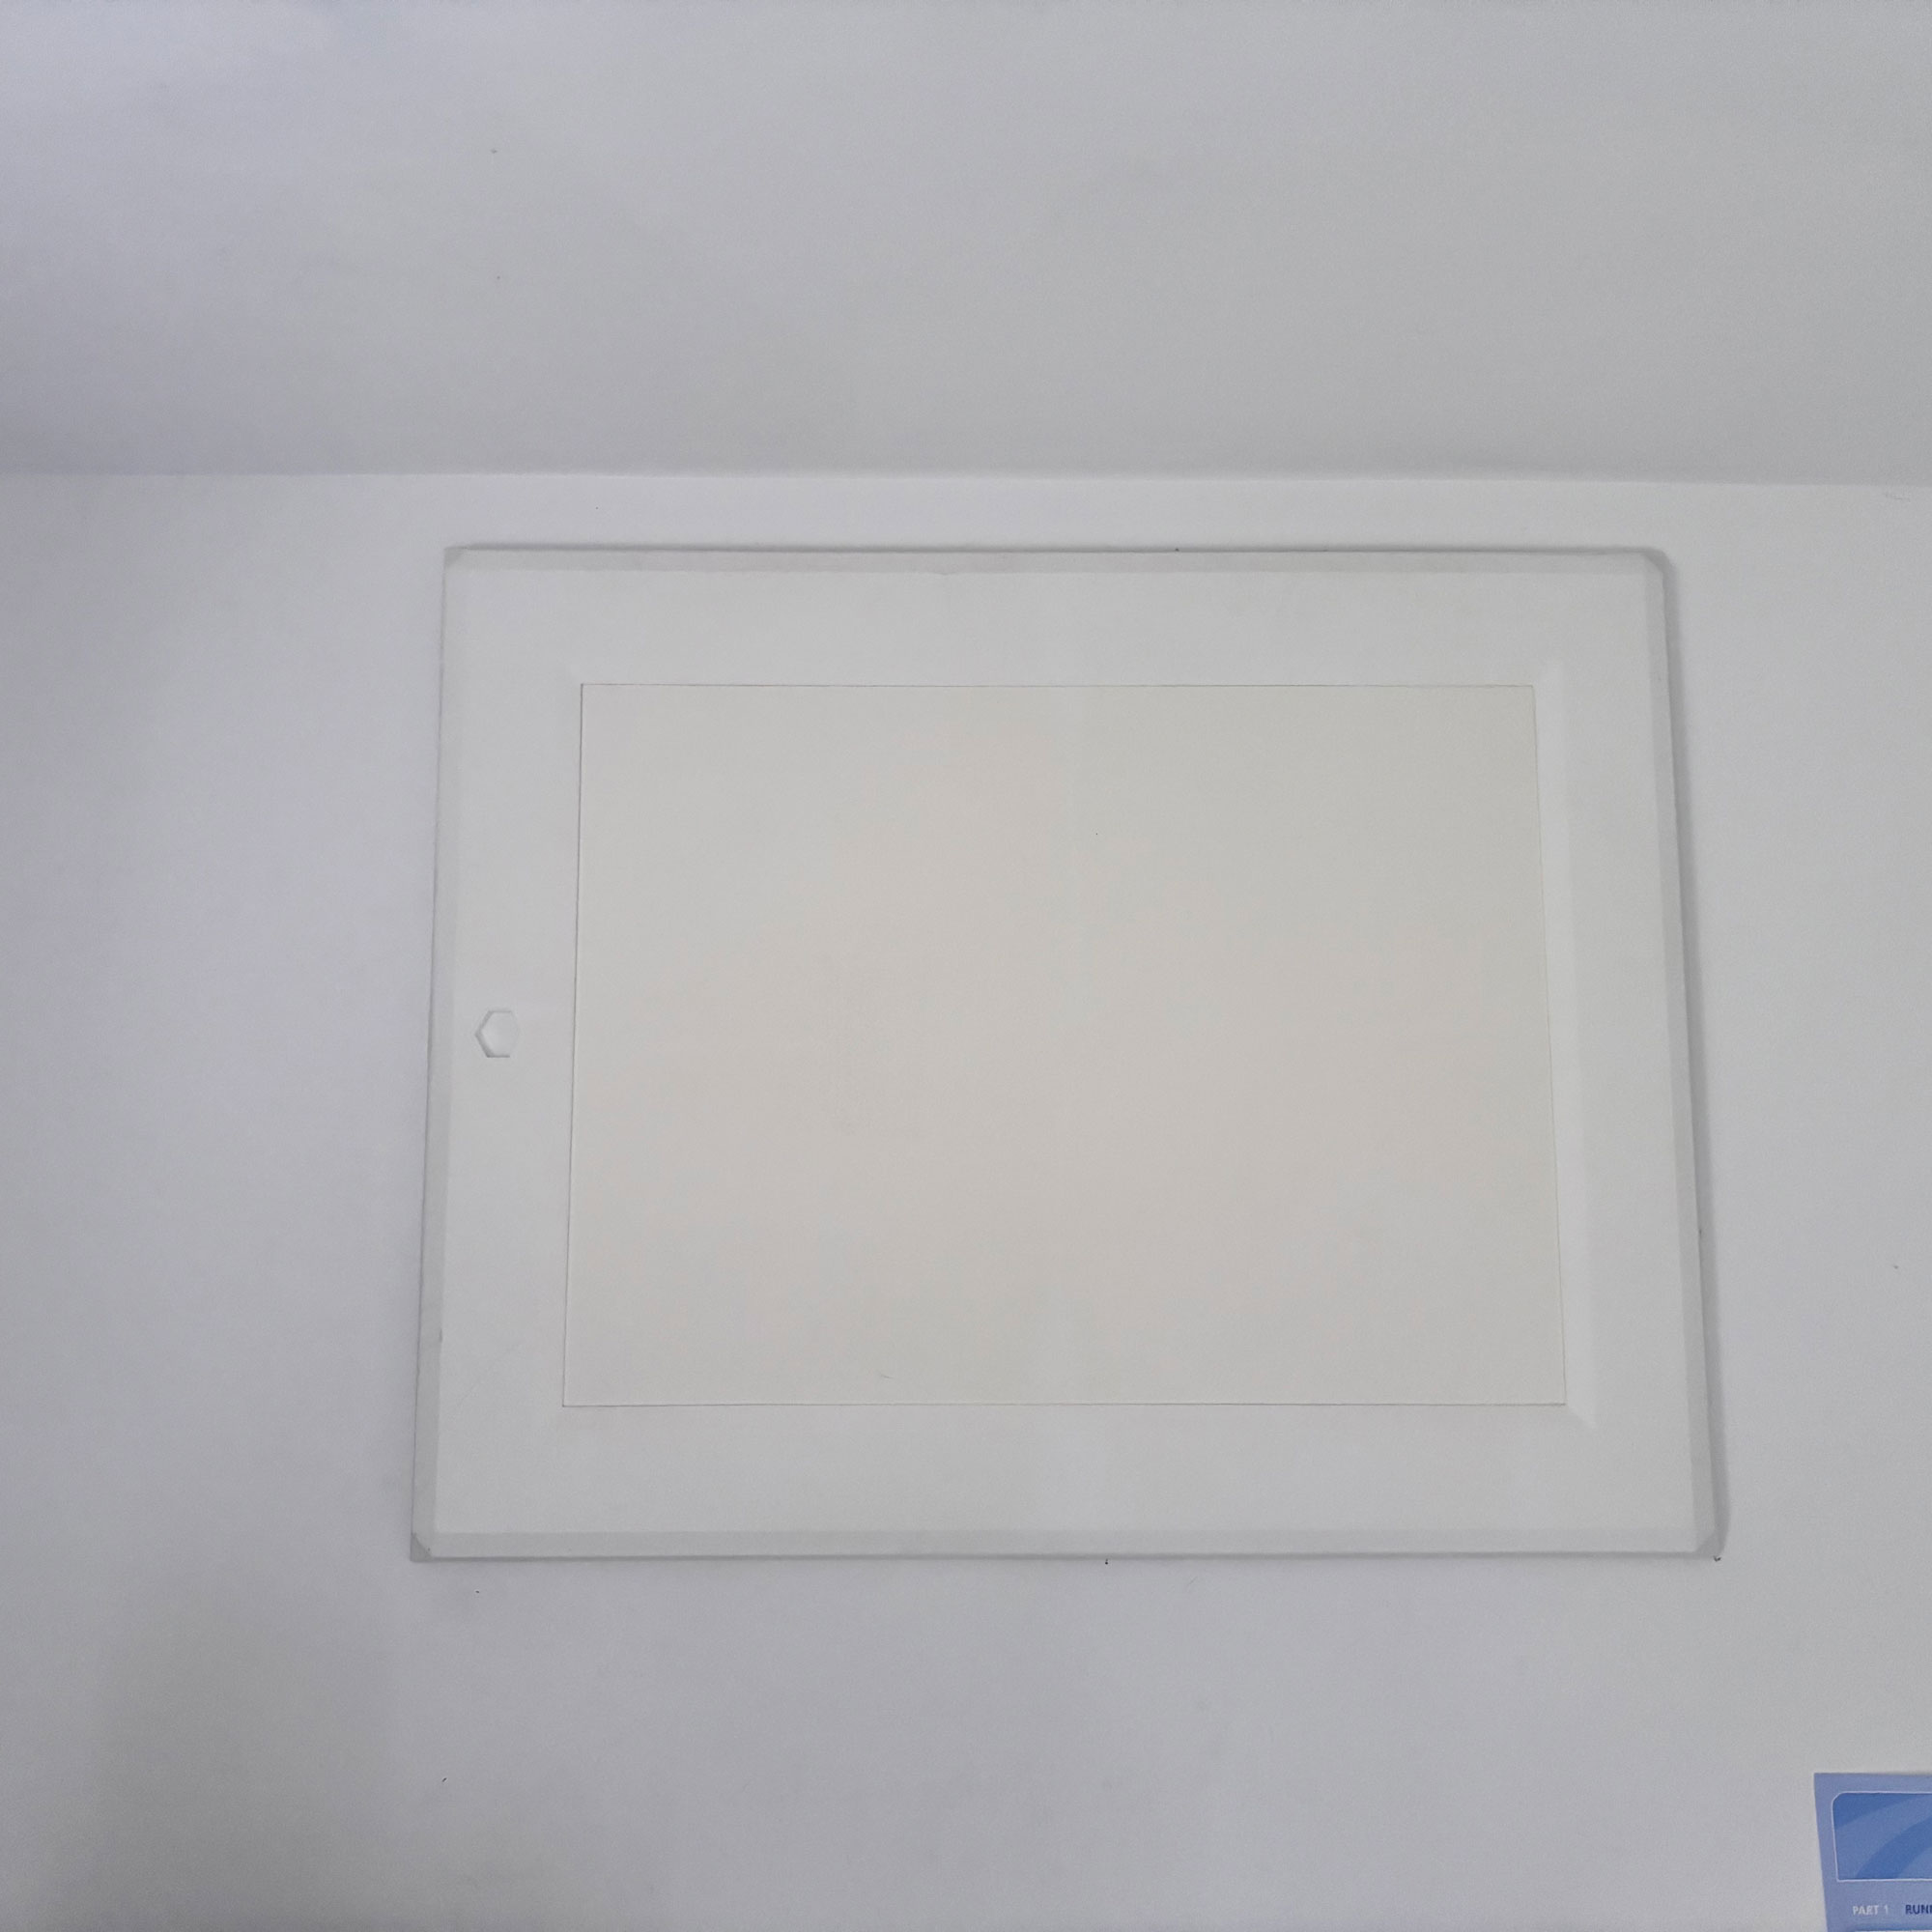
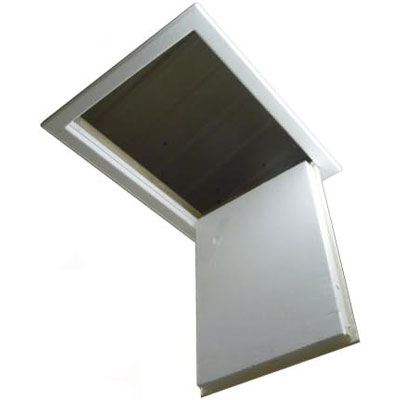
My side-hinged loft hatch features a chunky layer of polystyrene on the inside for added insulation.
Our loft is accessed via a small side-hinged hatch at the top of the wall. It features chunky polystyrene backing which really helps with insulation – insulating a loft hatch and ensuring it is a good fit will be key to the success of your own project.
'Leaving the loft hatch uninsulated is a frequent oversight that creates a significant weak spot in the thermal barrier, allowing heat to pour out,' says Samuel Hitch. 'The hatch should be insulated to the same 270mm depth as the floor and fitted with draught-excluding strips.
'Similarly, leaving any gaps in the insulation coverage, no matter how small, will create cold spots and undermine the effectiveness of the entire installation.'
We chose the right type of loft insulation for our space
We were a little limited on the types of loft insulation we could have due to the compact nature of the space, but we ended up going for rigid boards, which actually work very well and have left us with maximum storage space.
'While there are many suitable materials for insulating a loft, a serious mistake is opting for spray foam insulation on the underside of the roof without understanding the risks,' warns Samuel Hitch. 'It can trap moisture and, more importantly, it covers the roof timbers, making them impossible for a surveyor to inspect.
'As a result, many UK mortgage lenders will refuse to lend on a property with spray foam, making it extremely difficult to sell or remortgage.'
FAQs
How do you prepare a loft for insulation?
Our loft space was newly constructed, built in above the new first floor bedroom we created through a two storey extension. This meant that we knew the rafters and joists were in sound condition when we insulated the space. However, if you are insulating an existing loft space, it is crucial to assess what kind of state it is in first.
'A frequent error is rushing to lay insulation without first checking the loft's condition,' says Samuel Hitch. 'It is essential to fix any existing damp, roof leaks, or pest infestations before starting. Insulating over a damp area will trap moisture, creating a perfect environment for mould and timber rot, which can severely damage the roof structure. The soundness of the roof timbers should also be confirmed before adding any extra weight especially in older properties.
Remember, insulation is key to keeping a house feeling warm and your household bills low. Whatever your loft conversion ideas entail, be sure to address this key area early on.

Natasha has been writing about everything homes and interiors related for over 20 years and, in that time, has covered absolutely everything, from knocking down walls and digging up old floors to the latest kitchen and bathroom trends. As well as carrying out the role of Associate Content Editor for Homebuilding & Renovating for many years, she has completely renovated several old houses of her own on a DIY basis.
