If these 3 products can eliminate draughts in my 1700s cottage, they’ll work in any home — better still, you can get each for under £20
These easy DIY products are officially my winter go-tos

Sign up to our newsletter for style inspiration, real homes, project and garden advice and shopping know-how
You are now subscribed
Your newsletter sign-up was successful
When my partner and I moved into our home, I knew it needed a lot of work. While we had significant renovation plans for it, I knew we needed to introduce some measures quickly to eliminate draughts and see us through the winter as comfortably as possible.
After researching how to keep a home warm in winter, I knew that there were some simple and inexpensive solutions we could try that would make a big difference.
These are the tried and tested methods and products that really worked.
1. Draught-proofing tape around the doors
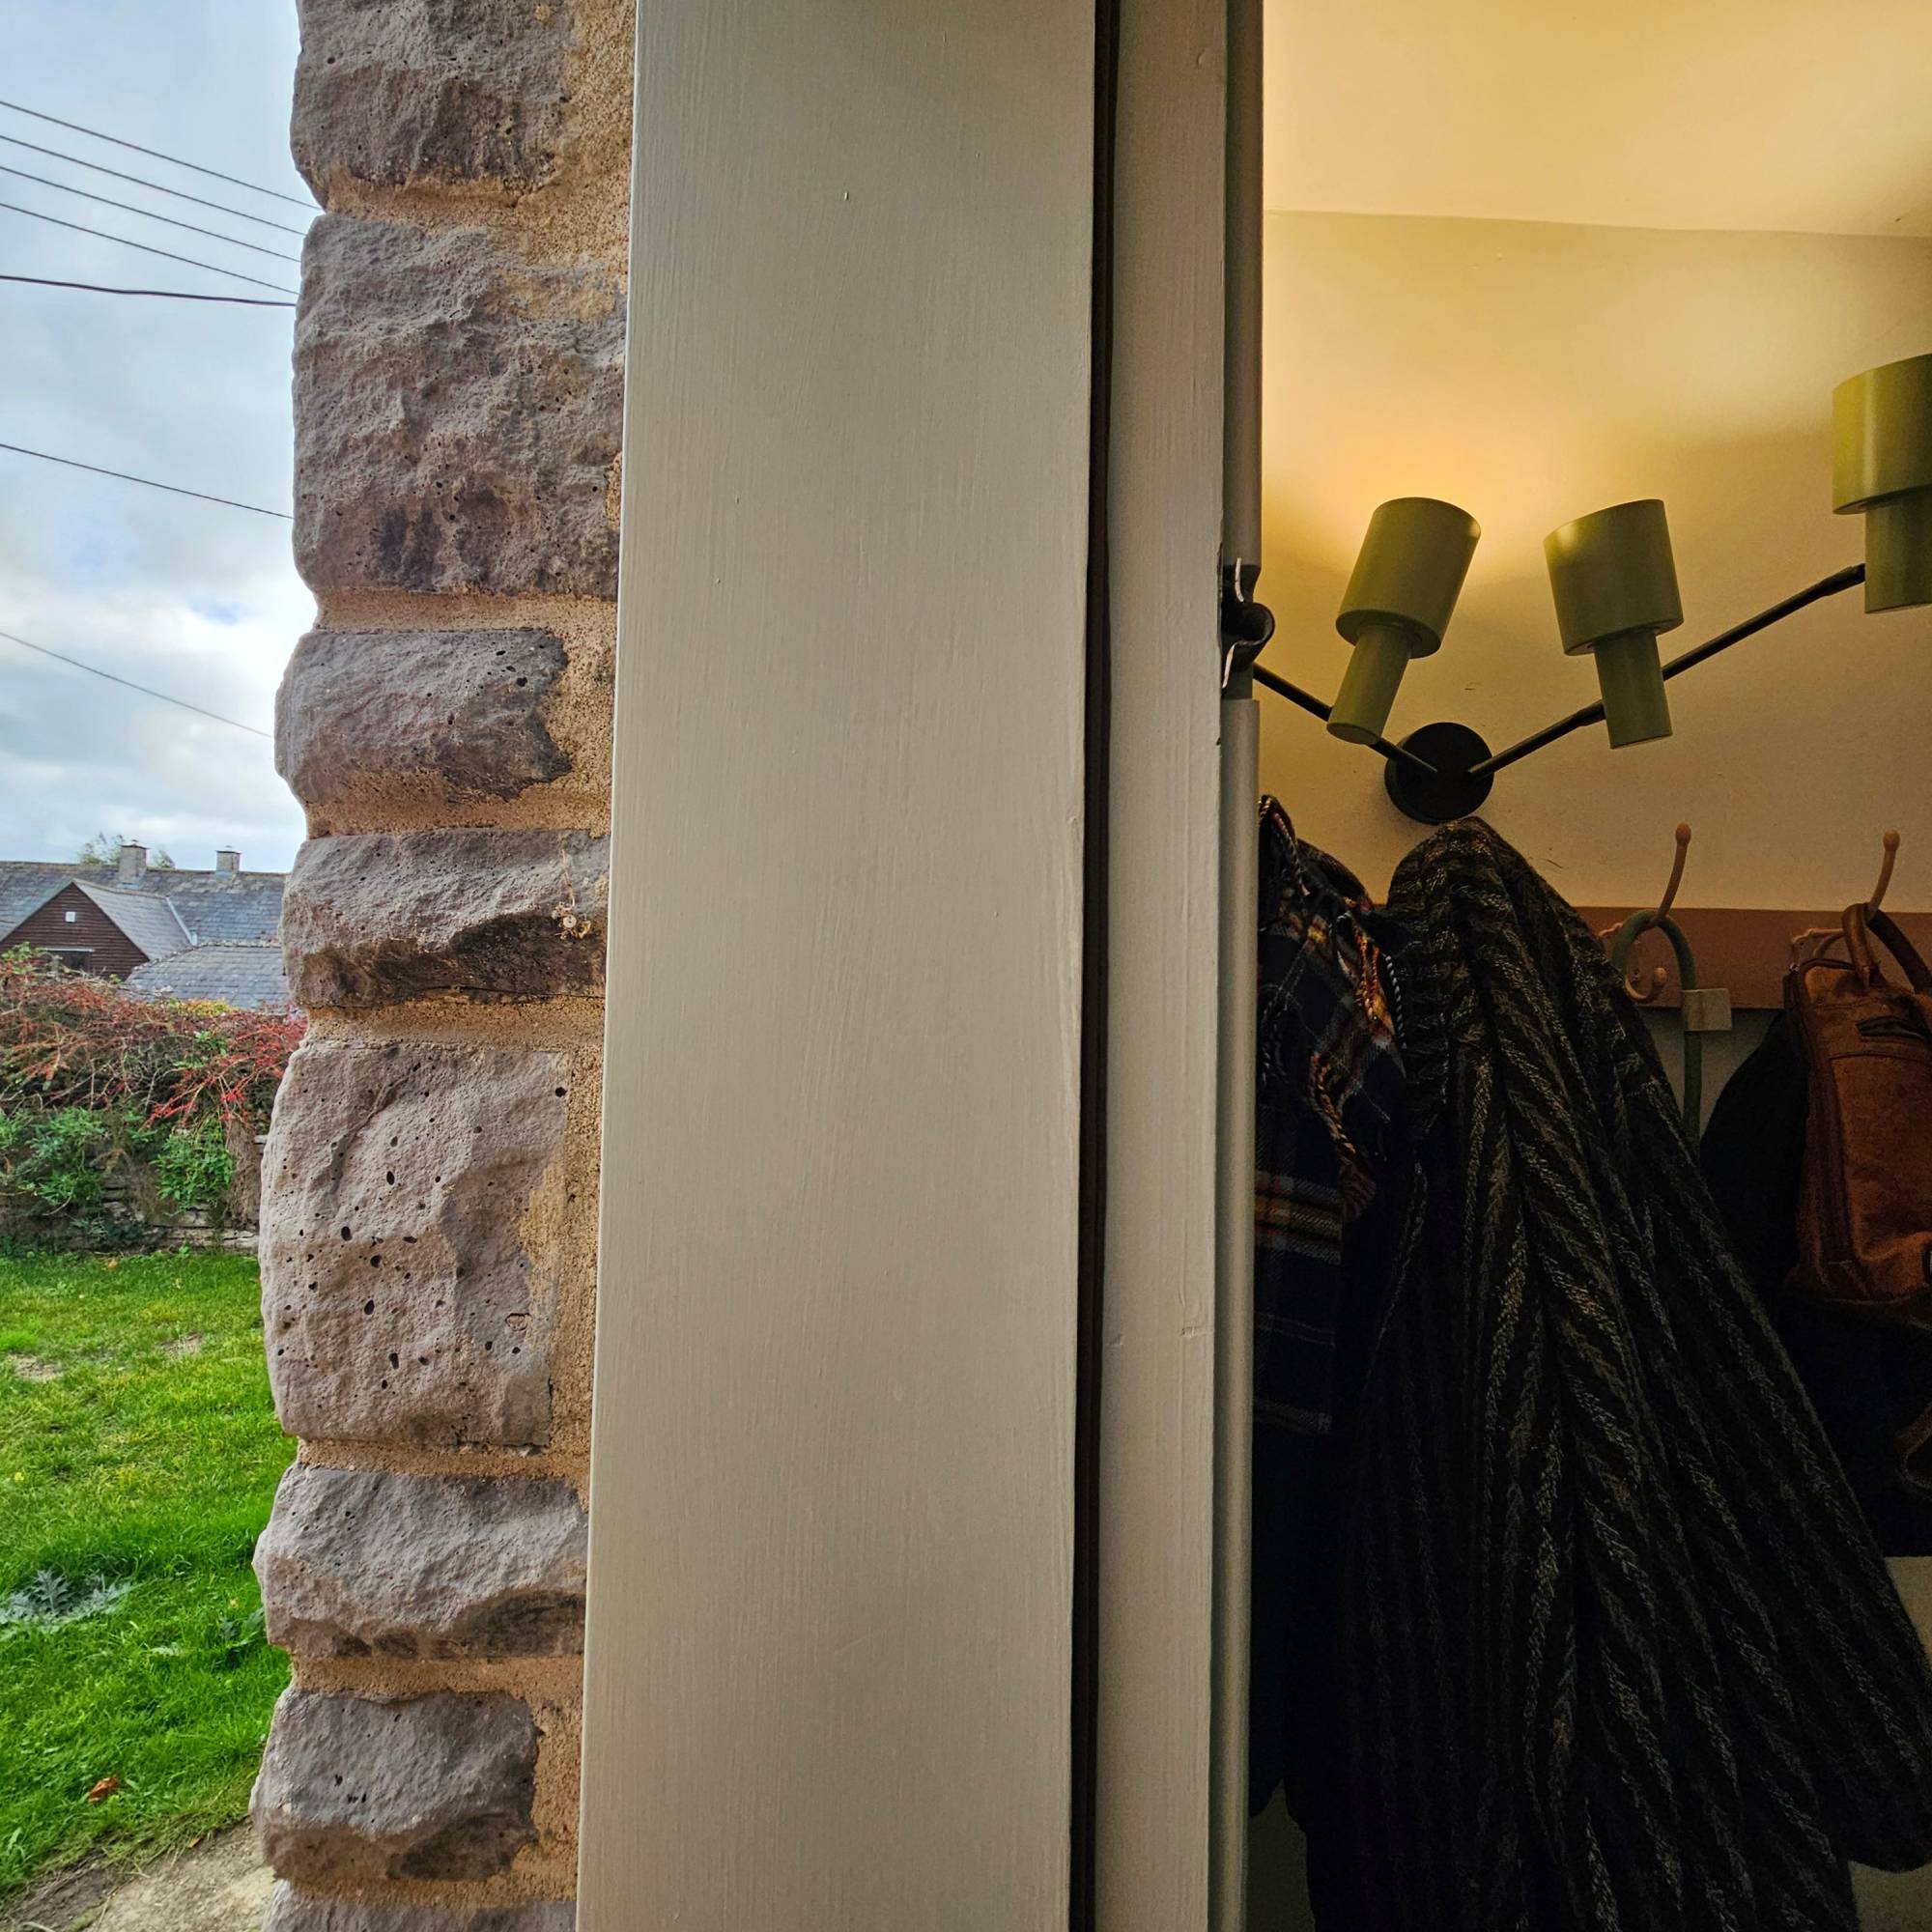
This dark brown tape conveniently quite hard to see, even against my pale green door frame - it looks purposeful and functional
A bit about our house
Our house hadn’t been inhabited for six years prior to us moving in, had zero insulation and single glazed windows. The house is split into two sections, one a 1700 stone cottage and the other a ‘70s cavity wall extension, so they both need to be thought of slightly differently for our long-term renovation plans.
Our first port of call was attempting to reduce draughts from coming in the many entryways to our house. The design of the property made absolutely no sense and we had a total of 5 exterior doors plus a garage door, most of which were ill-fitted and had single glazing panels. It. Was. Freezing.
We had found success in our previous project with self-adhesive tape that sticks to the frame and creates a seal between the exterior surface and the movable door. Installation is incredibly easy but I would recommend making sure your door and frame is completely clean in order for your tape to stick properly. We first used a micro fibre cloth to remove cobwebs and dust before using a sugar soap solution, which you can get from Amazon for £2.68 (normal washing up liquid would also work) to remove any embedded grime. Finally we used a new microfibre cloth to dry.
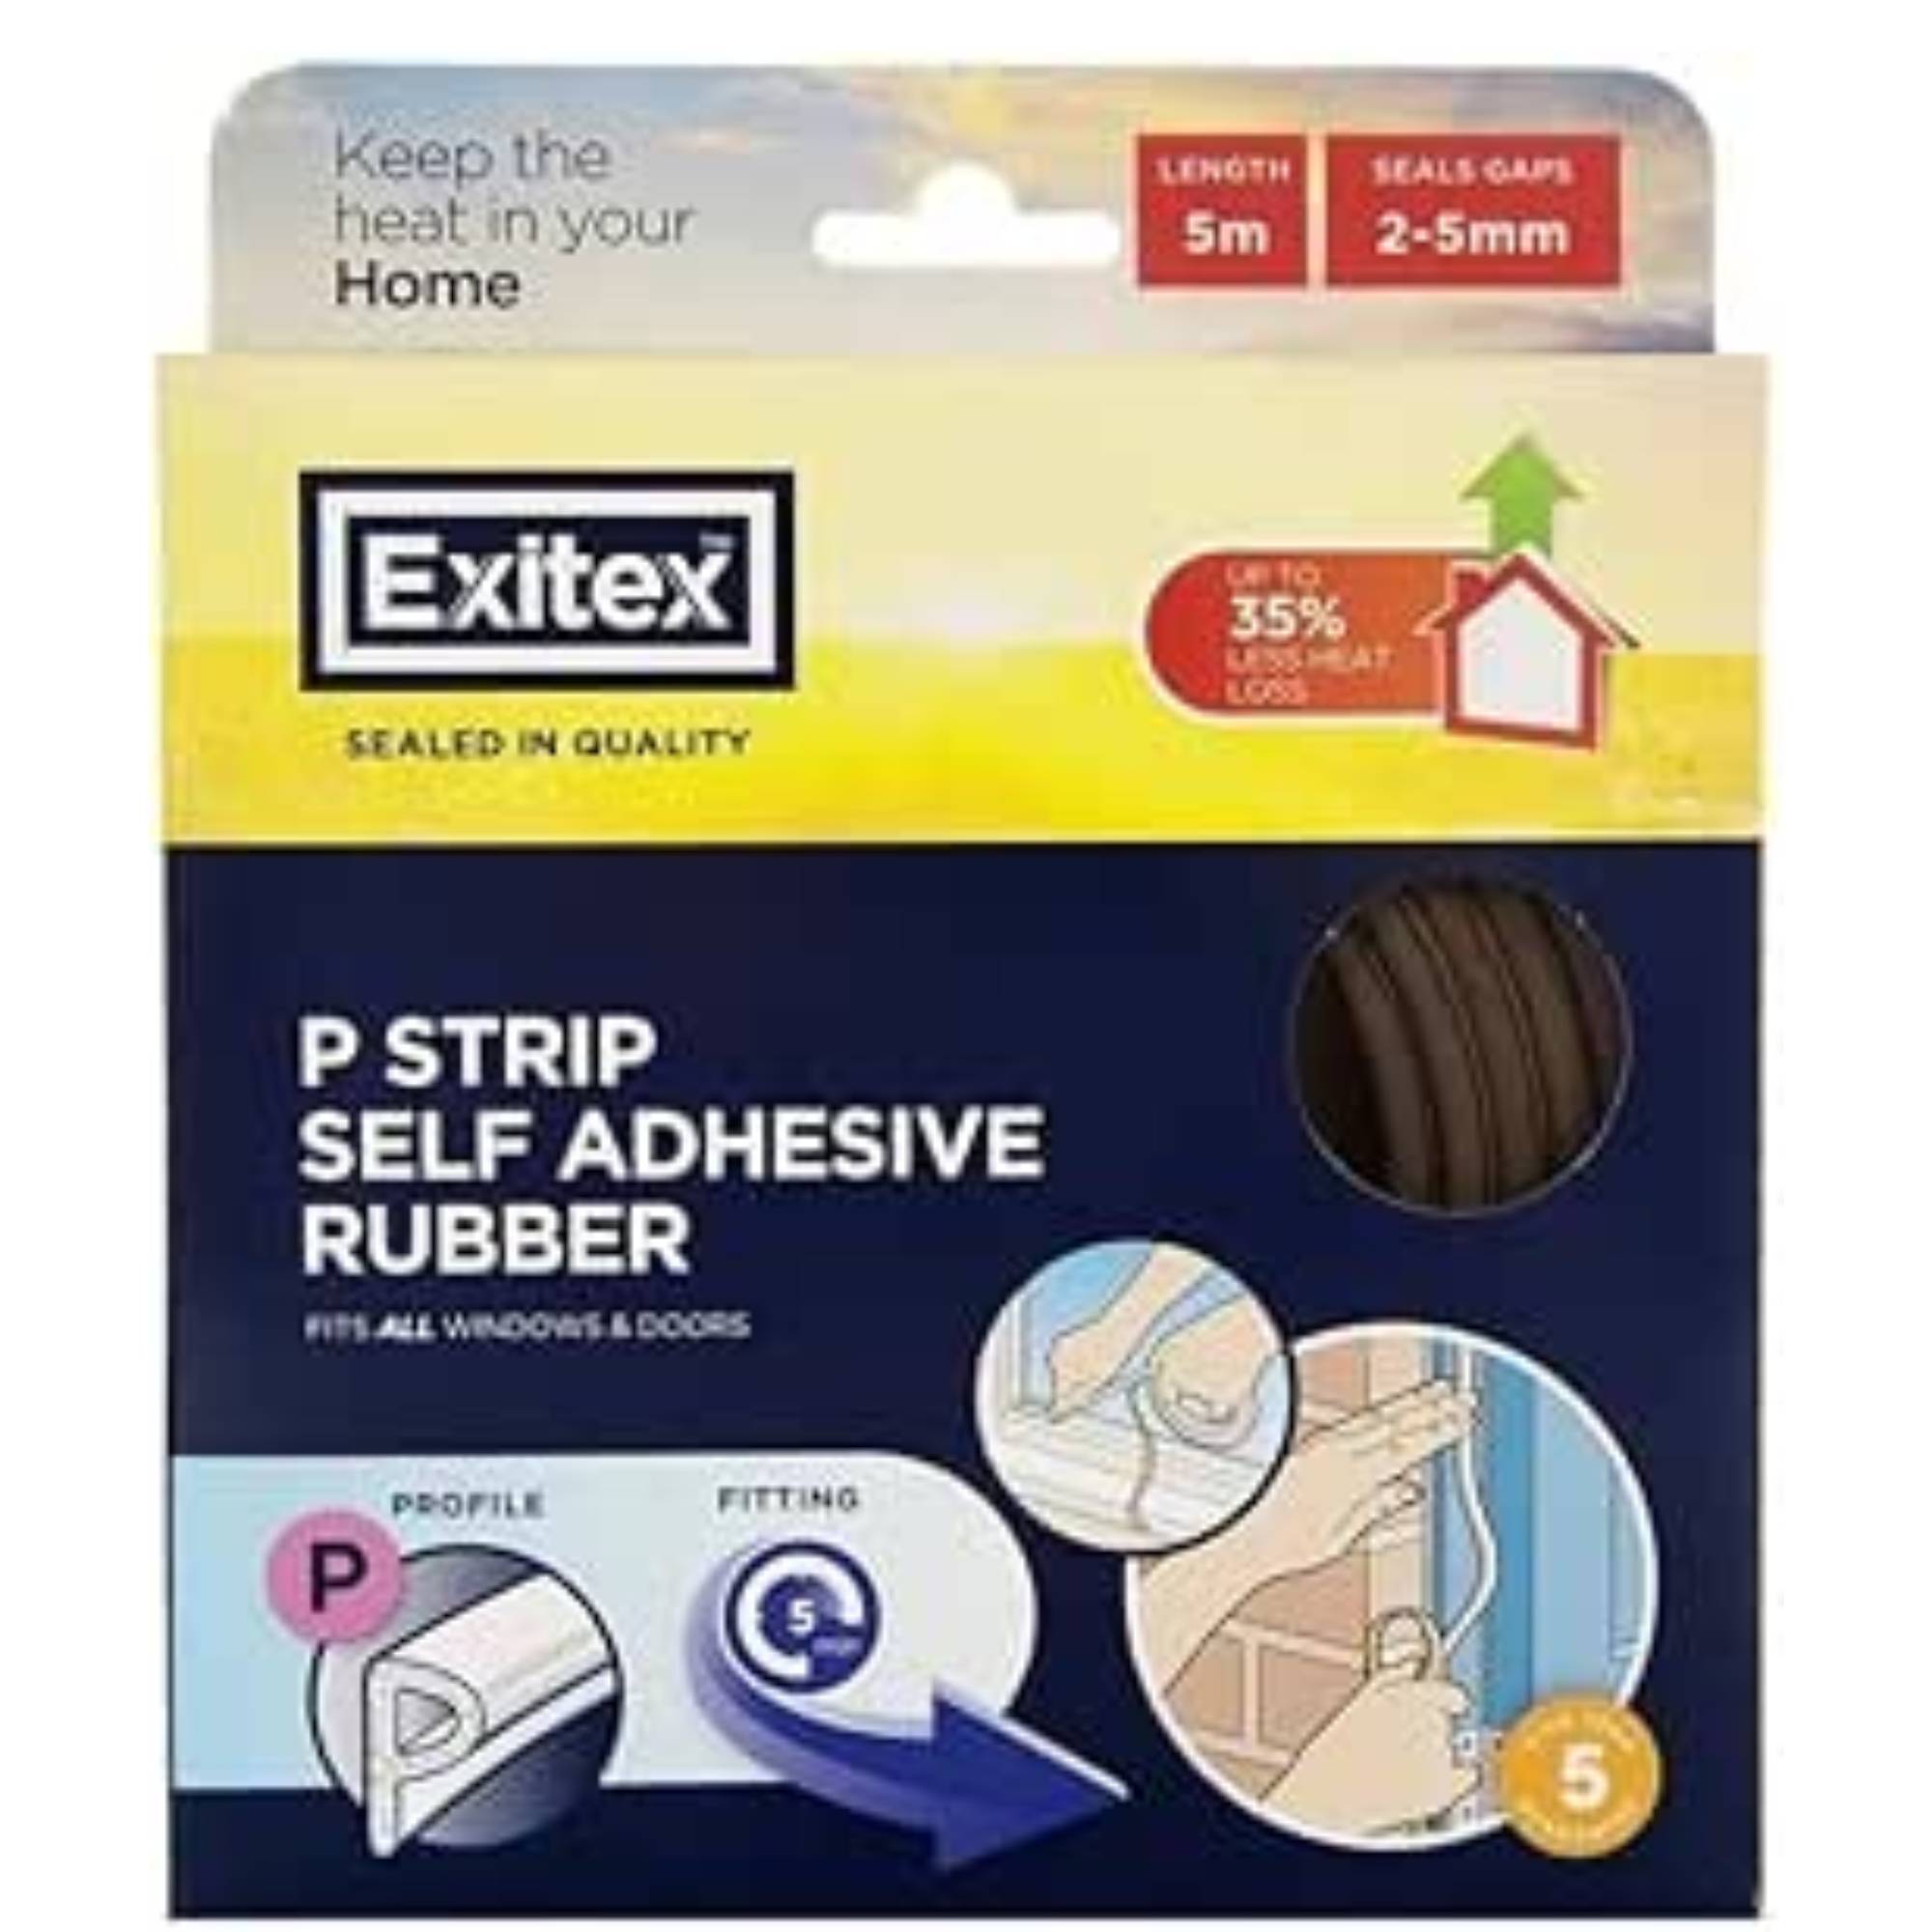
We bought the brown P shape version because we were only installing on our doors, but if you're looking to install on windows too a V shape might be better.
This version is slightly more expensive that the one we went for, but comes with 20m of material, rather than 5m so might be overall better value for money — we just didn't need that much!
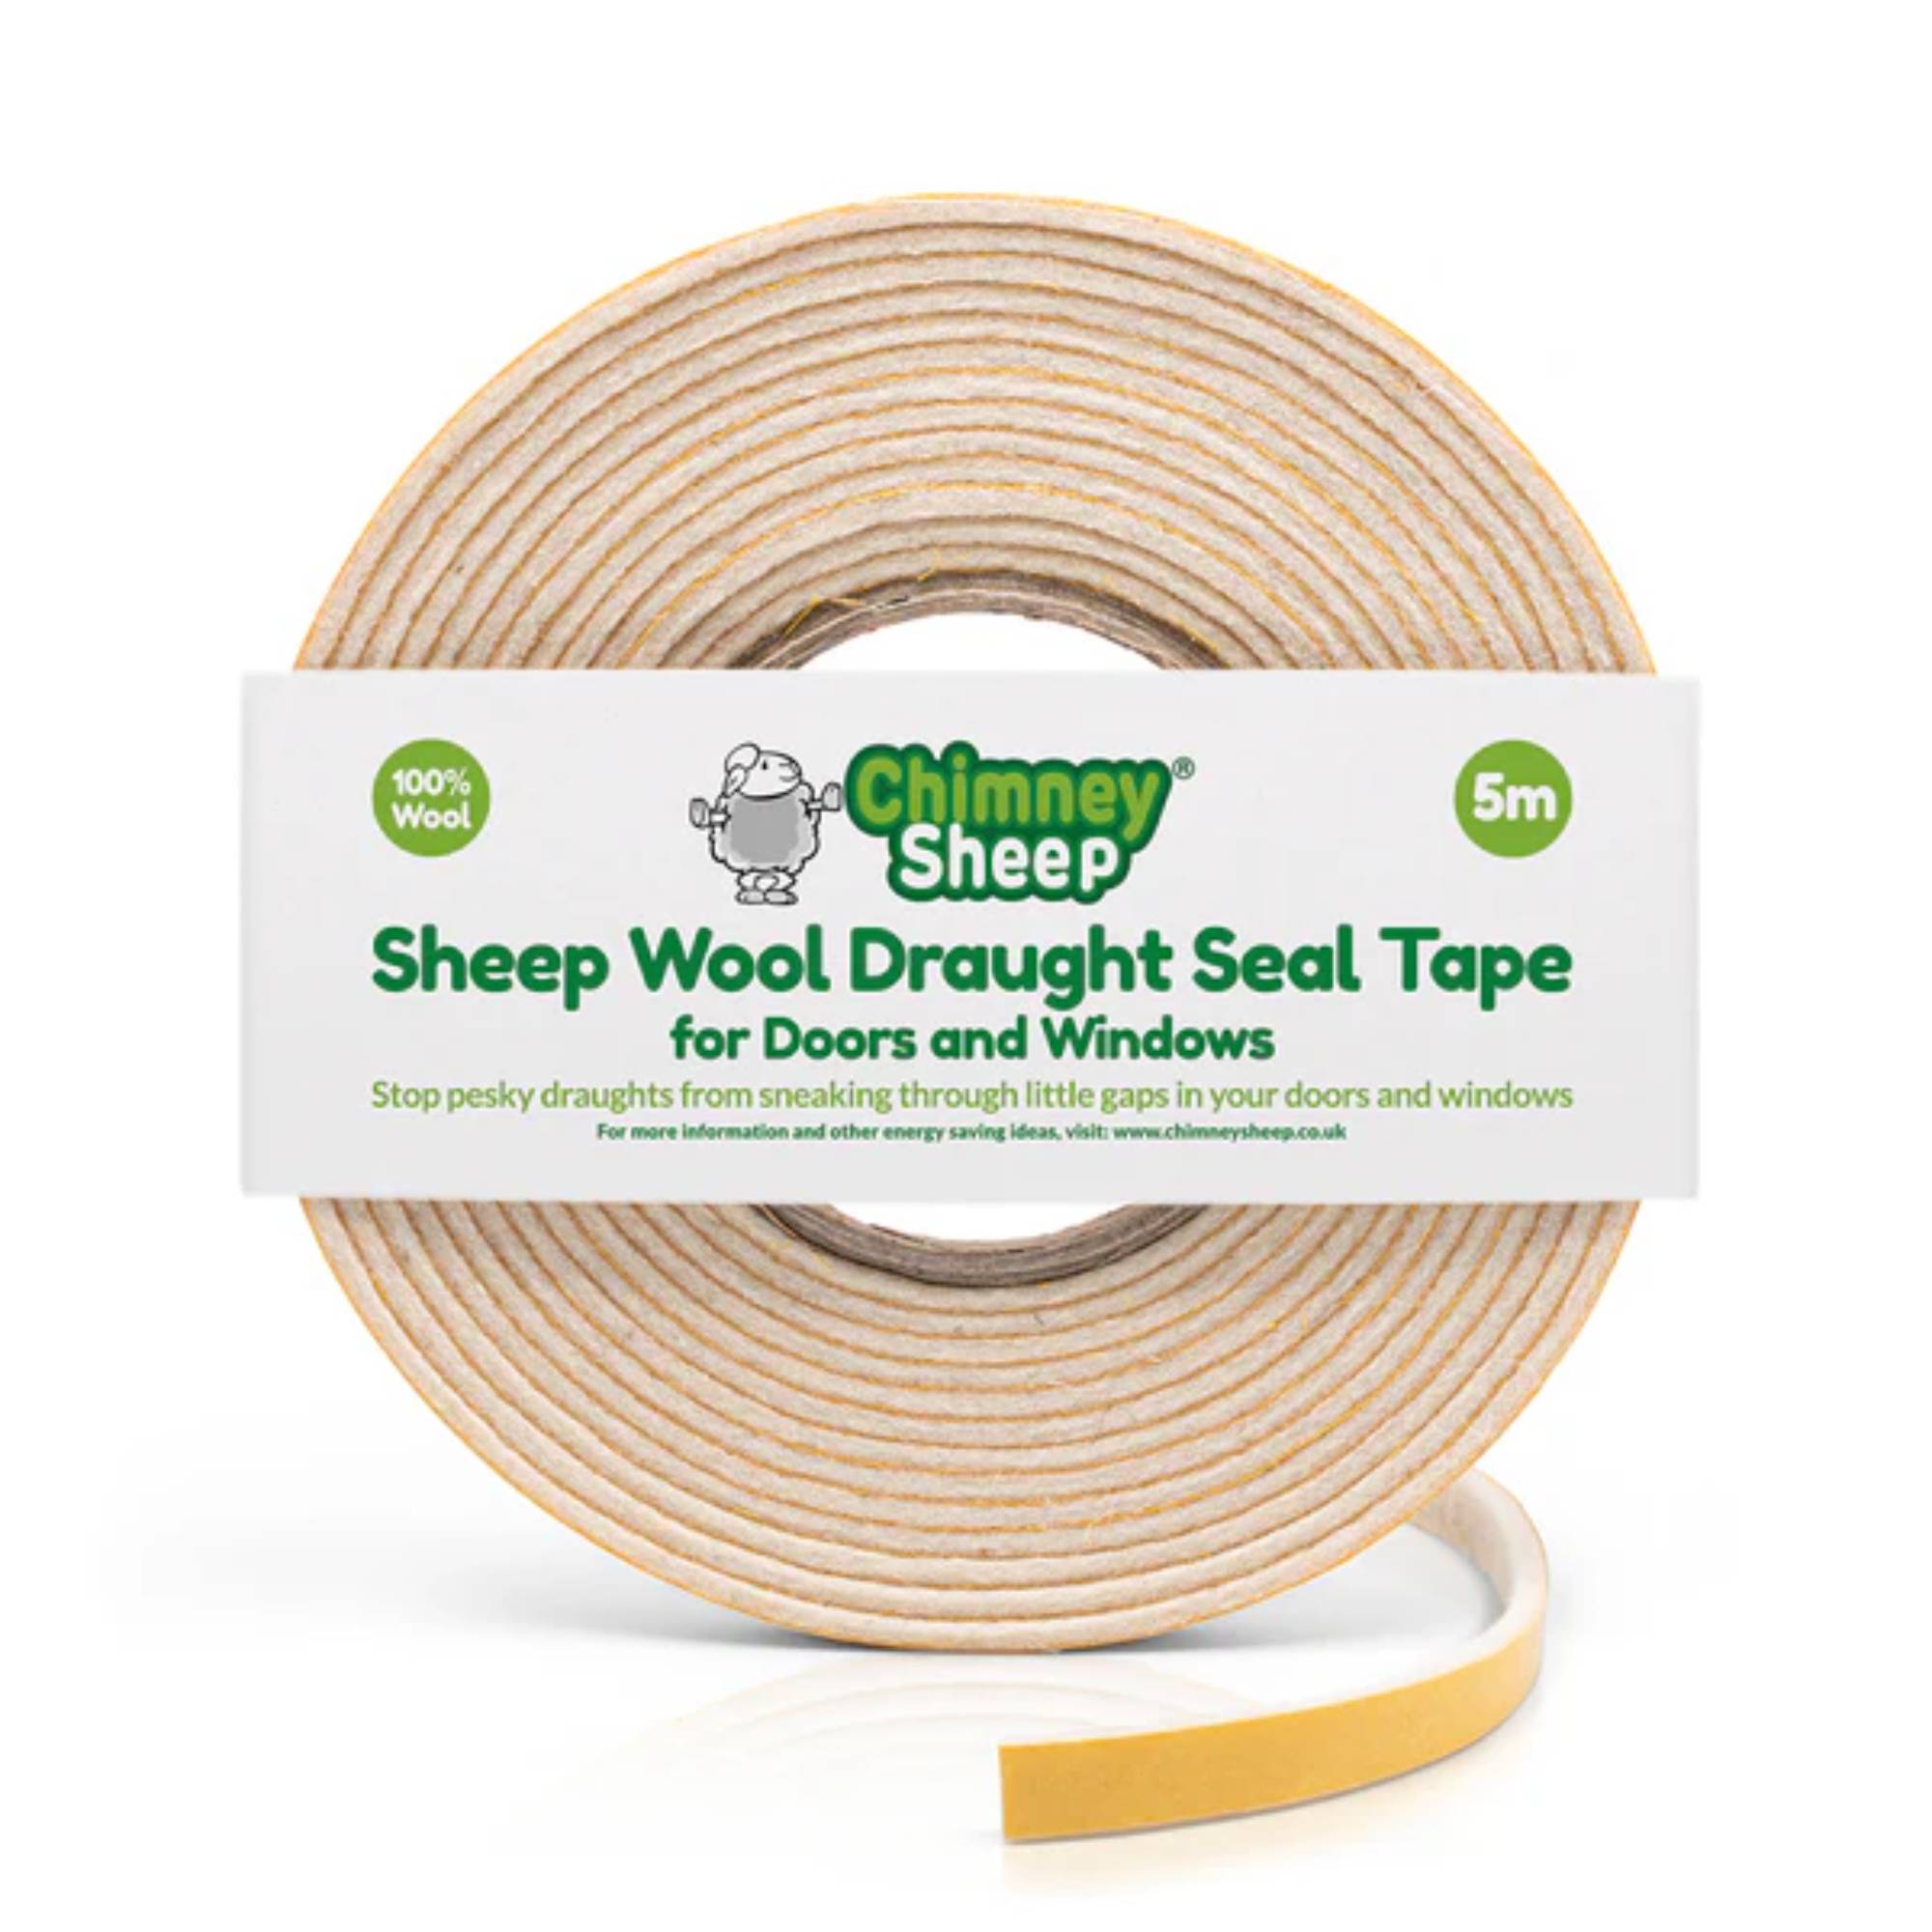
After we'd installed it, I came across this and wish I had used instead — it's sustainable, British made and plastic free. When we upgrade the tape, I'm going to try this.
The tape can come in different sizes so measure the gap around your door before buying for a tight seal. Some of the more heavy-duty products can also be used for sound-proofing. We used this style in the last house because it was on a busy main road, but our current home is in a quiet village so less necessary.
Although most of the glazed entryway doors have been replaced with efficient timber framed versions — with double glazing — our front door and side door are solid timber and won’t be changing out for a while. While the door is closed you can’t see anything at all, but we notice a real difference. Unfortunately, I don't think this tape isn’t a permanent solution so will need to be replaced every year. Fortunately, it's not expensive.
Sign up to our newsletter for style inspiration, real homes, project and garden advice and shopping know-how
Cost: Less than £10 per door.
2. Secondary glazing film on the windows
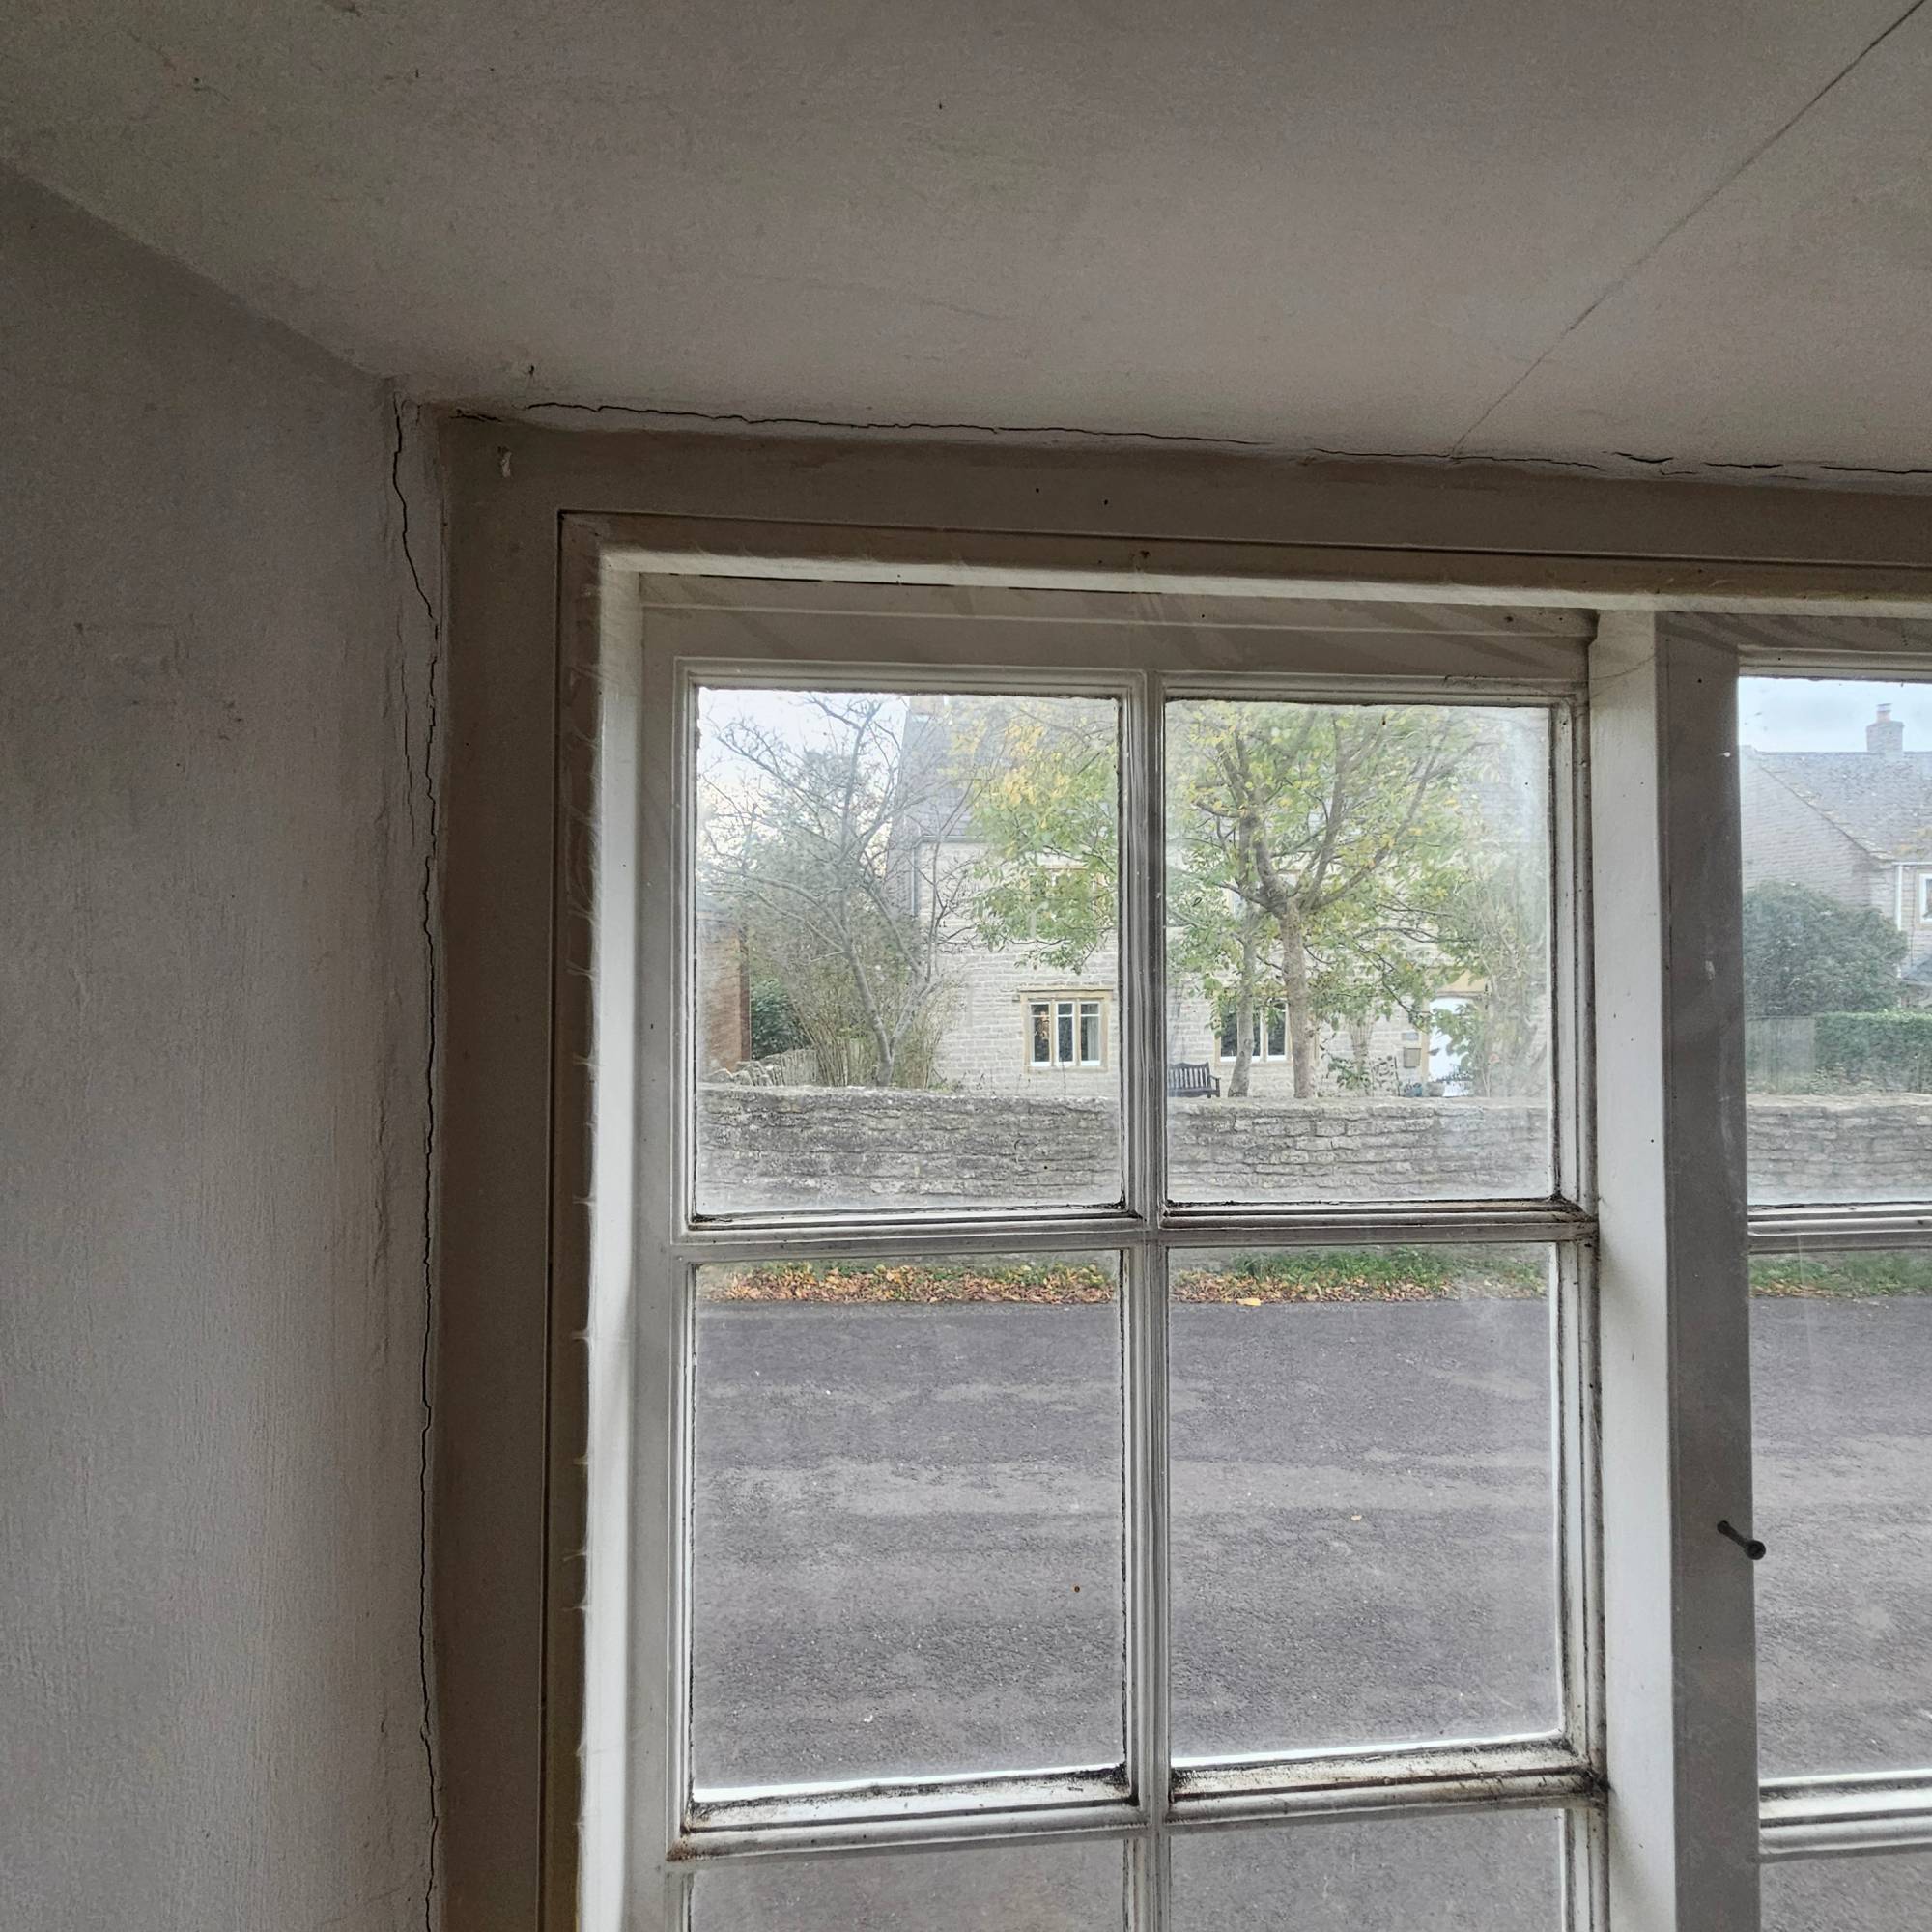
Again, the plastic film is really hard to see once installed properly. However, when it starts to sag, it does look quite sad
Living with single-glazed windows wasn’t actually as cold as I thought, but we did find we had quite bad condensation due to the damp and chilly house suddenly being used again for cooking and showers. We were living in the stone cottage section of the house while renovations on the rest were underway so we looked into secondary glazing. Our long-term plan is to install good-quality designs, but we’re not there yet, so we looked into what temporary measures we could add.
Secondary glazing film is pretty rudimentary, but we were genuinely shocked at how well it worked for both heat retention and condensation management. As the warm air wasn’t coming into contact with the cold glass and turning to water, our frames were protected and the draughts were slowed by an extra layer. The downside, however, is that we couldn’t open the windows. Our bedroom was above the kitchen and this made for issues with cooking smells permeating but we have one of the best dehumidifiers and and air purifiers which have helped somewhat.
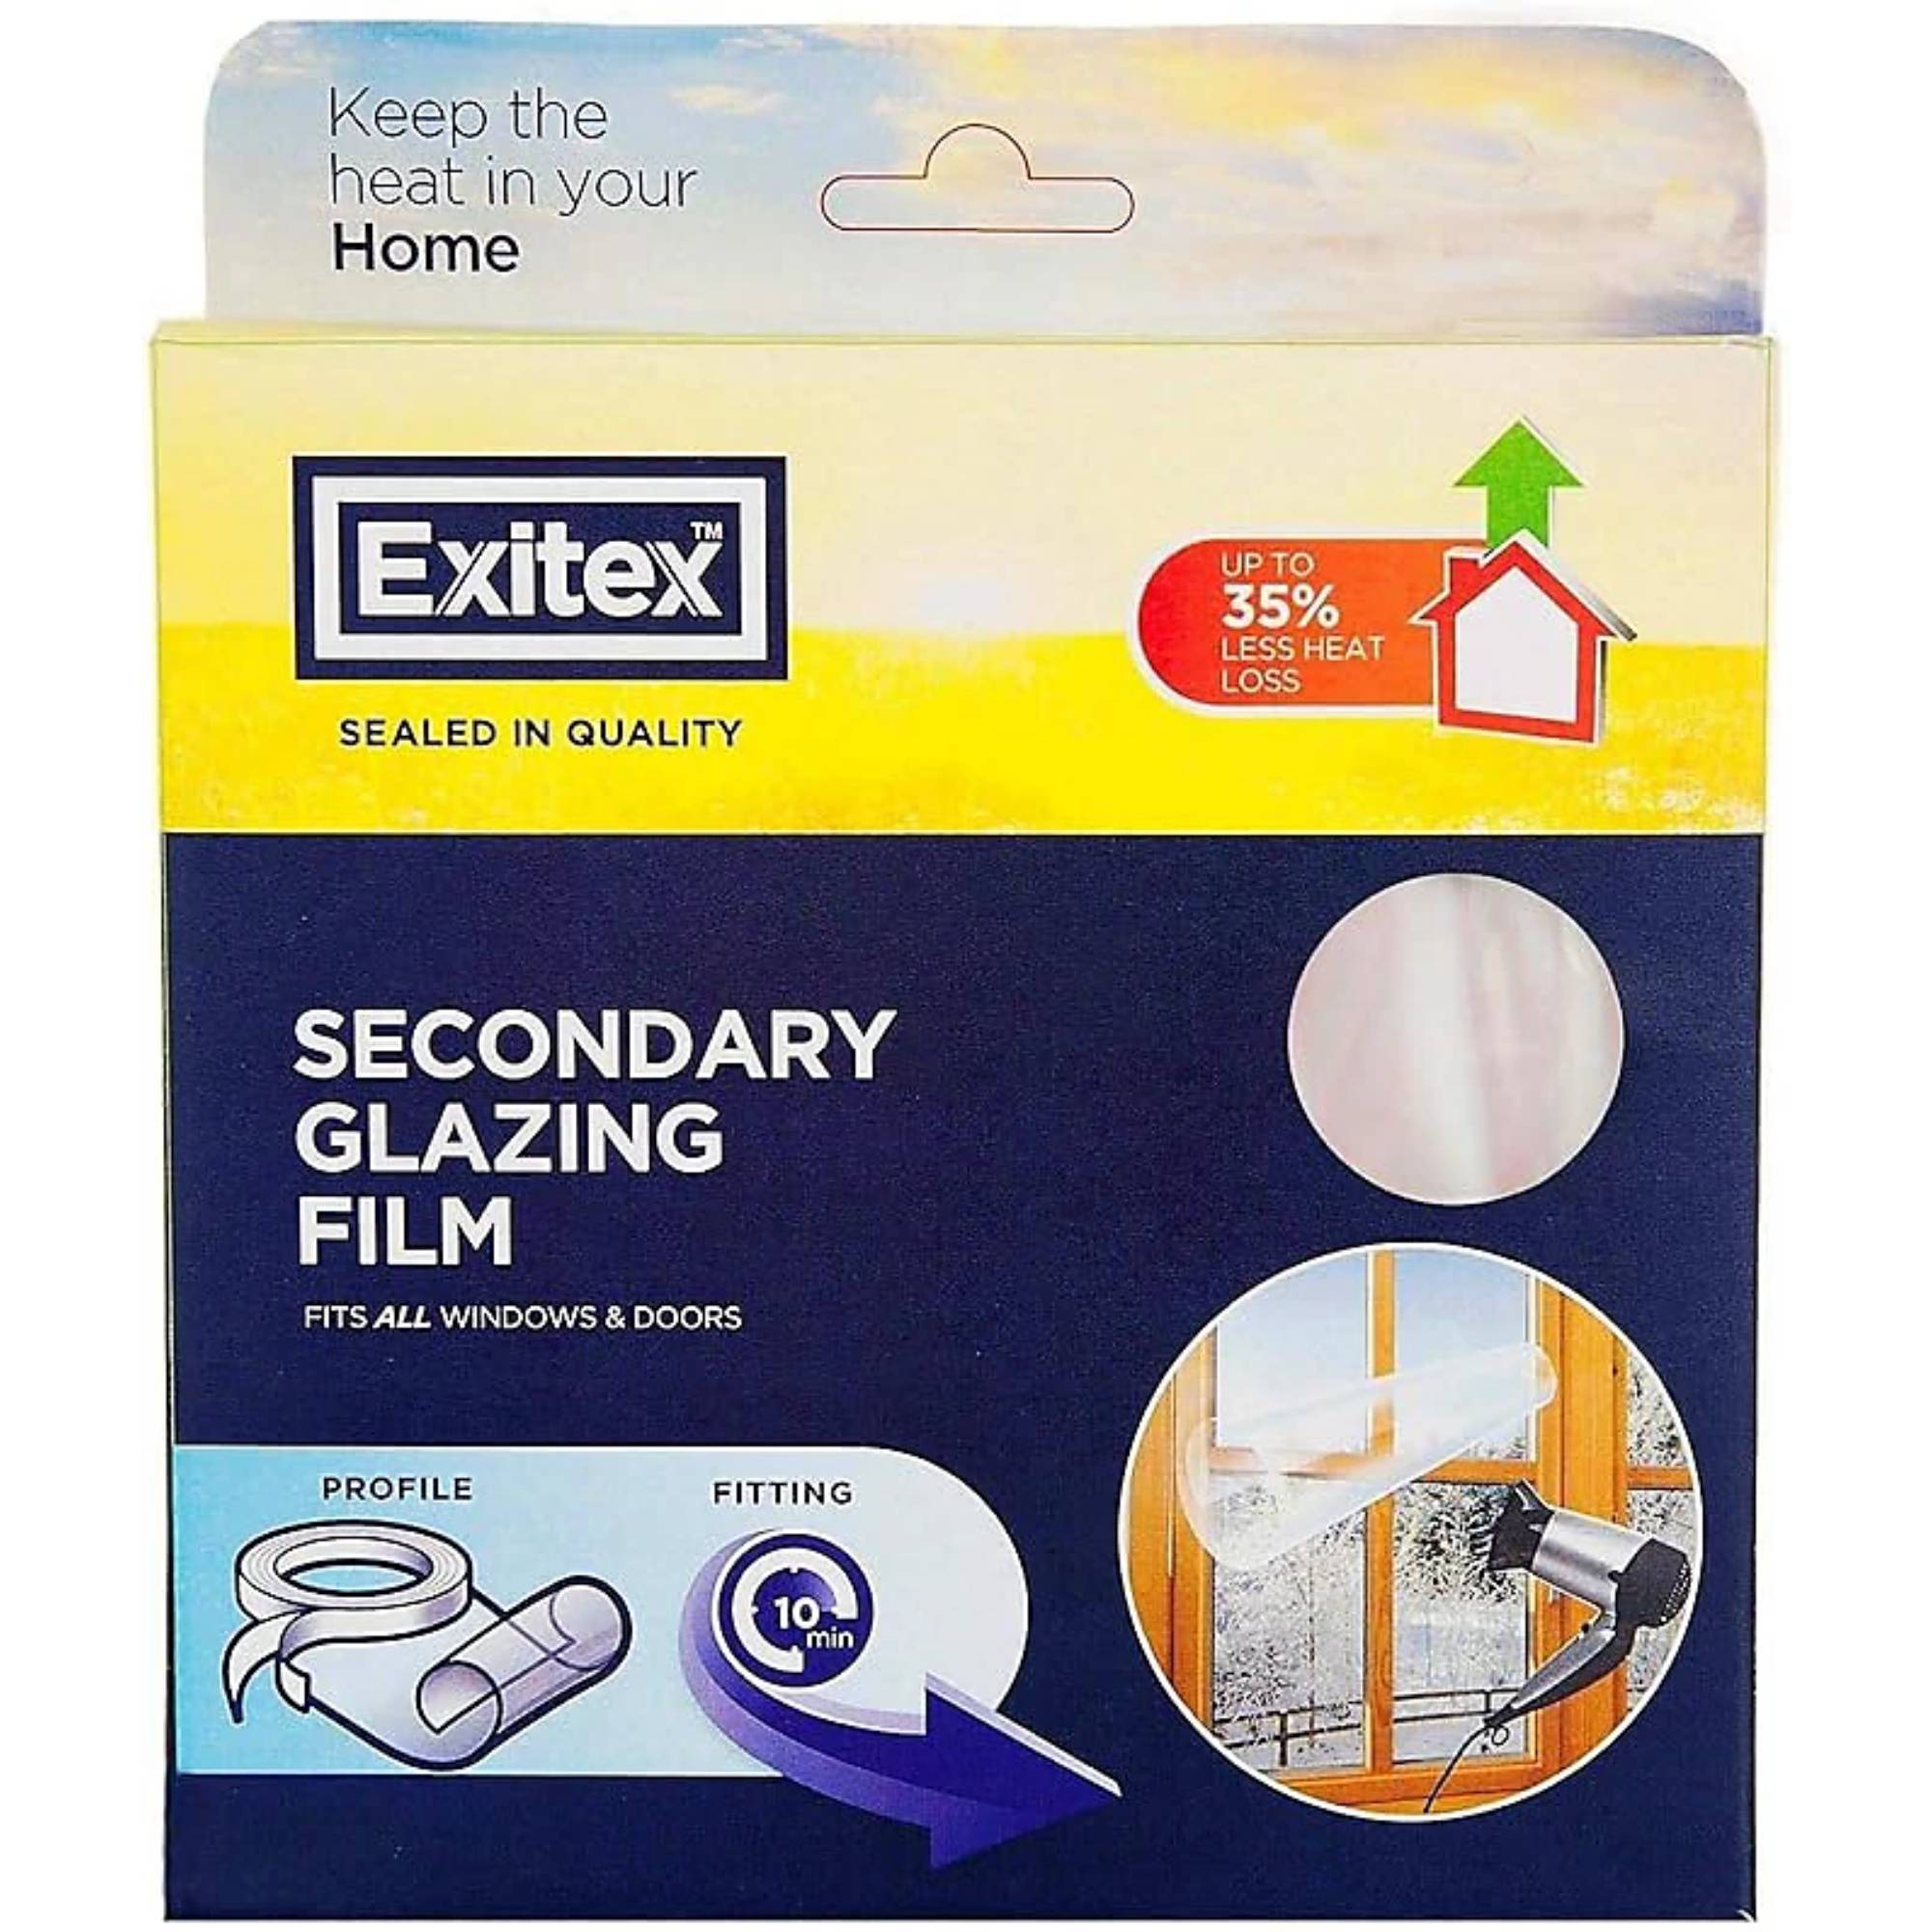
This is the product we used last year and we're hoping to reusing again this year — we found it very affordable and that it worked really well to keep condensation and chills at bay.
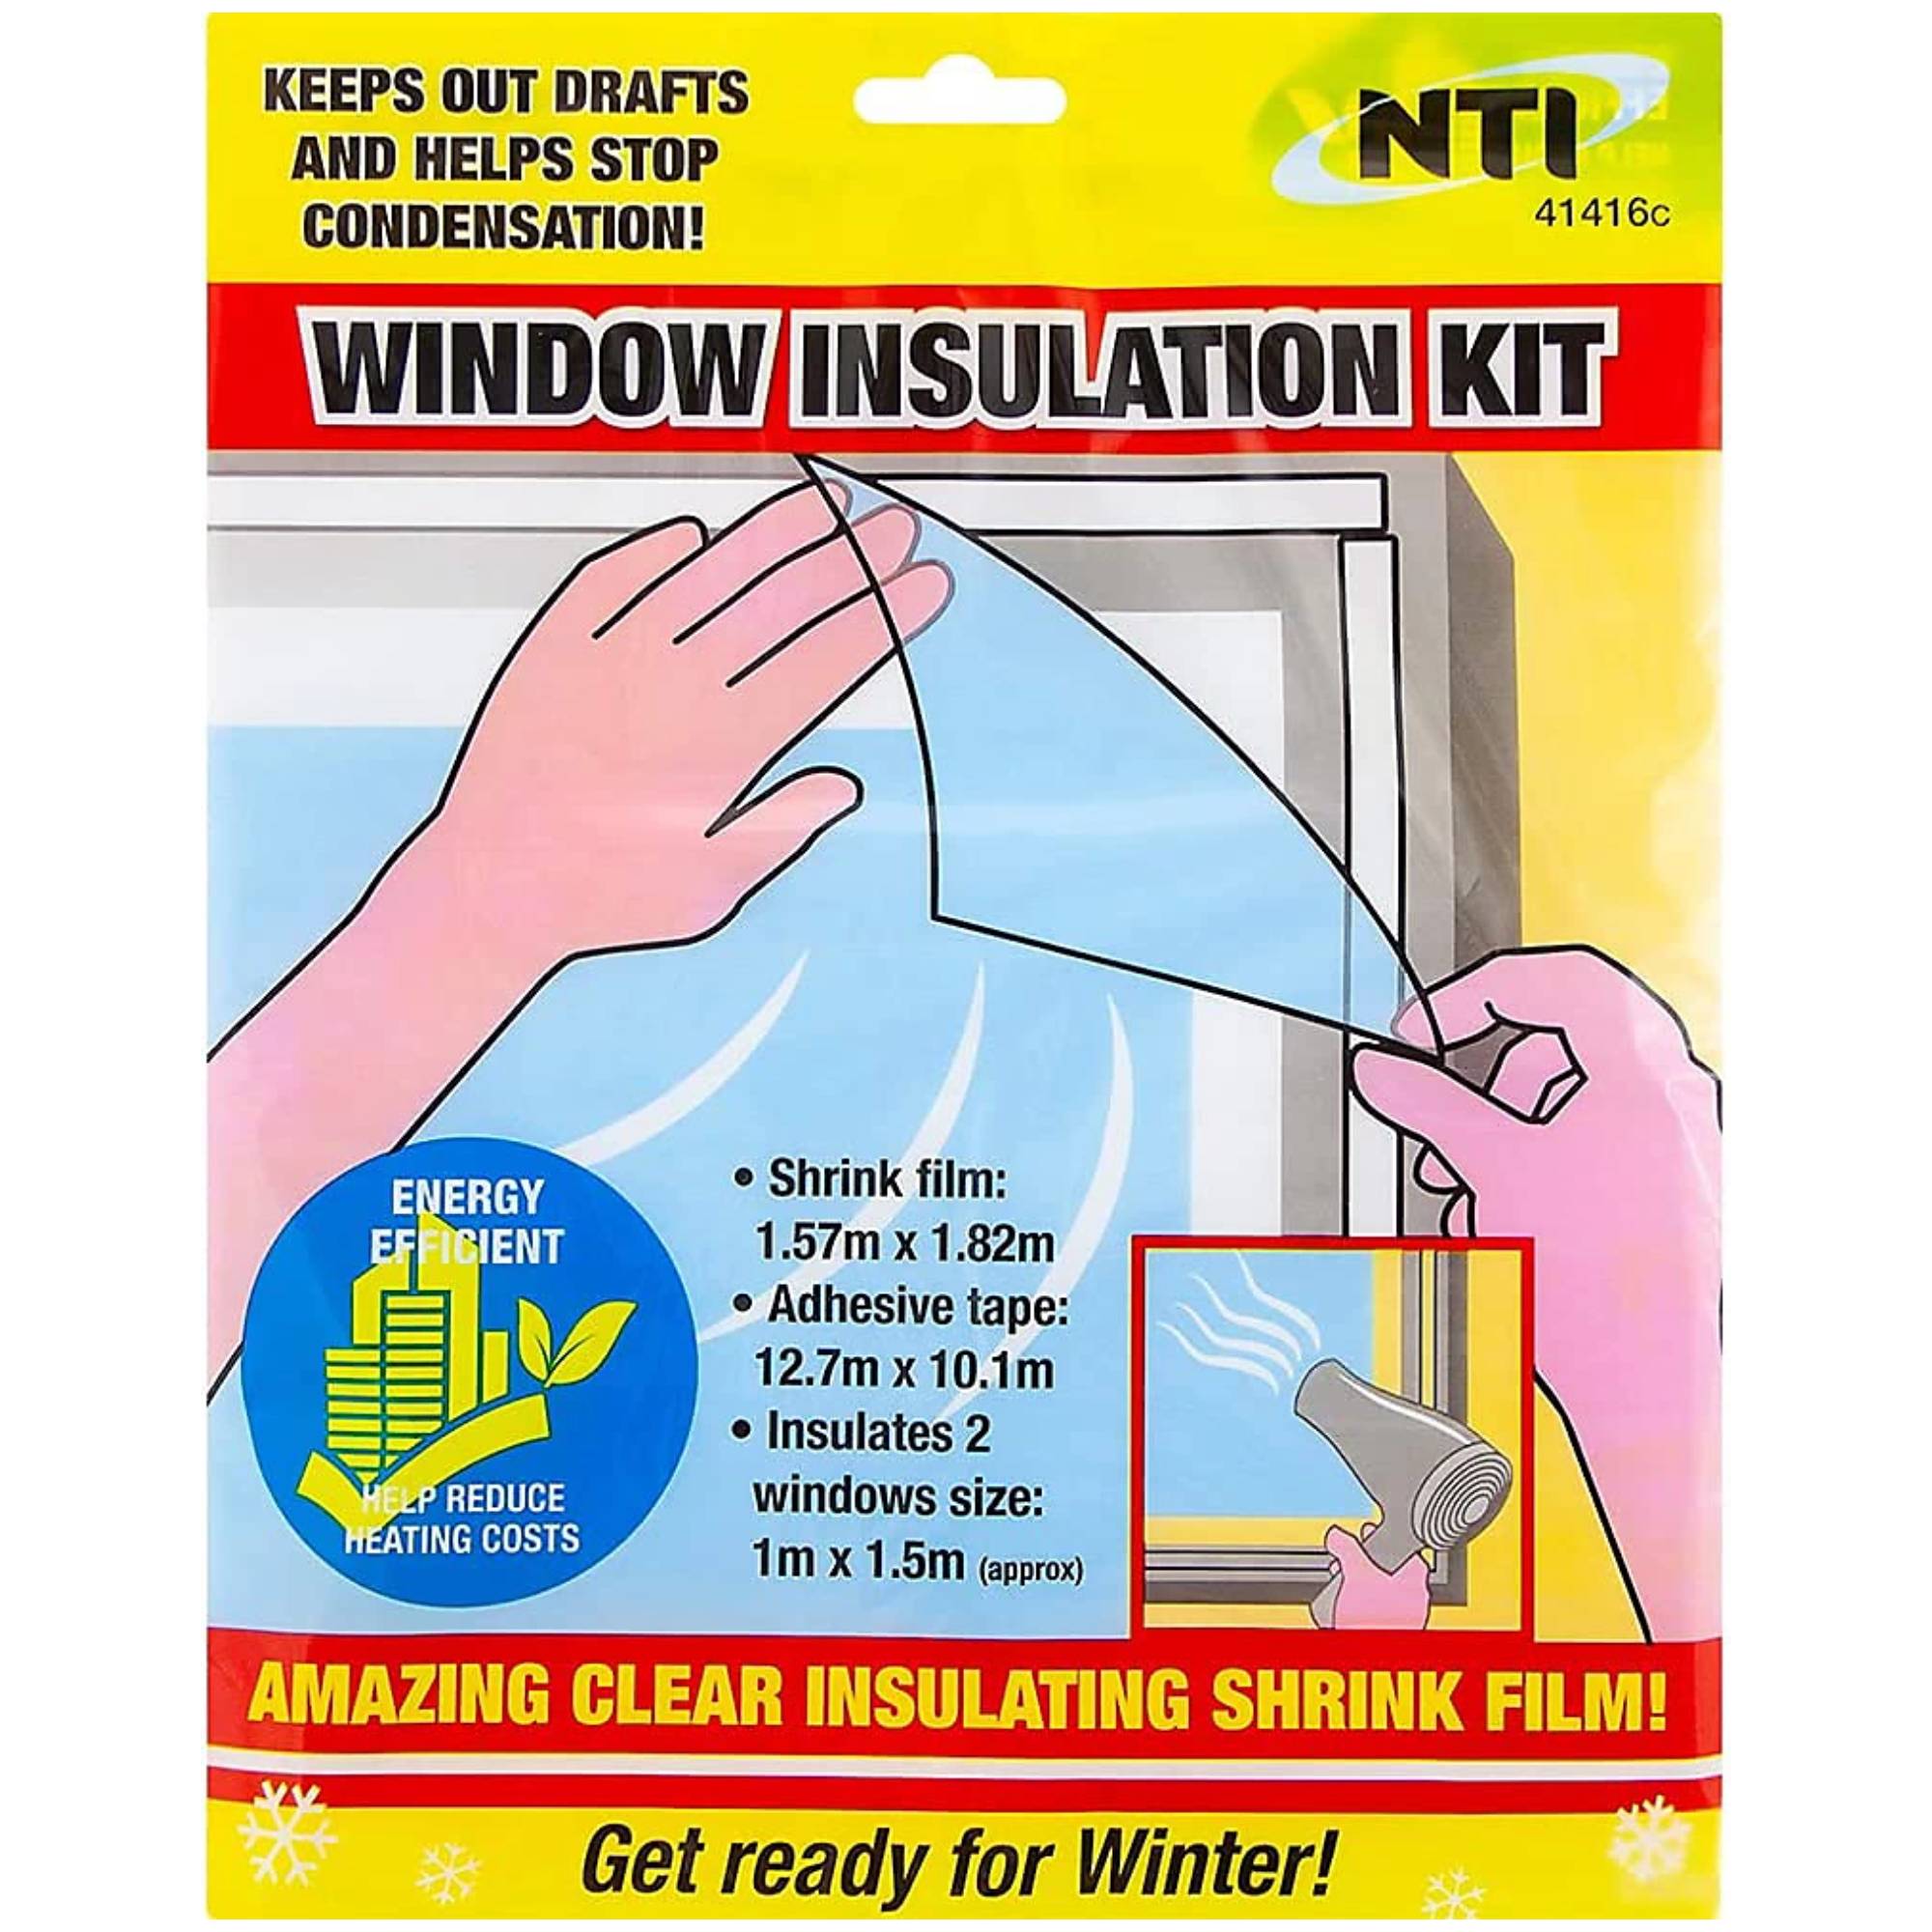
This kit offers film glazing for four standard sized windows, which might suit your home better — we have lost of unusually-sized windows so we had to cut ours ourselves.
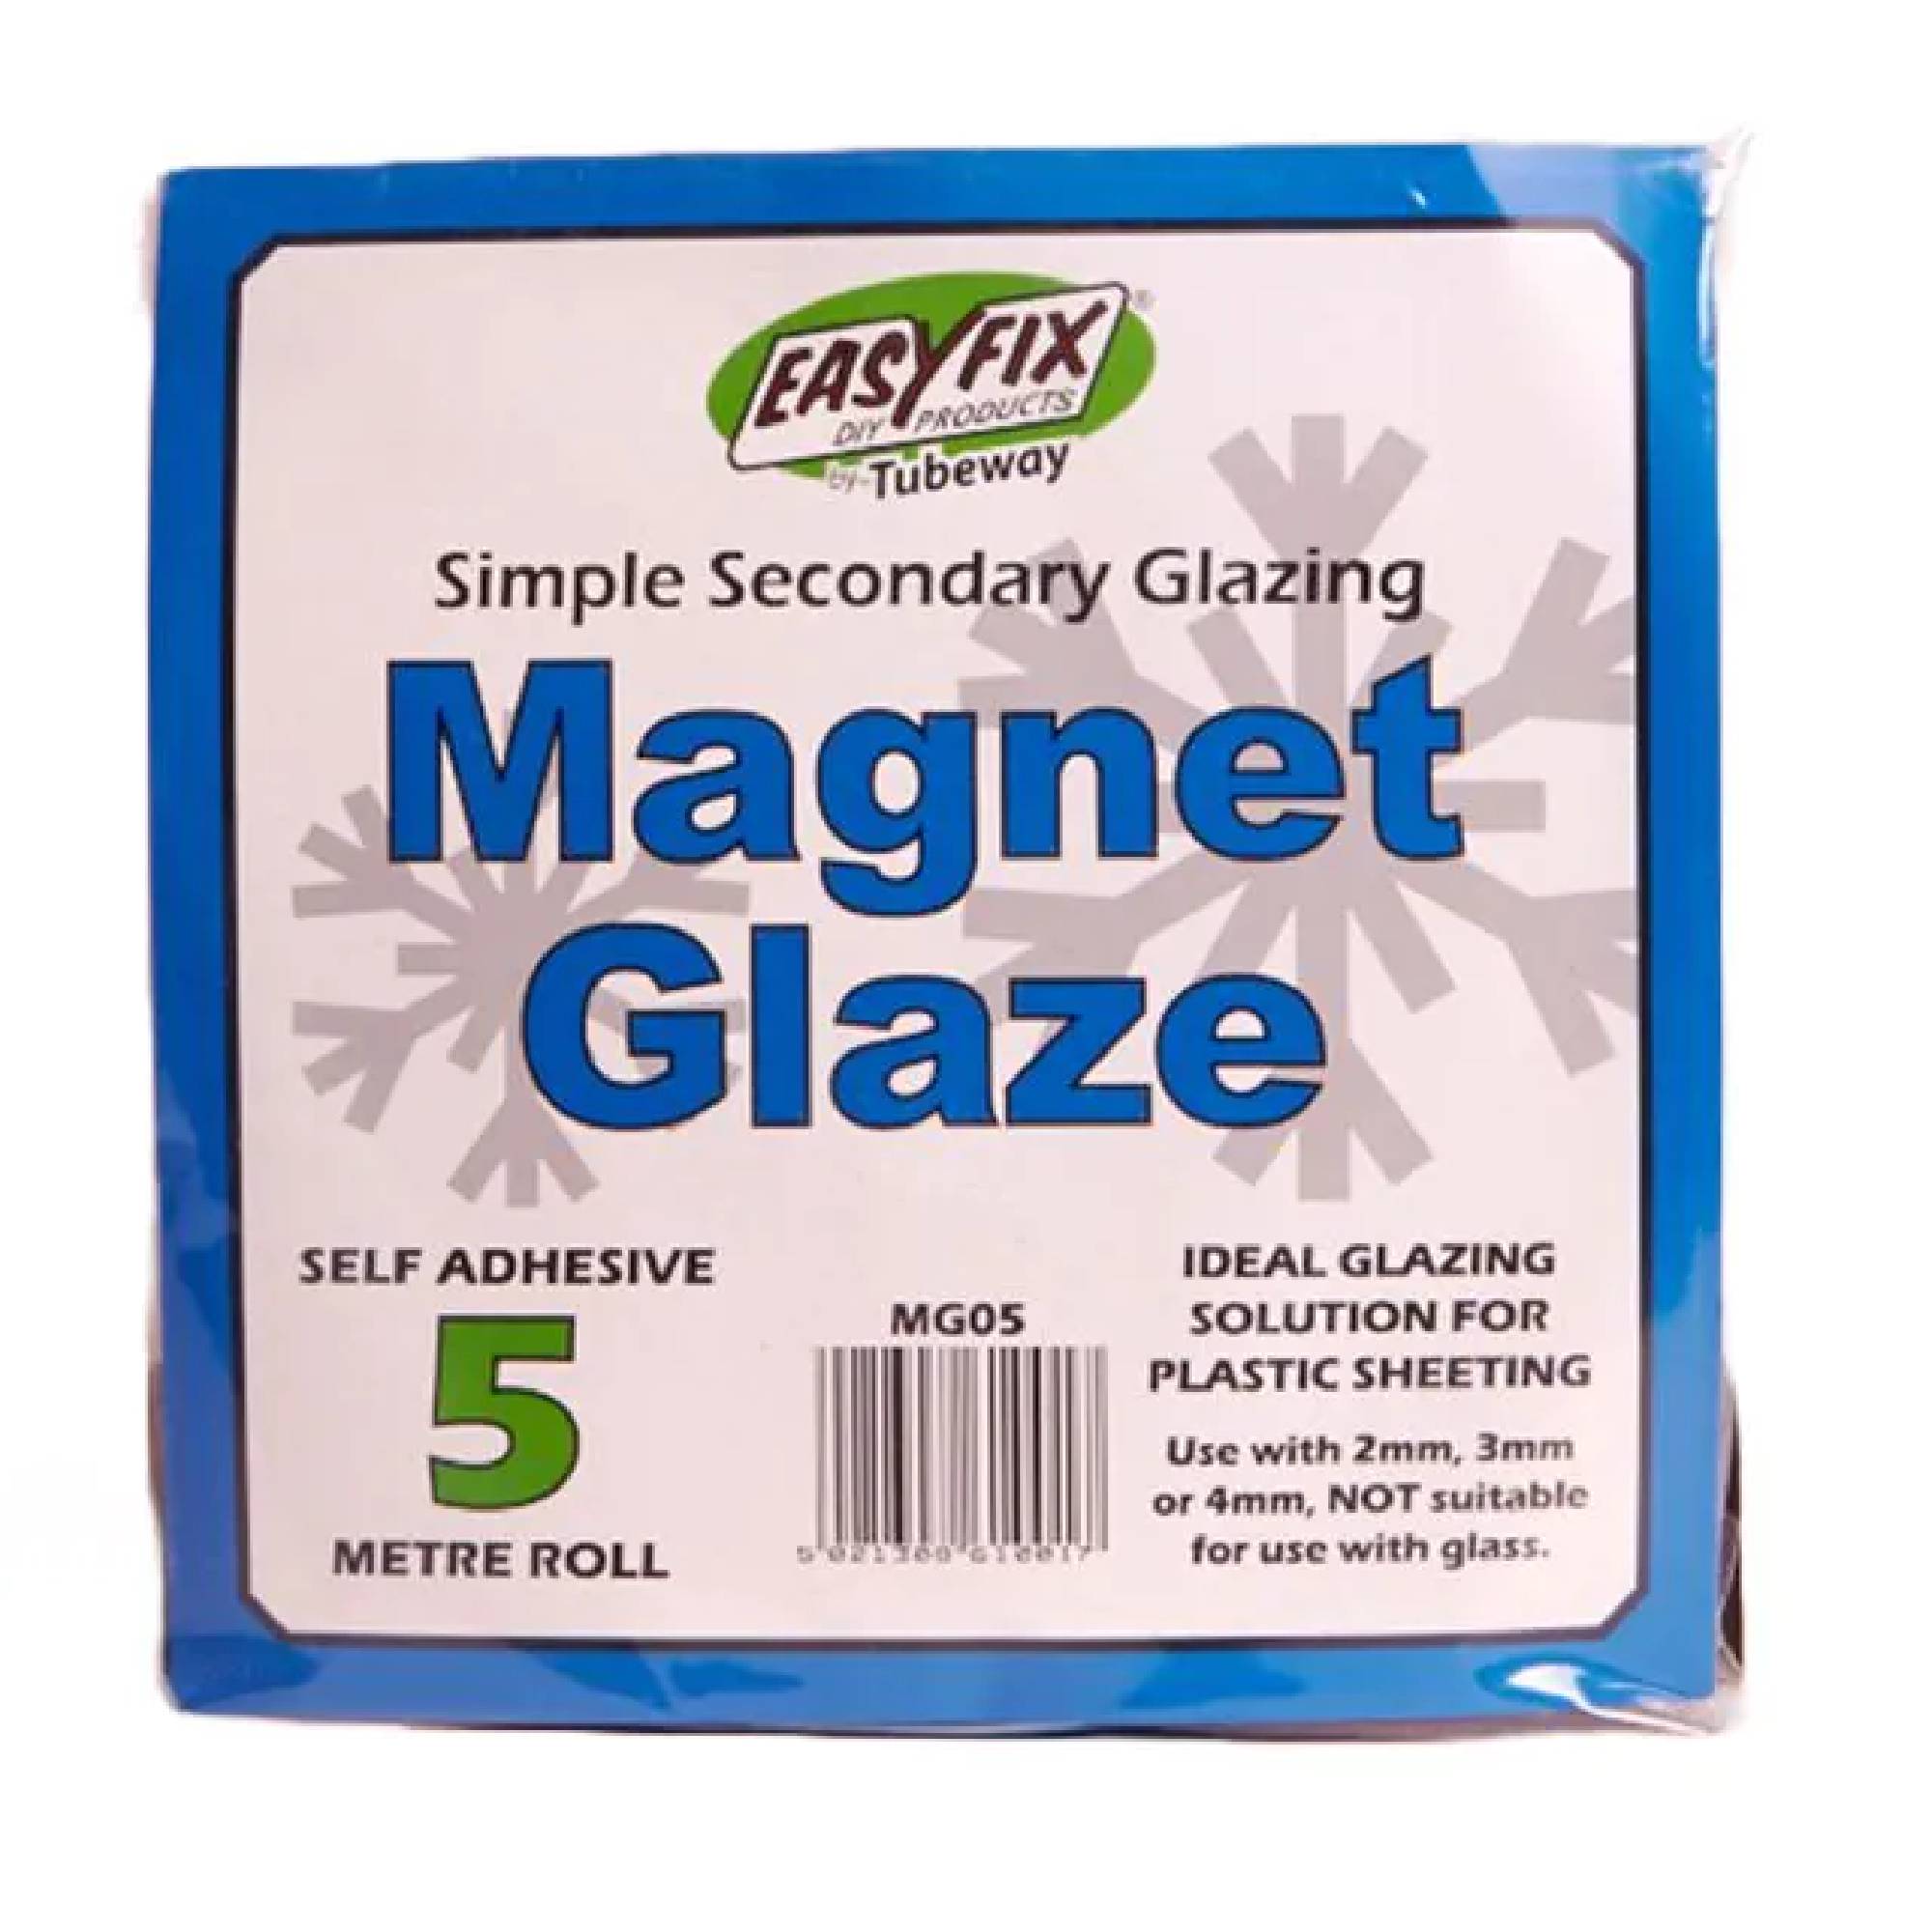
These kits are more substantial than what we have installed and are a more permanent solution — this is on my list for the next upgrade.
Installation is super easy, all you need is a pair of scissors and a hairdryer. Again, I would recommend cleaning the frames thoroughly before application for best adhesion. The double-sided tape surrounds the frame and you simply stretch the plastic film into place. This was definitely easier with two people, but with a little more time one person could do it, for sure. We then used the hairdryer on a low but warm setting on the film and it tightened up to remove the wrinkles almost instantly.
The secondary glazing film lasted a full year, but then started to sag. However, we just got out the old hairdryer again and we’re hoping it takes us through another winter!
Cost: Around £10 per window
3. Chimney draught-excluder balloon
The chimney draught-proofing balloon is not visible once installed, but is very easily accessed.
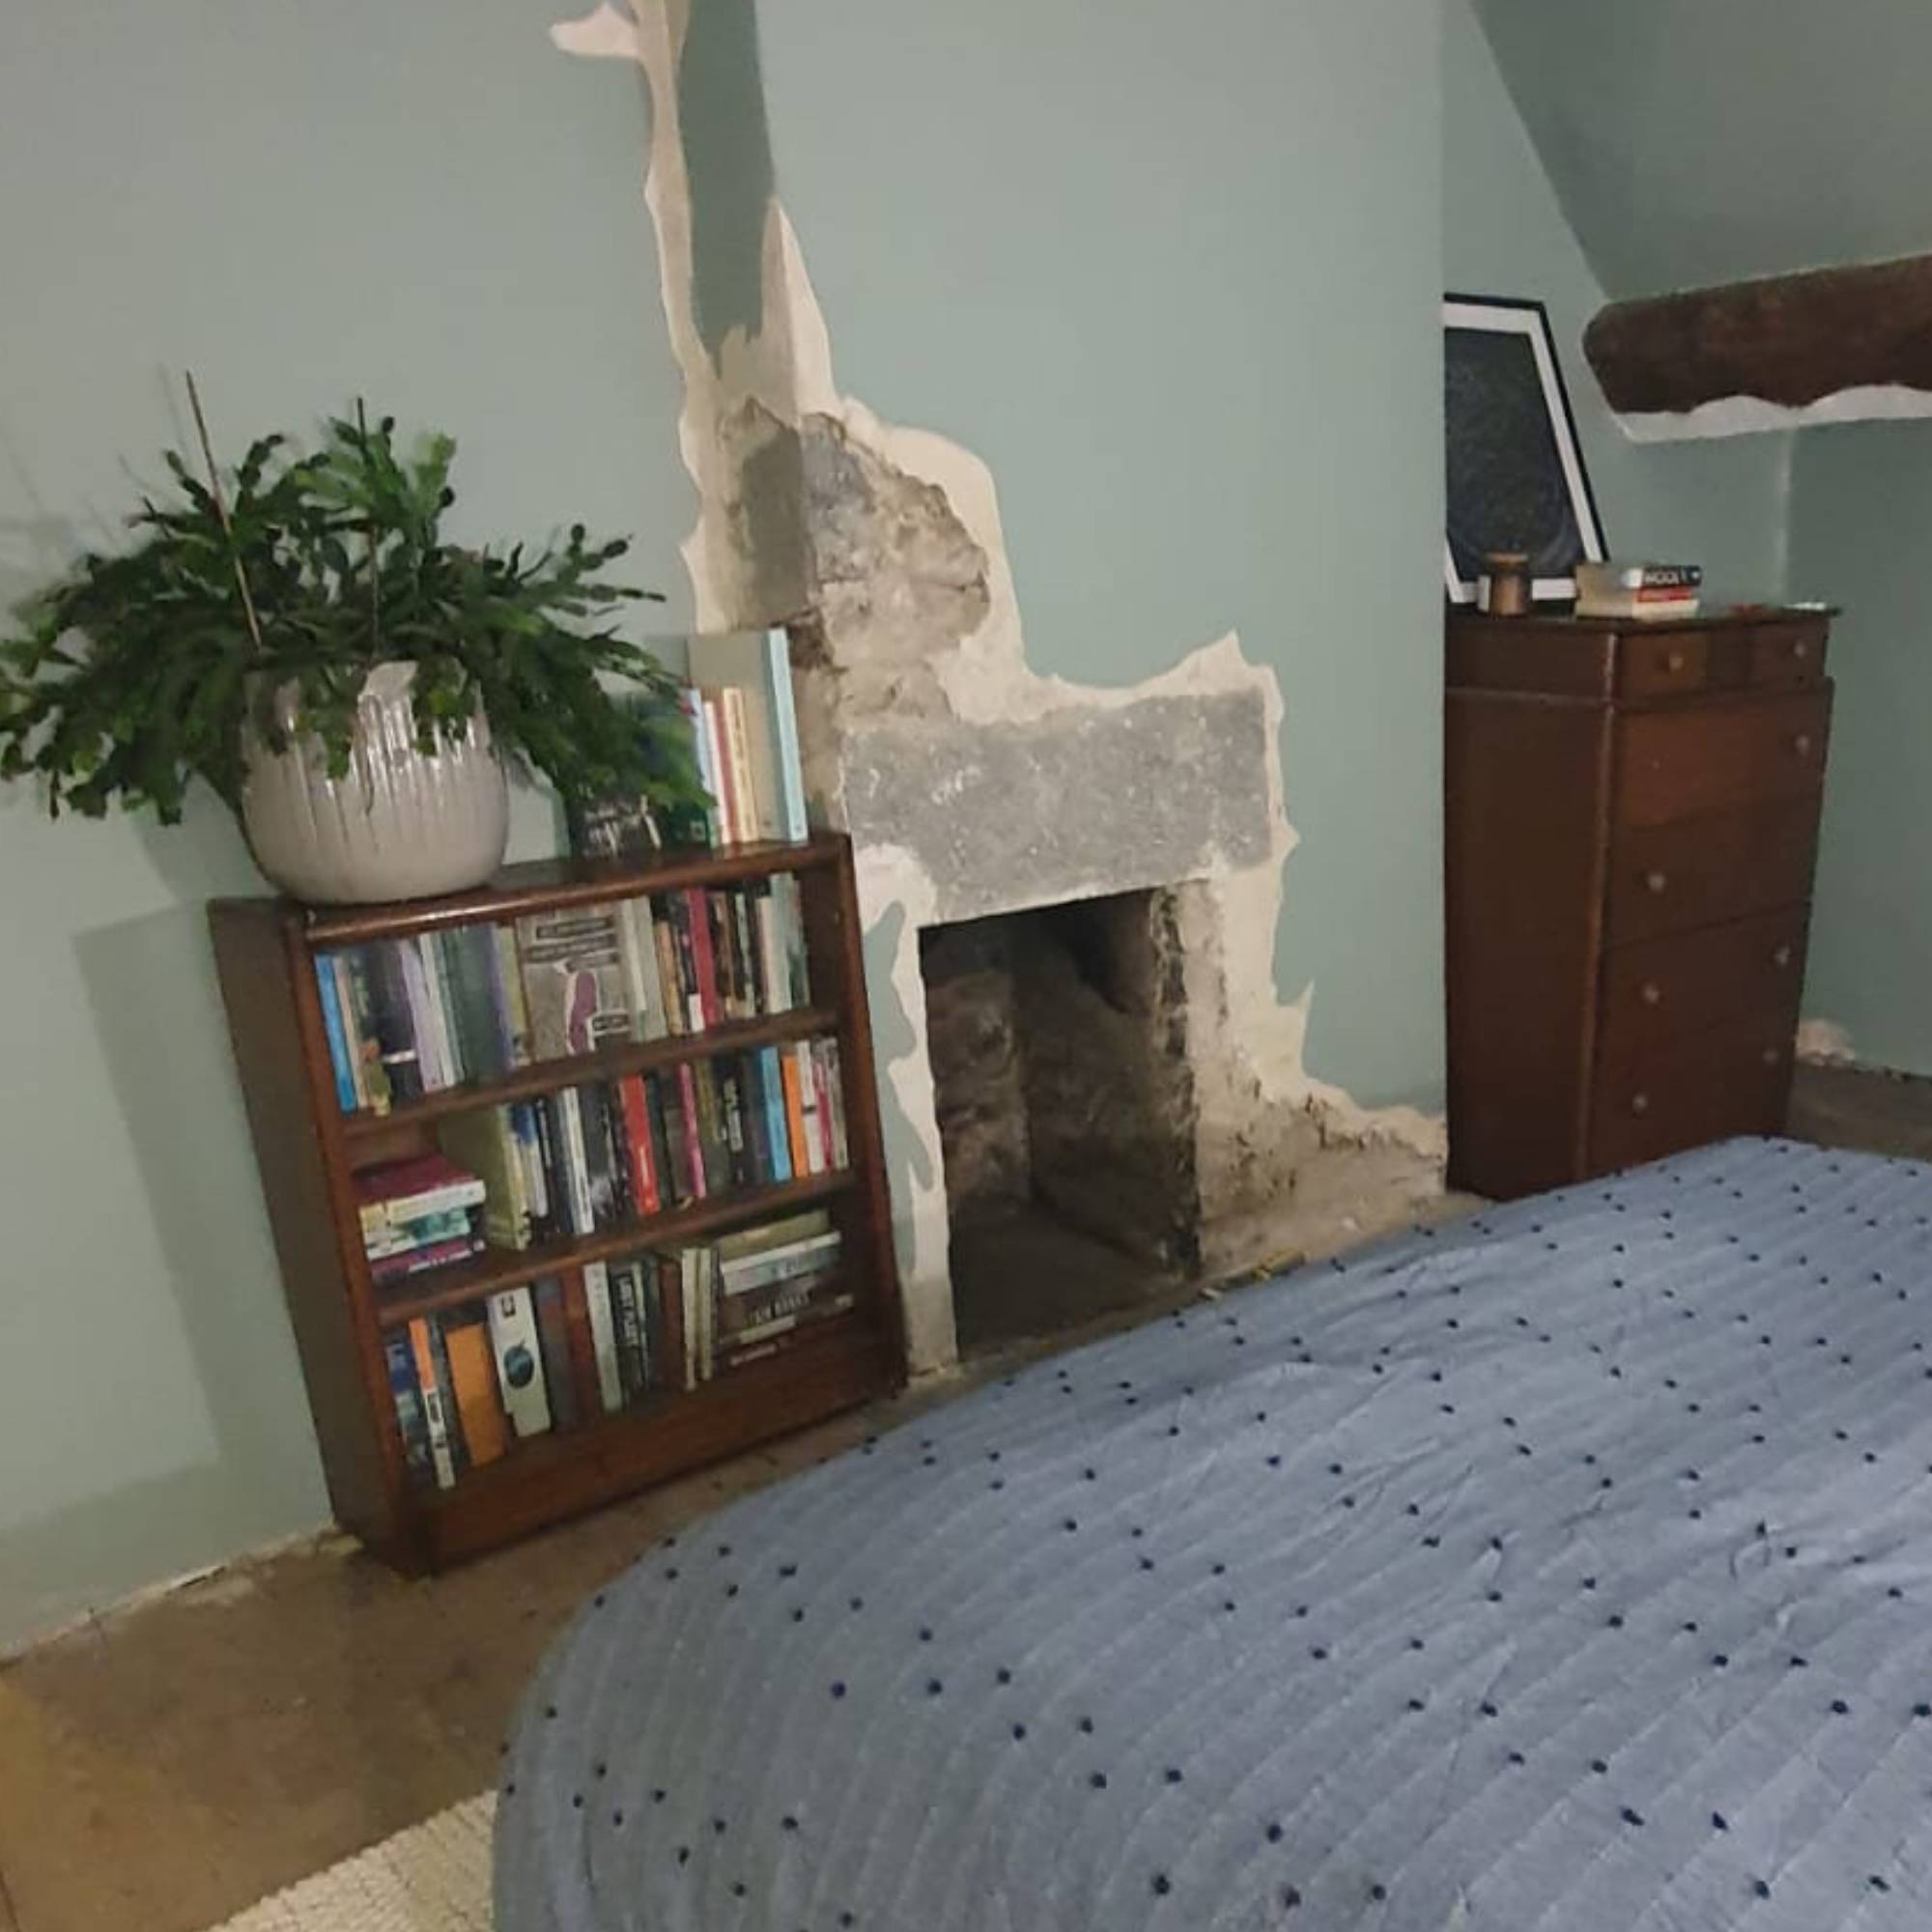
Moving into the stone cottage was lovely in some ways as we were able to enjoy the character and features before making any substantial changes. However, the fireplace in the primary bedroom was open to the elements without a chimney cap on top, so every single breeze was felt through the room. Plus, that room didn’t have a radiator so any heat we could trap in, the better.
While we mulled over whether to block up the chimney entirely (a decision that still hasn’t been resolved), we bought an inflatable draught-excluder. This hilarious-looking bit of kit literally works like a balloon that gets wedged slightly up the opening. Again measure before you buy as chimneys can be differently sized.
The uninflated plastic bag is placed at the opening of the fireplace and can be either blown up through a plastic pipe manually or by using a pump. You want the plastic to fit snugly but not be overinflated. Most chimney balloons can be reinflated if needed, but we never found it necessary. Unfortunately, the chimney draught-excluder didn’t survive the builders reroofing over the summer so we’re going to reinvest this year.
Cost: £17 per chimney
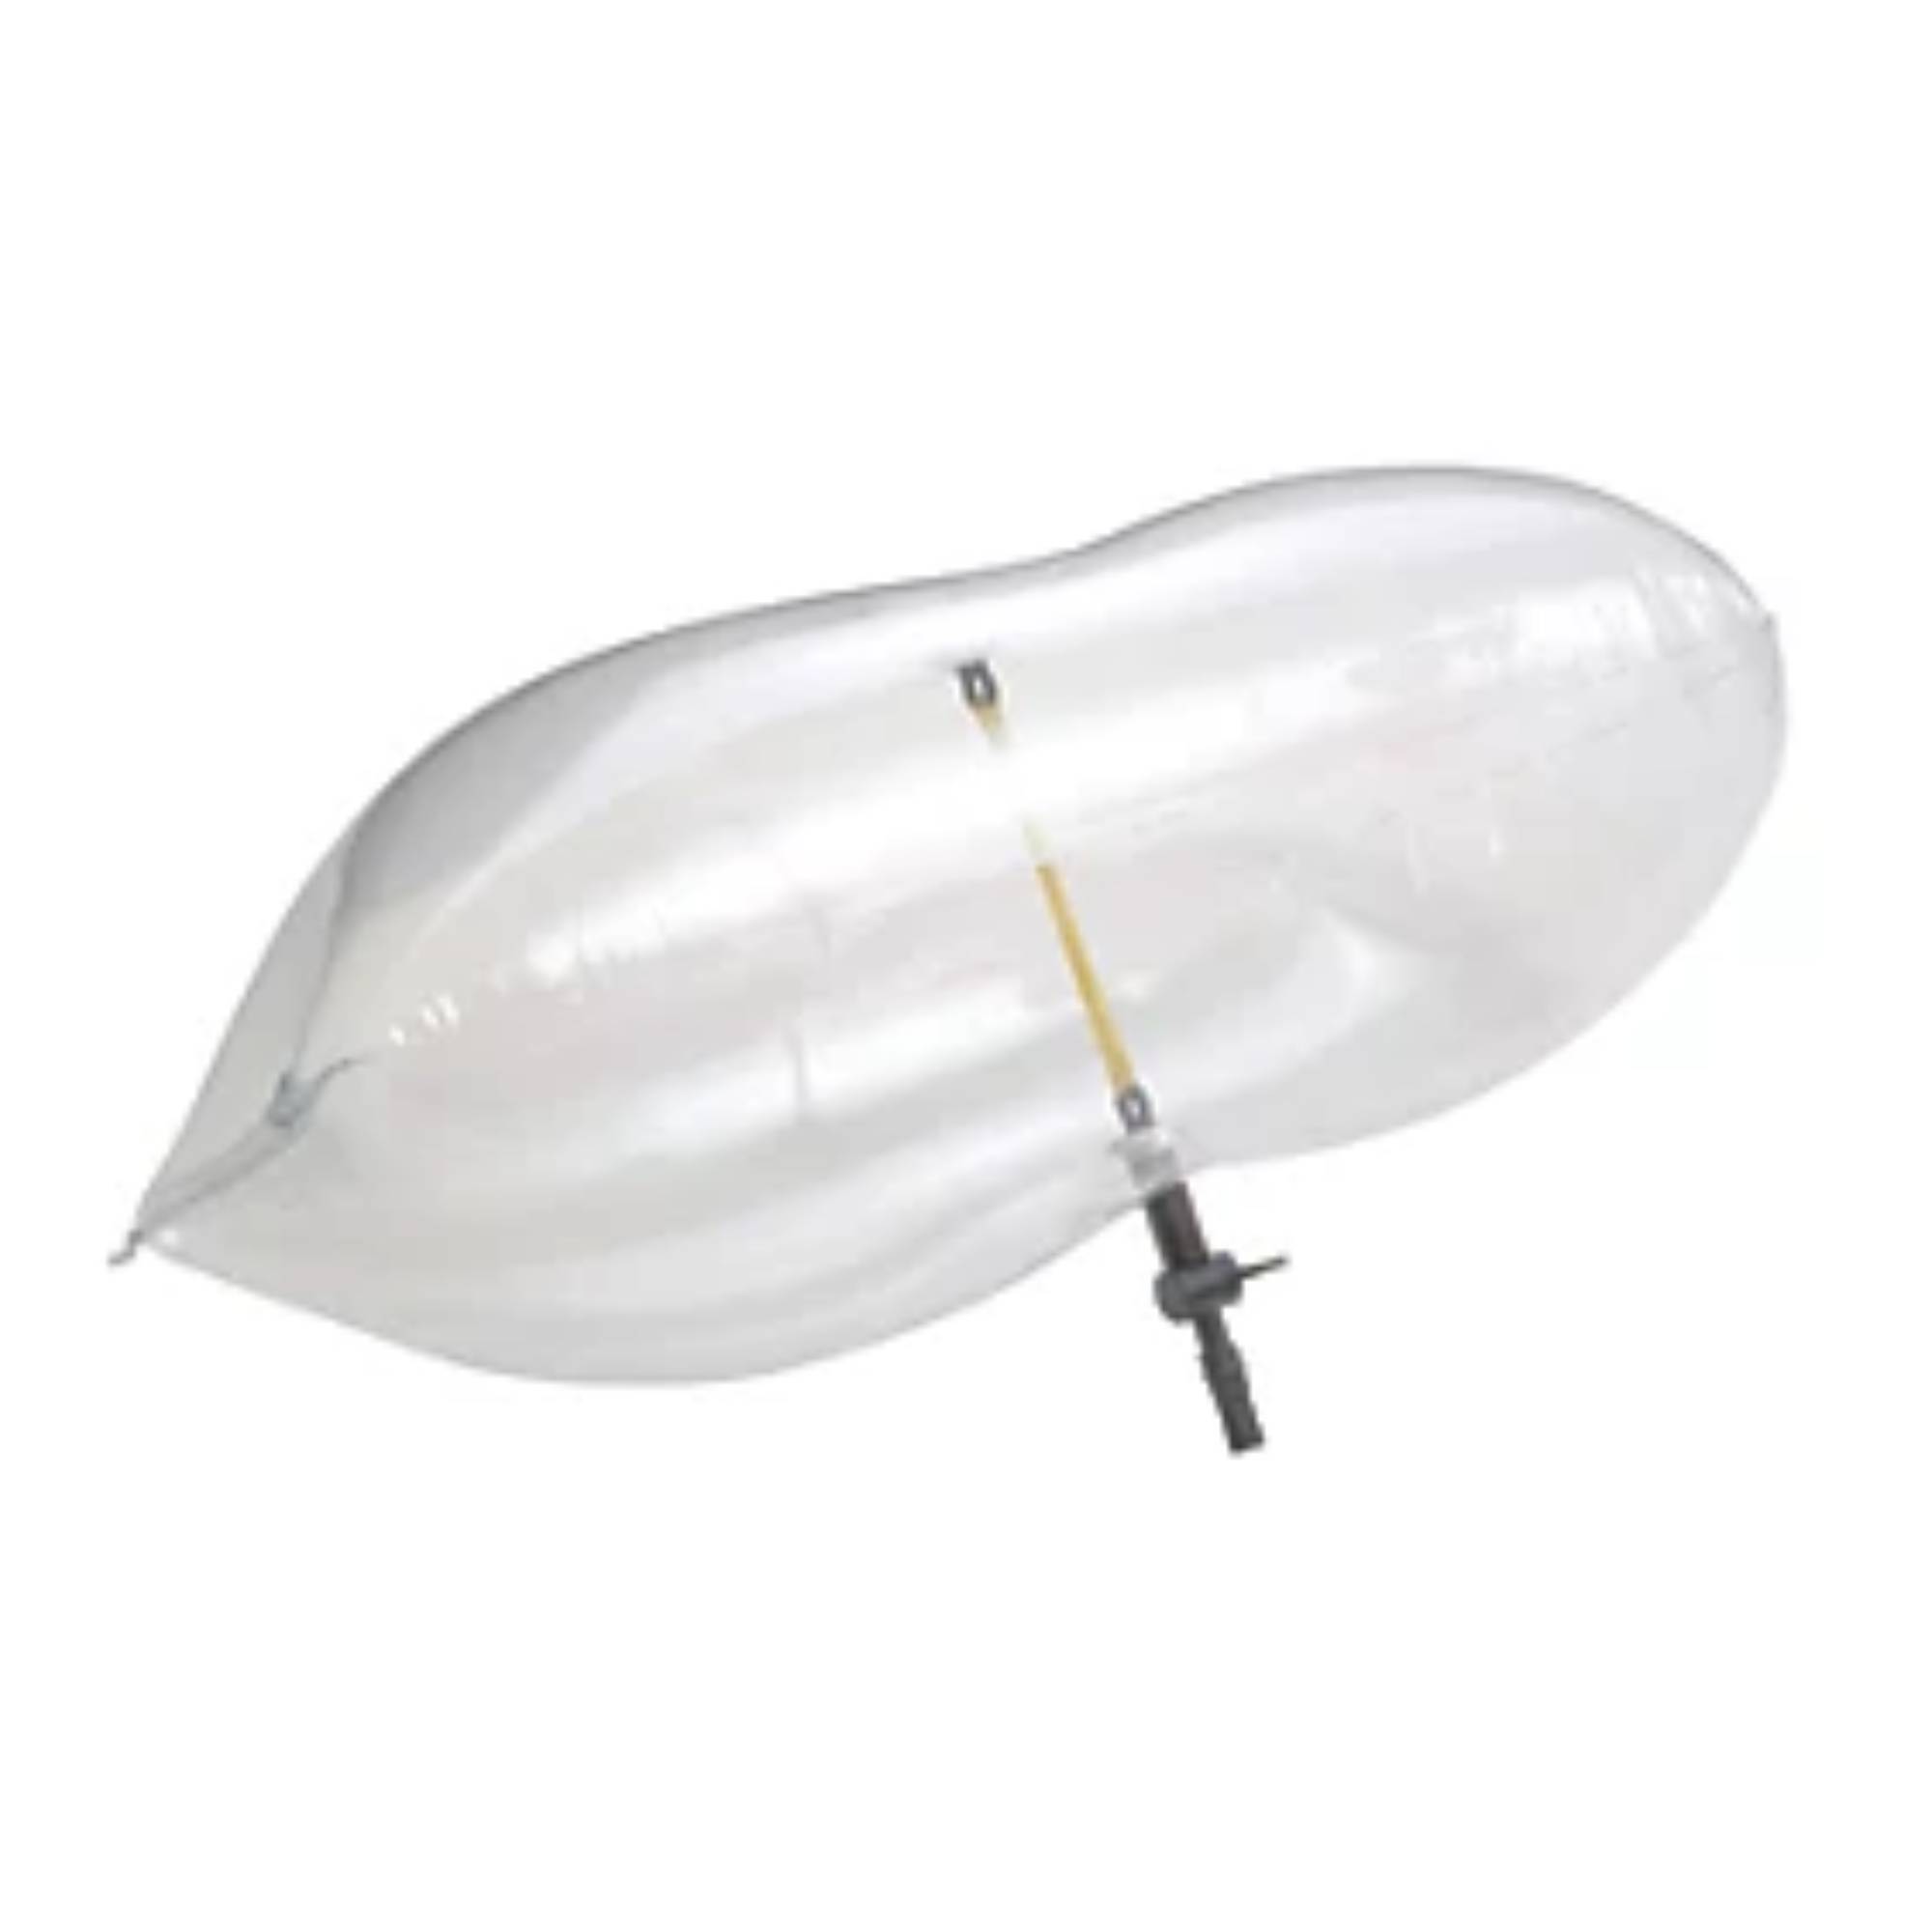
This was super easy to install and really worth the money in my opinion.
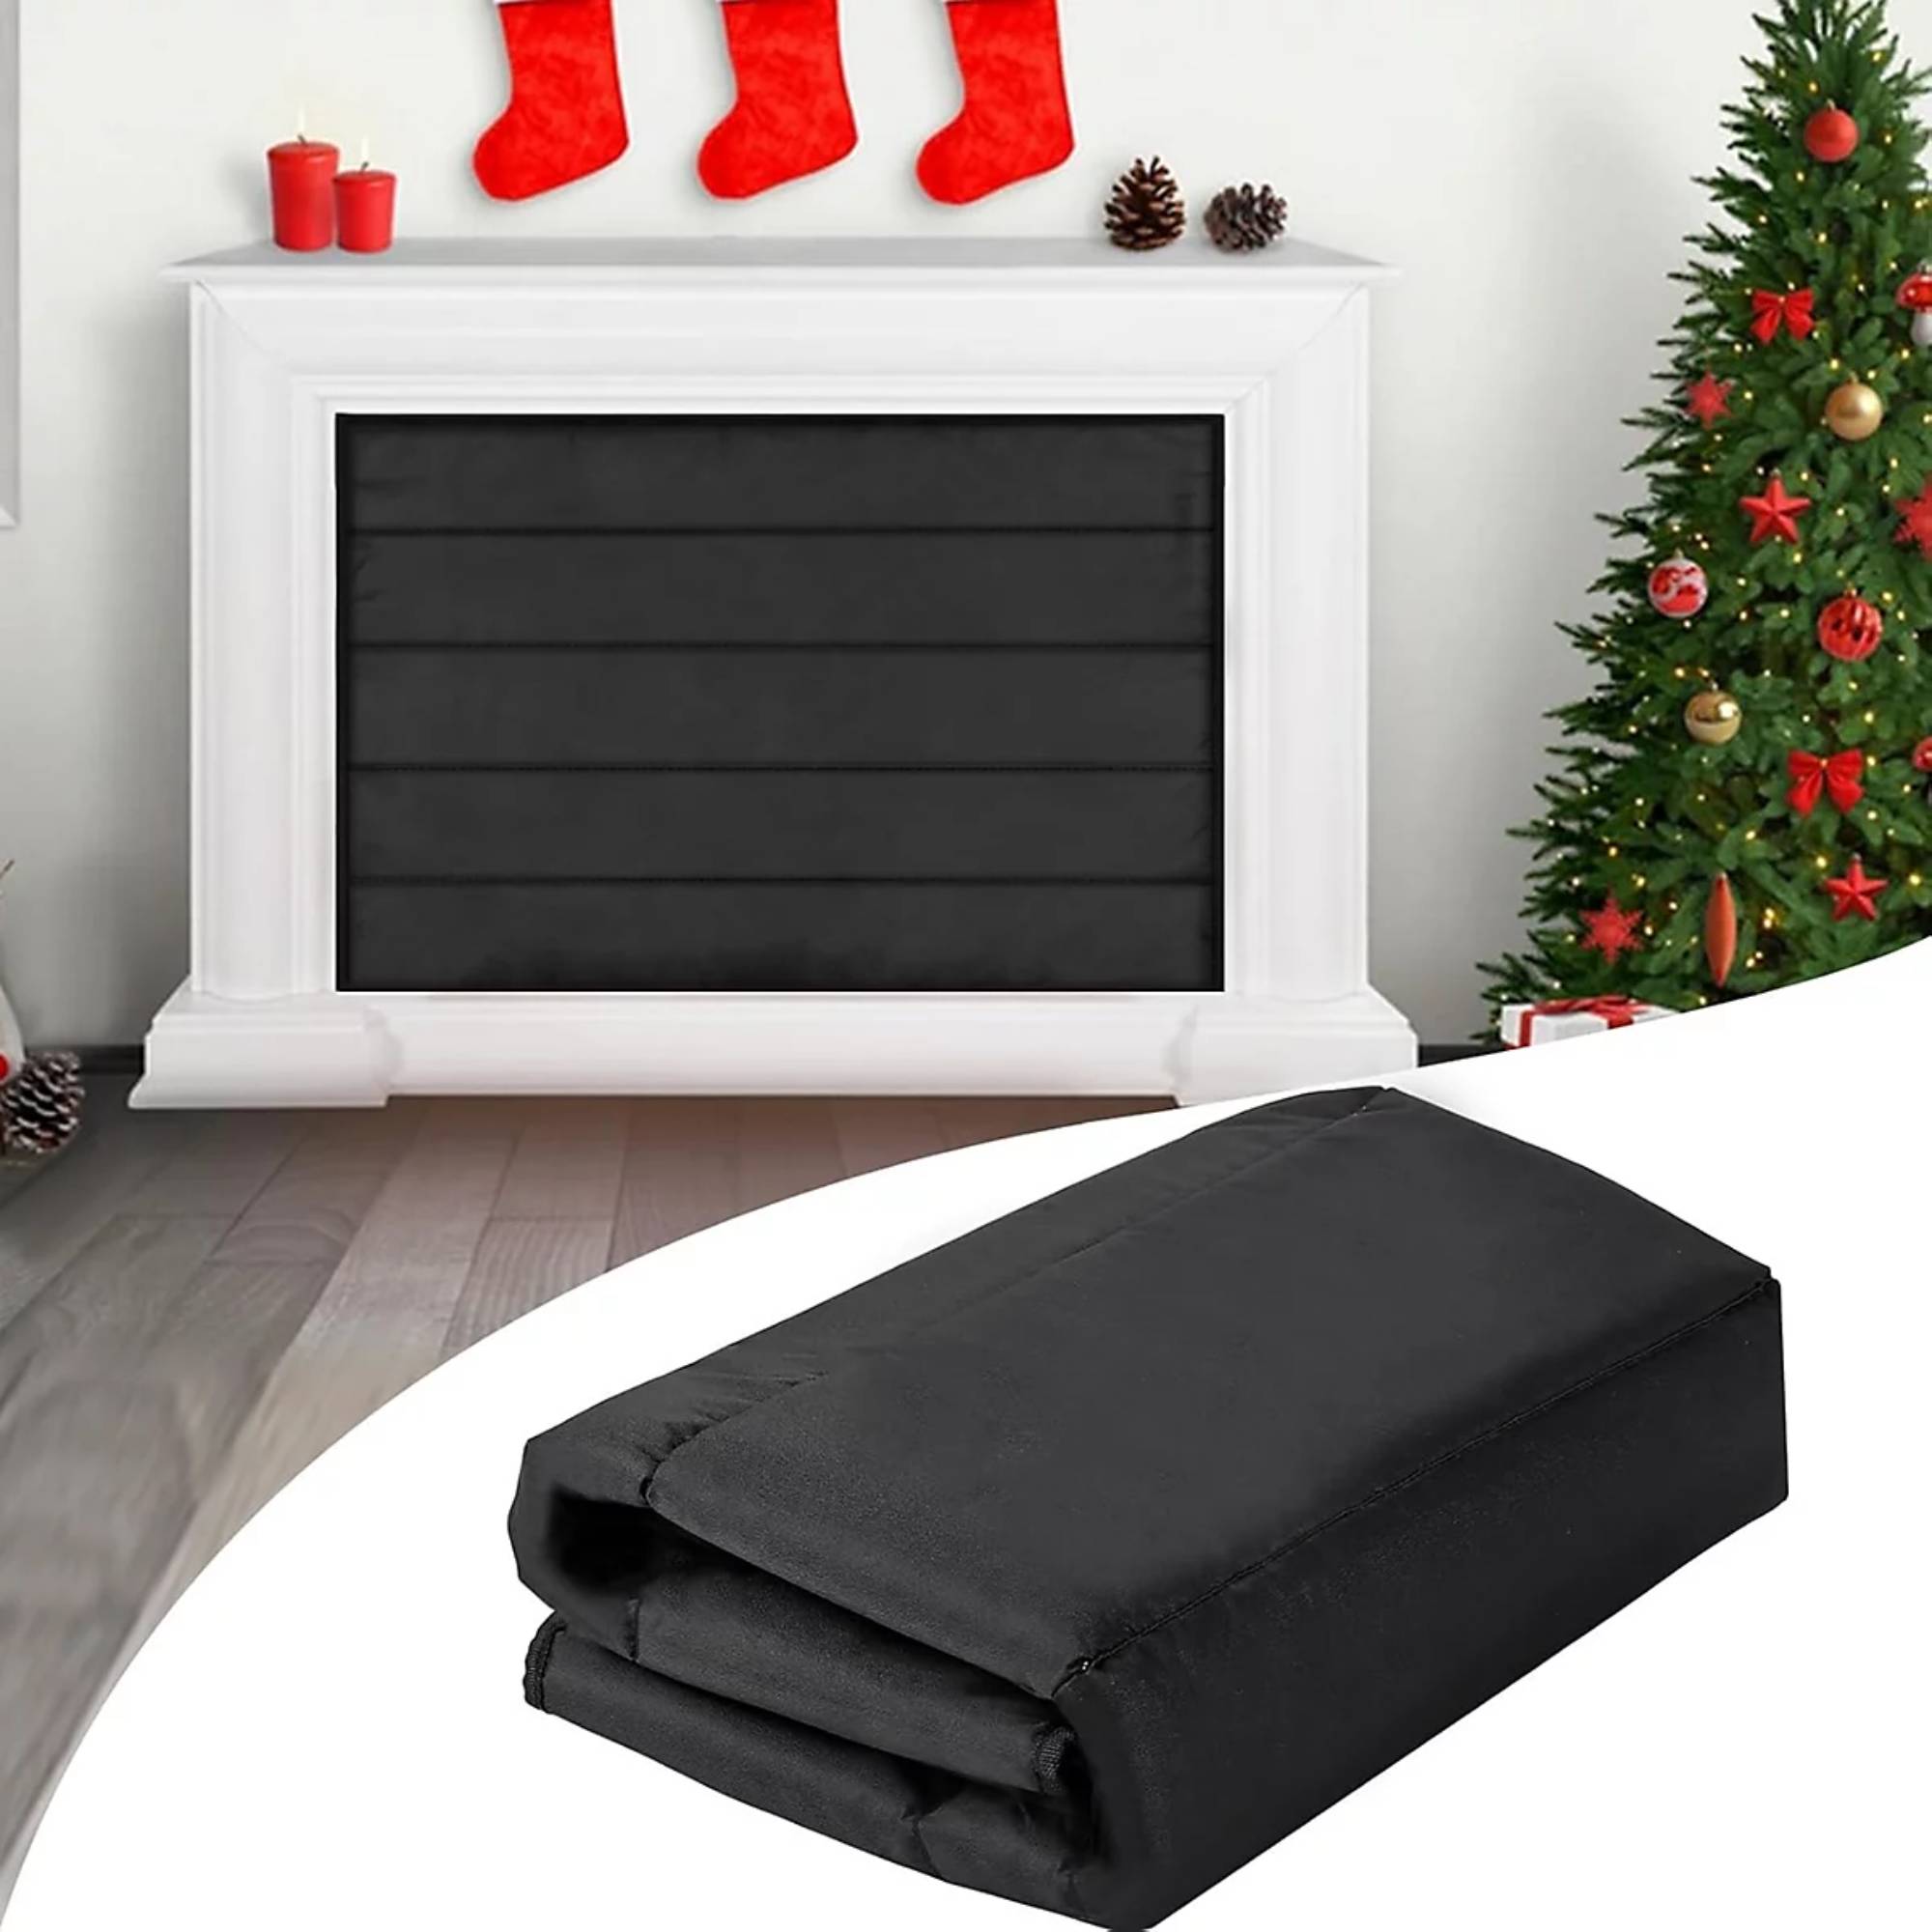
A style we've not tried but one that I can imagine might be more convenient if you still want to intermittently use your fireplace — this product uses magnets to keep the blanket secure to your fire surround.
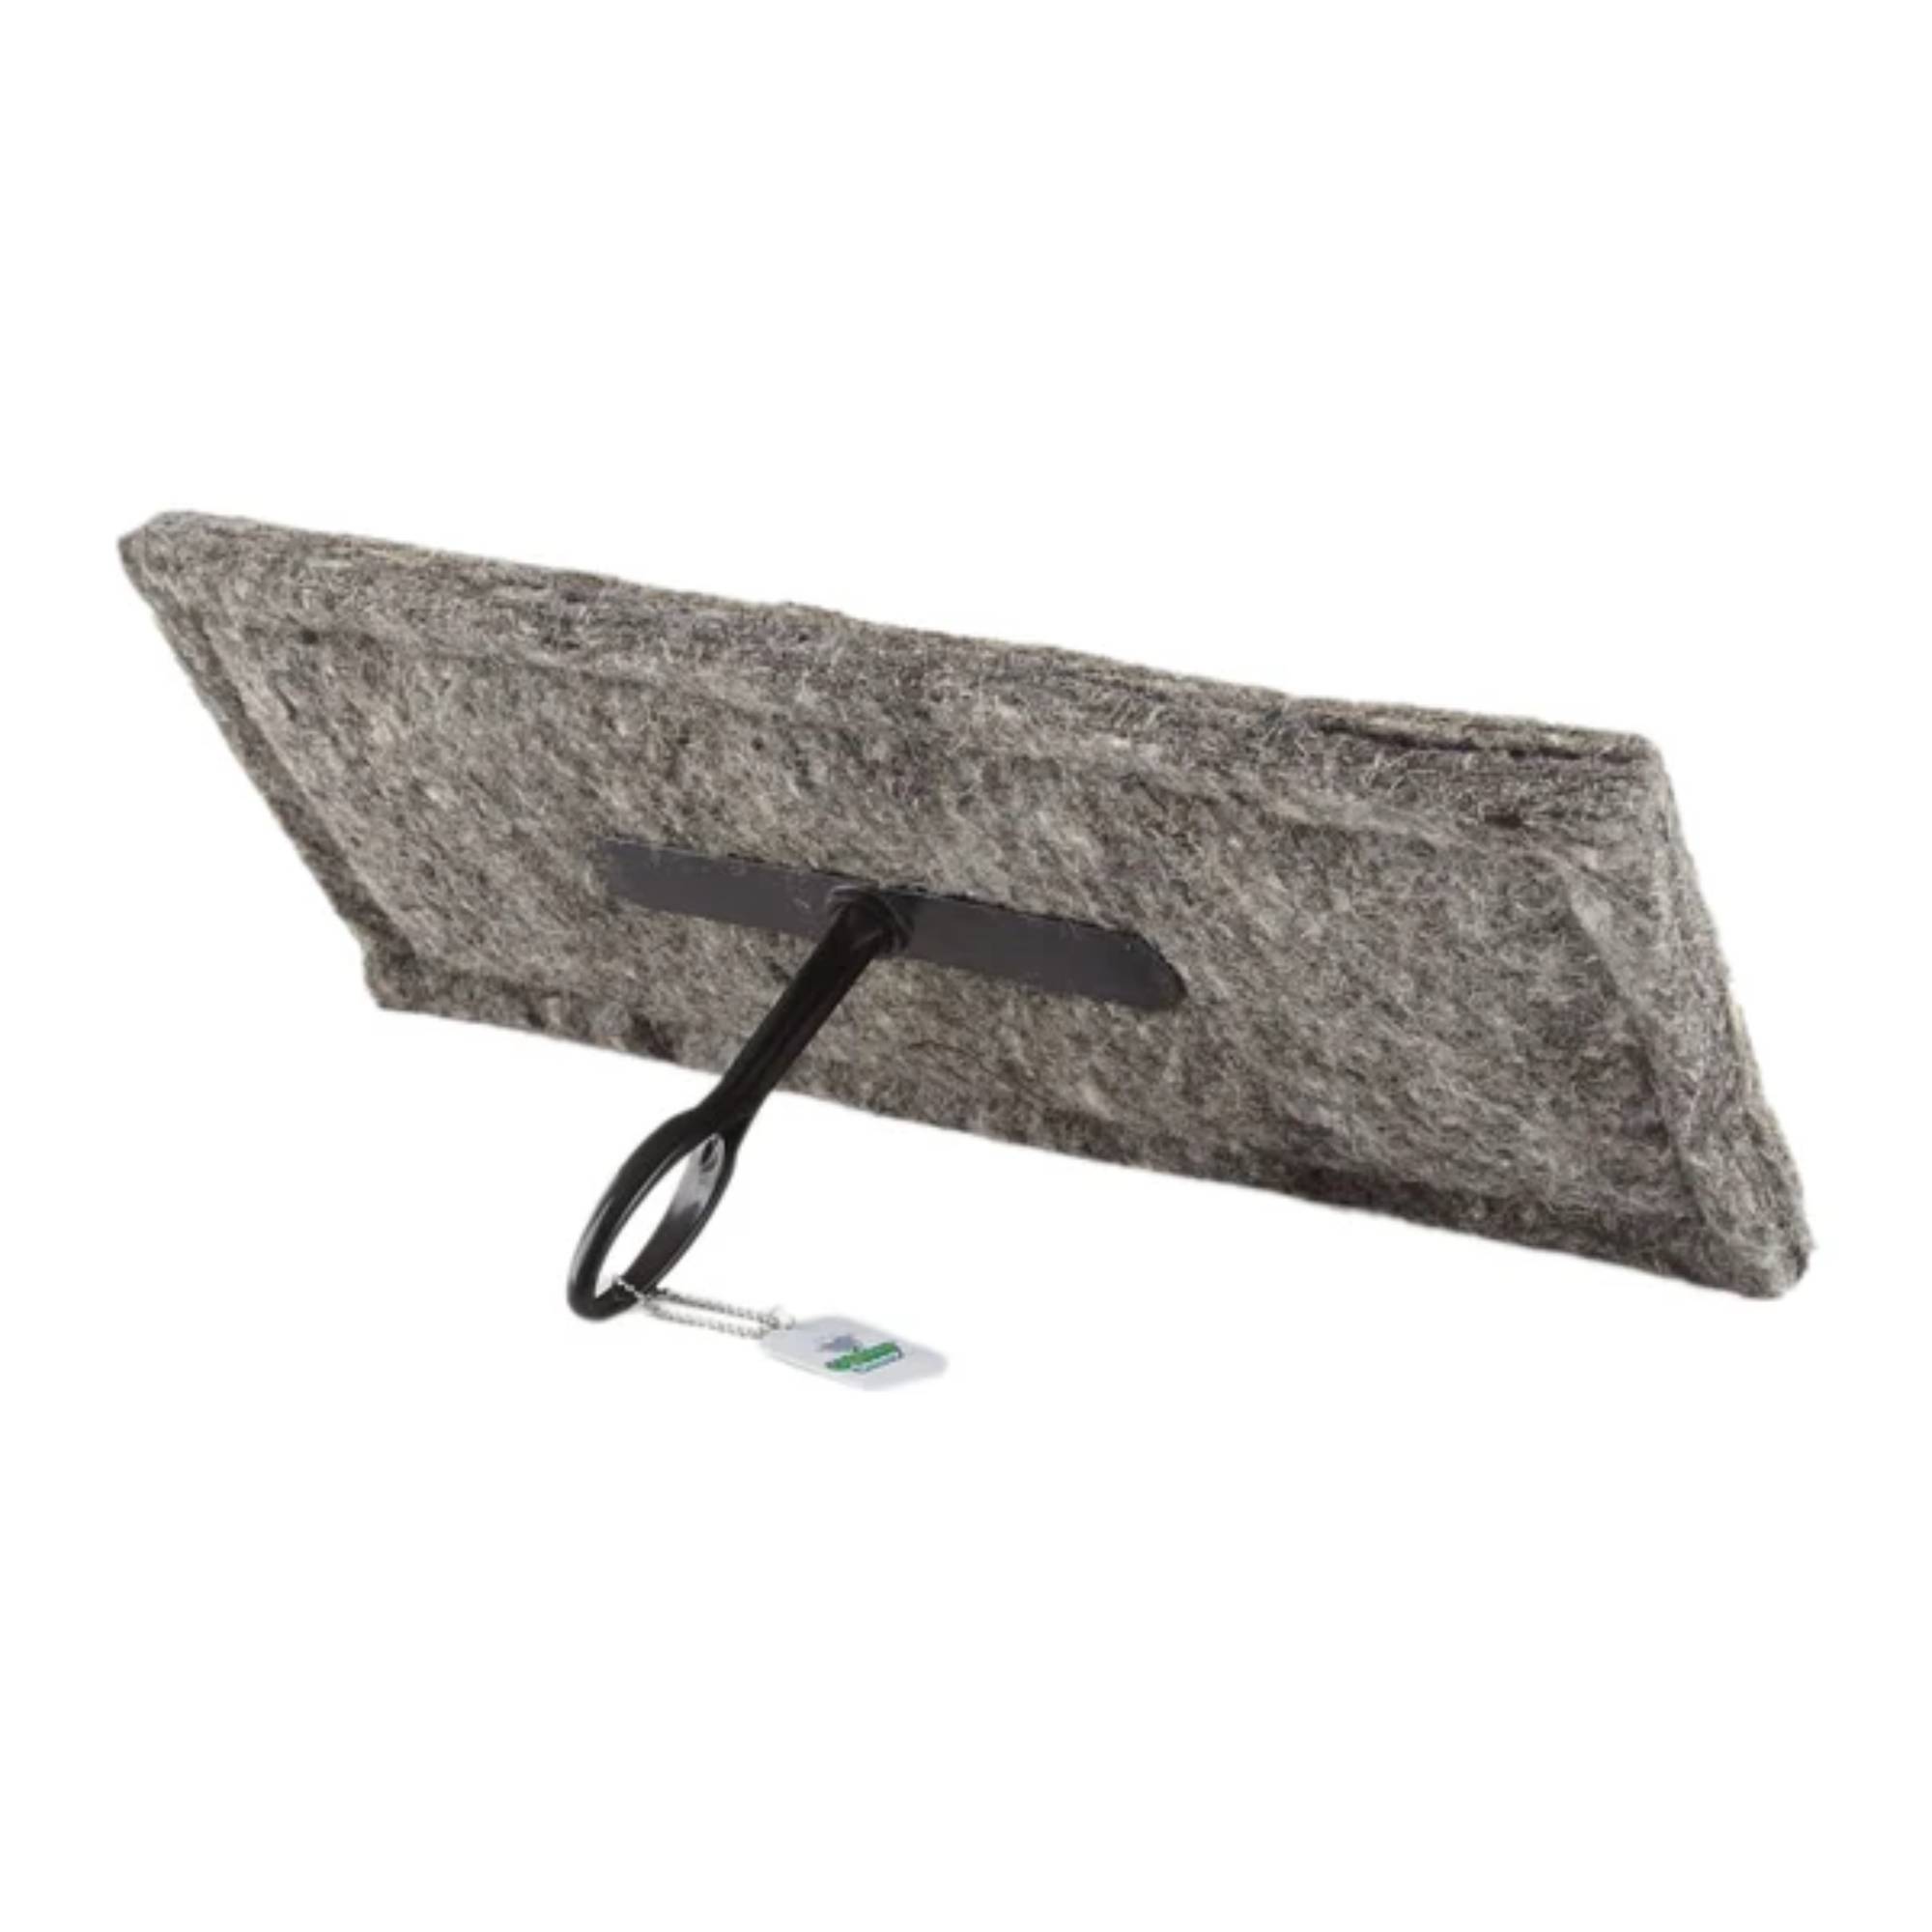
While I rated the balloon version, I think we will try this draught excluder this winter — it seems like it might last a bit longer and I like that it is more sustainably made.
What impact did these changes have?
The biggest impact these changes had was on how it feels to be in our home. We're warmer for longer, which was the primary objective while we plan our more significant and permanent renovation work.
In terms of money saving, it’s really difficult to measure how much money these draught-proofing methods actually saved us because we hadn’t had a winter in the house before using them so no exact bills to compare. But the changes we made can only have had a positive impact.
We know that draught-proofing your home is good for your health, wallet and house structure. The Energy Saving Trust estimates savings could be around £85 per year in Great Britain just from your windows, floor and doors while another £60 could be saved by draught-proofing a chimney.
If you are having similar problems to me but you live in a rental, try these inexpensive and non-permanent methods to insulate a draughty window instead.
Amy is an experienced interiors and renovation journalist. She was Assistant Editor of Ideal Home's sister brand Homebuilding & Renovating for five years, before becoming an editor for Independent Advisor. Amy is also an experienced renovator herself. With her partner, she has renovated a mid-century property on a DIY basis, and is now taking on an 1800s cottage in Somerset.