How to iron like a pro
No one likes the monotony of ironing – so keep your time at the board to a limit with these handy hints on how to iron like the experts

1. Start with the board
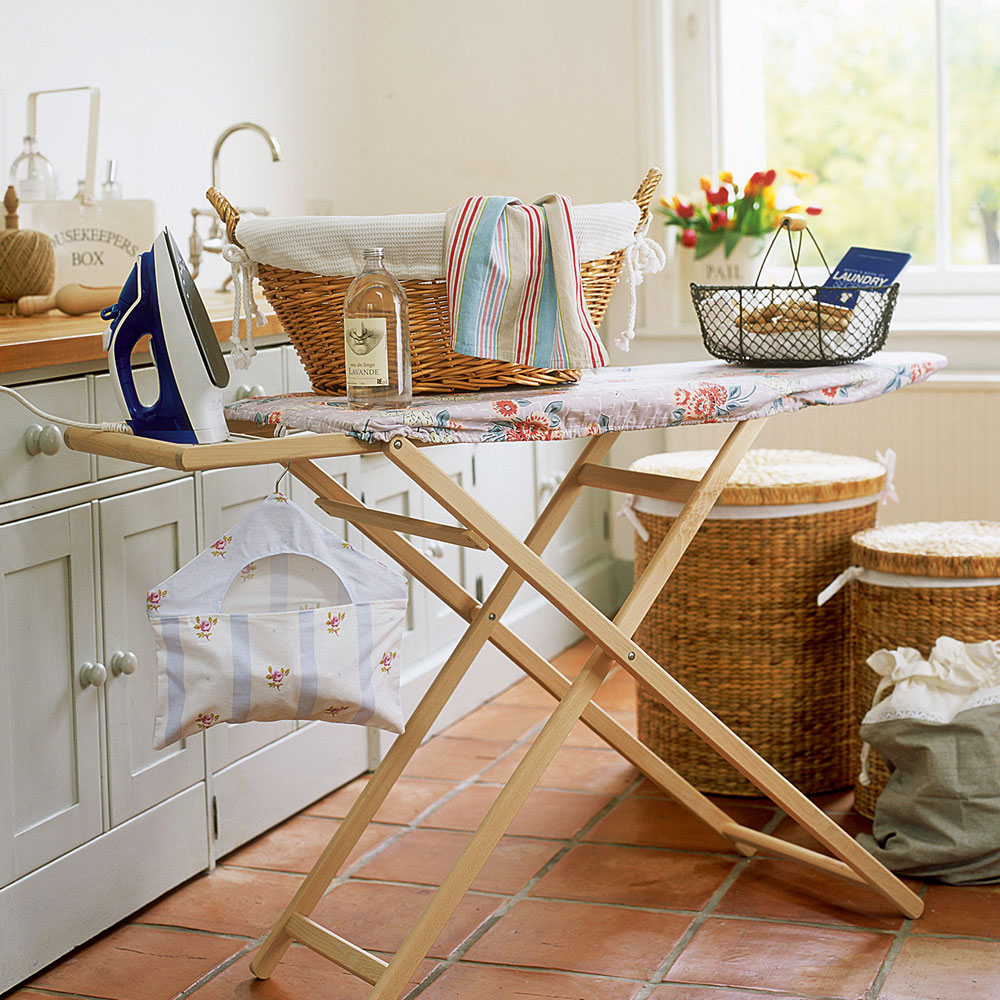
Invest in a decent, large board that won’t wobble and will be big enough to press a whole side of a shirt on – so you’ll spend less time pulling your clothes around on it. Cover it with a thick ironing board cover so that no mesh shows through, which might mark your clothes on high-heat ironing. A foam or felt back to the ironing board cover is a must, while metallicised surfaces retain heat in the clothes for quicker, hotter ironing.
TIP: Cut to size a piece of felt about 1 inch bigger than your ironing board and add this under the cover for more mesh protection.
2. Get prepped
Firstly, give yourself time to get prepared. Unfold the cuffs and the collar so the sleeves can be laid flat. You might even want to iron both the outside and the inside of the shirt making it easier to achieve that crisp look.
3. Know the shirt
Before ironing, you need to know the fabric. We want to get the shirt looking crisp, not burnt to a crisp. Look at the label, and in the off chance it isn’t there then just use a lower heat setting. Slowly dial up the setting until the shirt begins to respond to the heat.

4. Spray it
To make getting rid of creases easier, and to prevent new ones from forming, Dr. Beckmann’s Spray Starch & Easy Iron is the perfect tool. It’ll speed up ironing, smoothing those stubborn creases and at the same leave the garment crisp and fresh. Spray it on the shirt evenly, and try to keep it at a distance of 20 cm.
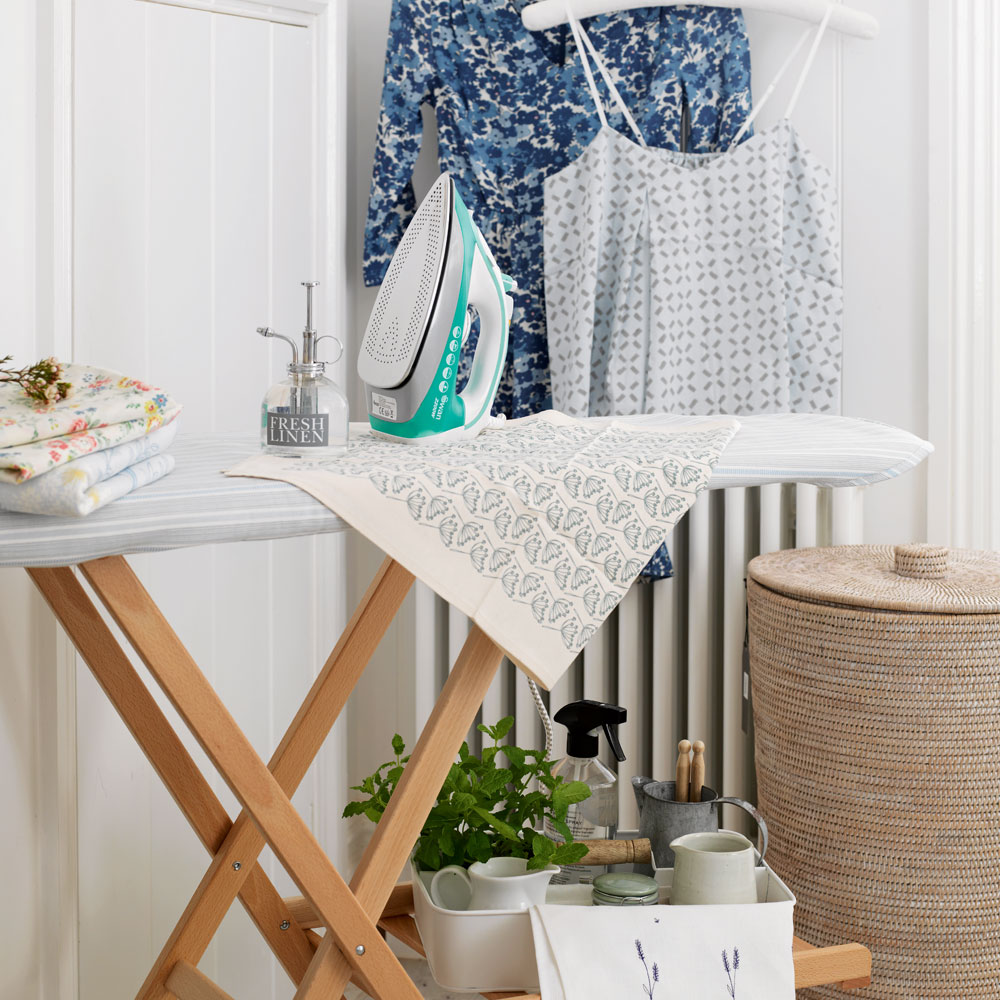
Alternatively, a spritz of linen water, either from a spray bottle or from the built-in spray in your iron, will help your iron glide across the fabric, with the extra steam helping to remove any stubborn creases. The fact your clothes will now smell deliciously of linen water is nice little bonus!
Tip: Make DIY linen water by adding 3tbsp vodka and 30 drops of lavender essential oil to two cups of distilled water. The vodka helps the oil and water mix, while distilled water won’t ‘go off’.
Sign up to our newsletter for style inspiration, real homes, project and garden advice and shopping know-how
Buy Now: Spray Starch & Easy Iron, £2.29, Dr. Beckmann
5. Iron like a pro
When ironing a shirt, it’s best to start with the sleeves because they’ll be ok hanging off the ironing board whilst the rest of the shirt is being ironed. Next, move onto the collar and lay it flat, ensuring you iron from the middle outwards in each direction. To iron the body of the shirt, neatly fold one side of the shirt into the middle, moving the iron from the collar of the shirt to the bottom and then do the same with the opposite side, before finishing with the back to ensure every area is covered.
6. Let your shirt hang
When you’re done, it’s important to let the shirt cool down - give the fabric a chance to settle, giving you that flat, crease-free shirt.

Look after your iron with these handy hints...
1. Never iron over a transfer or print – if it melts not only will the t-shirt be ruined, but your iron will develop a sticky bottom, too. If this happens, whack your iron up to top heat and then carefully rub a damp cloth over the sole plate. If this doesn’t get the grot off, try a specialist iron cleaning product.
2. Use distilled or mineral water (if you’re not already using linen water) to avoid any limescale build up in the iron steam-release holes. It will make cleaning the sole plate a lot easier too which you can do with a baking soda paste (1 tbsp water to 2 tbsp baking soda) apply with a spatula and wipe off with a damp cloth.
3. Empty the tank after each use, this will also prevent mineral deposits building up. To clean out the tank fully, fill it one third full of distilled water, plug in your iron and turn it to it’s highest steam setting. Iron over a clean, dry cloth and allow the steam to clean out the vents.
4. If your iron isn’t Teflon coated, use a wire scourer or green scouring sponge to get any grime off the bottom.
5. If your iron’s sole plate does get scratched, run the hot iron over wax paper – it’s like waxing a surf board and the iron will then run smoother over fabric.
Jennifer is the Deputy Editor (Digital) for Homes & Gardens online. Prior to her current position, she completed various short courses a KLC Design School, and wrote across sister brands Ideal Home, LivingEtc, 25 Beautiful Homes, Country Homes & Interiors, and Style at Home.