How to clean walls before painting – the budget product even professional decorators use
Prep for success

Sign up to our newsletter for style inspiration, real homes, project and garden advice and shopping know-how
You are now subscribed
Your newsletter sign-up was successful
EDITOR’S NOTE: An earlier version of this article included a quote from a purported expert whose credentials we have not been able to verify. The quote has been removed. We regret this lapse in our verification process and have updated our internal protocols to reduce the risk of recurrence.
Most of us have either asked (or, hands up, guessed our way through the process) of how to clean walls before painting them. So we're here to strip back the confusion and explain exactly what it is you need to do to make sure your walls are perfectly clean before you get daubing your new colour choice all over.
When it comes to painting walls the best way you can achieve success is by prepping the base before anything else. Here's how to achieve the level of clean you need.
How to clean walls before painting
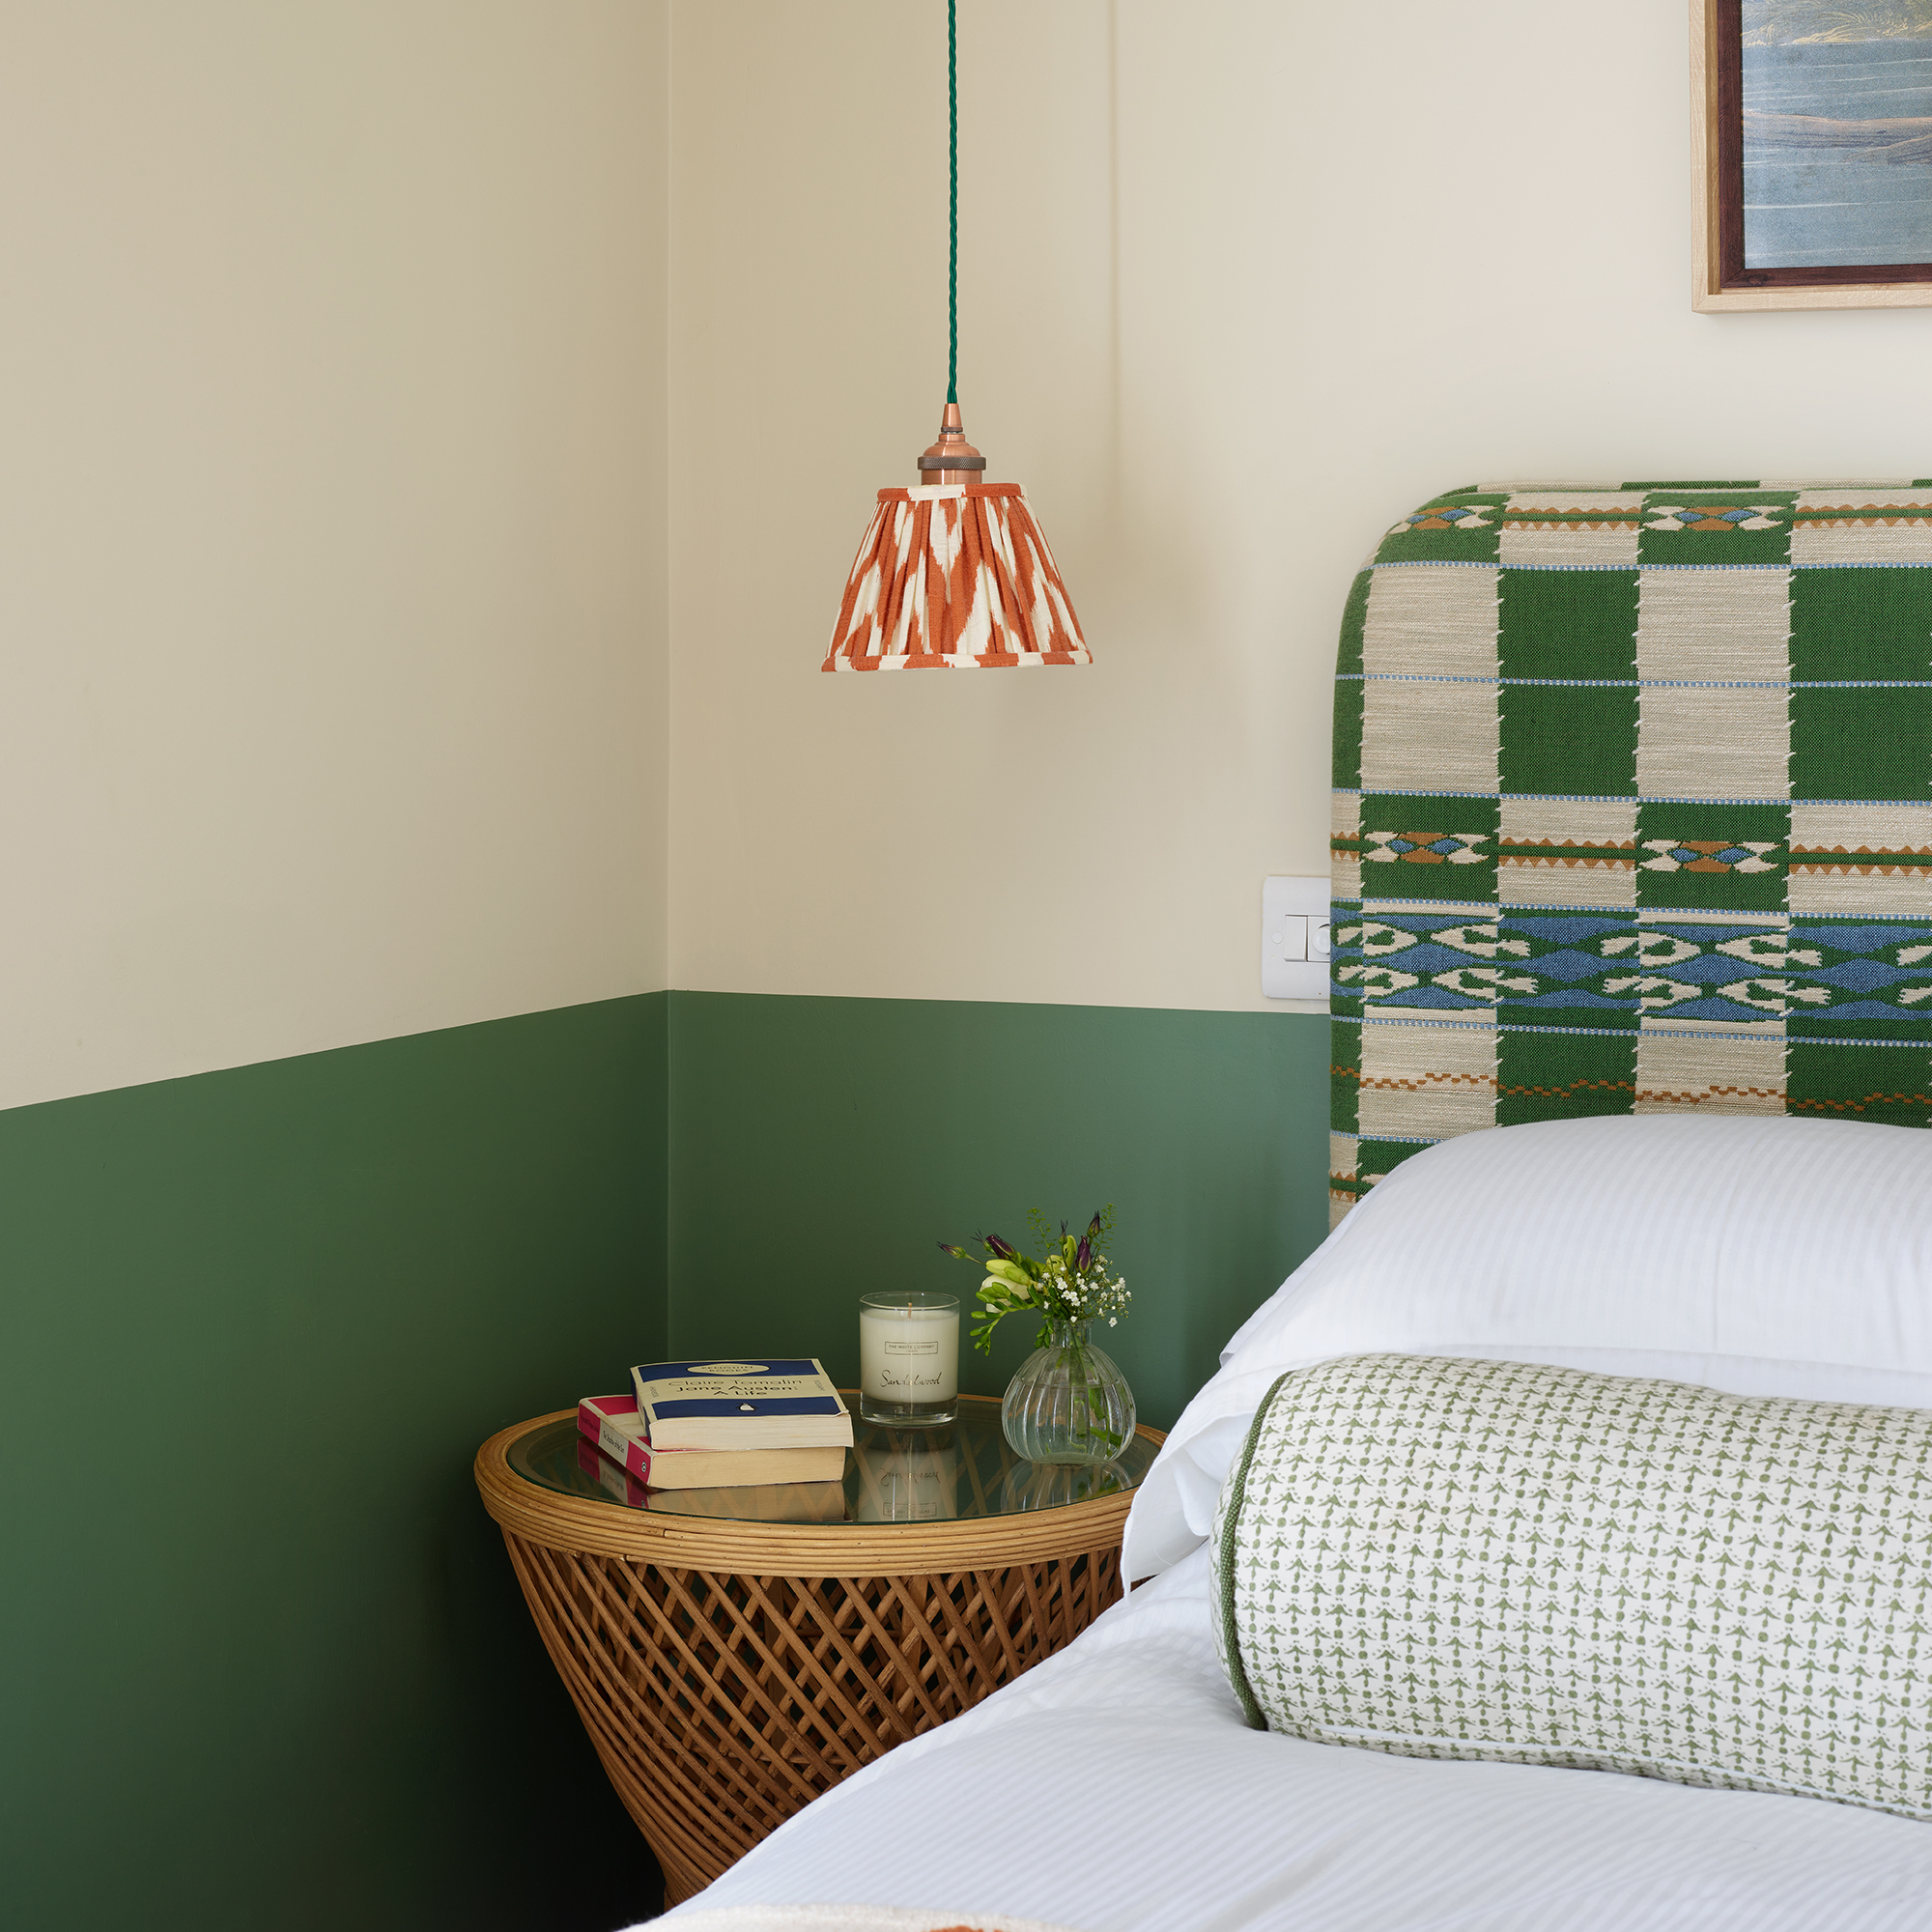
If you've never painted your walls before, or haven't ever got quite the results you've been hoping for, a key step is knowing how to clean walls before painting, as it can affect the application process as well as the final look.
'It’s important to clean your walls before you paint, as there could be dirt or dust on the wall that can make the paint clump when applied to the walls,' explains paint and interiors expert Sarah Lloyd, from Valspar Paint.
'Dust and dirt can also prevent the paint from sticking to the wall as well as it should. The more care you put into preparation, the better your finish will be.' Now let's discover the best way to do this...
1. Prepare the room
Firstly, you'll need to prepare the room where the walls are being painted. Remove as much furniture as you can and cover anything you can't move. Make sure to cover floors and skirting boards, too.
2. Dust the walls
As with cleaning anywhere else in the home, when it comes with how to clean walls before painting you need to remove any dust or cobwebs from the surface.
Sign up to our newsletter for style inspiration, real homes, project and garden advice and shopping know-how
A simple duster will do the trick, just make sure there are no outstanding bits of dusty debris before you add in liquid.
3. Wipe the walls
The next stage is to give the walls a good wipe down. 'Use a large sponge and soapy water to wipe down the walls to get them completely clean,' says Sarah.
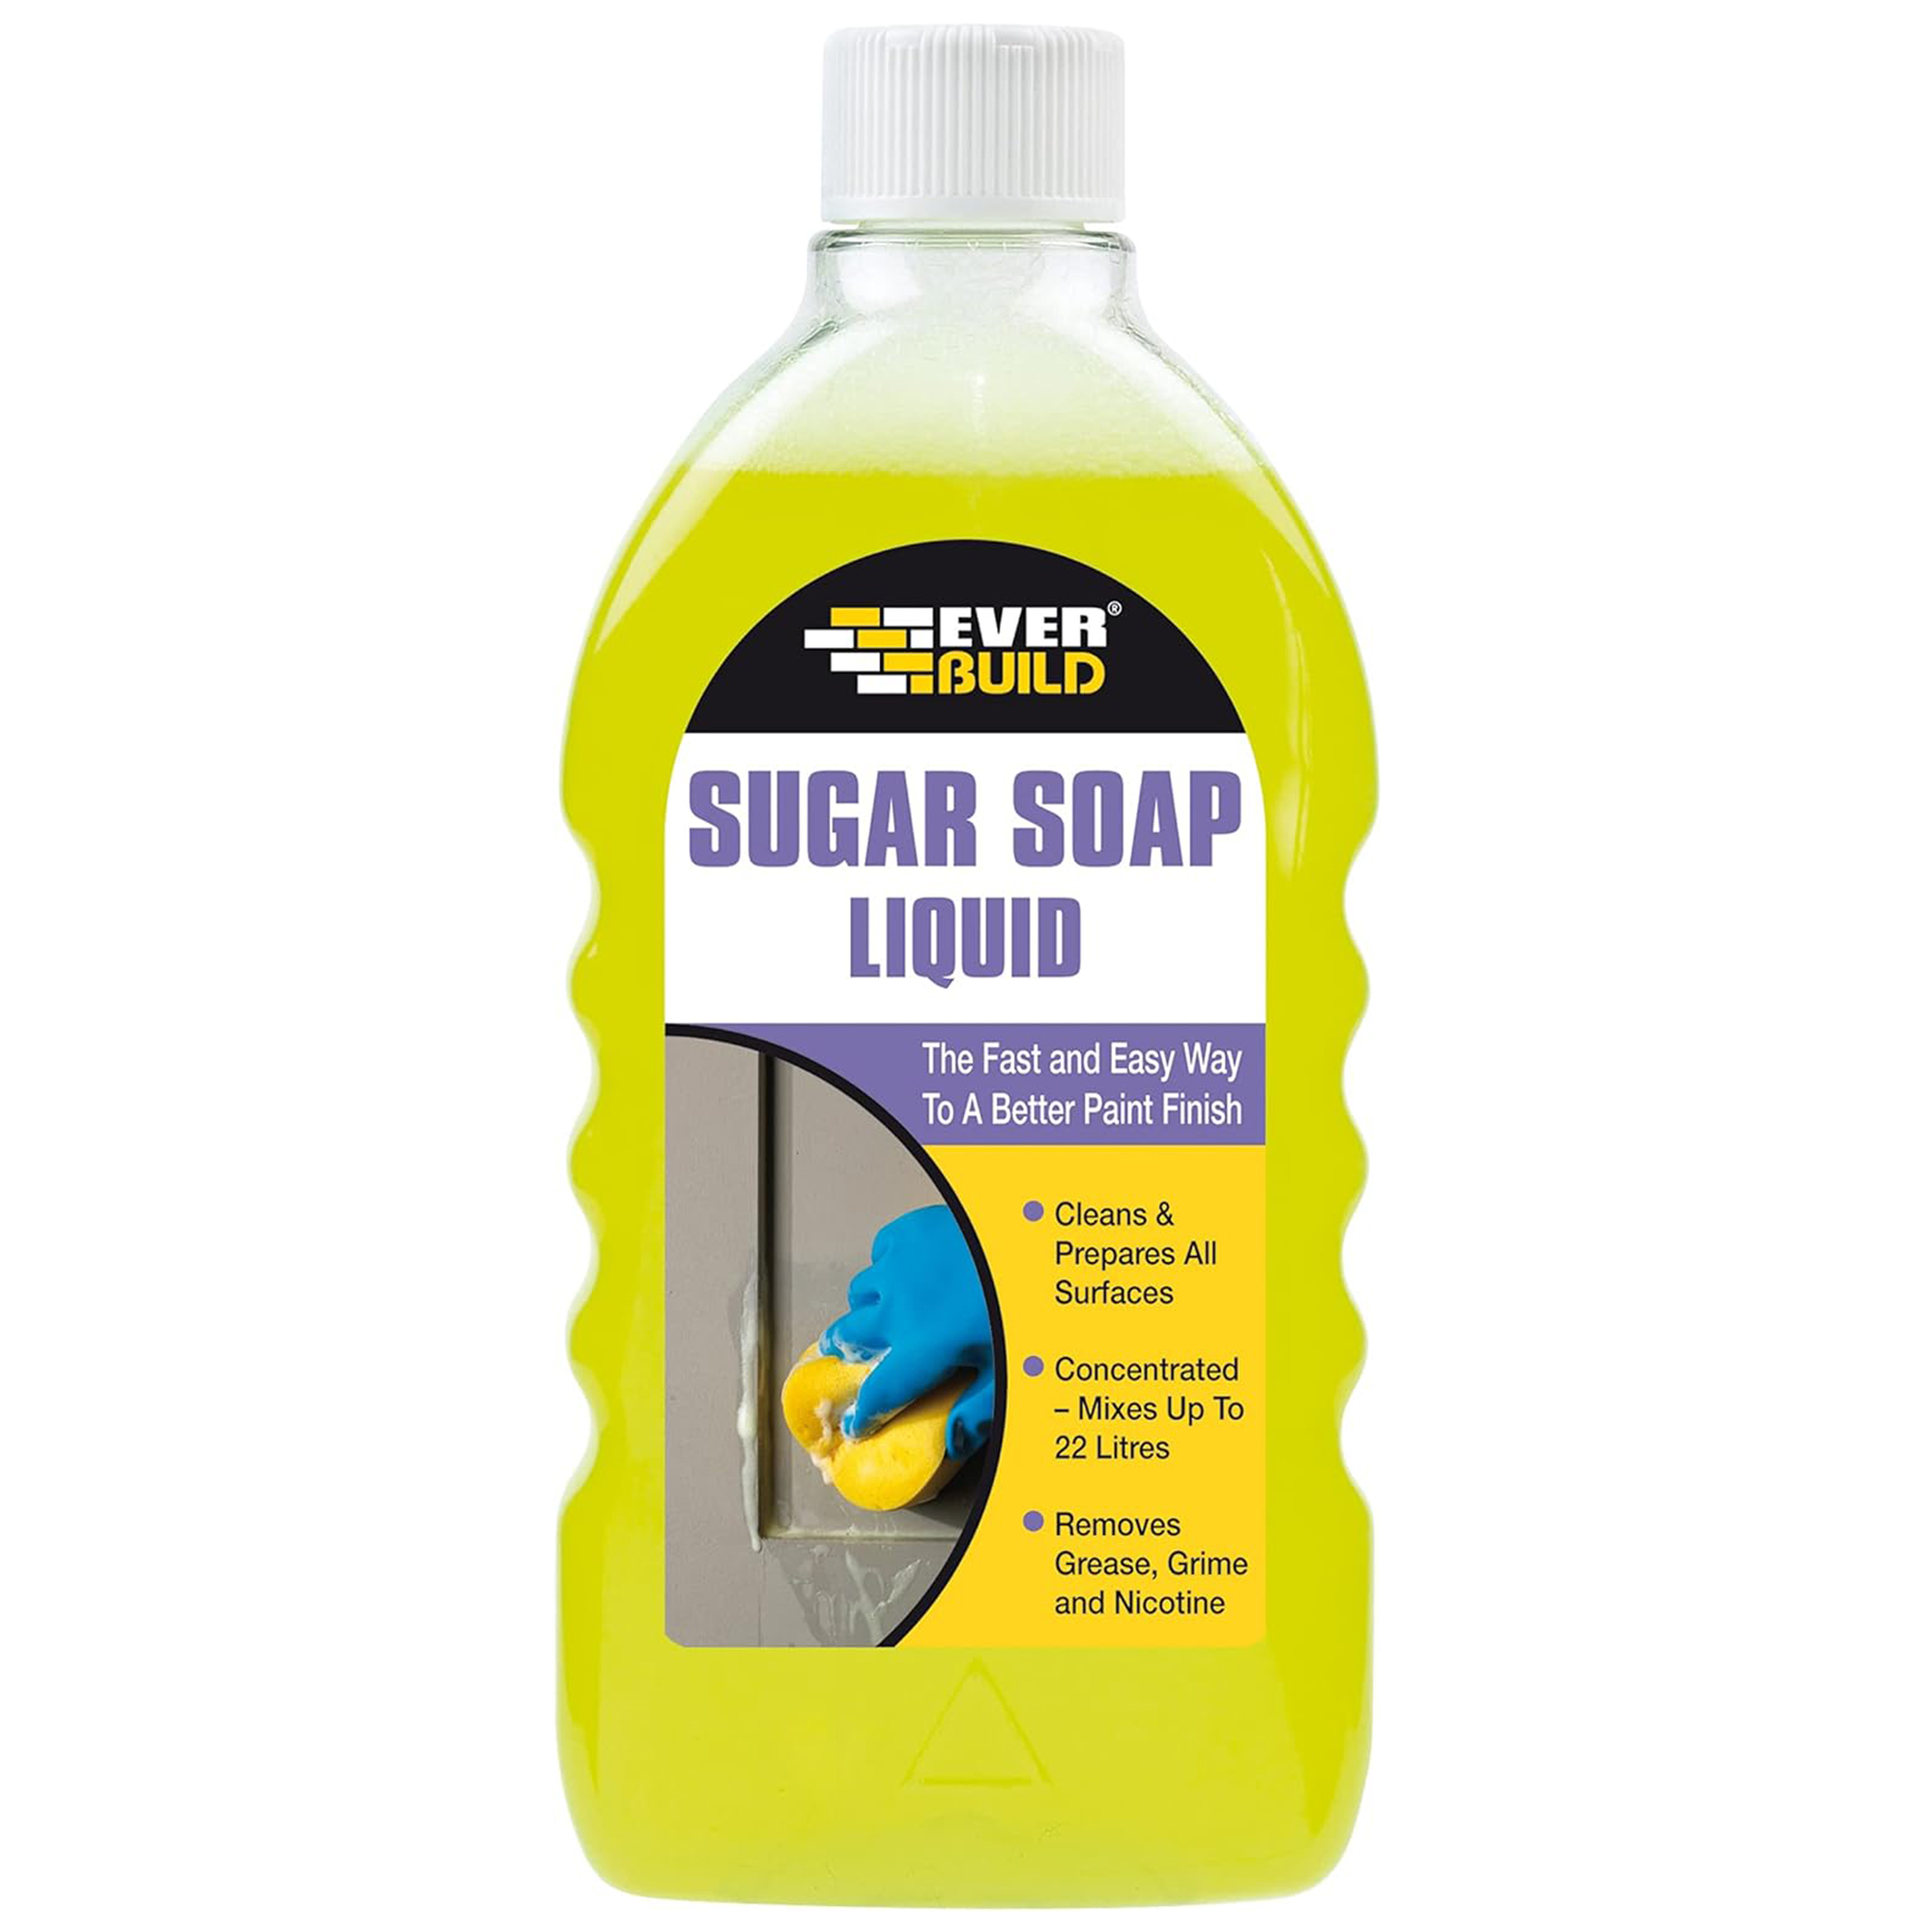
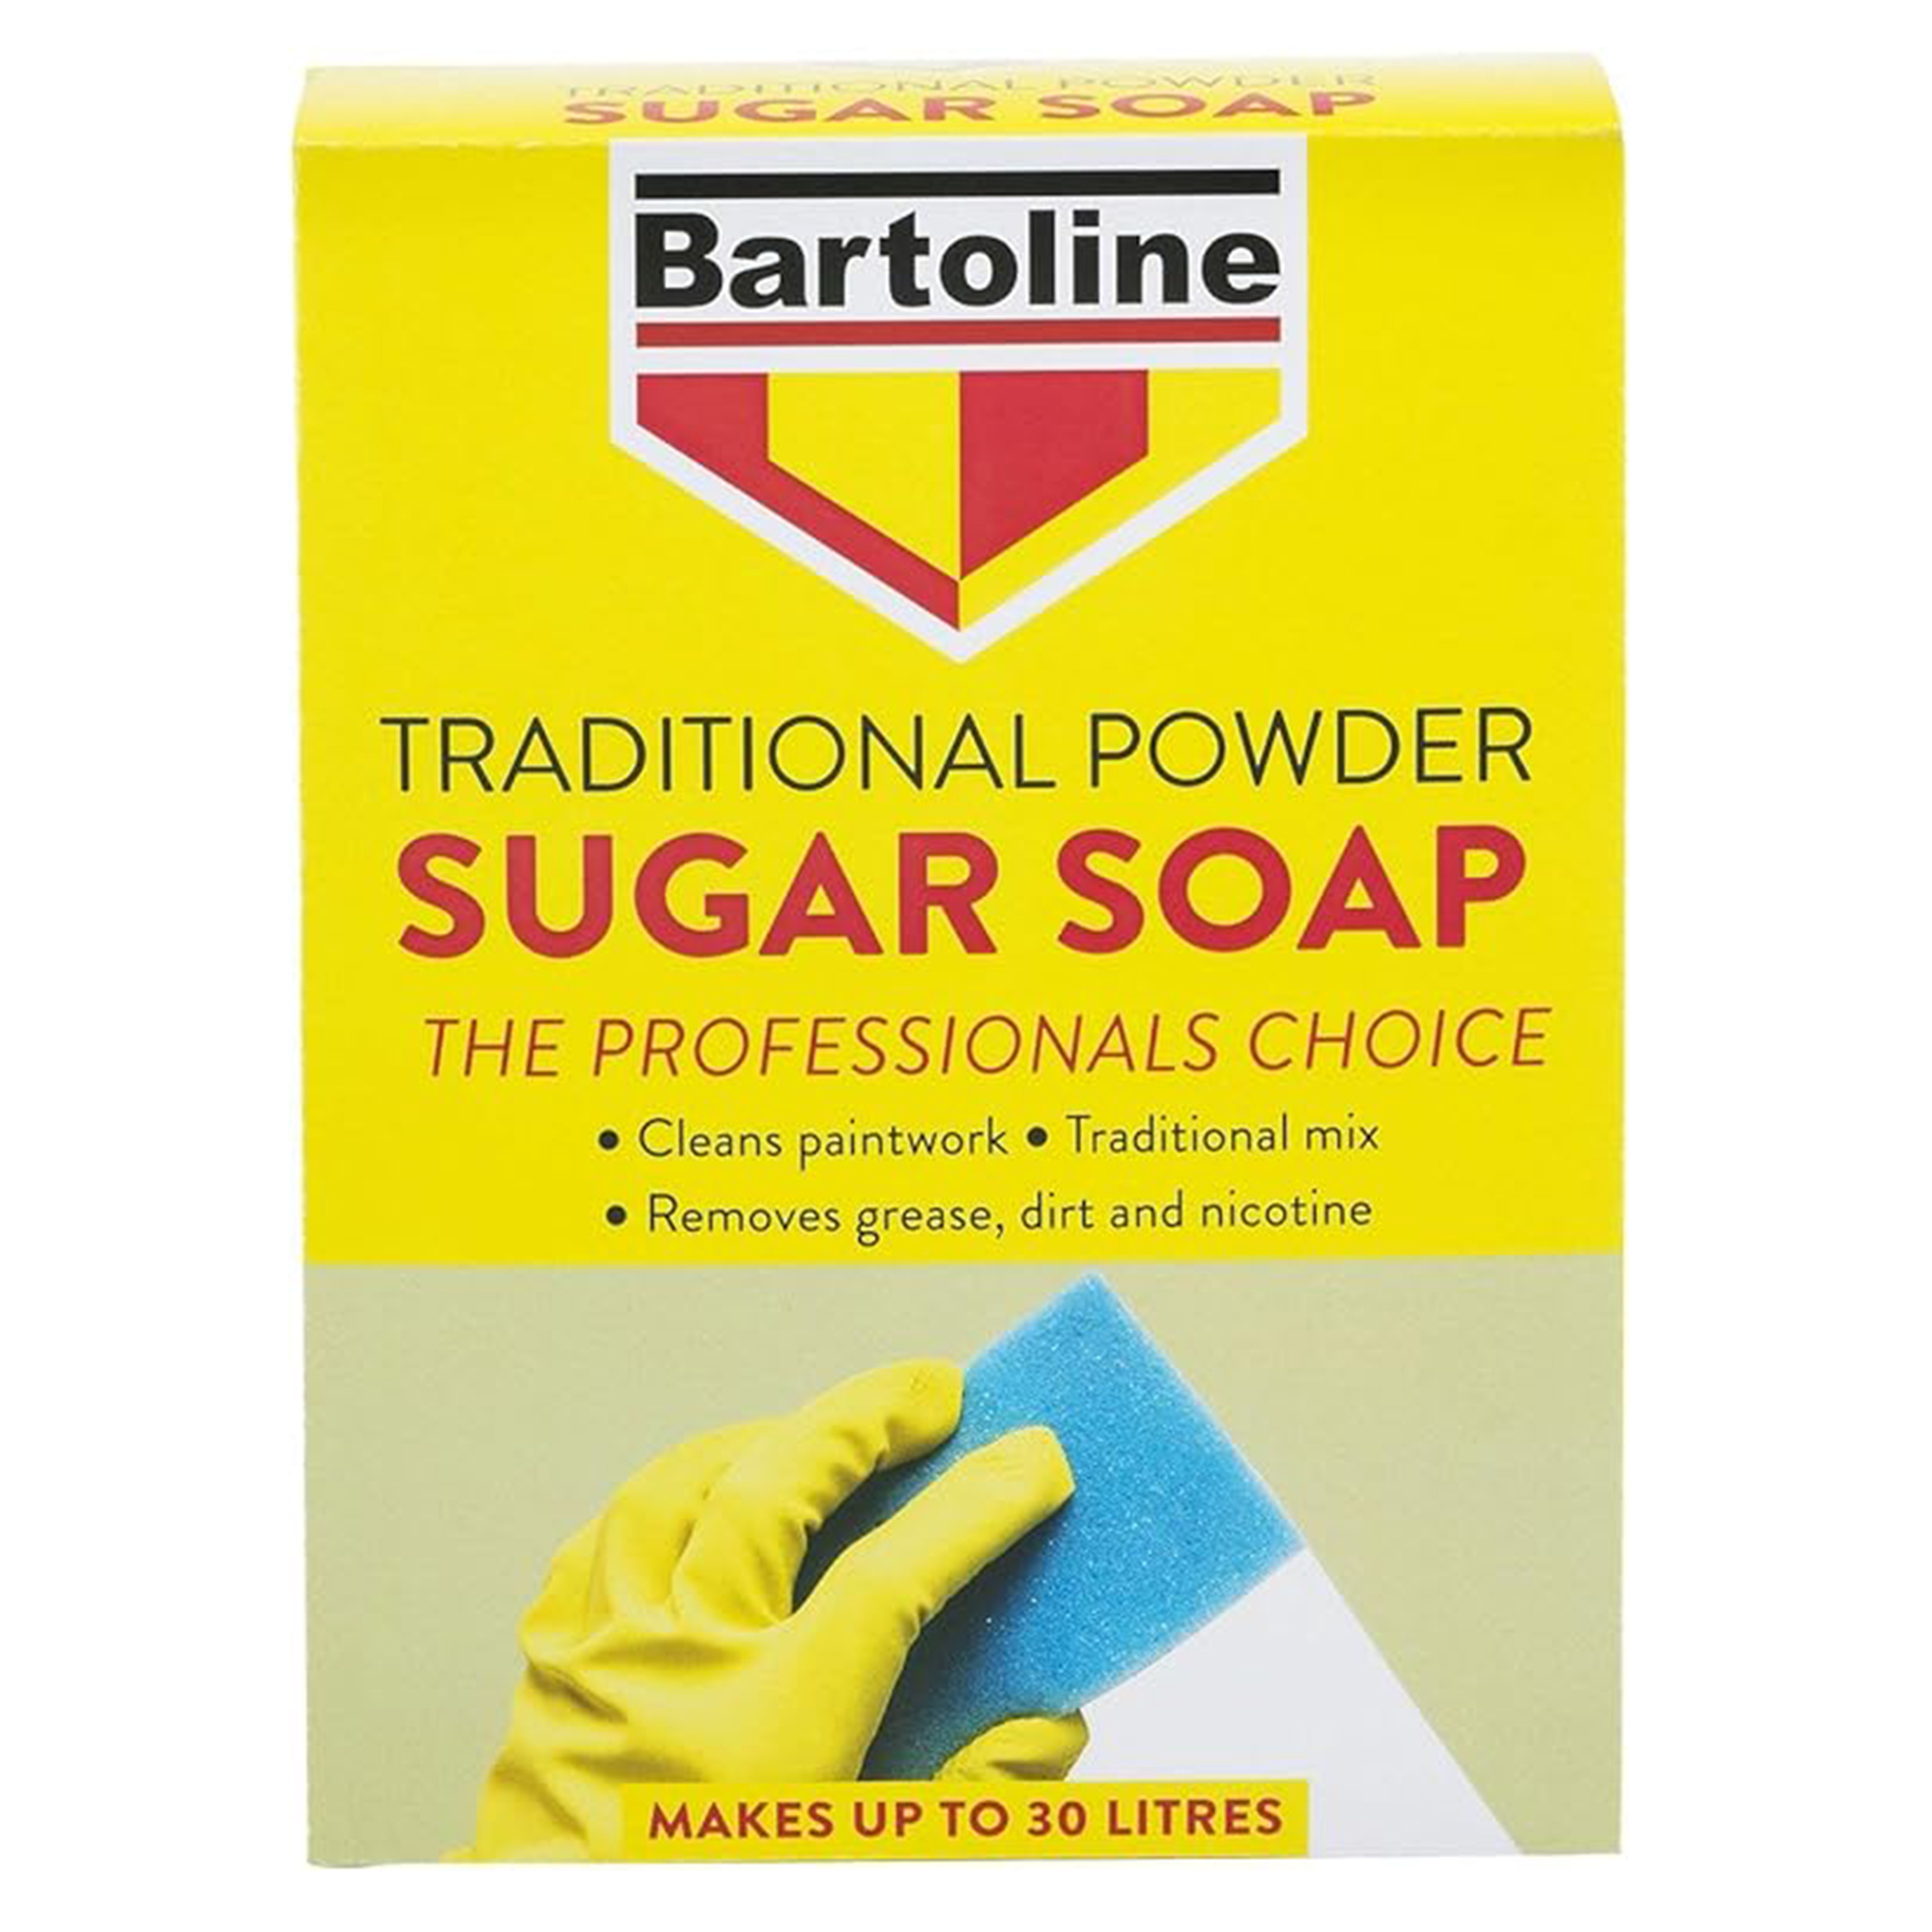
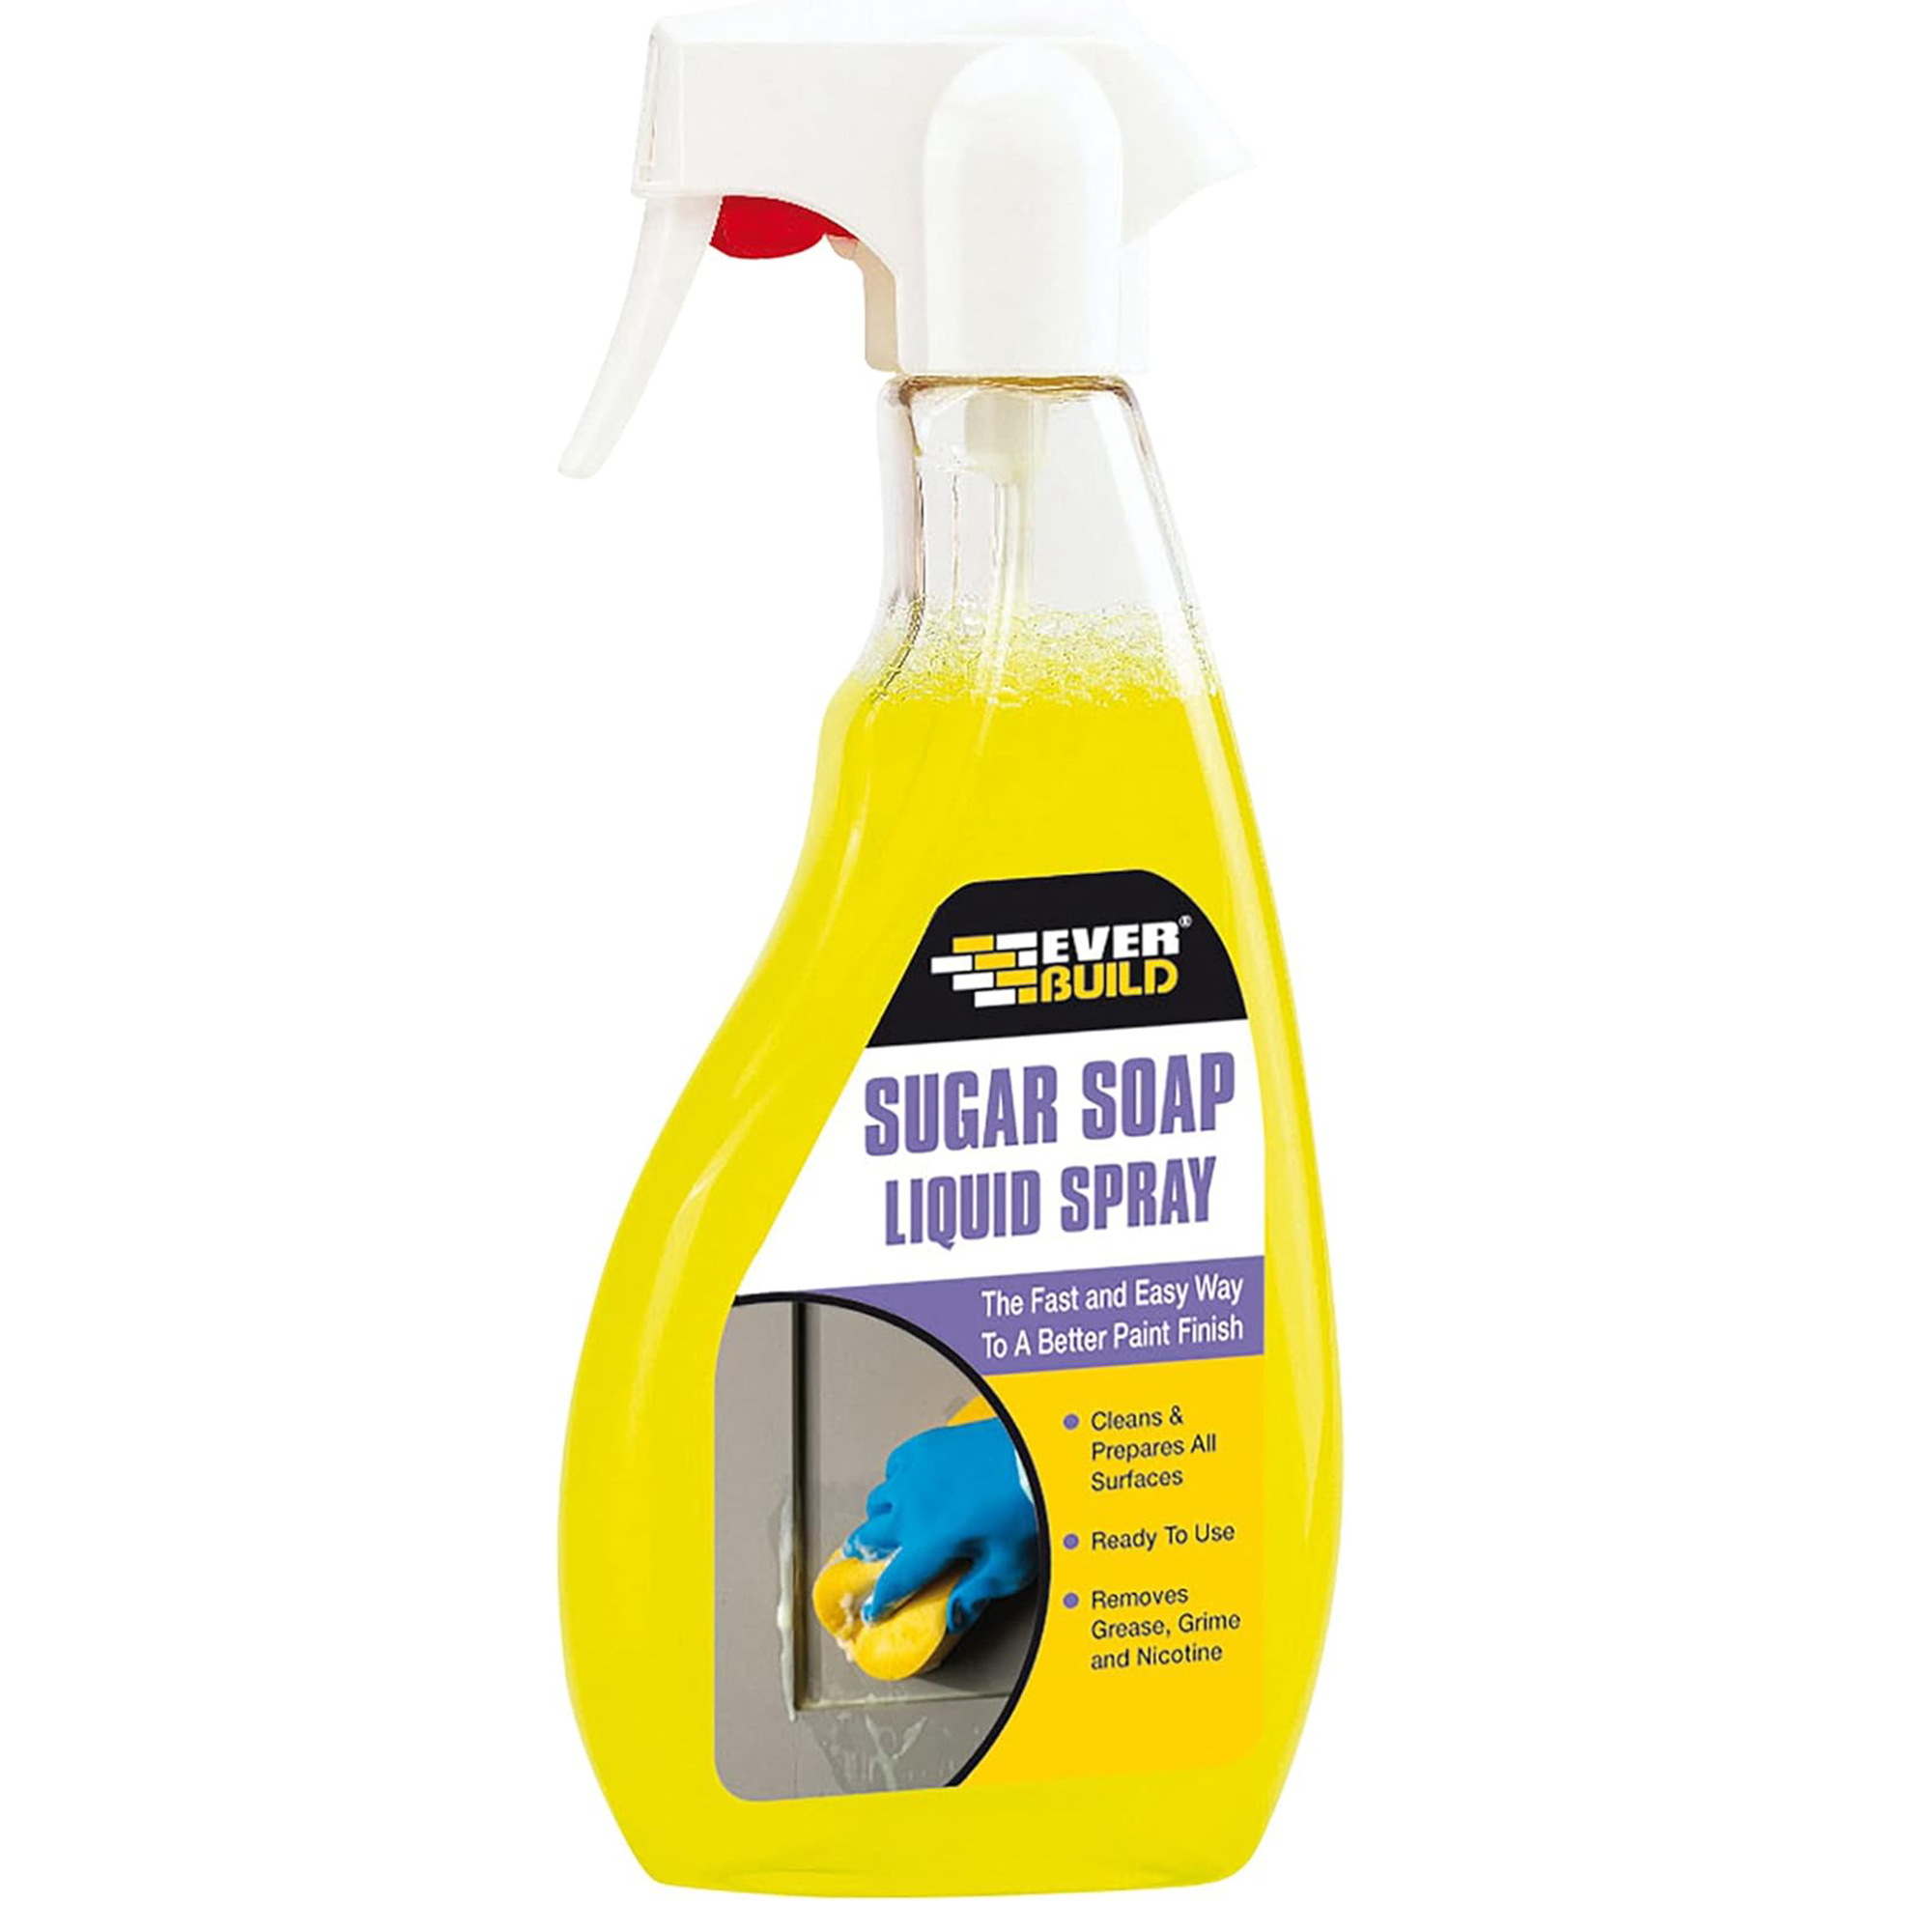
As for what kind of soap to use? Professional decorators from all over swear by sugar soap, which is a mild detergent which, contrary to its name, doesn't contain any sugar and is instead called so due to it looking like sugar when seen in its powdered form (you can buy it dried or in concentrated liquid forms).
'Sugar soap is the perfect solution to clean your walls,' says Sarah. 'Sugar soap is magic as it can cut through grease, dirt, sticky patches… pretty much anything!'
'Even if you can’t see any obvious bits of dirt, you’d be surprised how it can accumulate over time so you should always use sugar soap. All you need to do is spray it on the surface and give it a scrub.'
4. Wash off the soap
The next step is to remove any excess soap from the walls.
'Use some clean water to wash it off,' says Sarah. 'If you don’t wash it off, you’ll be left with a film of sugar soap that stops the paint from sticking properly, leaving you with a poor finish.'
Just don't get the walls too wet as you don't want to risk damaging the surface.
5. Leave to dry
Before you can get priming and painting you do need to ensure the walls are fully dried. This should take several hours, but leave them a day or two if you can, to make sure they really are dry as a bone.
FAQs
What can I use instead of sugar soap
Although sugar soap really is the wonder product for how to clean walls before painting, there are other solutions available.
One option is to use white vinegar in a 1:1 ratio with water. Alternatively, good old washing up liquid should do the job.
'If you’re unable to use sugar soap, then a little drop of washing up liquid in warm water is also a good alternative to clean the walls,' agrees paint expert Sarah.
While cleaning your surface may not seem necessary if there's no visible dirt, it really will make all the difference to the final result. And with just a little bit of elbow grease and one wonder product, the job will be done in no time.

Thea Babington-Stitt is the Managing Editor for Ideal Home. Thea has been working across some of the UK’s leading interiors titles since 2016.
She started working on these magazines and websites after graduating from City University London with a Masters in Magazine Journalism. Before moving to Ideal Home, Thea was News and Features Editor at Homes & Gardens, LivingEtc and Country Homes & Interiors. In addition to her role at Ideal Home, Thea is studying for a diploma in interior design with The Interior Design Institute.
