How to repair a door lock - a step-by-step guide to a fix a lock
Save your money and learn how to repair a door lock yourself

If any of your doors are suffering from a broken lock, it's essential that you learn how to repair a door lock as quickly as possible, so that you can relax in a secure, safe home.
Door locks serve an important purpose, and knowing they're in full working order can put our minds at ease. Fortunately, if your door lock has become faulty, there's a good chance you can repair it yourself without having to buy a replacement door or call on a professional locksmith to replace the lock completely.
'A broken door lock might not only result in a lack of privacy but may also result in accidentally being locked in or out of a room,' says Tim Warren, Joinery Expert, Adkwik. 'This is why it’s vital to fix any door lock as soon as you first notice any issues, whether that’s the lock sticking or the lock loosening.'
Can a door lock be repaired?
Whether or not a door lock can be repaired depends on the type of lock. The easiest way when learning how to repair a door lock is to add or remove a hinge packer to one (or all) of the door's hinges, which will enable the lock to fit into the latch correctly.
If the door seems to be in the correct position though, and it's just the lock that is broken, the door lock may need to be replaced.
'Front doors for example aren't as easily repaired unless you're a locksmith', says DIY expert Jo Behari. 'It's probably best to replace it, preferably with a lock the same make, so it can ease back into the lock cavity without having to make any adjustments.'
How to repair a door lock - step by step
'Your door may have trouble locking, for several reasons,' says Jonathan Hey, Founder of Westbury Joinery. 'This issue is particularly common at this time of year [autumn/winter] as the weather begins to change.'
Sign up to our newsletter for style inspiration, real homes, project and garden advice and shopping know-how
He adds, 'when learning how to repair a door lock, it's important to only use hand tools, as power tools could damage the door or screw heads.'
This guide will firstly take you through a simple method of how to repair a door lock with essential tools that can be applied to most doors (interior or exterior), before focusing on how to repair a faulty euro-cylinder lock, as this is a common lock used in many front doors.

Jonathan Hey founded Westbury Garden Rooms in 1989 following a personal project to build a conservatory for his mother. As a self-taught builder with practical experience and a keen interest in design, he already had a strong basis for understanding structures and decided to specialise in the design and build of Garden Rooms. Following 13 years of success and growing demand for timber windows and doors of the same quality, Jonathan launched Westbury Windows & Joinery. An architecturally led company, with a passion for traditional British aesthetics and technical accuracy.
1. Check the latches
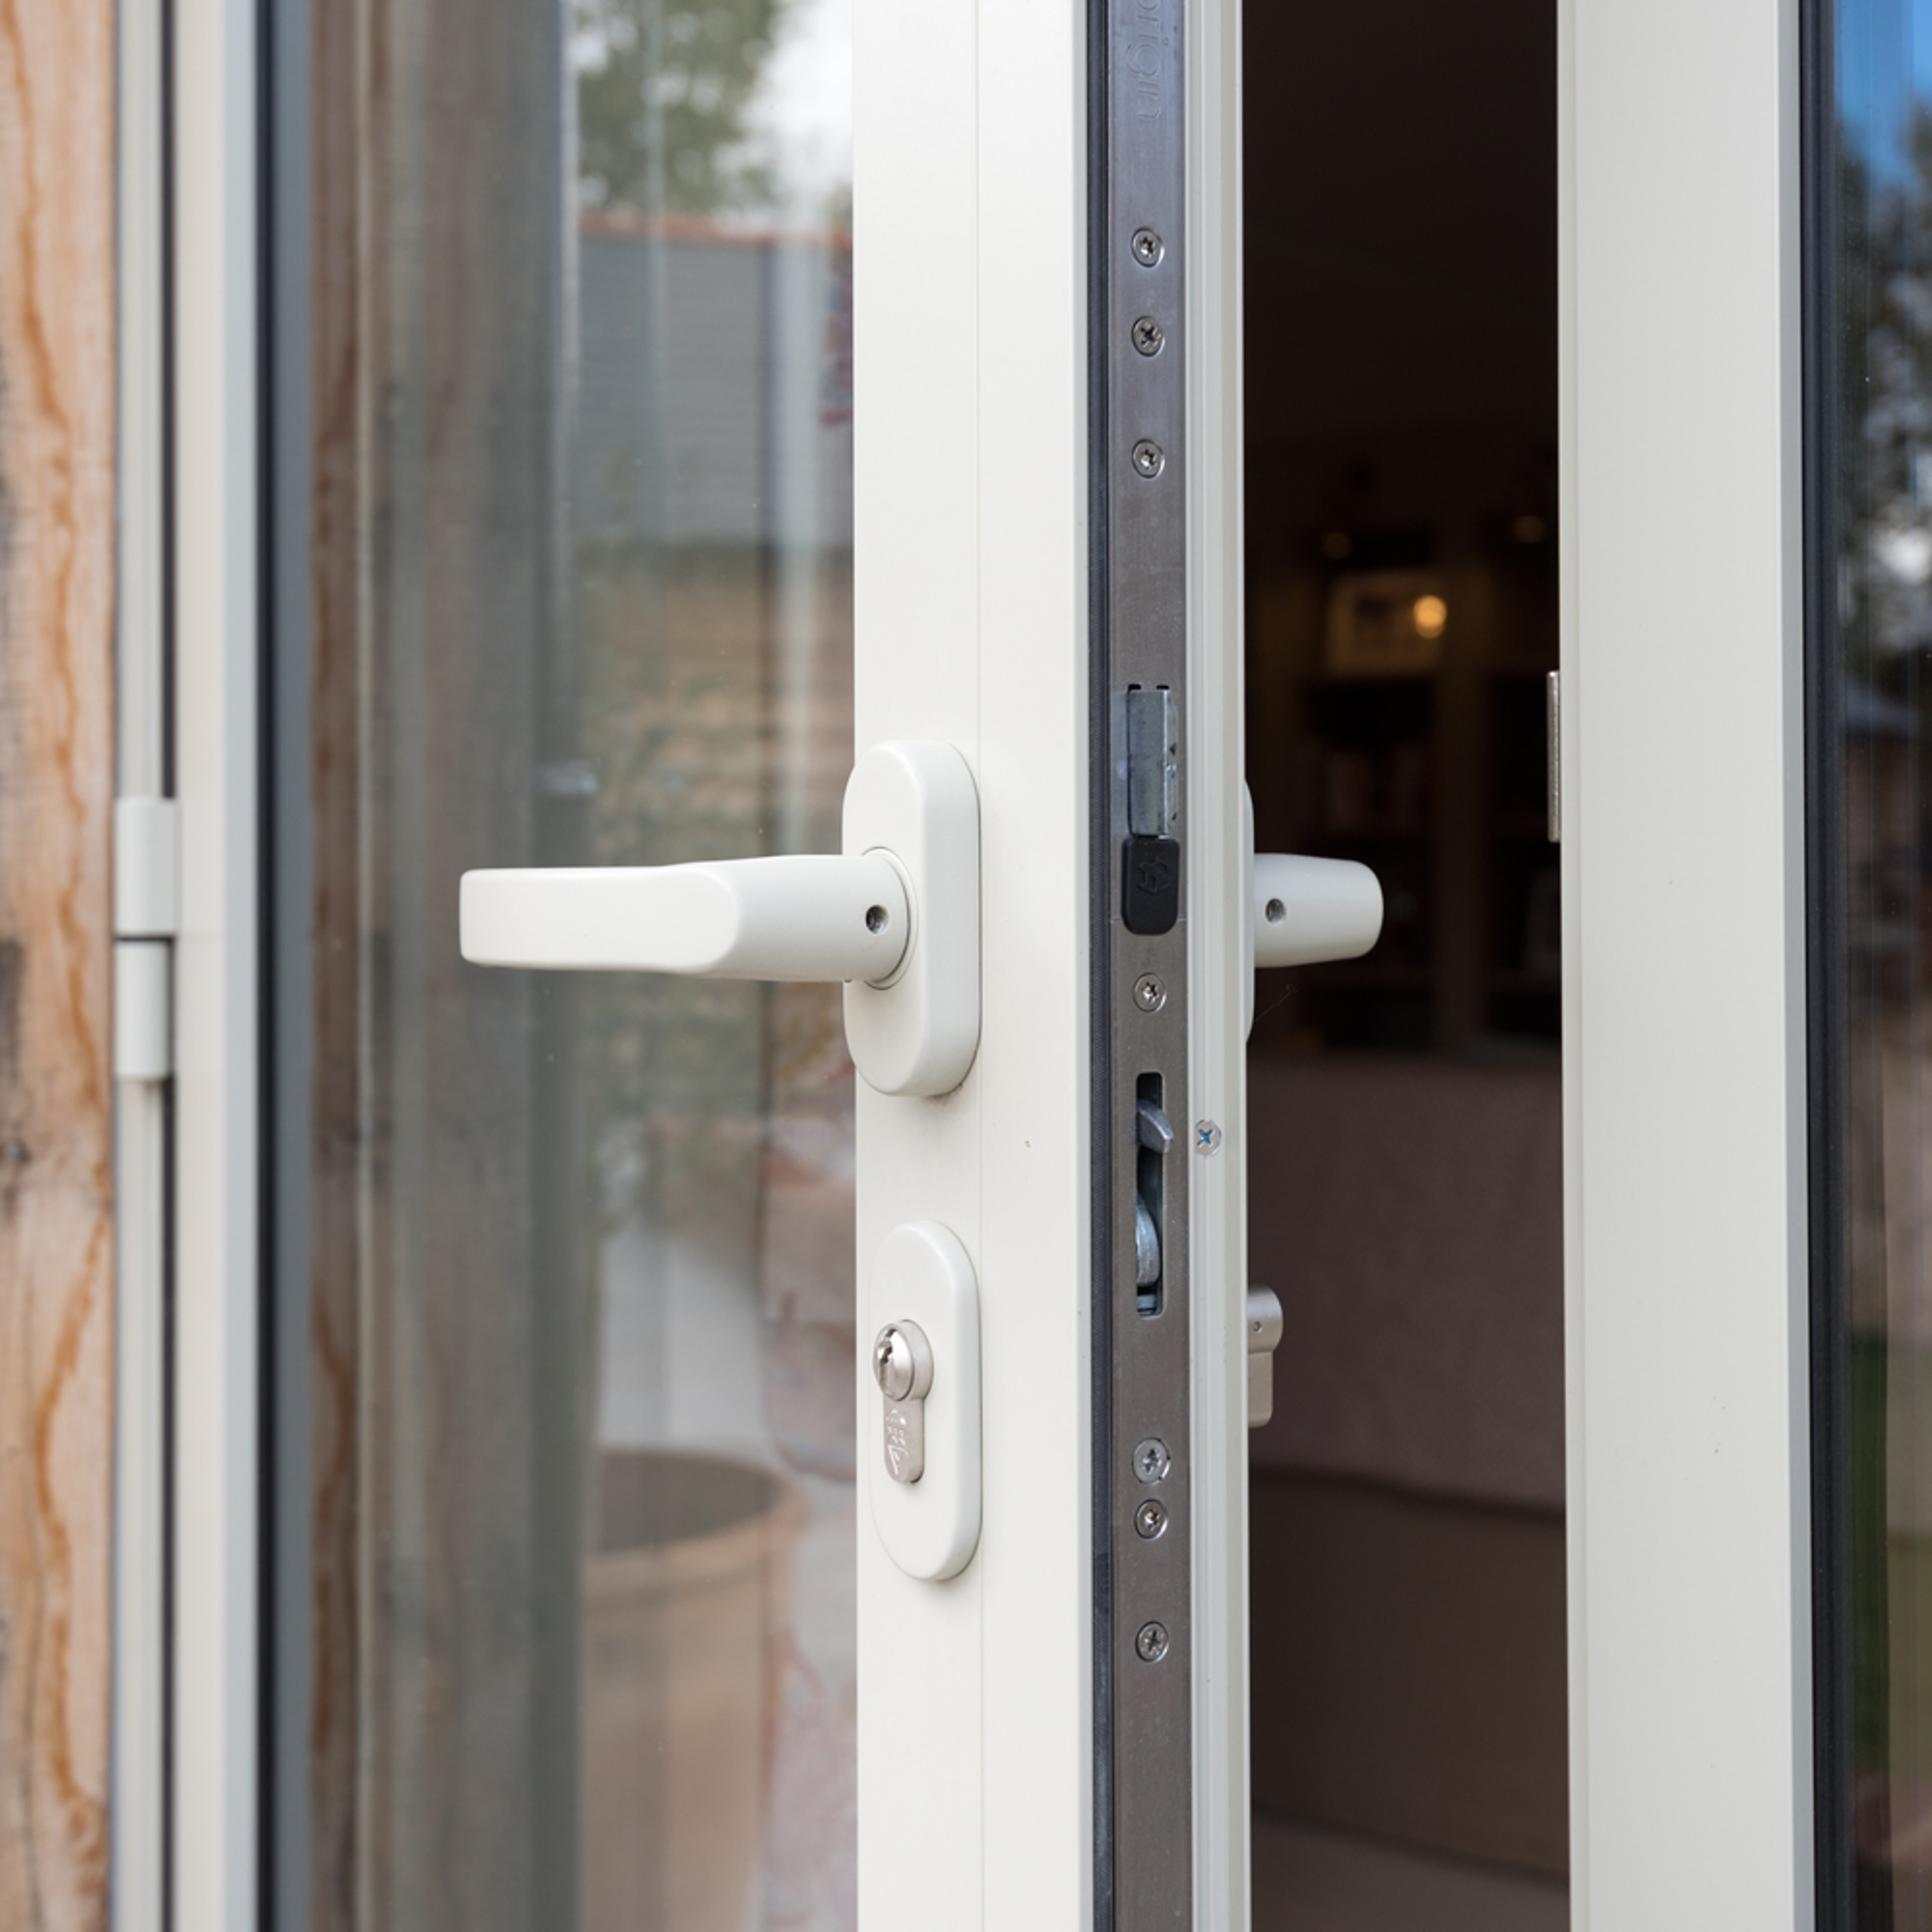
The first step when learning how to repair a door lock is to check that the door's latches are engaging properly. This is especially important if your door has a multipoint door handle, where you lift the handle to engage the three points of locking at the top, middle, and bottom of the door.
A build up of debris in the locking points could prevent the multipoint from engaging properly, so ensure these are clear by moving the handle up and down and feeling for any friction.
2. Look for gaps
You may need to make some seasonal adjustments by adding or removing hinge 'shims’ or ‘packers’. These are small metal plates that fit underneath the hinge, you can pick them up from most hardware stores and online at Amazon.
'Look to see if there is a gap between the two doors (if double) or the door and the frame (if single),' says joinery expert Jonathan. 'A gap will suggest that packers need adding. No gap, and signs of rubbing, may mean that packers need removing.'
If you can't see a gap and your door seems to be sitting correctly, you can move straight to step four.
3. Remove or add a hinge packer
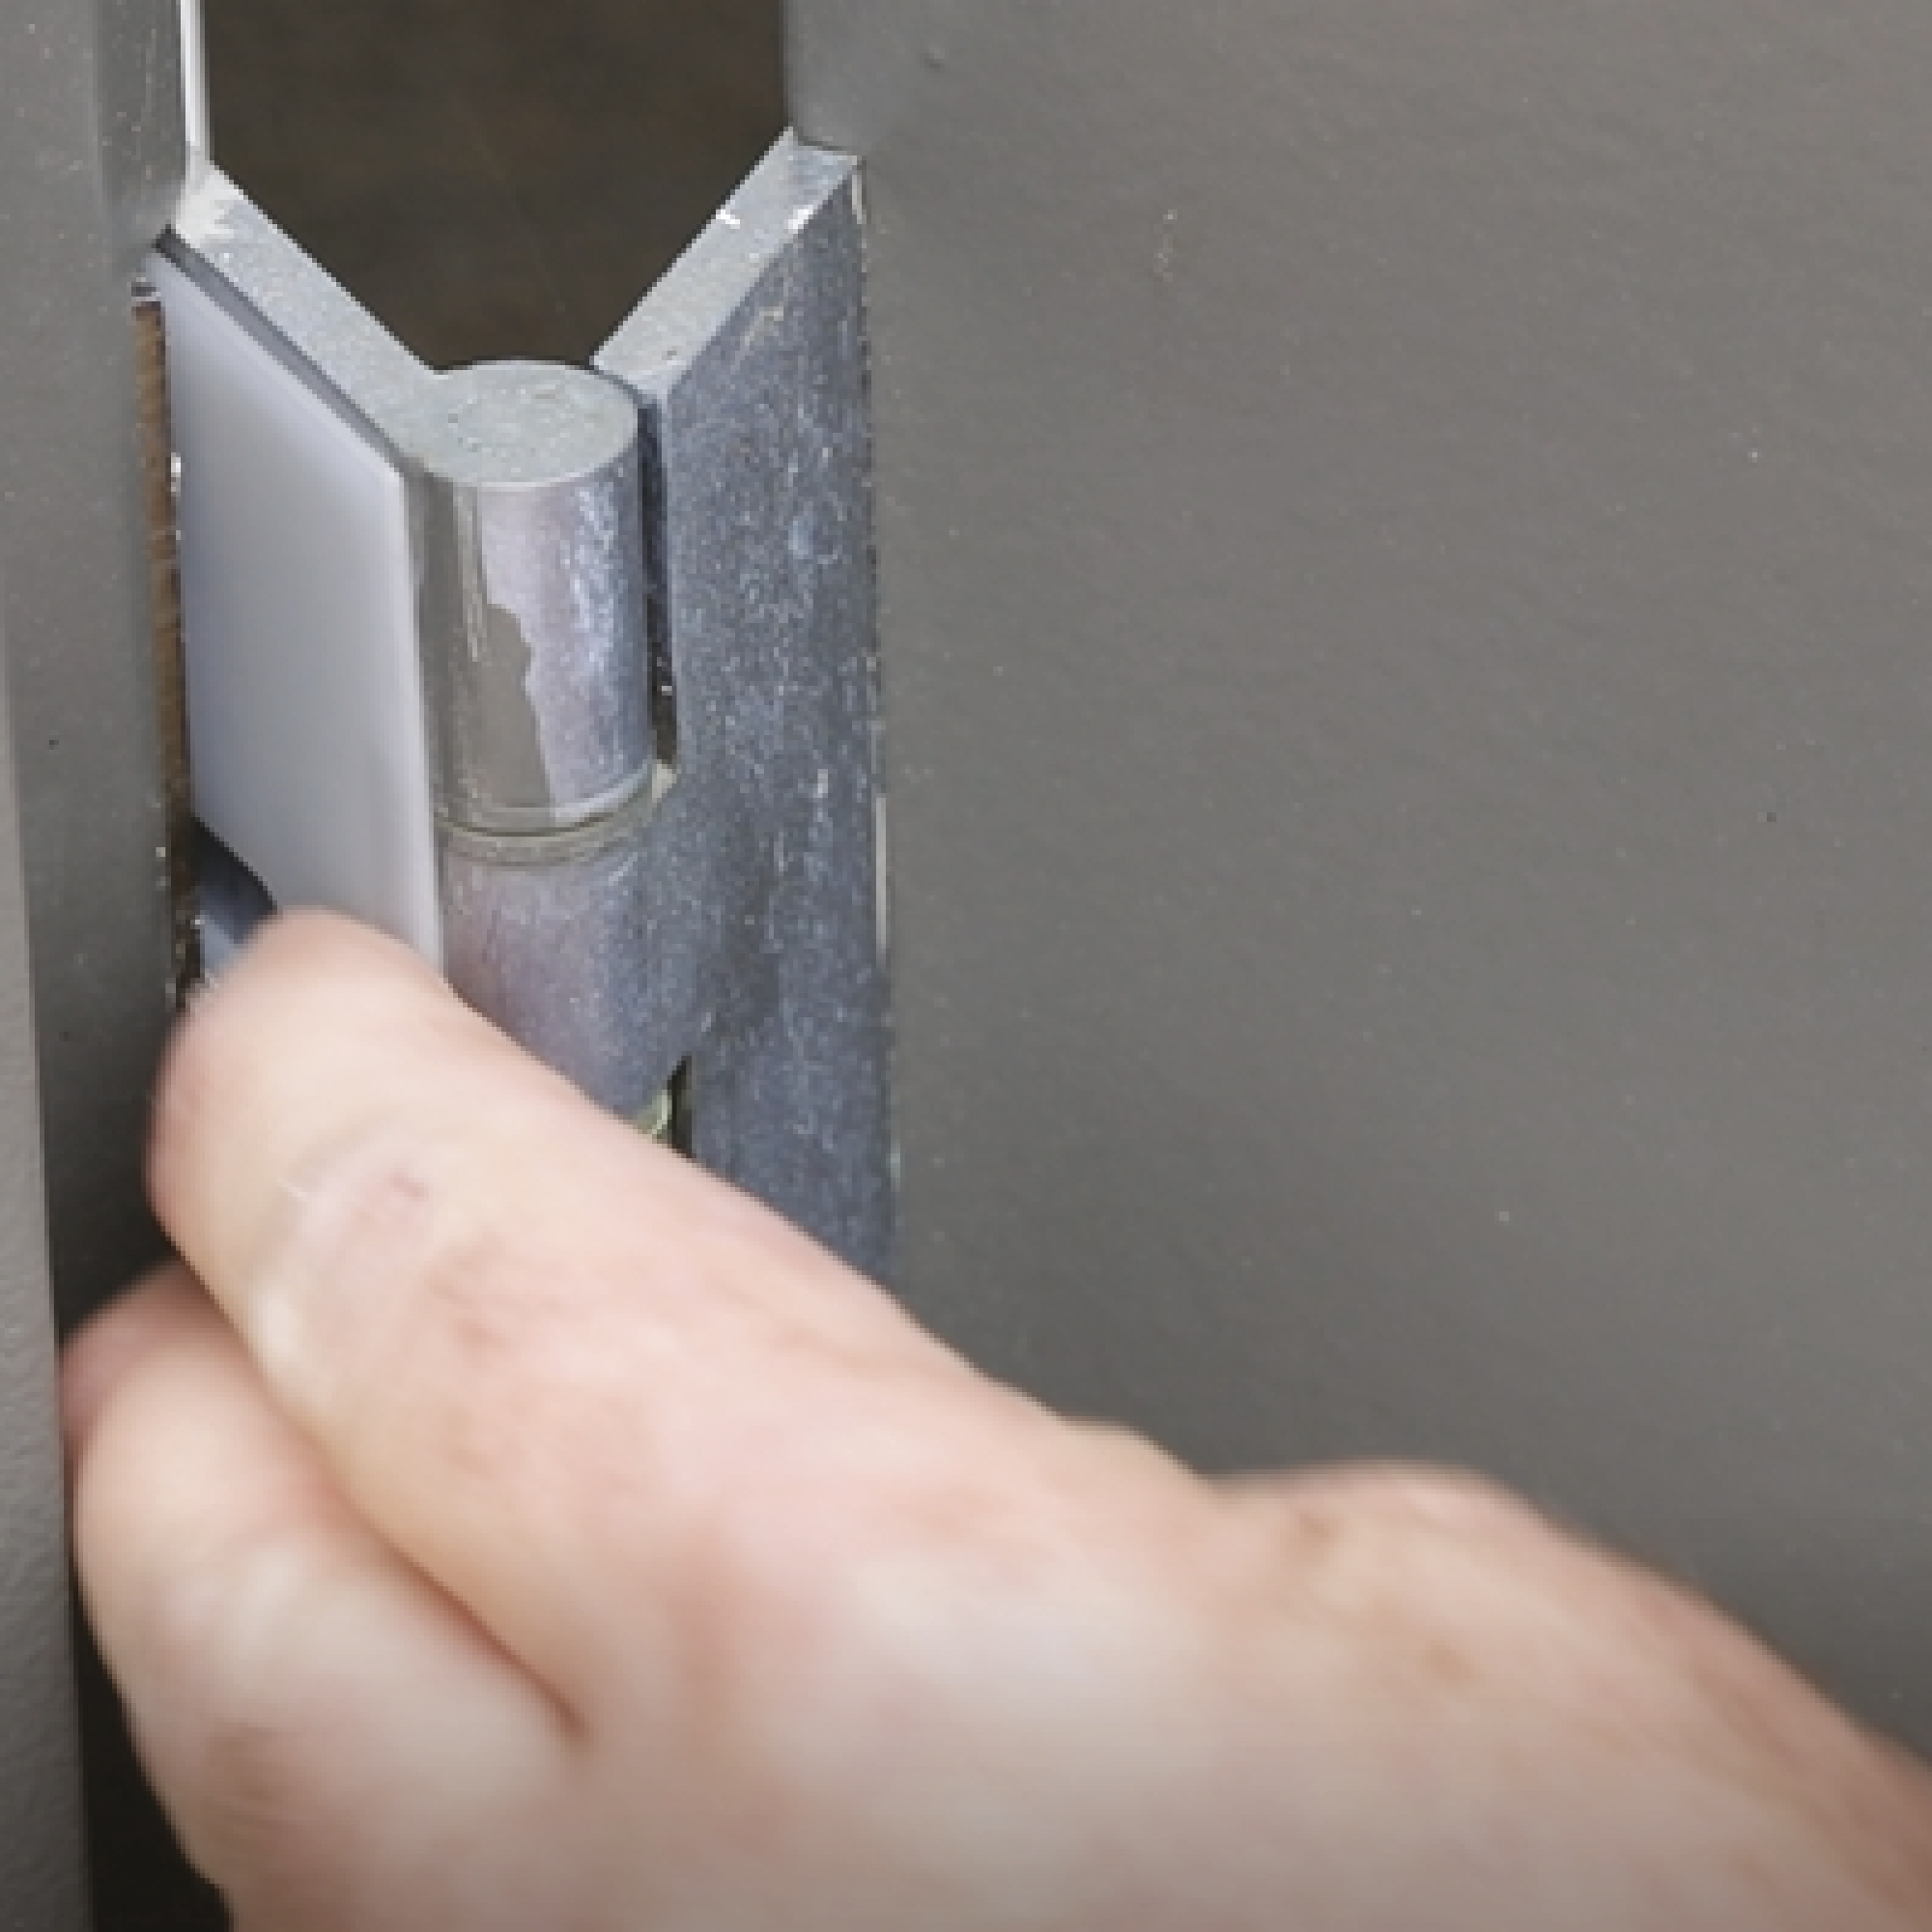
You don't need to know how to hang a door to install a hinge packer. Using a hand screwdriver, loosen the screws slightly from the hinge closest to the gap or area that is rubbing, so there is enough space to remove or slip a hinge packer behind the hinge. 'Hinge packers are available in varying depths so you may need to make a few adjustments until you find the perfect balance,' Jonathan says.
Once you've added or removed your packer, tighten the screws again and test the door. If the lock is still faulty, repeat this step on the other hinge/hinges until the door locks correctly. You can use this method on most door locks, indoor or outdoor.
Test your door lock again. If it is now working properly, you don't need to progress to the next step.
4. Remove the euro cylinder lock
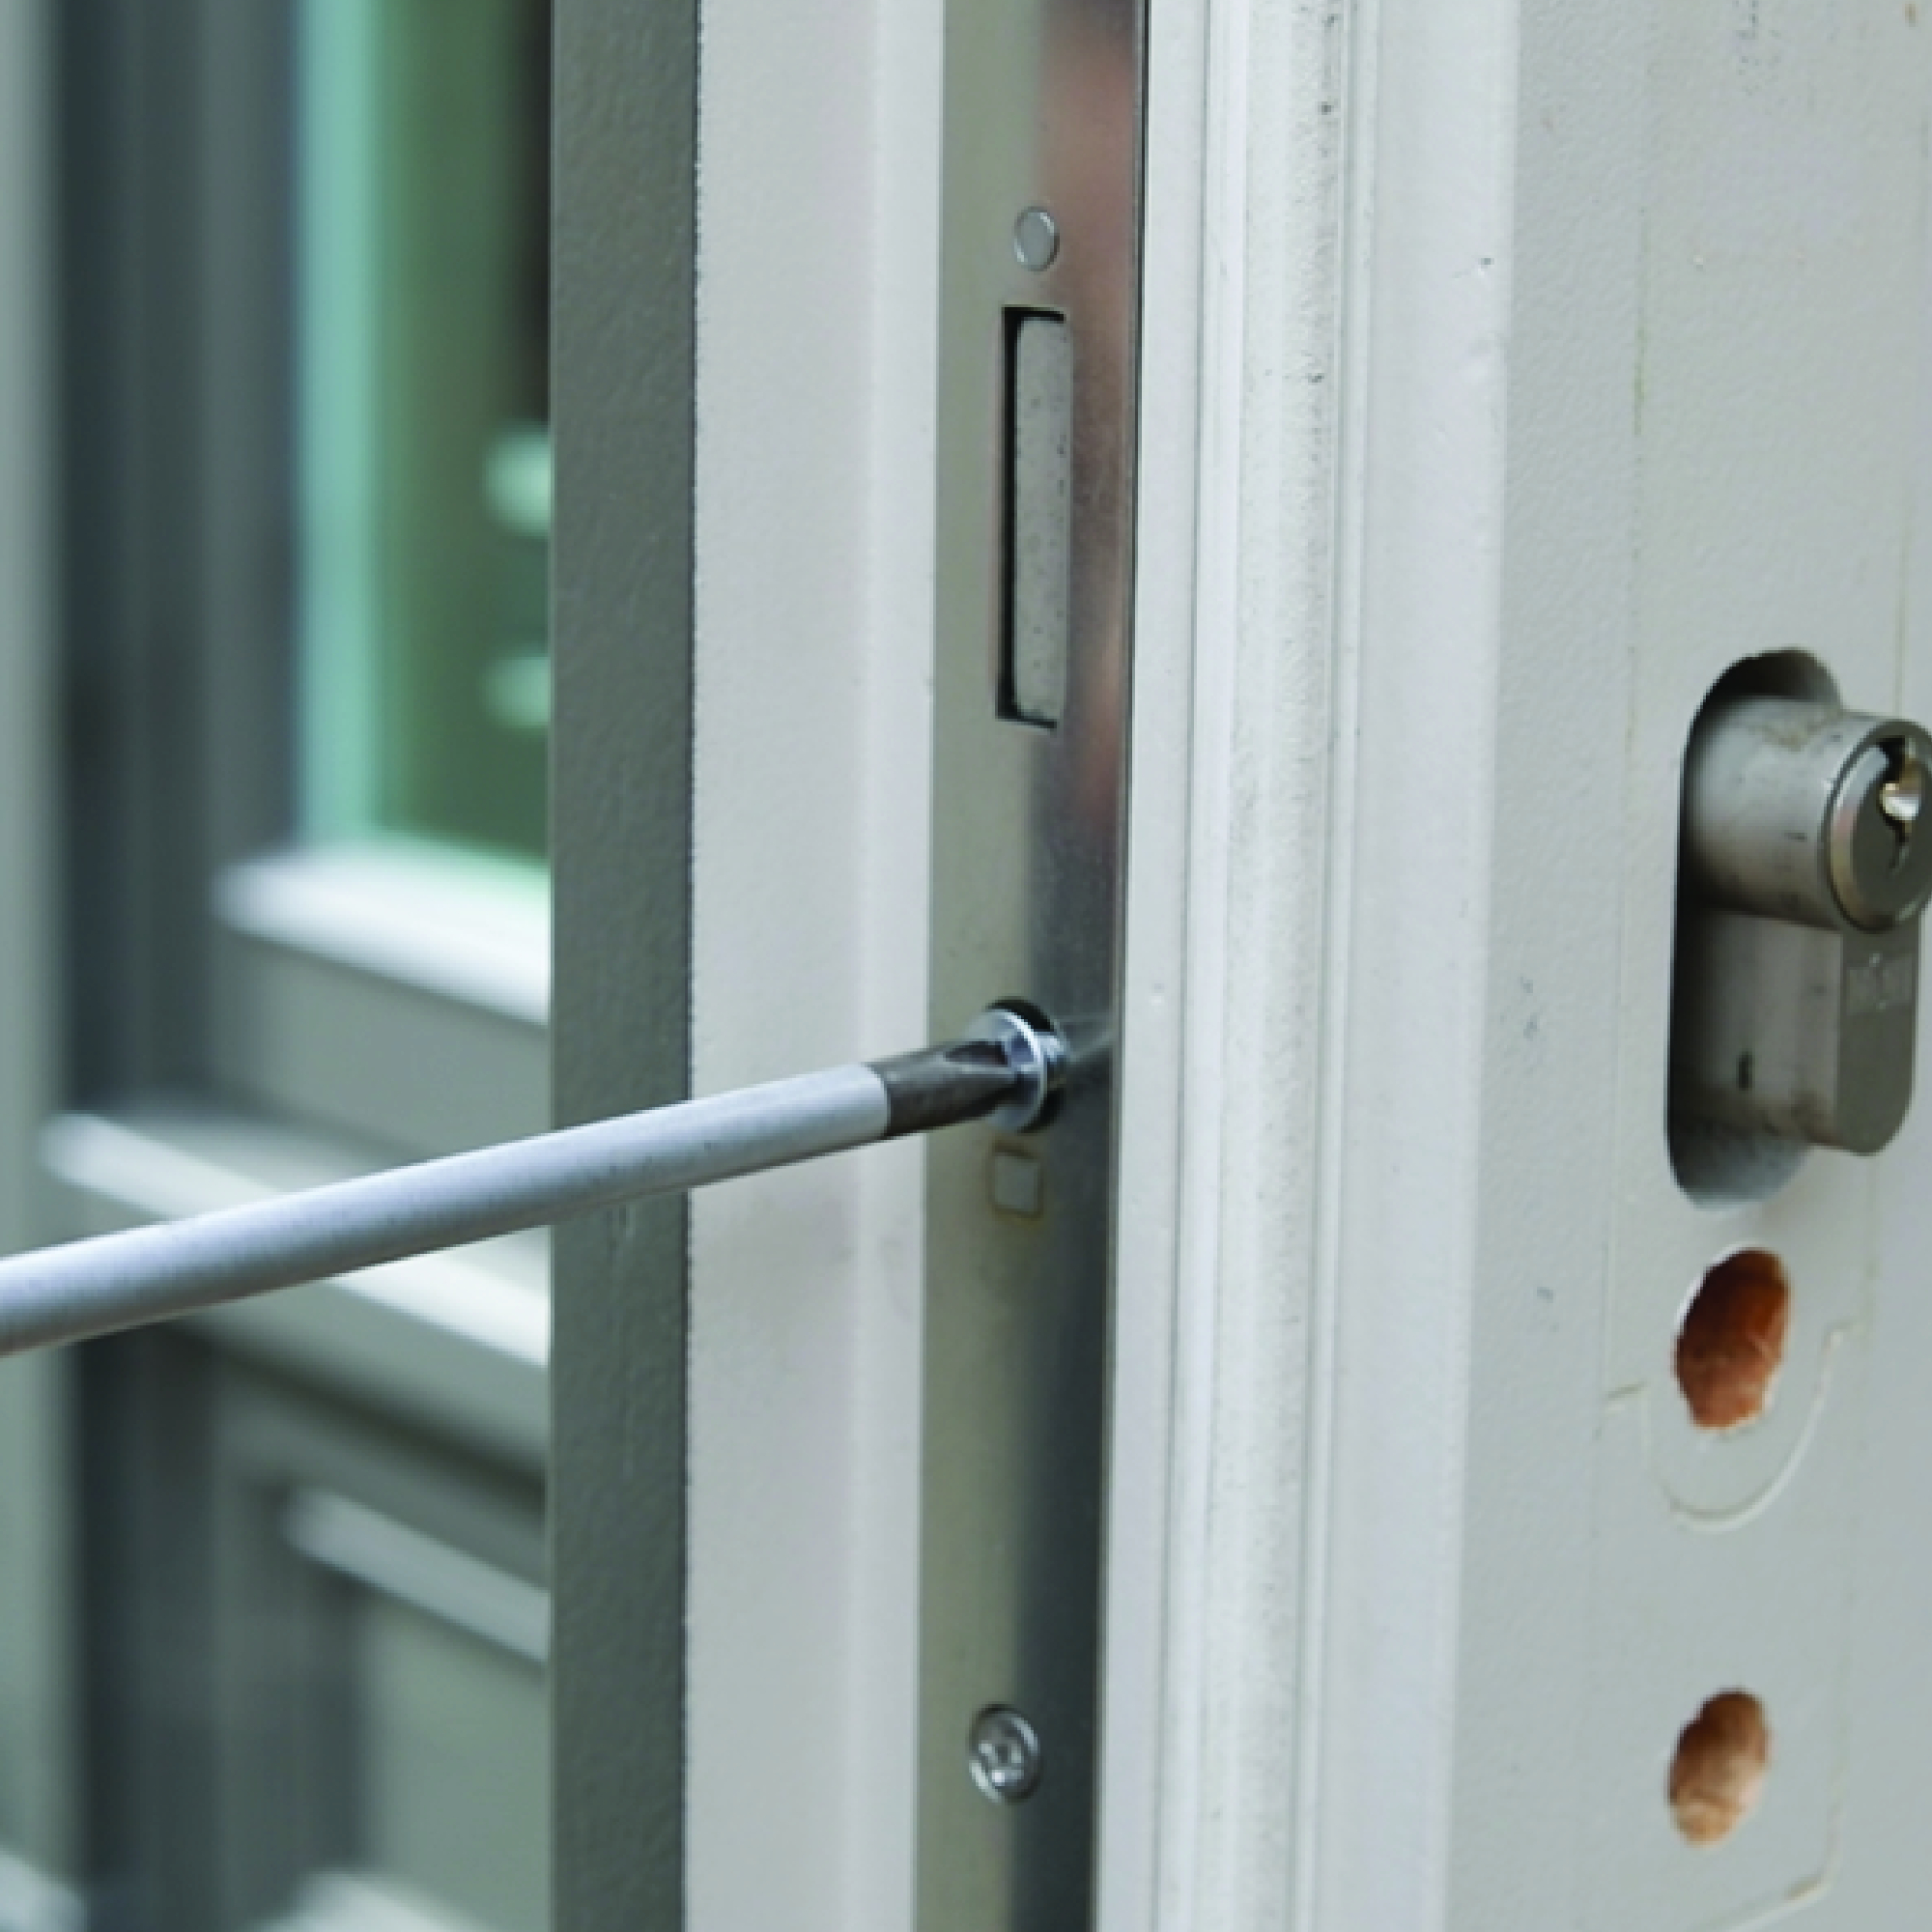
If your door appears to be sitting correctly (i.e. no gaps or rubbing), there may be a problem with the euro cylinder lock.
Remove the long screw that is in-line with the euro cylinder. Insert the door key, twist to an unlocking position, and pull to remove the cylinder (this should come out easily first time, but with older locks there may be some wiggling and persuasion required). Once removed, set the old cylinder to one side.
5. Line the new lock up
Next, insert the new key into the new cylinder lock. Turn the key so that the 'cylinder cam tongue' - the moving part of the lock - is in line with the lock body.
6. Insert the new lock into the door
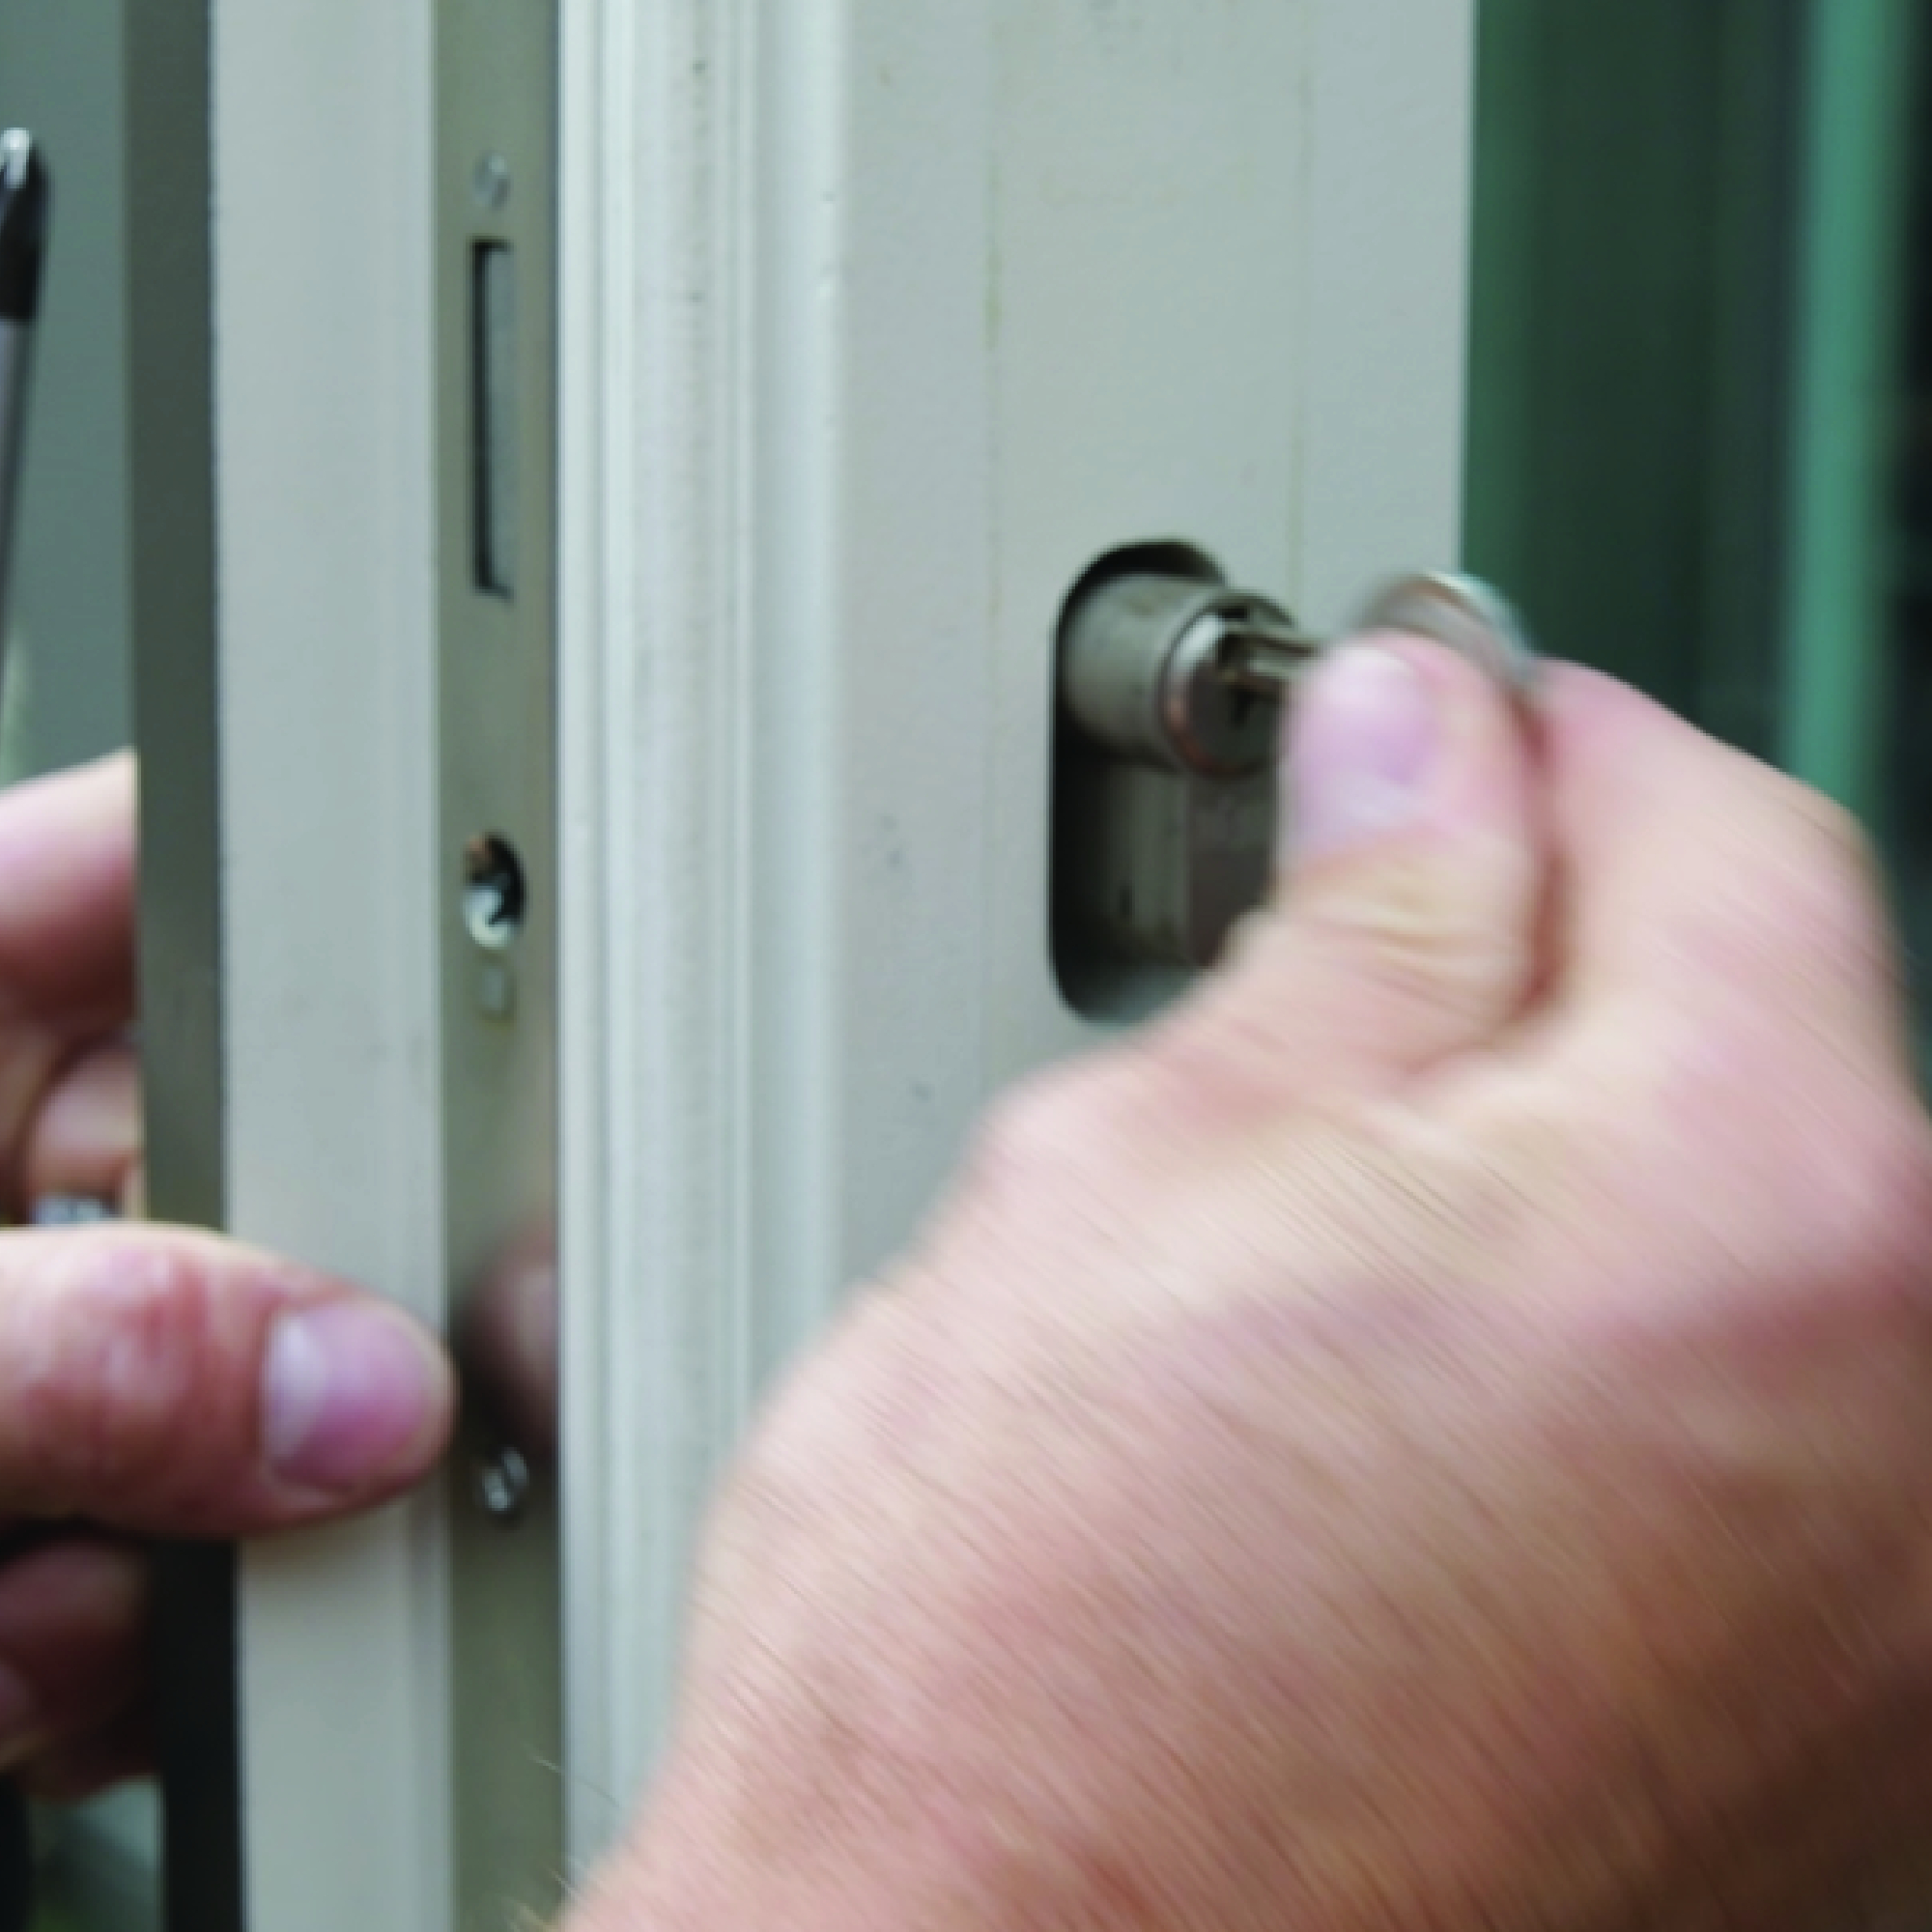
Insert the euro cylinder into the door until the screw hole lines up. 'Put the screw back in and tighten until [what is known as] flush', says Jonathan. 'You should be able to move your fingertips over the surface of the door and screw-head and feel that one is not more raised than the other.'
He adds, 'If the screw head protrudes more than the surface of the door, then it needs further tightening. If the screw head sits sunken into the door (‘sub-flush’), it has been over-tightened and needs unscrewing.'
7. Test the lock
Test the locking/unlocking mechanism with the door open, before testing with the door closed. The door should now lock without any issues, and you've successfully learnt how to repair a door lock!
How do you fix a stripped door lock?
Fixing a stripped door lock - or door bolts that are stripped out in the wood - can be done in a few simple steps.
'Firstly, remove the stripped screws or bolts from the lock', says Paul Gibbens, Property Expert, Housebuyers4u. 'You'll need to get a thin piece of wood and cut some small slivers from it using a woodwork knife/razor. Place these slivers into the hole where the lock is until is it full, so you can then place your screws or bolts back into the hole.'
He adds, 'this process allows a tighter fit so your holes will no longer be stripped out.'
Repairing a lock should always be on top of your to-do list to make sure it is doing the job of keeping your house safe. If you feel like giving your front door a complete revamp, you can learn how to replace front door glass fairly easily too.

Katie has been writing freelance since early 2022, specialising in all things homes and gardens, following achieving a Masters in Media and Journalism. She started out writing e-commerce content for several of Future’s interior titles, including Real Homes, Gardeningetc, Livingetc, and Homes and Gardens. Since then she’s been a regular contributor on Ideal Home’s digital team, covering news topics, how-to guides, and product reviews.