Be inspired by this savvy homeowners incredible £50 bedroom wall panelling makeover
Is 2021 the year to take up DIY?

Instead of a New Year, new me, why not treat yourself to a new bedroom? Wall panelling is the easiest way to transform a room on a budget. See how one savvy homeowner completed this bedroom wall panelling makeover for less than £50.
Related: Homeowner transforms horrific brown guest room into hotel-worthy bedroom
Haylie Hammill a former hospitality worker from Cheltenham posted her master bedroom transformation on her Instagram feed home_by_haylie, where is soon caught the eye of many interiors fans. A keen DIY-er and former B&Q employee, Haylie knows her way around a tool kit and paint swatches. She used her insider knowledge to create a dreamy wall panel on a budget.
'I used to work in hospitality but, of course, it hasn't been the greatest year for it,' she told money-saving community LatestDeals.co.uk. 'I’ve been doing various interior design projects as a hobby for eight years. I’d also worked in the paint section at B&Q for four years so I leant a lot from that. It's how I discovered that I’m really good at picking colours.
Bedroom wall panelling makeover
Haylie embarked on her project after being inspired by images of wall panelling on Instagram. 'It gives a lot of character to a room and looks expensive, even though it’s not,' she says. A clever interior trick if you're looking to make a room look more expensive without splashing the cash.
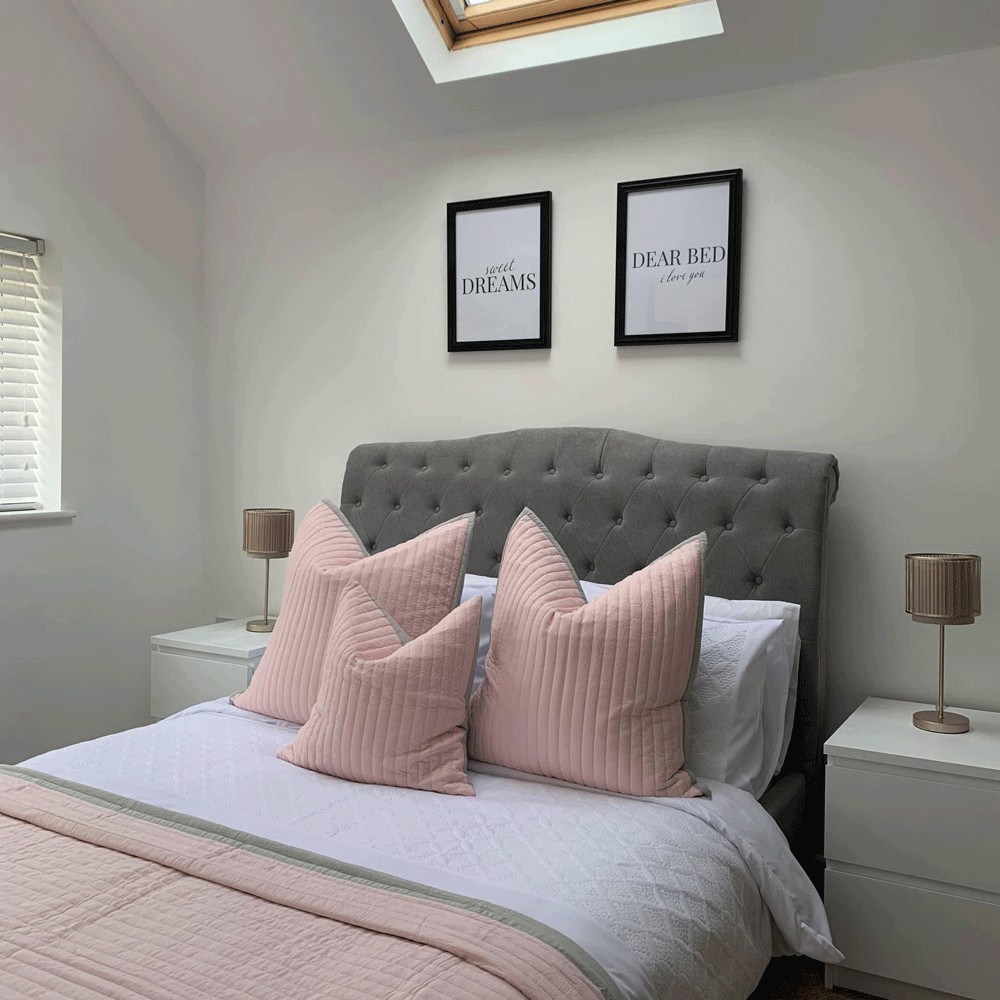
Before

'Due to my experience of working at B&Q, I knew what sort of materials I would need, but I still did my research to ensure I was making the right choices,' she says. Settling on MDF, Haylie opted for a 12mm thickness to complete the project.
'Generally speaking, a thickness of between 6mm to 18mm works well for this kind of project, but I picked 12mm for my look,' she explains. 'I like the slightly thicker look it gives, as it casts a slight shadow on the wall and makes the design stand out a bit more.'
Sign up to our newsletter for style inspiration, real homes, project and garden advice and shopping know-how
Picking up an MDF sheet from B&Q, Haylie had it cut into 8cm-wide strips. Most B&Q's offer a service to cut strips of wood and MDF down to size for your project. This service is currently limited, but Haylie's top tip is to go in when they're not busy and ask nicely. It never hurts to ask!
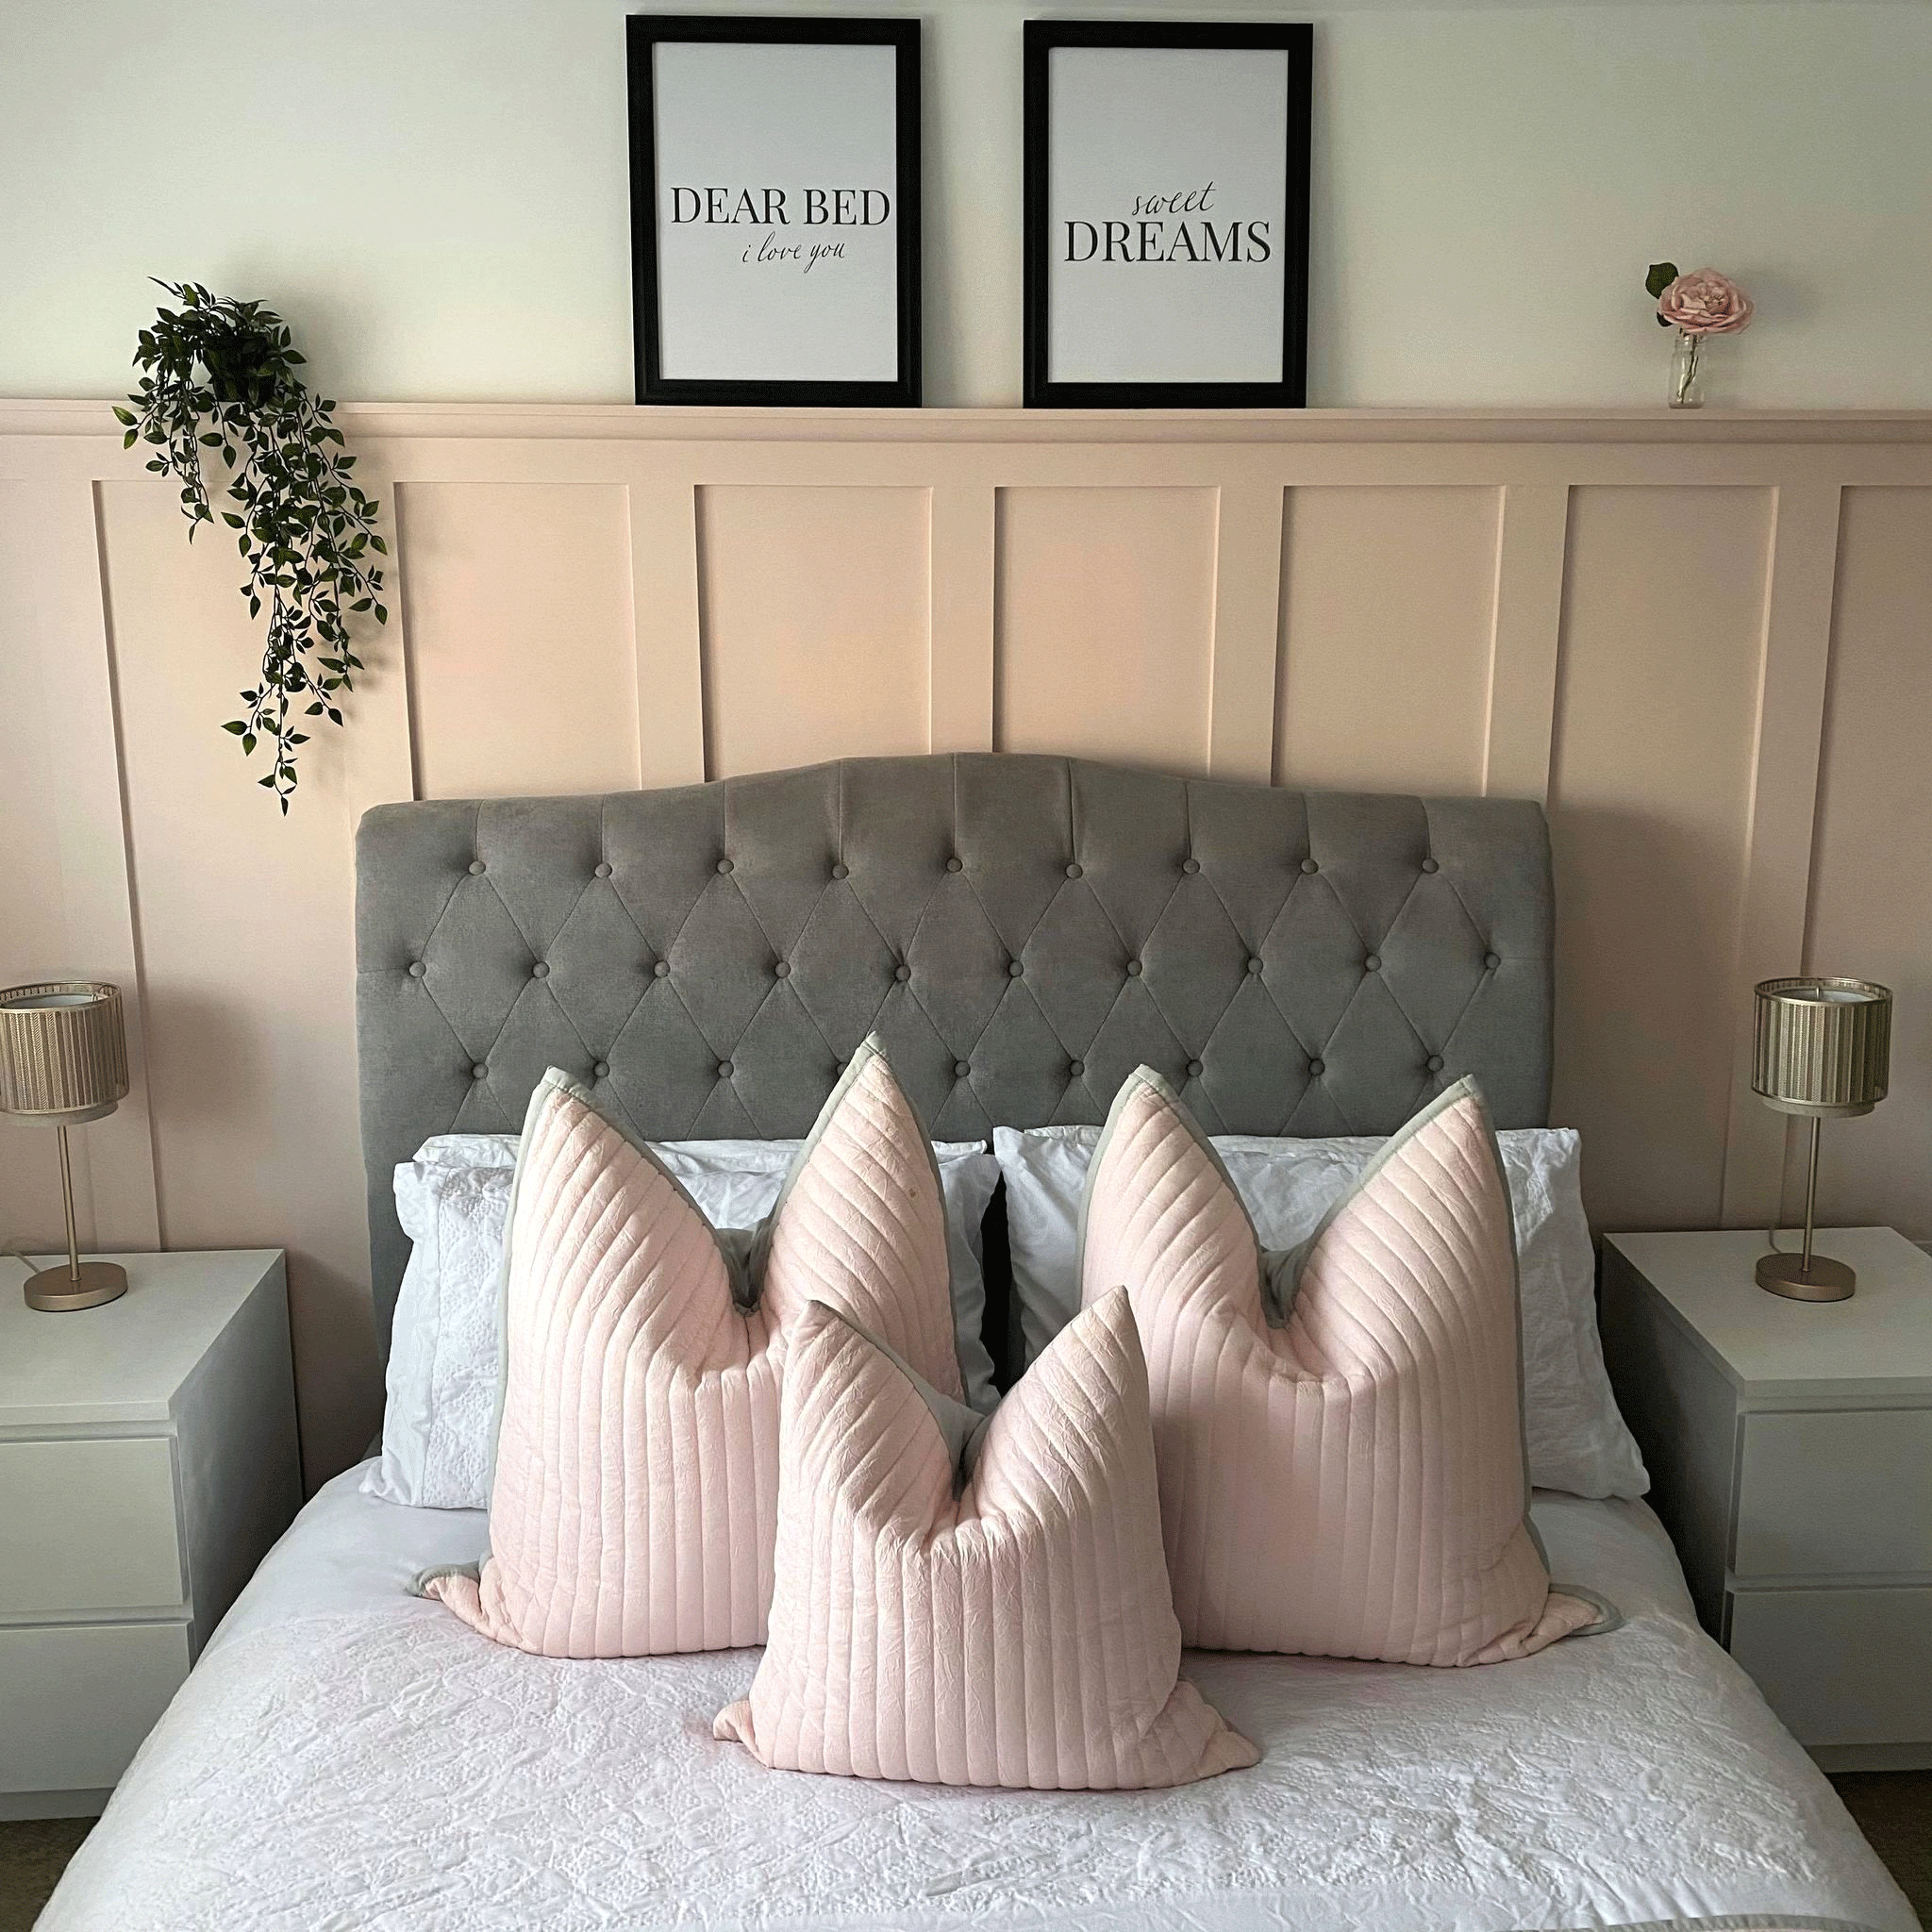
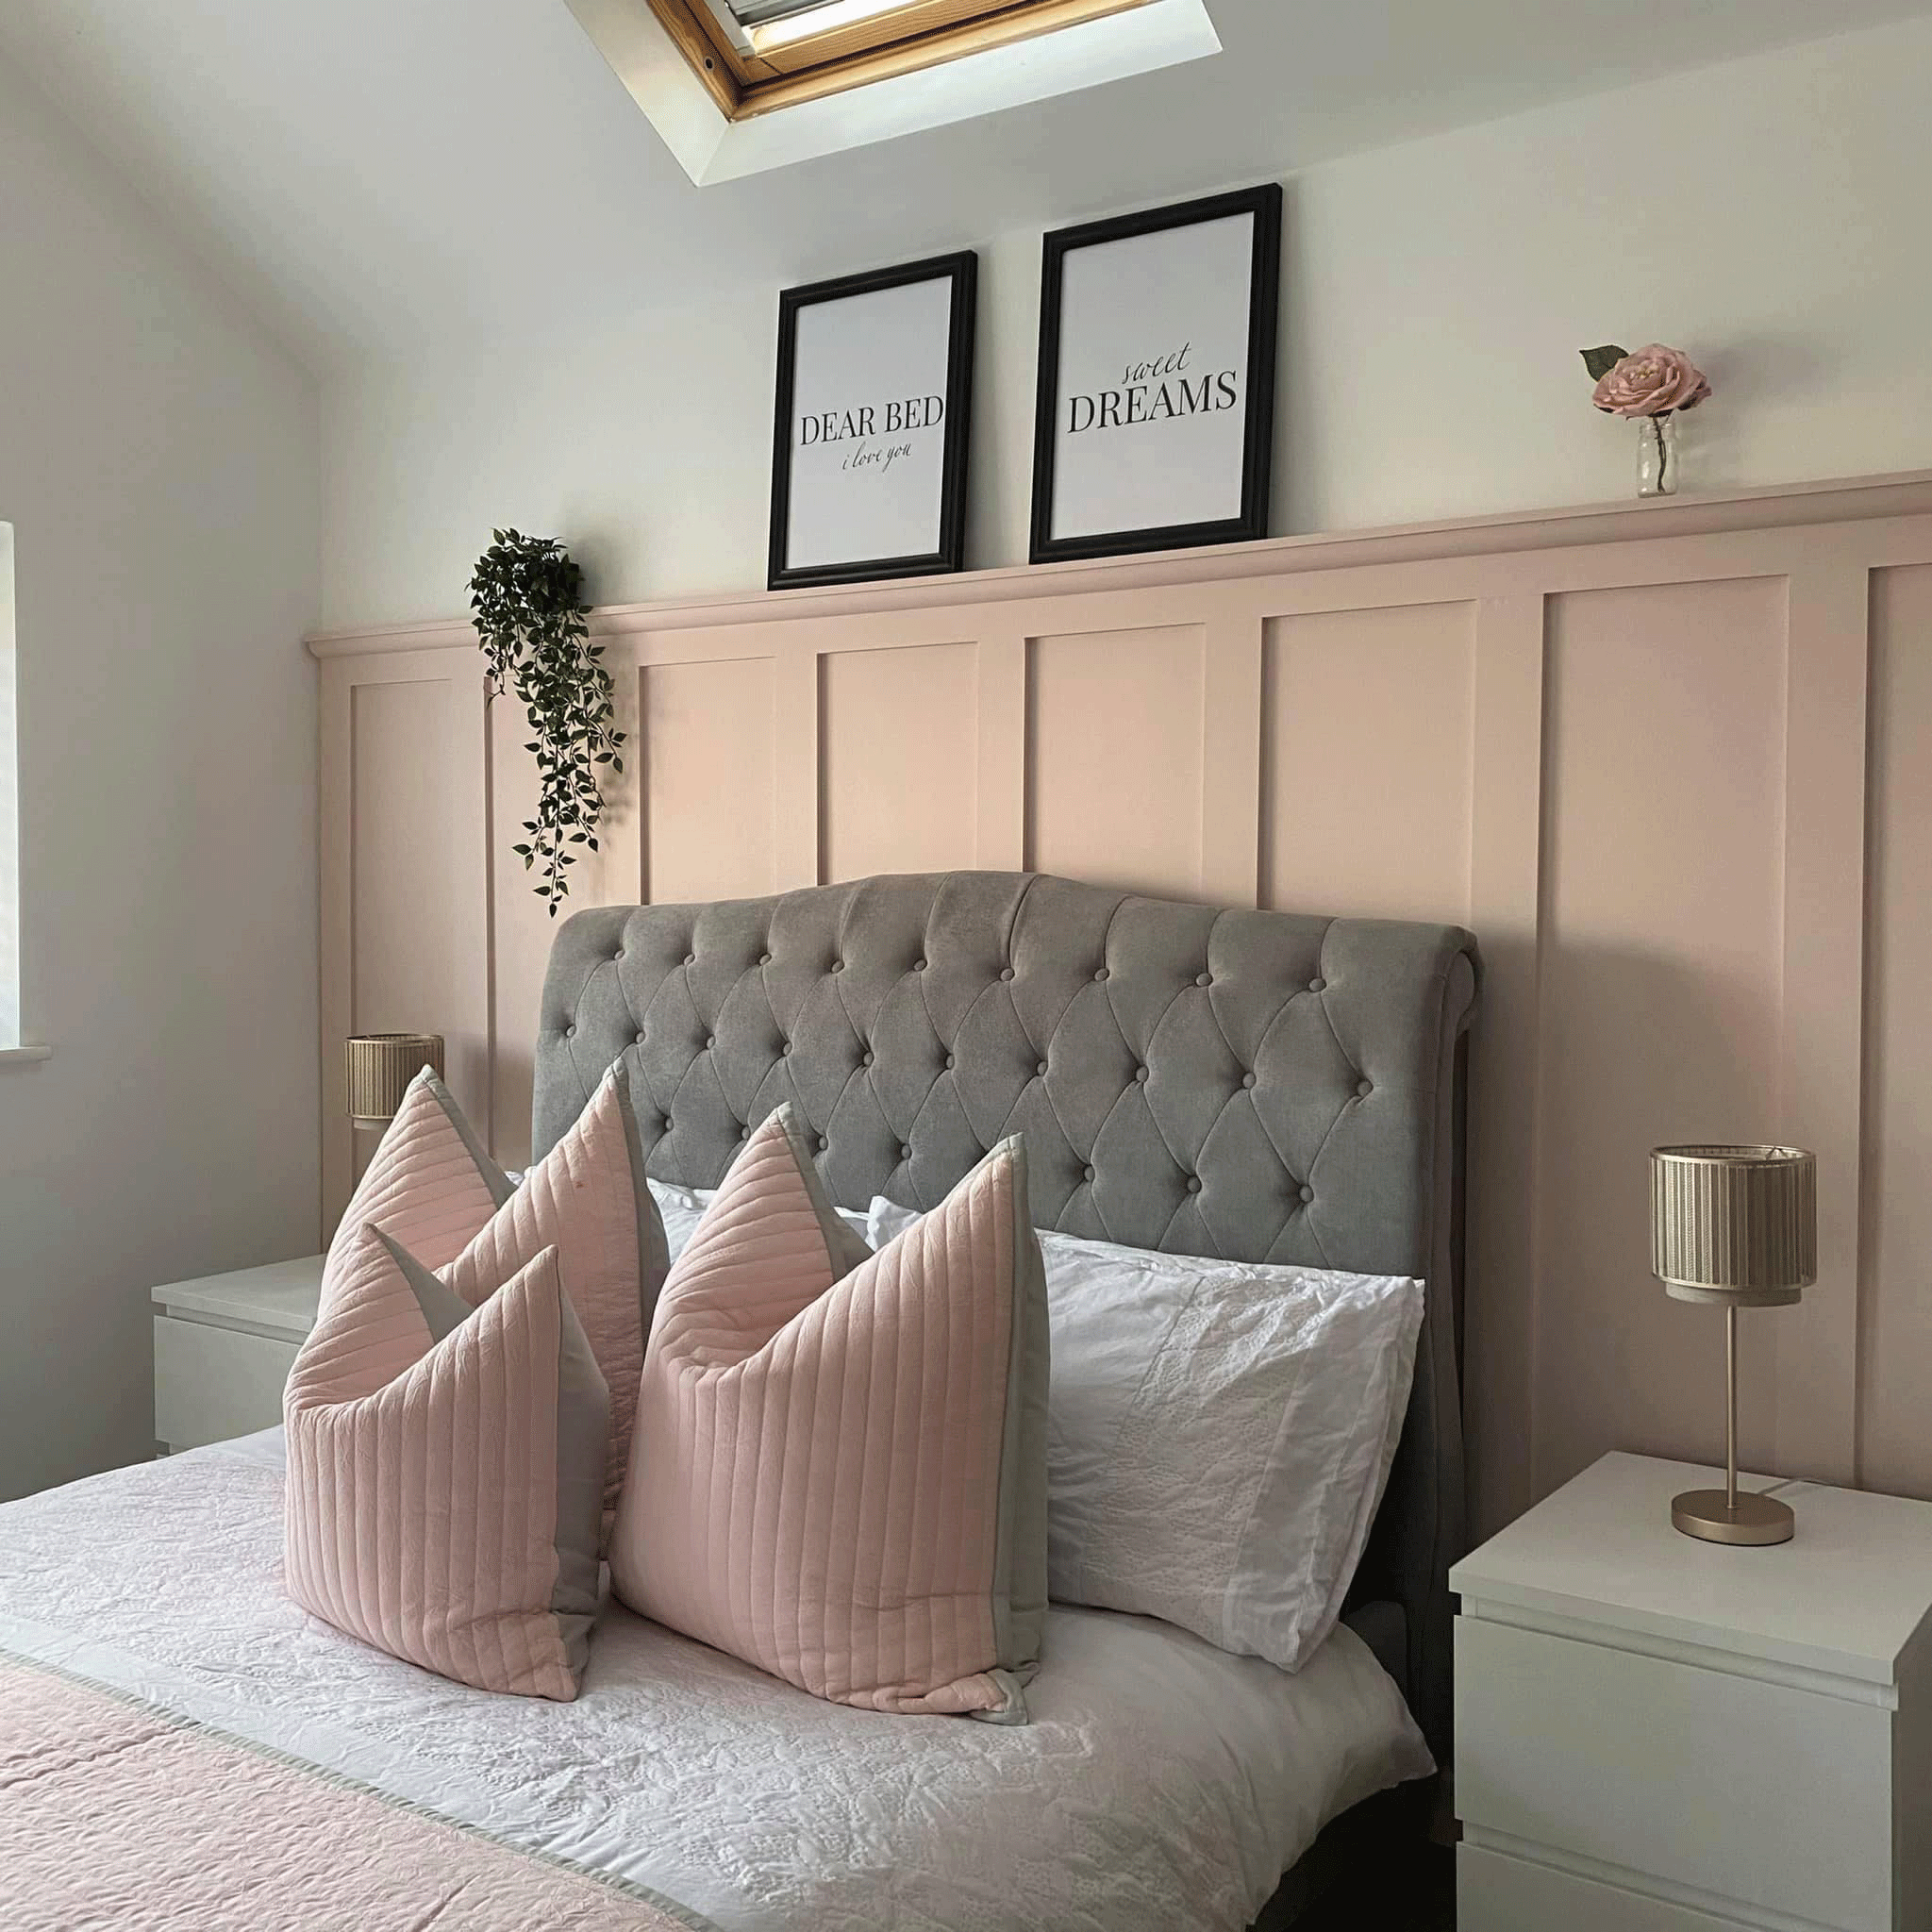
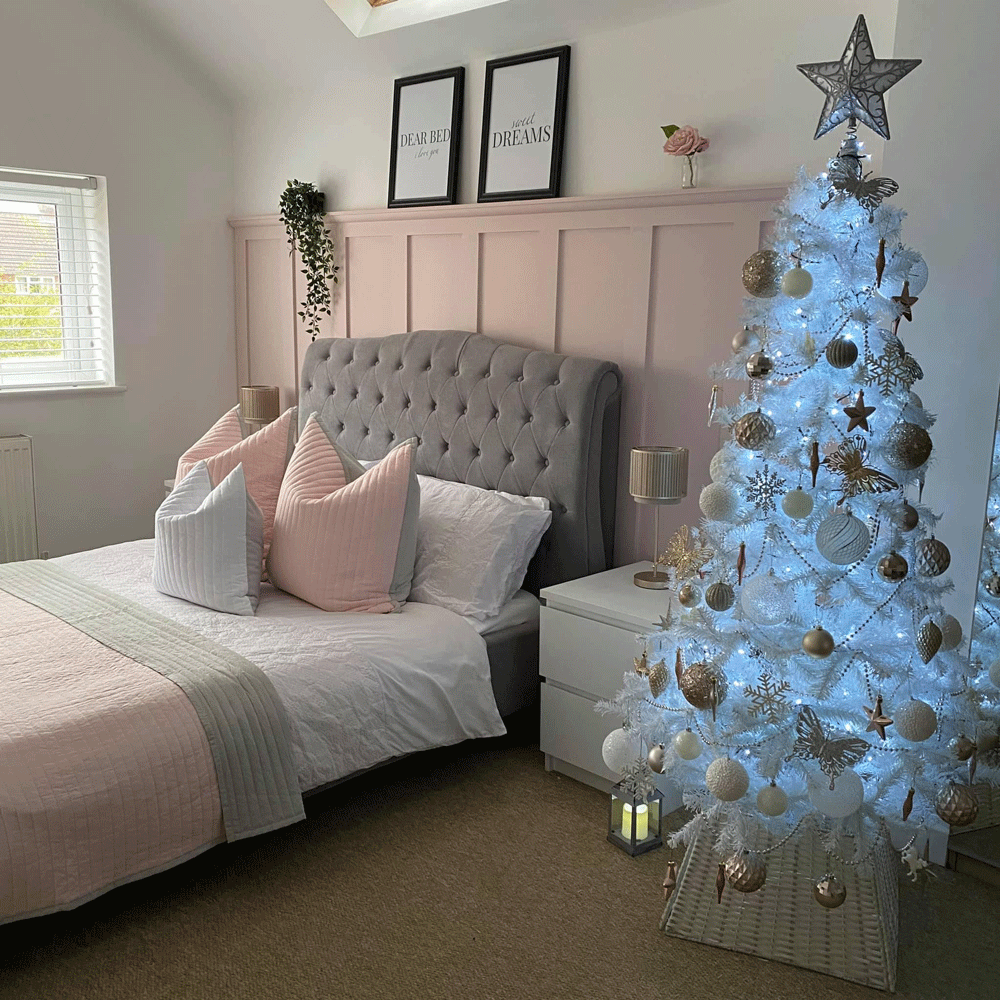
After

'Once I had my strips, I measured up the wall. I like to take panelling two-thirds up the wall as I think it’s the most visually attractive height,' says Haylie. 'The strips for this project are approximately 152cm tall.'
Haylie used a timber saw to cut them, and a mitre box to help guide her. However, she has since invested in an electric saw, which will make shorter work of a similar project.
Before attaching the wood to the wall, she used a roller to prime the wood. She then used No More Nails to attach them to the wall, using a spirit level to ensure the strips were straight.
'With No More Nails, you have about five minutes to move your piece around a little bit, if needed, before it sets,' she adds. So don't panic if you make a placement mistake.

Get the look: GoodHome Kyoto Matt Emulsion paint 2.5L, £12, B&Q
'To make the shelf, I bought a piece of 27mm pine quadrant moulding to create a sloping ledge effect,' she explains. 'For the top part, I used some more MDF. I had a 5cm-wide strip cut and it fitted perfectly on top. It gives you that little bit of extra space for trinkets and other décor.'
Haylie then caulked the edges to get rid of any gaps, for a polished finish. She then painted the strips and wall in a Kyoto from the B&Q GoodHome range, a sophisticated blush shade.
'I used a 1.5” paintbrush to go all around the edges and then a small roller in-between the MDF strips for a high-quality finish. Right at the end, once it’s all dry, I did any touch-ups that are needed. I use a fine paintbrush, which makes it easy to get into all those nooks and crannies.'

All that was left was for Haylie to adorn her new panelling shelf with pictures, plants and accessories.
In total, the project cost Haylie £47.94. This included £20 for the MDF, £6.94 for the pine quadrant moulding, £5 for the No More Nails and £16 for the paint. She used primer and caulk that she already had at home, but you can pick up both for under £12.
‘Wall panelling looks so much more expensive than it is,’ she says. ‘I’ve had so many compliments on it and lots of people asking for it. It’s the easiest type of panelling to do, so if you did want to have a go yourself this is a great place to start.’
If you’re tempted to give your home an update, take a look at our wall panelling ideas for a little inspiration.
Related: See how a striking black feature wall has given this living room a dramatic makeover!
Will you be giving your home a new look in the New Year?

Rebecca Knight has been the Deputy Editor on the Ideal Home Website since 2022. She graduated with a Masters degree in magazine journalism from City, University of London in 2018, before starting her journalism career as a staff writer on women's weekly magazines. She fell into the world of homes and interiors after joining the Ideal Home website team in 2019 as a Digital Writer. In 2020 she moved into position of Homes News Editor working across Homes & Gardens, LivingEtc, Real Homes, Gardeningetc and Ideal Home covering everything from the latest viral cleaning hack to the next big interior trend.