I’ve knocked down 8+ walls — doing it myself taught me these 5 lessons
Altering an internal wall can be pretty straightforward, but things don't always go to plan. Here are the five things I wish I'd known before starting

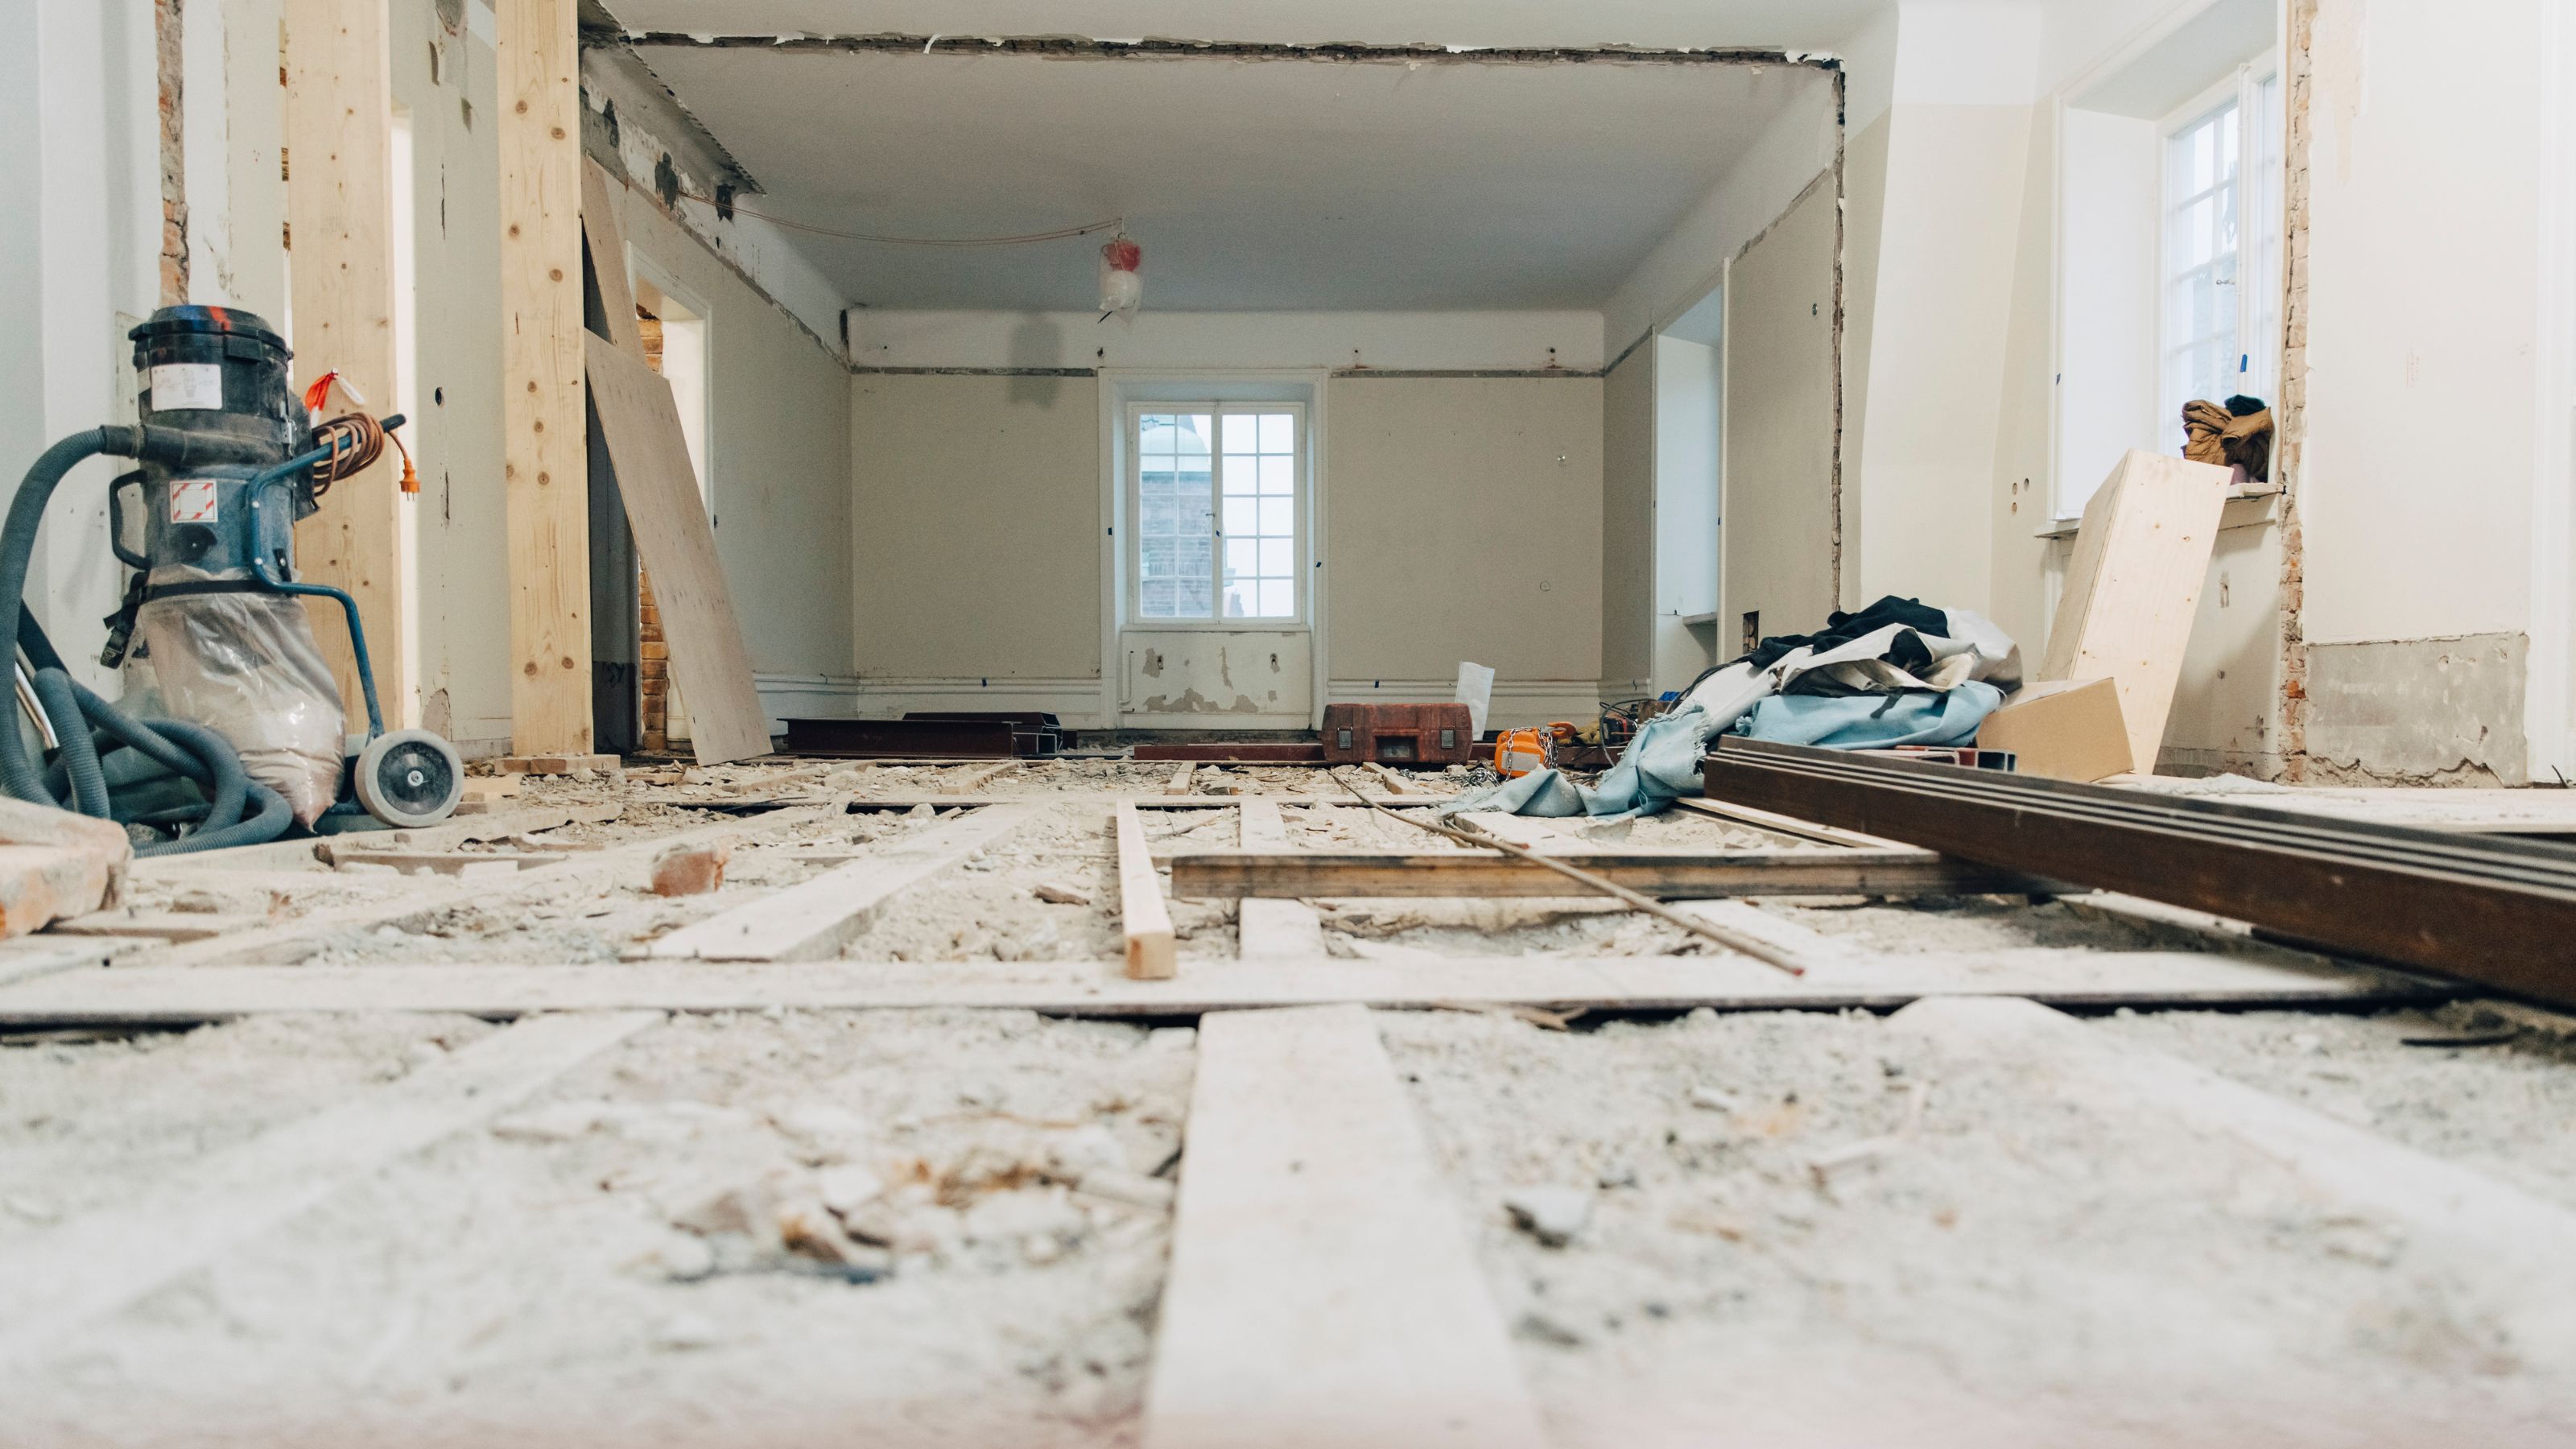
Having renovated several old houses in dire need of modernisation over the years, I'm not fazed by removing walls – in fact, it has often been one of my favourite parts of these transformations.
That said, there have been some surprises along the way that have not been altogether welcome and, in some cases, that have thrown the project off schedule and added to costs. Perhaps if I had researched how to remove an internal wall a little more thoroughly prior to work commencing I would have been better prepared.
With that in mind, I want to share with you the five things I wish someone had told me before getting stuck into this element of the project – hopefully this will save you any feelings of despondency when you are knee deep in rubble.
1. Listen to your structural engineer
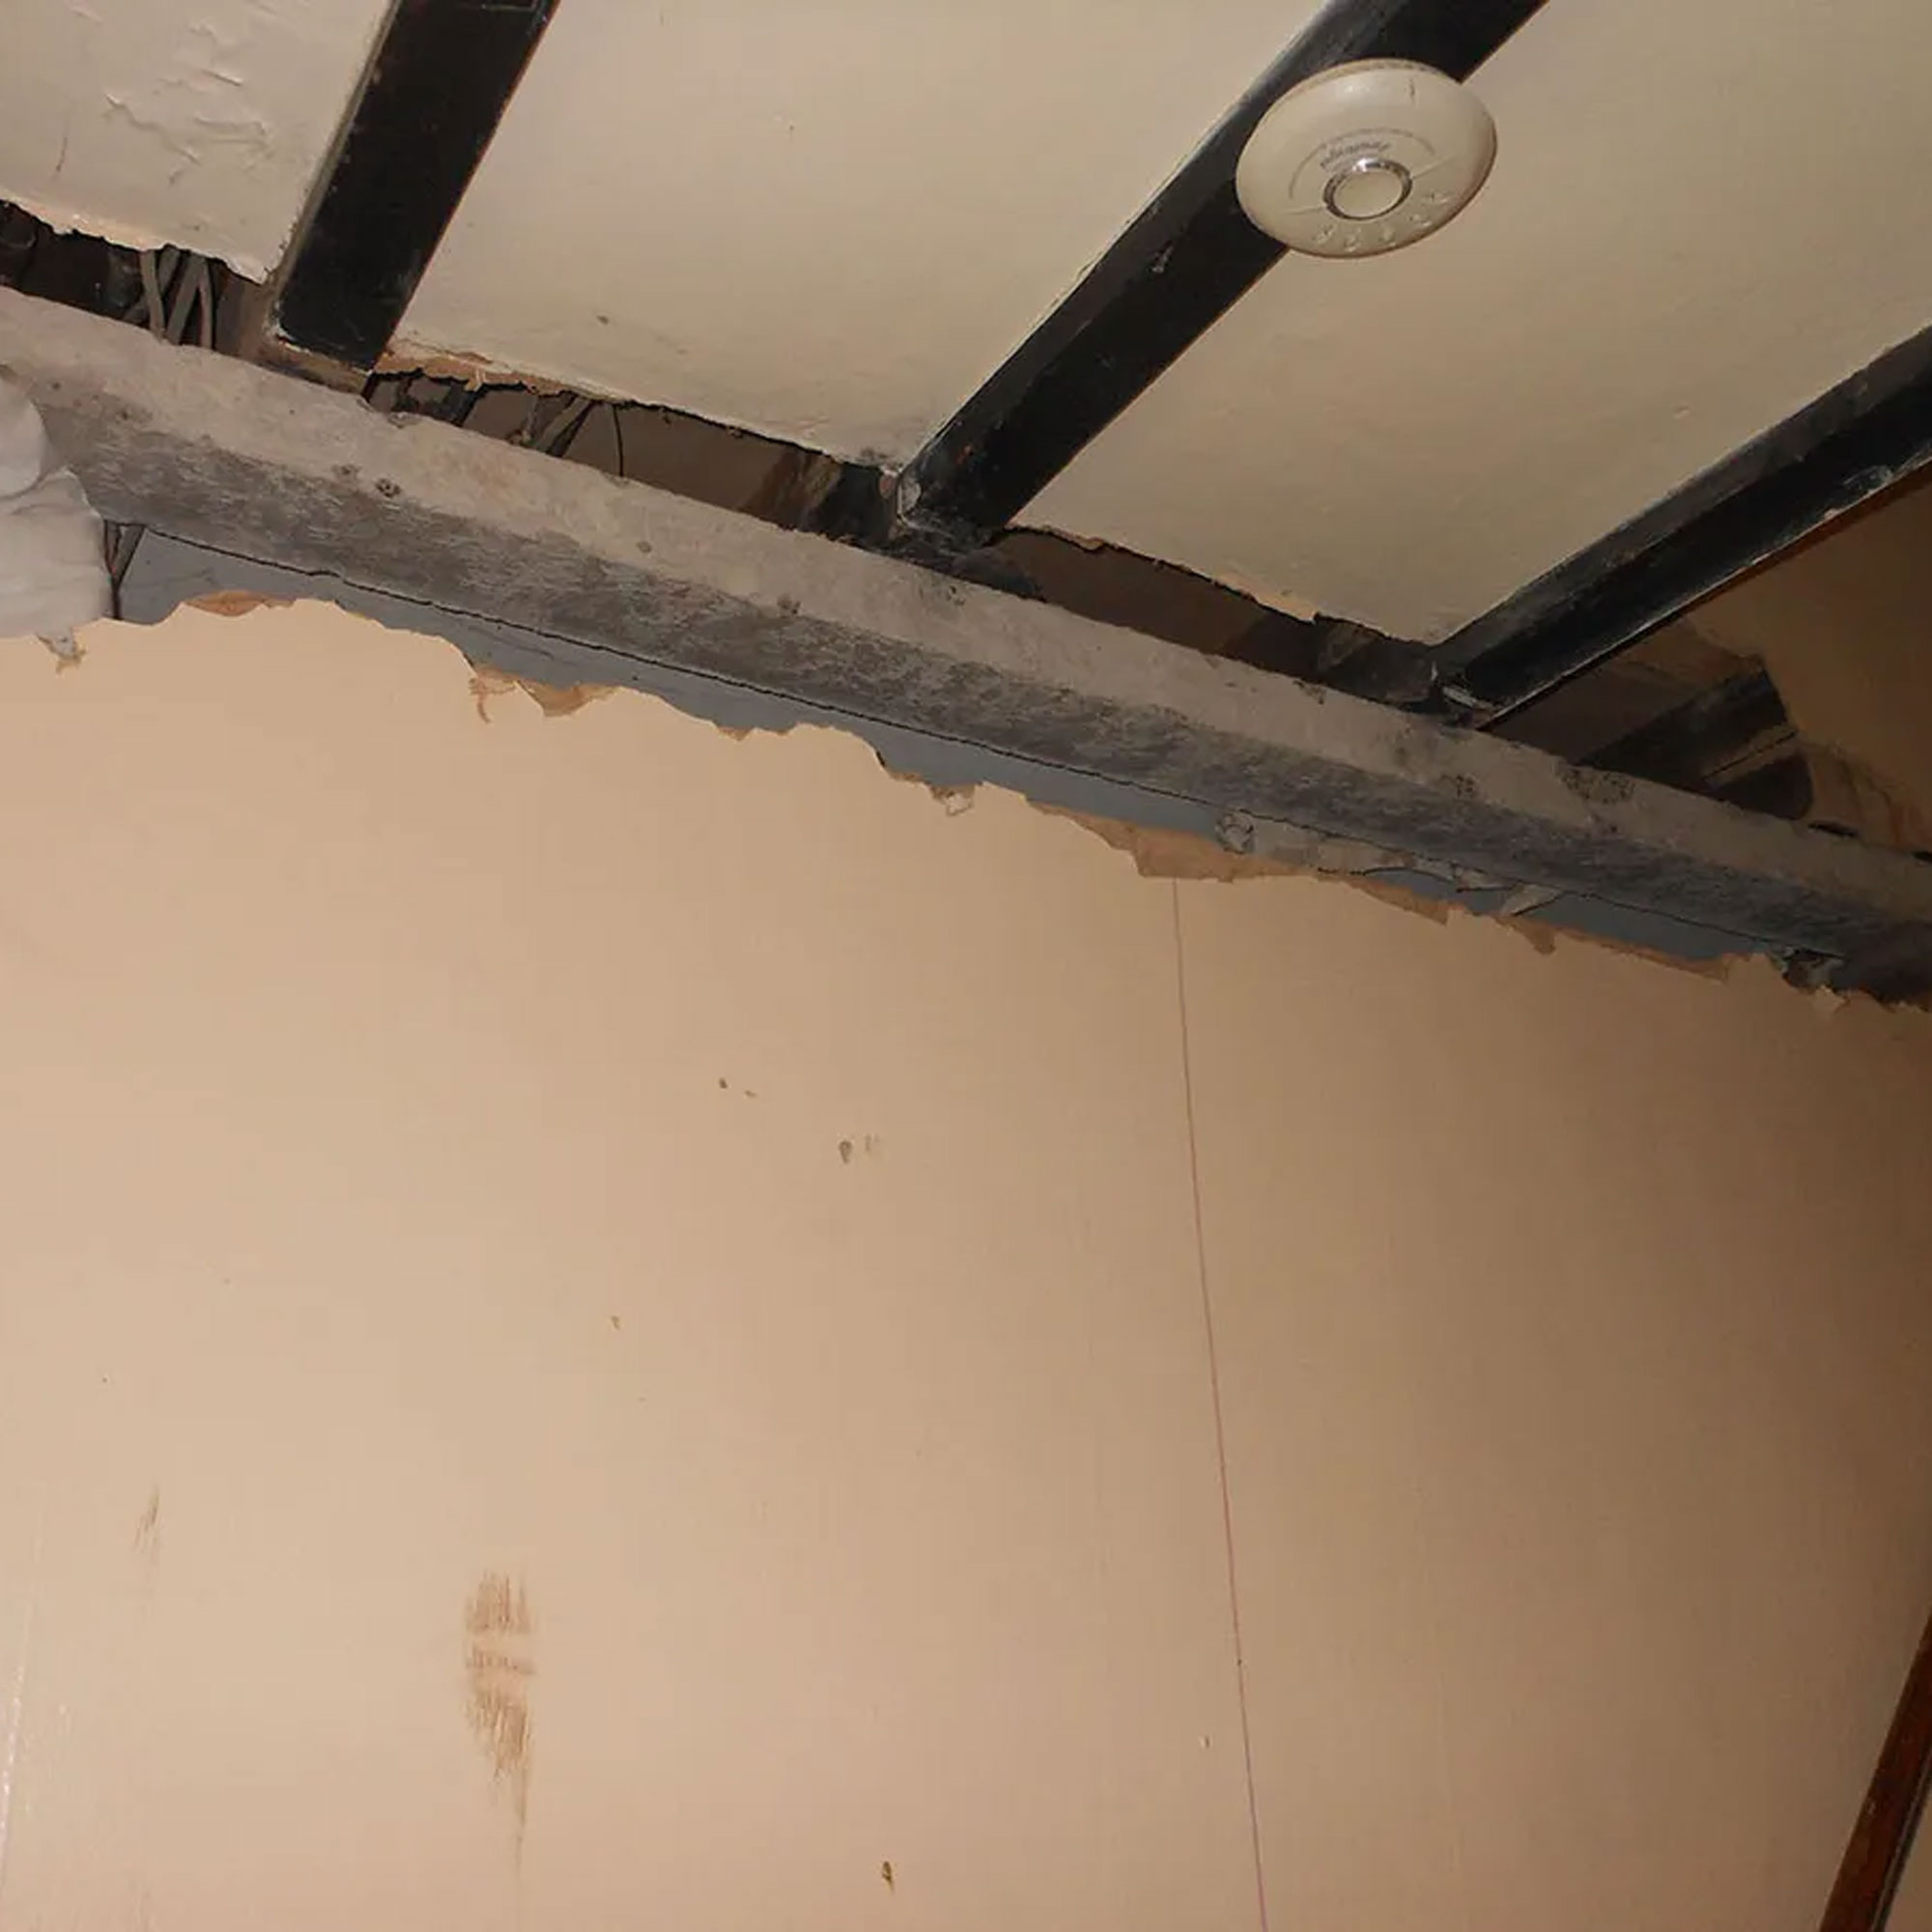
The concrete lintel where a metal box lintel should have been.
I know, I know – this sounds so obvious. Who in their right minds would call in the services of a structural engineer only to ignore their advice...? Well, us, as it turned out.
The wall in question here was one that separated the original tiny hallway from an adjacent coal store. We wanted to remove it to absorb the store into the internal layout to give us the opportunity to explore some more spacious hallway ideas.
This wall was load bearing, supporting the wall above, plus the joists above were resting on it. Additionally, the room above the old coal store was to become a new bathroom, so the weight of the bath when full of water needed to be taken into account. The advice of the structural engineer was to insert a metal box lintel to take the load.
We were carrying out the work on a DIY basis and, in the name of aesthetics, decided to use a concrete lintel instead. This was mainly because the depth of the concrete lintel was far less than that of the metal box lintel meaning it would encroach less on the volume of the new hallway.
Sign up to our newsletter for style inspiration, real homes, project and garden advice and shopping know-how
Sadly (and completely unsurprisingly) the building inspector who came out to sign the work off, was not impressed. We had to change it, which ended up adding to costs and causing extra disruption. The takeaway? Listen to your structural engineer.
2. Ensure good lines of communication
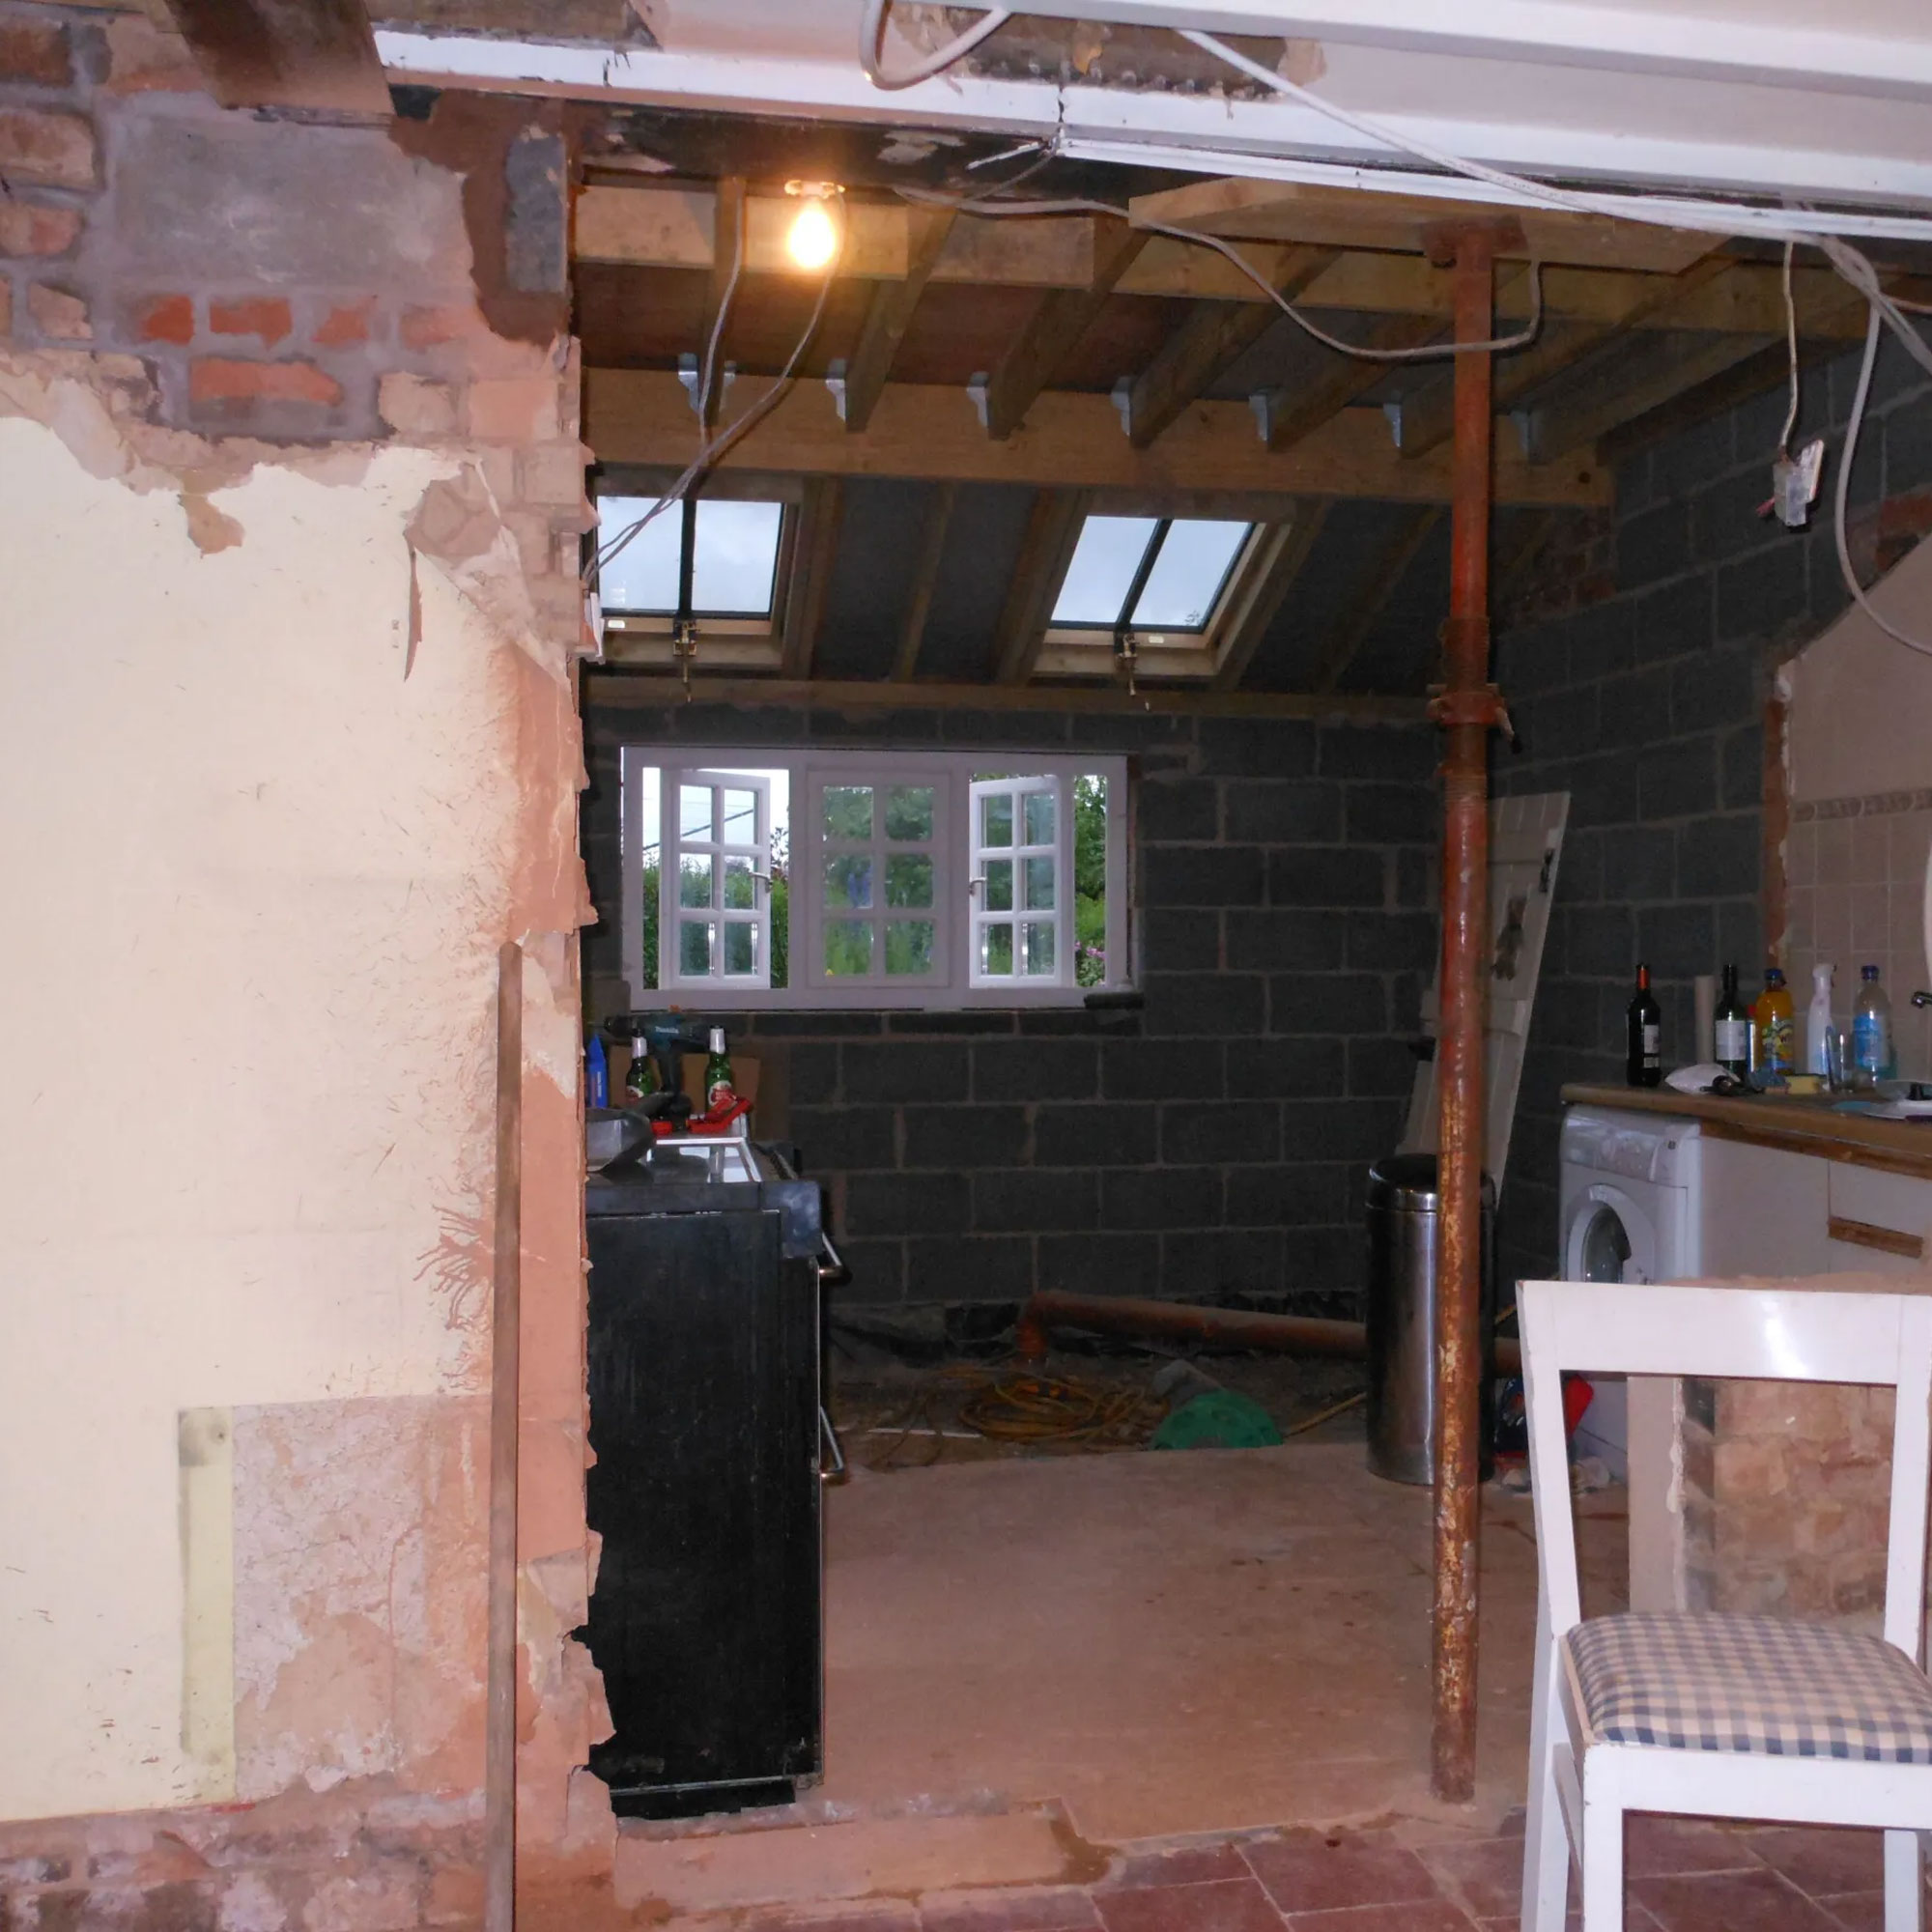
The new padstone can be seen on the left, with the steel above.
Another issue that could have been avoided here. When we moved in, the kitchen was nothing more than a single-skin brickwork lean-to with one cabinet, a sink and a mini fridge.
We knocked this down and built a single storey extension, removing the wall that once sat between the old dining room and the lean-to. This was load bearing, carrying the weight of the external wall above, meaning significant structural support was needed. Our structural engineer once again carried out the calculations.
However, somewhere between him and our builders, there was confusion – namely when it came to the size of the padstone required for the new supporting steel to sit on.
A padstone is a concrete (or stone) block which is used to ensure the weight of a beam or lintel is evenly distributed onto the supporting wall. In short, it is incredibly important when it comes to keeping the whole building structurally sound.
When our building inspector visited, it was found that the builders had used a padstone too small for the job. Once again, work had to be undone and a padstone of the correct size inserted – more mess, more expense.
3. Damp proofing might be necessary
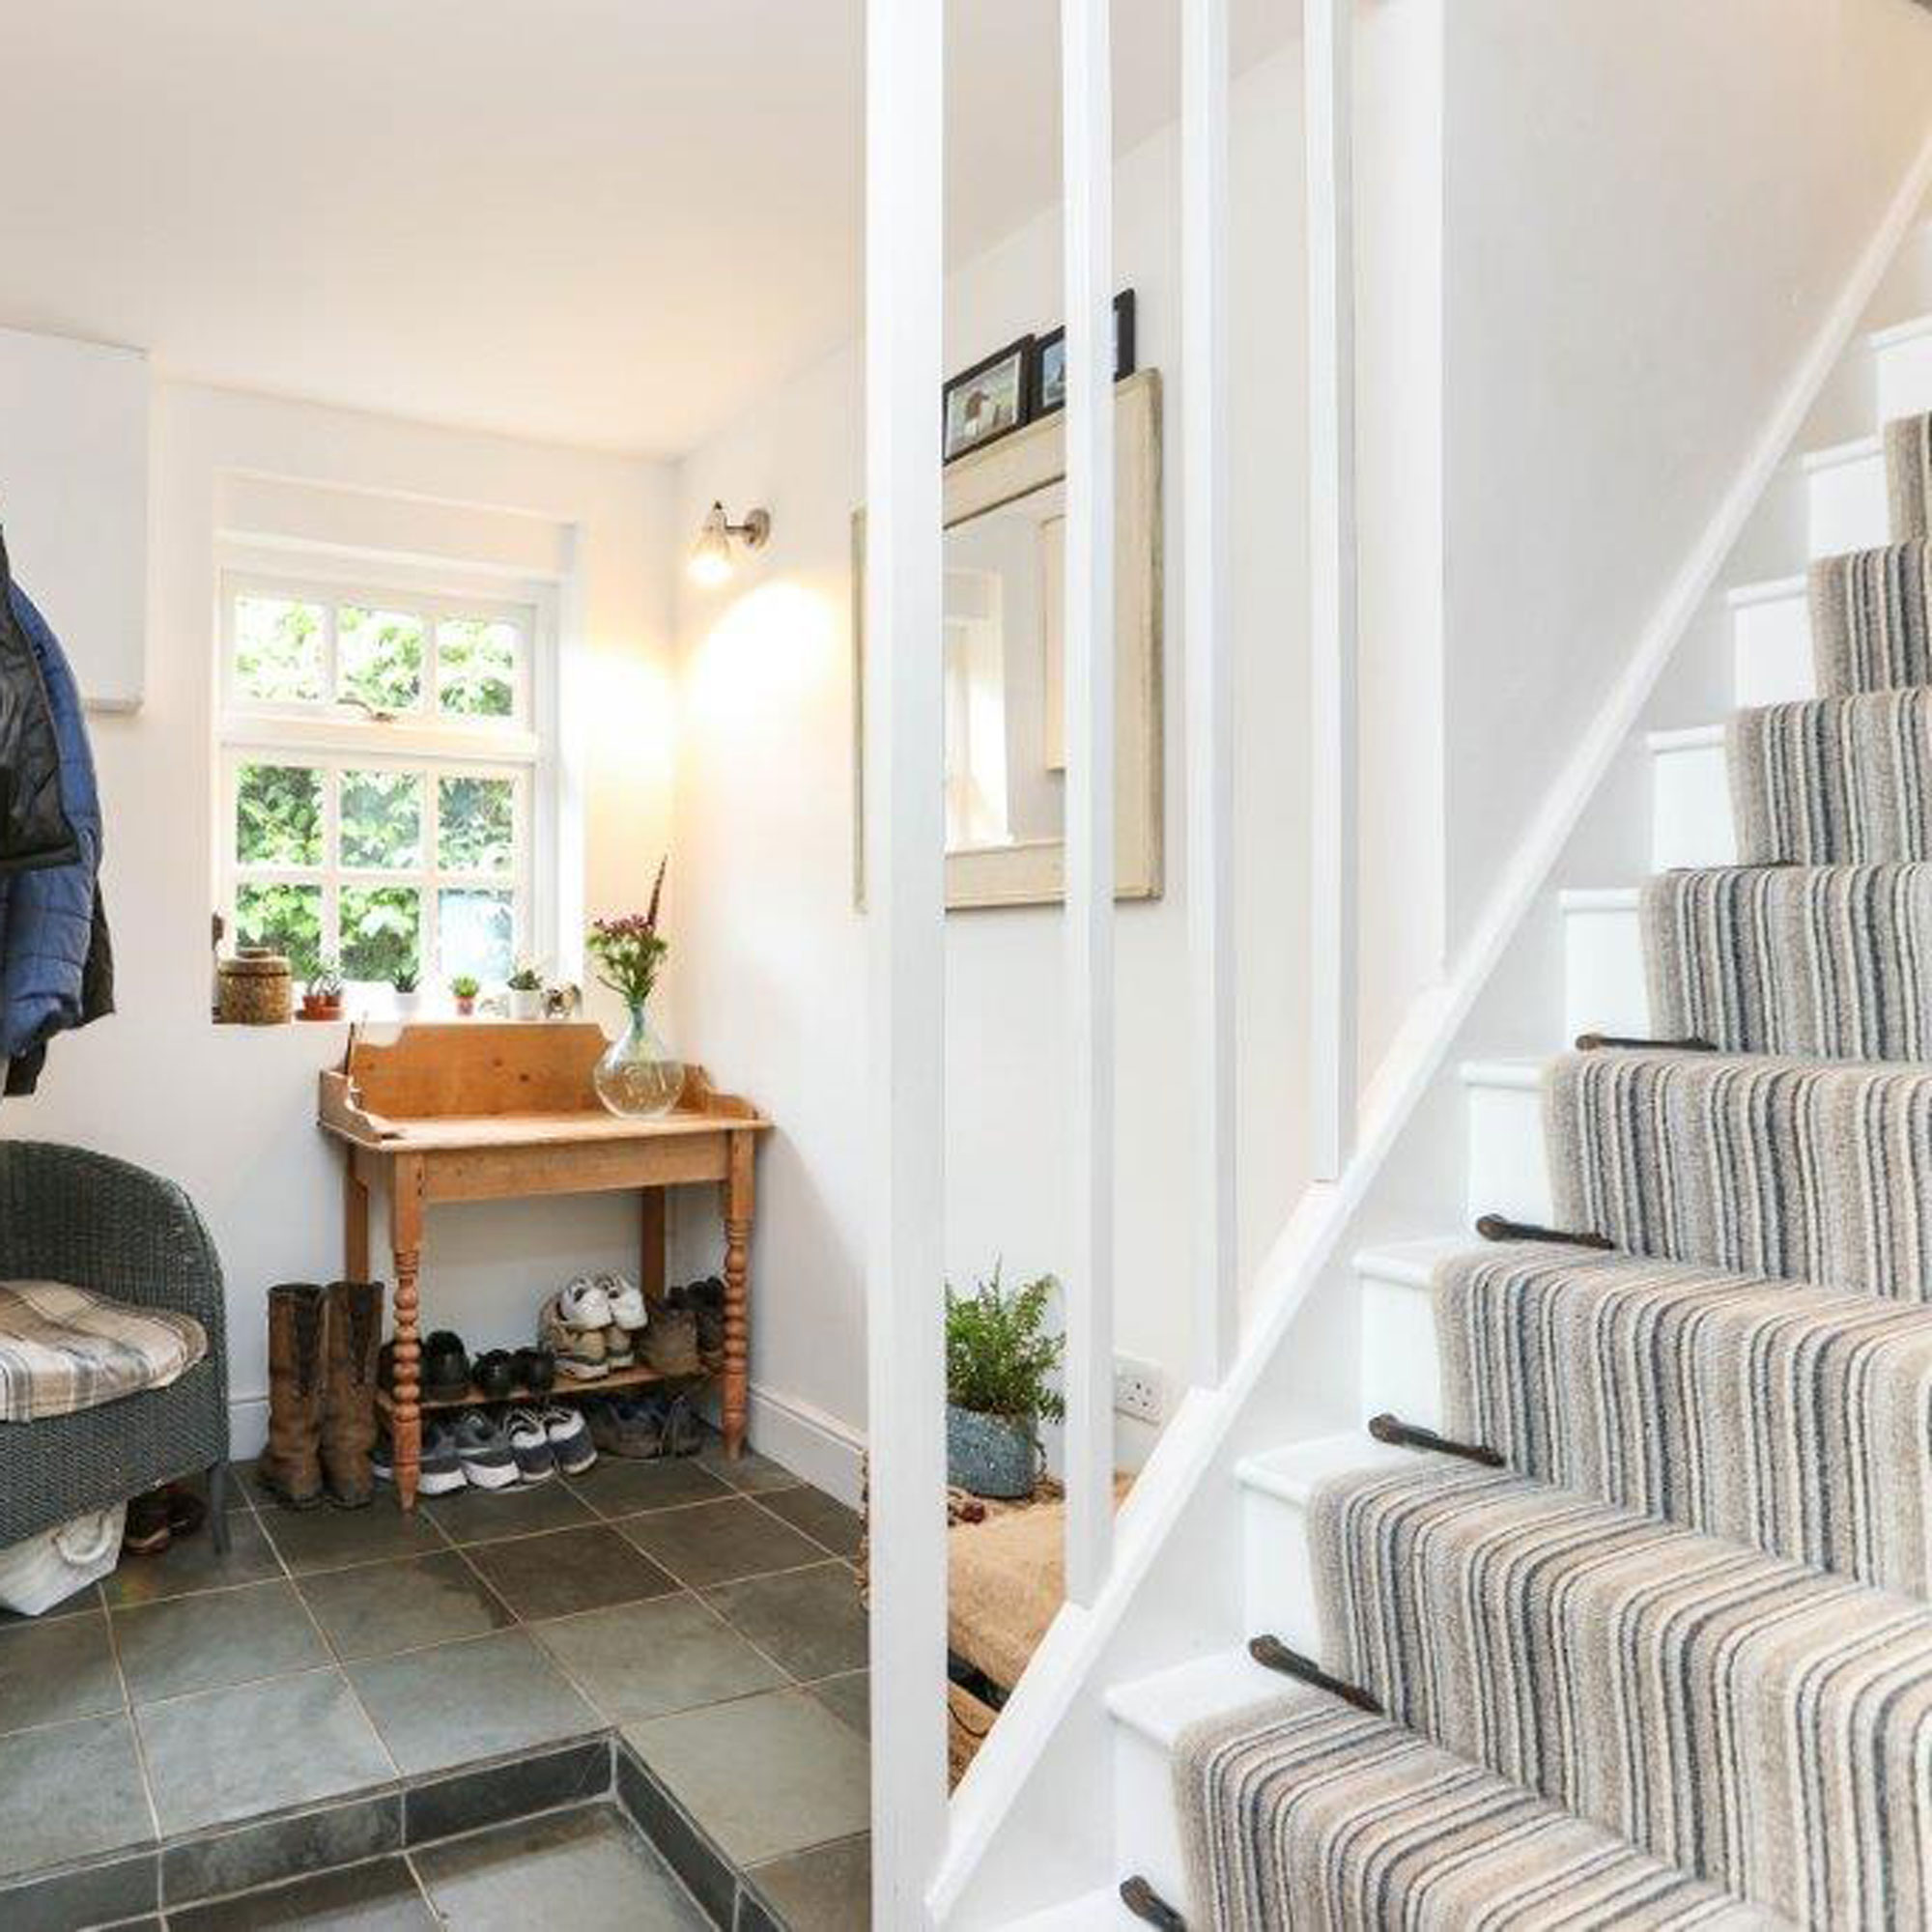
In some cases you will need to add damp proofing to your exposed flooring, as we had to in the hallway.
If the internal wall you are removing is solid brickwork (as opposed to a cavity or stud wall), you may well find a damp proof course within it. You can't just ignore this – it is doing an important job in keeping damp at bay.
As our house was built in 1915, beneath our floor coverings is simply bare soil – meaning damp proofing is crucial. While not all houses will have DPCs within their internal walls, some of the solid walls here did.
This meant that when when we took them out, we needed to add damp proofing measures to the newly exposed floor. As we were replacing all the flooring anyway, this wasn't too much of an issue, but it was definitely something we hadn't banked on. Speak to your building inspector for advice on how to do this so that it complies with the building regulations.
4. It will make an almighty mess
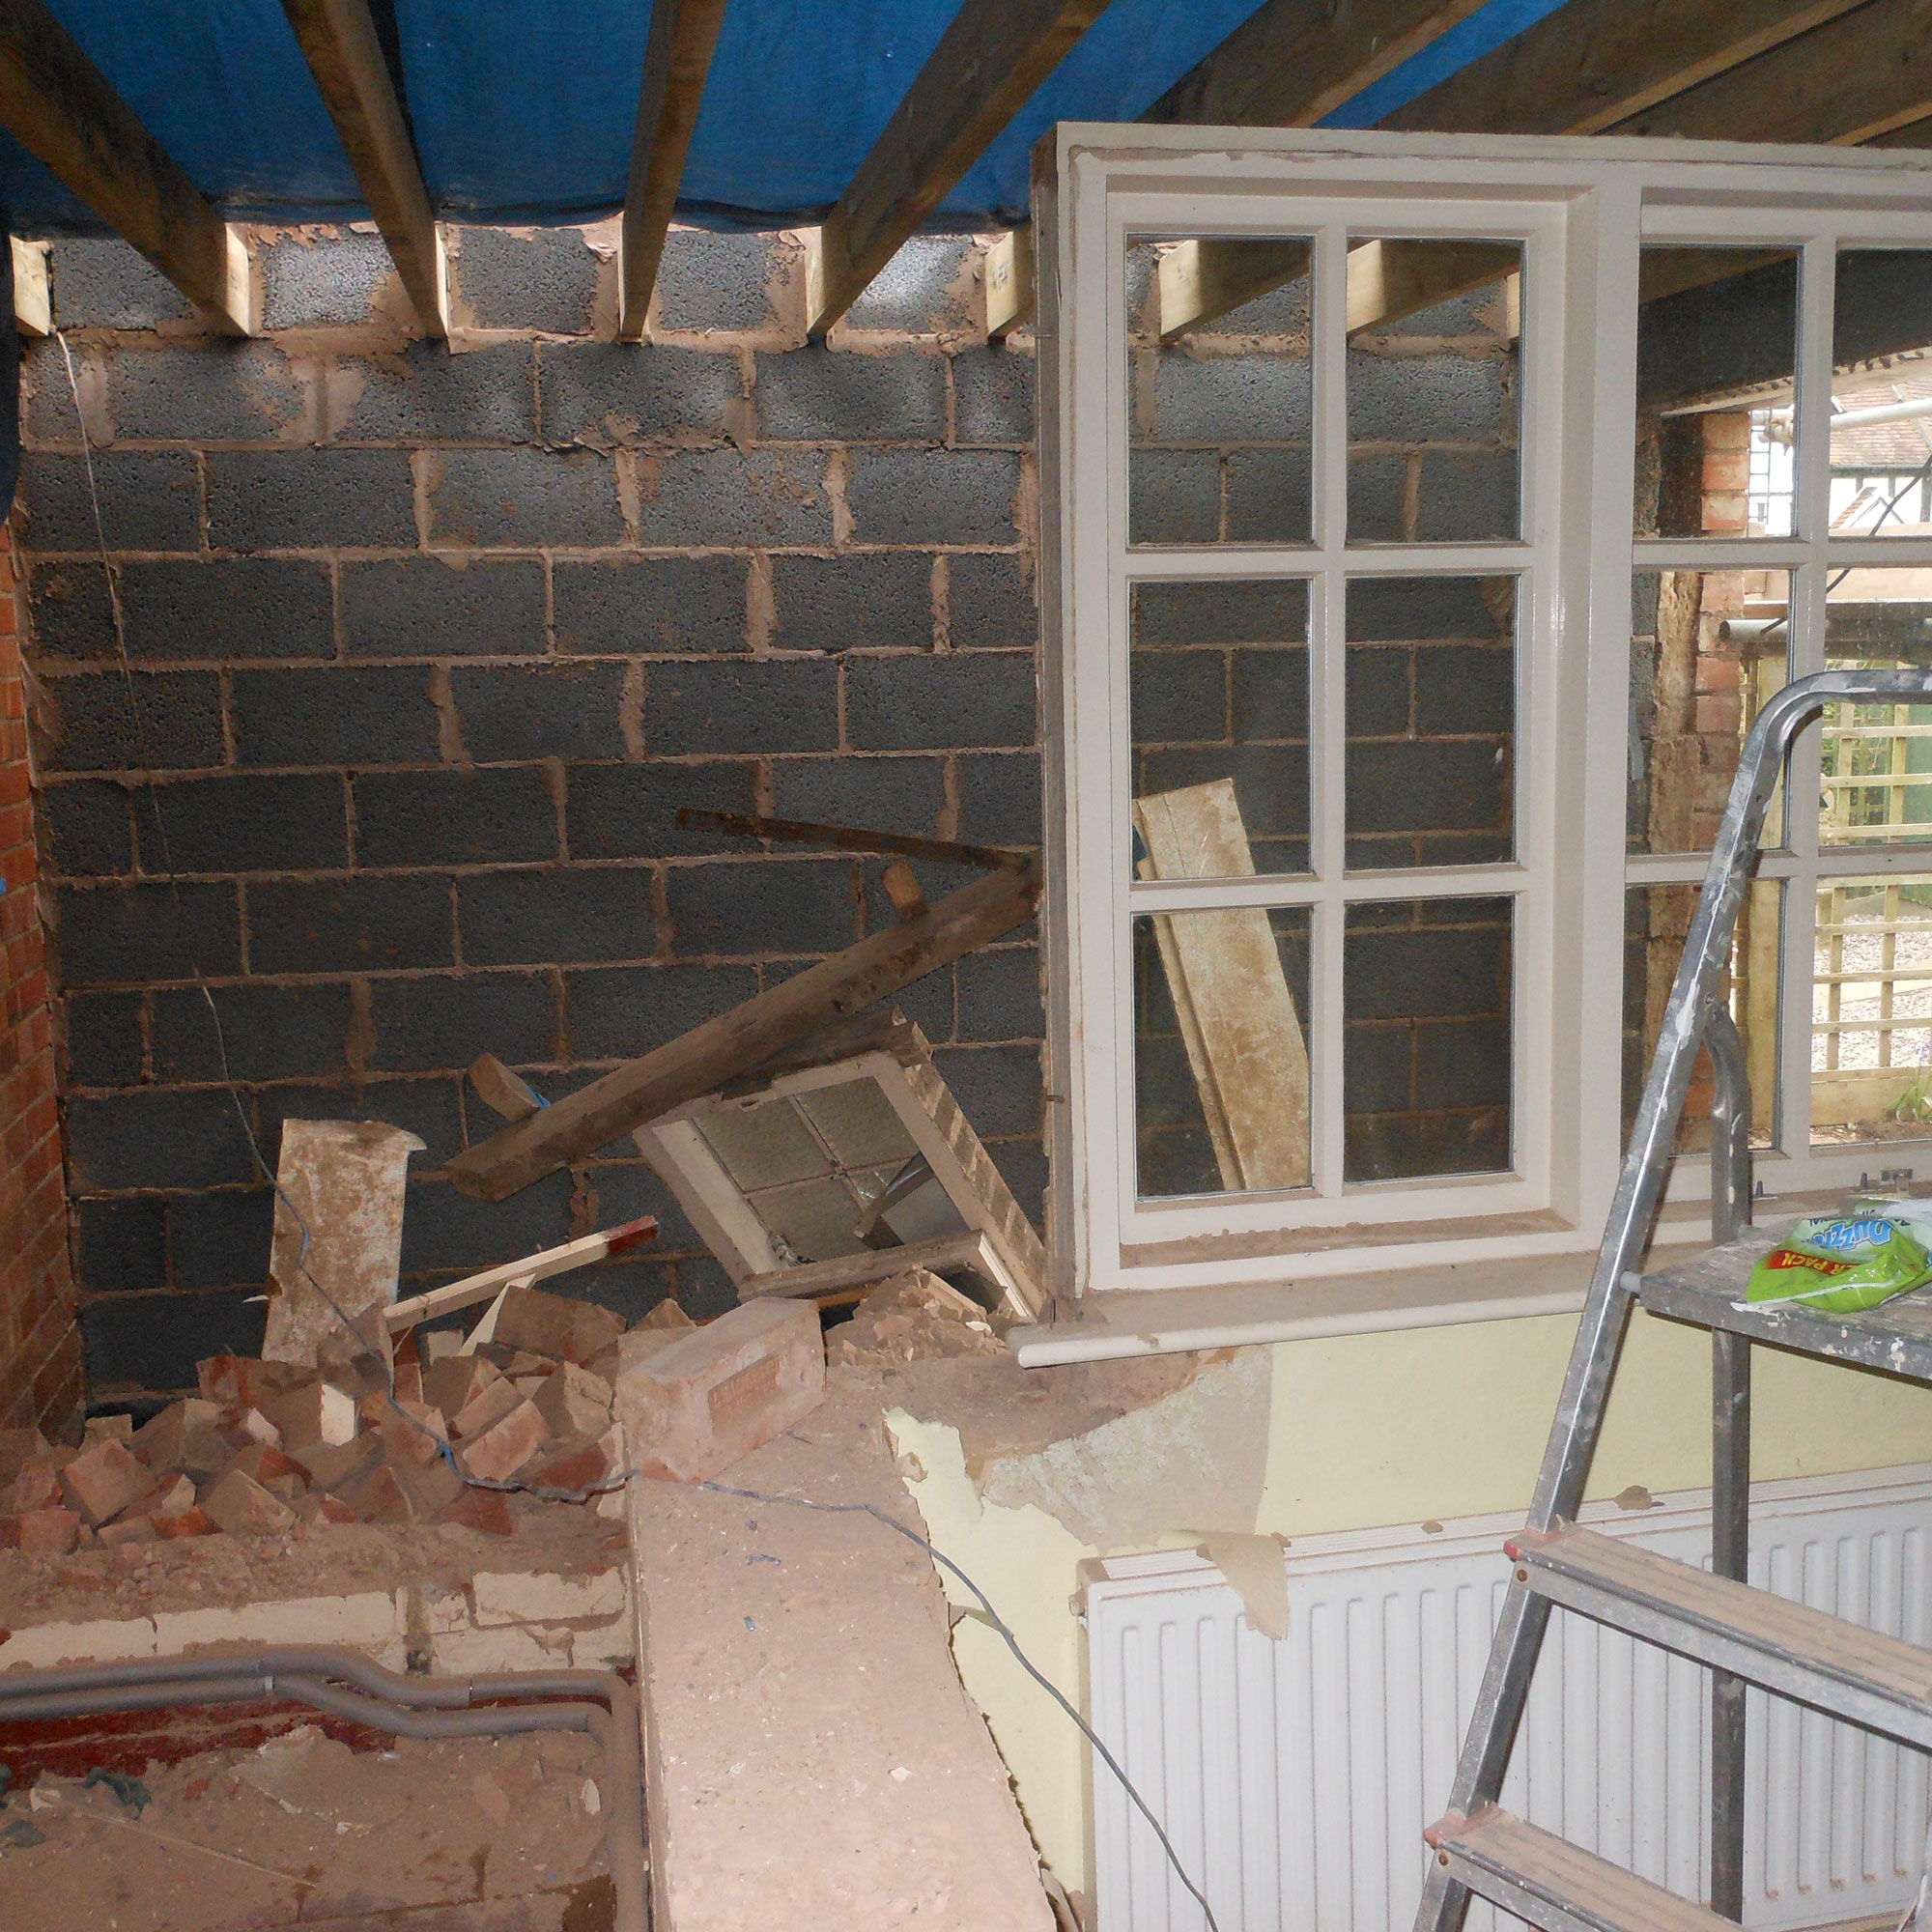
It was pretty much impossible to stop mess getting throughout the house.
Think about how much mess you might expect knocking down an internal wall to make – then multiply that by about 50. A flimsy dust sheet and an open window is not going to cut it.
We lived in our house throughout the renovation work and nothing made more dust and mess that the removal of the internal walls. Even with doors shut, furniture covered and plastic sheeting hung between rooms, dust found a way to get absolutely everywhere. It even managed to get upstairs when the wall being removed was downstairs.
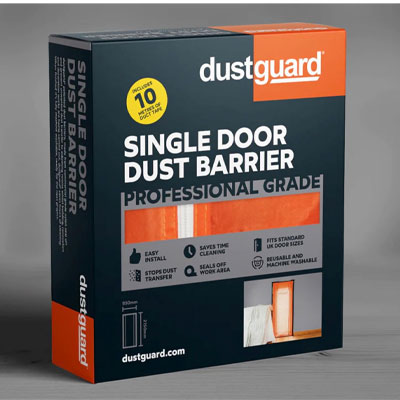
In all honesty, there wasn't much more we could have done to prevent the spread of mess, although next time I would definitely invest in some professional grade dust guards for the doors. Investing in one of the best vacuum cleaners would have helped too rather than relying on our ancient model.
Shop dust minimisers
5. You might not want to remove the whole wall
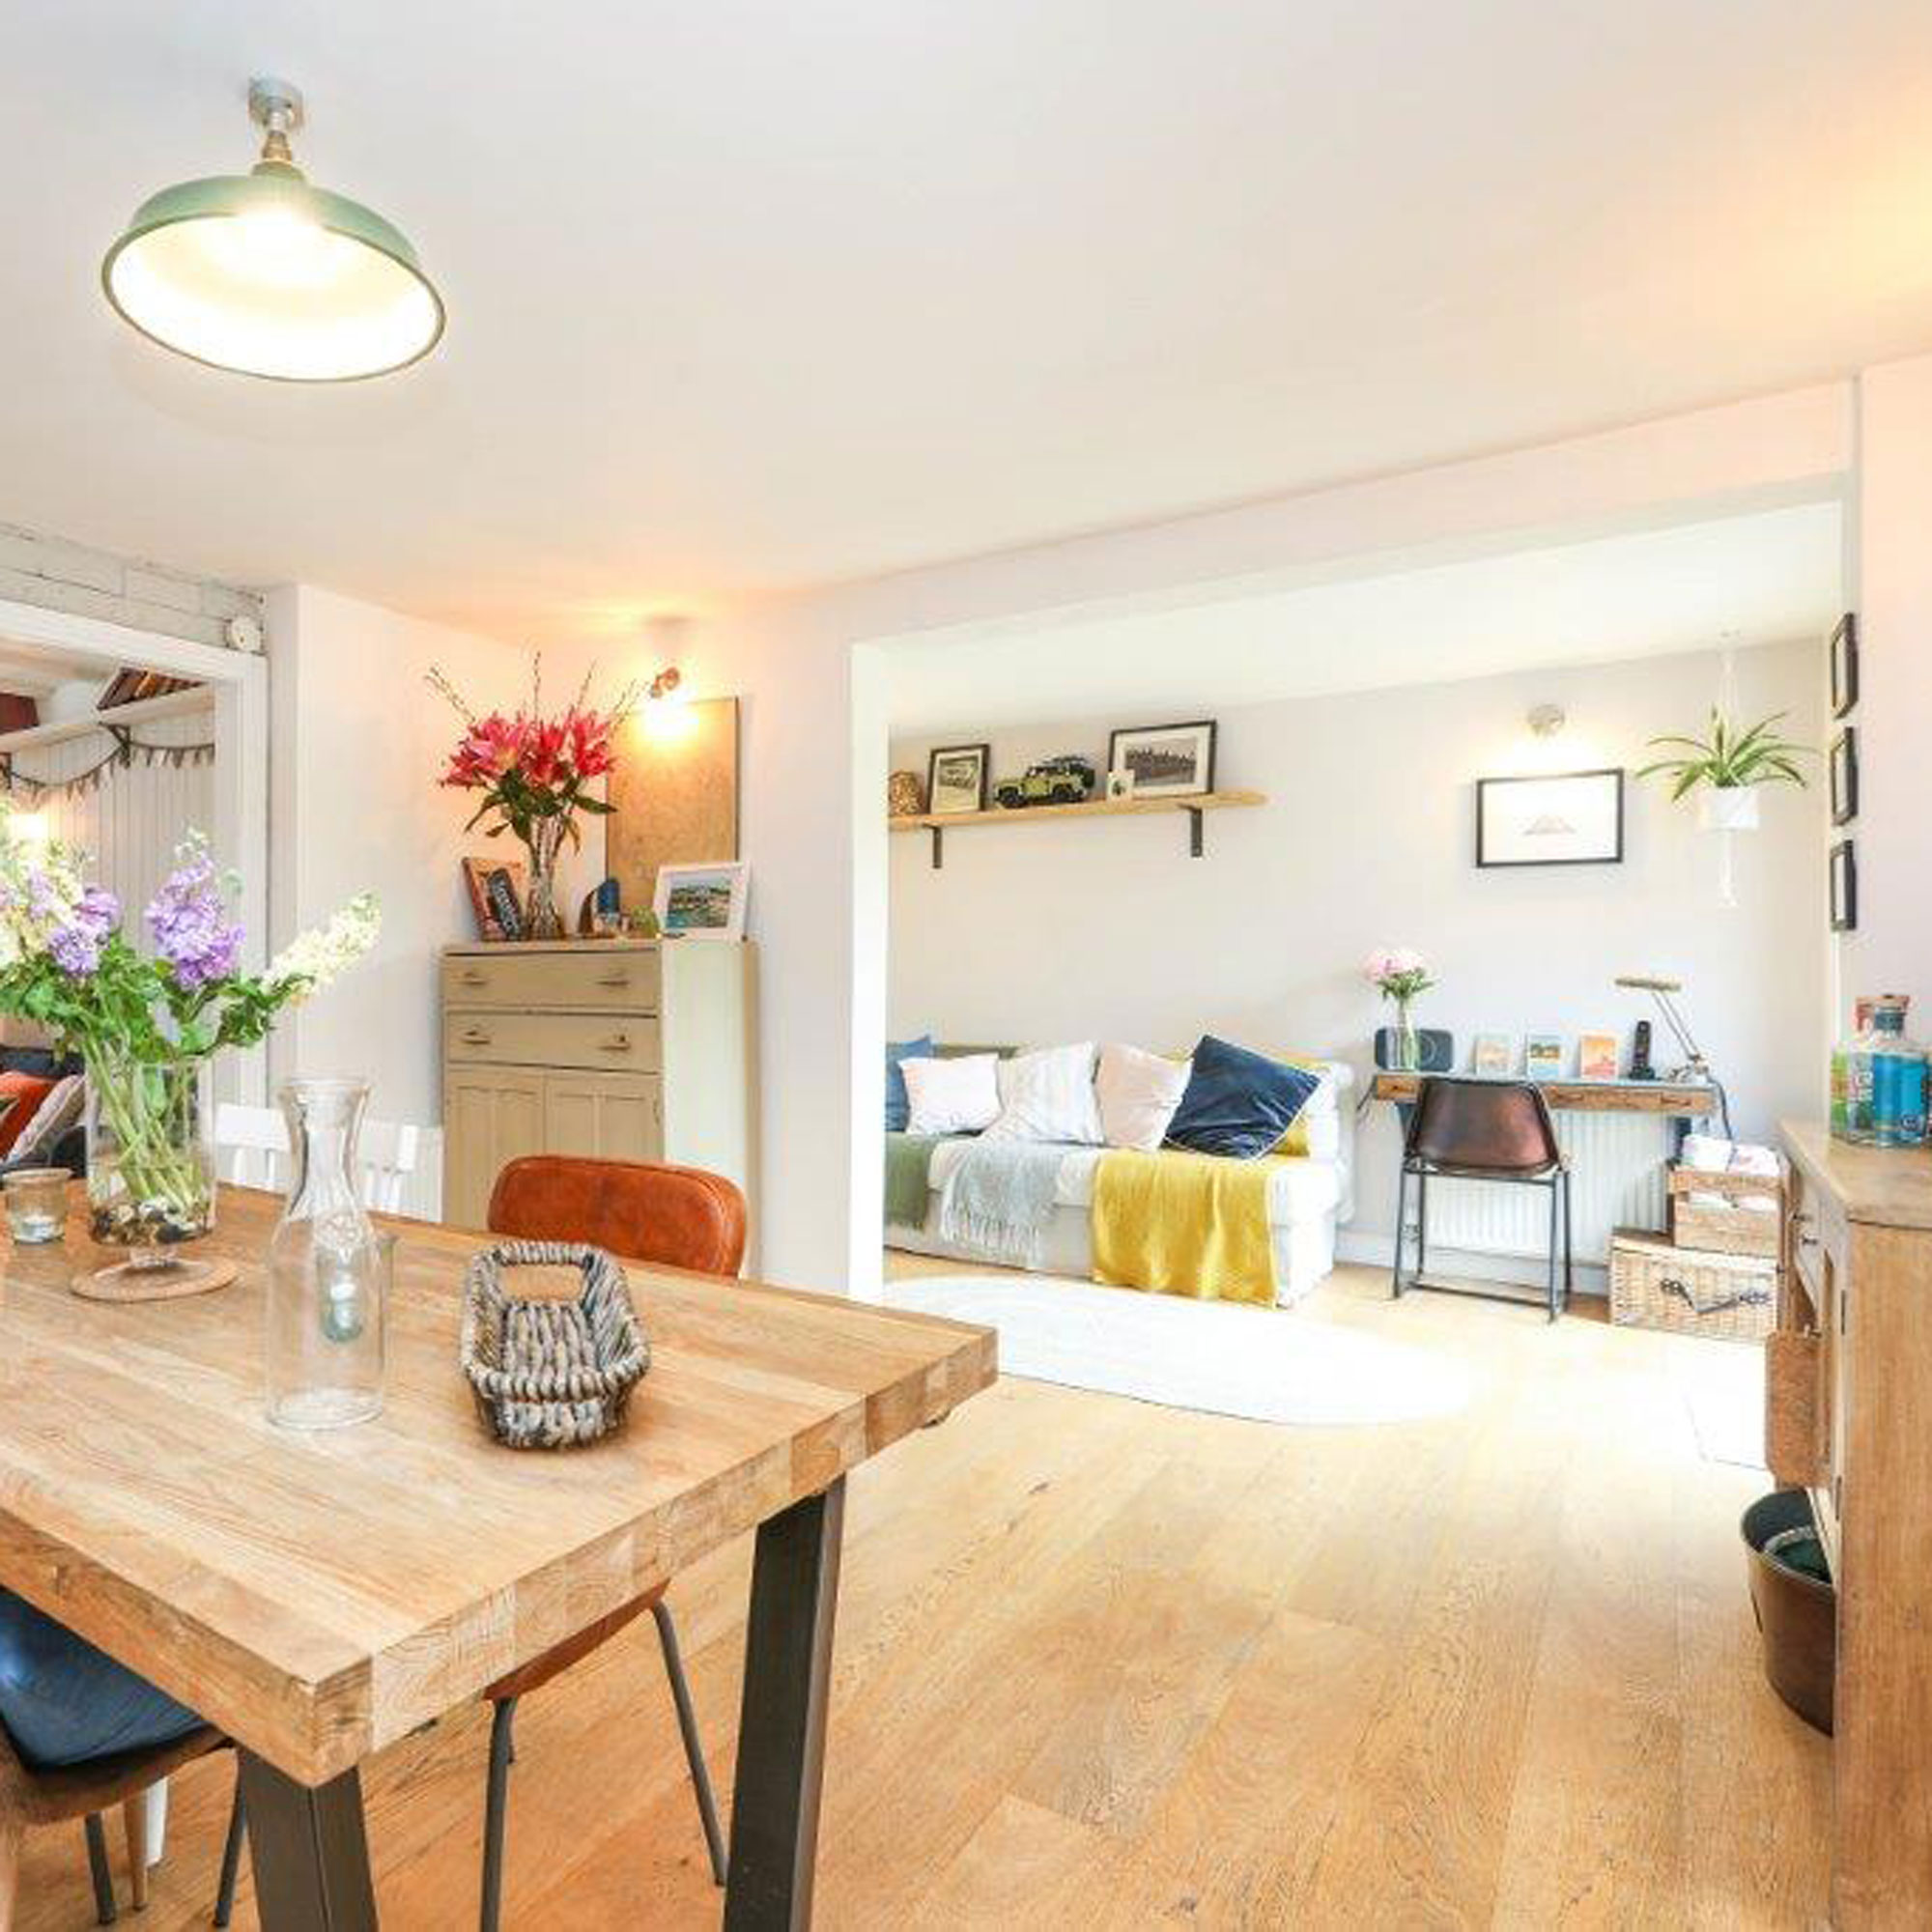
We are now considering adding some metal framed glazing between the dining room and snug.
There have been cases where I wonder if we needed to remove the whole wall. For example, when we renovated our Victorian house some years ago, we removed the wall that stood between the living and dining room to explore some open plan living room ideas.
On reflection, it may have better to simply make an opening within the wall rather than to take the whole thing out. As it was, all the kitchen noise travelled straight through the dining room and into the living area.
In our current house, we removed the external wall to the dining room when we extended out to the side for a snug/spare bedroom. We kept it open between the two spaces and are now considering fitting some steel-framed Crittall-style doors between the two for a little more division.
FAQs
Do you need planning permission to knock down a wall?
You won't usually need planning permission to knock down an internal wall as it will fall under permitted development.
However, if you live in a listed building, you will need permission. Plus, whether or not planning permission is required, you will almost always need building regulations approval to remove load-bearing walls.
How much does it cost to remove an internal wall?
How much it costs to remove an internal wall very much depends on who is carrying out the work and the type of wall you are removing – load bearing or non-load bearing (like a partition wall).
To remove a load bearing wall, Checkatrade estimate that it will cost between £1,250-£1,750. You will also need to factor in structural engineer fees which can cost anything between £300-£500 + VAT, depending on their level of involvement. Don't forget materials either – factor in the cost of an RSJ (£800-£950) as well as damp proofing if needed and final decoration.
There are lots of reasons why removing an internal wall will be necessary, including to make open plan kitchen ideas possible. Although it can be a DIY job, be sure to get the proper structural advice first.

Natasha has been writing about everything homes and interiors related for over 20 years and, in that time, has covered absolutely everything, from knocking down walls and digging up old floors to the latest kitchen and bathroom trends. As well as carrying out the role of Associate Content Editor for Homebuilding & Renovating for many years, she has completely renovated several old houses of her own on a DIY basis.
