How to make a Christmas stocking
Follow Country Homes and Interiors' step-by-step instructions and sew a Christmas stocking

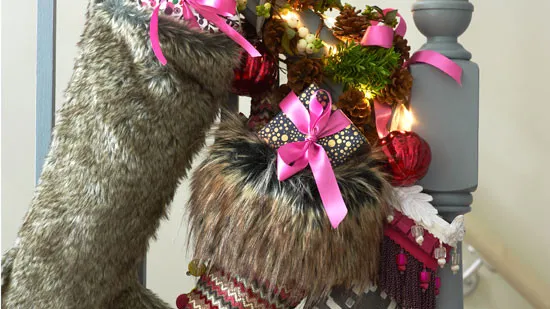
For a glamorous Christmas stocking, use a favourite fabric and intricate braids, bead trims and fringes
You will need
Step 1) Using the photograph as a guide, draw the stocking
shape to your chosen size onto a piece of paper, add 1.5cm all round to allow for seams, then cut out.

Step 2) Use this paper template to cut six stocking shapes, two in main fabric, two in interfacing and two in lining fabric.
Step
3) Place one main fabric stocking piece right side down on a flat
surface and place one interfacing piece on top, matching the edges all
round. Pin, then tack the two pieces together all round, 1cm from the edge.
Repeat with the remaining main fabric and interfacing pieces. Remove the pins.
Step 4) Right sides facing and matching edges all
round, pin the two halves together and machine stitch all
round, taking a 1.5cm seam and leaving the top edge open. Remove the
tacking.
Step 5) Carefully trim back the seams (and interfacing)
and snip into the seam allowance at any curved points or corners, being
careful to avoid the stitching. Turn through and push out the stocking
shape around the corners and curves.
Step 6) Repeat steps 4 and 5
to machine stitch the two lining pieces together, but do not turn through.
Step 7)
Push the lining (still inside out) inside the main stocking, easing it
into place inside the toe and heel until the raw edges align neatly
along the top edge. Fold all the raw edges in around the top by 1.5cm
and pin. Neatly slip-stitch the lining to the main fabric around the top
edge. Remove pins.
Step 8) Decide on the order and position of
the trimmings you wish to use - we used four different designs. Cut the first trim
to length, adding 2cm for seam allowances, and stitch, right sides
facing, along the short ends to form a ring. Repeat for the remaining
trims.
Step 9) Pin and hand-stitch each row of trim in place
around the stocking, starting with the one lowest on the stocking and
finishing with the last trim around the top edge. Add a loop of trim for
hanging and attach to a hallway banister or living room mantelpiece.
Liked
this? Find more of our craft ideas on Country Homes and Interiors'
website. Plus, be
first to hear about our favourite buys and exclusive competitions on
Facebook and Twitter.
