Try our easy papercraft guide to how to decoupage a trinket box. All you need is paper, scissors and a little glue...
Making your box is a relaxing task that will fill a couple of hours at most, and you can use it to stash away jewellery, toiletries or sweet treats. You can even theme your decoupage depending on the contents.
Or why not give the box a birthday or Christmas theme and use it to present gifts to loved ones?

Decoupage trinket box - the kit you'll need
Here's what you'll need to make your decoupage trinket box:
- Collection of decorative papers – this could be pages from magazines, wallpaper, wrapping paper, or old books or sheet music.
- A thin glue. A Pritt-Stick is ideal.
- PVA for a longer-lasting finish.
- A box, cleaned and ready for paper application. you could use a shoebox, old chocolate box or small wooden box.
How to decoupage a trinket box, step by step
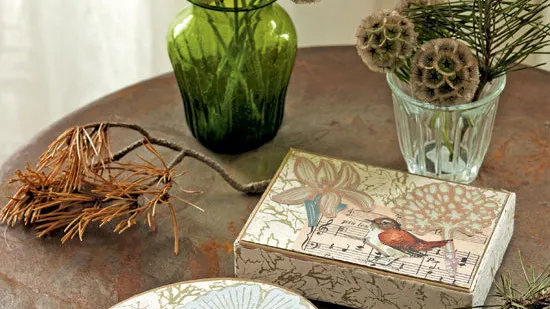
1. Decide on a main decorative paper (use giftwrap, wallpaper, or music notation) to cover your boxes and cut out one piece for the top and one for the sides of the lid.
2. Check that the box is clean and free of dust and grease. Use Pritt stick to glue on the paper, working it smoothly into place from the centre out towards the edges for a neat finish, free from air bubbles and creases.
3. Cut out a few motifs (we used birds, flowers and musical notation) and glue in your preferred positions. Leave to dry.
4. For a longer-lasting finish, apply a coat of PVA glue to the papered surfaces of the box and, again, leave to dry completely.
Learn how to make a pretty decoupage box with our step-by-step guide.