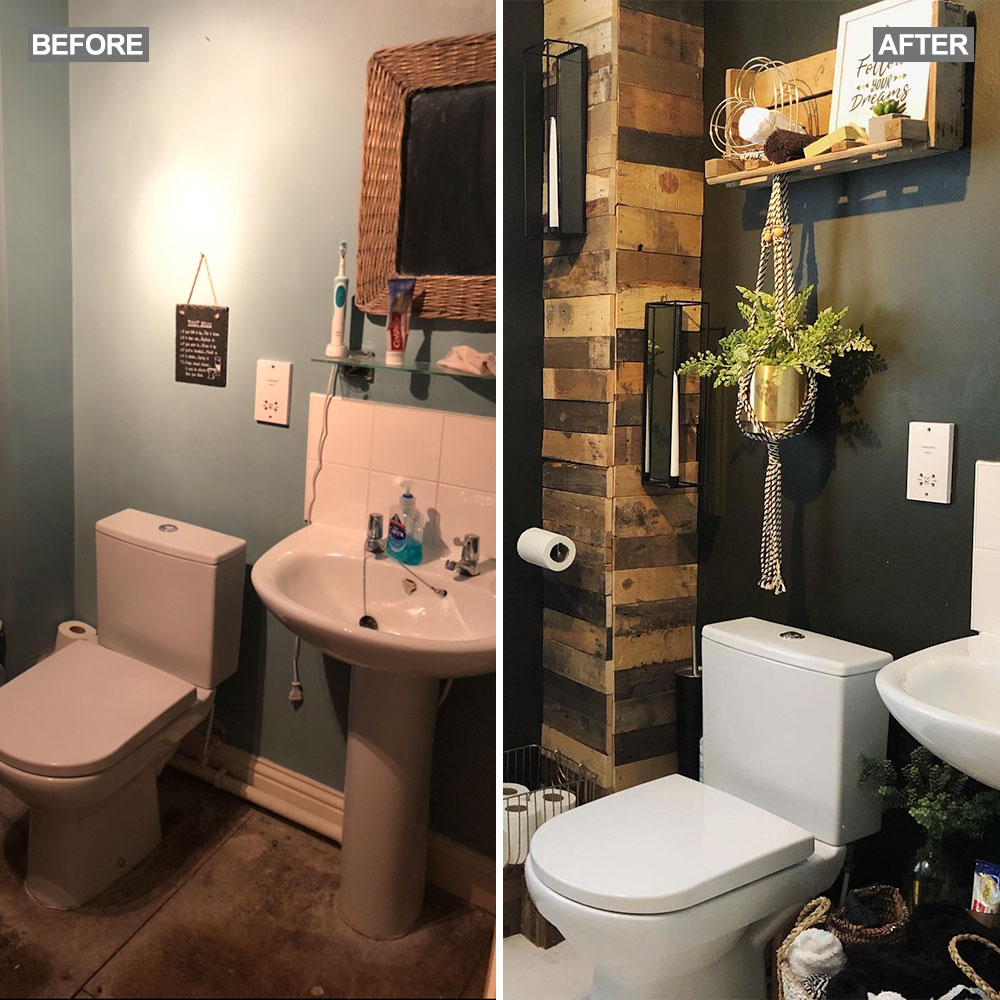
See how this bathroom was given a stunning rustic makeover using pallets
The total makeover cost less than £150

Sign up to our newsletter for style inspiration, real homes, project and garden advice and shopping know-how
You are now subscribed
Your newsletter sign-up was successful
Struggling to get hold off DIY supplies? Be inspired by this DIY bathroom panelling makeover to get creative with materials already lying around your home.
Related: This bathroom makeover proves the power of a painted ceiling – the result is lush!
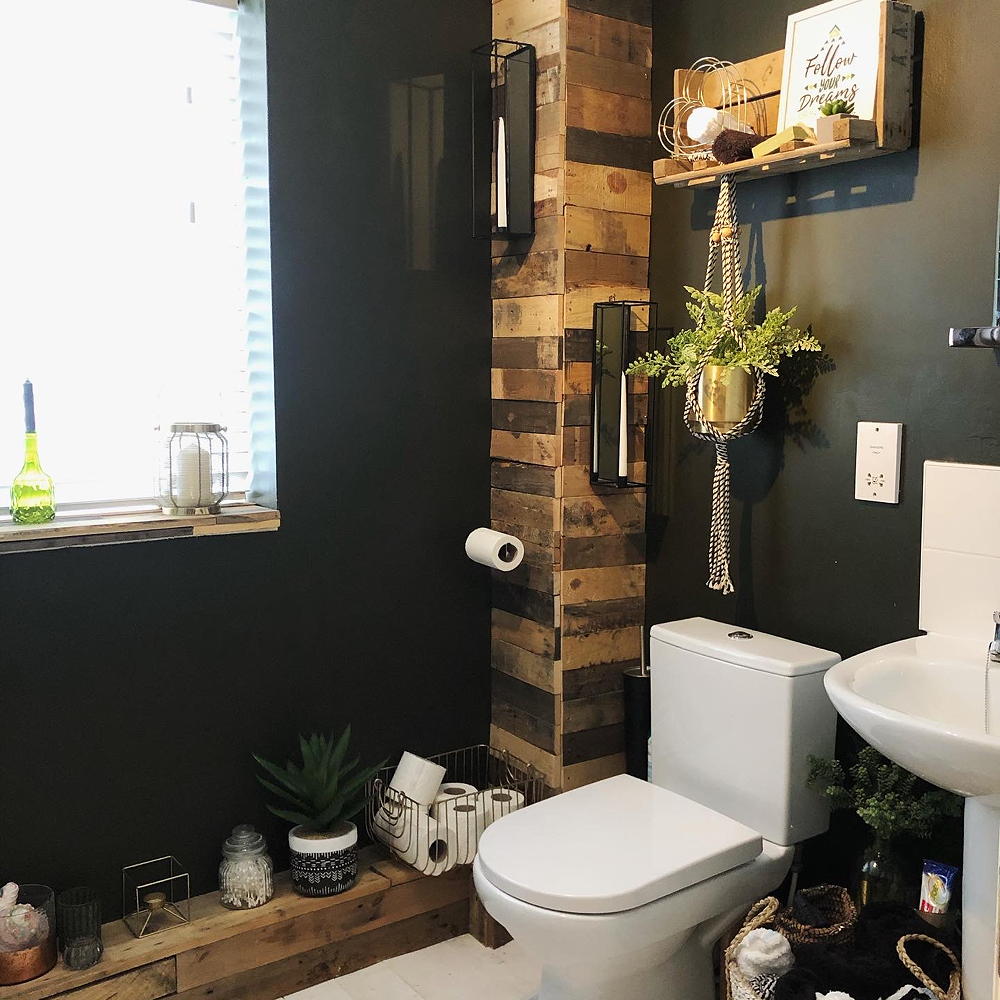
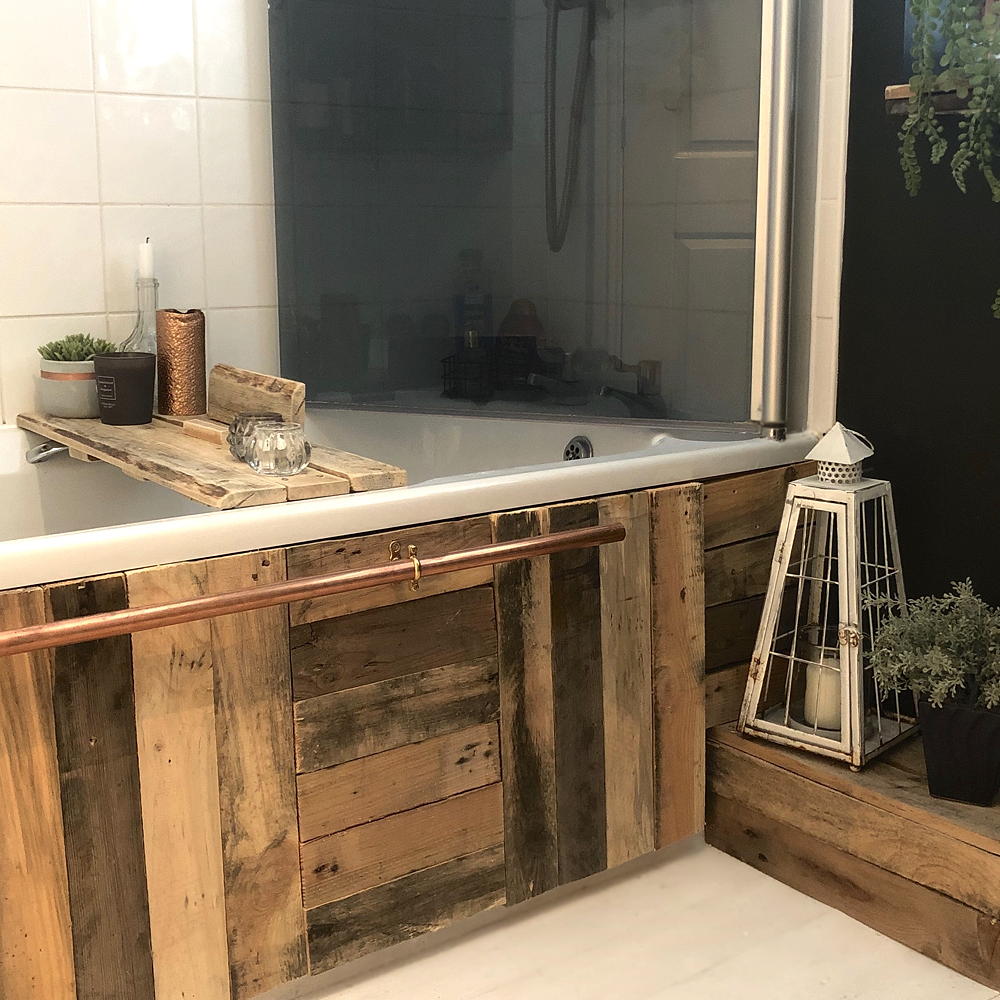
Savvy DIY-er Lauren Brand posted photos of her incredible bathroom transformation on the DIY on a budget official Facebook group. She used pallets that she had leftover from another project to create a gorgeous rustic panelling effect, as well as adding in a secret storage compartment next to the bath.

'The inspiration for my bathroom project was purely the fact I love the rustic look of pallet wood and reclaimed wood,' Lauren told Ideal Home. 'I have done a few projects previously using pallet wood and had quite a few leftover so thought I would put it to good use by giving my bathroom a much-needed renovation!'
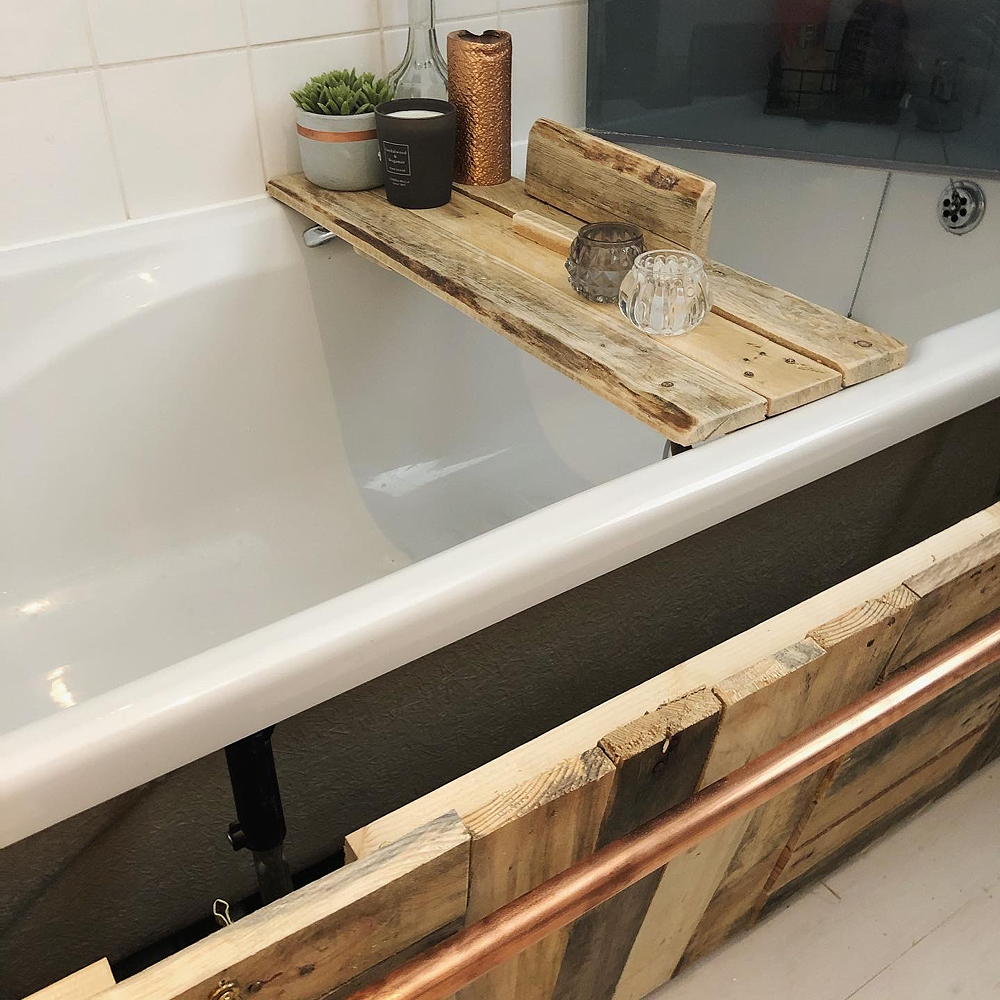
Lauren used the panels of pallet wood to cover the pipes and bathtub in her bathroom, she even had enough left over to make a shelf and bath tray! Here's how she did it:
DIY bathroom panelling step-by-step
How to create panelling around pipes

1. Make a frame out of battens of wood to fit around the pipes. Lauren picked up hers from Homebase for around £20.
2. Cut the pallet wood into lengths to cover the pipes. Screw them to the batten frame.
Sign up to our newsletter for style inspiration, real homes, project and garden advice and shopping know-how
3. Lauren also covered the corner of the bathroom in panels using screws.
How to create a secret bath storage panel

1.'For the bath panel I first made a frame out of the battens of wood, but making sure I left gaps at the top where the bath support is so it would close,' explains Lauren. 'I used two lengths horizontally the length of the bath and then I used 6 shorter pieces vertically to support all of the pieces of pallet wood.'
2. Arrange strips of pallet wood on the floor in your desired pattern. 'I decided to vary between horizontal and vertical just to make it that little bit more unique,' explains Lauren.
3. Place the frame on top of the pallet wood and screw it in place.
4. Attach hinges to the bottom of the framework and a batten of wood already fixed to the floor.
5. Plane the top of the bath panel to ensure a good fit under the lip of the bath.
6. Attach roller catches to the top edge of the bath panel so it can be opened for storage.
7. For the finishing touch, Lauren turned a piece of copper pipe she already had into a handle for the storage panel.

'I am extremely happy with the finished result of my bathroom,' says Lauren. 'I've always been very hands-on and given anything a go. However, this is the biggest DIY project I've done including laying new floorboards and decorating as well as all the pallet woodwork.'
The entire bathroom transformation, including the paint and floorboards from Homebase, came to just £150!
Related: Before and after: homeowners transform bland bathroom to chic retreat
Have you been inspired to get creative with any leftover materials you have lying around the house?

Rebecca Knight has been the Deputy Editor on the Ideal Home Website since 2022. She graduated with a Masters degree in magazine journalism from City, University of London in 2018, before starting her journalism career as a staff writer on women's weekly magazines. She fell into the world of homes and interiors after joining the Ideal Home website team in 2019 as a Digital Writer. In 2020 she moved into position of Homes News Editor working across Homes & Gardens, LivingEtc, Real Homes, Gardeningetc and Ideal Home covering everything from the latest viral cleaning hack to the next big interior trend.