How to fix a leaky showerhead - a step by step guide
Want to know how to resolve a dripping shower? Repair a shower head in these five simple steps


Sign up to our newsletter for style inspiration, real homes, project and garden advice and shopping know-how
You are now subscribed
Your newsletter sign-up was successful
EDITOR’S NOTE: An earlier version of this article included a quote from a purported expert whose credentials we have not been able to verify. The quote has been removed. We regret this lapse in our verification process and have updated our internal protocols to reduce the risk of recurrence.
The constant splat-splat dripping sound from a shower head when it’s not in use is not only annoying to listen to, but is also literally the sound of money going down the drain! That's why it's so important to learn how to fix a leaky showerhead yourself.
So help your bathroom, your bank account and the planet by picking up an extra bit of DIY knowledge. After all, according to Mira Showers, a dripping shower head can waste up to 5,500 litres of water each year, which is not only bad for your water bill, but for the planet, too. What’s more, if the leak is coming from your shower valve, it could be leaking behind your bathroom walls, too.
'Over time, this is likely to lead to dry rot, mould and potential structural problems that may result in quite a hefty bill,' says Steven Pester of Resolve Plumbing Services at Rated People.
We take a look at what could be causing your shower head to leak, and reveal the five steps you can take to fix the problem. Remember that, as with how to unblock a toilet, always seek help from a professional plumber if you don’t feel comfortable carrying out the job yourself.

How to fix a leaky shower head
If you notice your showerhead is dripping or running when the shower is turned off, you'll know you've got a leak on your hands. It may not be as obvious, though. You can also tell if you have a leaky shower if the shower floor is wet even though you haven't used it in a while. But what causes a showerhead to leak?
There are several reasons why it might be leaking. Firstly, it could be that the shower nozzles are clogged up with a build-up of dirt and debris. Secondly, the washer may have become worn over time and needs replacing. Lastly, it may be that the valve needs replacing.
Here's how to fix a leaky showerhead...
Sign up to our newsletter for style inspiration, real homes, project and garden advice and shopping know-how
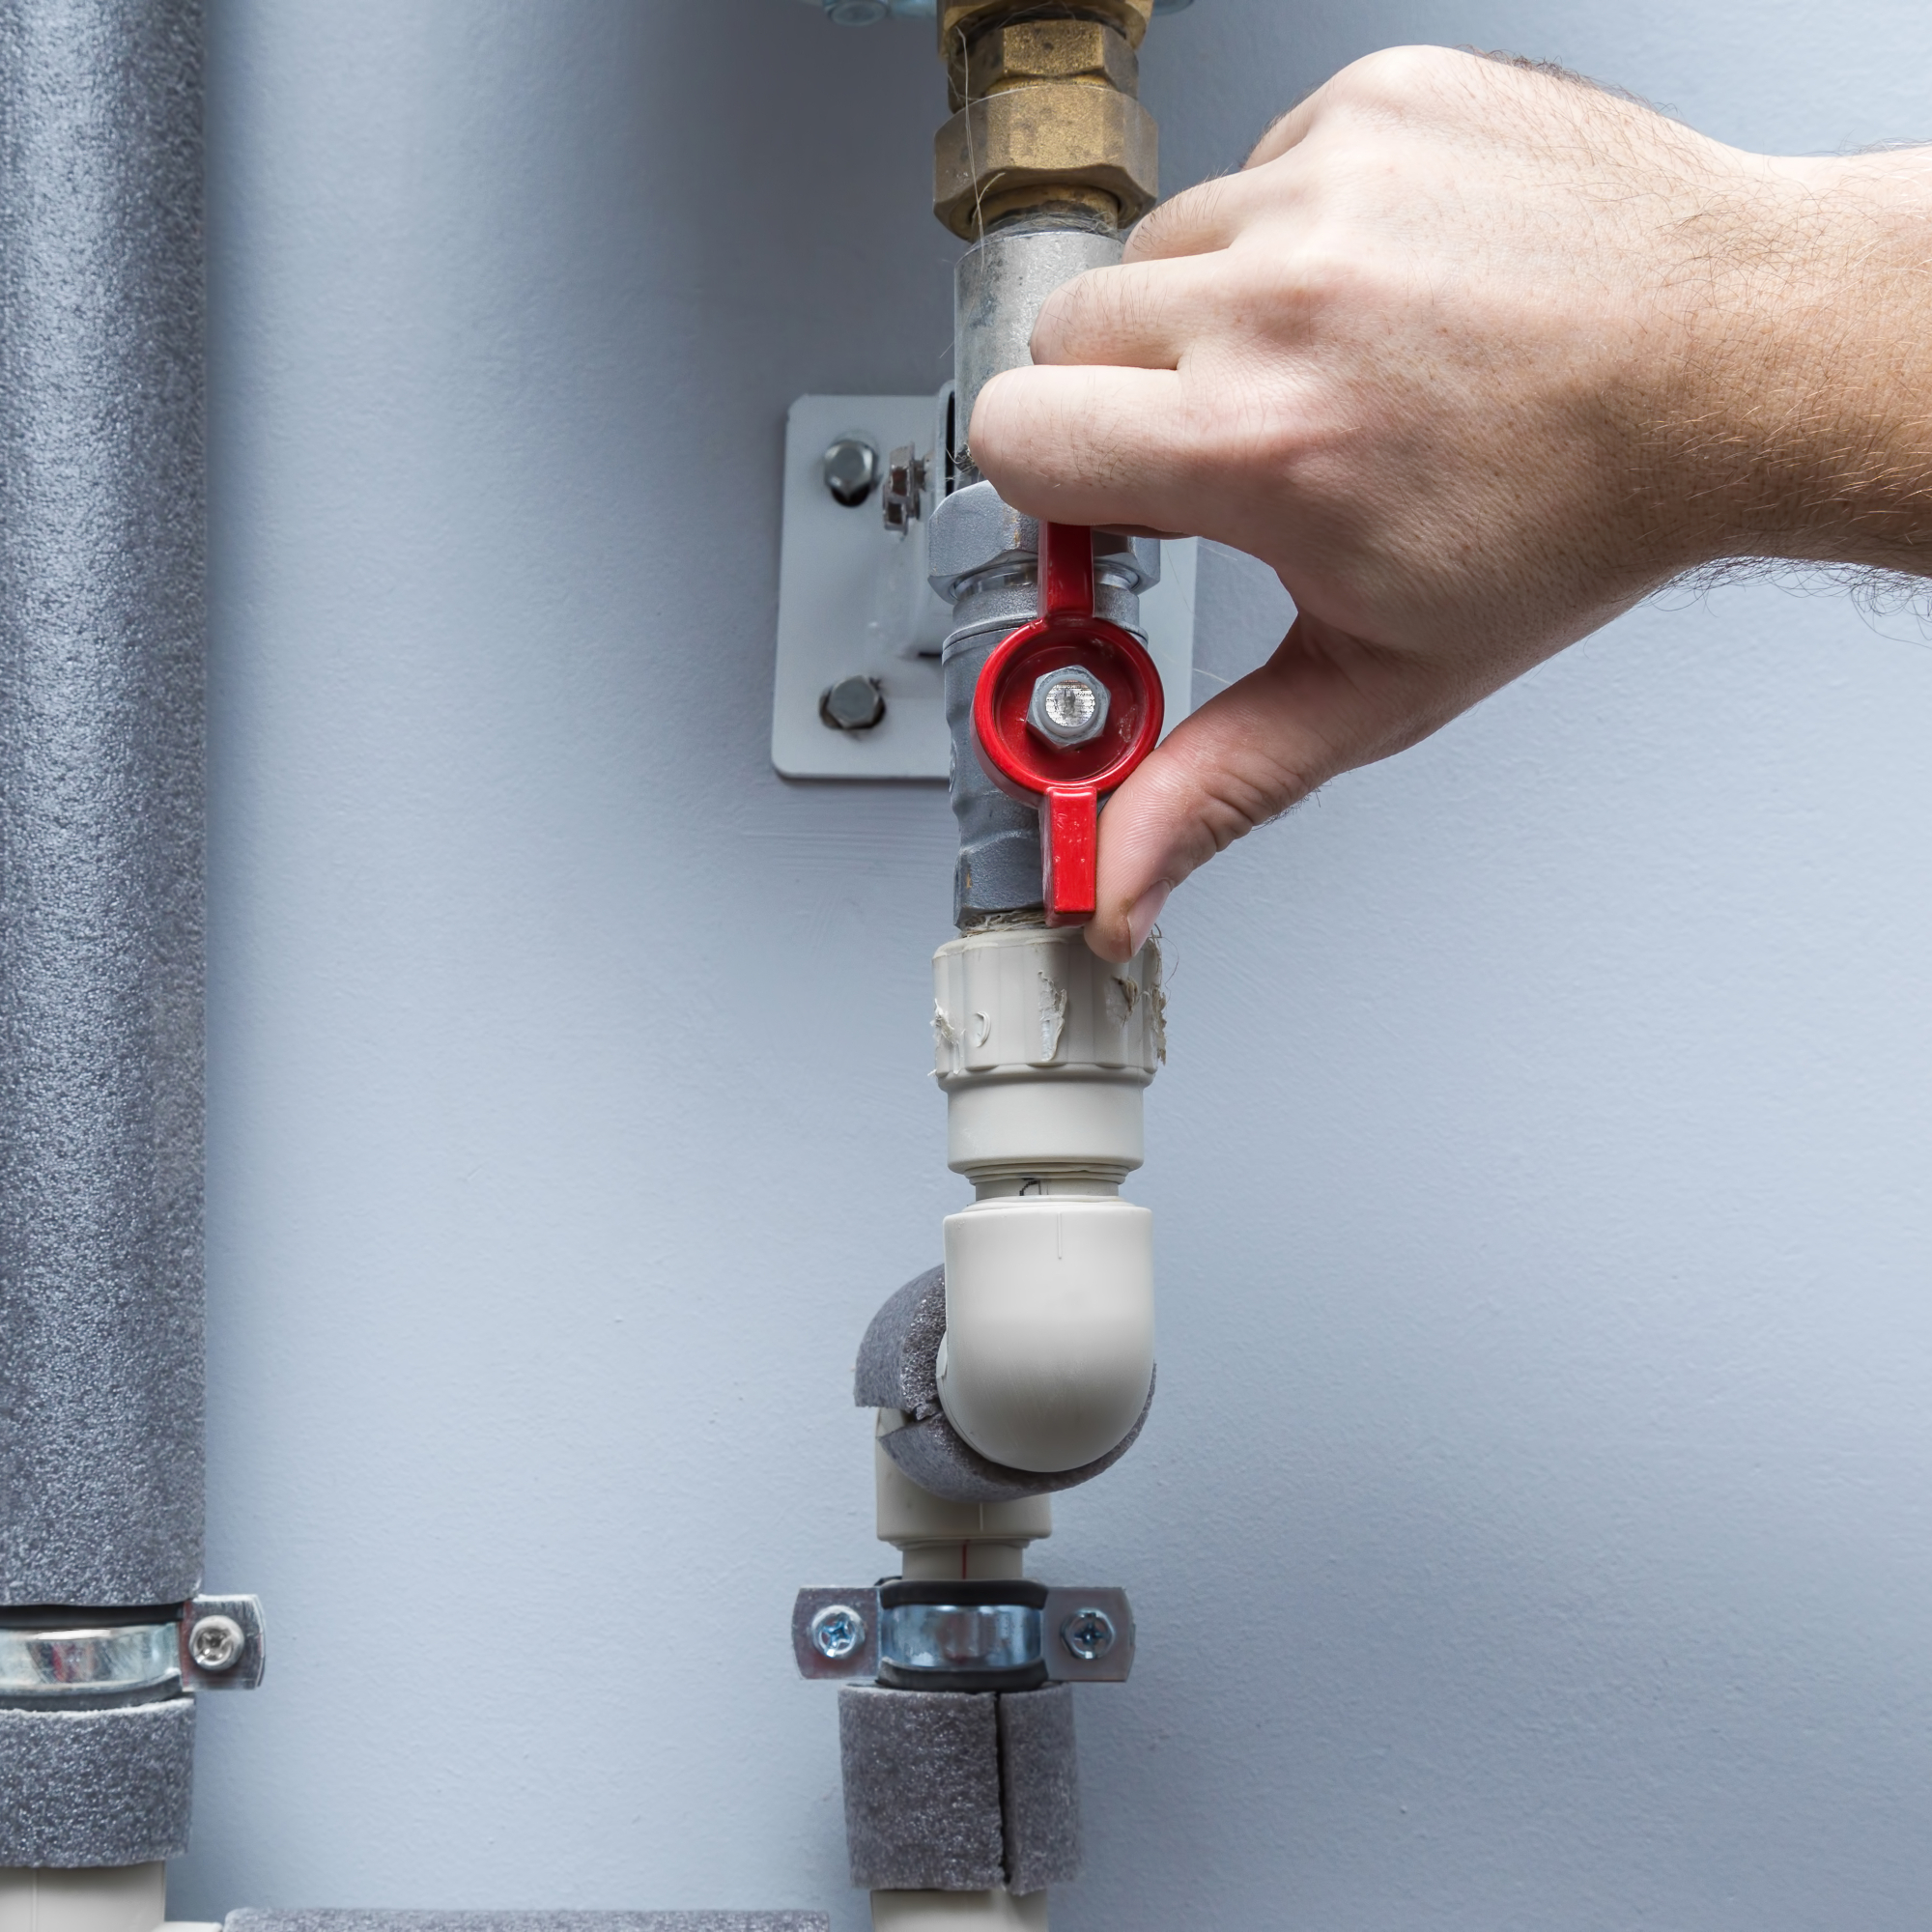
1. Switch off the water mains

Before you start investigating, you need to turn off the water mains to the whole house. You'll need to find where your stopcock is.
Always keep a couple of towels close by, as some water is likely to come out of the pipes when you start to take the shower apart.
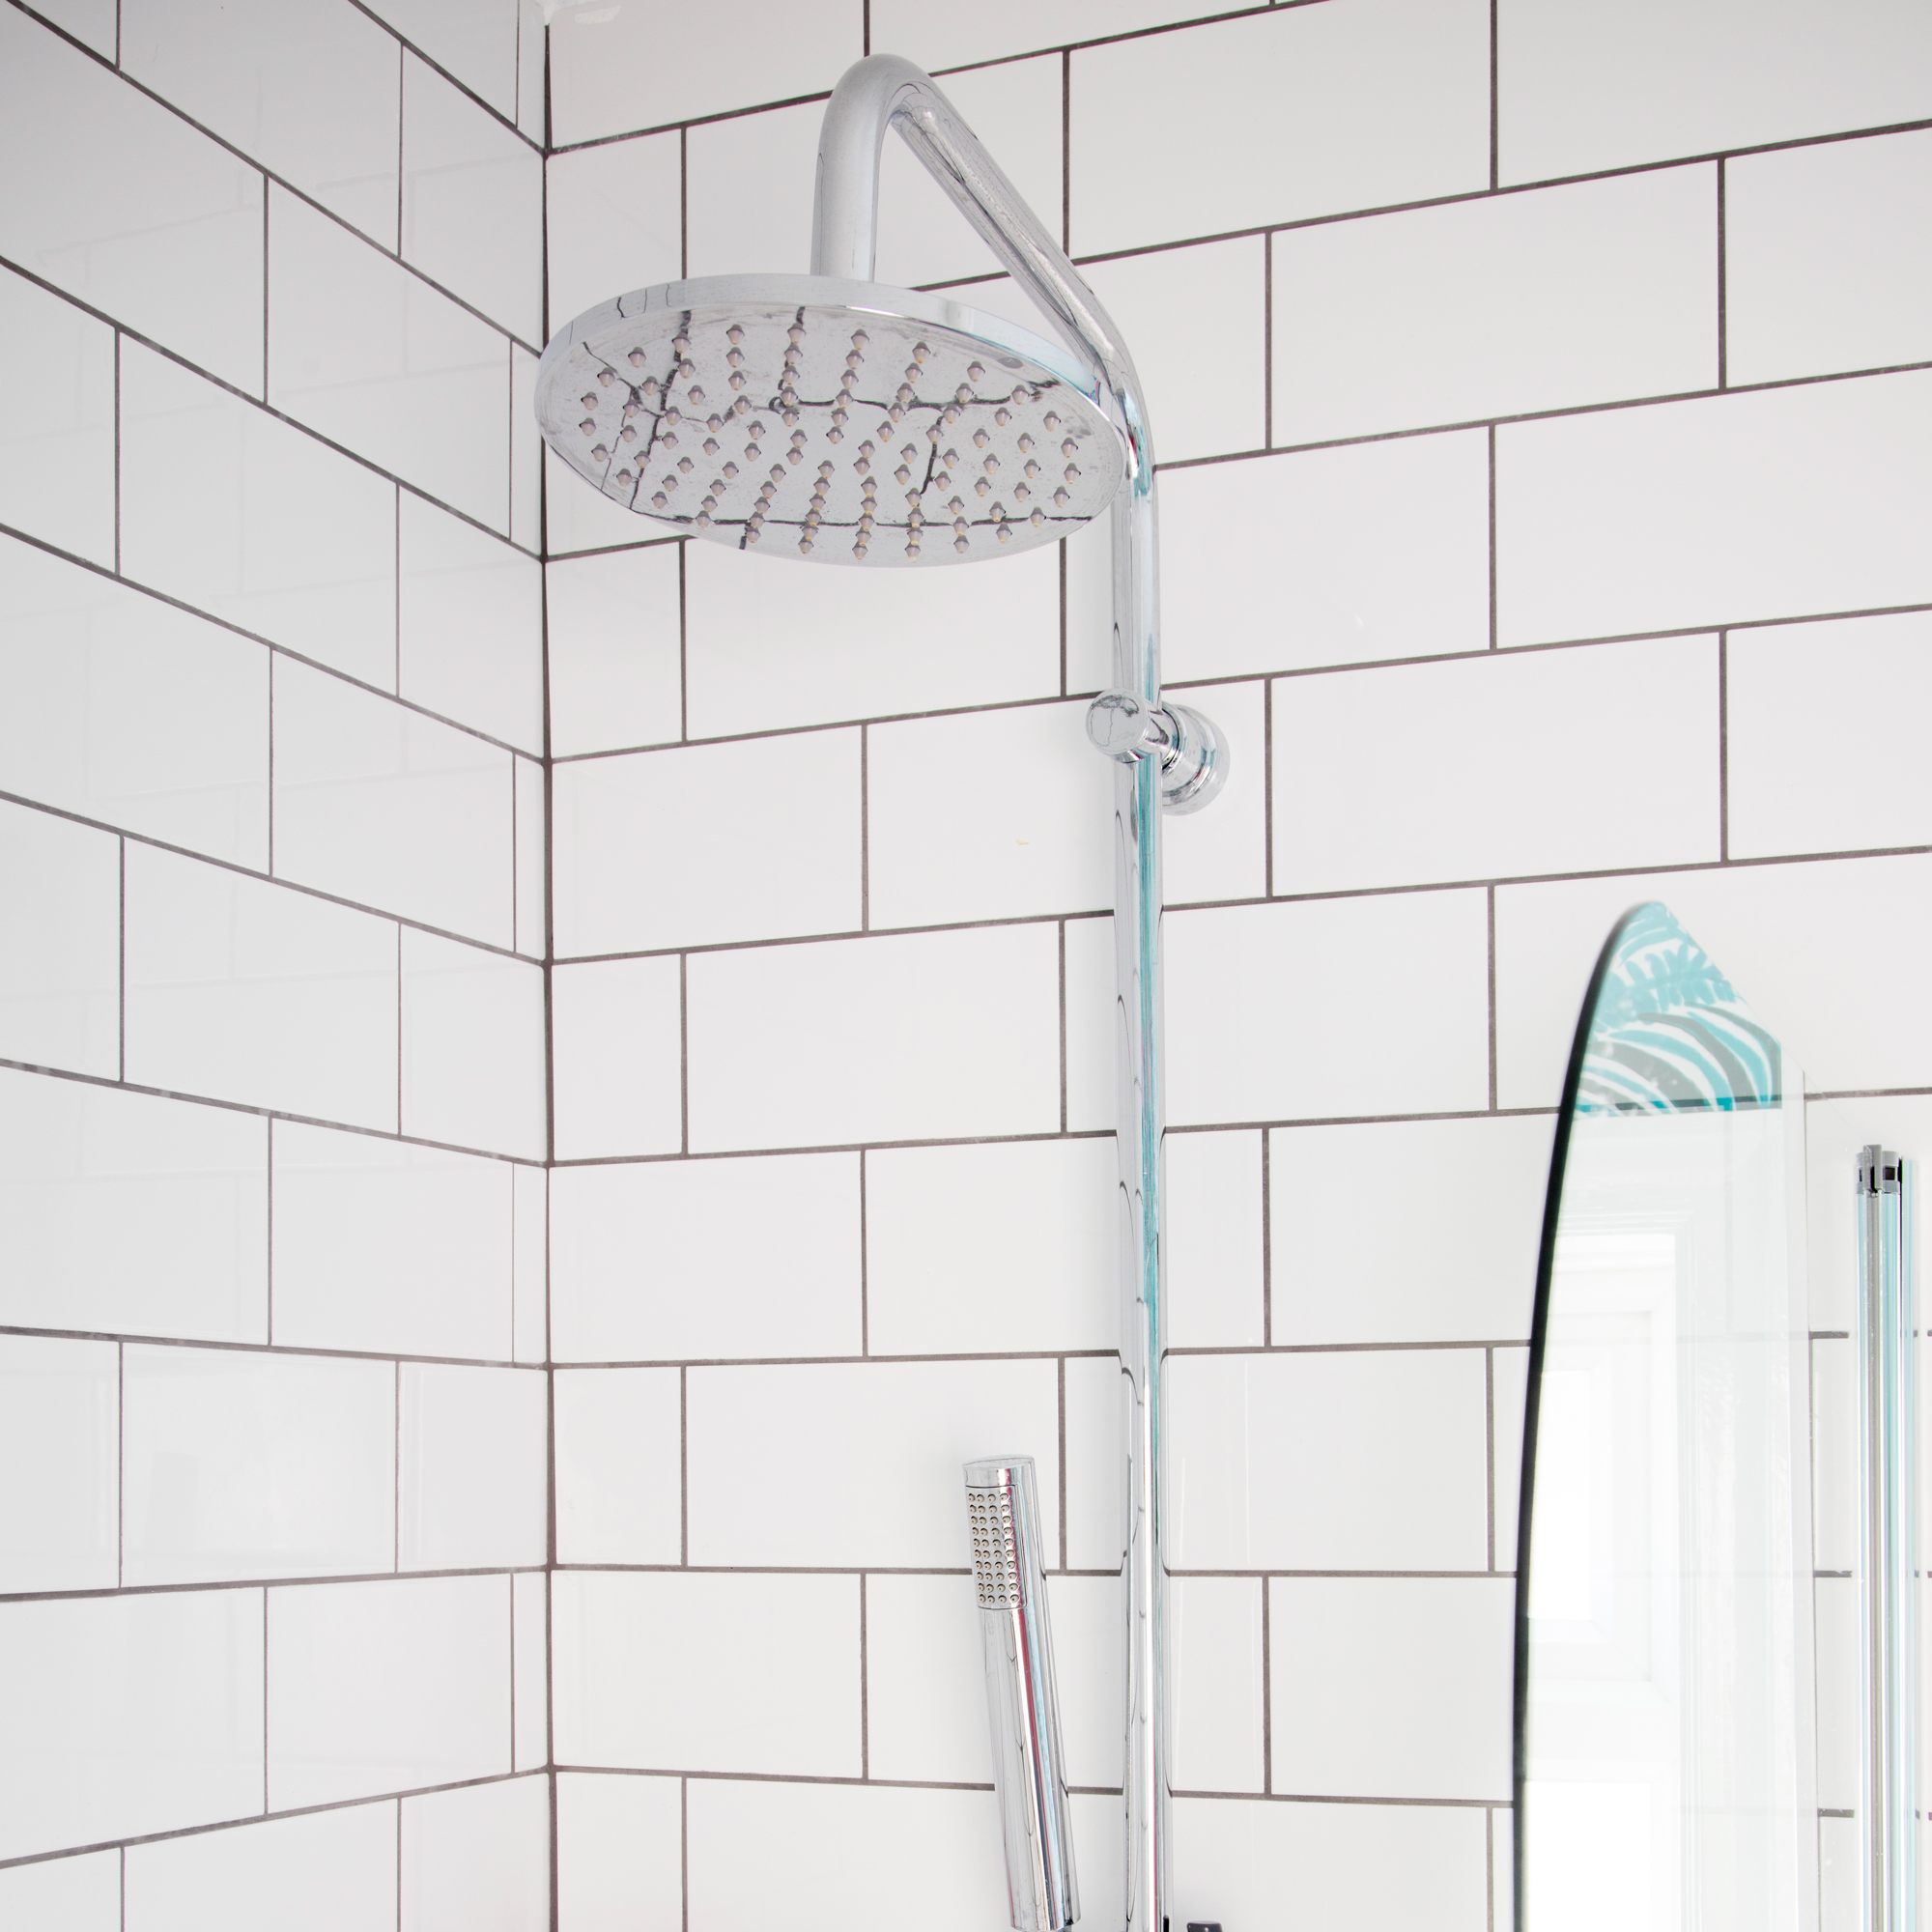
2. Clean the shower head

After you’ve unscrewed the shower head, take a look at it. The next step on how to fix a leaky showerhead is to check if there is a build-up of limescale.
If you can clearly see limescale, you need to thoroughly clean it. This can be done by mixing 50% water and 50% vinegar and bringing it to a boil.
Once the mixture is boiling, place the shower head into the solution, allowing it to sit for around 20-30 minutes, and then remove it. Then, you should rinse and scrub the inside and outside of the shower head with an old toothbrush or scrubbing brush until any buildup is removed, and then rinse again.
Once clean, screw the shower head back on, turn on your main water supply and switch on the shower for a minute and then turn it off again. If, after a few minutes, the shower is still dripping, turn the water supply off again and move on to the next step.
3. Check the rubber washer
Sometimes a showerhead leak is caused by damaged inner seals. The rubber washers (otherwise known as an O-ring) act as a seal between a shower head and hose. Over time, they can wear down, and water can seep through, causing a leak in your shower or wet room.
To stop the leak, you’ll need to replace the washer. 'Each showerhead will be slightly different depending on the brand, but there should be a collar nut that you need to unscrew,' says John Lawless at The Big Bathroom Shop.
'Protect the fixture with a rag and, using a wrench, loosen the collar nut. Once completely loose, this should have separated the shower head from the arm. Now look beneath the shower head and find a metal ball fixture that is attached directly to the shower head, which enables the shower to move around. This is where the rubber washer will be. Pull it off and replace it with an exact match,' he advises.
If the showerhead is still leaking after replacing the rubber washer, you need to turn your attention to the shower valve.
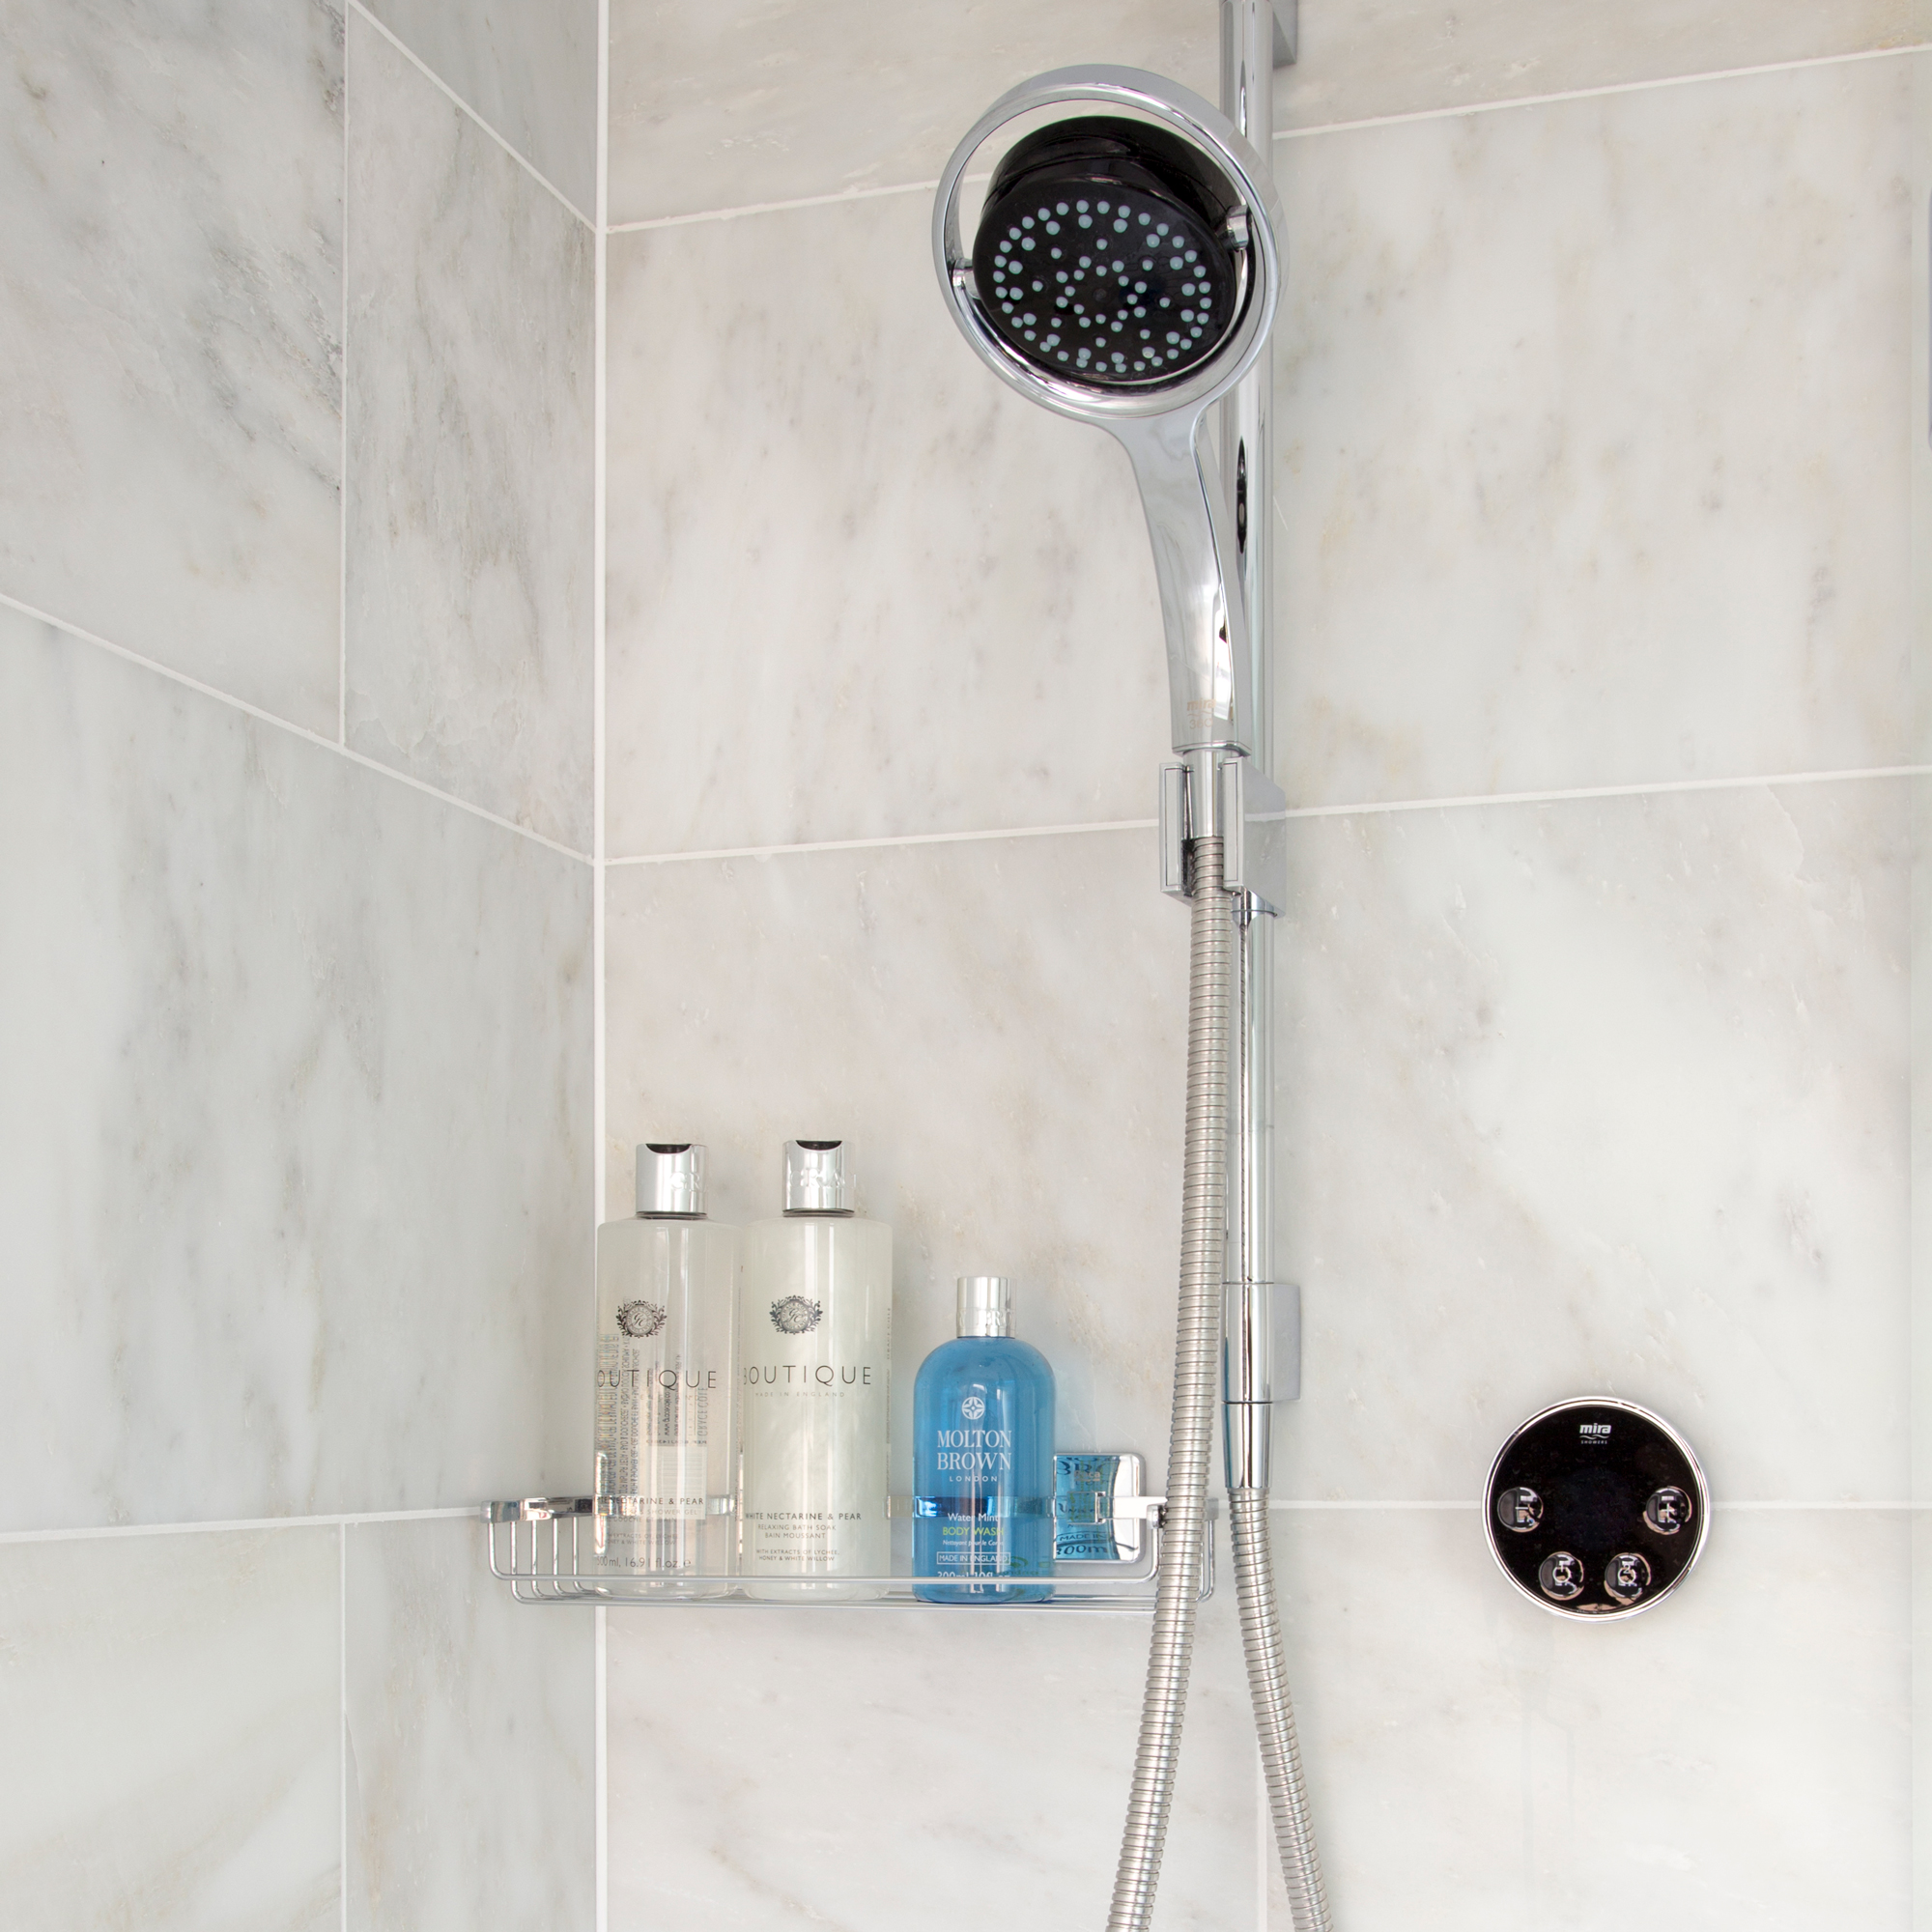
4. Replace the valve

If you have two separate valves for hot and cold water, you need to work out which tap is leaking in order to figure out how to fix a leaky showerhead. 'You can do this by feeling the temperature of the dripping water,' says John from The Big Bathroom Shop.
Once you’ve figured out which valve it is, you need to take it apart. 'Most people have a single valve,' says Steven from Resolve Plumbing Services.
'If this is the case for you, turn off the water supply again and unscrew the valve/handle cap and let the excess water out (use the towels you have close by to mop up the liquid). There will be a cover underneath that needs to be removed, normally with a screwdriver. Then, inside, there will be a small screw that will need to be unscrewed (an Allen key will work).
'Next, gently remove the tap handle. There may be a chrome dress ring or cover plate that will also need to be taken off. Now you need to unscrew the remaining nut; some water will drop but that’s fine. After this, the cartridge should be able to slide right off, so you’ll just need to make sure you have the right replacement cartridge and put it back together in the order you dismantled it.'
5. Turn on your shower

Hopefully, after completing the process of elimination above, your showerhead will no longer be leaking. To double-check, turn on the shower for a few minutes and then switch it off. Unfortunately, if after a few minutes the shower head is still leaking, it’s time to call in the professionals. Visit CIPHE for a list of qualified plumbers in your area.
What's the best way to avoid limescale build-up?
'Clean your shower head regularly with hot soapy water and a soft micro-fibre cloth, which is much easier and more preferable than infrequent heavy vinegar and water solution cleaning,' says Paul Illingworth at Abode.
'Also, always clean the taps or showering product 'along the grain' of the scratch pattern on brushed finishes to avoid damage and always rinse the shower head with water after cleaning.'
Is it normal for my shower to drip after use?
It is common and no cause for concern if your shower head drips for a few minutes straight after being used.
'This happens because even though you have turned off your shower from the valve, there is still a build-up of water that needs to get out and therefore will drip for a short period after use,' says John from The Big Bathroom Shop.
You only need to be concerned if it continues to drip after those initial few minutes.

Sophie Vening is a freelance journalist and editor with more than 16 years’ experience writing about homes and properties. She’s worked for some of the UK’s leading interiors, self-build and property titles including, Grand Designs, Ideal Home, House Beautiful, Build It, The Metro Homes & Property and The Evening Standard Homes & Property.
She enjoys writing about complex issues in an easy-to-understand way.