How to paint over varnished wood – achieve a professional finish with our easy guide
Master this otherwise difficult DIY task with our expert-led tips and tricks

Truth be told, the job of painting over varnished wood is something that doesn't particularly sit well with many, even with long-time lovers of DIY projects. It's an often difficult task that many would rather skip out on, however, with the right materials and correct preparation, it's certainly possible.
So, if you're a general DIY fanatic or have decided to get started on the wave of shopping second-hand furniture with the intention to upcycle, then knowing how to paint over varnished wood is a skill set that you'll likely want to keep on your roster.
We've asked the experts for their tips and tricks on how to paint over varnished wood the easiest way possible, to better equip you for your next paint or DIY job.
How to paint over varnished wood
Although we may not group the task of painting over varnished wood with other easy DIY projects, once you get the hang of it, you'll be thankful you learned how to as more upcycling possibilities open up for you.
'Painting over varnished wood can be difficult, however, everything is possible as long as you use the right materials and prep the area correctly,' assures Sarah Lloyd, interiors and paint specialist at Valspar Paint.

Step-by-step guide
1. Clean the surface
'First, clean the surface with a ready-mixed sugar soap solution and wipe off the residue with a clean damp cloth,' starts Marianne Shillingford, creative director and colour expert at Dulux.
2. Prepare and sand down the area
'Once dry, make any necessary repairs, remove flaking varnish, fill chips or dents with wood filler then sand smooth,' says Marianne.
Sign up to our newsletter for style inspiration, real homes, project and garden advice and shopping know-how
'Sanding creates fine scratches in the varnish, which gives the paint a rough texture to stick to. This doesn't mean it'll dry rough, though,' starts Sarah from Valspar.
'If you're painting intricate cornices, single sheets of sandpaper will make it much easier to get into all the little nooks and crannies.'
'Once you've finished sanding, wipe down the dust with a damp clean cloth and let it dry,' she continues.
3. Use primer
'Just like sanding, primers help the topcoat stick evenly and give you a better durable finish in the long run,' explains Sarah. 'Primers also help you cut down on the number of topcoats you need in the long run.'
Ensure you choose a suitable primer based on the surface you're painting.
For example, varnish is mainly used when painting wooden skirting boards or when painting ceiling cornices, so a specialist wood primer is the best choice.
'Use a paint brush or roller to apply the primer,' adds Sarah. 'One coat should be enough but check the instructions for detailed guidance.'
4. Paint
Now comes the moment you've probably been waiting for, albeit, the preparation prior to painting is perhaps the most critical part.
'Just like the primer, use a paint designed for the surface you're painting,' advises Sarah from Valspar.
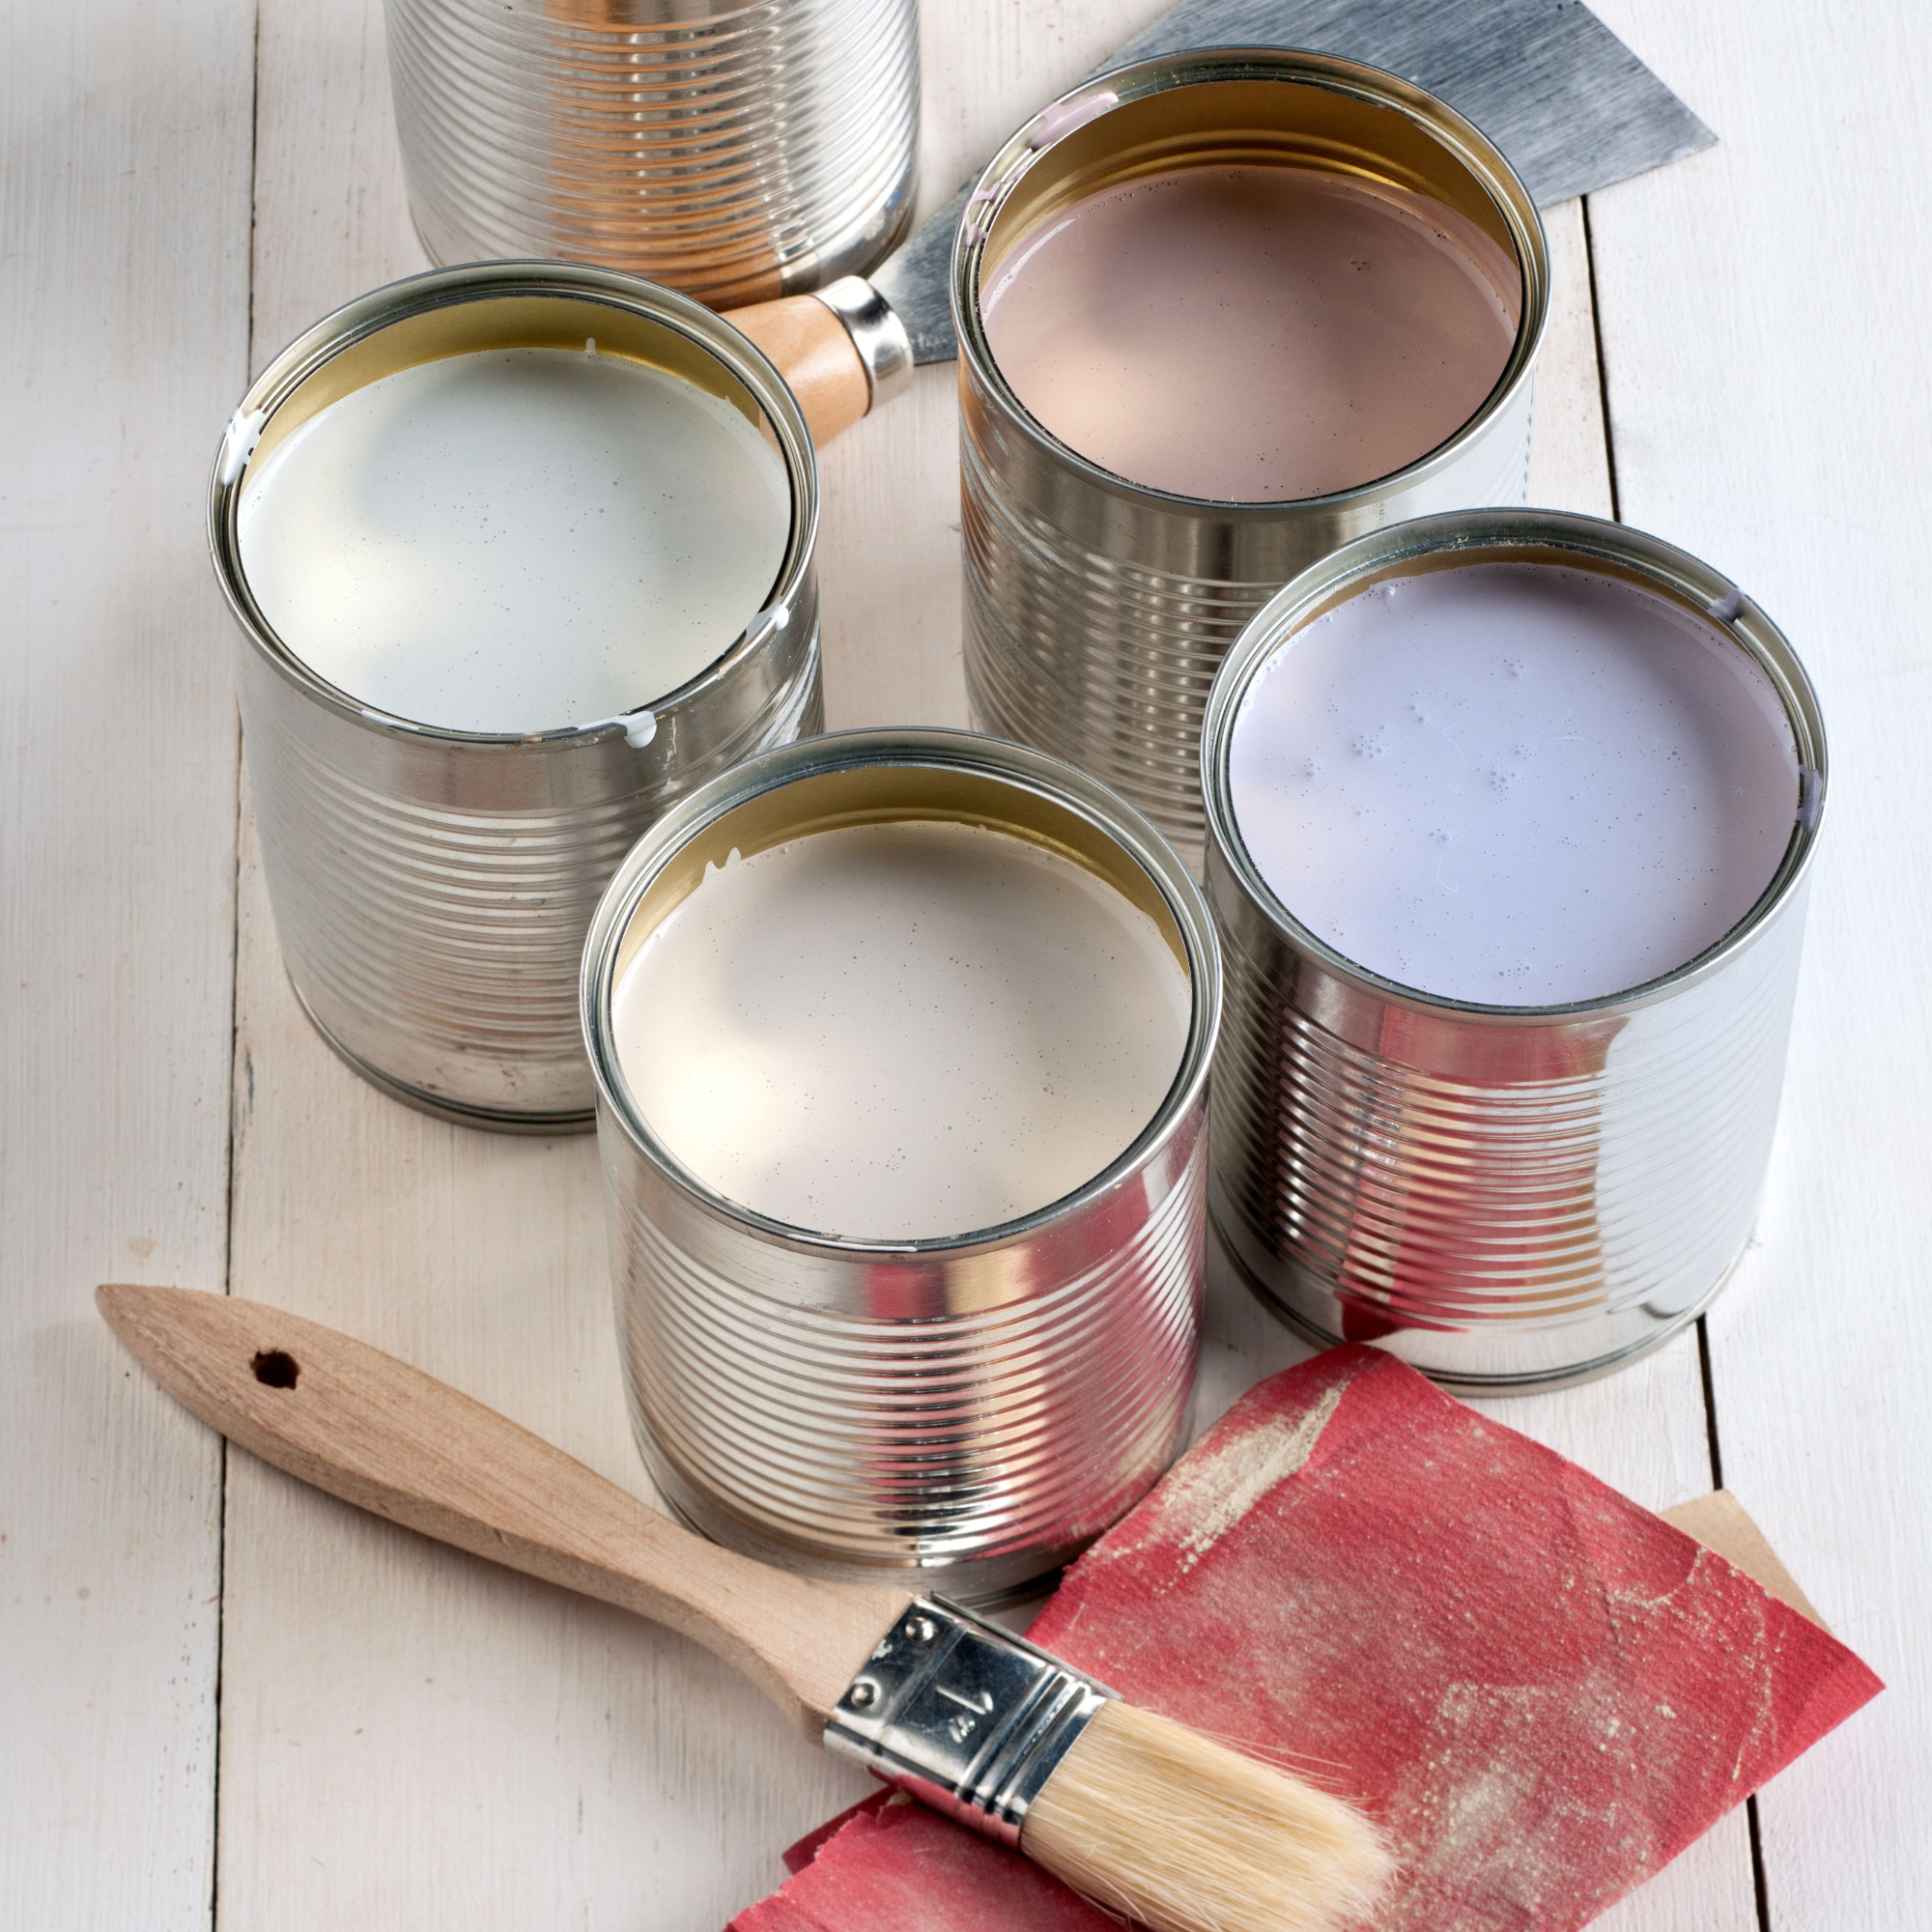
As far as paint tools go, Marianne from Dulux recommends a 1-inch paint brush for the fiddly bits and a small glossing roller for the flat surfaces, which will speed up the process and give you a smooth even base to add colour to.
'Thoroughly stir the paint, ensuring all the colour is mixed. Then, apply it using the same method as the primer,' explains Sarah.
'If you're making a drastic colour change, you might need two coats or more for complete coverage.'
5. Topcoat
Allow the paint to dry before applying two coats of topcoat in your favourite finish or colour.
6. Check for runs and drips
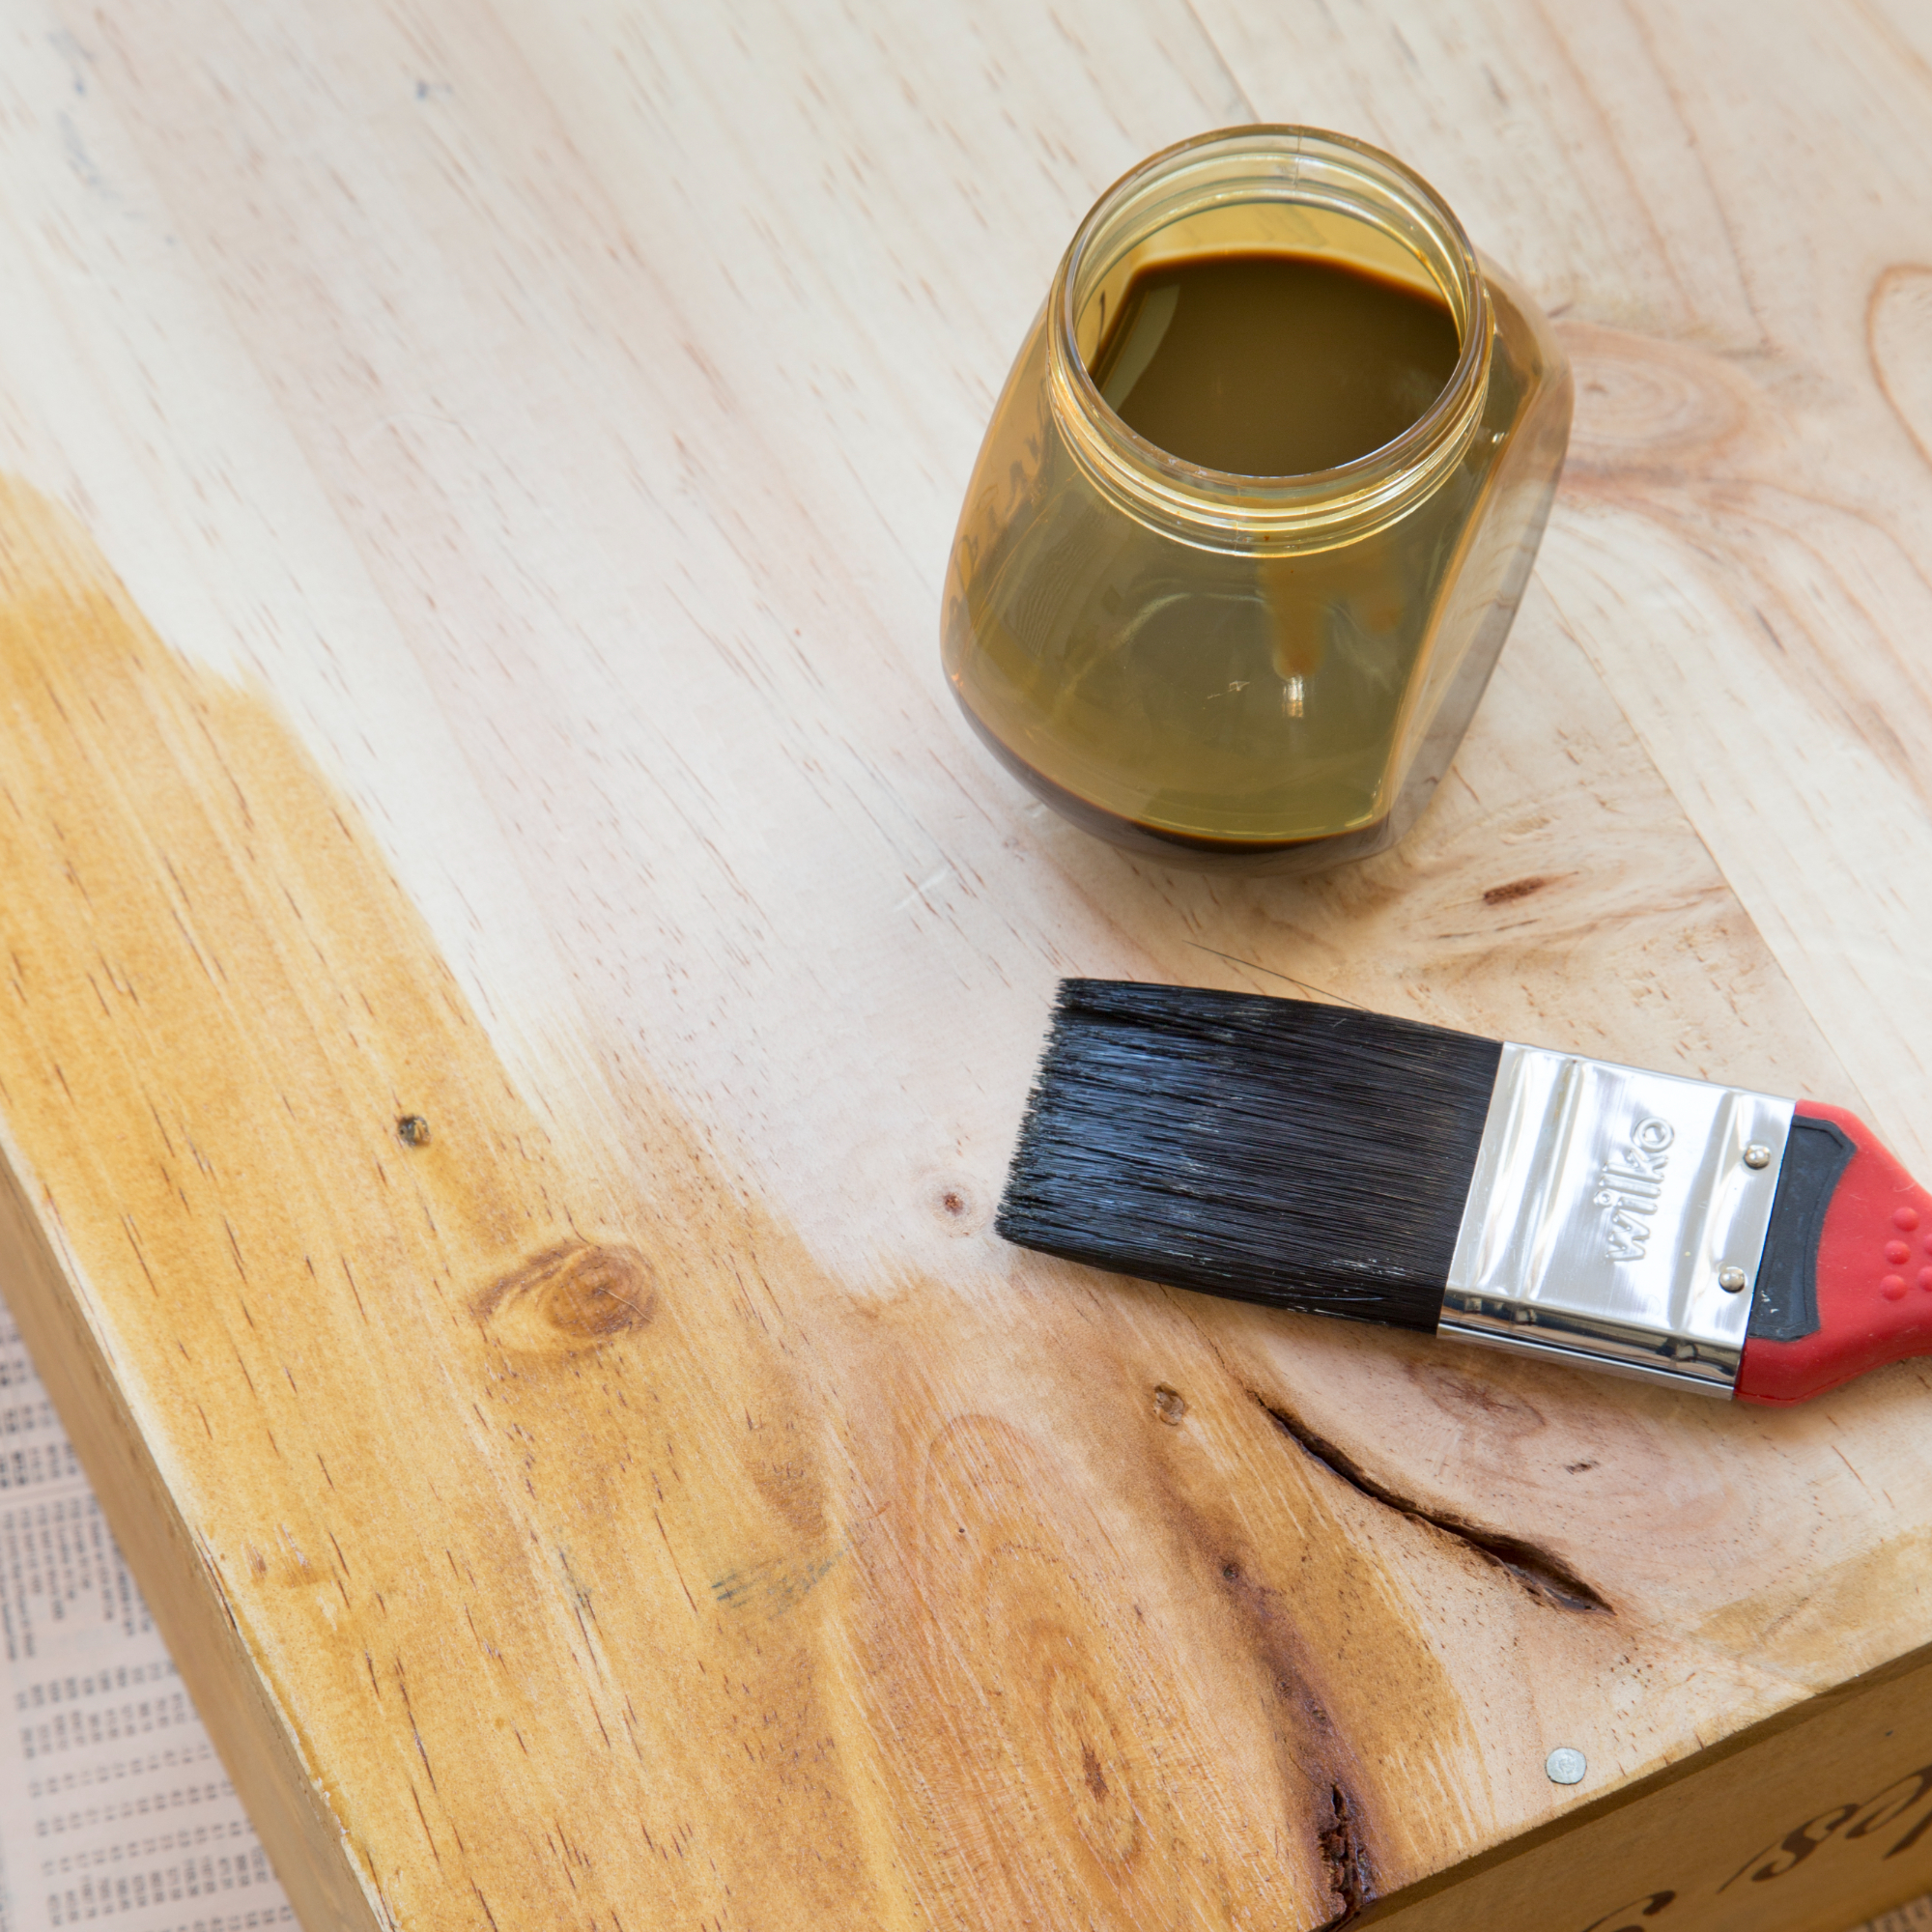
'Finally, check for runs and drips as you go along and lightly sand between coats with a fine surface sanding pad or sandpaper to get a professional finish,' concludes Marianne.
And there you have it! You've successfully learned how to paint over varnished wood, in a handful of easy-to-follow steps.
Of course, make sure you don't skimp on the clean-up process, ensuring you clean your paint brushes and rollers properly so they're good to go for your next DIY project.
FAQs
Can you paint over varnished wood?
Yes, you can paint over varnished wood. Albeit a more difficult task than most DIY painting jobs, the key to a successful finish is using the right materials and preparing the surface correctly.
What kind of paint to use over varnished wood?
'For wood, our Premium Wood & Metal is incredibly scrubbable, stain-resistant and non-yellowing, so ideal for skirting boards,' suggests Sarah Lloyd at Valspar Paint.
If you're in search of a topcoat, Marianne Shillingford at Dulux recommends Dulux's Quick Dry Eggshell, Satinwood or Gloss in your desired colour.

Jullia was Ideal Home’s Junior Writer from 2022-2024 and the Ideal Home Certified Expert in Training on Vacuums having spent over 60 hours testing different models. She’s always loved all things homes and interiors, graduating with a bachelor’s degree in Architectural Studies from the University of Nottingham where her love for writing blossomed following her internship at ArchDaily. Now focused on home tech and cleaning, Jullia works on writing features and explainers to help people make the most of their home appliance investments, putting the newest launches through their paces. When she isn’t writing, she loves exploring the city, coffee shop hopping, and losing hours to a cosy game or book.