How to make a wigwam plant support for vertical planting – this simple DIY is a space-saving essential for growing vegetables and climbers in small gardens
Get your home-grown crops off to a great start with this easy-to-make plant support

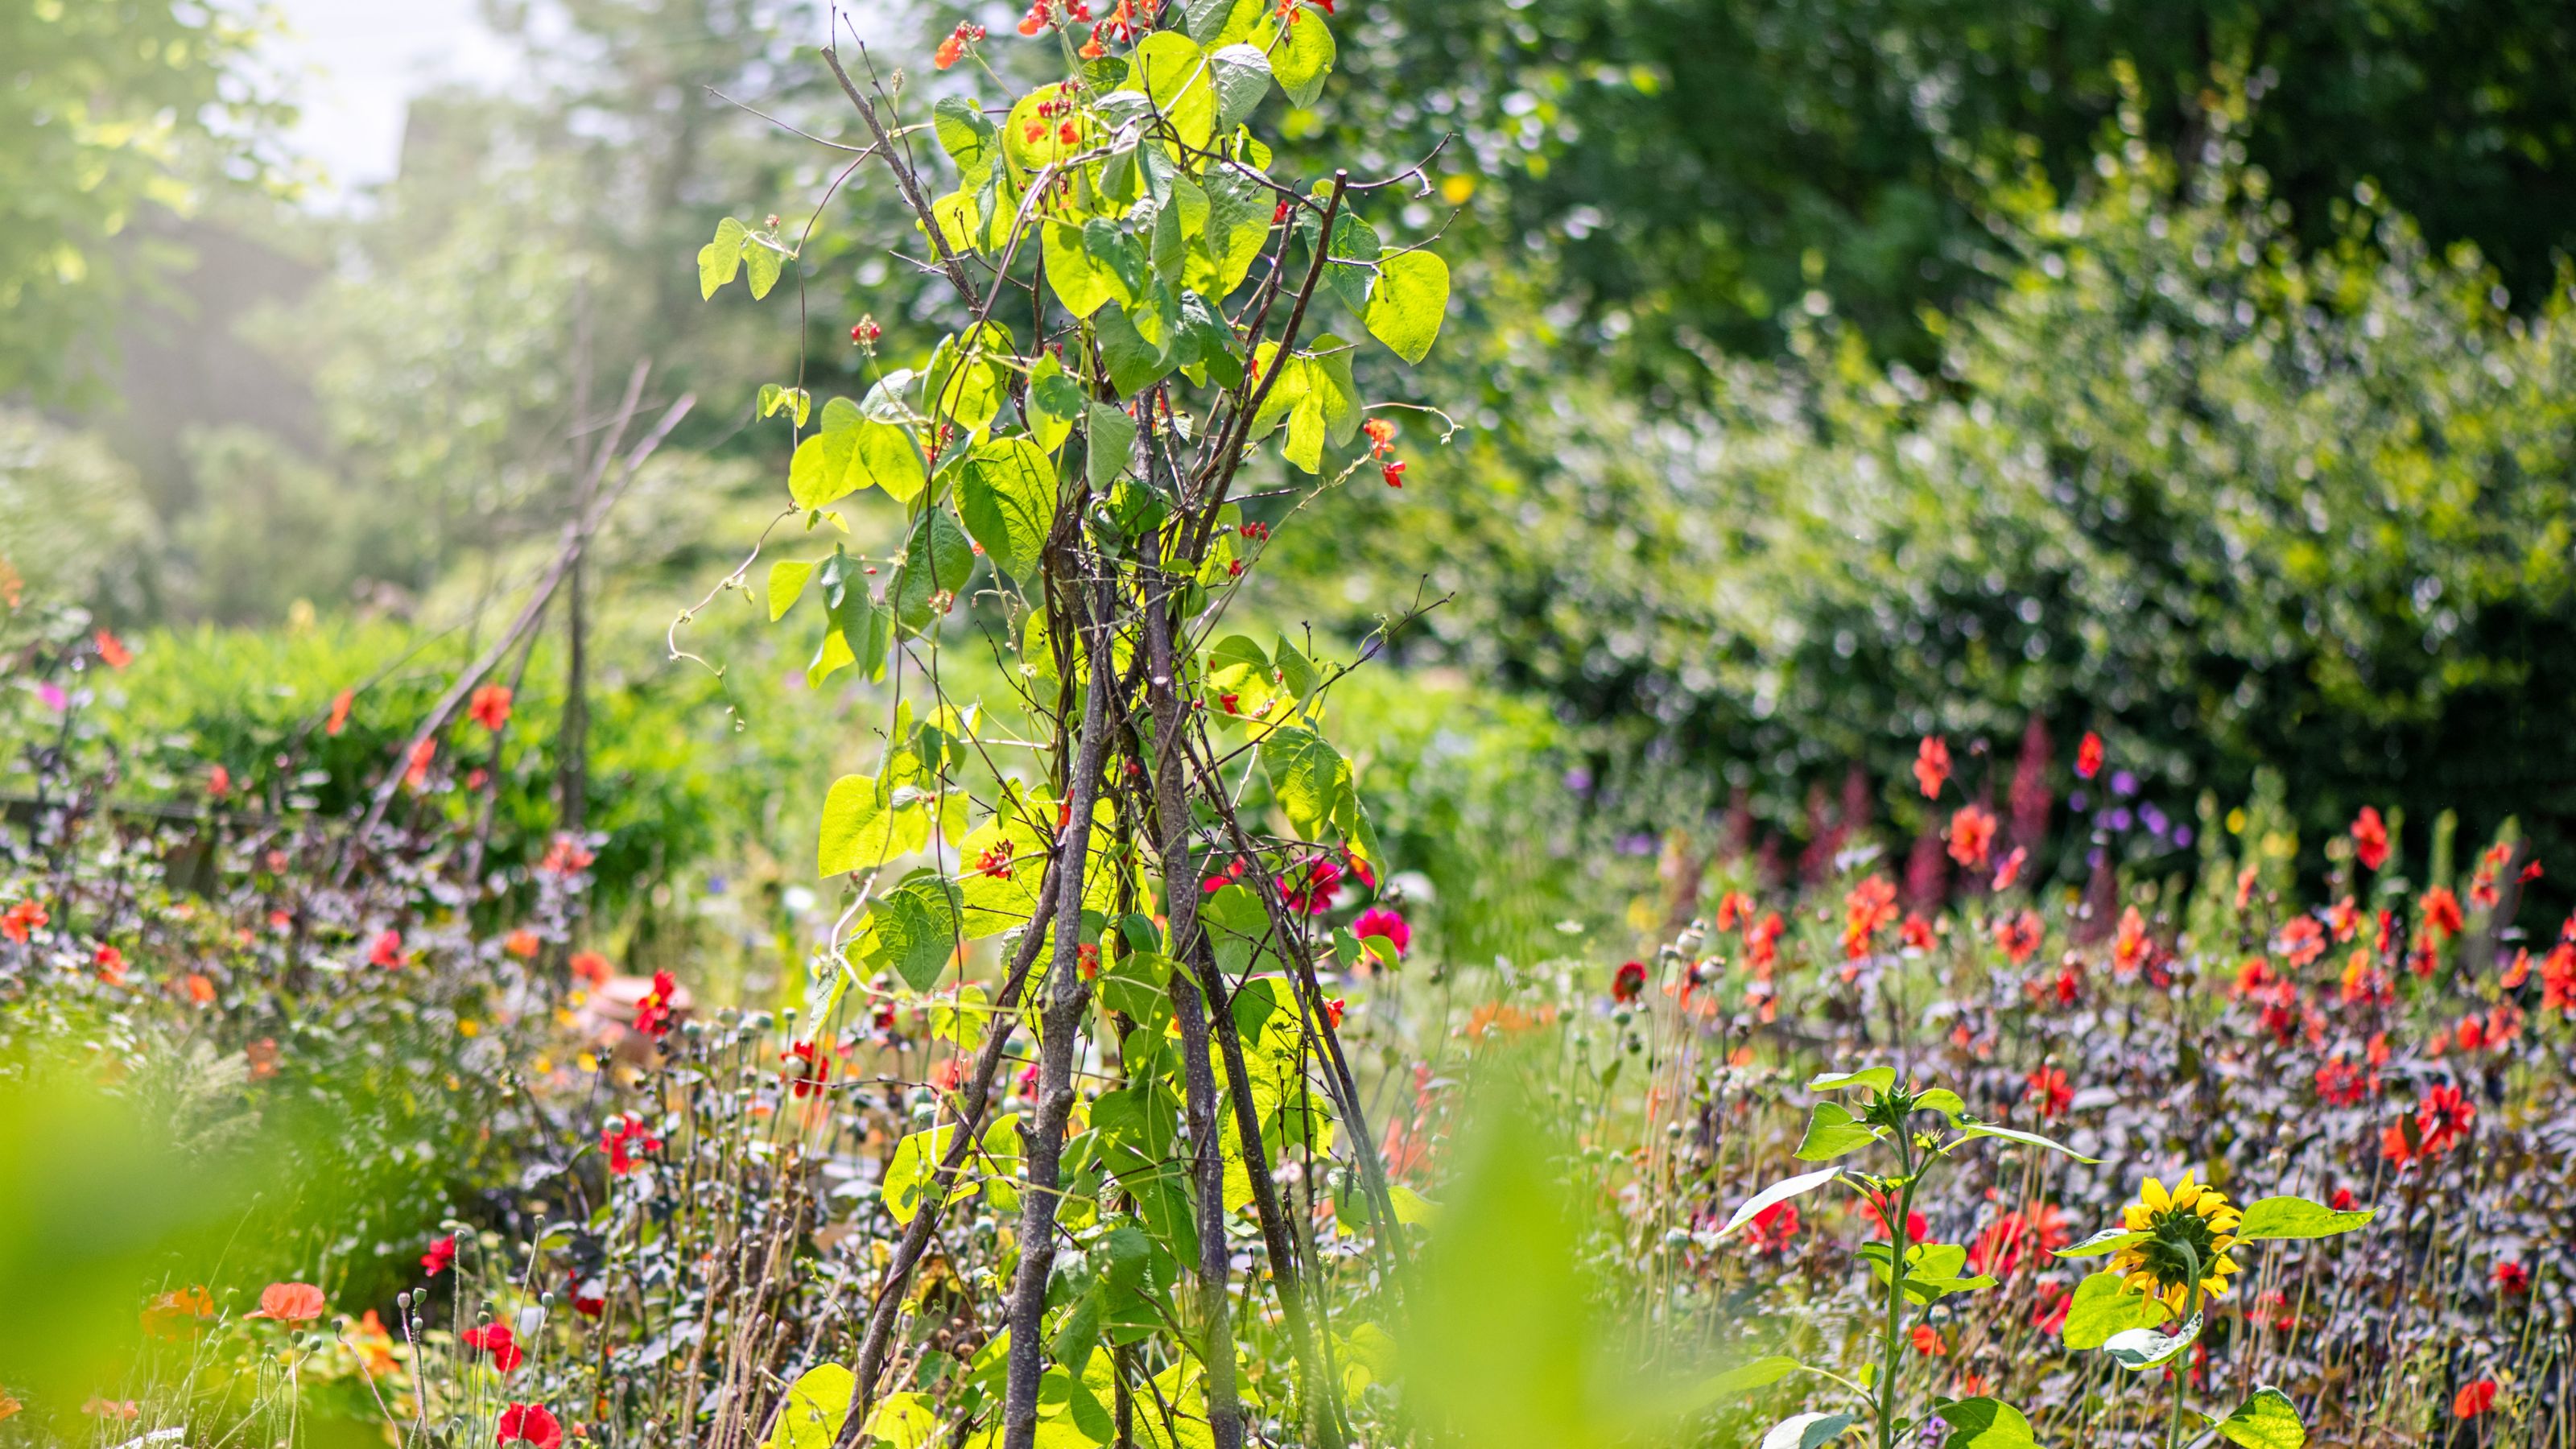
Whether you’re after a colourful display of sweet peas in the garden or are growing a crop of climbing runner beans on an allotment, knowing how to make a wigwam support for vertical planting will come in super-handy all-round.
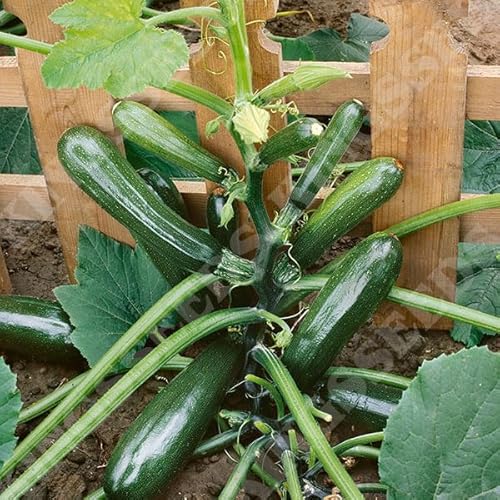
Growing crops upwards instead of across the ground is a brilliant space-saver that will allow you to maximise your growing potential. Plus, there are so many varieties of vegetables you can grow vertically, from climbing beans, peas and cucumbers to courgettes, squashes and pumpkins.
And aside from growing vegetables, vertical planting is a fabulous option for small garden ideas too, adding a splash of colour and greenery that will grab the attention at eye level as well as helping to add shape and structure to garden beds and border ideas, or even growing on a compact patio.
How to make a wigwam plant support for vertical planting
'Adding a wigwam, obelisk or arch to your landscape adds height and interest and improves plants' access to sunlight and air flow,' says Amy Stubbs, Project and Development Manager at British Garden Centres.
Find out how to make a wigwam plant support instead of buying one ready-made, and you’ll be quids in and growing vegetables in a small garden in no time. With just a few simple materials, you’ll be able to construct a basic wigwam structure in less than half an hour and then be able to position as many as you'd like around your garden or allotment where and when you need them.
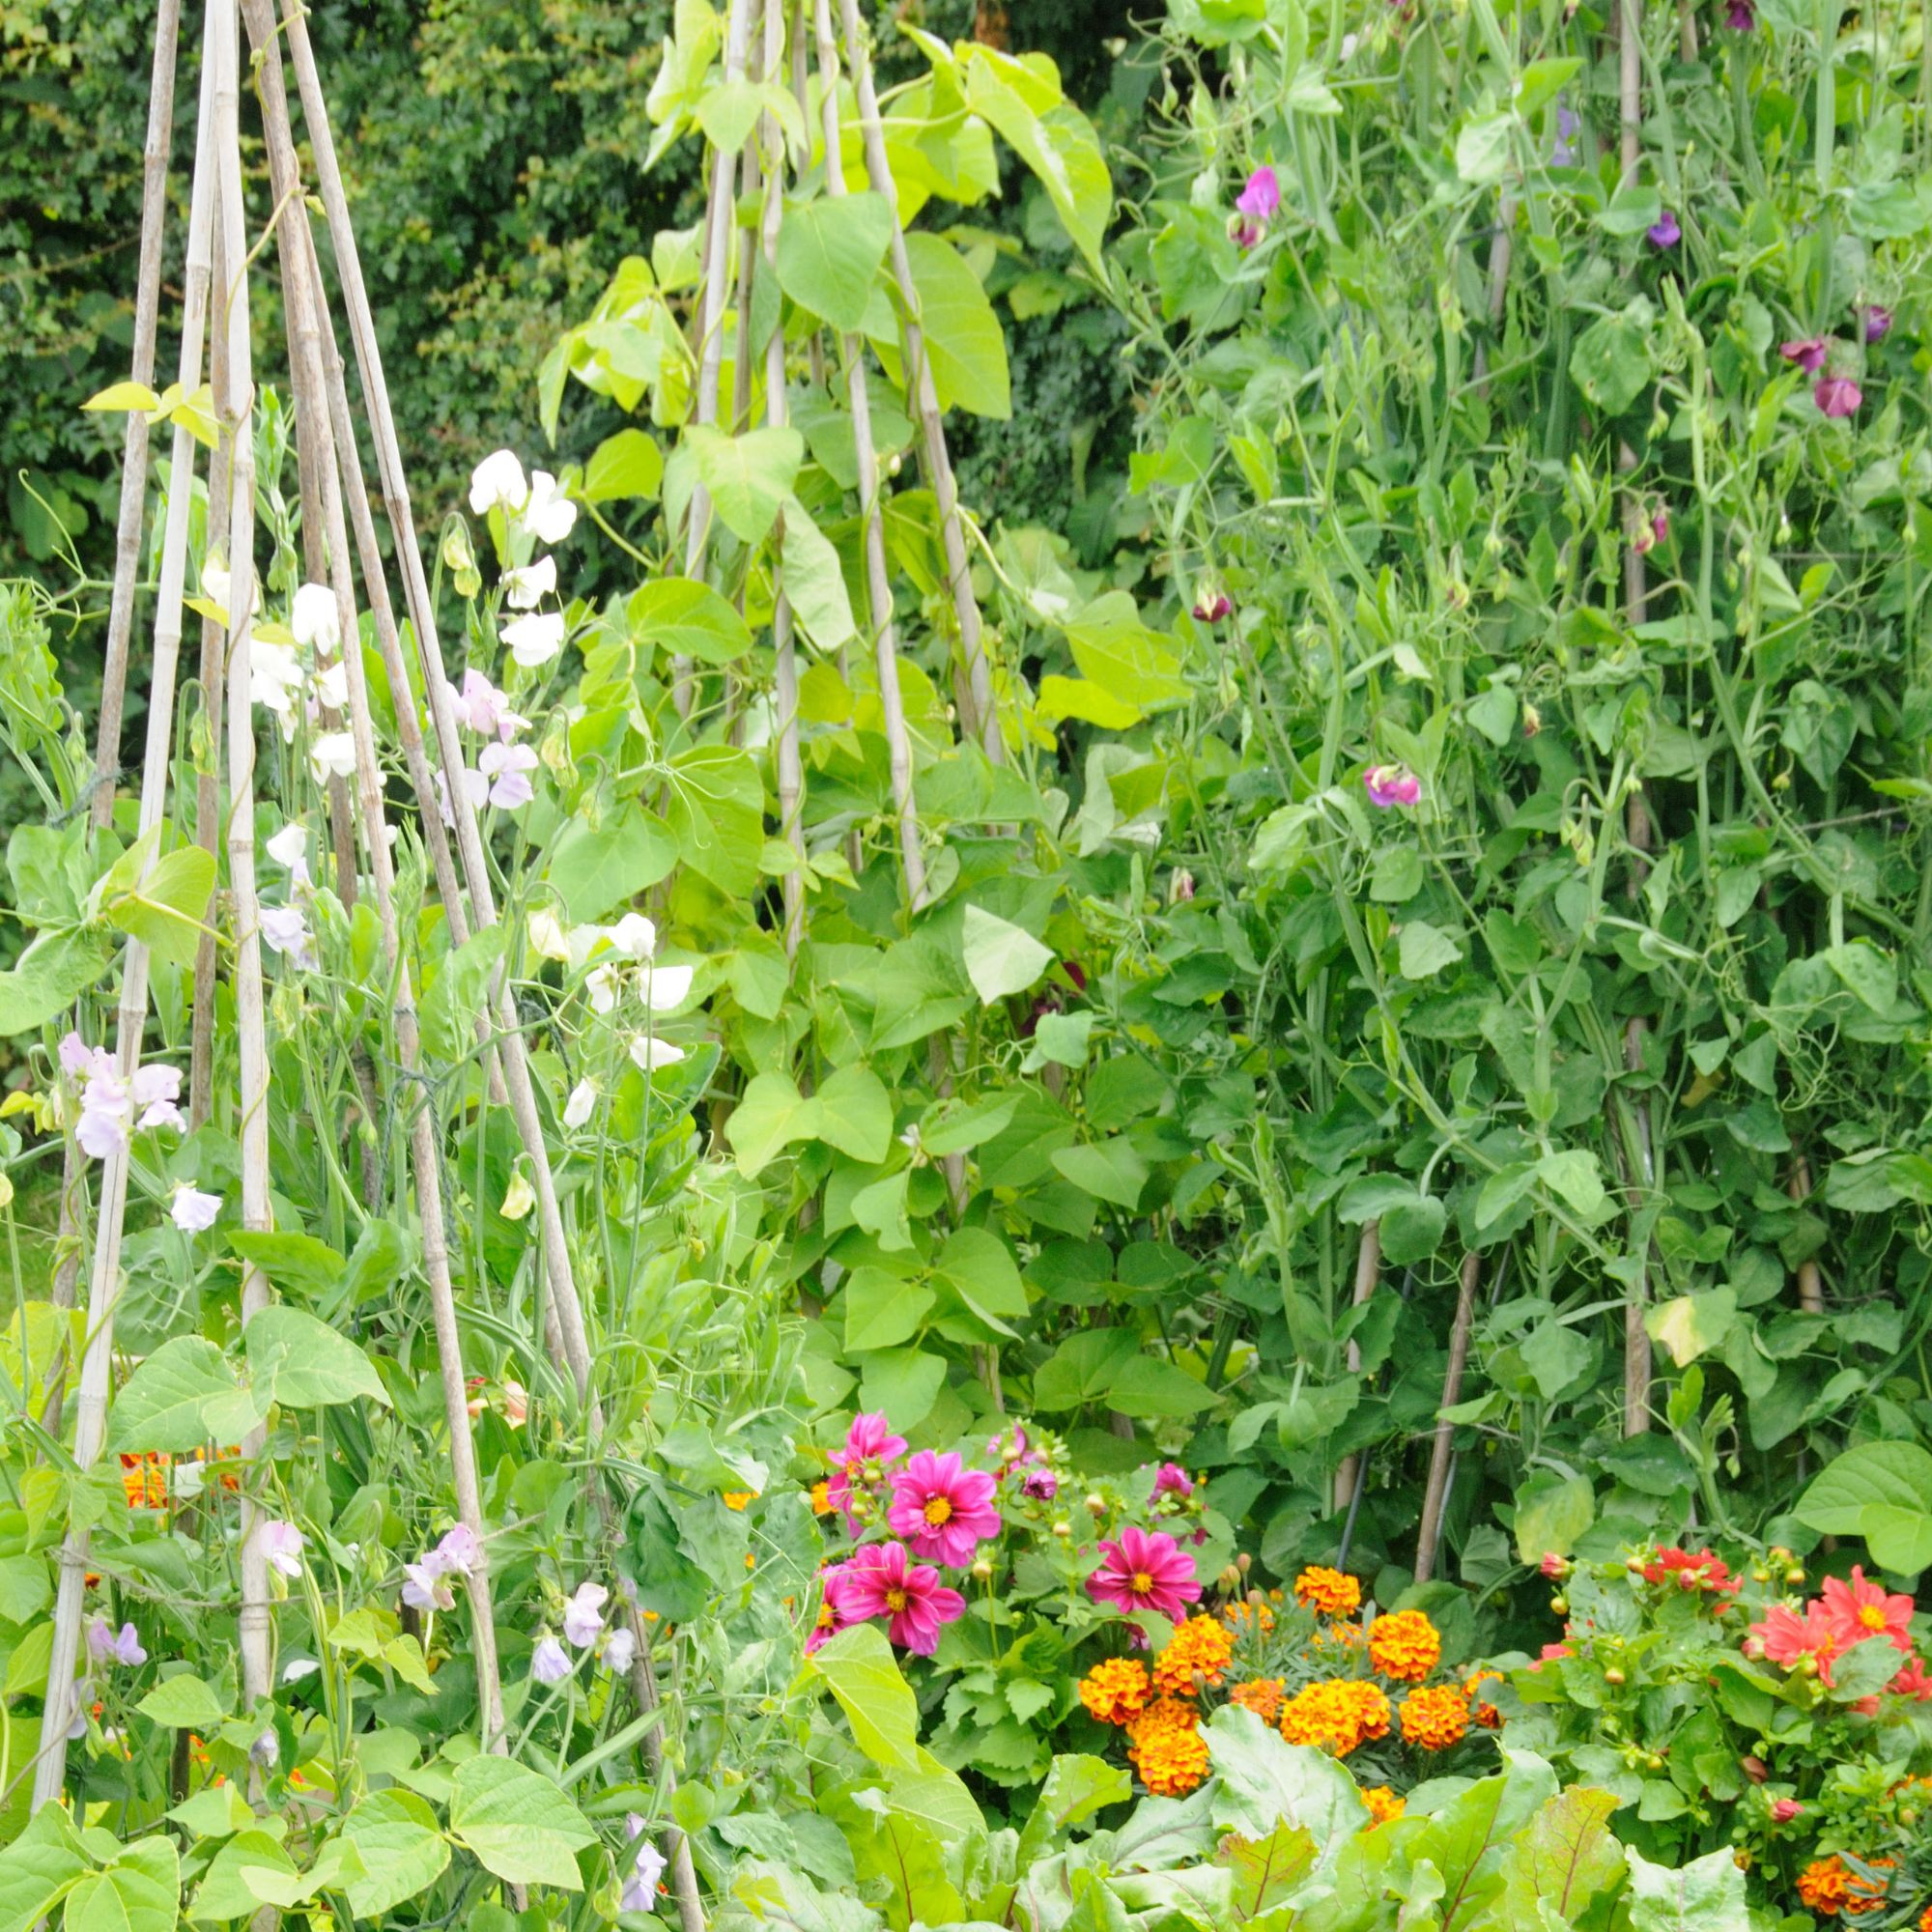
What you’ll need
Step-by-step
1. Organise your supplies
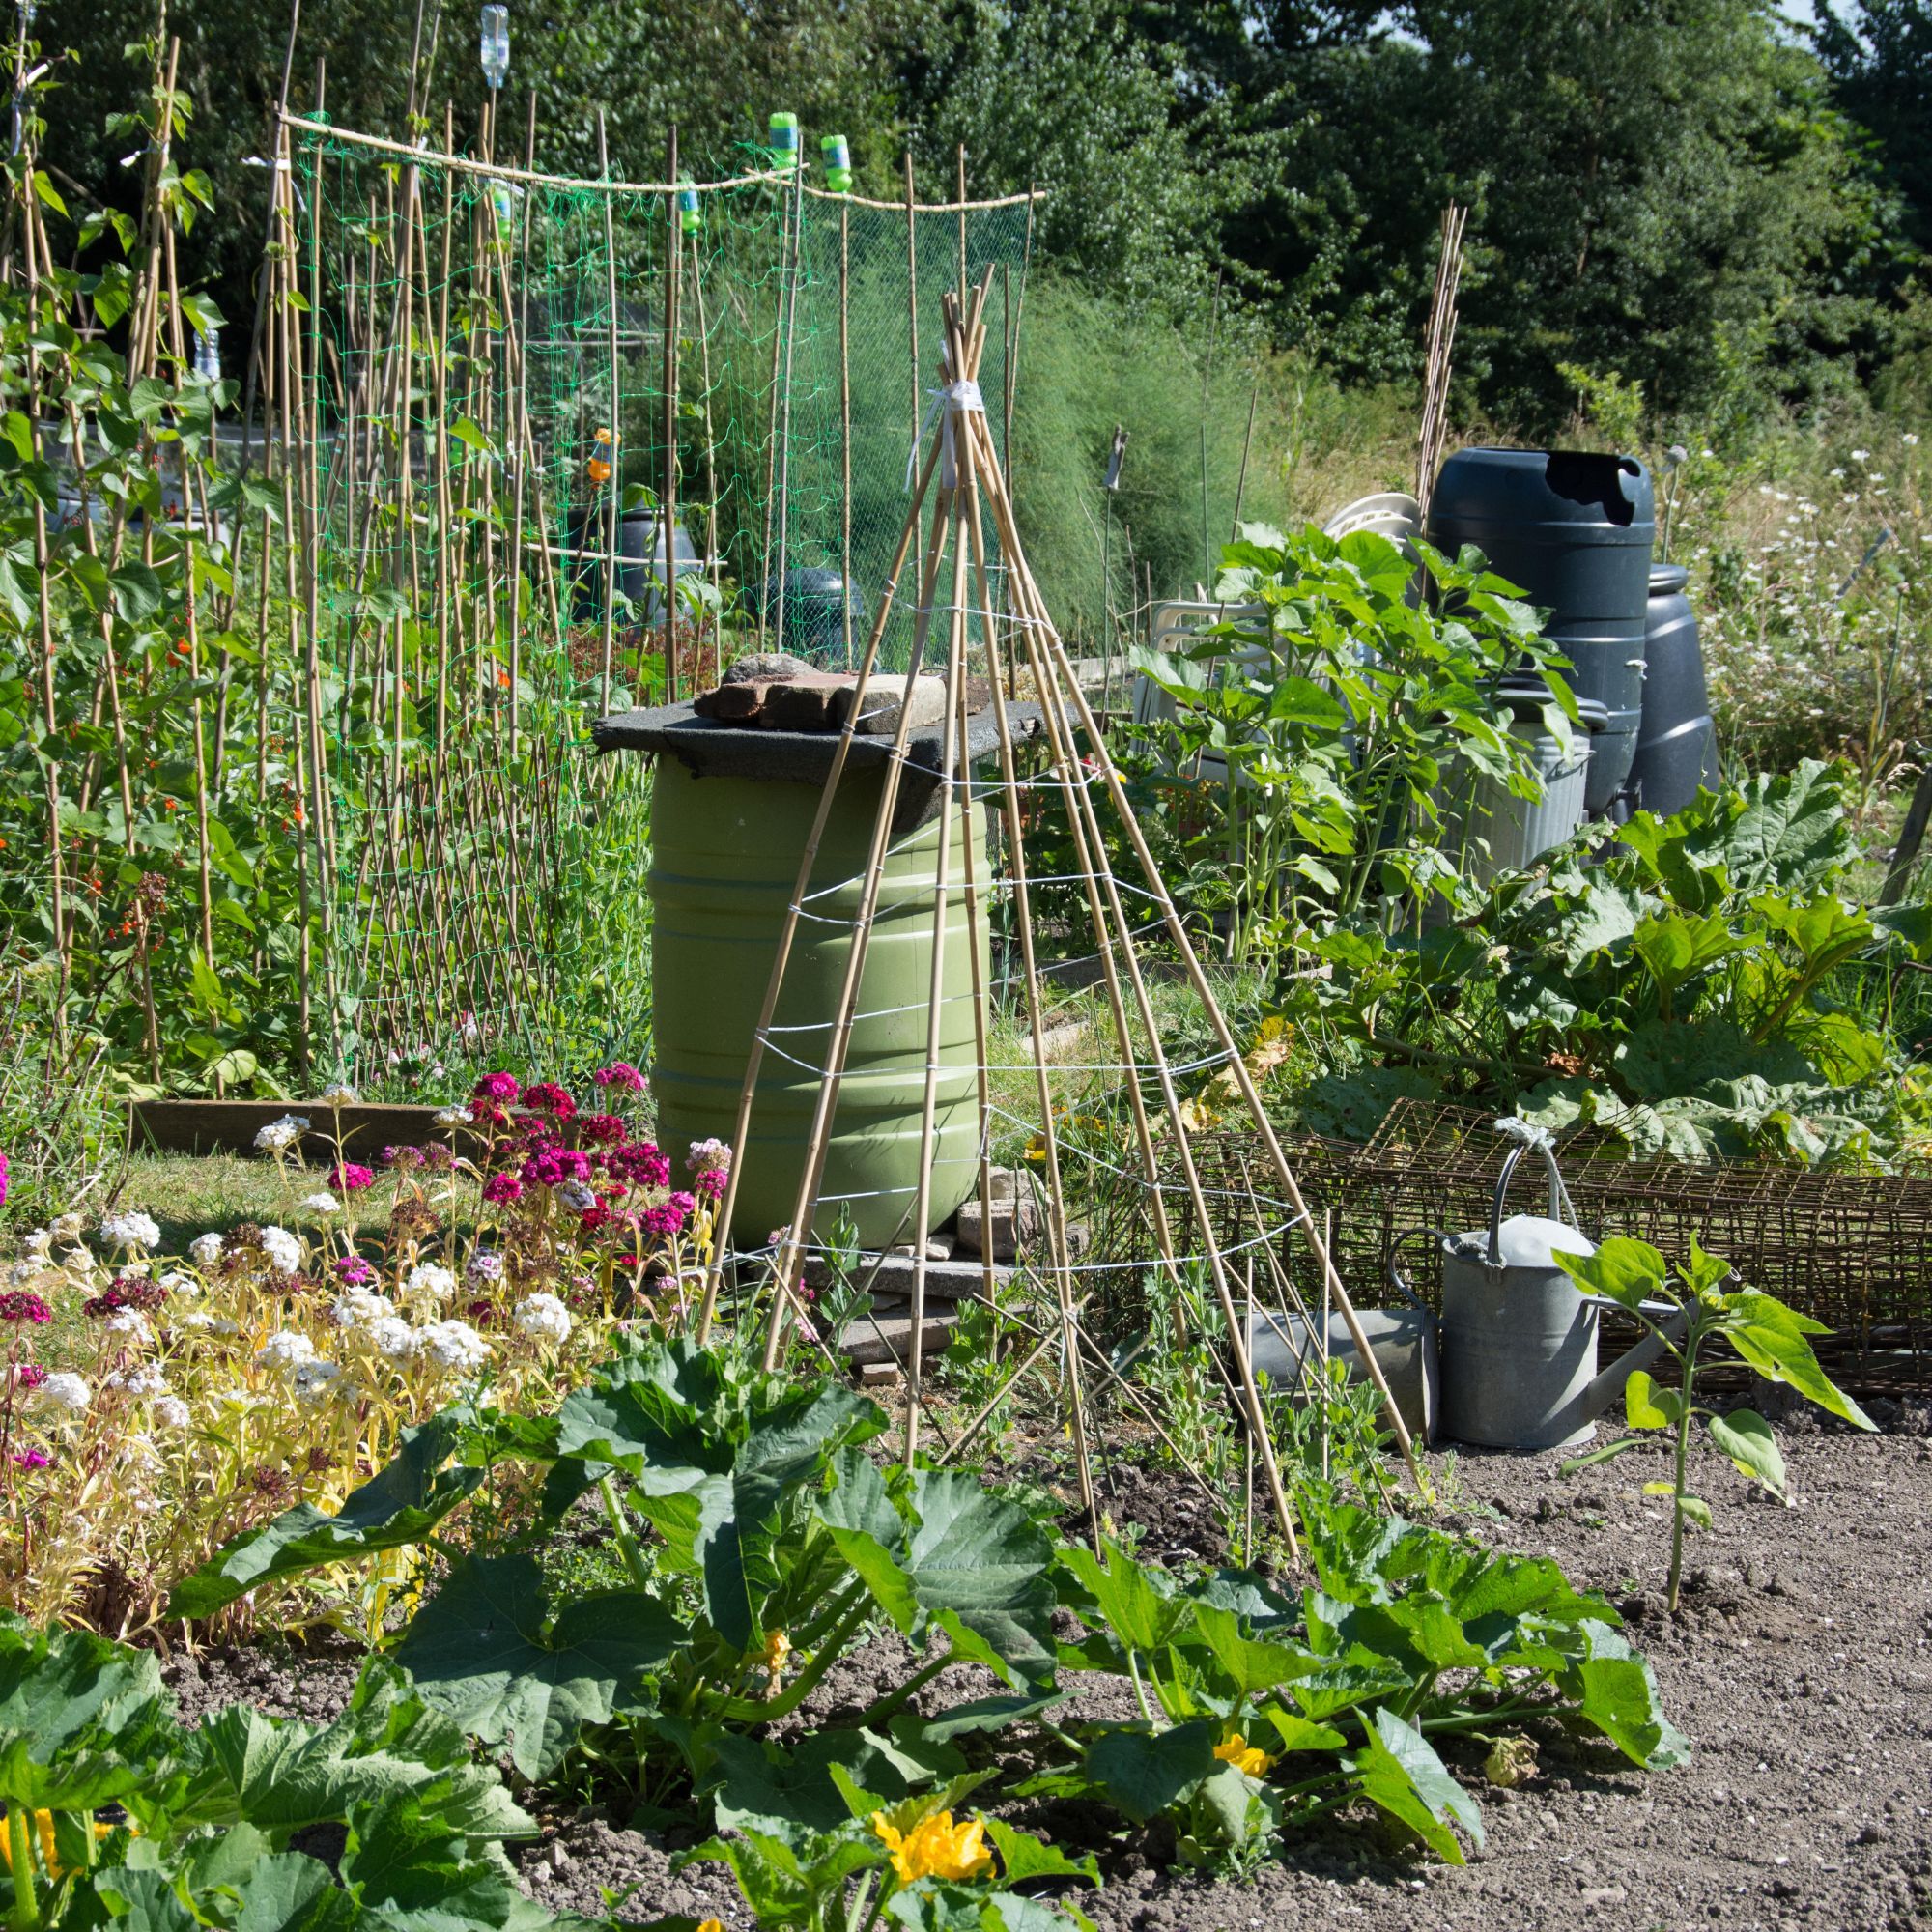
Start by gathering your supplies together so that you have everything to hand. The base of your wigwam will be a circular shape, so decide roughly how large you would like the diameter of this to be, so you can work out how many bamboo stakes (these B&Q stakes are the perfect choice) you will need.
Your crops will be positioned at the base of each stake so you can train climbing plants to work their way up the stake as they grow. Use 4-6 stakes for a small to medium-sized wigwam, or try using 8-10 stakes (evenly spaced apart at 30cm intervals) to create a larger wigwam.
Sign up to our newsletter for style inspiration, real homes, project and garden advice and shopping know-how
2. Choose the right height for your crops
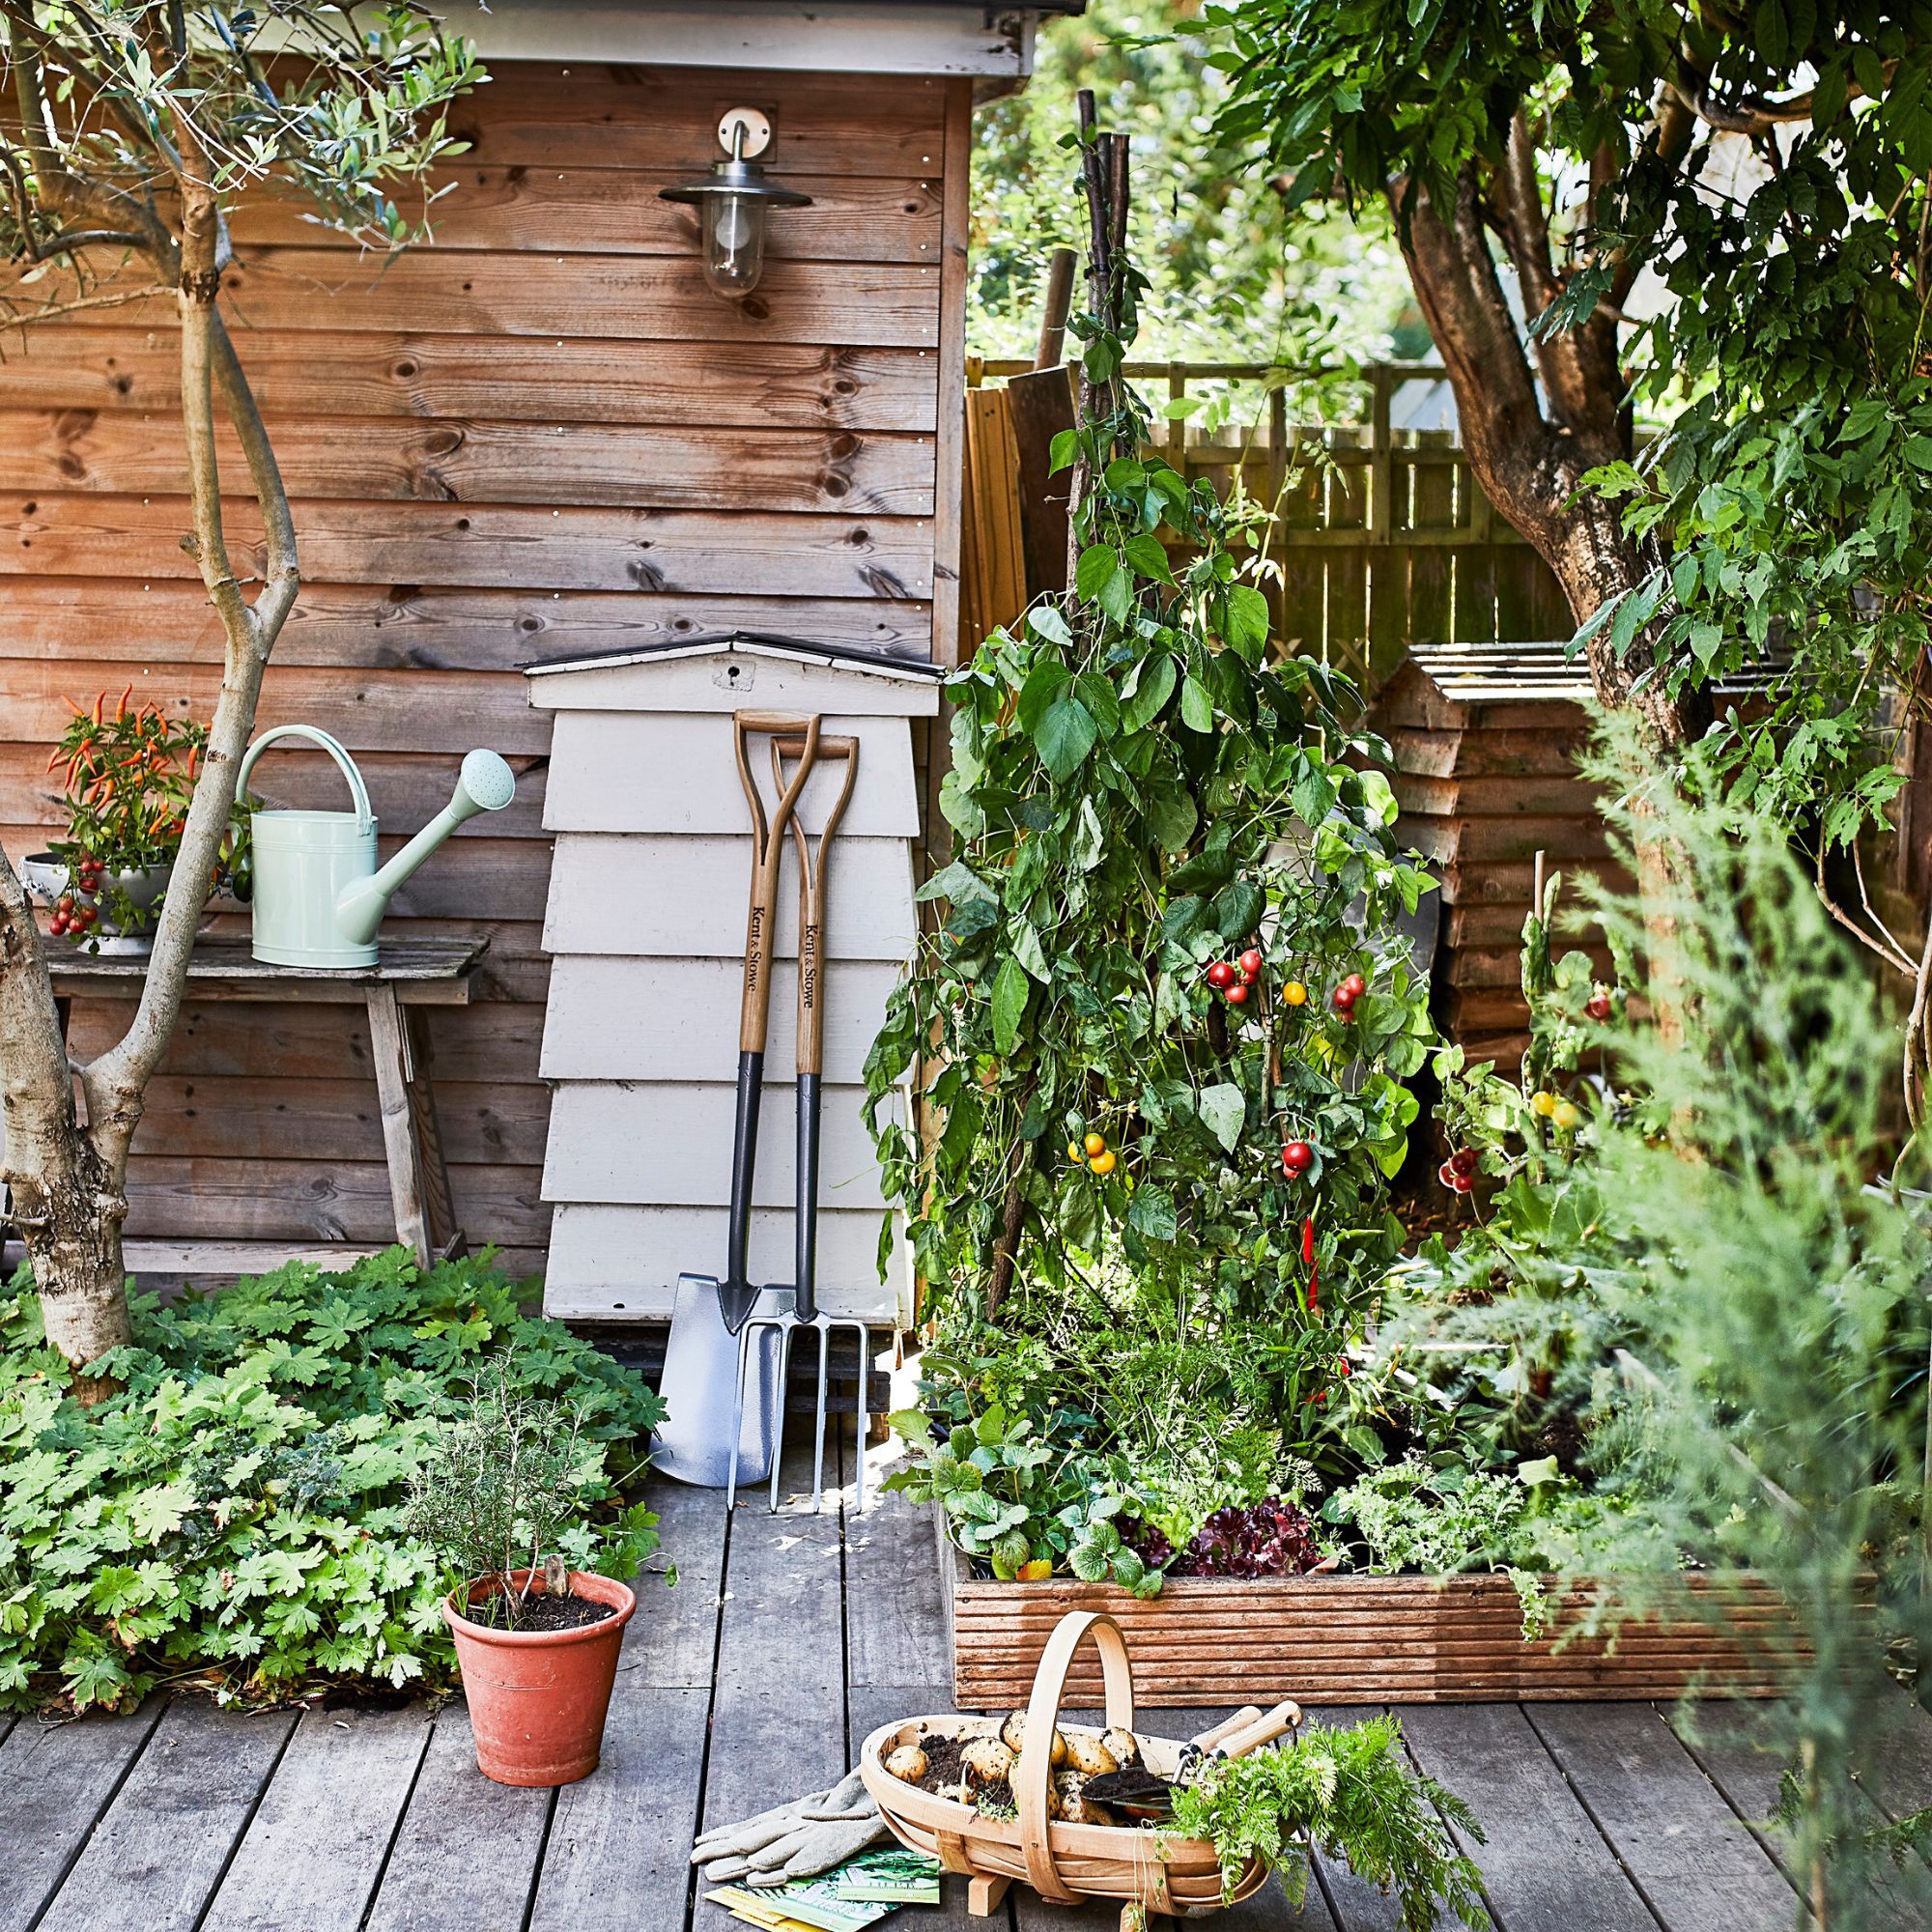
Choose the height of your bamboo stakes depending on the type of climbing crop that you plan to grow. Growing runner beans and French beans will require fairly tall stakes (roughly 5-6ft high/150-160cm), while growing sweet peas can be done on shorter stakes (approximately 4ft high/120cm). You can trim bamboo stakes to size using a small hacksaw.
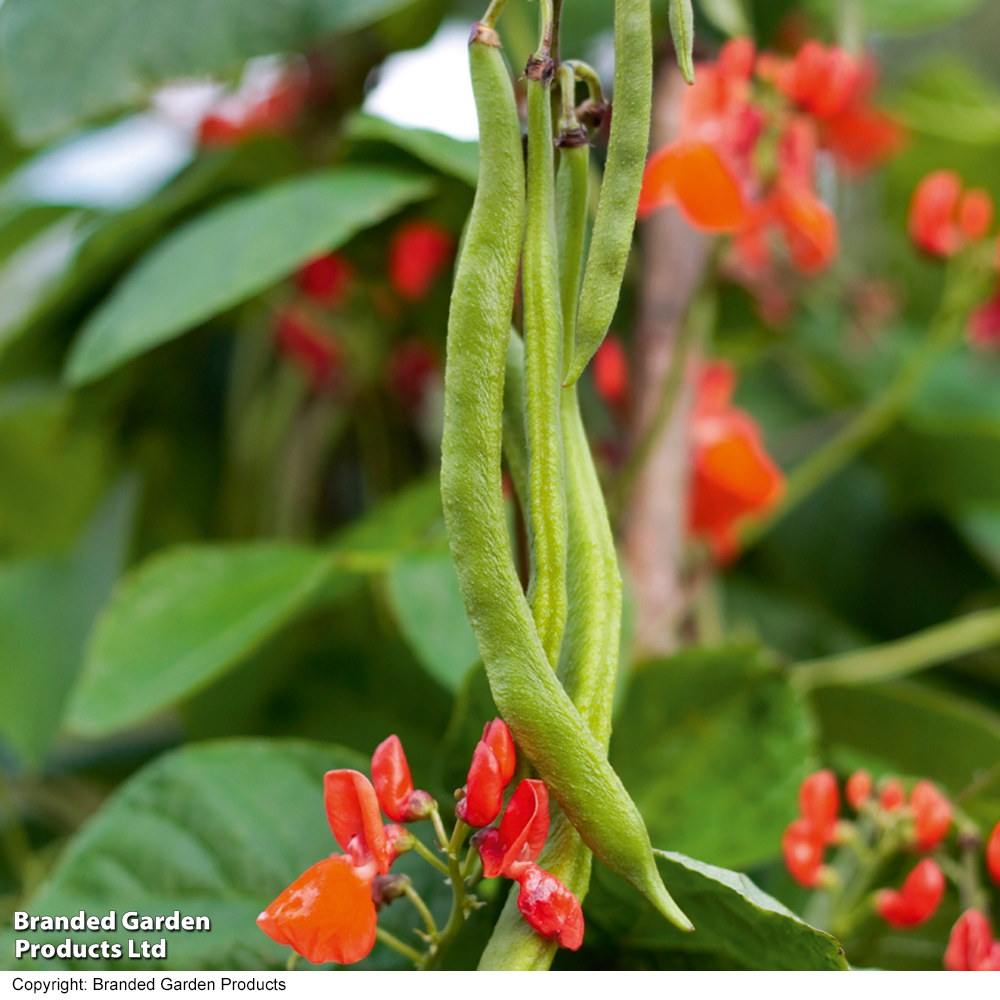
‘Runner beans are easy to grow in gardens or containers,’ says Julian Palphramand, Head of Plants at British Garden Centres. ‘Sow seeds indoors in April or outdoors in May to early June, using multi-purpose compost. As they grow, provide support with canes or bamboo tepees. You can harvest the beans when they reach about 20cm long in the summer.’
For how to grow tomatoes vertically, you’ll need a shorter wigwam as tomatoes don’t grow quite as tall. A structure roughly 3-4ft high/90-120cm should be sufficient. Alternatively, you could buy a ready-made tomato growing support to do the job.
'Plant tomatoes deeply so the first set of leaves sits just above the soil surface; this encourages strong root growth,' adds Julian. 'Space plants 45–60cm apart, depending on the variety. Mix your soil with plenty of organic matter to provide essential nutrients throughout the growing season. Water thoroughly, and as your tomatoes grow, support them with stakes or on a wigwam to keep the fruit off the ground and reduce the risk of rot and pest damage. Regularly check for side shoots and pinch them out to focus the plant’s energy on producing its fruit.'
3. Prepare the soil for planting
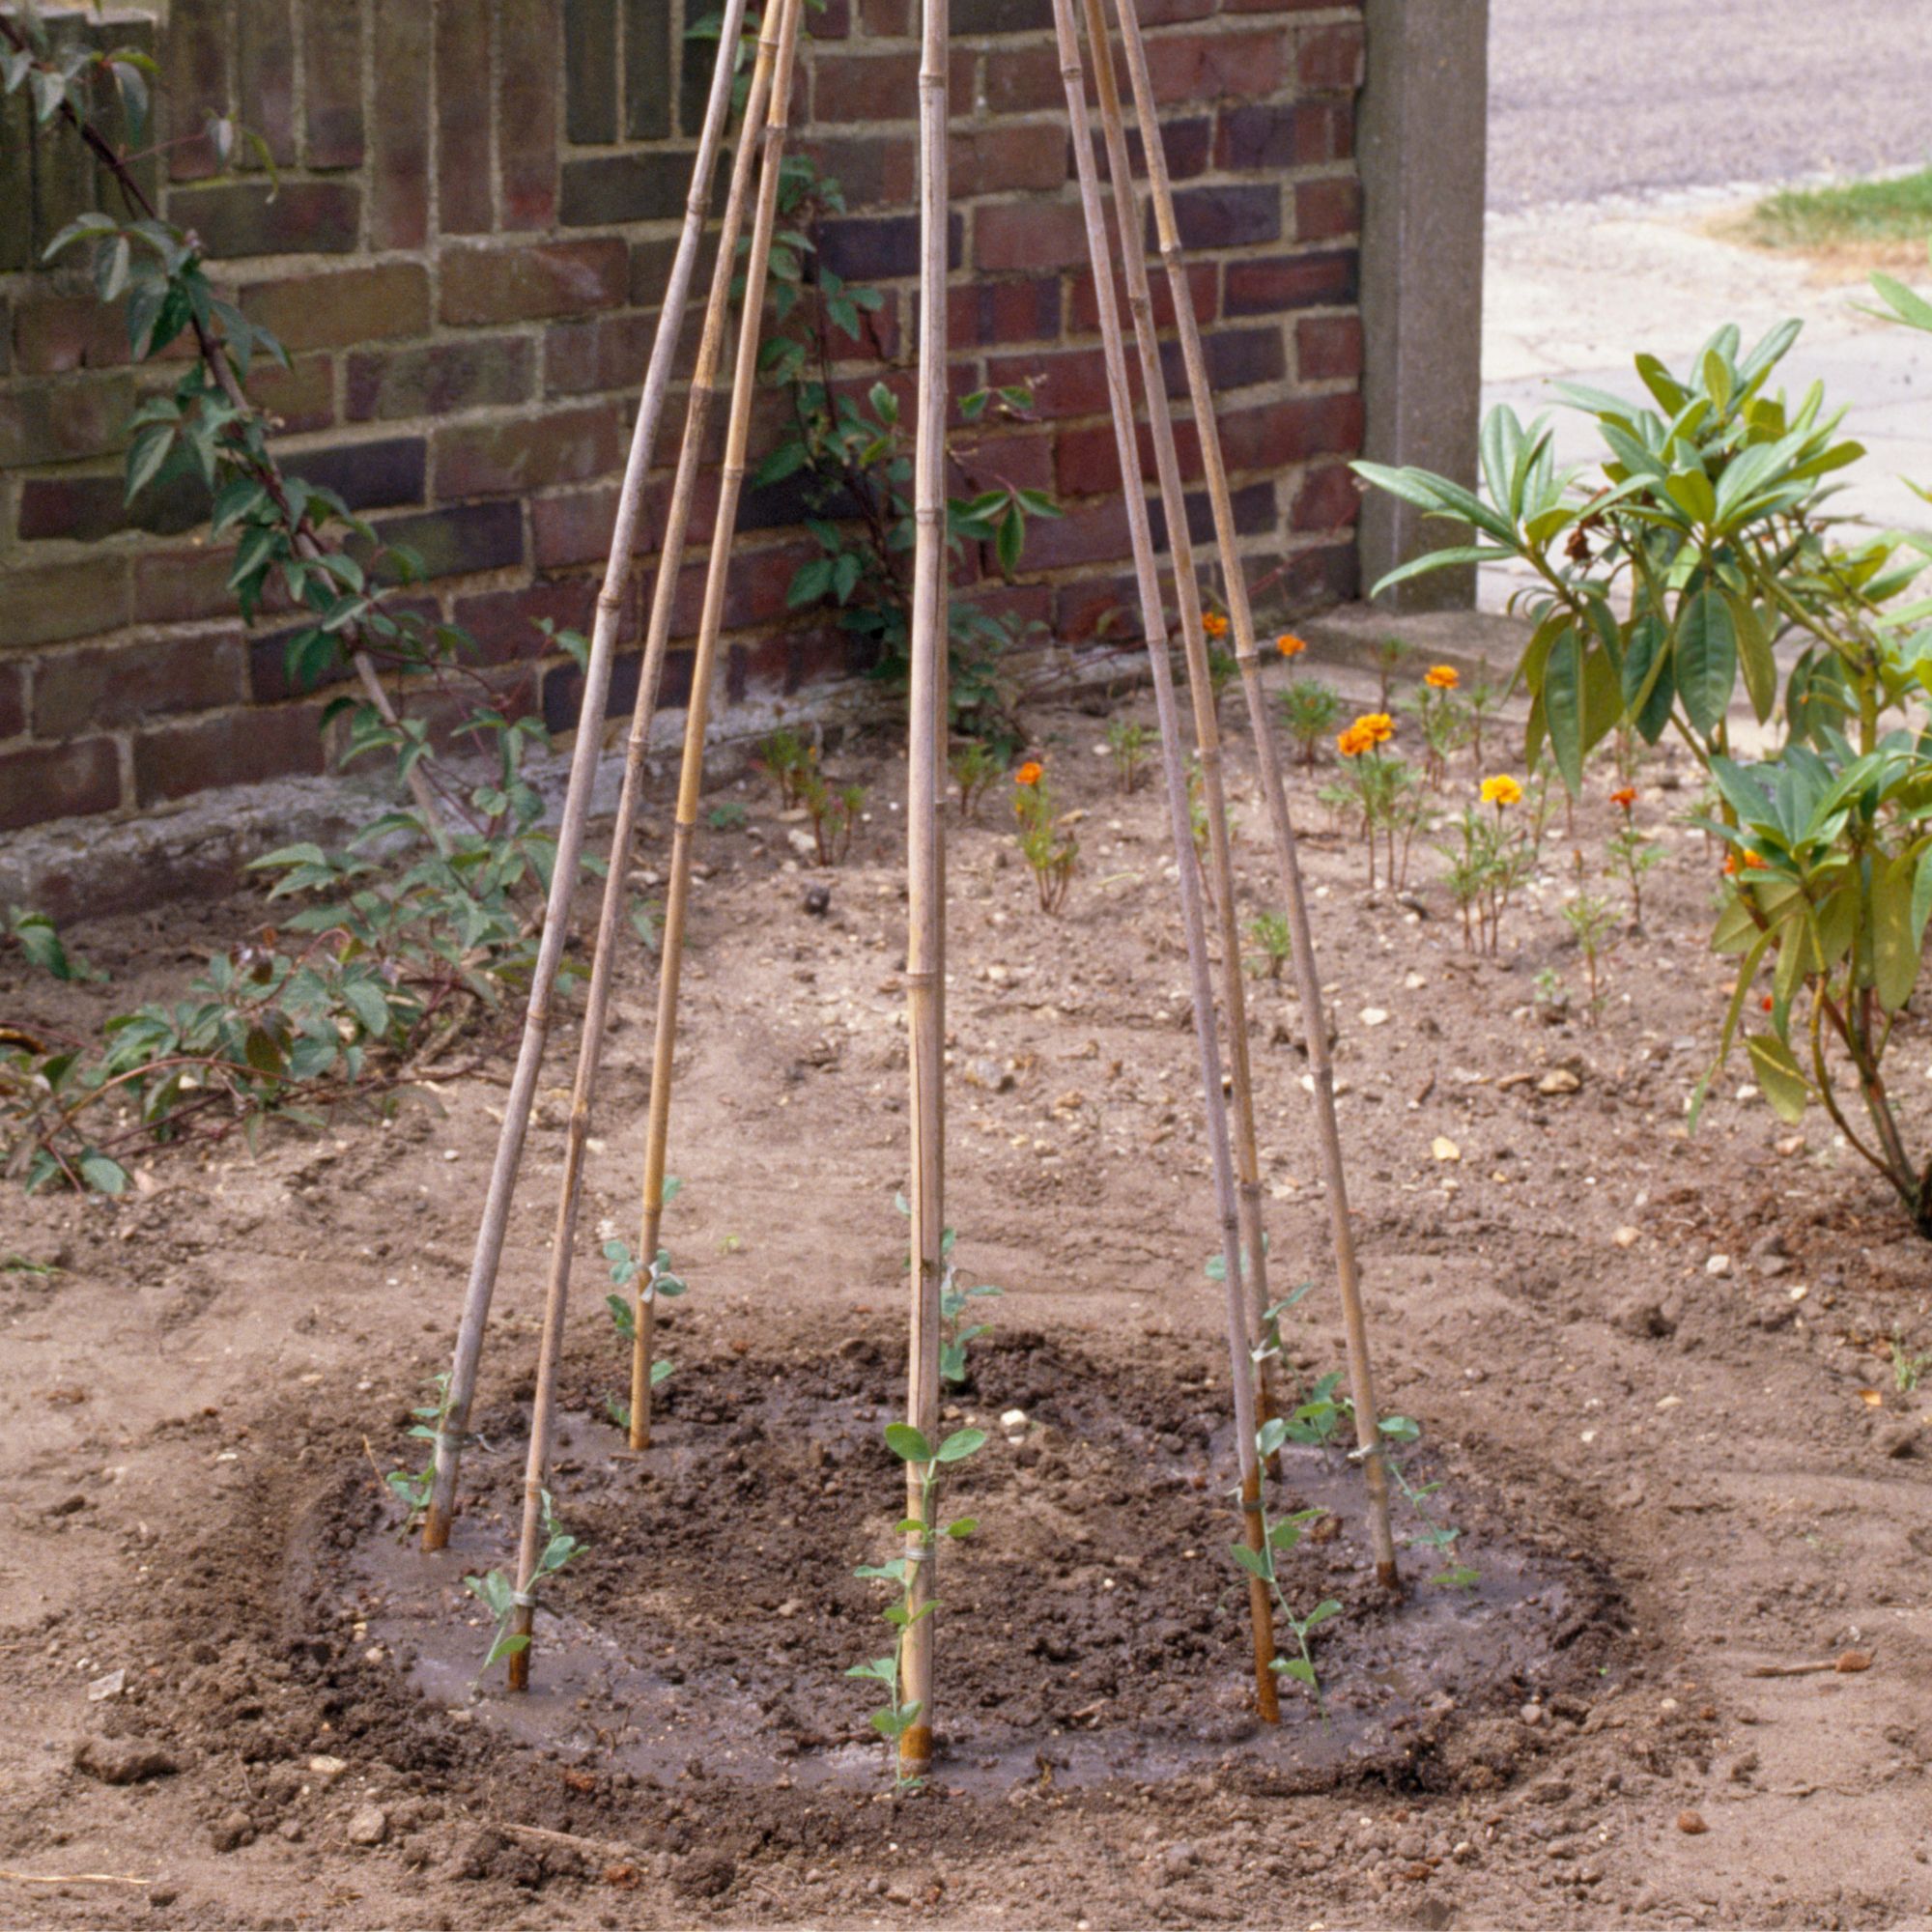
Choose a sunny, sheltered spot to set up your wigwam. You’ll need to leave enough room for the base of the circular wigwam, plus a little extra space around the edge of it for your crops to grow into the ground, whether you are growing beans or growing cucumbers vertically. Dig over the ground and get rid of any weeds before starting.
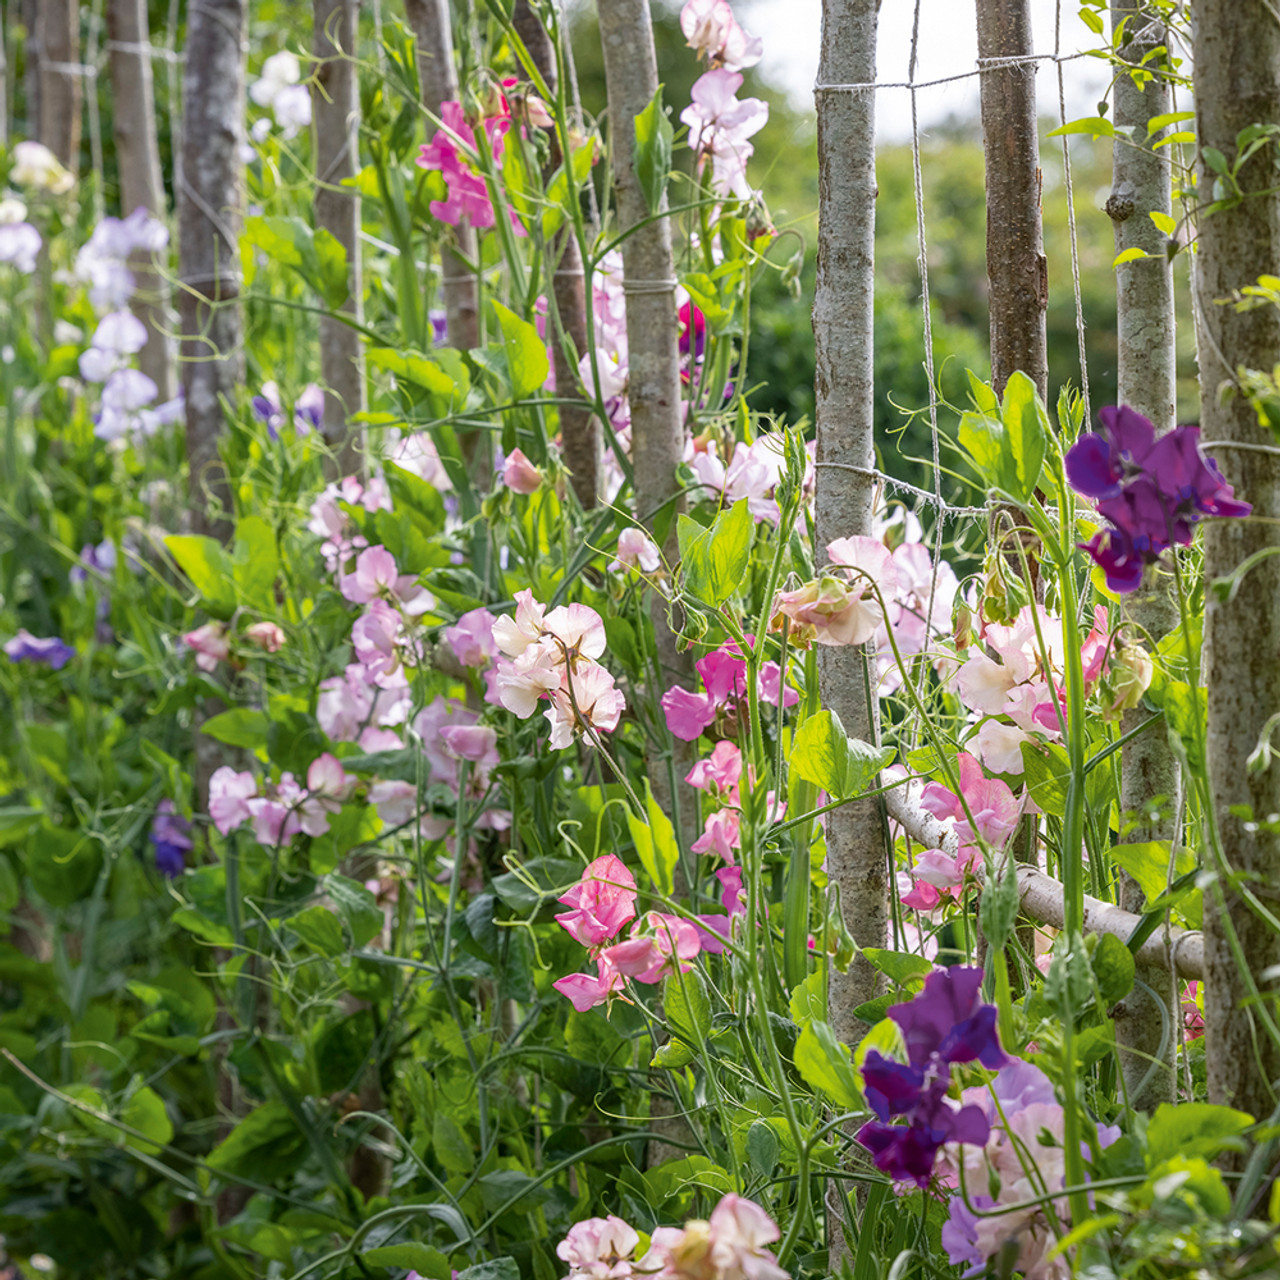
'Sweet peas are lovely, easy climbers with colourful, sweet, perfumed flowers that brighten up any garden,' adds Julian. 'You can grow them from seeds or buy young plants and give them a sunny spot with well-drained soil and a bamboo teepee or obelisk to climb.'
To help with the placement of stakes, use a circular tub or a large dustbin lid as a guide, placing it down on the soil, so you can position your stakes around it a bit like a clock face.
Start creating the basic structure of your wigwam next. Take a bamboo stake and push it into the ground - the thickest end of the stake first - making sure you push it at least 15cm into the ground. This will ensure that the wigwam is securely anchored and won’t get blown over if it is windy.
Position your first stake at 12 o’clock and then position the remainder of the stakes evenly spaced around your tub/lid, roughly 30cm apart.
4. Secure the top of the wigwam
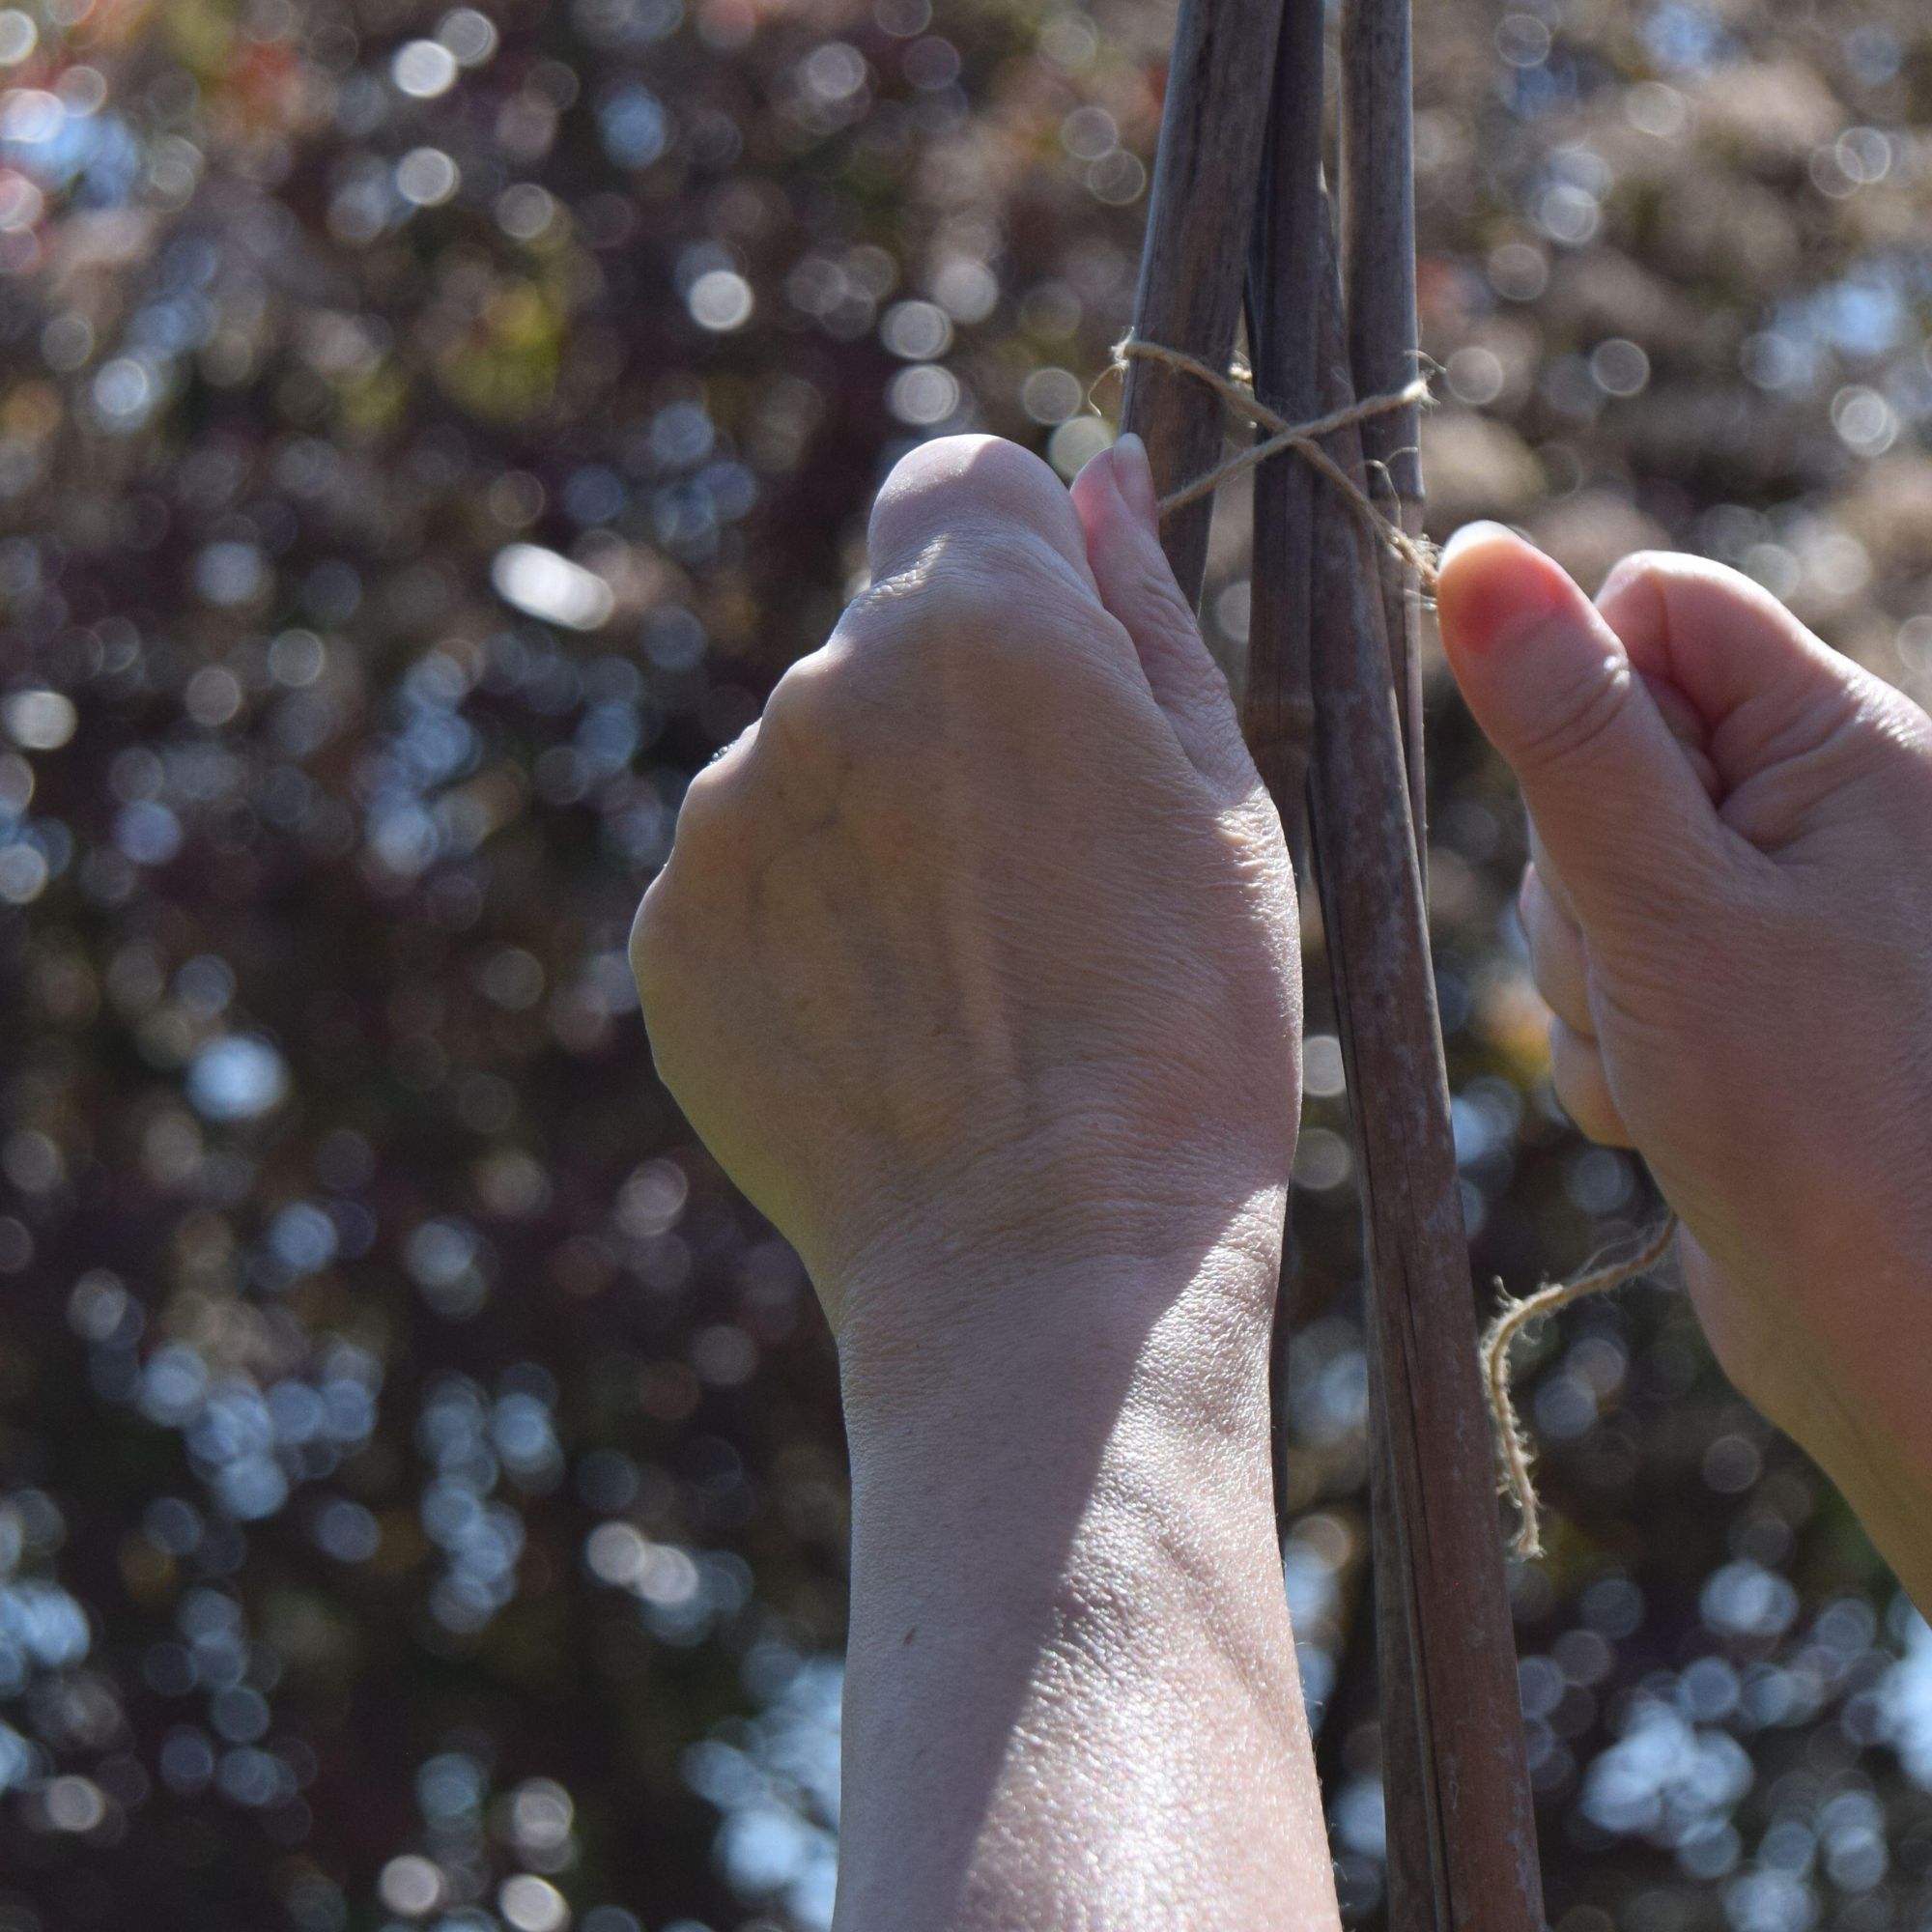
Once the base is in position, it’s time to secure the tops of the canes together to create the basic wigwam structure. If you have someone who can lend a hand with this step, it’ll make the job much easier.
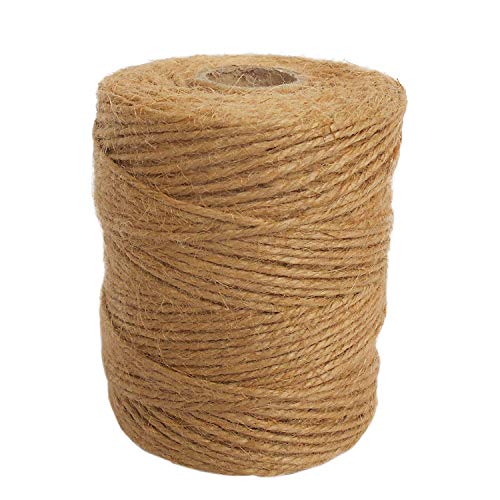
Grab your twine (this jute twine from Amazon would be my choice) and tie a piece of it around the top of one of the canes, roughly 30cm from the end. Then grab another cane, bend it in slightly, and tie it to the top of the first cane. Continue doing this, criss-crossing the ends as you go, until all the canes are secured. Wind the twine around the canes a few more times, cut and finish off with a knot.
If you struggle with this step, it can also help if you use a rubber band to secure the canes together initially, then tie them in place with string as the rubber band will deteriorate over time. Alternatively, you can buy bamboo cane holder supports, which are circular pieces of plastic that have holes to insert the cane tops into.
5. Add horizontal supports
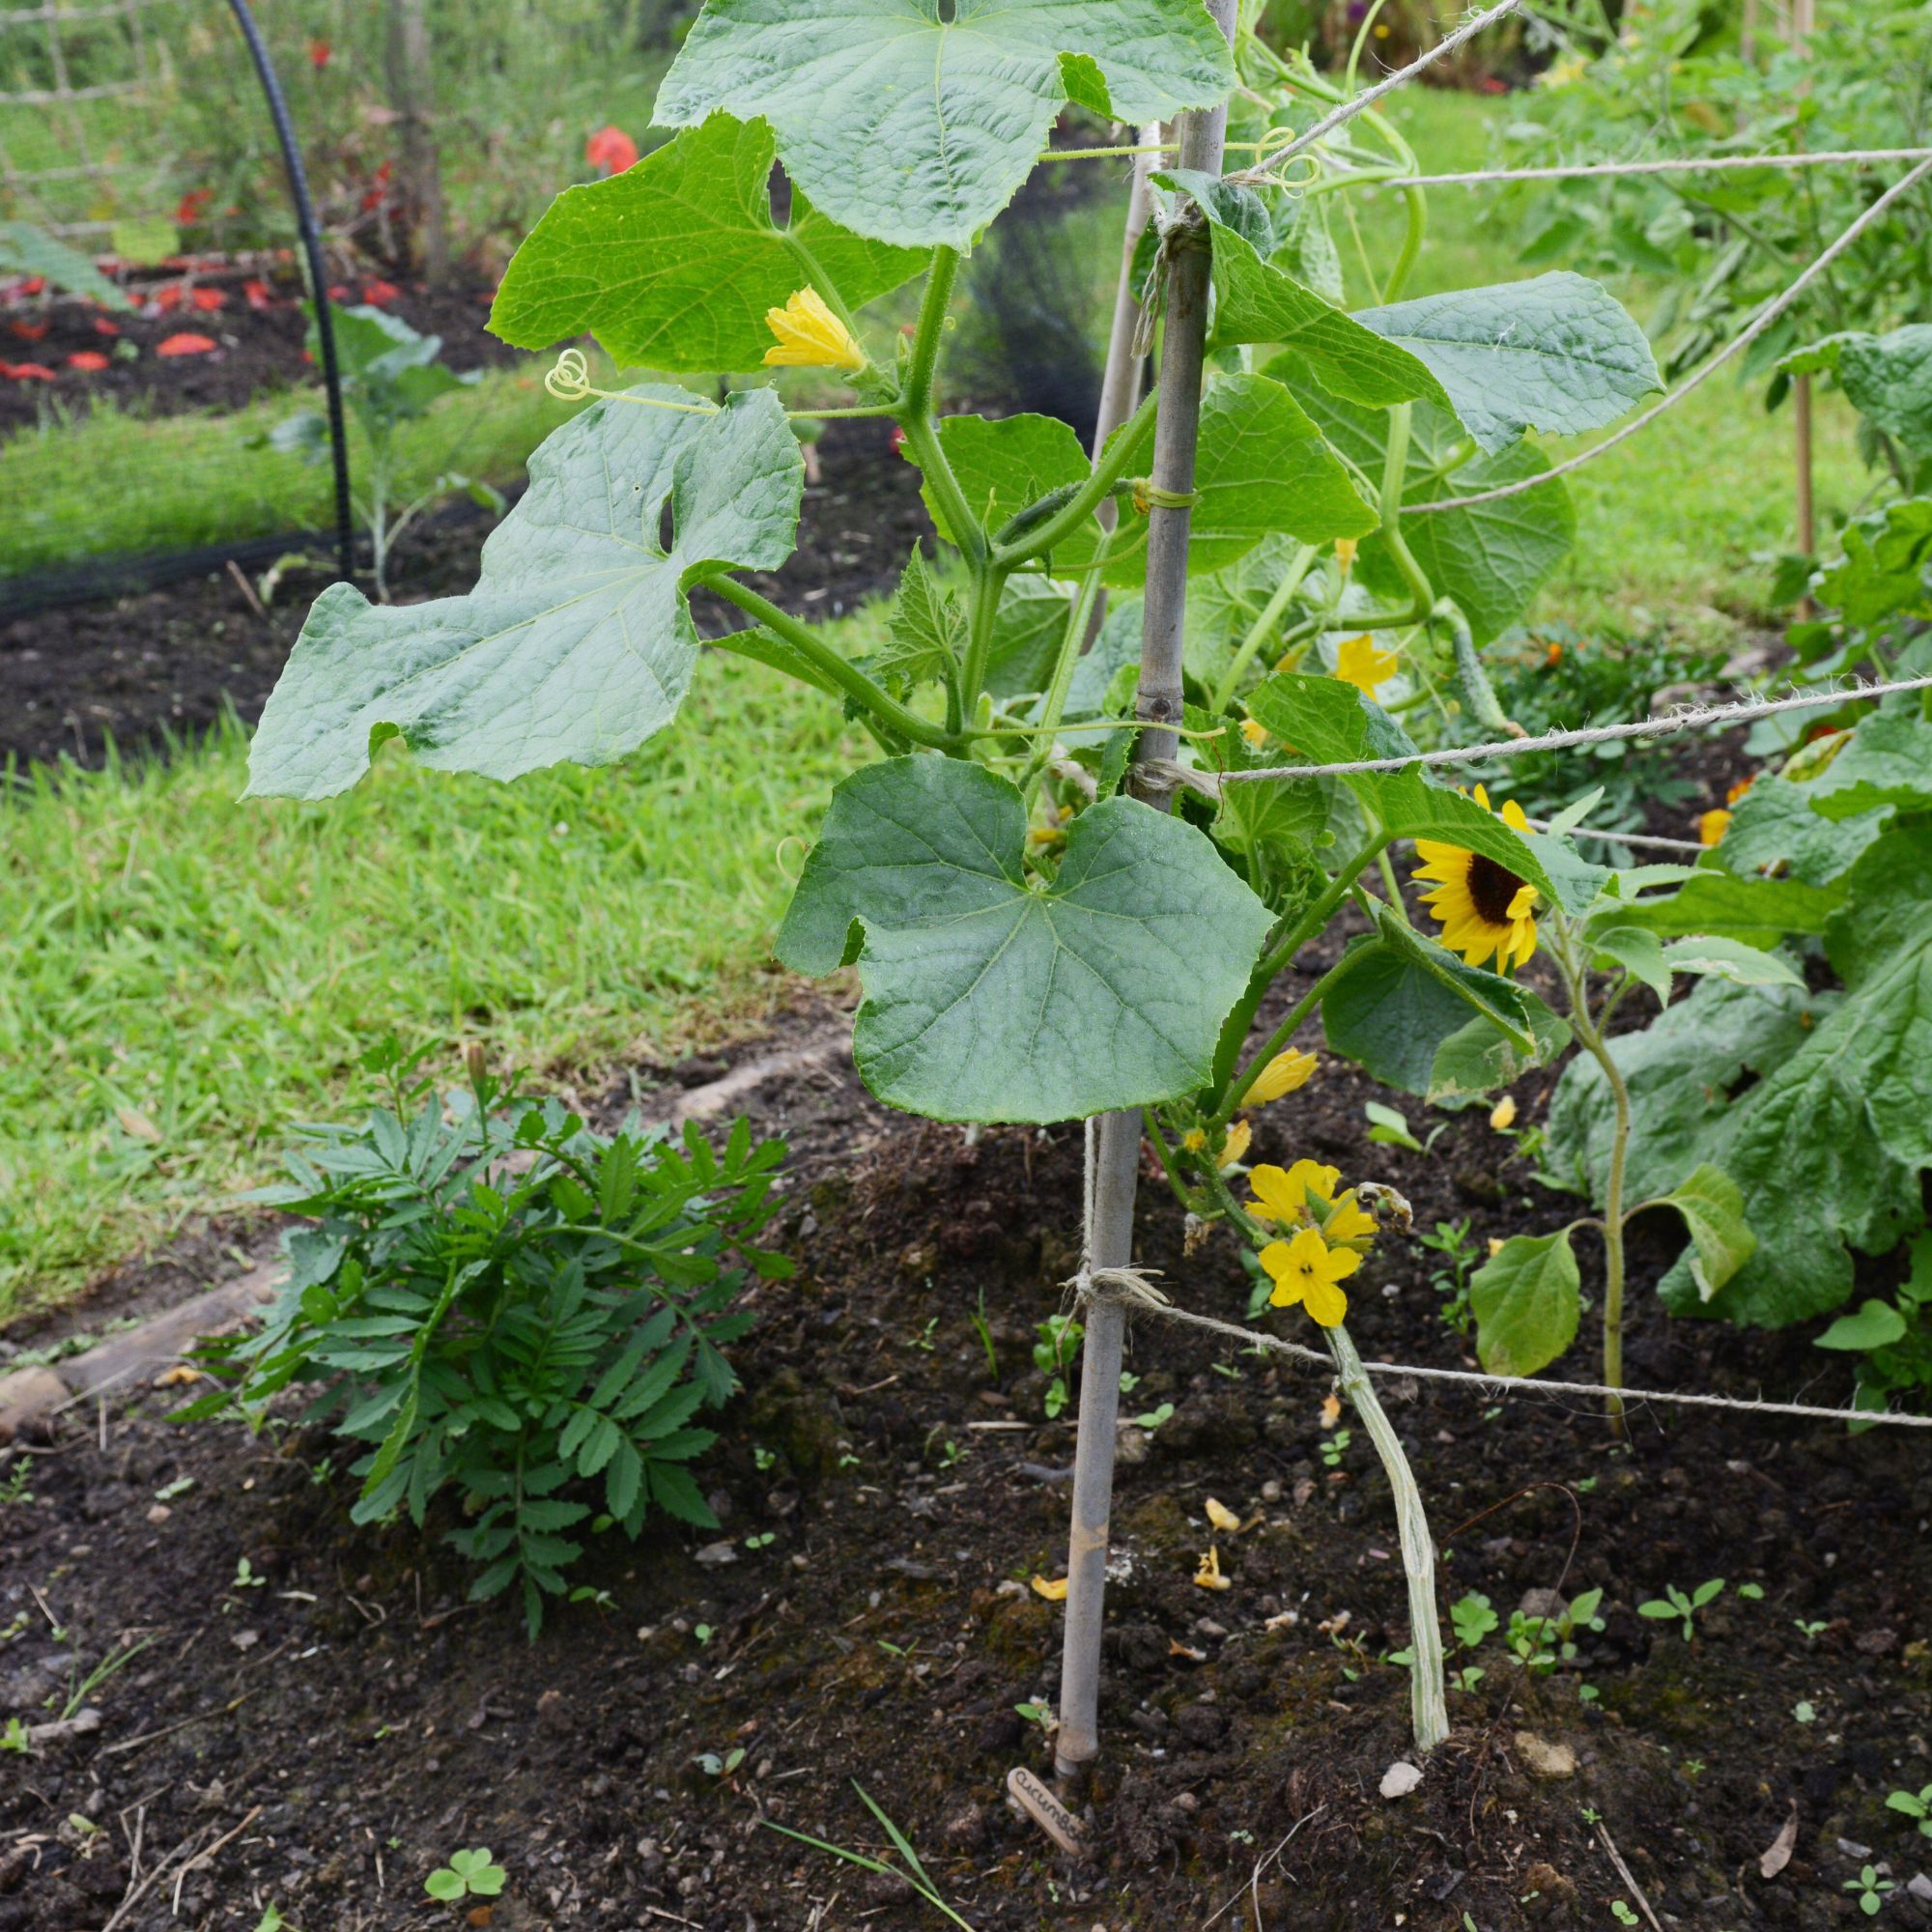
Once the basic wigwam structure is in place, you’ll need to add horizontal supports, which will help aid the plants’ growth. These will give the tendrils of the climbing plants something to grip onto and encourage them to grow around and up the wigwam.
Grab your twine and, starting at the base of the wigwam, tie a knot around one of the cane stakes (about 30cm off the ground). Then work your way around and up the wigwam, to create horizontal supports, feeding the twine in and around each stake and working your way upwards in a spiral.
Once you reach the top of the wigwam, secure it with a knot to finish off, and your wigwam is complete.
6. Plant your seedlings
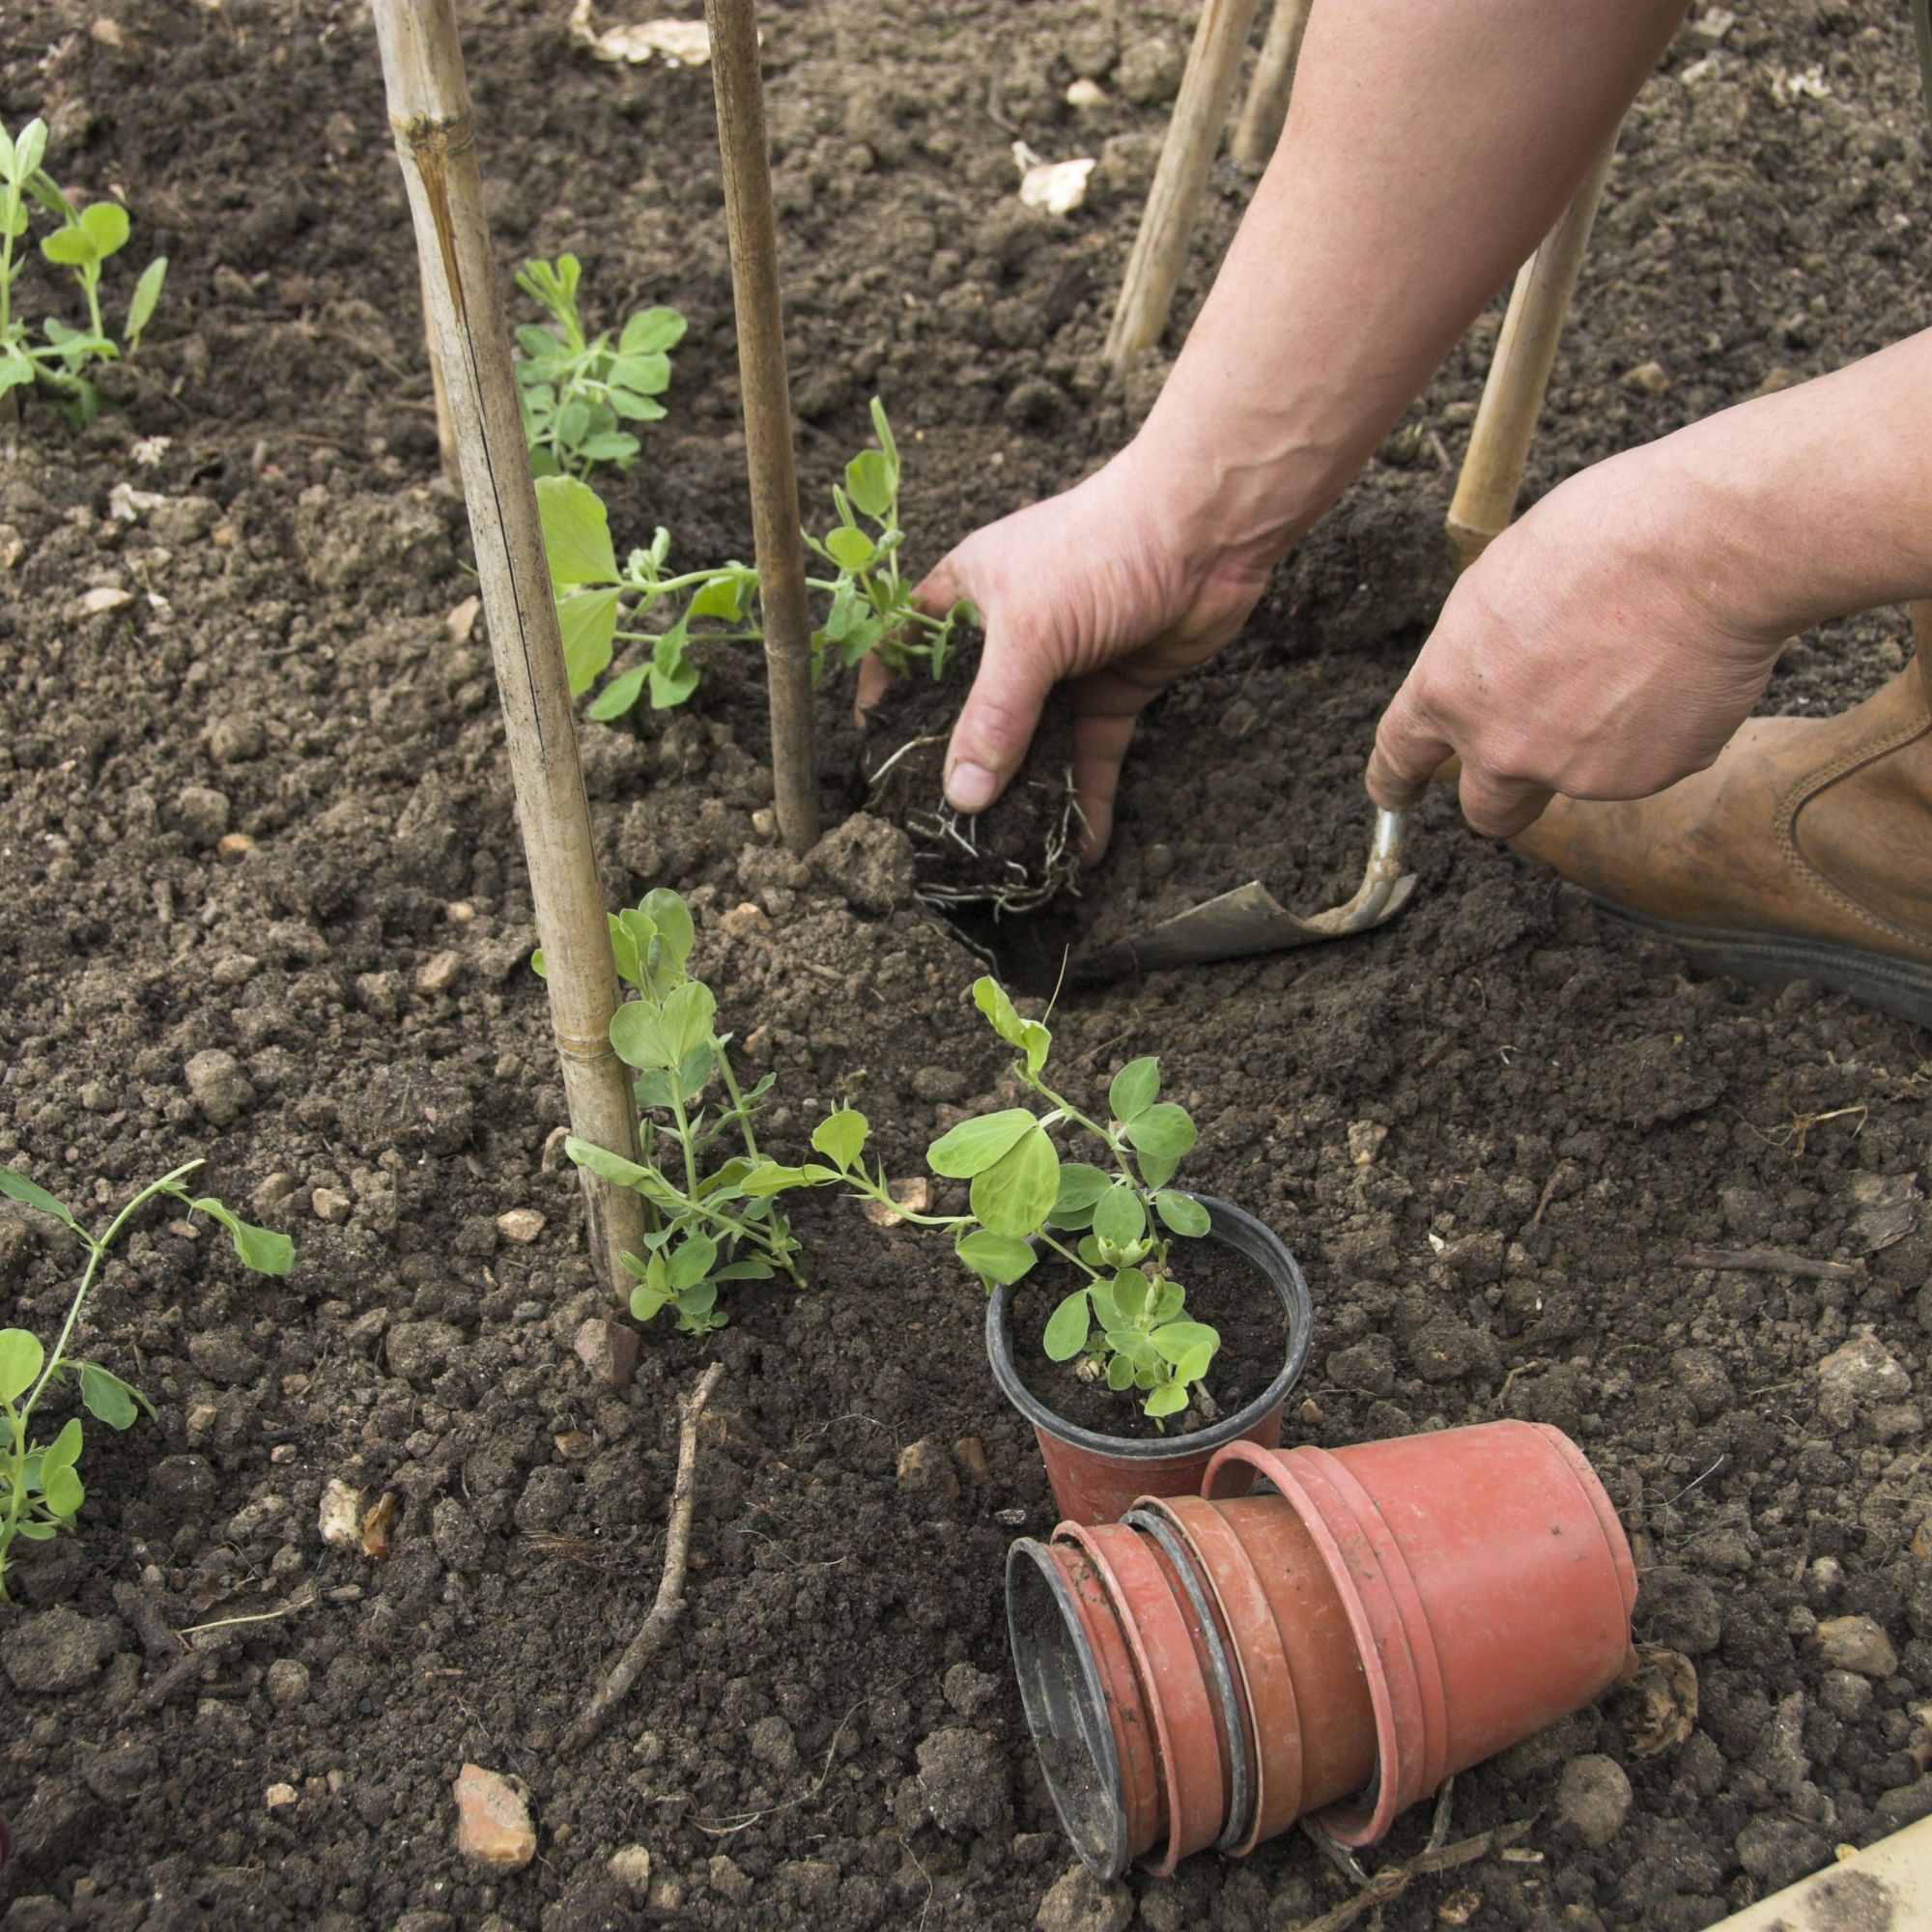
With the wigwam in place, you can now add your plants at the base of the structure. For one of the easiest vegetables to grow, consider planting runner beans. Simply dig out a hole adjacent to one of the cane supports and pop the seedling into position, firming the soil in around it. If sowing beans direct, it’s always worth sowing two beans at the base of each support and then removing the weakest one of the two once the seedlings come through.
Encourage your plants to grow upwards by gently leaning them against the cane supports and loosely tying them in as they start off. Once plants are established they will find their own way up.
What to grow on a wigwam plant support
Shop plant support picks
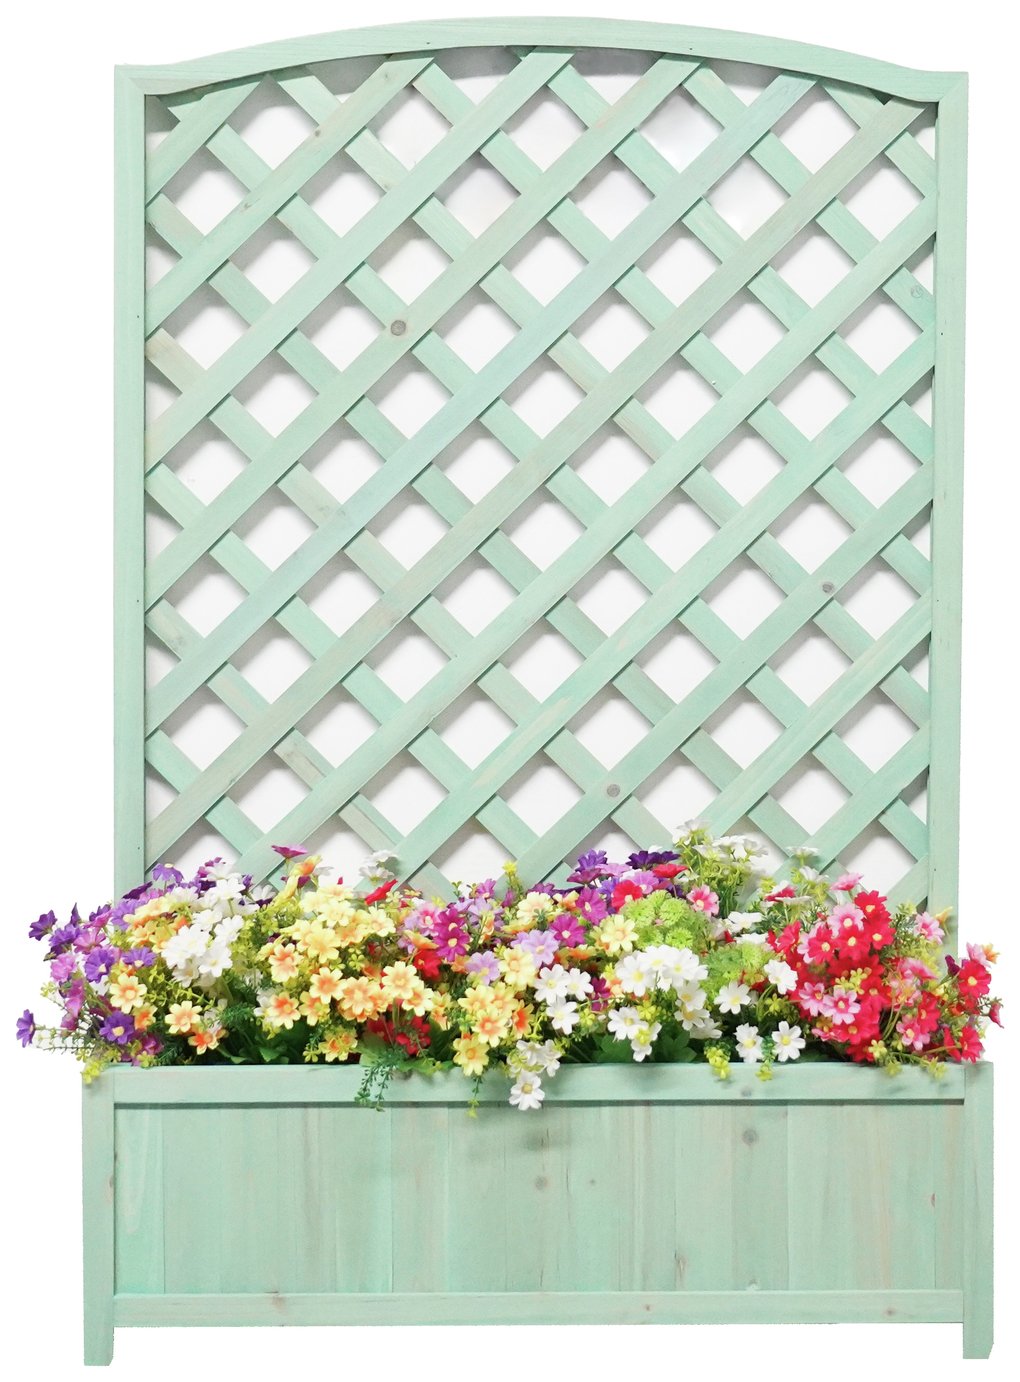
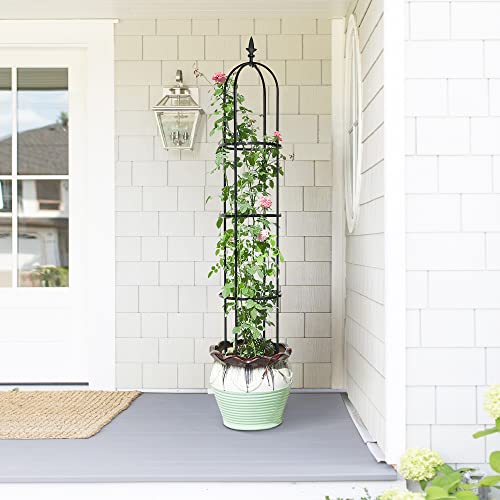
Or if you fancy shopping ready-made, here are our top picks for growing vegetables and climbing plants skyward.
FAQs
What is the difference between a plant wigwam and a plant teepee?
A plant wigwam and a plant teepee are very similar-shaped structures, with the term used quite loosely and often referring to either. Generally, a wigwam is constructed with long support poles pushed into the ground and has a circular base, while a teepee’s base shape is often square-shaped, with the support poles forming a more conical, pyramid-style structure.
What’s the best material to use for a plant wigwam?
Bamboo cane supports are fairly inexpensive to buy, plus very sturdy and strong, so they make great support poles for plant wigwams. Once the growing season is over, plants can be removed and the wigwam taken down, and the bamboo canes stored in a shed over winter for use the following season.
Alternatively, for a more rustic-looking wigwam or teepee, branches of silver birch or hazel are often used and can be bought at a garden centre or foraged from hedgerows. Similar in strength to bamboo, they can be more pliable when freshly harvested, so they are easy to bend into shape. And with lots of extra twiggy bits, plants can grip on easily for extra support as they grow.
So, if you’re keen to give your home-grown sweet peas a flying start or perhaps fancy growing your own vegetables vertically, that’s everything you need to know.
Will you be making your own plant wigwam this spring?

Lisa is a freelance journalist who has written about interiors for more than 25 years. Previously editor of Style at Home magazine, she has worked on all the major homes titles, including Ideal Home, Country Homes & Interiors, 25 Beautiful Homes and Homes & Gardens. She has covered pretty much every area of the home, from shopping and decorating, crafts and DIY to real homes and makeovers and now regularly writes gardening stories for Ideal Home.
