How to propagate aloe vera – grow your aloe collection for free with this step-by-step guide
Discover how to propagate aloe vera to unlock the cost-free route to aloe bliss, for as long as you want

Holly Reaney
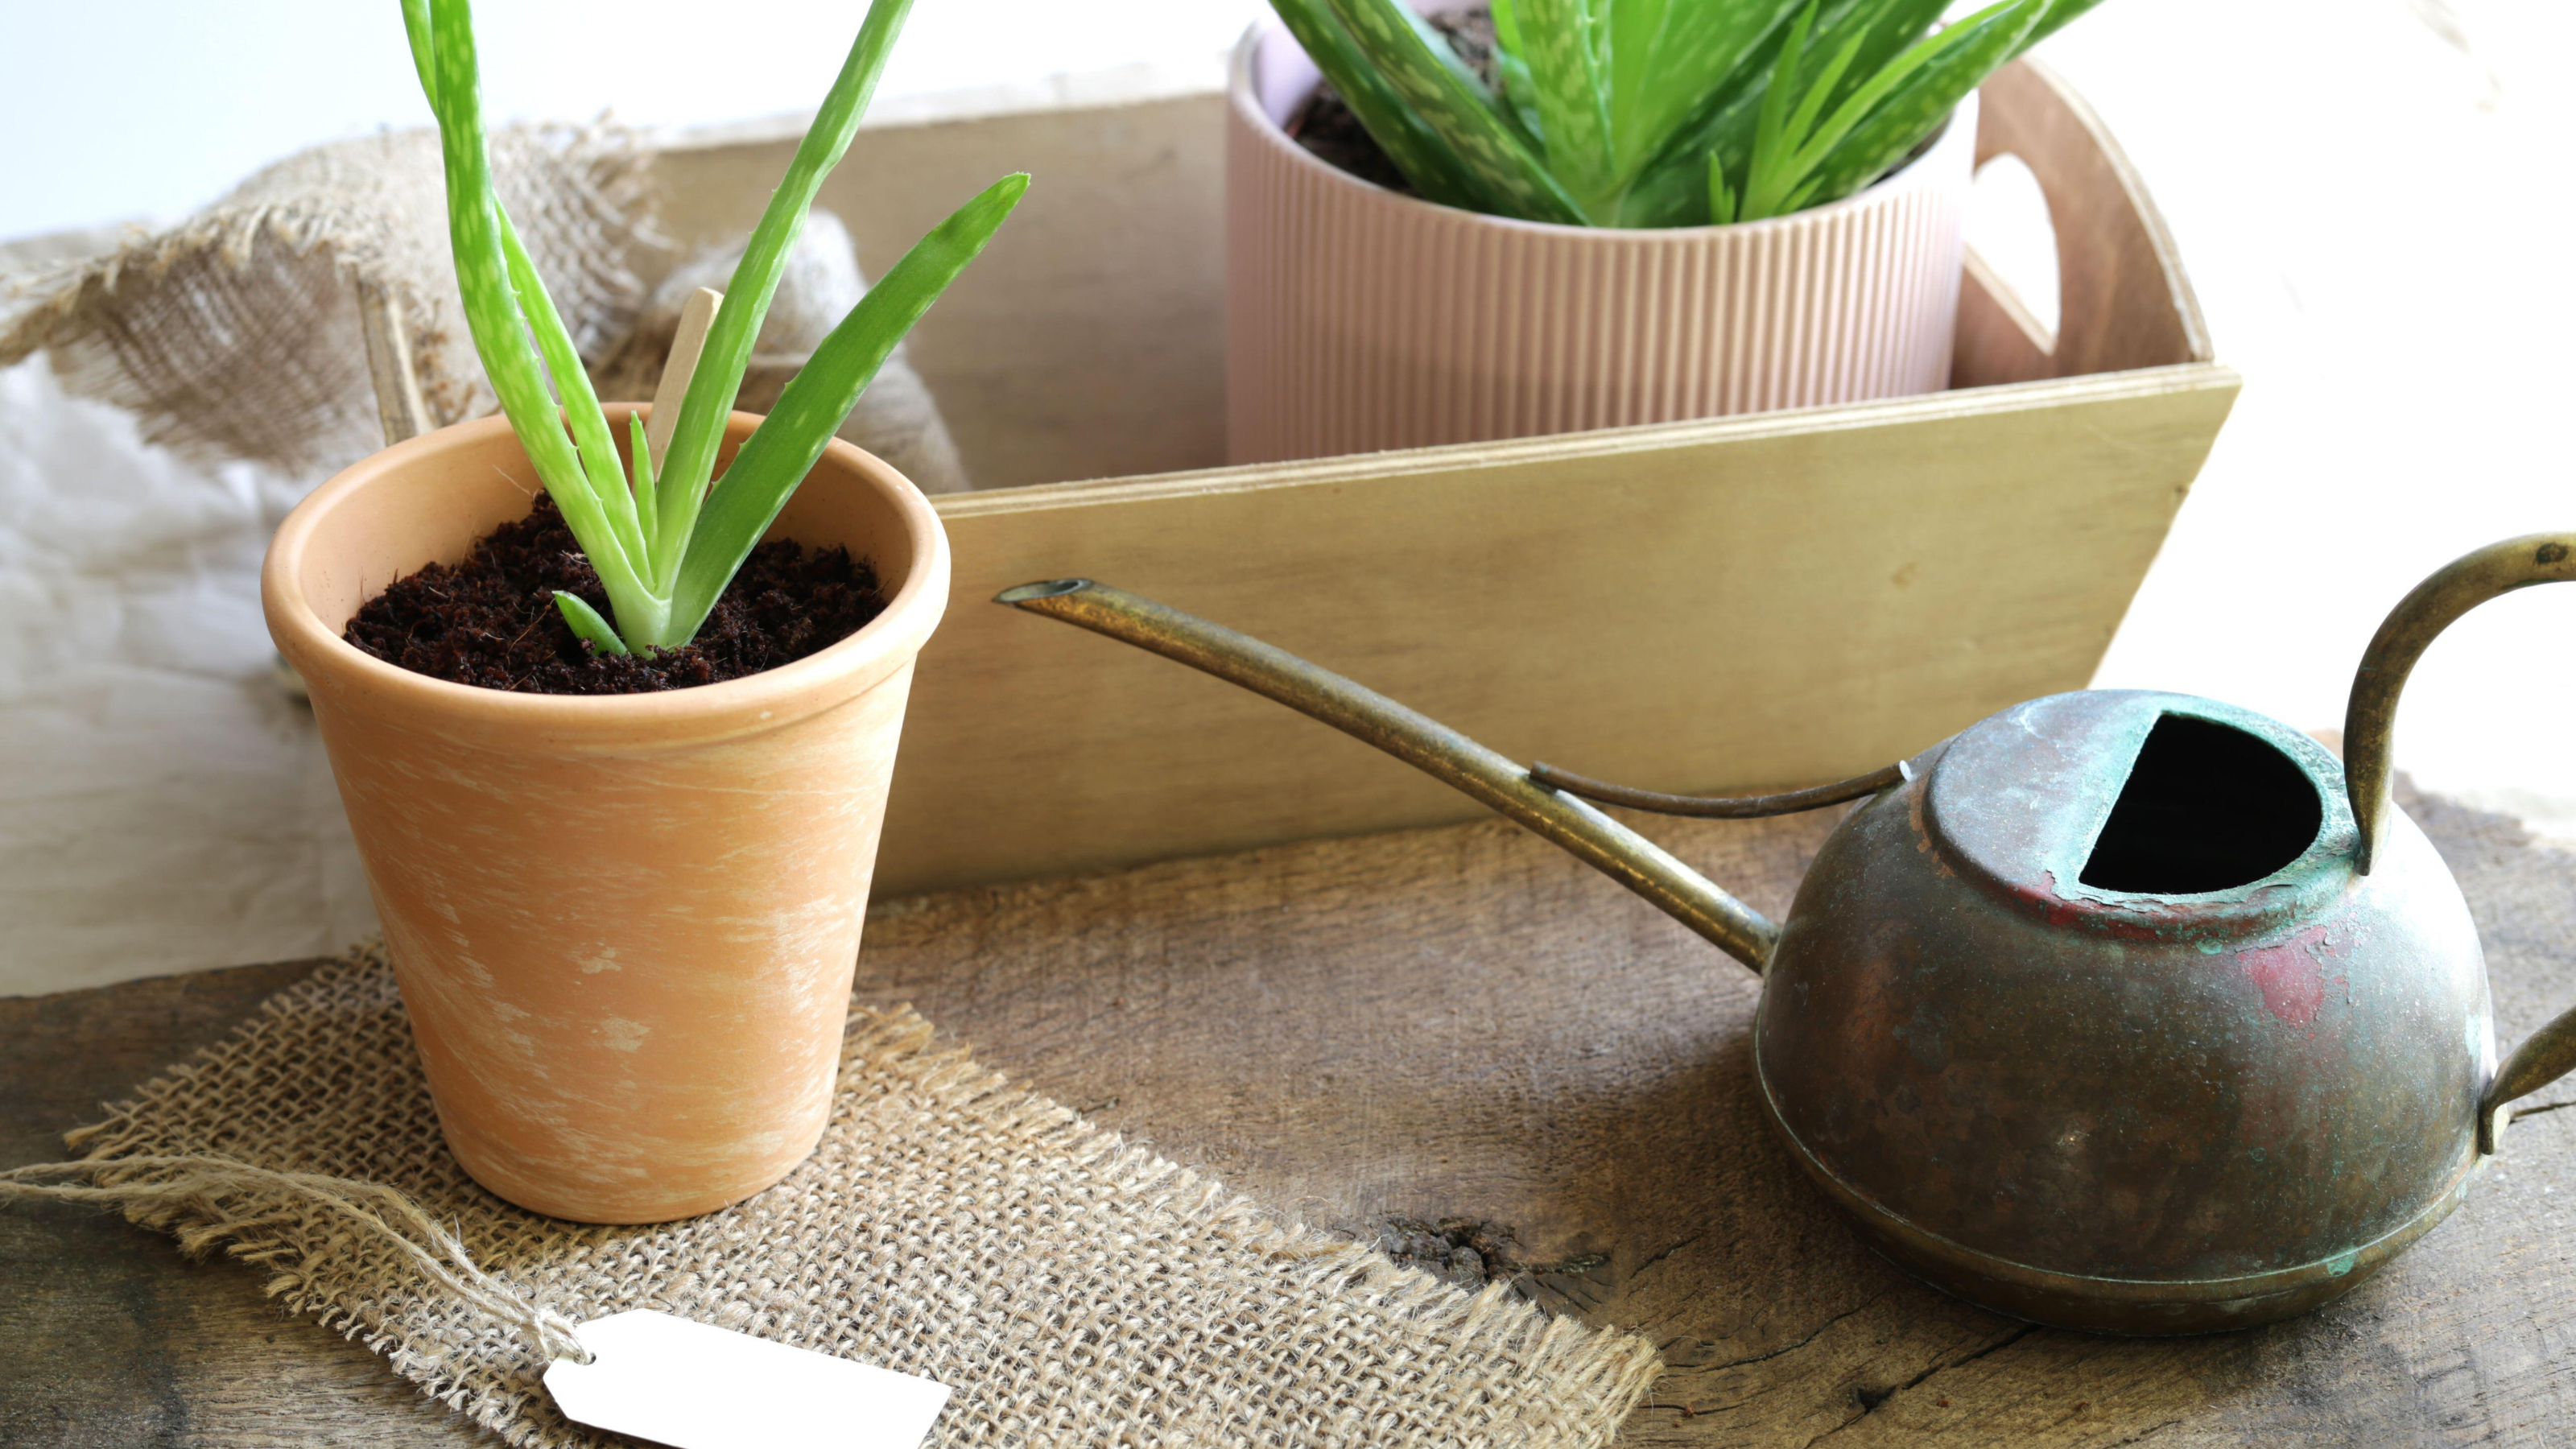
Knowing how to propagate aloe vera is a great way to increase your houseplant collection for free, so you can enjoy endless aloe bliss, both indoors and out.
Before starting to propagate aloe vera, it is important you know how to care for aloe vera. After all, a healthy aloe vera will produce healthy pups for you to propagate, but since aloes are one of the easiest houseplants to care for, you'll be relieved to know that you don't need crazy green thumb capabilities to propagate this favourite houseplant idea successfully.
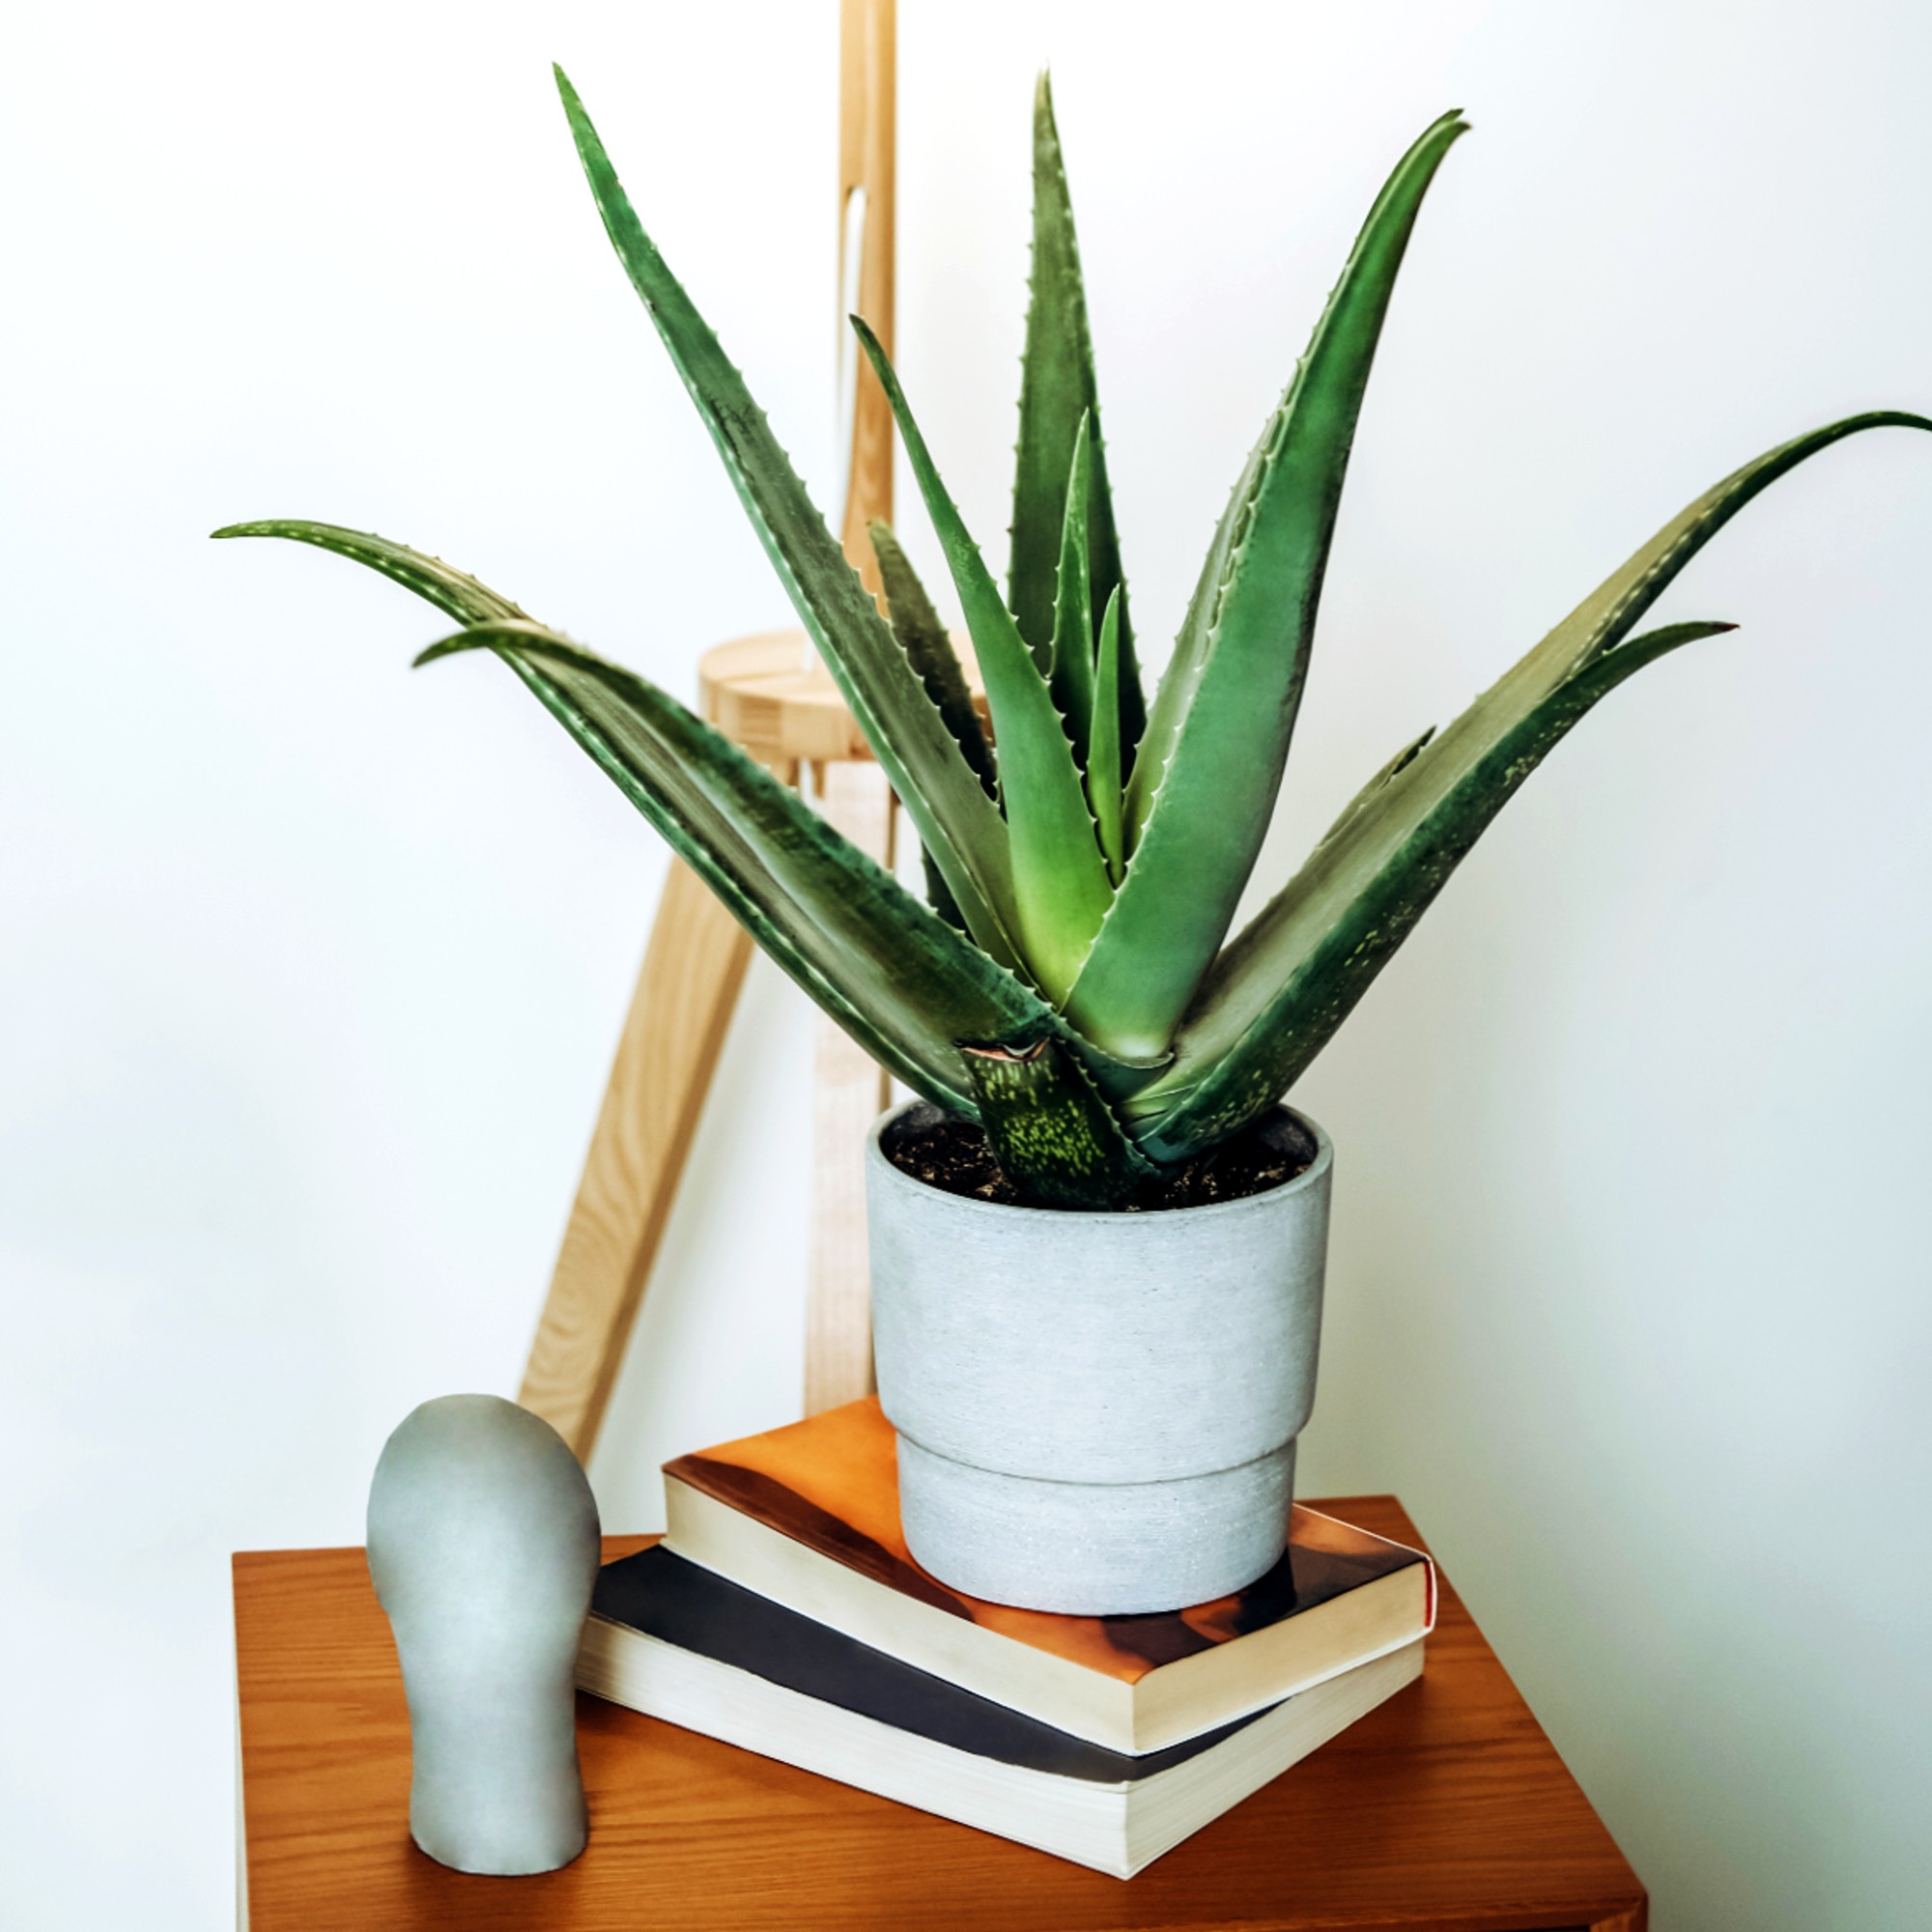
How to propagate aloe vera
It's no secret that aloe vera reigns supreme as one of the best plants for the bedroom, given its benefits for helping to purify the air around us while we go by our work and slumber, not to mention, how beautiful of addition they are for a succulent garden idea – it's no wonder that many are after ways to multiply this plant favourite further.
'Aloe is the type of succulent plant that grows offshoots around its base, which make propagating it a very simple and straightforward gardening process for beginners and experienced gardeners alike. These are actually the perfect plants to learn to propagate with,' assures Peter Ivanov, gardening and plant expert at Fantastic Gardeners.

Peter Ivanov is a gardening and plant expert who has been working at Fantastic Gardeners for 8 years. As one of the company's top-performing experts, he now manages over 6 teams of gardeners, delivering stunning landscape results and fostering a deep connection with nature through his work.
What you'll need
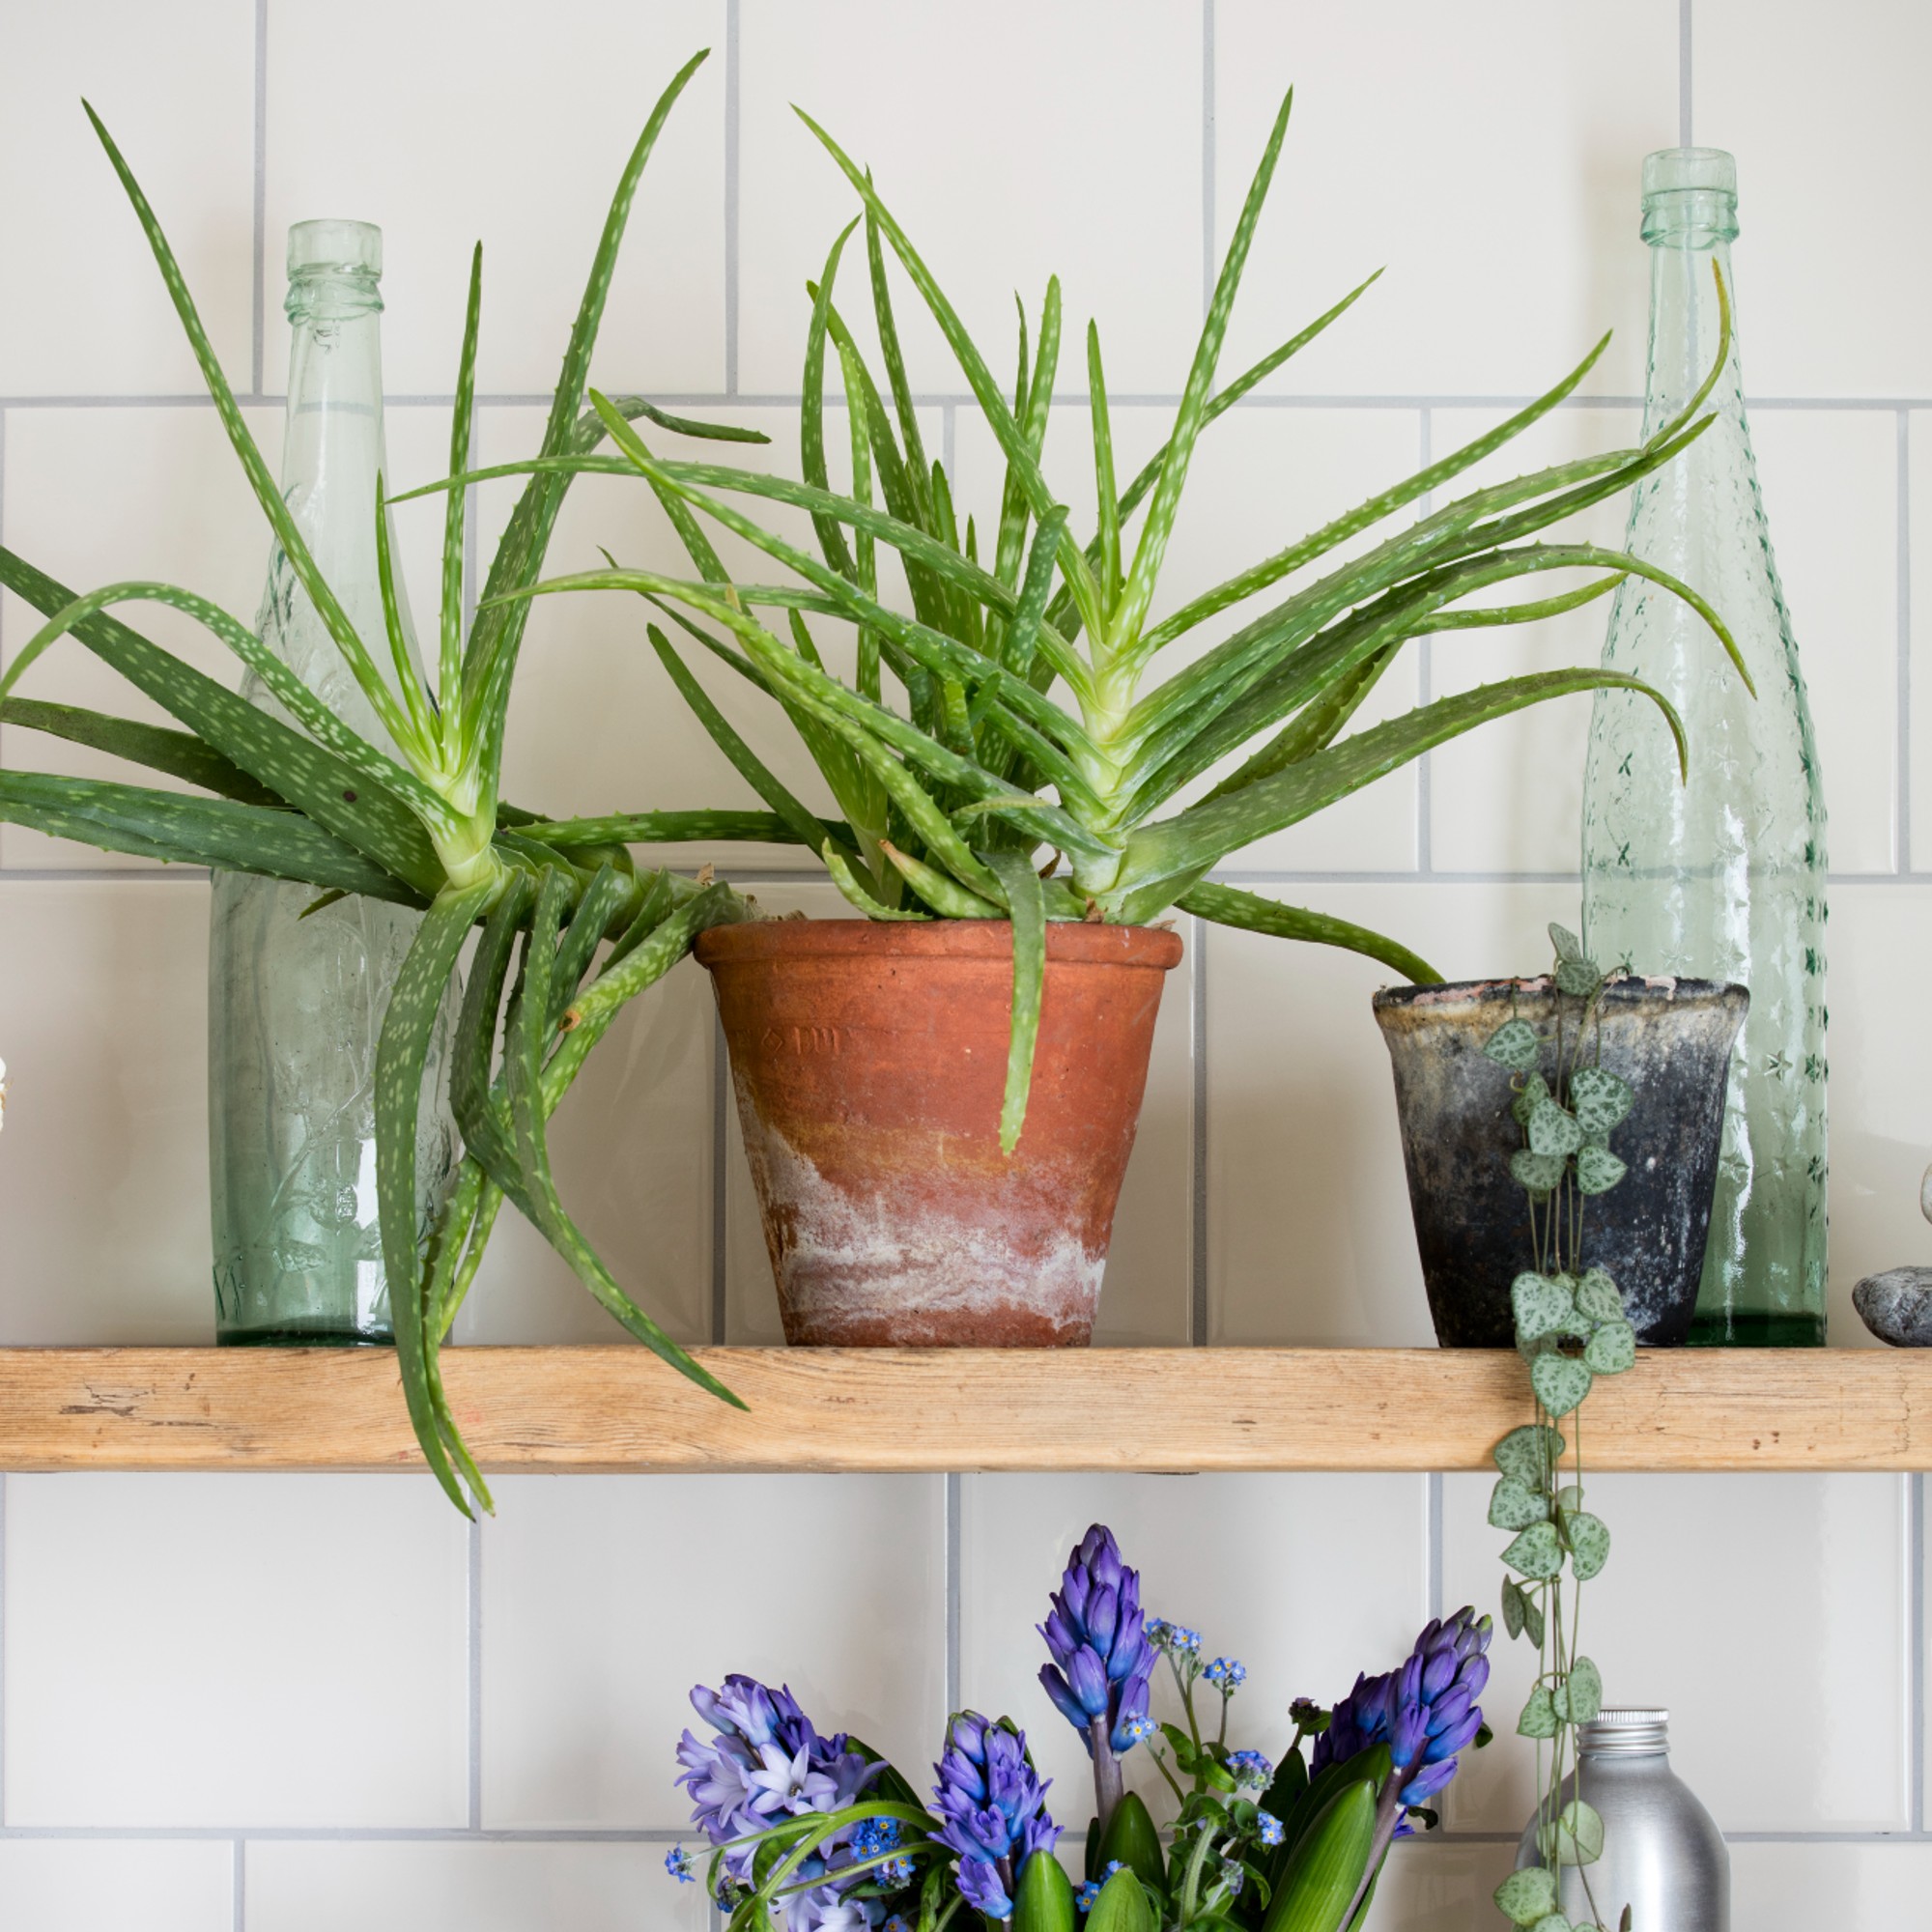
- Sharp, sterilised knife or shears
- Well-draining pots or containers – like this 15cm Terracotta Plant Pot, £2 from Homebase
- A well-draining potting mix or free-draining compost and sharp grit – like this Westland John Innes No.2 Peat-free Compost, £8 from B&Q
- A watering can or a spray bottle
- Rooting hormone (optional, but highly recommended) – try this Doff Natural Rooting Powder, £4.33 from Amazon
Step-by-step guide
The easiest way to propagate an aloe vera plant is to cultivate the pups – similar to propagating the Chinese money plant. ‘These small plants grow next to the parent plant and are essentially suckers,’ explains Richard Cale, founder of Leaf Culture. ‘Pups can be safely removed once they have their own distinct root system, ensuring no damage to the parent or pup’s roots.’
Propagating aloe vera pups has a greater success rate than propagating aloe vera cuttings, so this is the method we'll be sharing.
1. Select a healthy parent plant
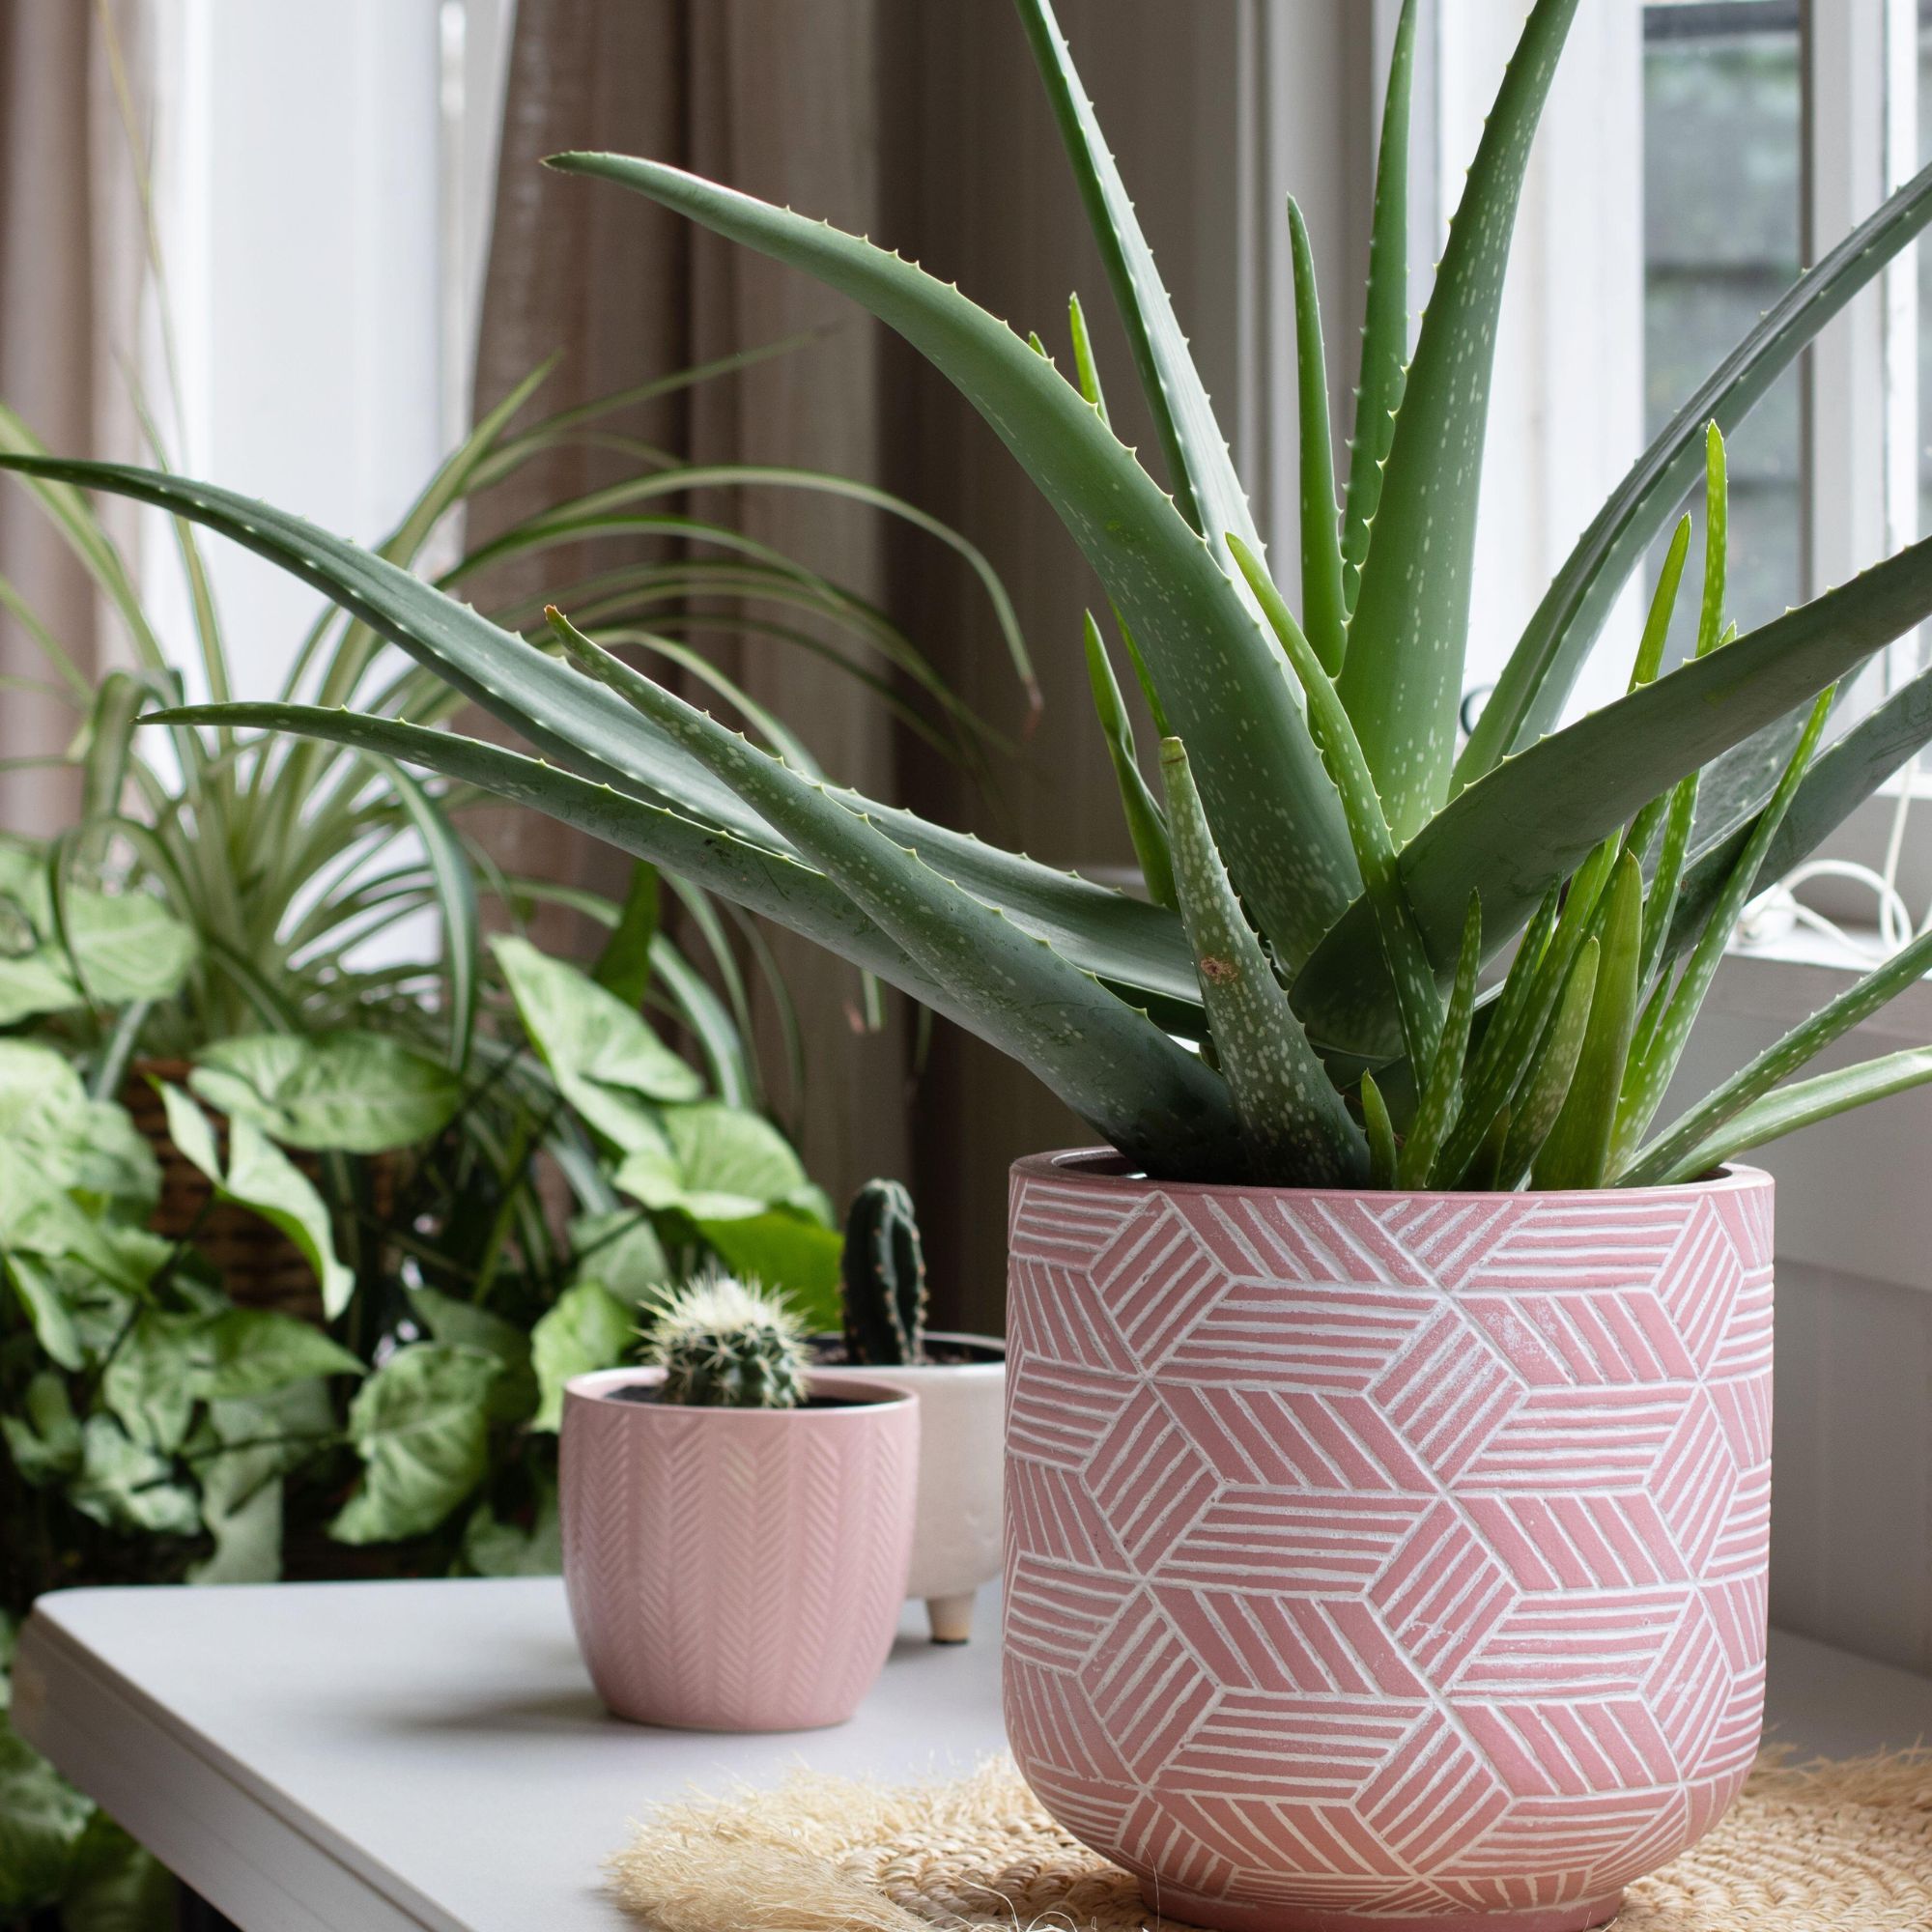
'Select a healthy parent plant. Choose a mature aloe plant that's healthy and doesn't have any diseases or pests. Also, look for a one that has several offsets, also known as pups or divisions, growing around its base,' advises Peter Ivanov at Fantastic Gardeners.
Sign up to our newsletter for style inspiration, real homes, project and garden advice and shopping know-how
Daniel Carruthers at Cultivar Greenhouses adds, 'The pups are the 'babies' that you'll see sprouting up through the soil next to the main plant, and they tend to produce these readily throughout the spring and summer. You'll know it's ready to be propagated when the pups are around four inches tall, or when the plant is bursting out of the pot!'

Daniel Carruthers is a passionate gardener and grow-your-own guru whose love of gardening began over a decade ago when he left his career as a London chef to move to begin a new venture in the greenhouse industry. Fast forward to present day, and Daniel now enjoys many hours in his greenhouse nurturing a wide range of fruit, veg and herbs, from crop to the kitchen.
2. Prepare your equipment and workspace
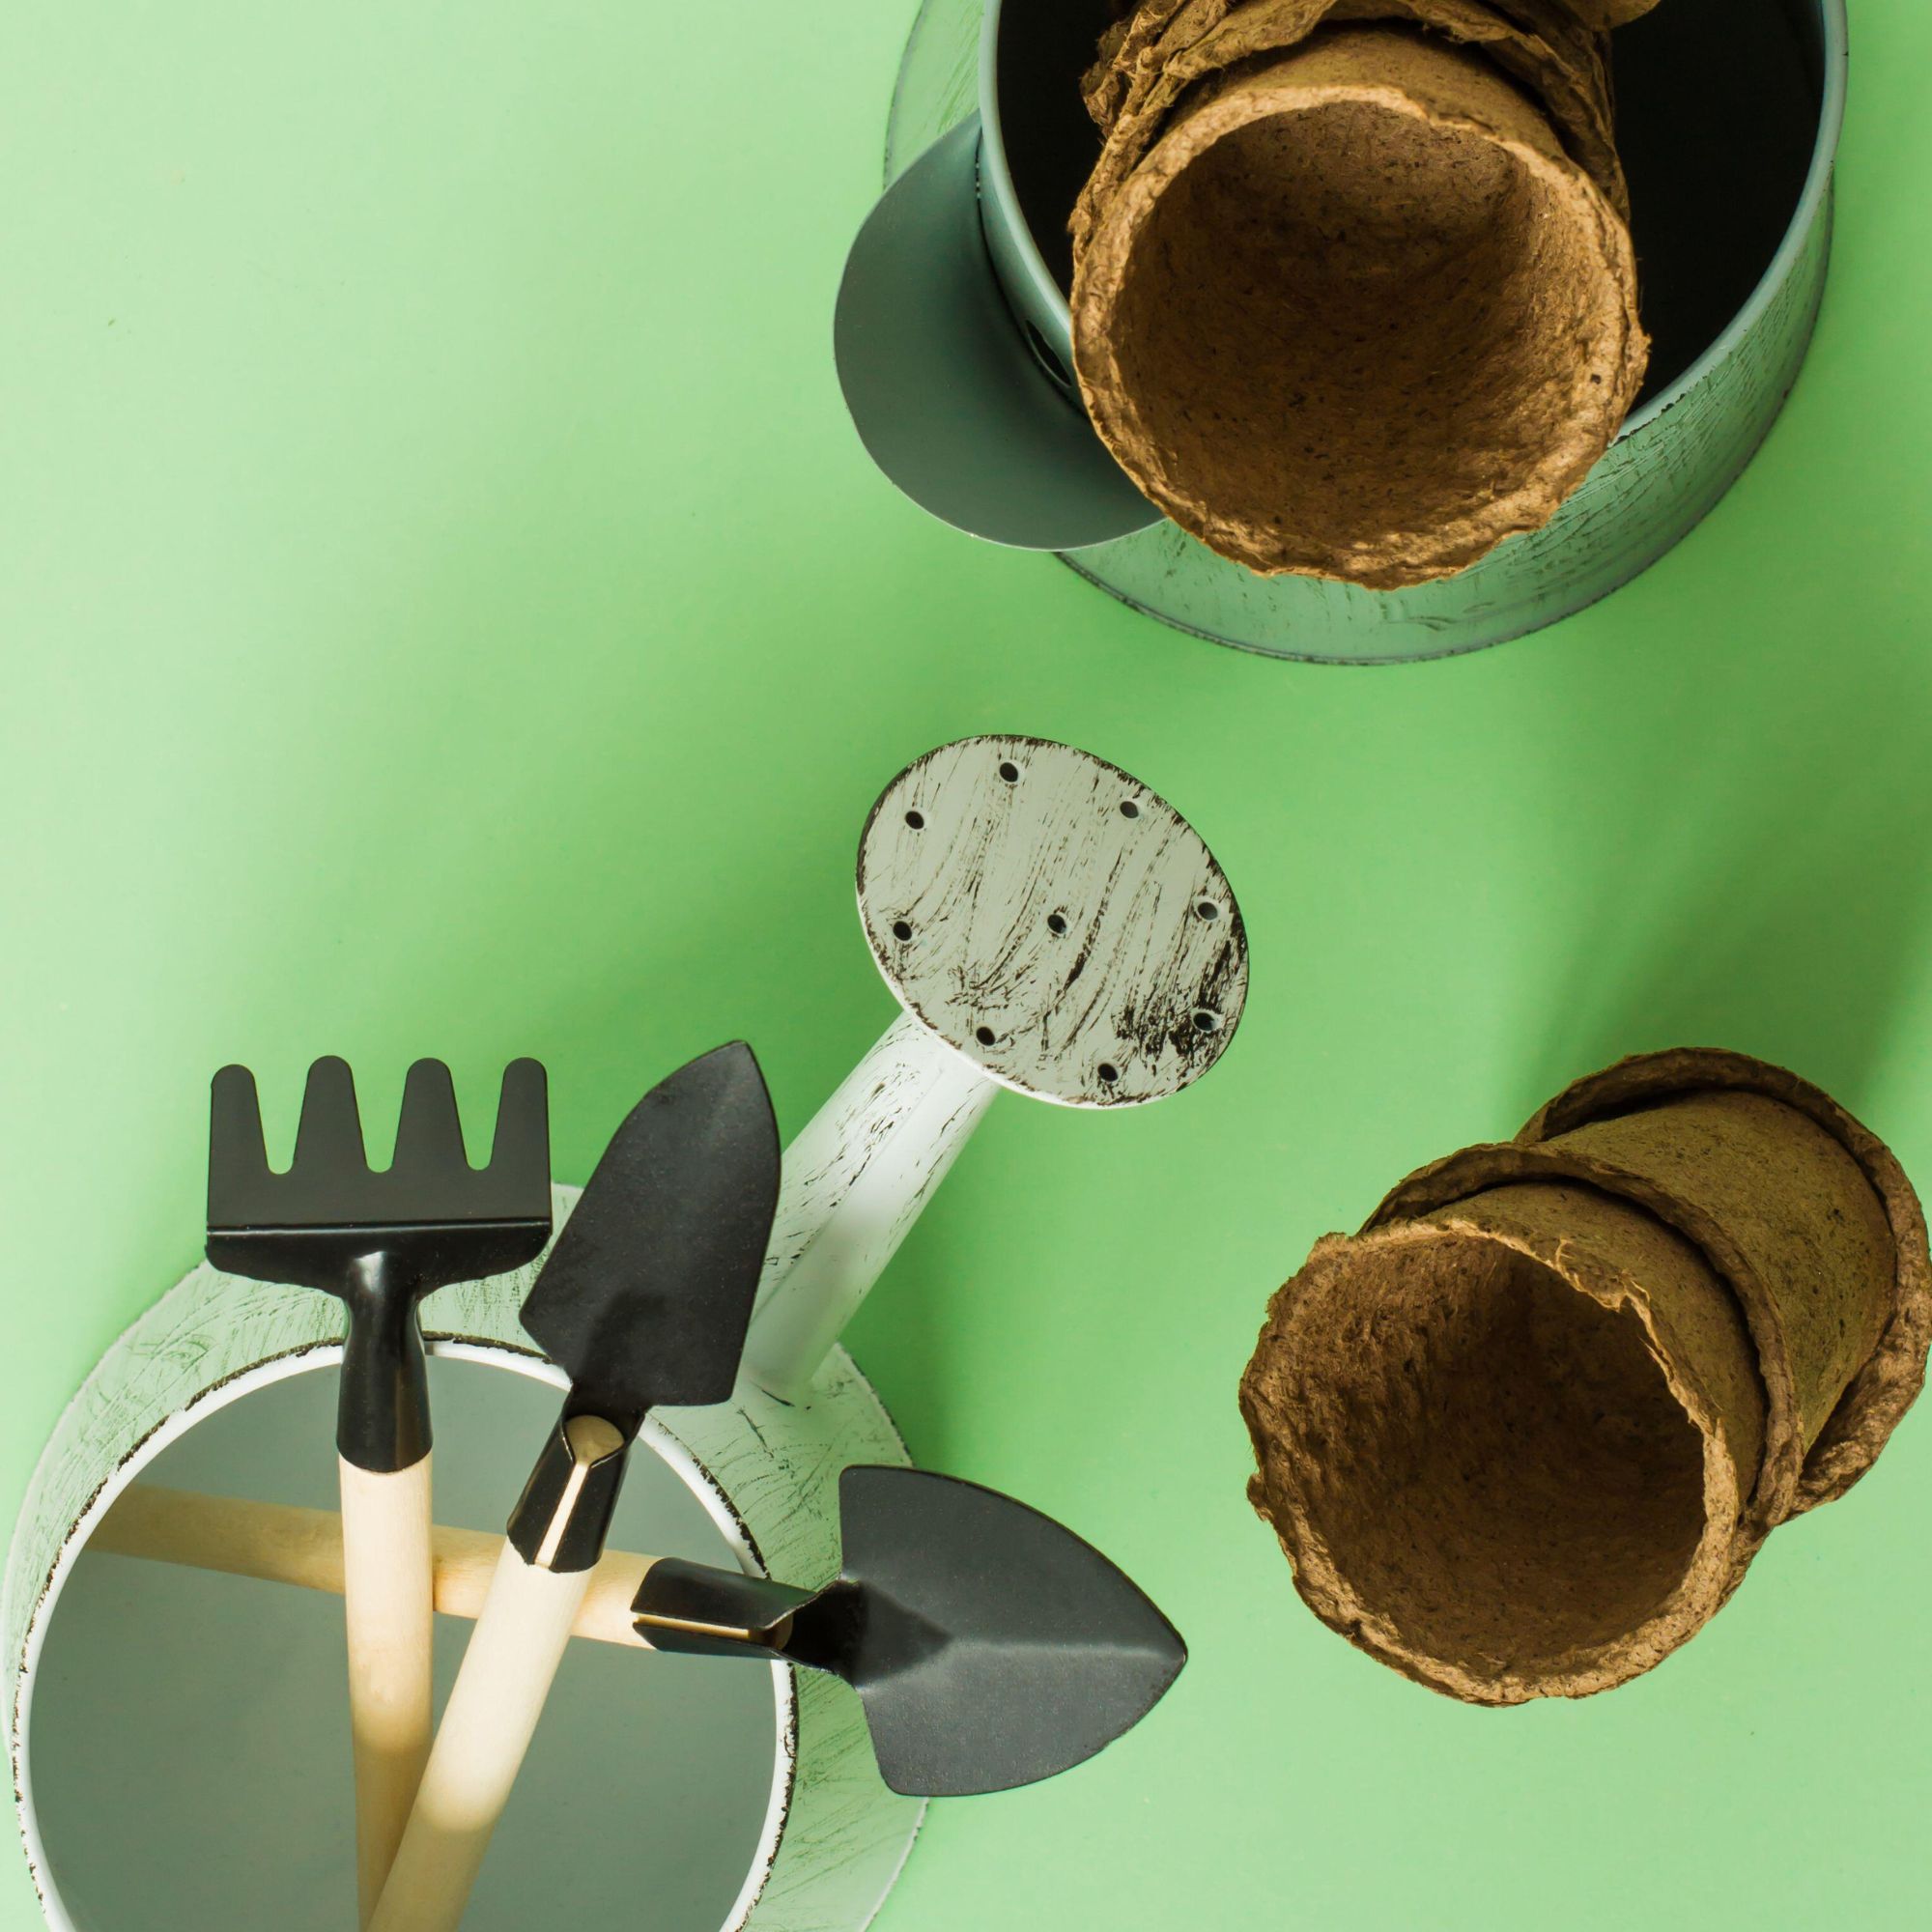
'Prepare your equipment and workspace. Make sure you've sharpened and sterilised your knife or shears beforehand to prevent the spread of any potential diseases. Prepare clean pots or containers with drainage holes and set up your workspace in a well-lit area, preferably near a window,' advises Peter Ivanov at Fantastic Gardeners.
'Good drainage is important, as aloe is a member of the succulent family, so it won't do well if left to sit in waterlogged soil,' warns Daniel Carruthers at Cultivar Greenhouses.
3. Prepare your potting mix
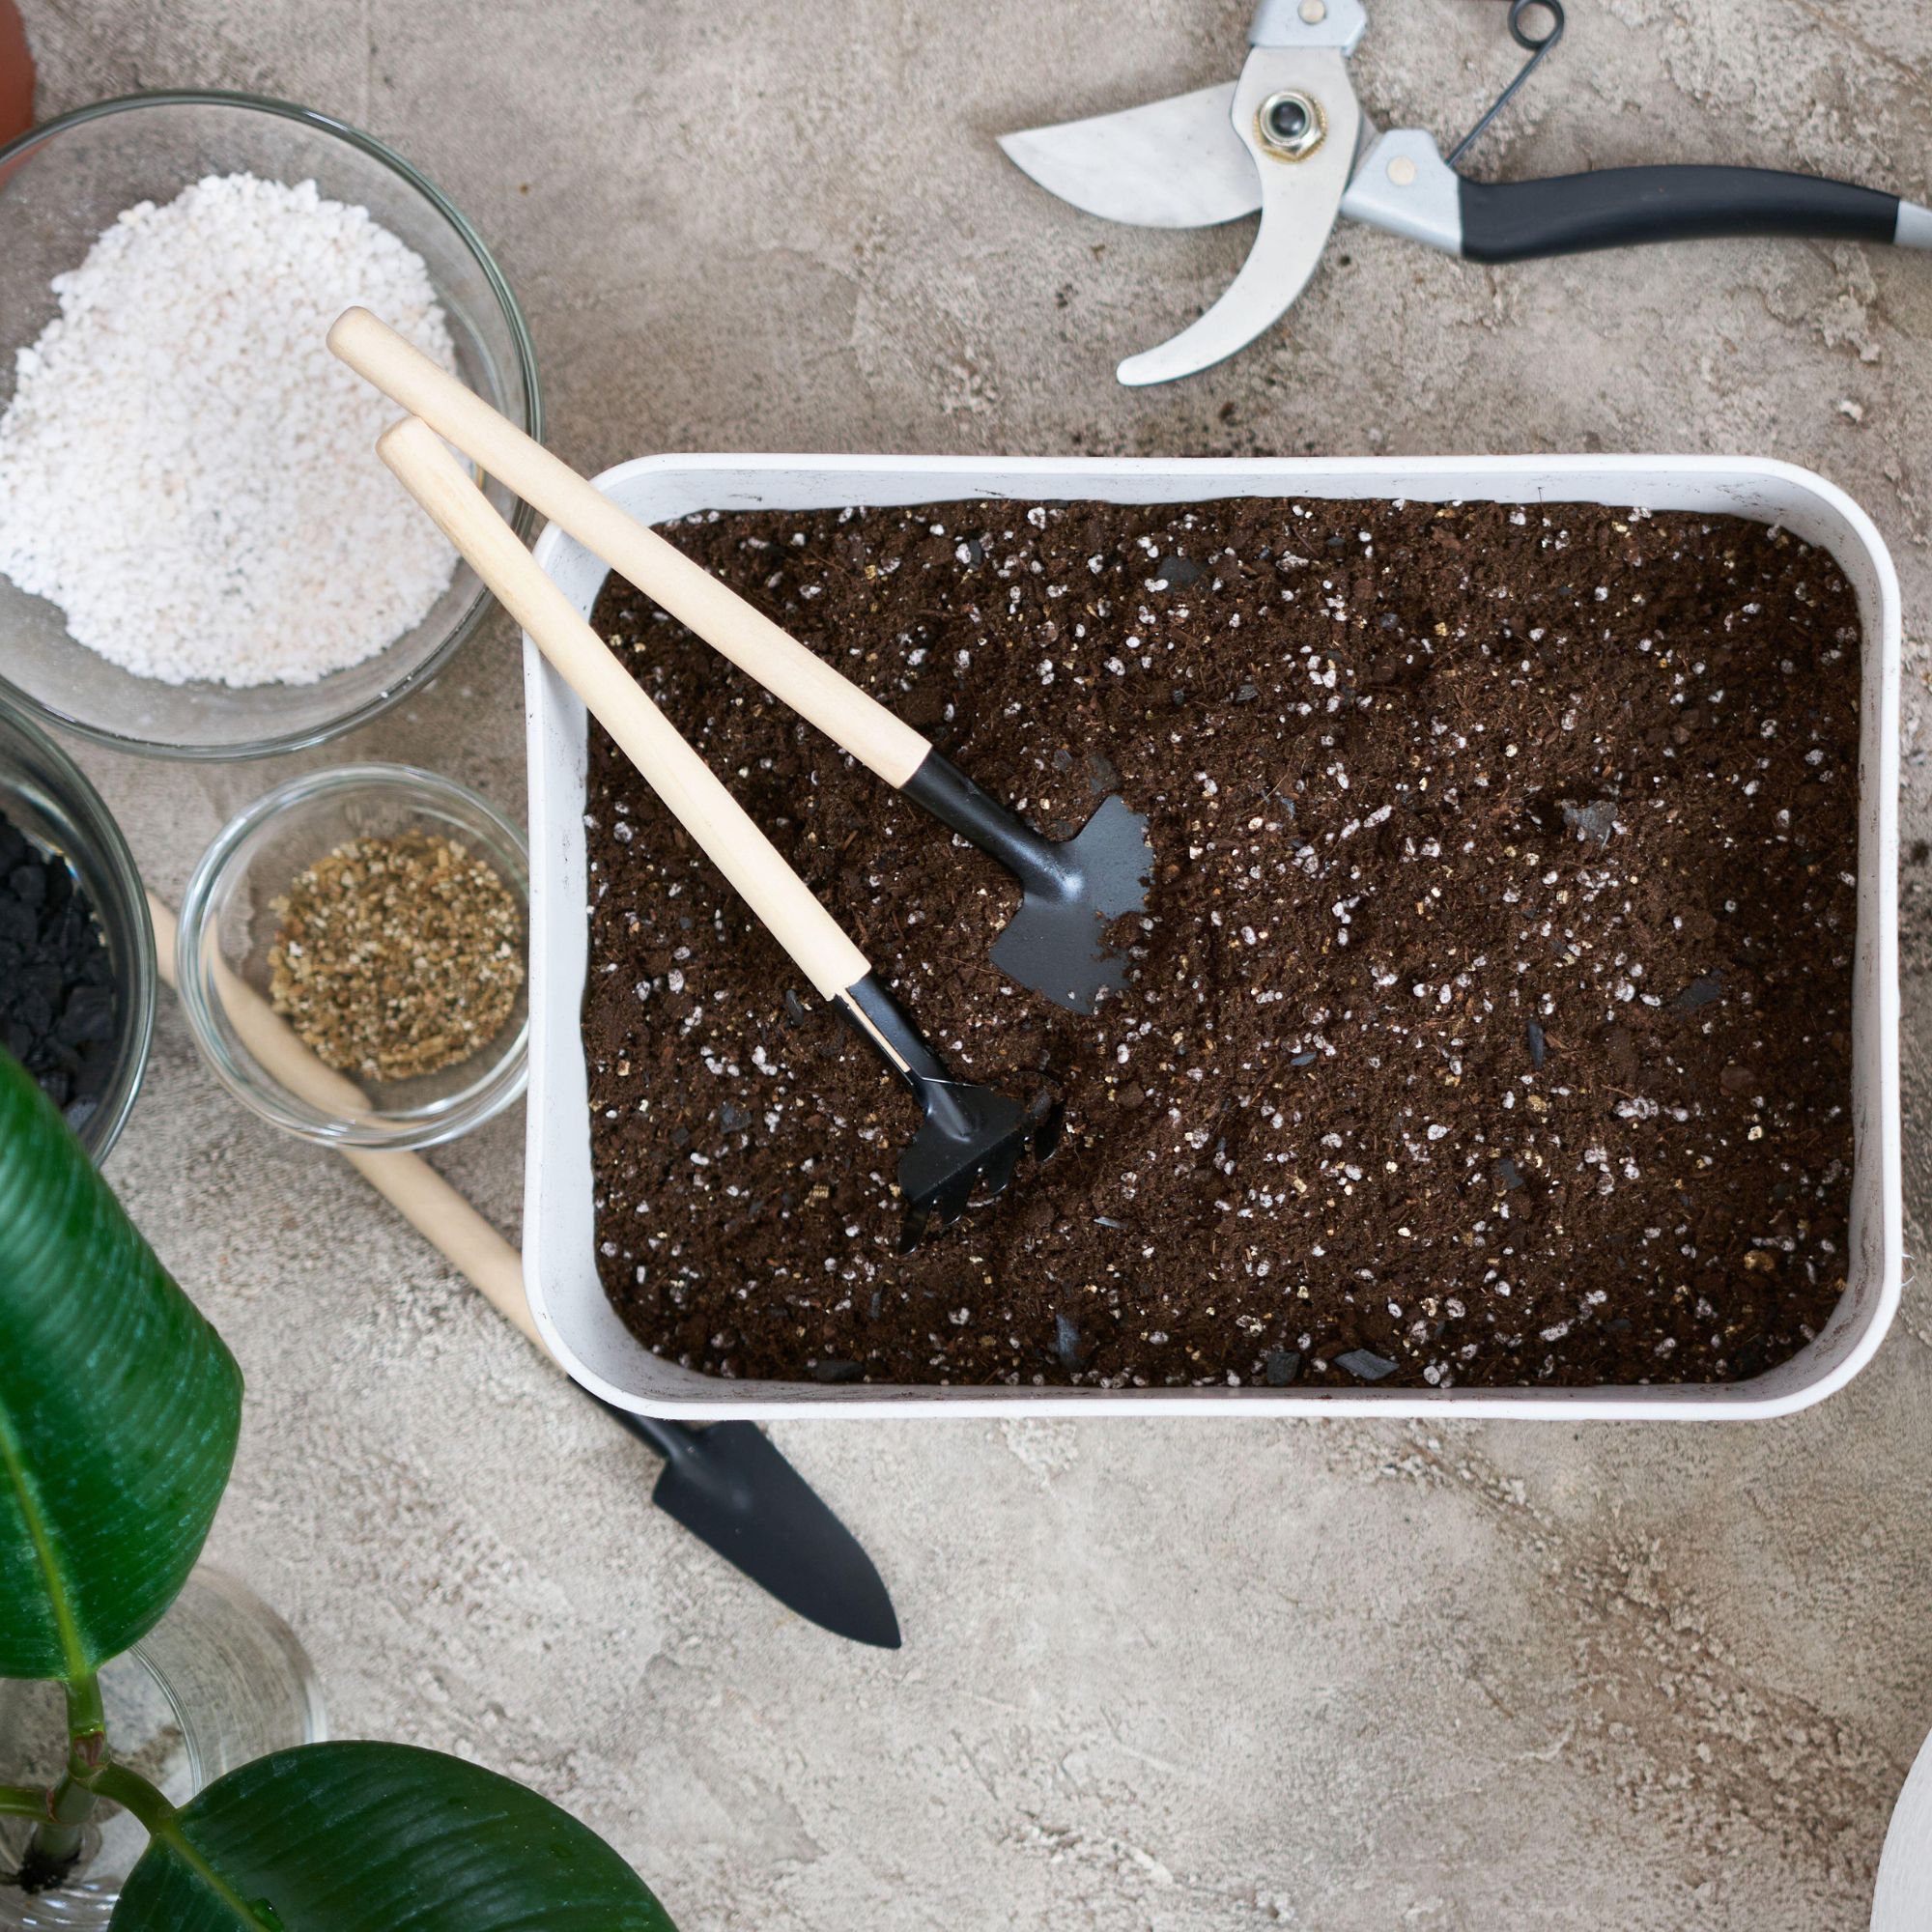
'Fill the clean pots or containers with a well-draining potting mix. Aloe plants prefer a sandy or cactus mix that provides good drainage. When choosing a potting mix, avoid using regular garden soil because it tends to retain too much moisture,' advises Peter Ivanov at Fantastic Gardeners.
Alternatively, Daniel Carruthers at Cultivar Greenhouses advises mixing compost with sharp grit and filling your pots up halfway.
4. Remove the offsets
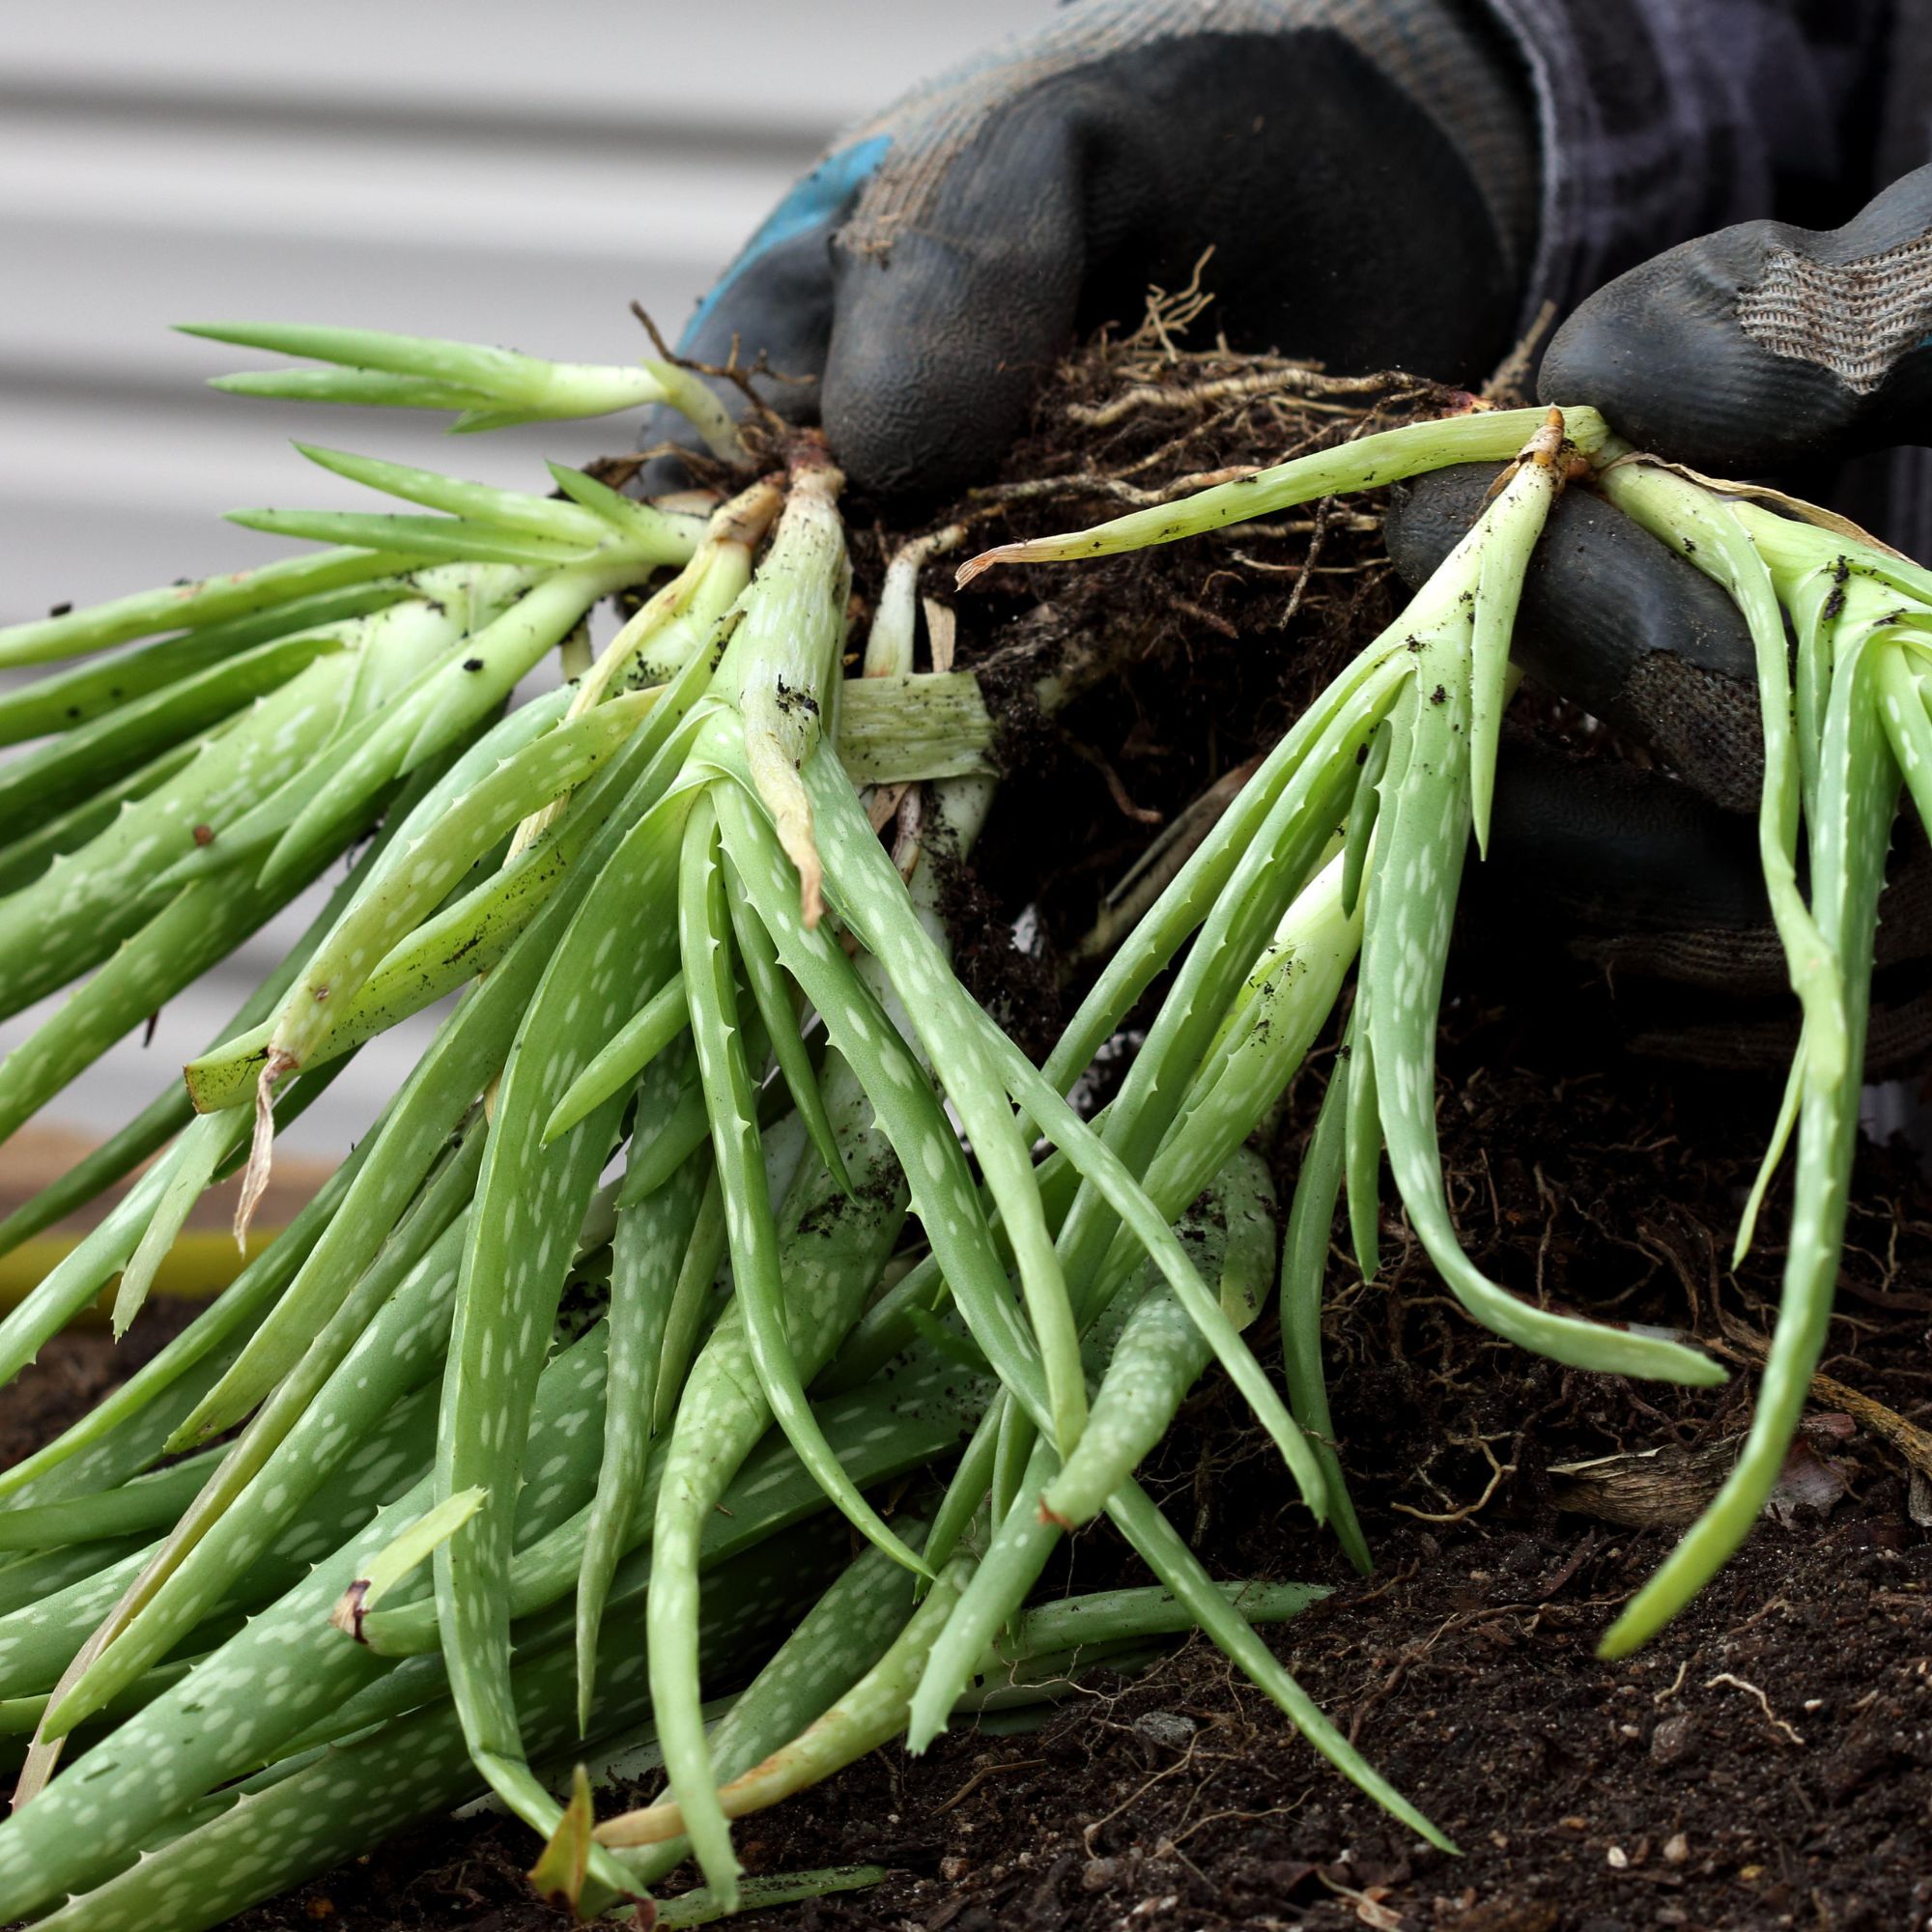
'Gently remove the established aloe from its pot and shake any excess compost off the root system. Then, simply use a sharp blade to remove the pups from the main plant – some may even come away just with your hands,' explains Daniel Carruthers at Cultivar Greenhouses.
Many houseplants propagate via division or planting their pups, such as propagating anthurium. This style of propagating is one of the most successful methods as the plants already have a root system.
5. Allow the offsets to callus
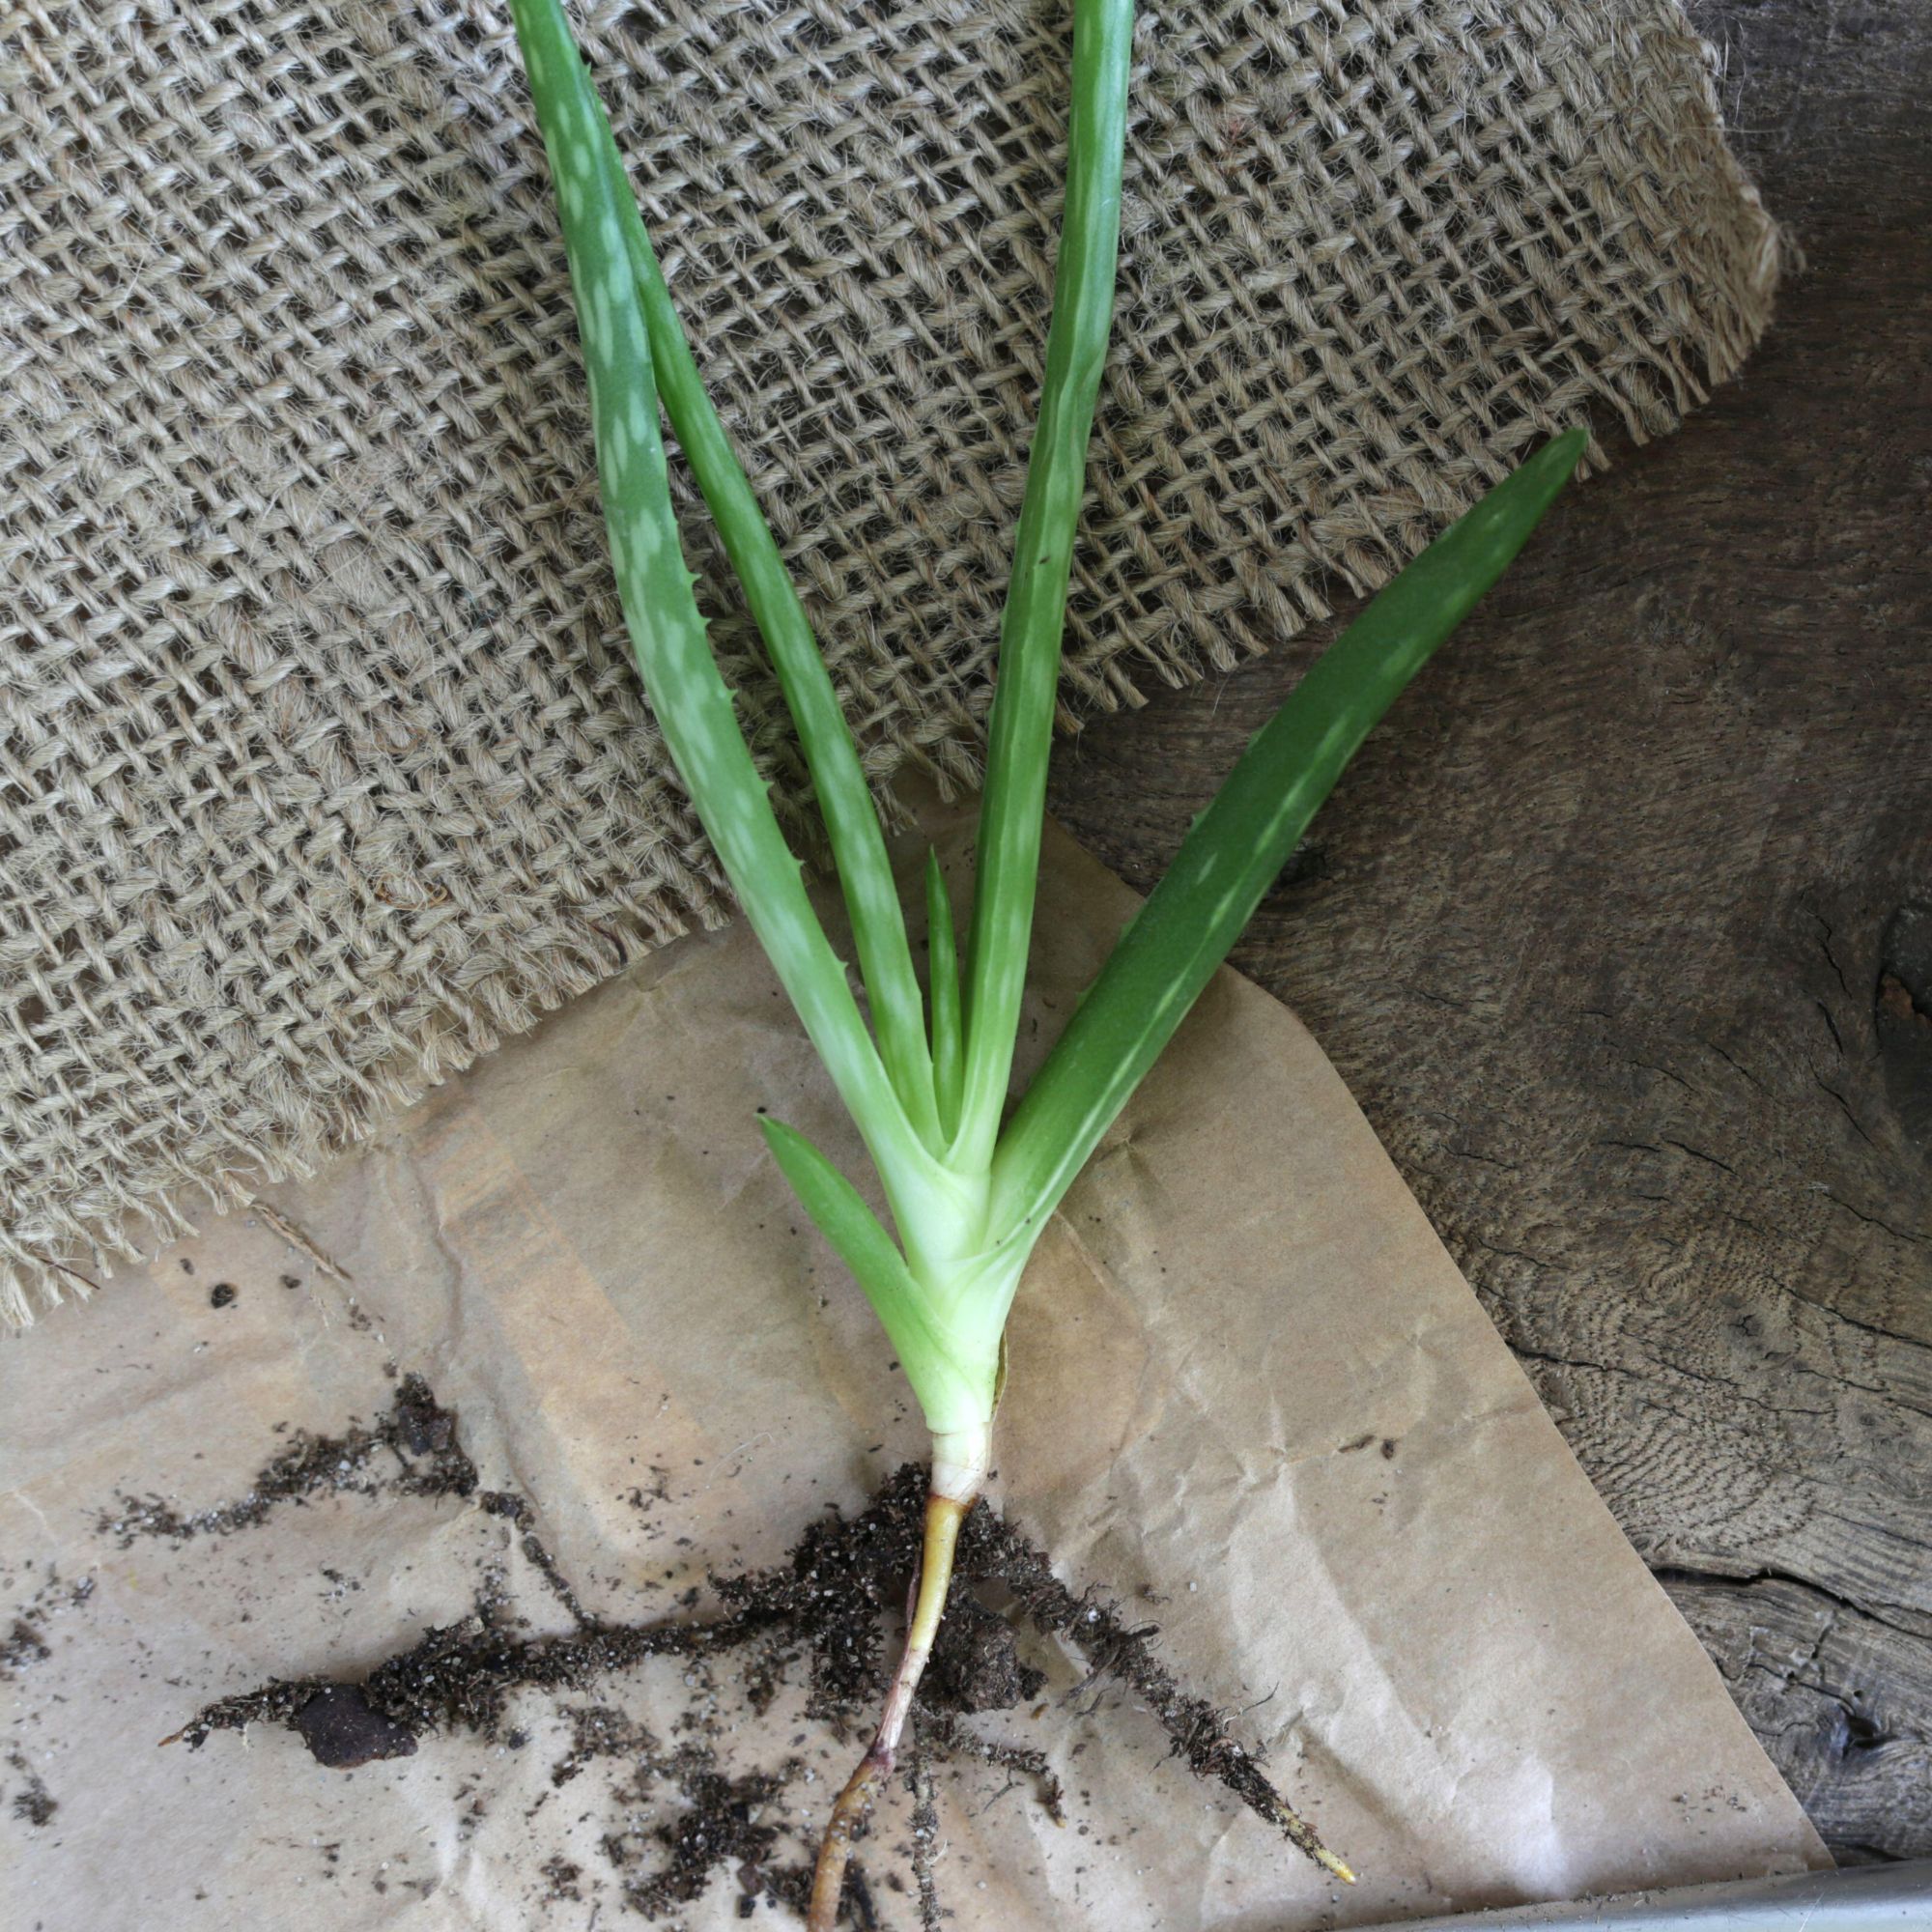
When propagating any succulents, such as propagating burro's tail, it is important to let it callus before planting. This seals the end of the plant and protects it.
'To do this when propagating aloe vera, place the separated offsets in a cool, dry location for a few days to allow the cut ends to callus. This will help to prevent rotting when they're planted,' explains Peter Ivanov at Fantastic Gardeners.
6. Rooting hormone (optional)
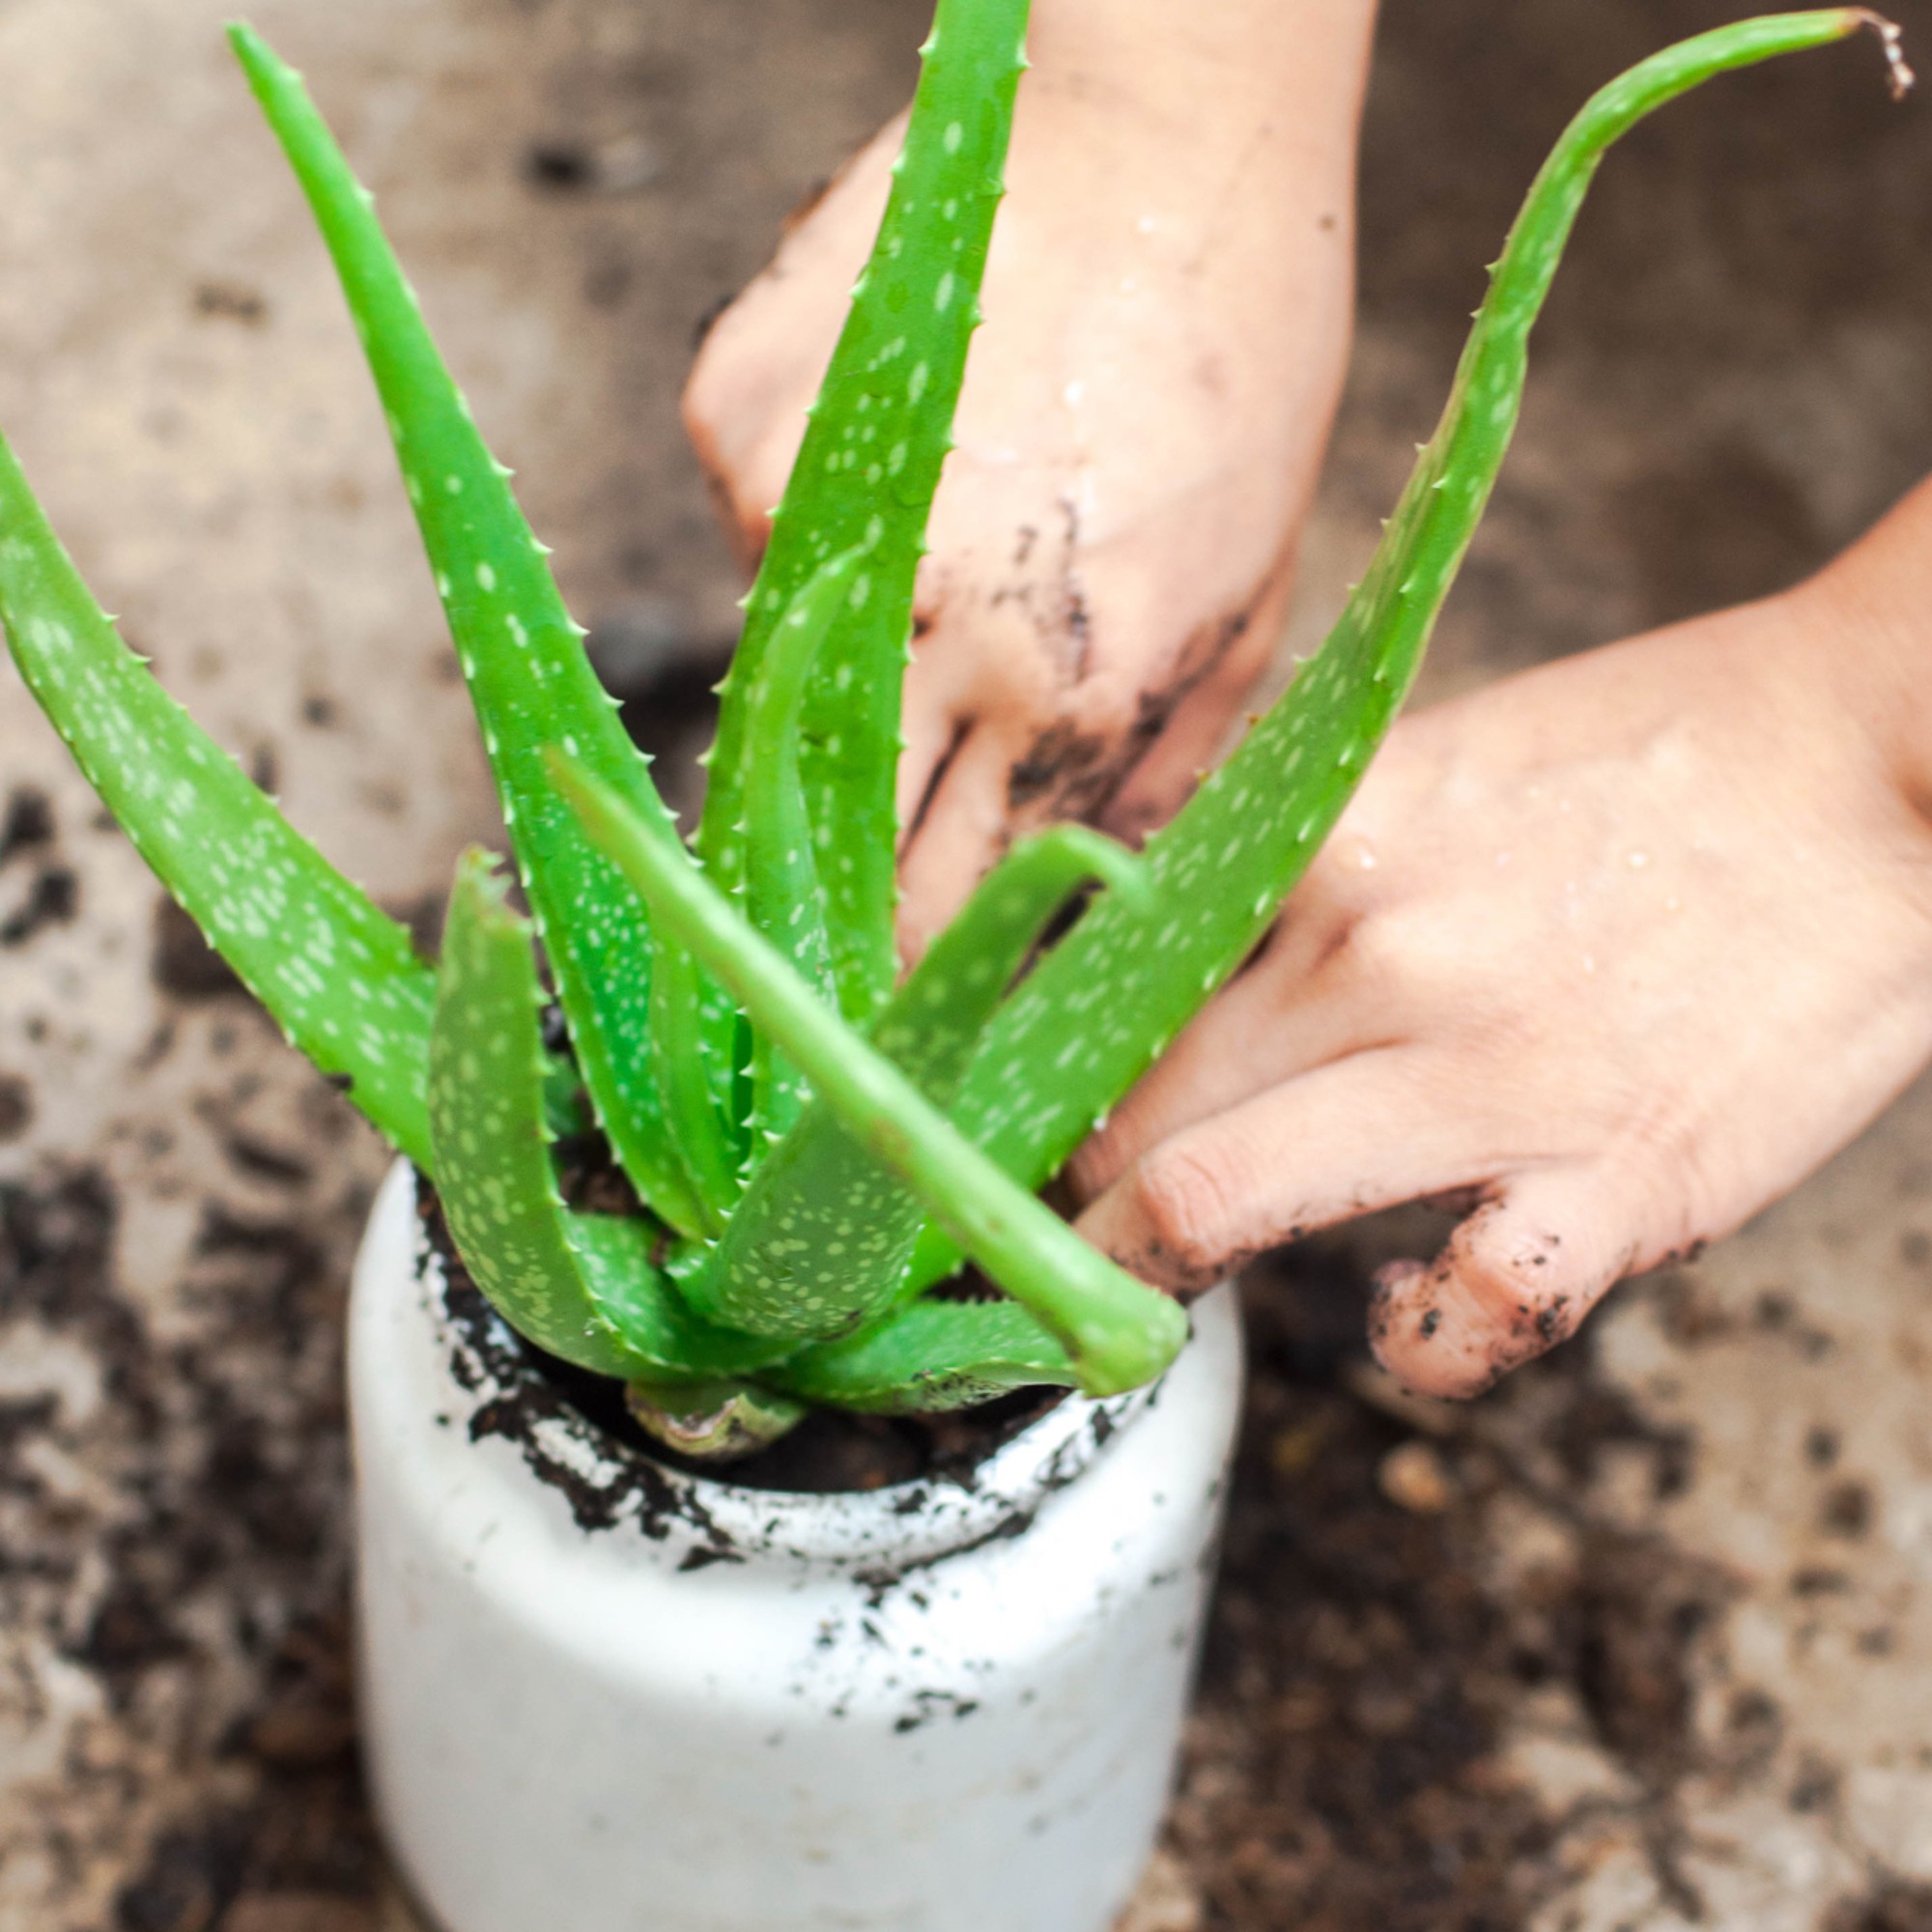
'This step is optional, but if you prefer, dip the cut ends of the offsets in a rooting hormone powder before planting them. This can help promote their root development and increase the success of propagation,' says Peter Ivanov at Fantastic Gardeners.
7. Plant the offsets
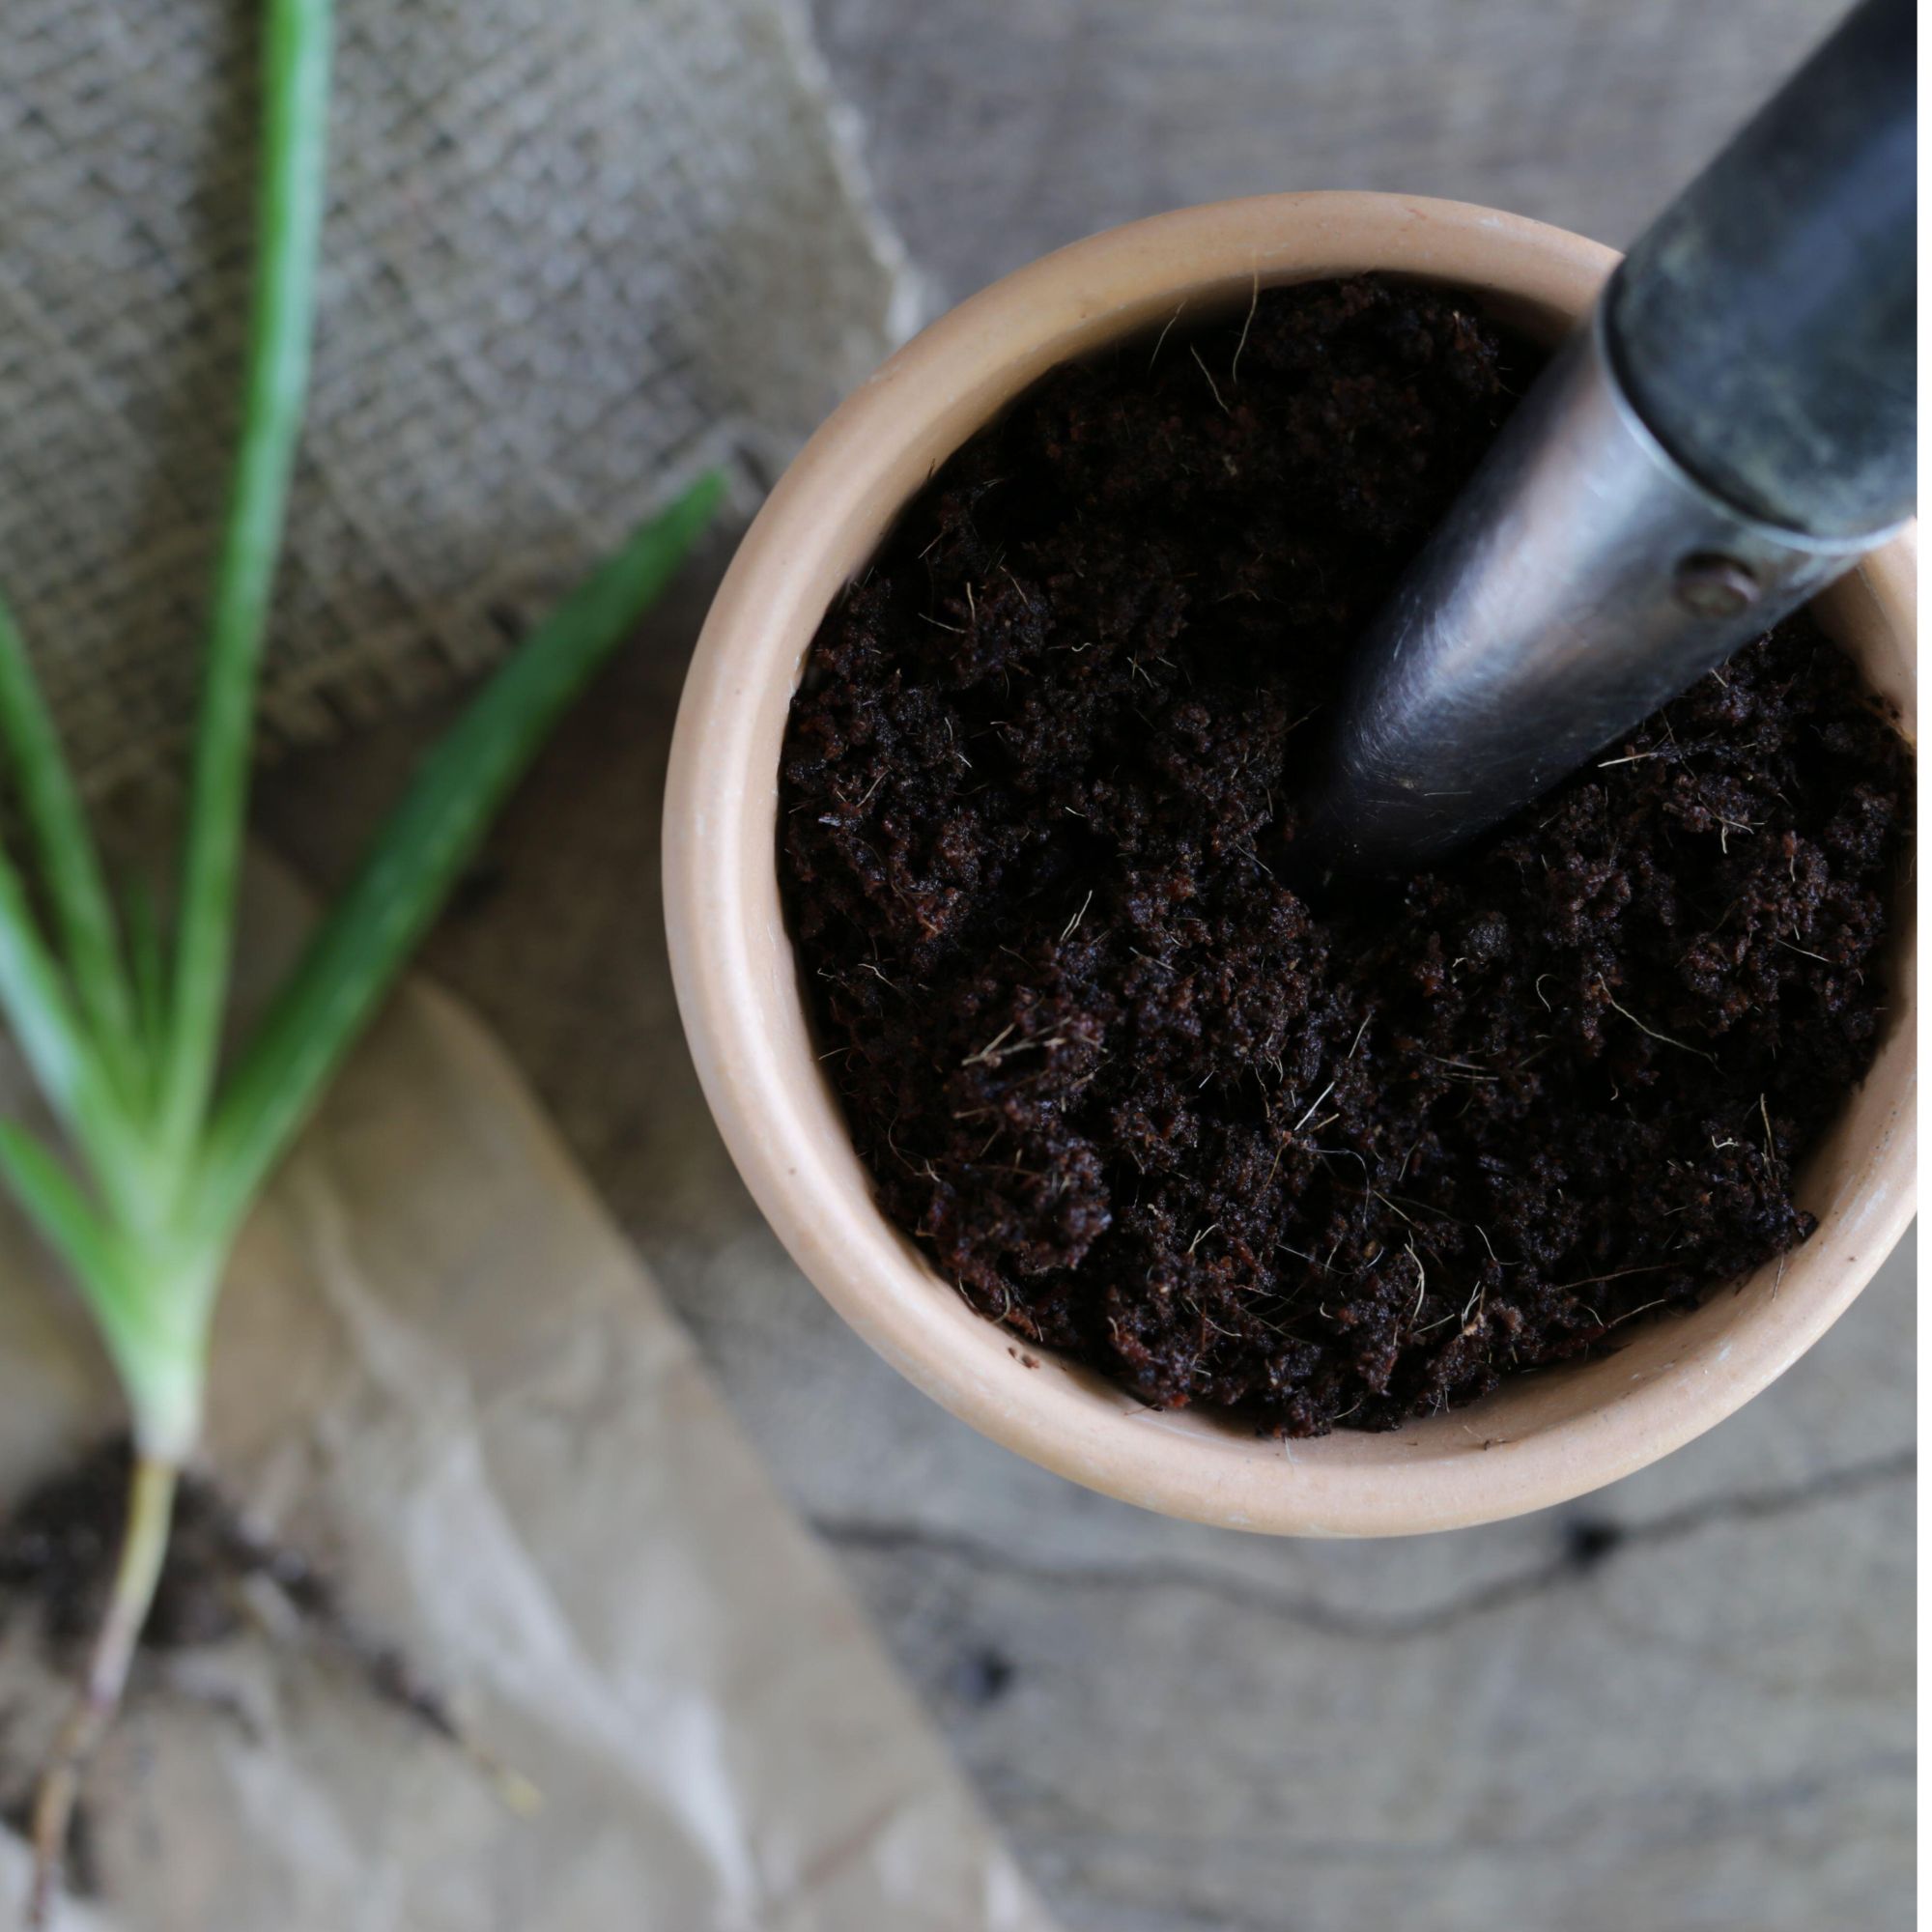
'Once the offsets have calloused, gently press them into the prepared potting mix. Make sure that the cut ends are in contact with the soil, but avoid burying them too deep. Leave a small portion of the offset above the soil surface,' says Peter Ivanov at Fantastic Gardeners.
Daniel Carruthers at Cultivar Greenhouses suggests filling your pot 'with more compost and grit mix, and top with a little extra grit – this helps to keep the leaves away from the soil, and looks good too!' This is good advice when learning how to propagate succulents of any variety.
8. Water and provide appropriate light and temperature
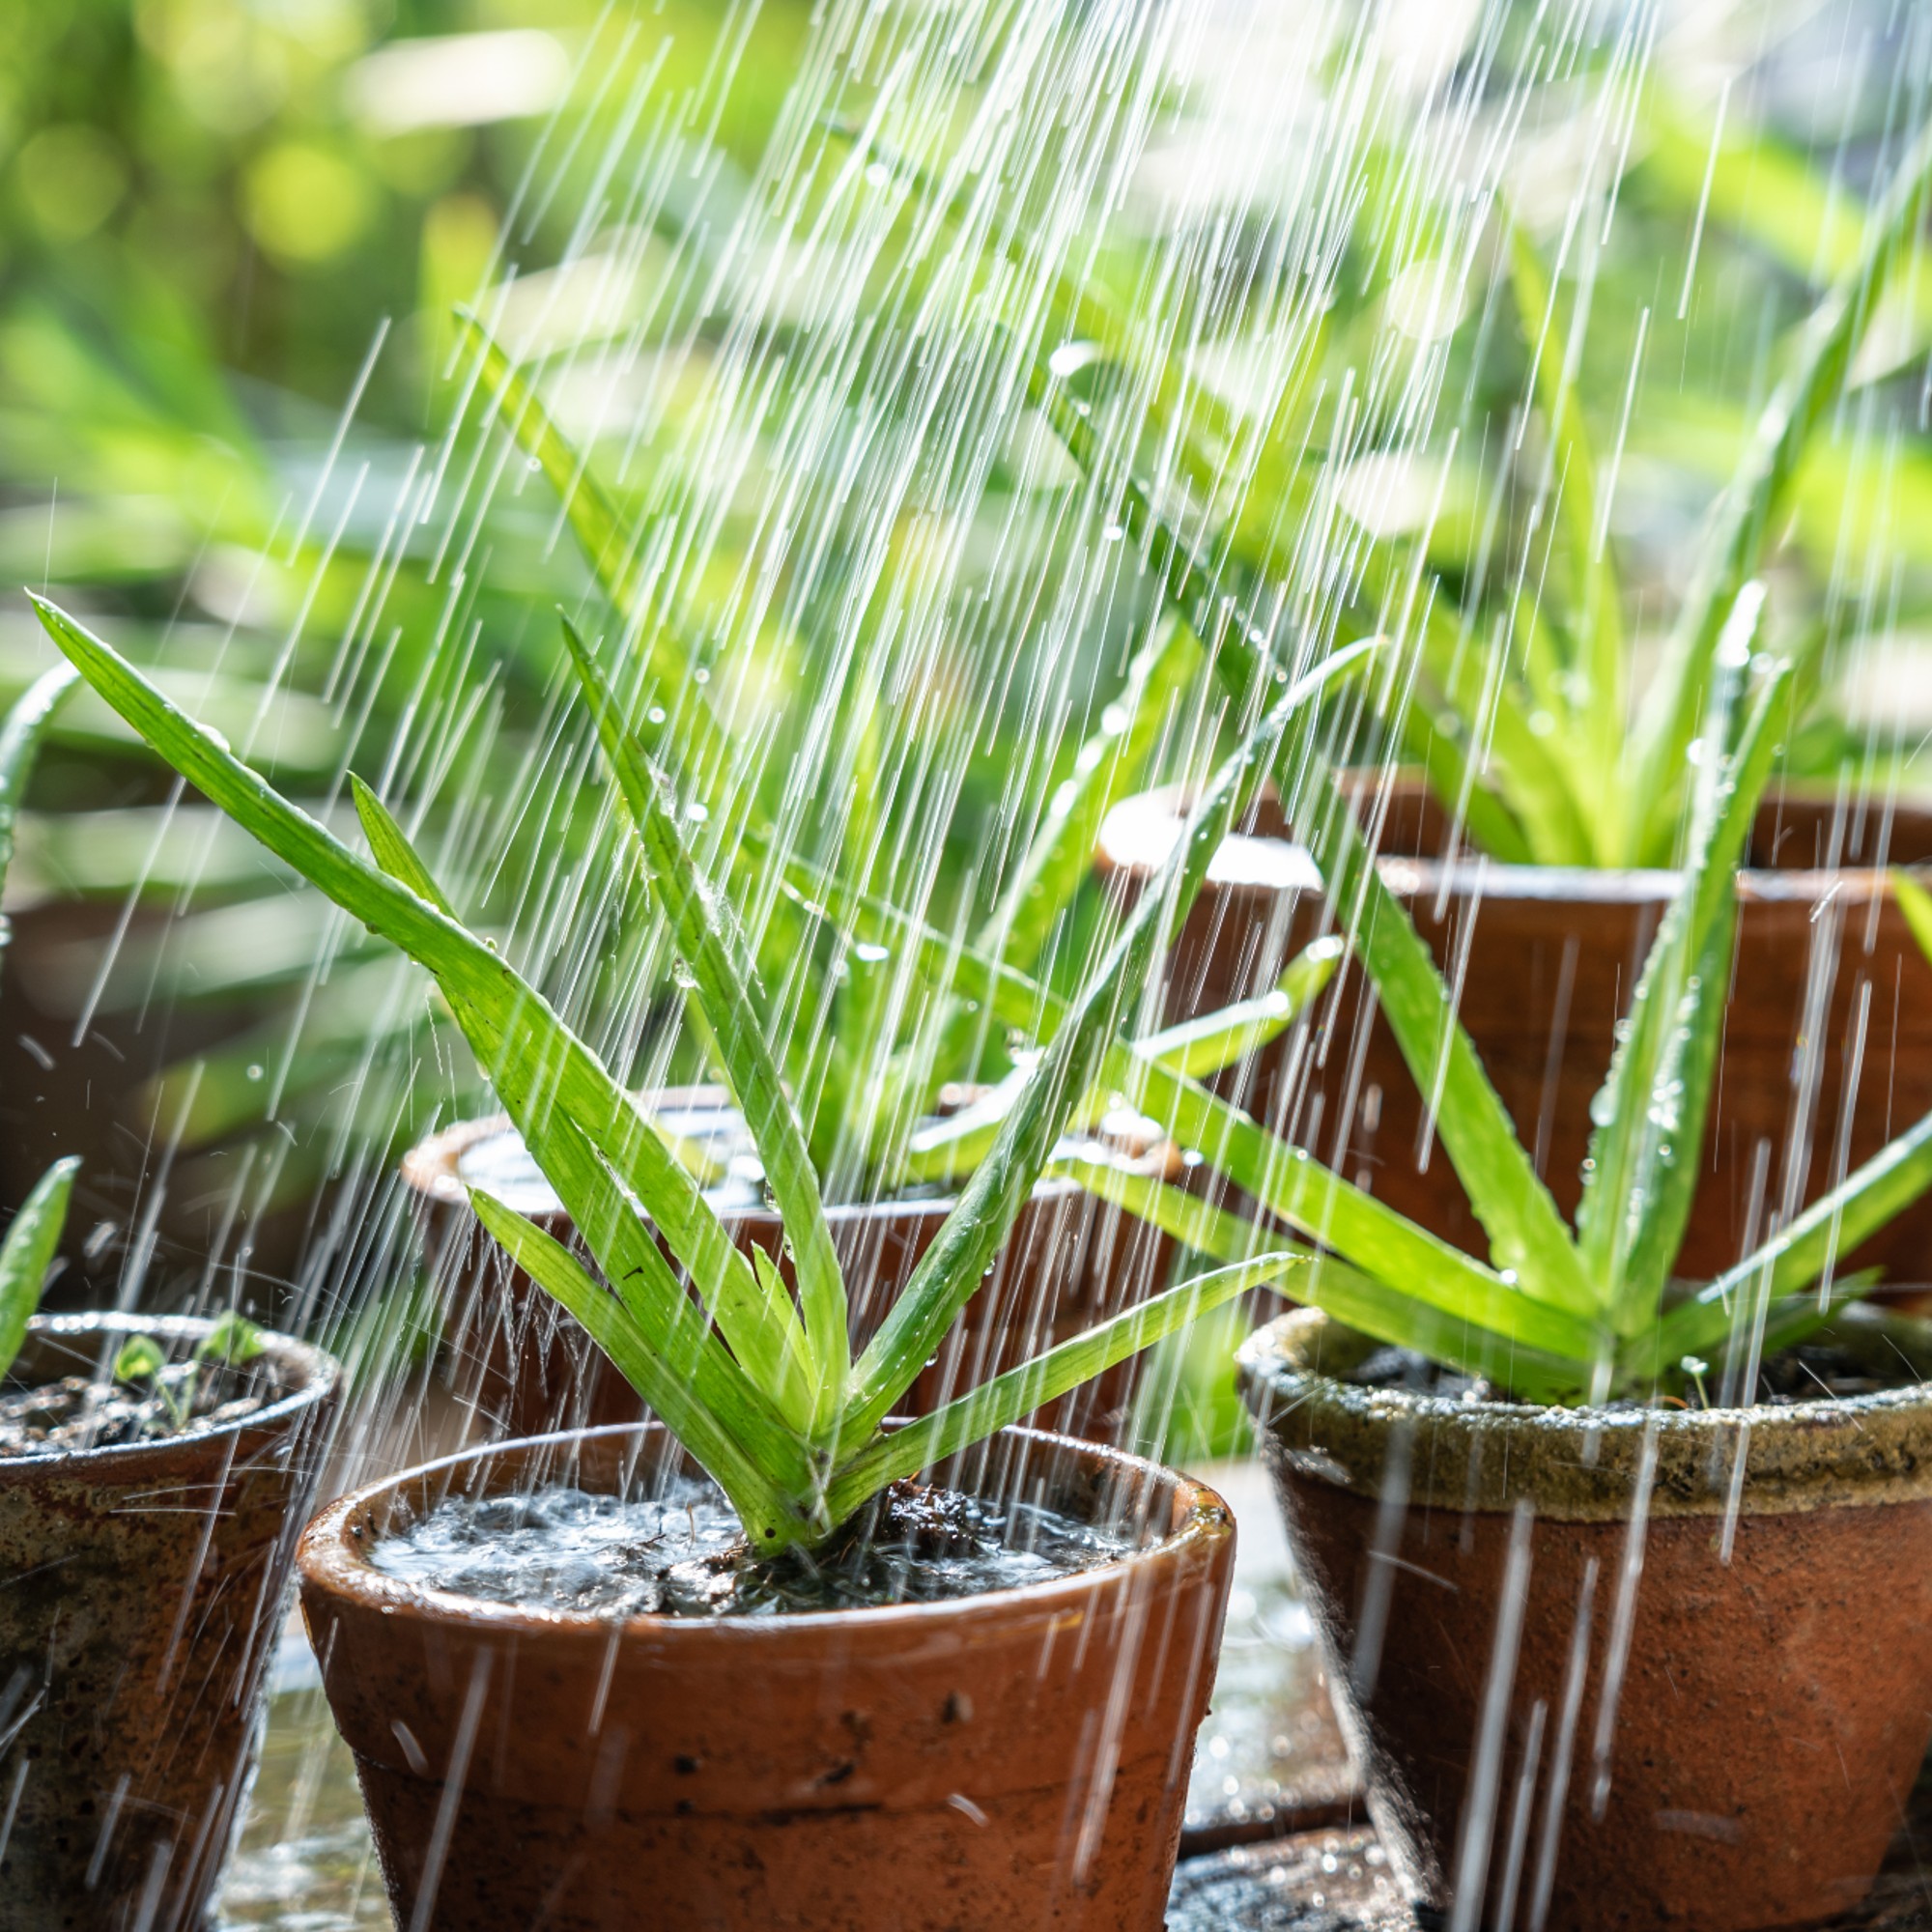
Water the newly planted offsets lightly, using a watering can or spray bottle. When doing that, be careful not to overwater. Aloe plants are drought-tolerant and are susceptible to root rot if they're kept too wet. To prevent that, allow the soil to dry out partially between waterings,' says Peter Ivanov at Fantastic Gardeners. Knowing how often should you water succulents can feel daunting, but if you always check that the soil is dry before watering, you won't go far wrong.
Then, place the offsets in a spot with bright, indirect sunlight. 'Top tip – aloe will brown if it’s in full sun, so if you'd prefer green leaves keep it in partial shade,' advises Daniel Carruthers at Cultivar Greenhouses.
'Aloe plants thrive in warm temperatures in the range between 15°C and 27°C, so avoid exposing them to extreme cold or frost,' adds Peter Ivanov.
9. Monitor
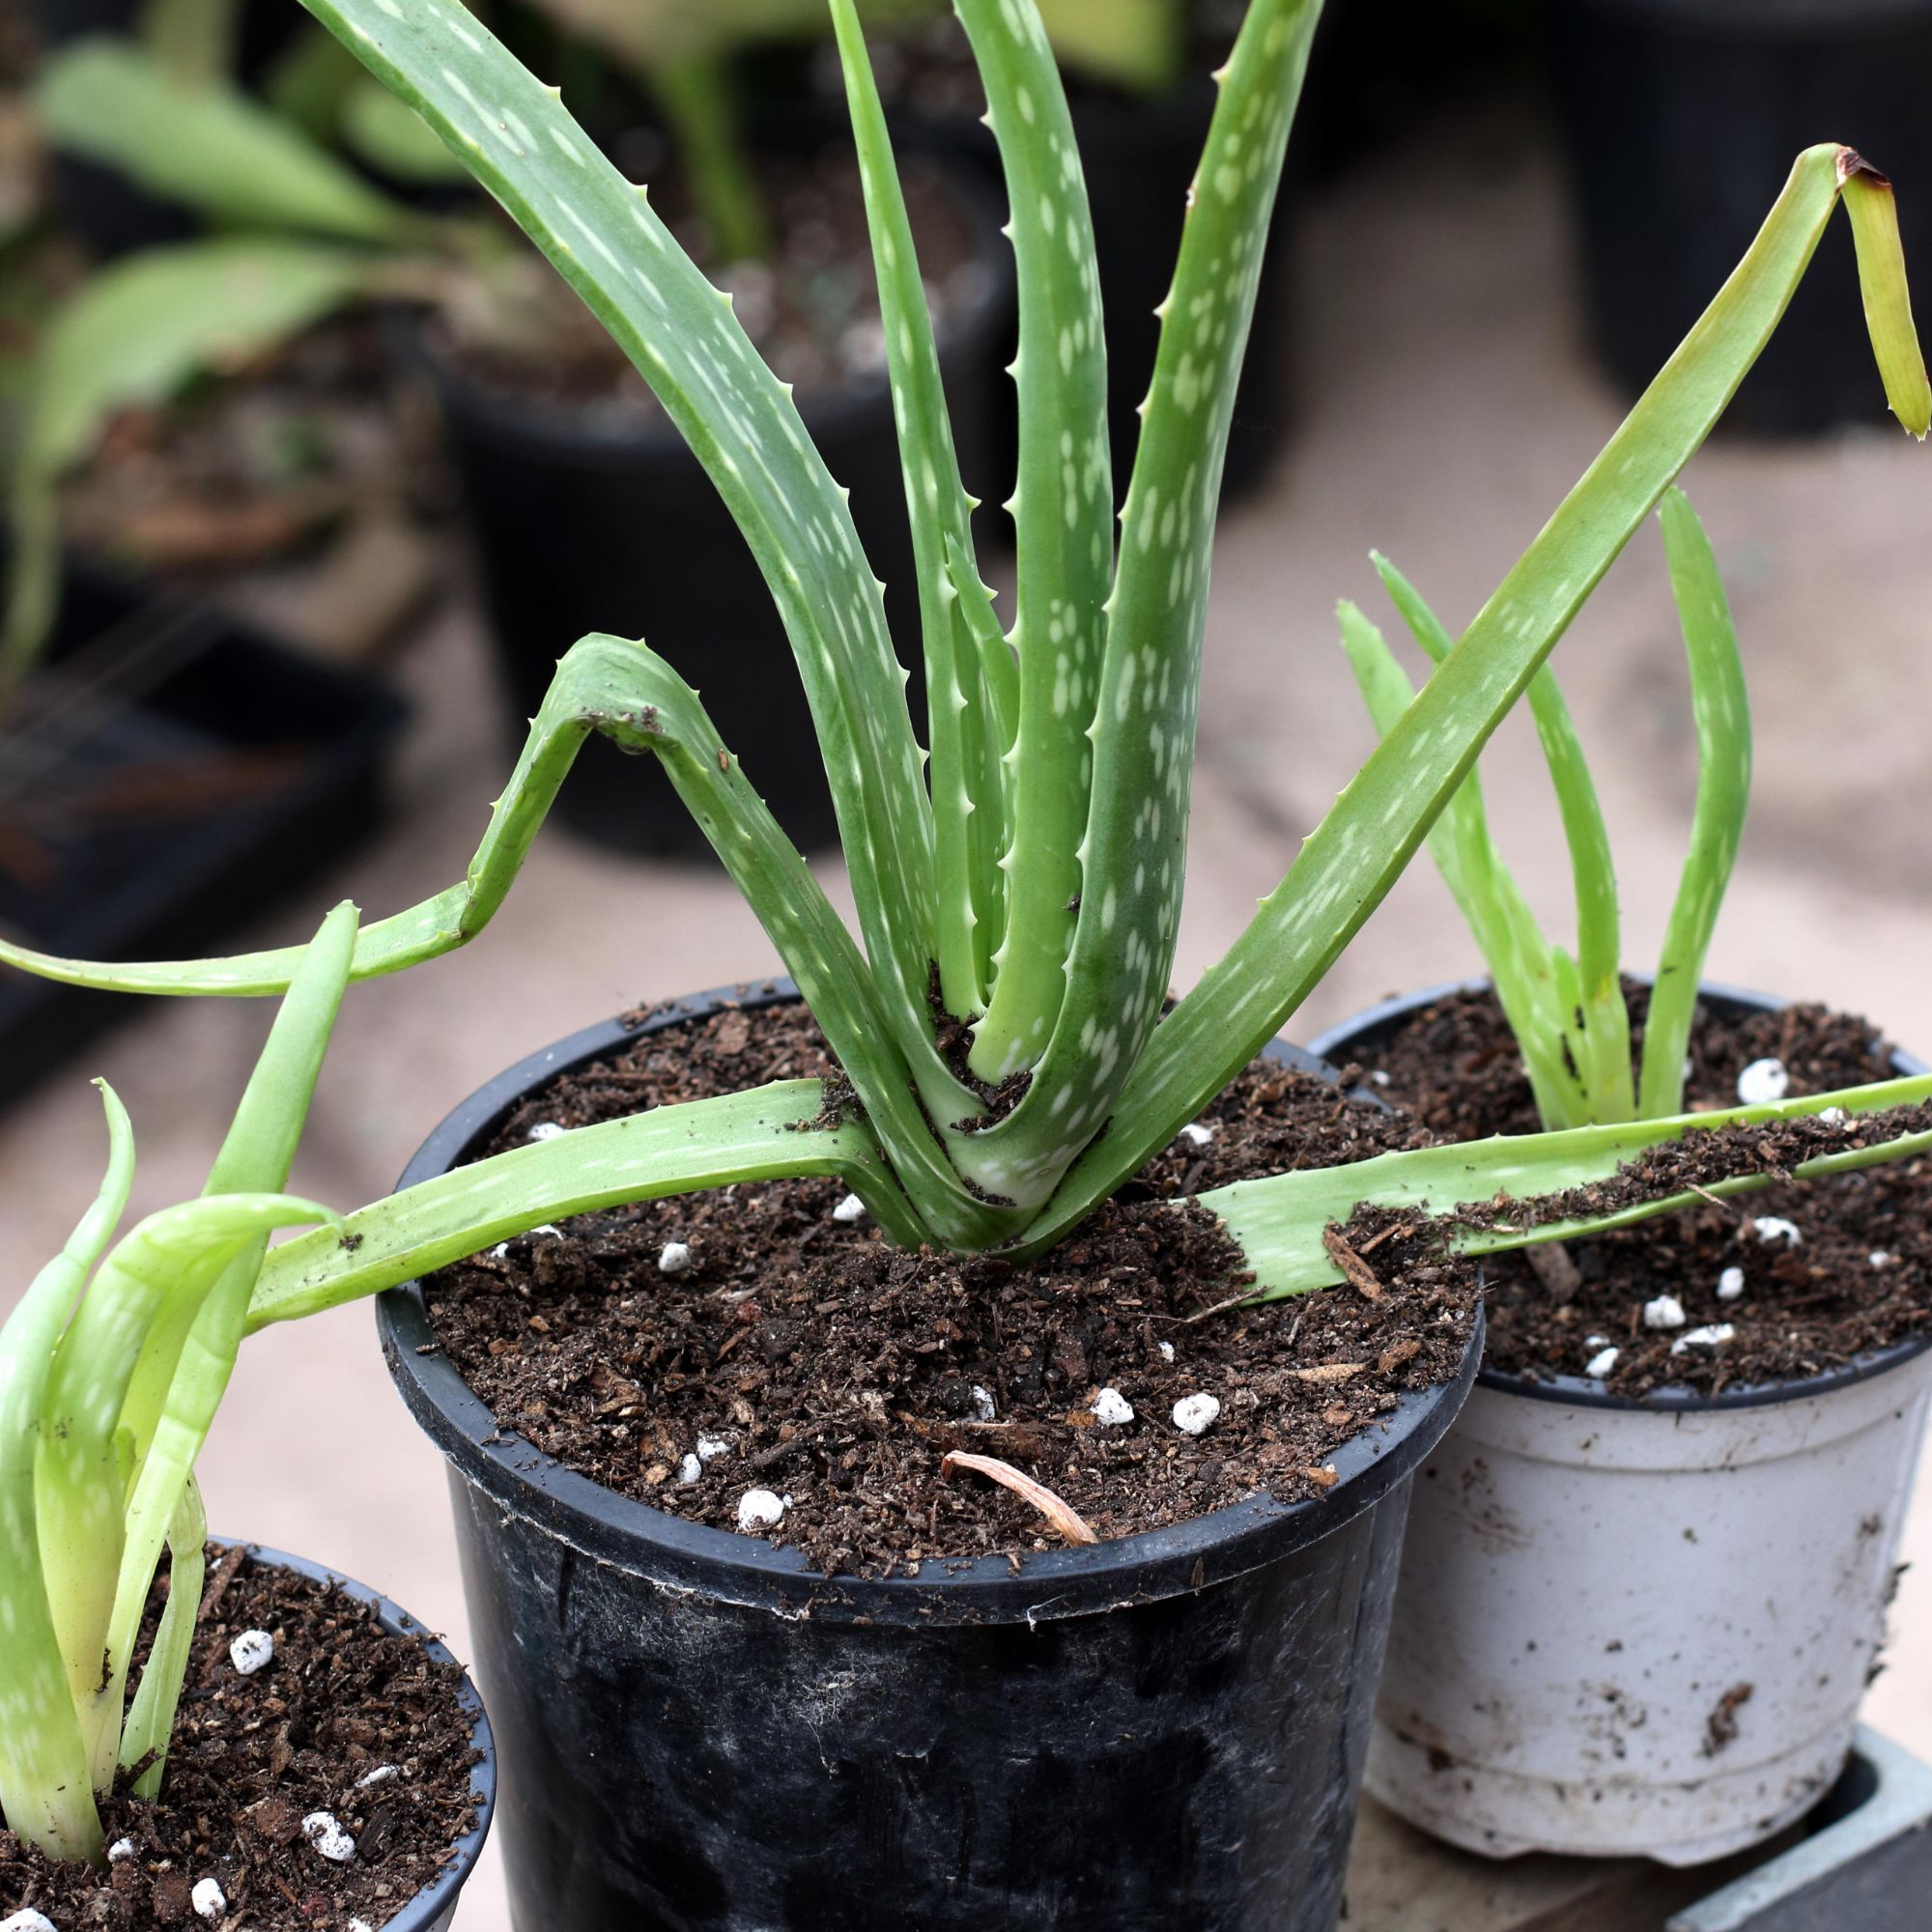
Monitor and care for the offsets. Regularly monitor the offsets for any signs of growth, such as the emergence of new leaves. Keep the soil lightly moist but not waterlogged and avoid fertilising them until they’ve established a good root system, which usually takes a few months,' says Peter Ivanov at Fantastic Gardeners.
And there you have it, now you know how to propagate an aloe plant, they're sure to be a welcome addition to any container garden idea or bedroom to improve your sleep quality.
FAQs
Can you grow aloe vera from a cutting?
Yes, you can. Although separating the pups from the main plant is often the best way to propagate an aloe plant as it's easier and more successful, it is possible to grow aloe vera from a cutting if you'd prefer.
'Choose a healthy mother plant. Make sure it has healthy and undamaged leaves and cut one off the base. When doing that, be very careful not to damage the main stem,' says Peter Ivanov at Fantastic Gardeners.
'Cut the leaf-cutting into 5-8cm pieces, making sure each one has at least one node. These are the little bumps along the sloe stem and they will be where the root grows.'
Then, follow steps 5 to 9 as originally outlined in our step-by-step guide, and you're set.
Why propagate aloe vera?
'Aloe vera is a powerhouse of a houseplant, offering a whole host of health benefits from soothing burns and healing wounds to moisturising skin and even aiding digestion. It also helps to purify the air, removing toxins from our environment and helping you sleep better, so who wouldn't want more aloe vera plants for free?' says Daniel Carruthers, a grow-your-own expert at Cultivar Greenhouses.
Will aloe cuttings root in water?
Yes, aloe pups will grow in water – however, you have a greater chance of root rot developing and killing the plant. It is also highly unlikely that aloe leaf cuttings will propagate in water at all.
Instead, stick to propagating an aloe vera in soil for the greatest chance of success.

Jullia was Ideal Home’s Junior Writer from 2022-2024 and the Ideal Home Certified Expert in Training on Vacuums having spent over 60 hours testing different models. She’s always loved all things homes and interiors, graduating with a bachelor’s degree in Architectural Studies from the University of Nottingham where her love for writing blossomed following her internship at ArchDaily. Now focused on home tech and cleaning, Jullia works on writing features and explainers to help people make the most of their home appliance investments, putting the newest launches through their paces. When she isn’t writing, she loves exploring the city, coffee shop hopping, and losing hours to a cosy game or book.
- Holly ReaneyContent Editor