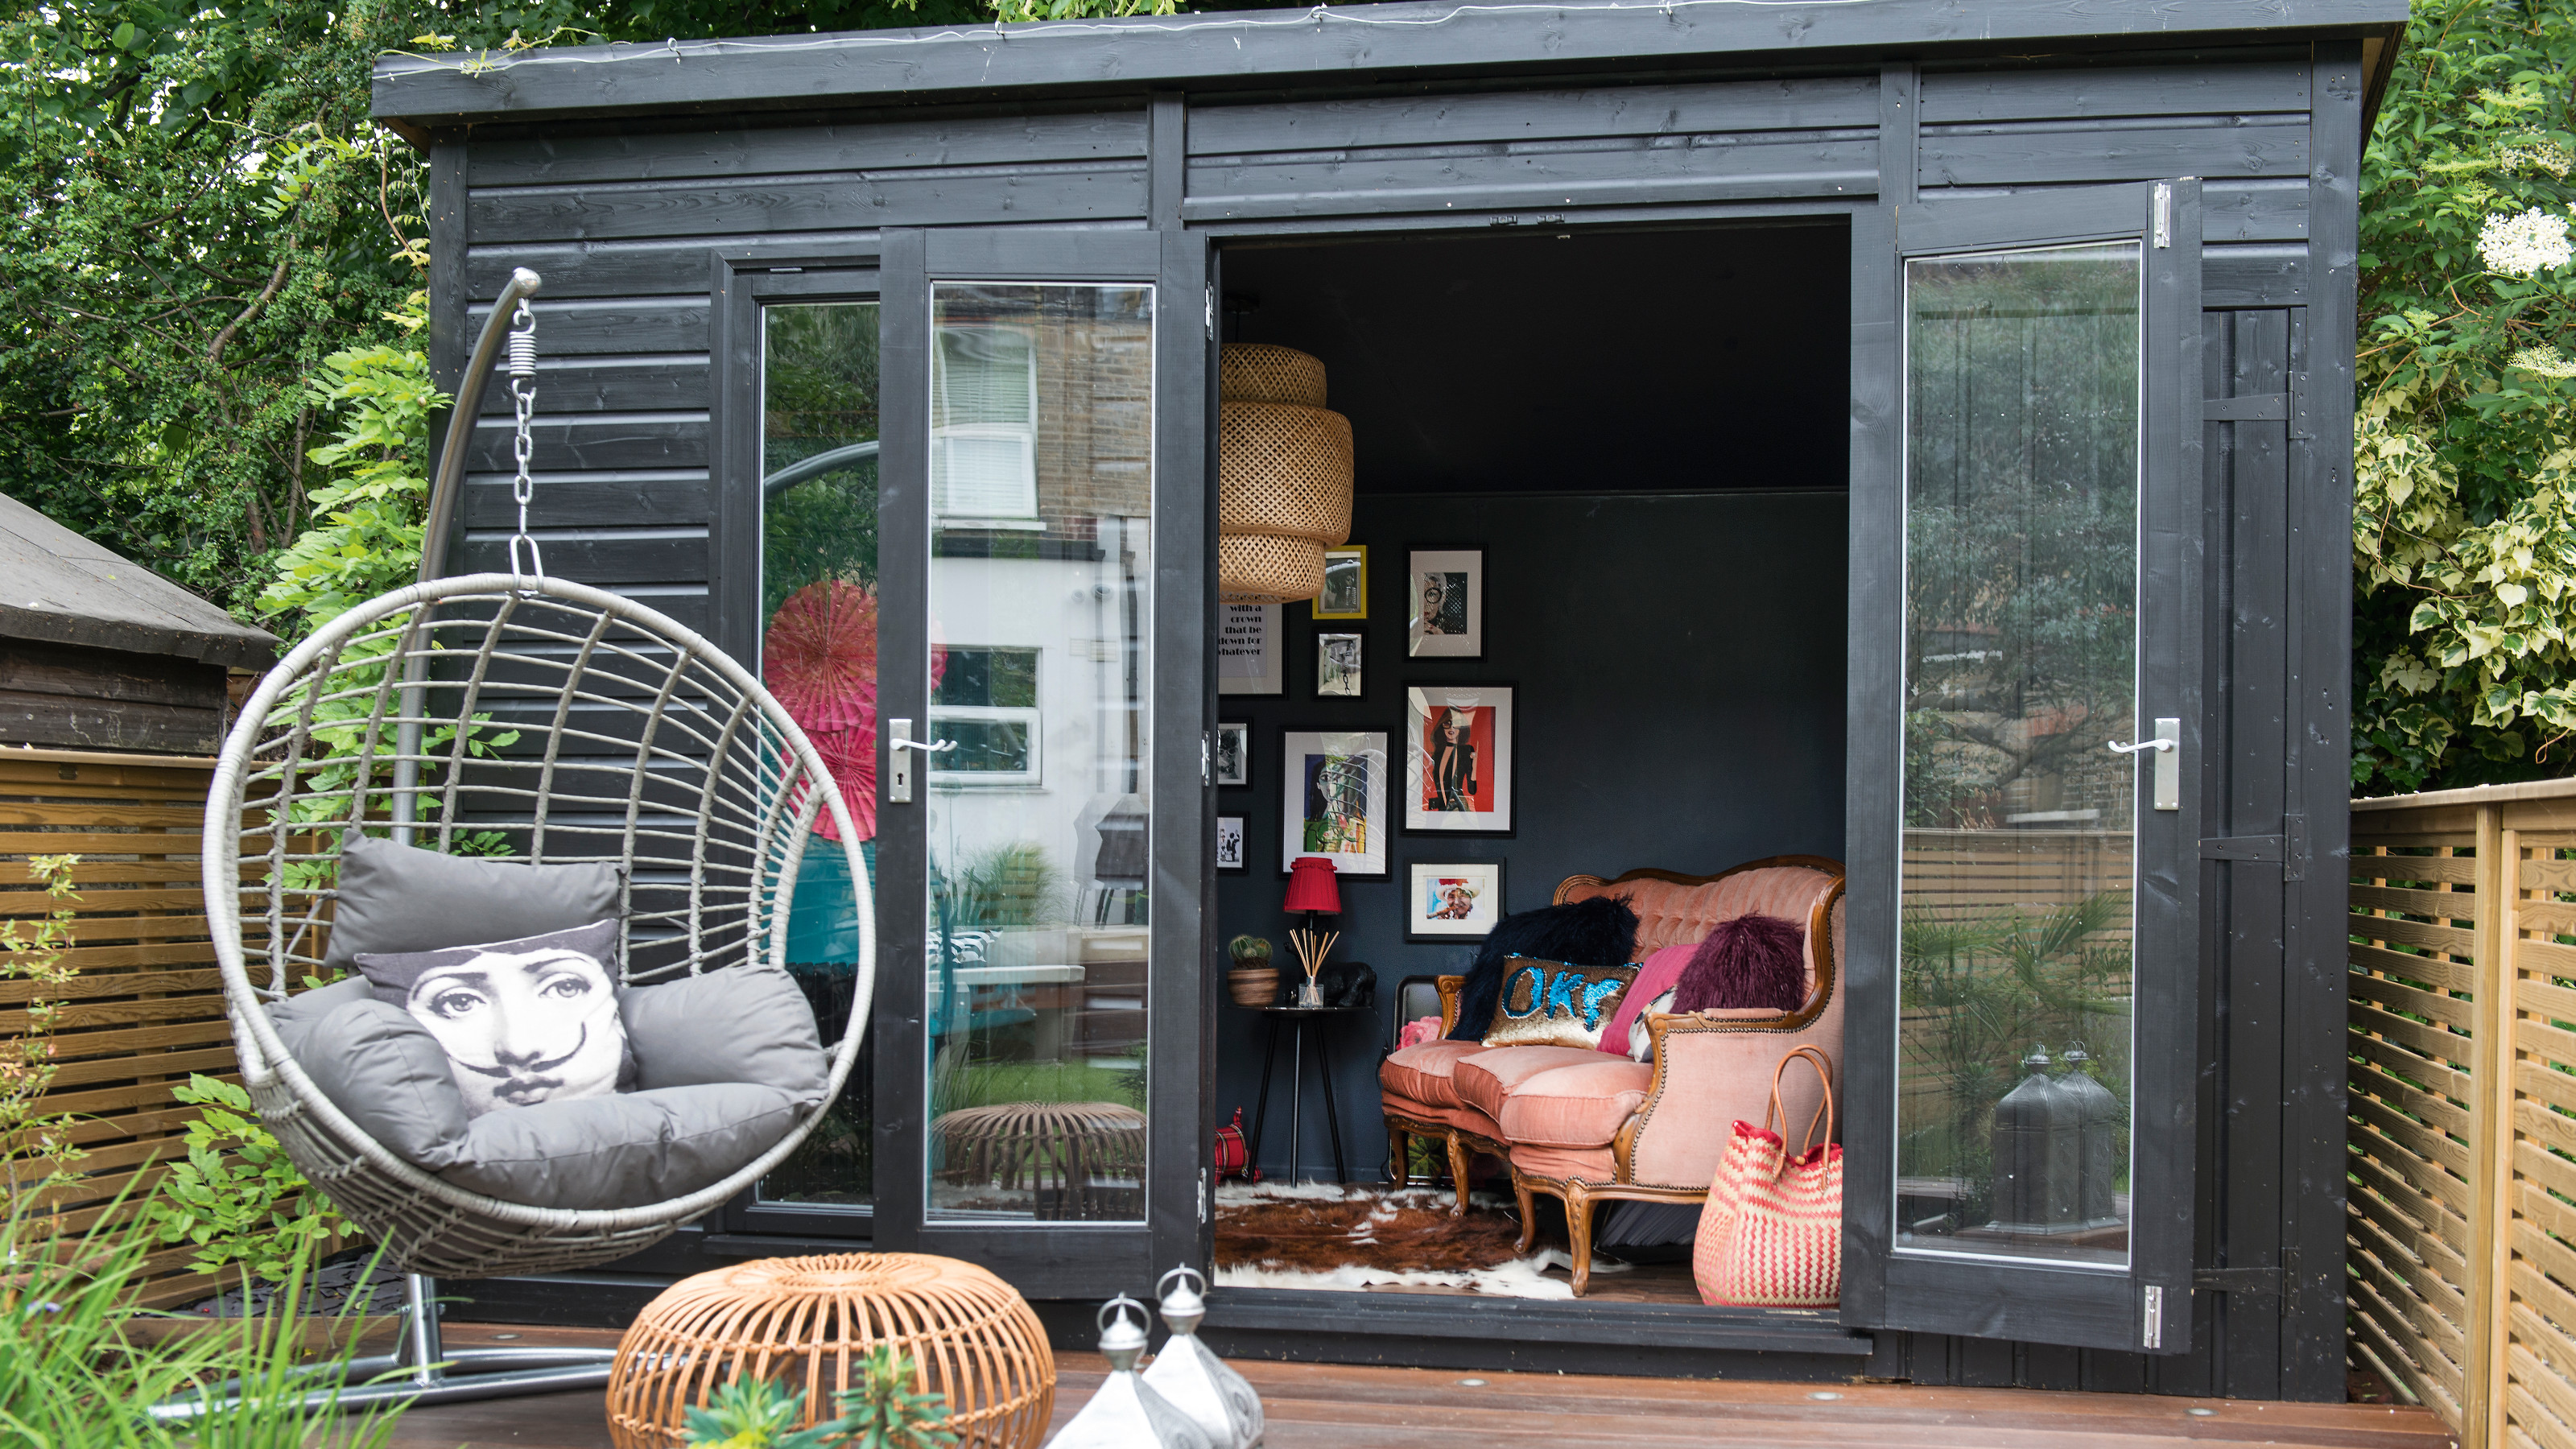
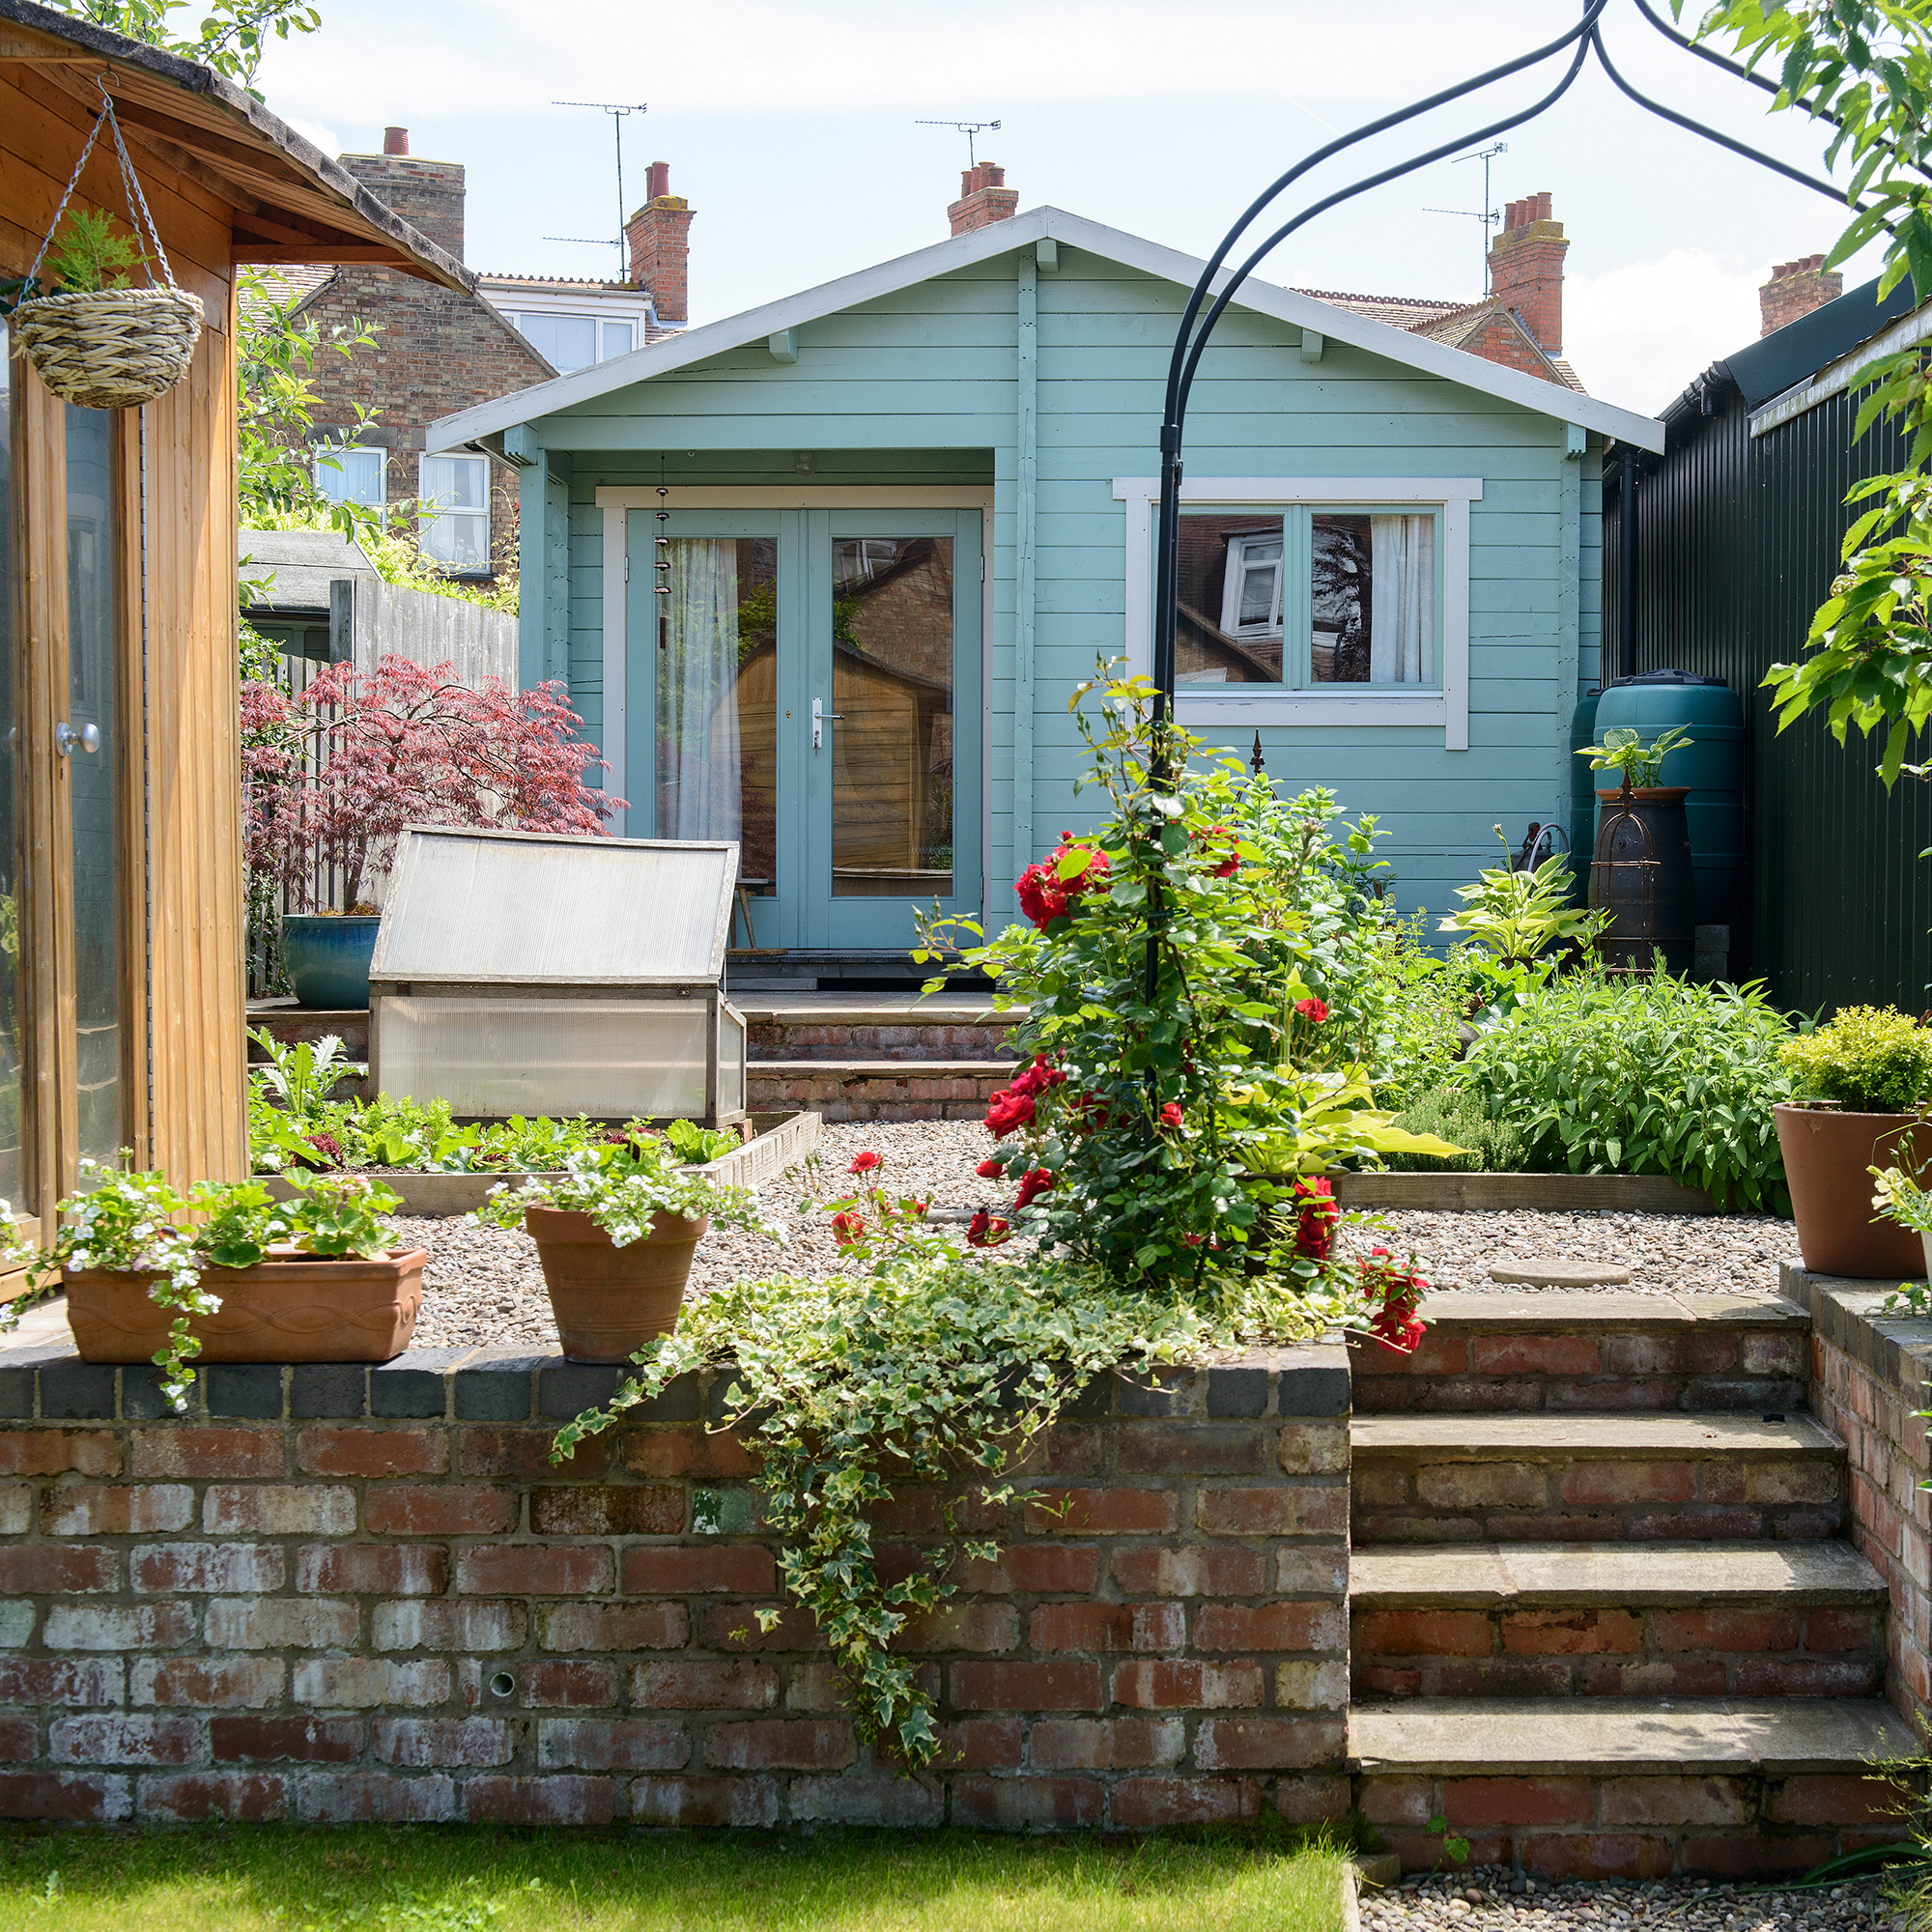
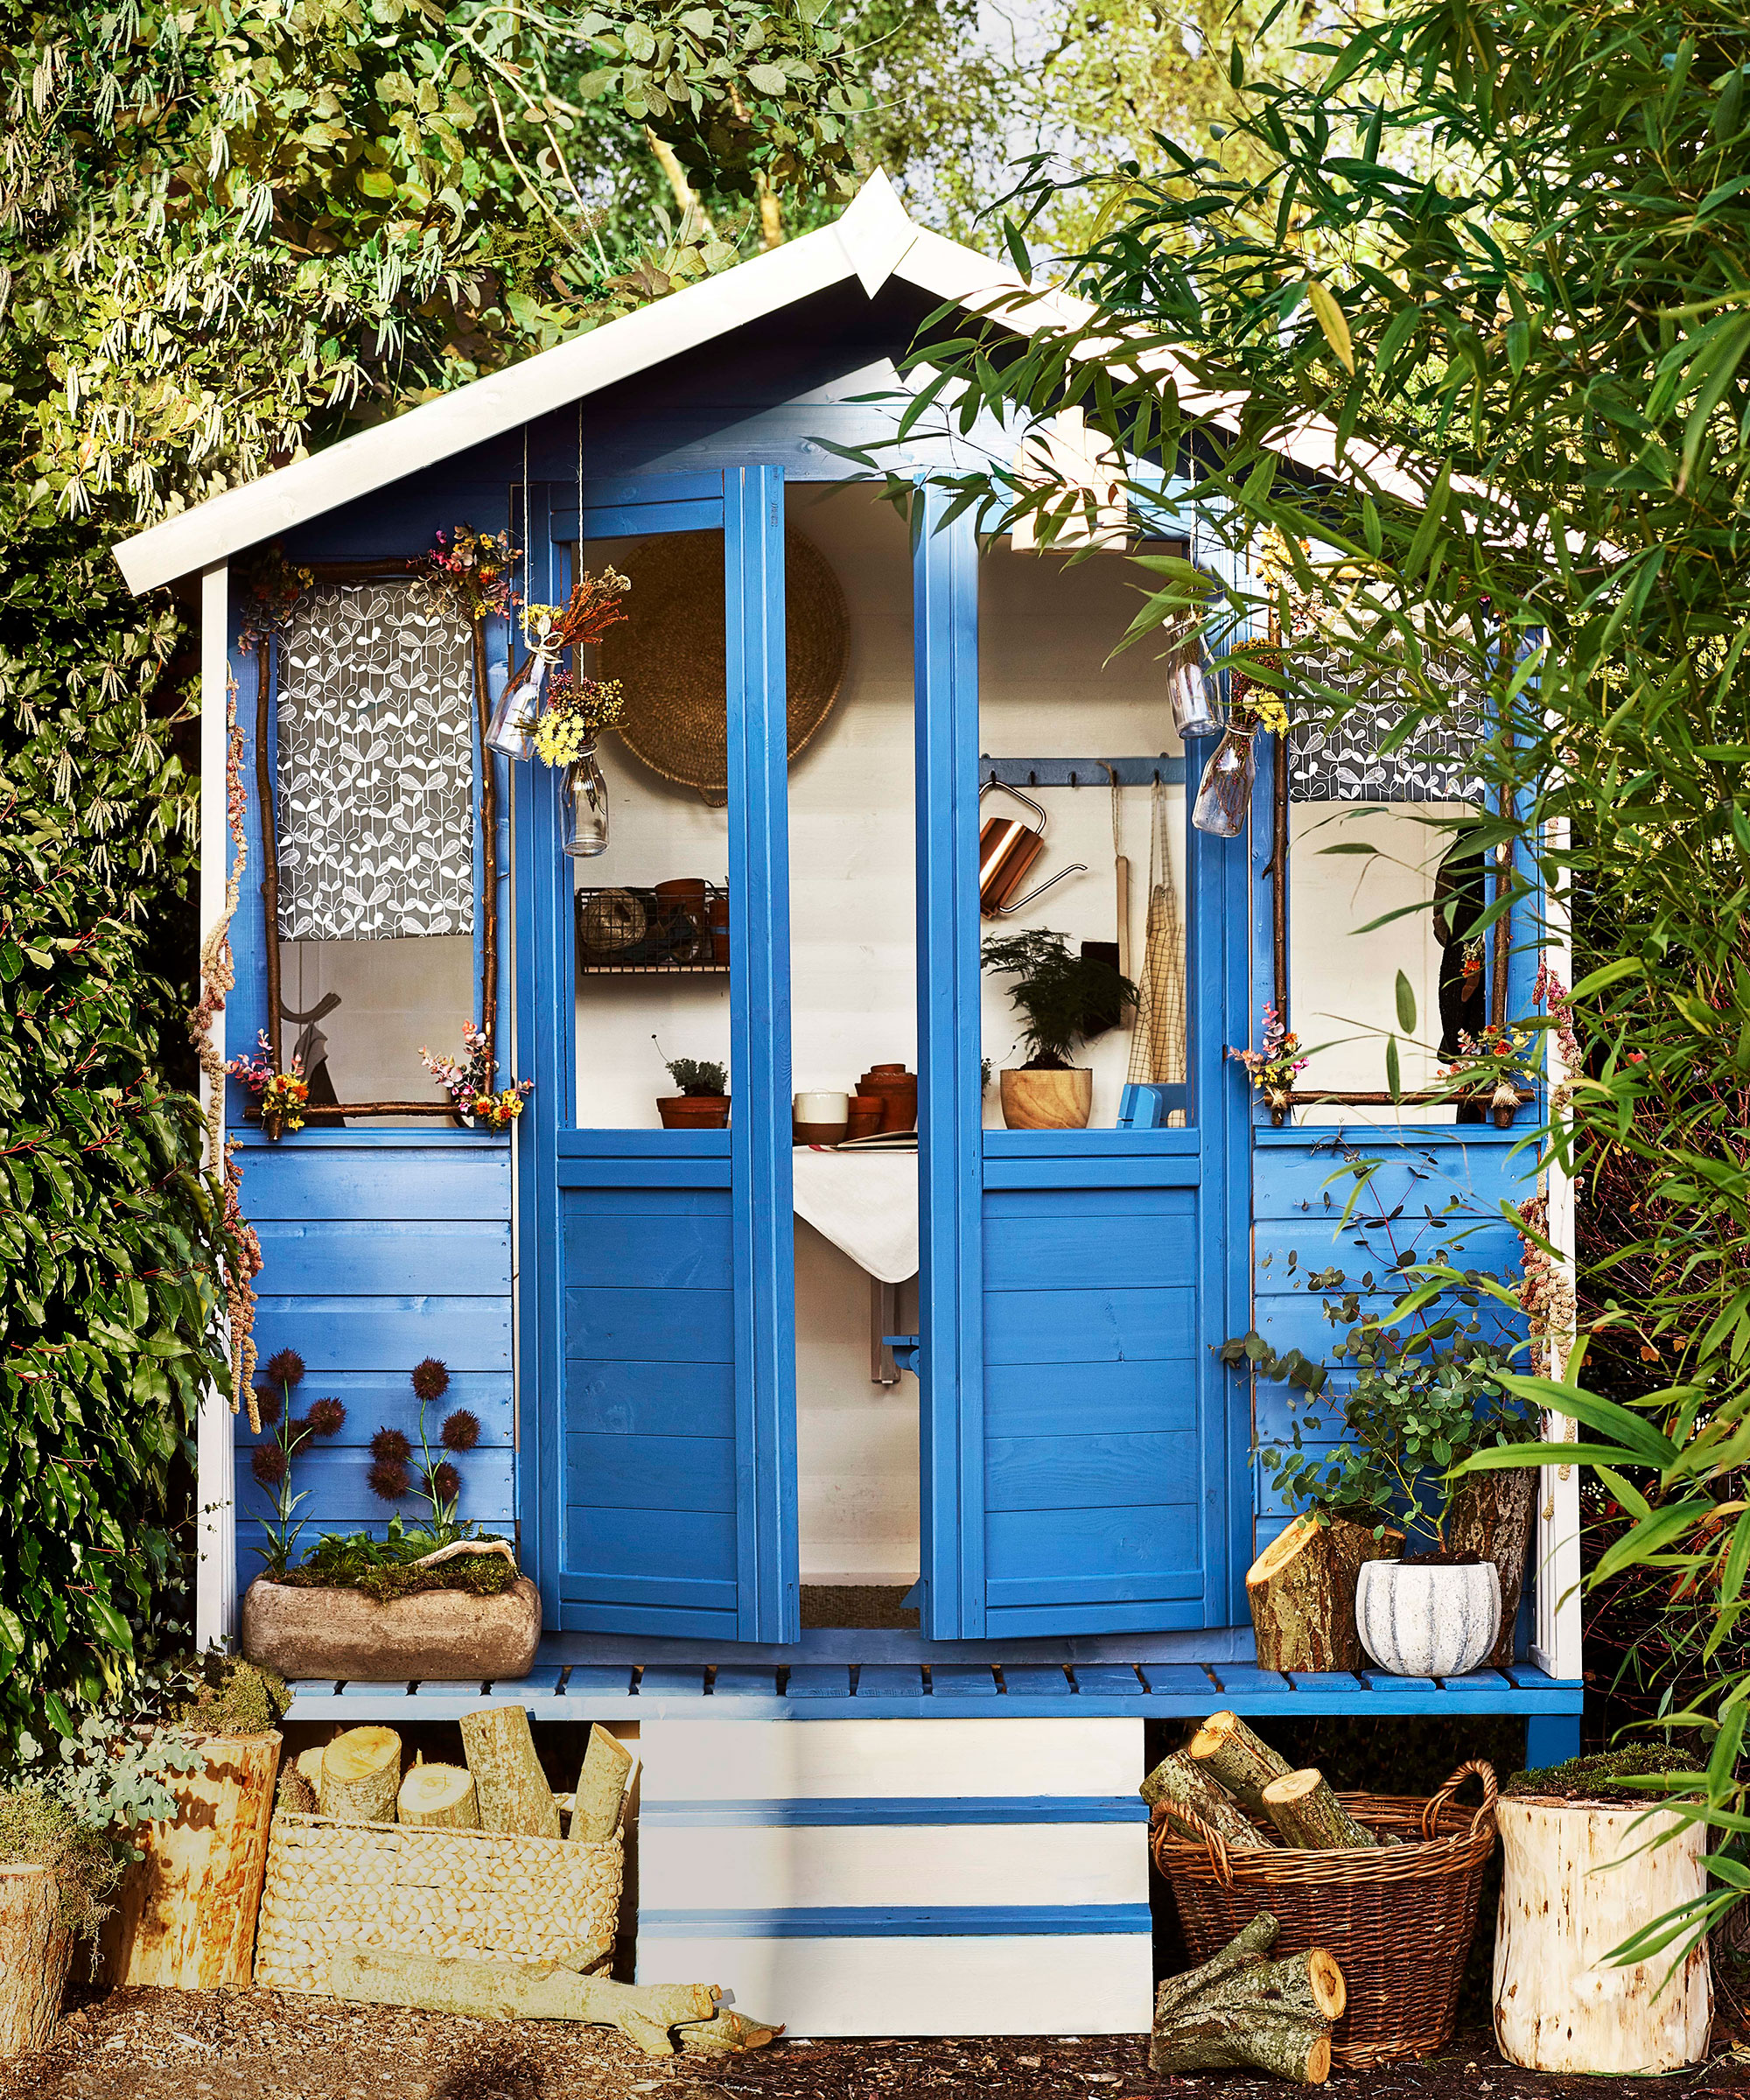
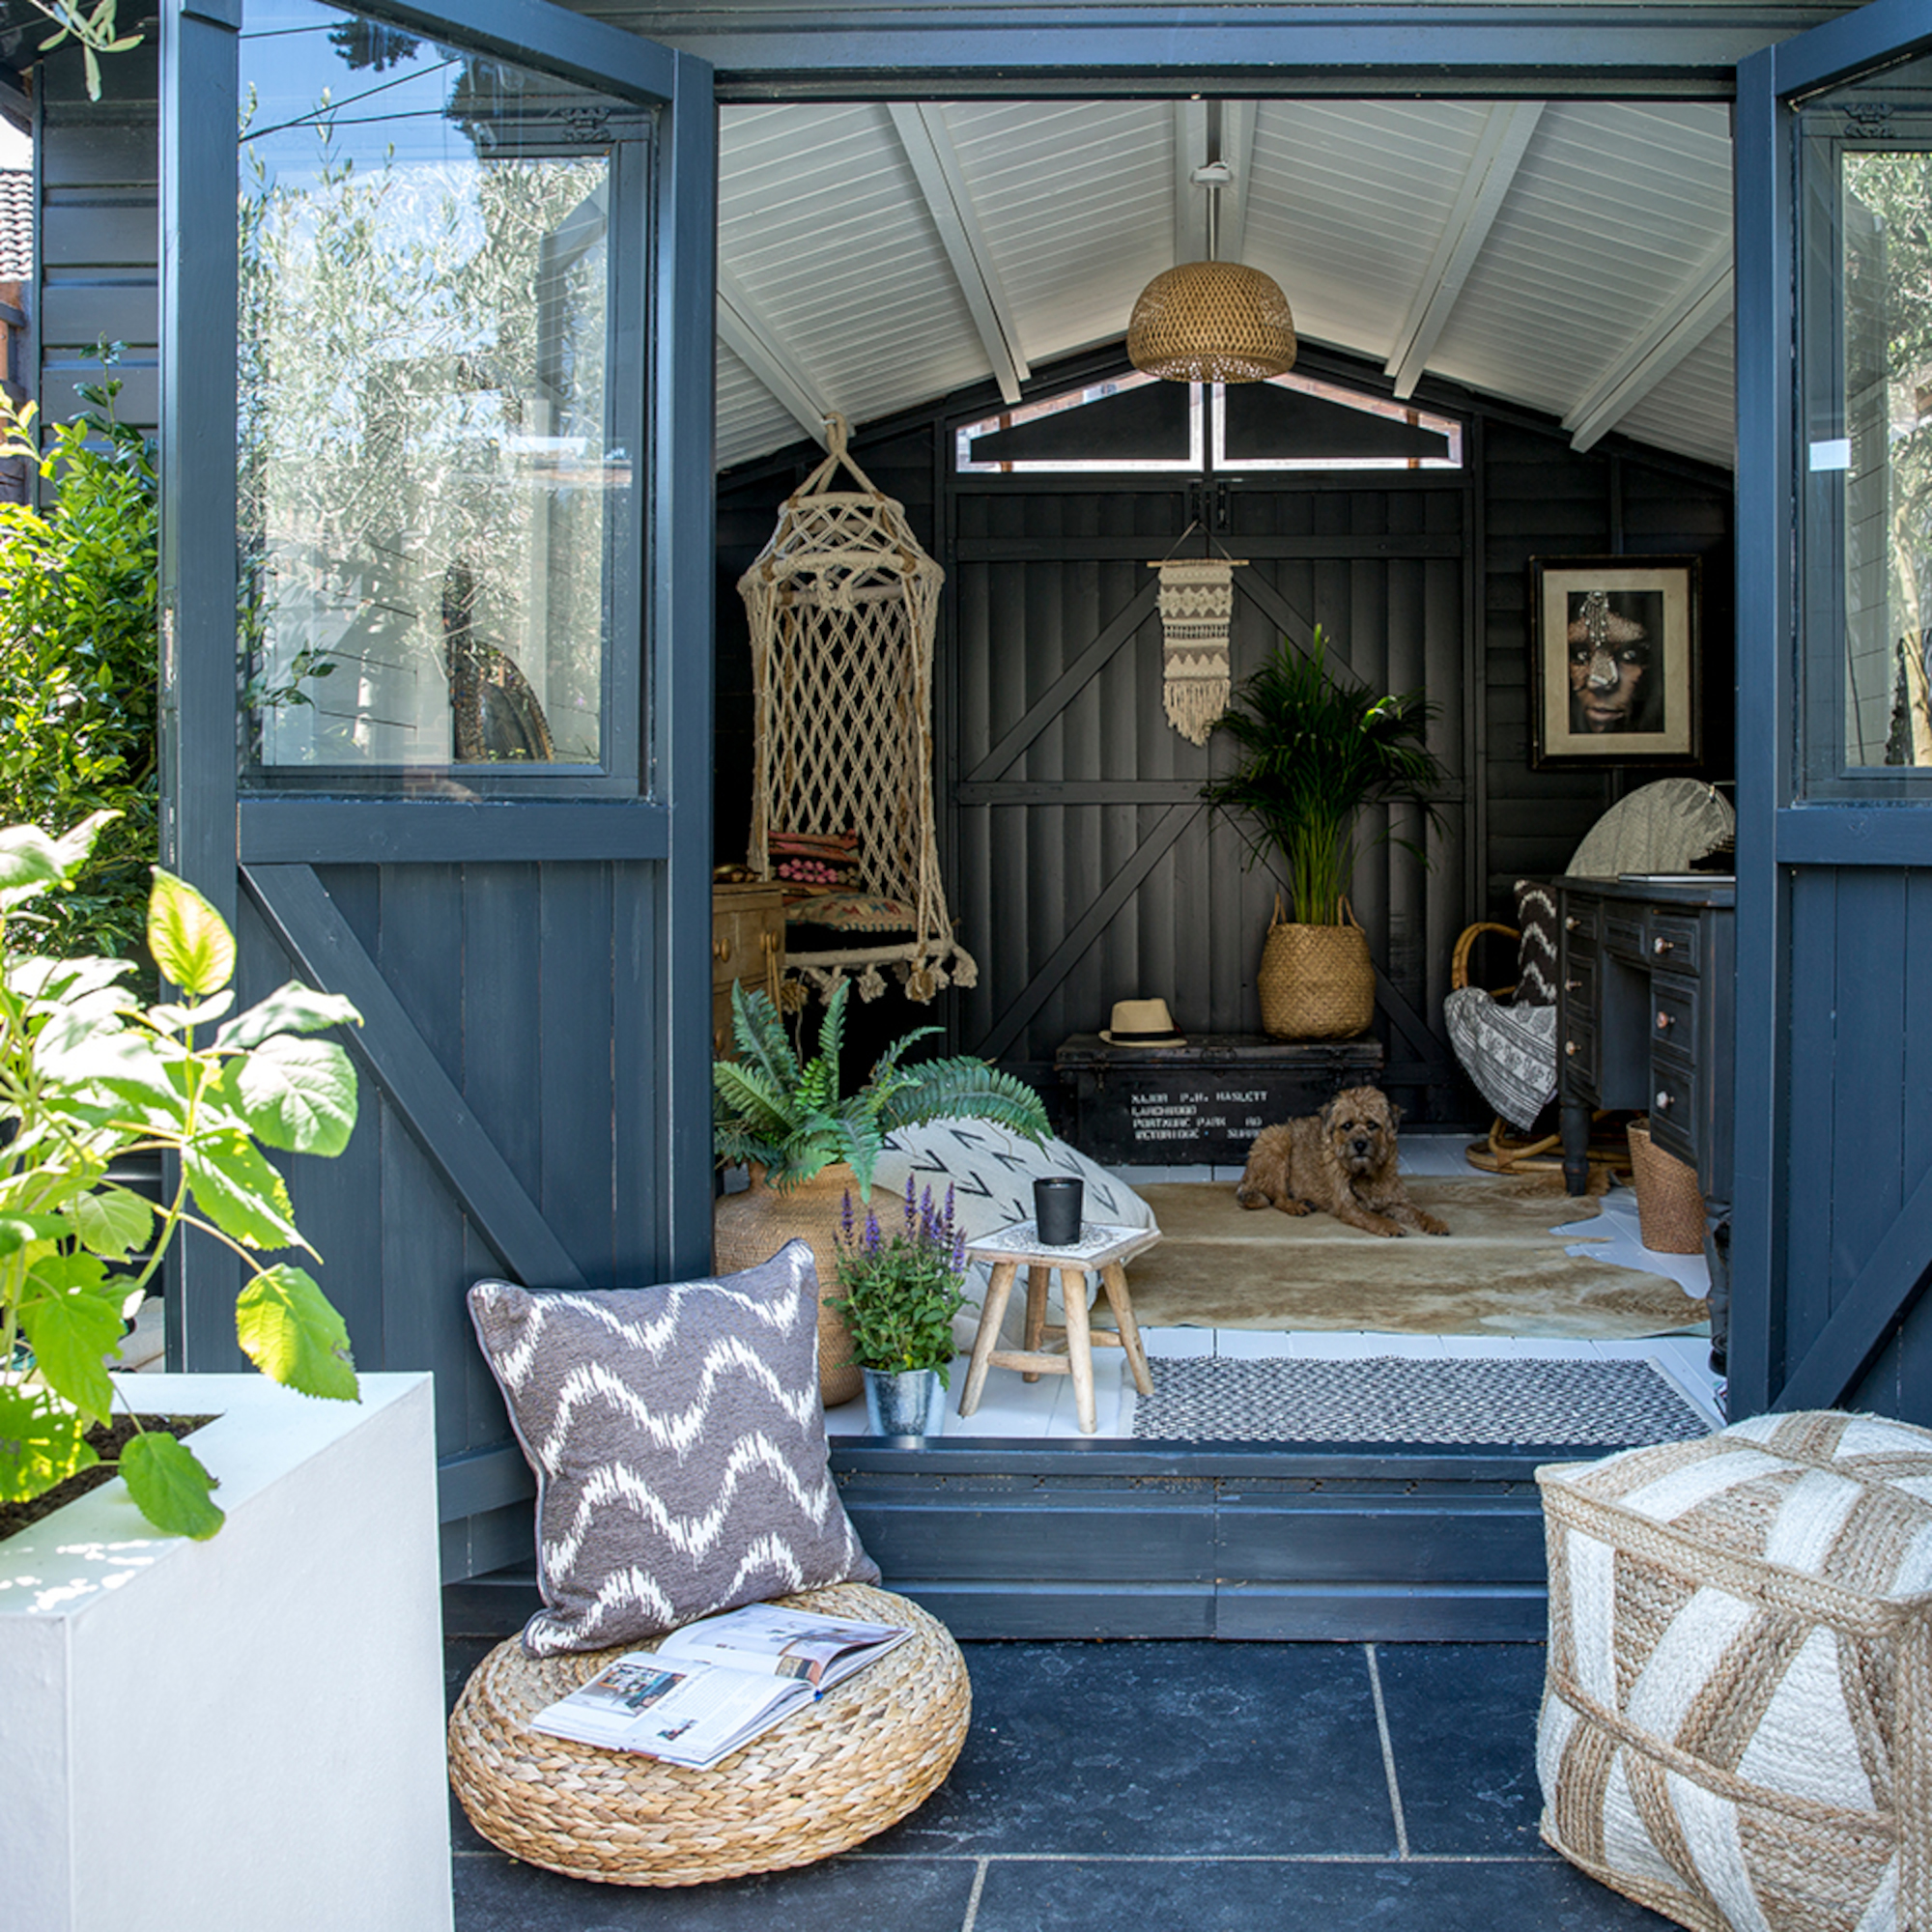
A step-by-step guide on how to paint a shed to give your garden a pop of colour
Give your garden a refresh with this step-by-step guide on how to paint a shed

Imani Cottrell

Sign up to our newsletter for style inspiration, real homes, project and garden advice and shopping know-how
You are now subscribed
Your newsletter sign-up was successful
Over time the British weather can make your shed look tired and a little worse for wear. Knowing how to paint a shed is a quick and simple way to revamp your shed or summerhouse.
After a long winter, your garden shed ideas may need a new lick of paint, whether that be a bright stand-out colour or a mellow shade that blends in with the greenery.
Painting your shed will give your garden a lift and give it extra weatherproofing so you can enjoy it for longer. This is the perfect opportunity to showcase your design style and set the mood for your garden décor.
‘It’ll soon be the perfect time to get out in the garden to give the shed some love and care. You don’t want to paint the shed when it’s too cold – approximately under 10°C - as it will take an age to dry, and you don’t want to do it when it’s too hot as the paint can flake and blister,’ says Darren Carby, store manager at Leyland SDM.
How to paint a shed

Your shed can fulfil many needs, from being part of your garden storage ideas, to your calming sanctuary. Waiting for warmer weather is the best time to paint your shed or outhouse. Choose a week where there is no rain on the forecast so the shed is completely dry before painting and has a few days to dry completely afterwards.
‘Before you start painting your shed, if your shed is looking a little worse for wear, you first need to make any repairs or replace any decayed sections of wood. You can use an exterior wood filler for smaller areas, just make sure to sand these parts prior to painting,’ says Michael Rolland managing director at The Paint Shed
What you'll need
- Tarpaulin or dust sheets to protect the ground
- A stiff or wire brush
- Masking tape
- Newspaper
- A wide, good quality paint brush
- A smaller paint brush
- A roller (this is optional)
- A stirrer
- Your chosen paint
Step-by-step
1. Prepare the shed for painting
Before you get started protect the ground around your shed with dust sheets or plastic sheets just in case there are any paint splashes. If you need to trim back any excess foliage to give you space and tie back any climbing plants with plant ties. Use a stiff or wire brush to remove any loose dirt, algae, flaking paint or cobwebs. You may need to dip your stiff brush into some cleaner to remove stubborn algae.
Sign up to our newsletter for style inspiration, real homes, project and garden advice and shopping know-how
2. Mask off windows
Using masking tape and newspaper, mask off and cover any windows, then use the tape to carefully cover hinges, locks and handles, so you don't have to worry about getting them splashed when painting. For a really neat finish you can unscrew handles or other fittings and paint underneath.

3. Apply your paint
Using your stirrer (a stick or off-cut of wood will do!) give your chosen paint a really good stir and then either decant it into a plastic pot or leave it in the tin.
Ronseal's Fence Life Plus protects your shed against rain, frost and snow and won't fade in the sun. It can be used on rough sawn and smooth planed sheds and comes in a range of colours. Cuprinol Garden Shades is another shed paint option that provides colour and protection to the wood.
Start at the top of your shed and use a wide brush, and start applying your paint, as per the manufacturer's guide. Be careful not to let it drip too much and use long, steady strokes that go along with the grain.
Use your smaller brush for any trickier, hard-to-reach areas and for going around windows or locks. For larger, flat areas, you could opt to use a roller, depending on how large your shed is and how quickly you want to get it painted.
Cover all sides of your shed, and if you want to, the inside too. Leave for the recommended drying time, before applying a second coat if needed.
4. Clear up and admire your handiwork
Once your shed is completely dry, remove the masking tape and newspaper, and un-cover the ground and foliage surrounding it. If drips have come through onto brickwork or patios, use warm soapy water and a hand-held brush to scrub it away carefully.
Then step back and revel in the glory of your new, painted shed. Now add decorative finishing touches that match your new paint colour.

What kind of paint do you use on a shed?
Your shed can not only be used for storage but is ideal for garden office ideas, so keeping the exterior fresh and new is important.
‘Presuming you are using shed paint, the best kind to use is 100% acrylic latex paint, because it is both weatherproof and waterproof, in fact, for waterproof paint there is nothing better to use,' says Agata Choma, head of production at outdoor shed and cabin specialists Tiger.
'The only other decision to consider is whether to stain or paint a shed. Wooden shed stain is easier to apply, but paint has a wider choice of colours, is much easier to clean and lasts longer than solid stain. It also provides better protection from sun damage during the warmer months,’
If you have pets or plants nearby to where you are painting your shed water-based paints work well because they won’t cause them any harm. For a metal shed an oil-based paint works best, and always prime your shed before applying paint.
Do I need to sand my shed before painting?
If your shed is particularly old it made need sanding down to remove any old and flaky paint. An electric sander is the best way to sand your shed because it is quicker and less likely to lead to achy hands. If you only have a small area that needs sanding wrap 60 grit sandpaper around a block and sand in the direction of the wood grain. You can follow this up by switching to 120 grit sandpaper to erase the marks left by the first round of sanding.
Clean away any remaining dust or dirt with a power washer. Often sheds won’t need to be sanded down and instead will need a thorough cleaning. Have fun with the colour you use for your shed. If you can't decide on one colour use two shades and create a striped look or create your own unique design.
Can I paint a shed with a roller?
Agata Choma from Tiger says, ‘By all means, use a roller to paint large areas as this will help save time and ensure you can achieve an even finish. However, we recommend using a paintbrush for nooks, crannies, and other small areas so that there are no unpainted parts of the shed.’

Holly Walsh is a freelance Interiors Writer and Shopping Editor, but worked in-house here at Ideal Home for nearly 10 years. With a background of studies in Interior Design, her career in interior journalism was a no-brainer and her passion for decorating homes is still as strong now 15 years after she started, as it ever was. While Holly has written for most of the home titles at Future, including Livingetc, Country Homes & Interiors, Homes and Gardens, Woman & Home and Style at Home, Ideal Home has always been her ideal home, and she can still be found sharing her expertise and advice across both the printed magazine and the website, while also raising her two young children.
- Imani CottrellContent Editor