How to make DIY bear plant pots – this family of grizzly planters is perfect for Mother’s Day
Have fun this Mother's Day making these DIY bear plant pots

These adorable DIY bear plant pots are the perfect make for Mother's Day. They're easy to create and you can paint one for every member of the family and personalise them however you like.
Find more fun projects for the family in our DIY and Decorating channel
Clay crafts are super popular right now thanks to Channel 4's The Great Pottery Throwdown. Join the craze by using air drying clay and acrylic paints to make this DIY bear plant pots project from Hobbycraft.
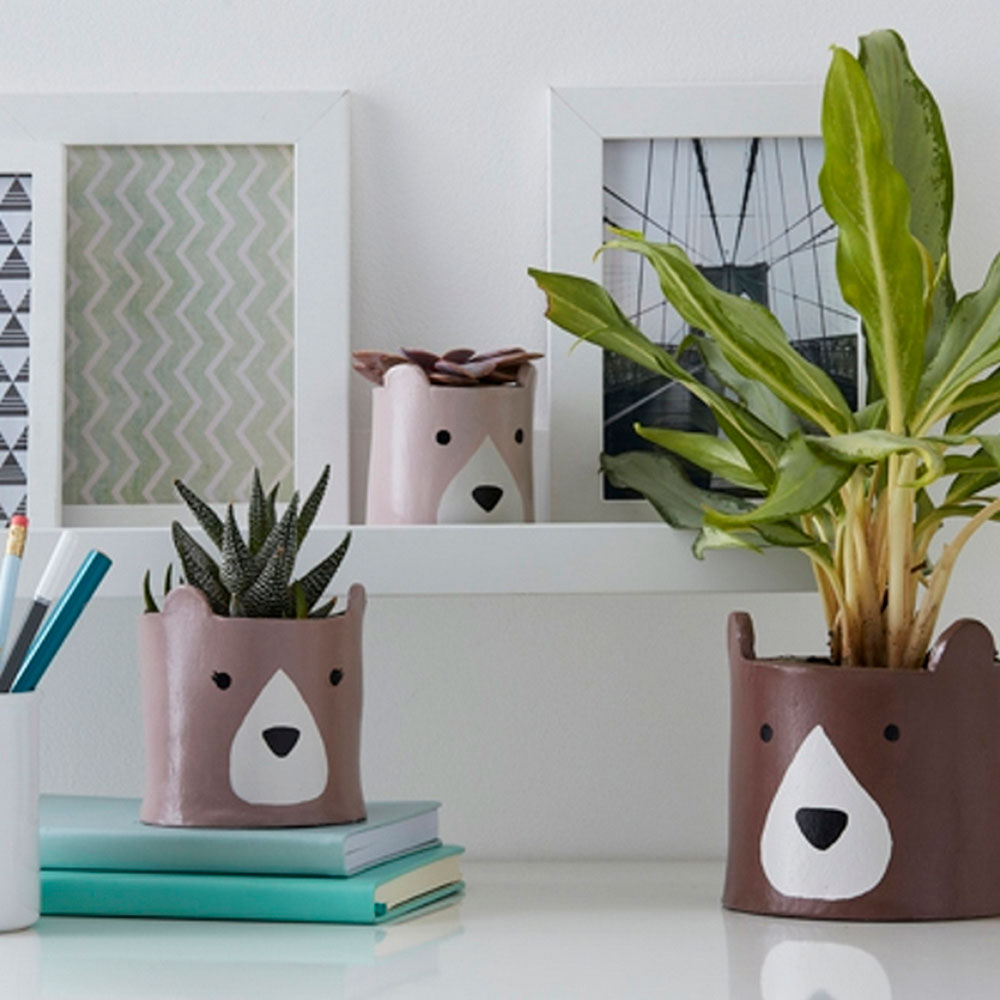
How to make a family of clay bear planters
What you will need
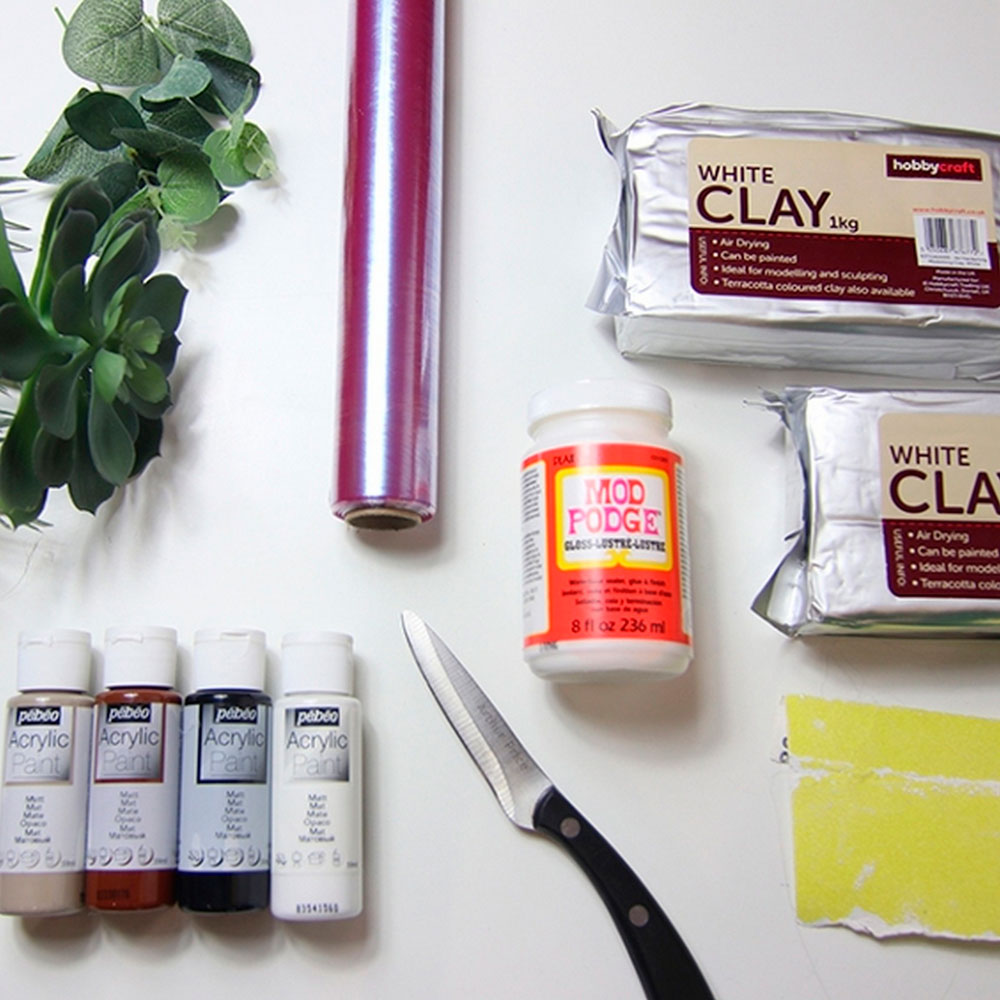
- White air drying clay
- Clay modelling tools
- Rolling pin
- Sandpaper
- Acrylic paints
- Paint brush
- Clear blue
1. Roll out the clay
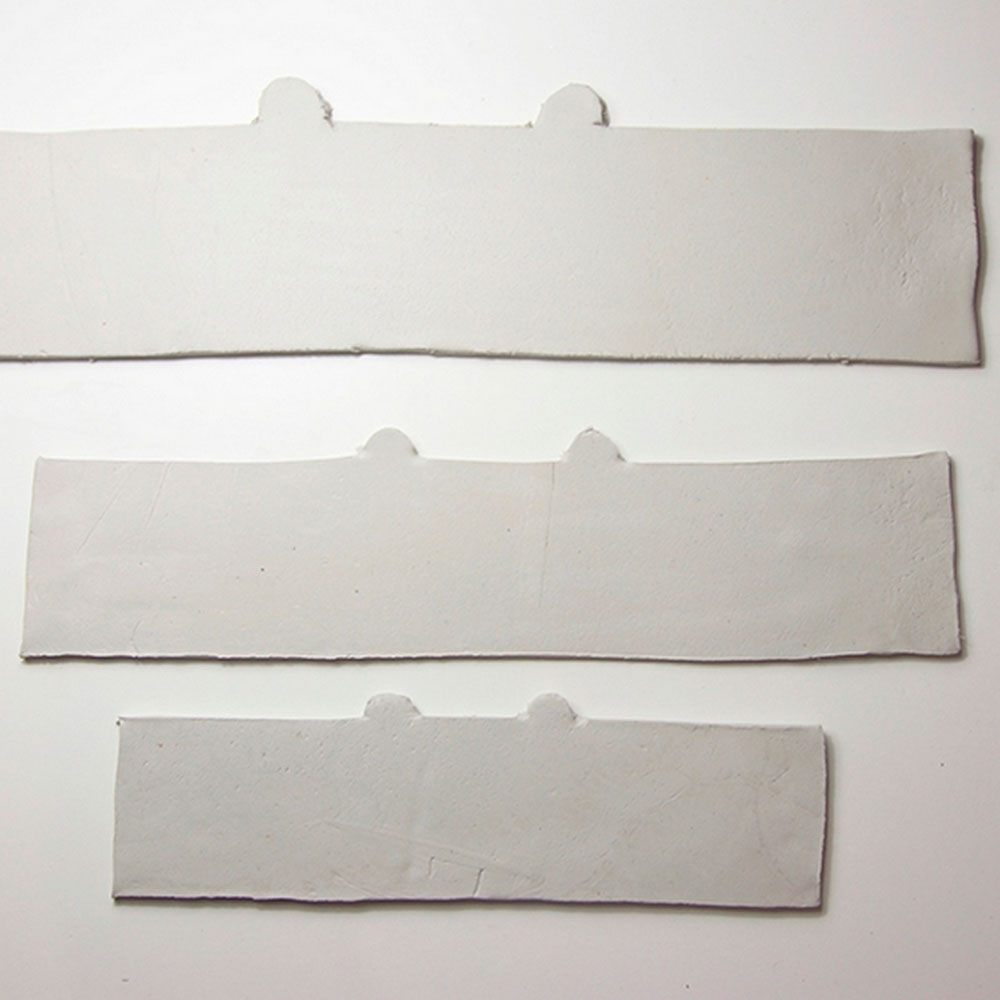
Place air drying clay onto a length of cling film. Use a rolling pin to roll the clay to a thickness of about 5mm. Print and cut out the bear Hobbycraft bear templates. Place the larger bear template onto the clay. Draw around it, then flip over to cut the other side.
Repeat to make the mummy bear and baby bear.
Buy now: White air drying clay 1kg, £3.80, Hobbycraft
2. Cut out the bases
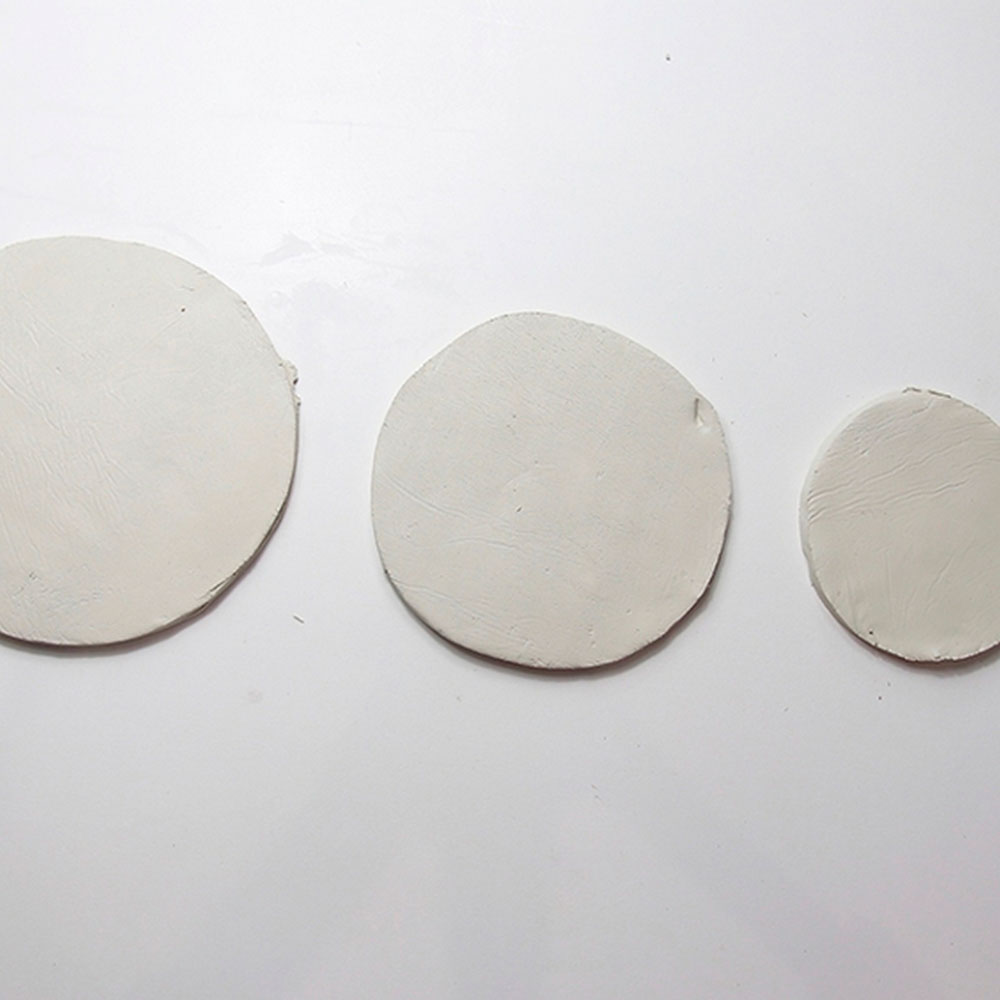
Put the bear pieces to one side. Roll out more clay and cut out three base circles. Remove the excess clay and save for another day.
Sign up to our newsletter for style inspiration, real homes, project and garden advice and shopping know-how
Looking for more to make? How to make your own bee hotel – the best way to welcome bees to gardens
3. Score the edges
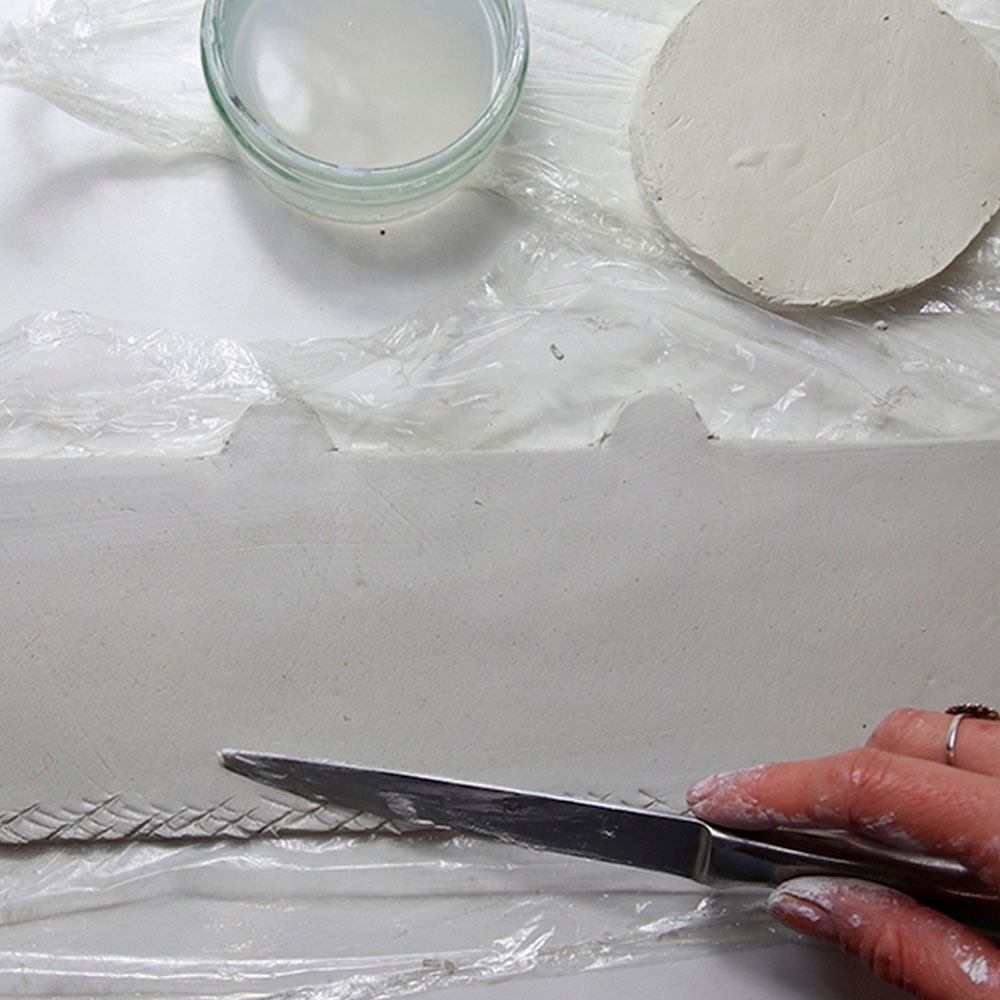
Score along the bottom of the bear pieces using a knife – a job for Mum or Dad, we think! Wet the scored section with a little water. Next, score all the way around the base pieces in the same way.
4. Join the pieces
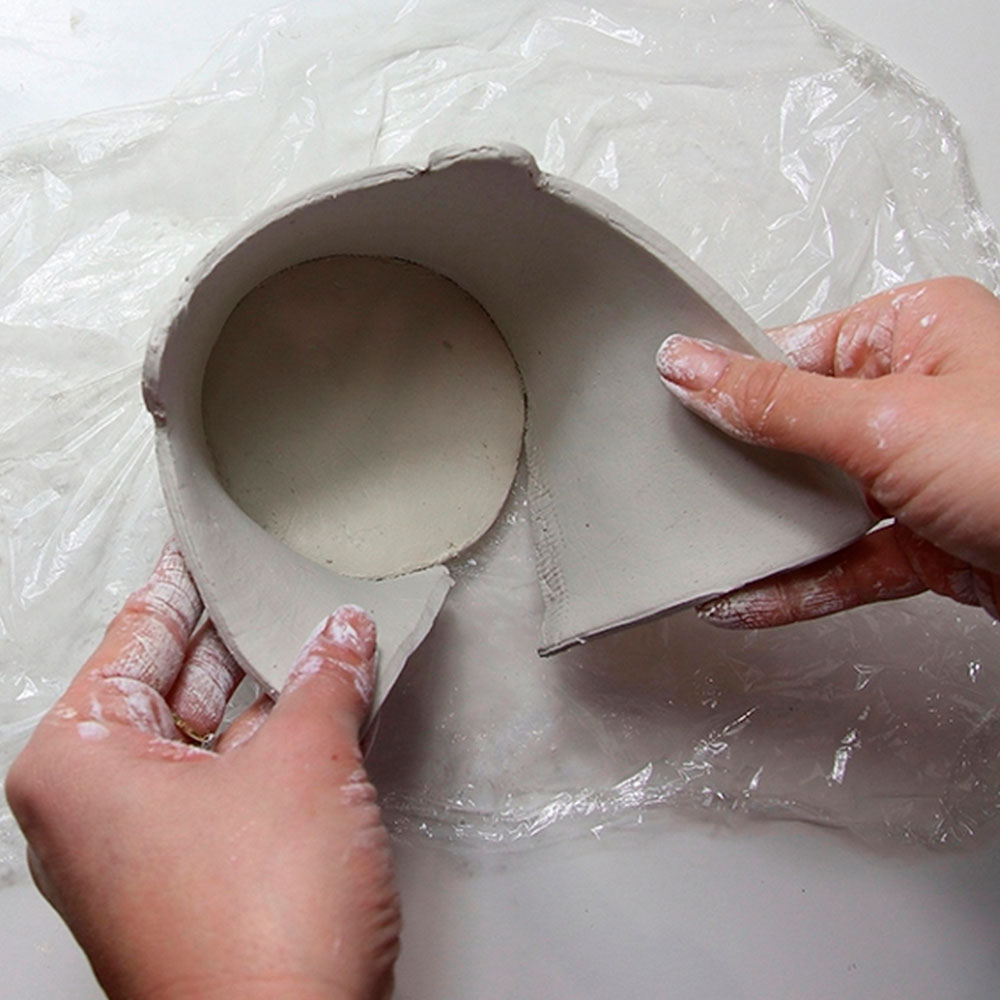
Wrap one of the bear pieces around the corresponding base, placing the scored surfaces together to seal. Carefully push a plastic bag into the pot to help it keep its shape.
Repeat for the remaining pots. Leave to dry overnight.
5. Smooth the surfaces
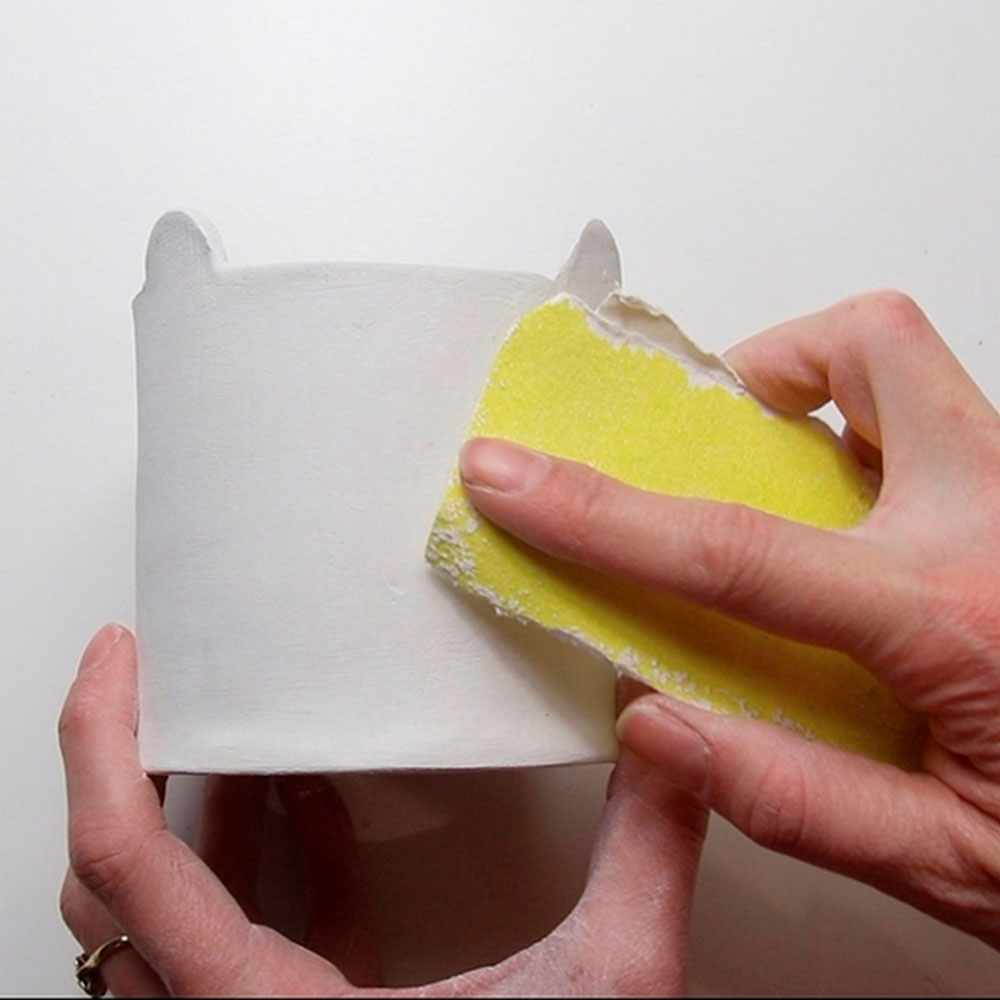
Once the pots are dry, use fine sandpaper to smooth the surfaces.
Related: Last-minute Mother’s Day gifts that will arrive in the post by Sunday
6. Paint the features
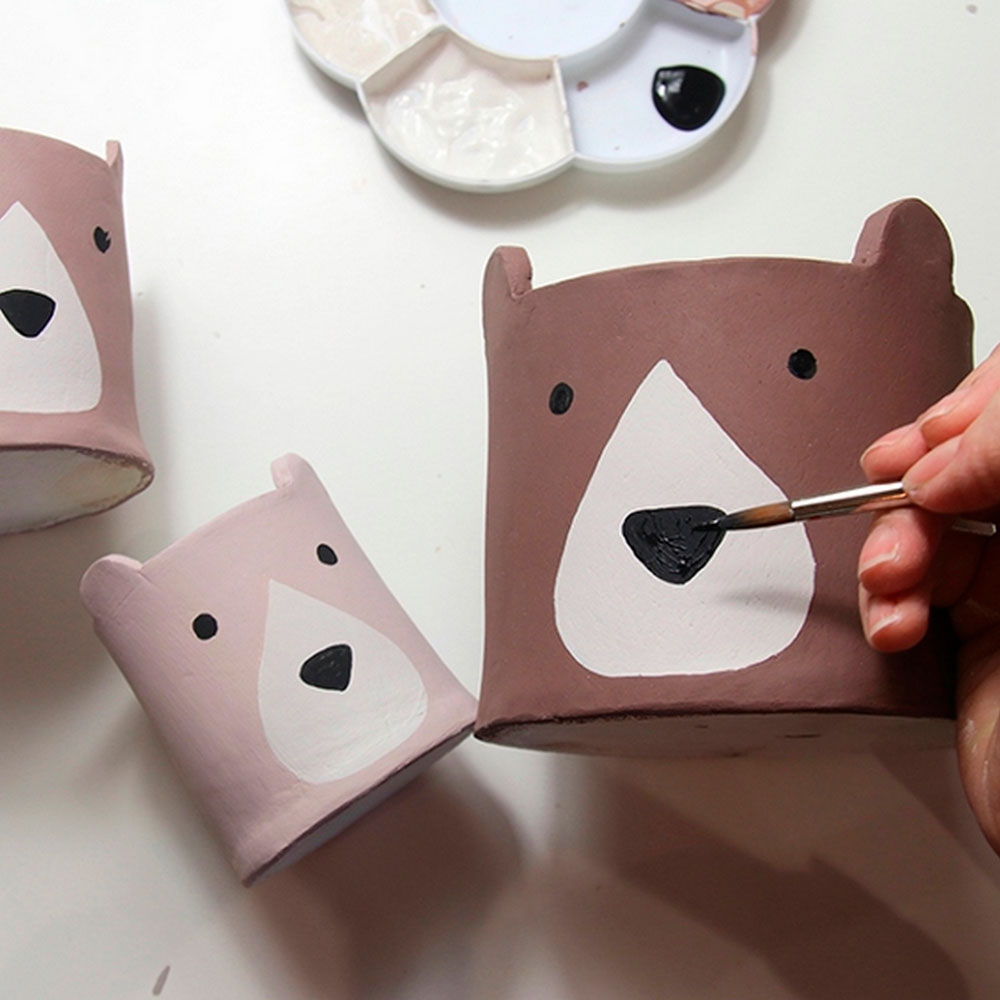
Use a pencil to mark out the bears' facial features. When you're happy with the faces, begin painting. Use brown for daddy bear's face, then add a little white to make mummy bear and baby bear gradually lighter. Paint their snouts beige and add a black nose and eyes.
Buy now: Pebeo chocolate matt acrylic paint 59ml, £2, Hobbycraft
Buy now: Golden Taklon brush set 10 pack, £8.50, Hobbycraft
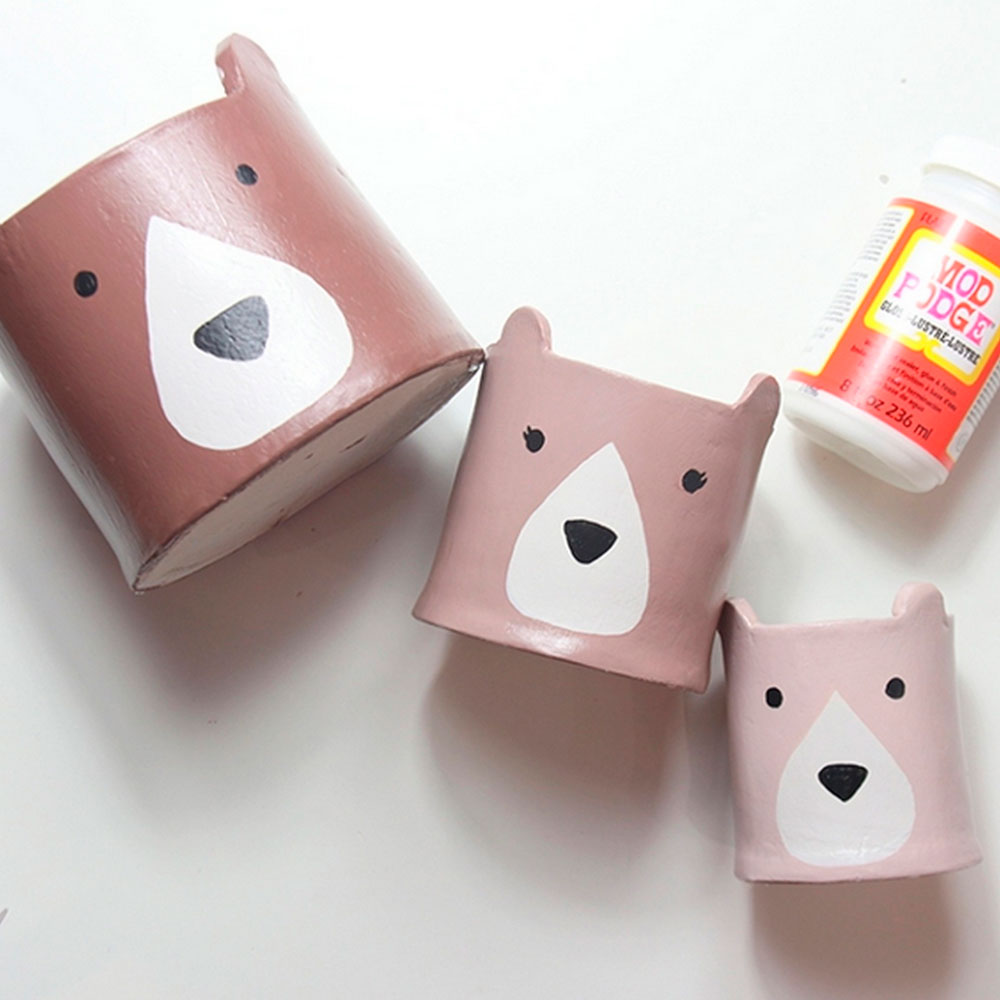
Once your painted pots are completely dry, add a coat of gloss mode dodge or clear glue to varnish. This will increase durability and shine.
Buy now: Decopatch Paperpatch glue varnish 300g, £7, Hobbycraft
Pop real or faux plants into your pots. If you need help choosing, read the best houseplants to boost wellbeing.
If they're real, line the bottom of the planters with clingfilm to protect the clay when the plants are watered.
Have fun!

Steph Durrant is the Deputy Editor of Ideal Home’s sister magazine, Style at Home. Steph is an experienced journalist with more than 12 years under her belt working across the UK’s leading craft and interiors magazines. She first joined the team back in 2016 writing for both homes brands, specialising in all things craft, upcycling and DIY.