Creative mum totally transforms her son's nursery – without spending a penny!
Be inspired to try your hand at painting a mural for free
This artistic mum proves you don't need to spend a fortune, or anything in fact, to create your own nursery mural masterpiece.
Emma Richards, a florist from Worcester, painted her son’s nursery by herself after sourcing paints for free on Facebook. This savvy approach meant the transformation was totally free.
Using free materials she has created an amazing woodland paradise for her son Arthur, nine months.
More for free: Mum makes free fairy garden – using old butter container, dough & twigs!
Emma certainly has artistic flare, but anyone can have a go. Here she shares her tips to inspire others to give paining a mural a try...
Arthur's amazing nursery mural
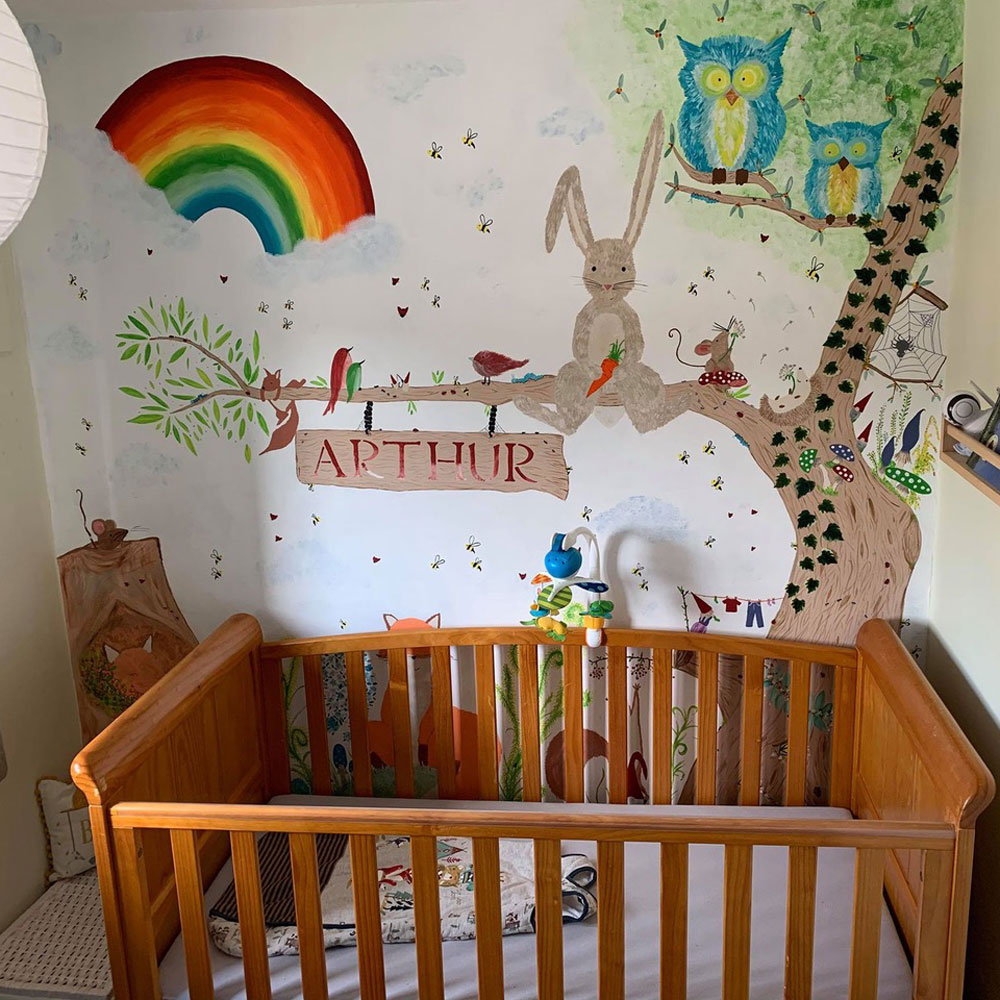
'When our son Arthur was born, we decided to paint his bedroom with a woodland fairyland theme,' Emma explains to Latest Deals.
'I had a look across the internet and Pinterest for ideas and made a rough drawing on paper of what I wanted where – and which animals I wanted to include.'
Sign up to our newsletter for style inspiration, real homes, project and garden advice and shopping know-how
'Once I was happy, I painted the room a pale cream, and the base of my mural white. I started with a rough outline of what was to go where on the wall, doing it in pencil and only roughly to let me play around with the size of the animals and tree and branch thicknesses.'
Tip: Sketch designs onto the wall before painting
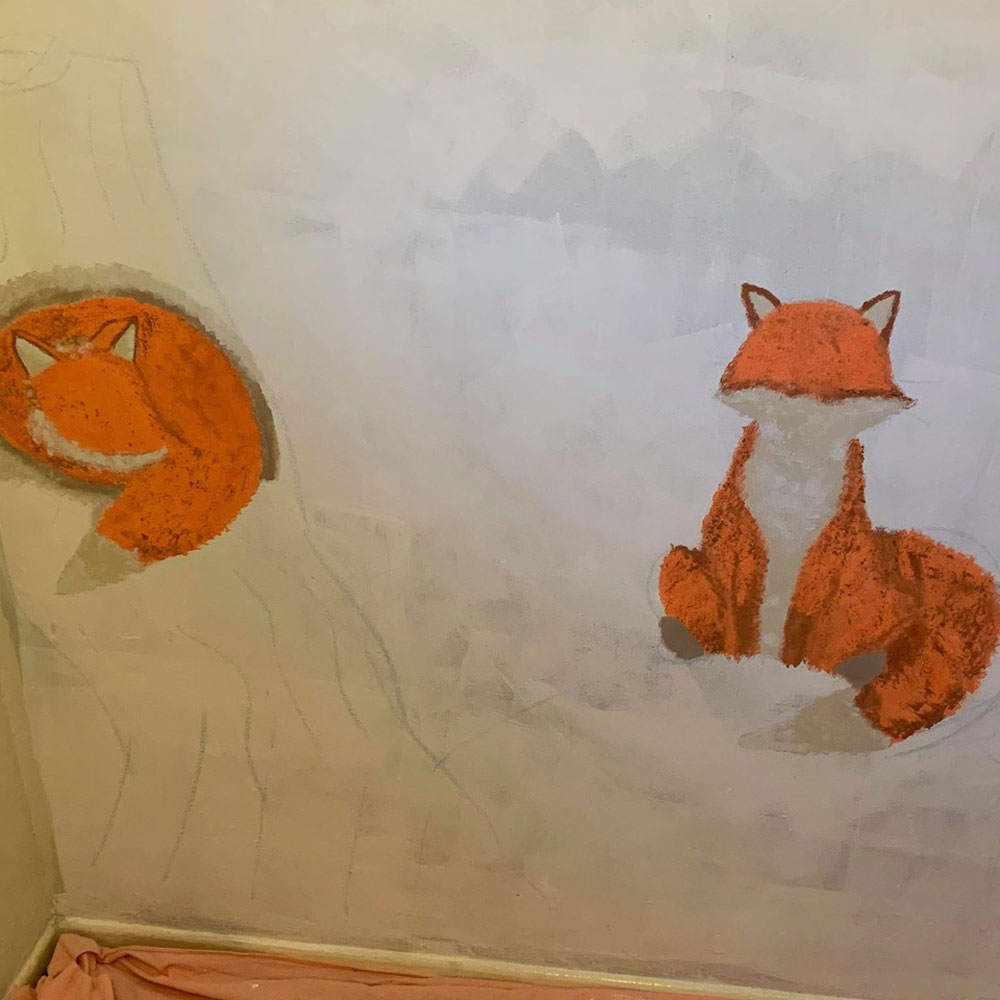
The key is to build up your scene one section at a time. 'I started in one corner, worked my way along and up' Emma explains. 'Concentrating on the focal animals first.'
'I found mixing paint and building up the animals gave them a softer look, as painting them solid would have given them a cartoon feel to them.' As you can see from her early stage painted foxes above.
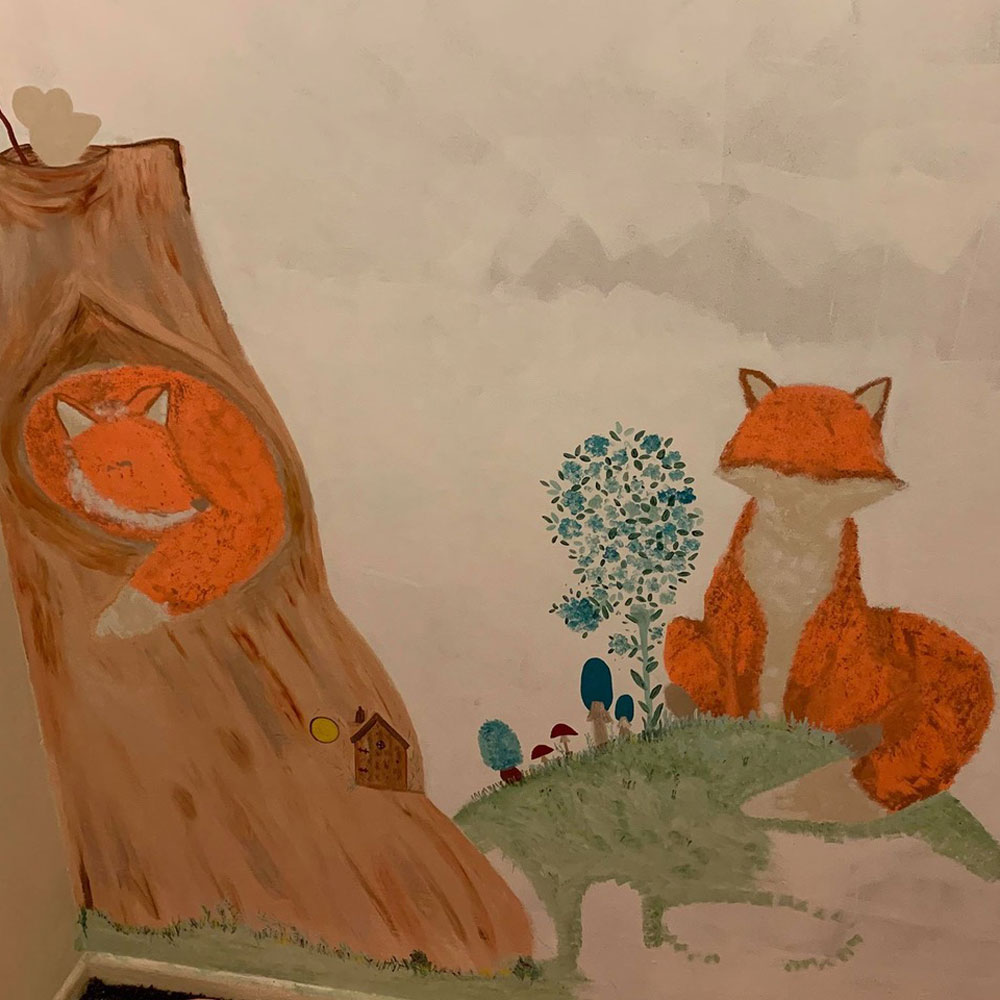
Once the main features were done Emma filled in the gaps with plants, grass and toadstools. She then added detail in layers and colours using different flicks and strokes and different shades.'
Her top tip for those looking to paint their own mural is, 'To fill a large areas I’d recommend using a sponge, as it fills softer than using a paintbrush. Build up the background the same as the animals, layer up the colours, then add the details last.'
Tip: Add details at last stages of painting
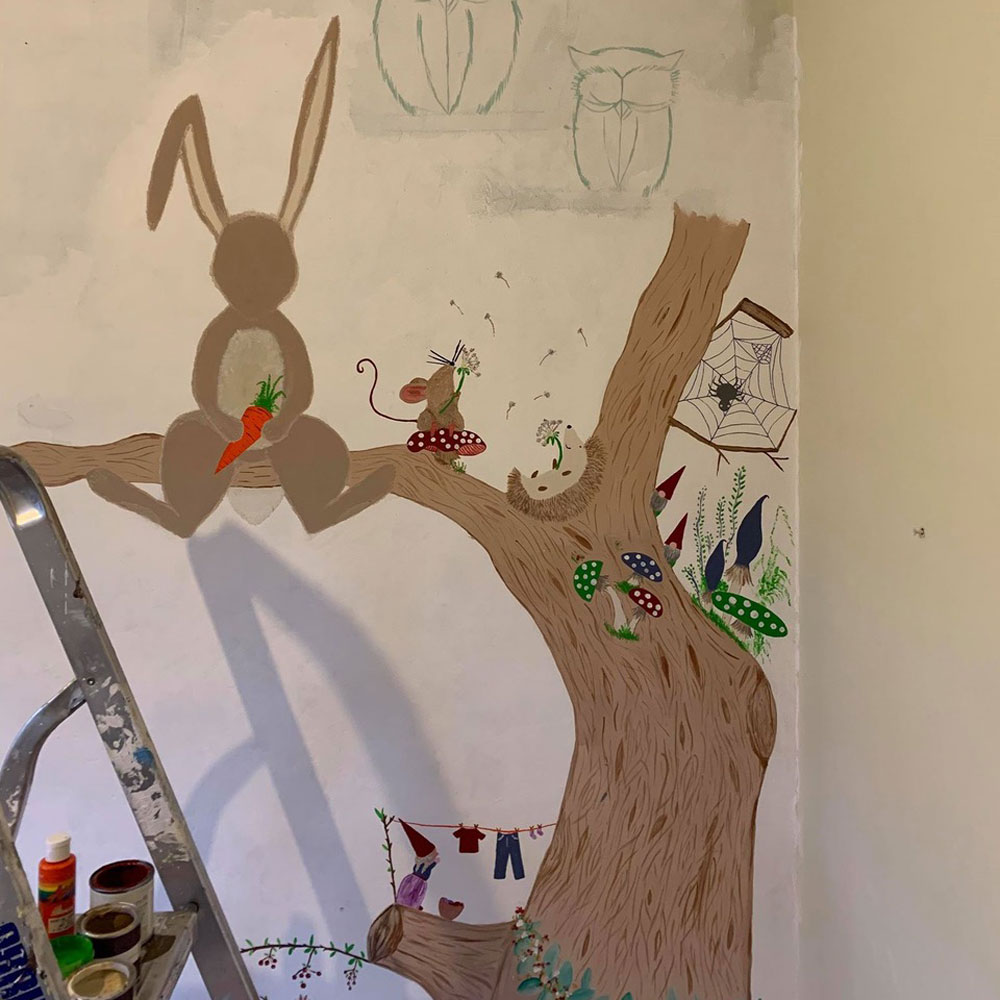
'The more I painted the more I got carried away with detail! There are lots of bits to keep my little man occupied! As I got up the top to finish I really wanted to incorporate a rainbow.'
Speaking of painting the rainbow Emma says, 'After three attempts before I was happy I painted rough lines of the different colours. Clean my brush, then use a bit of water on my brush to blend the colours together.'
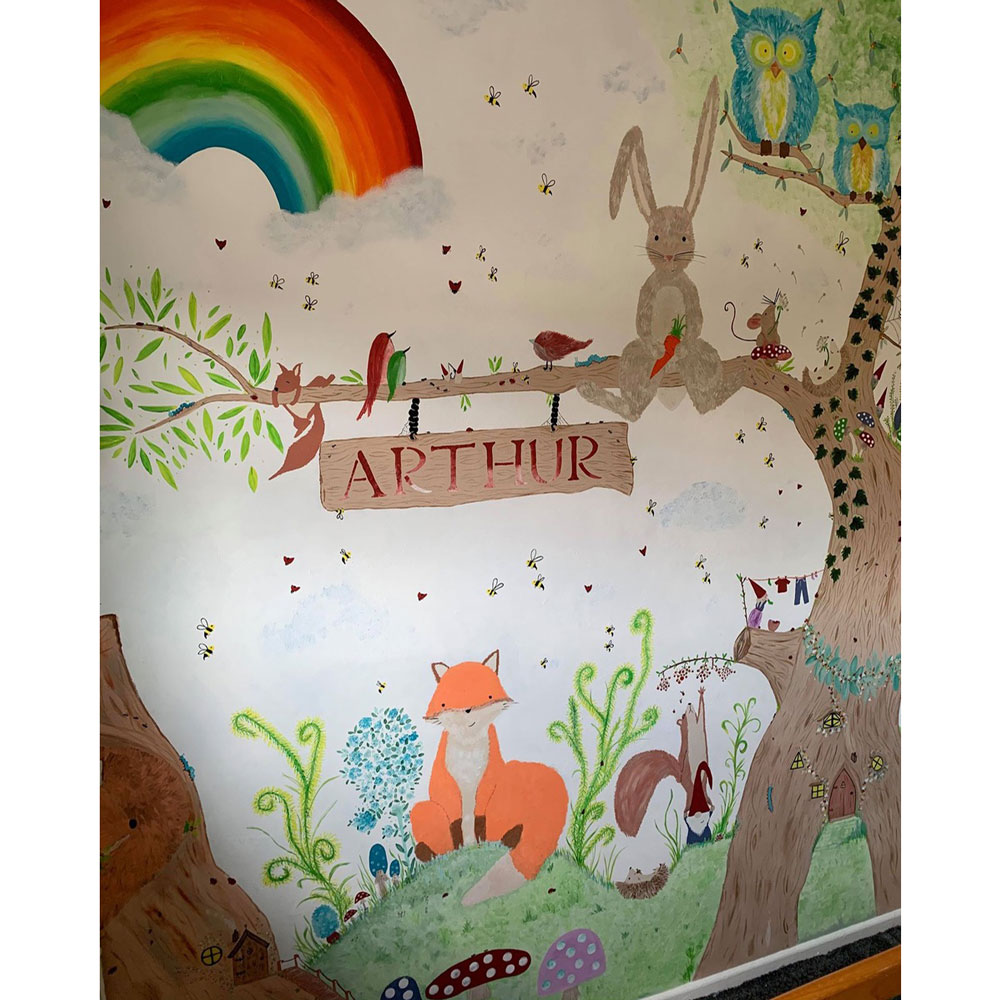
'Once I was happy that everything was complete I added all the final detail. We have ants, caterpillars and toadstools to fill gaps and ladybirds and bees flying around to bring the whole picture together.
She adds, 'I also superglued some artificial leaves up the tree' adding a 3D element.
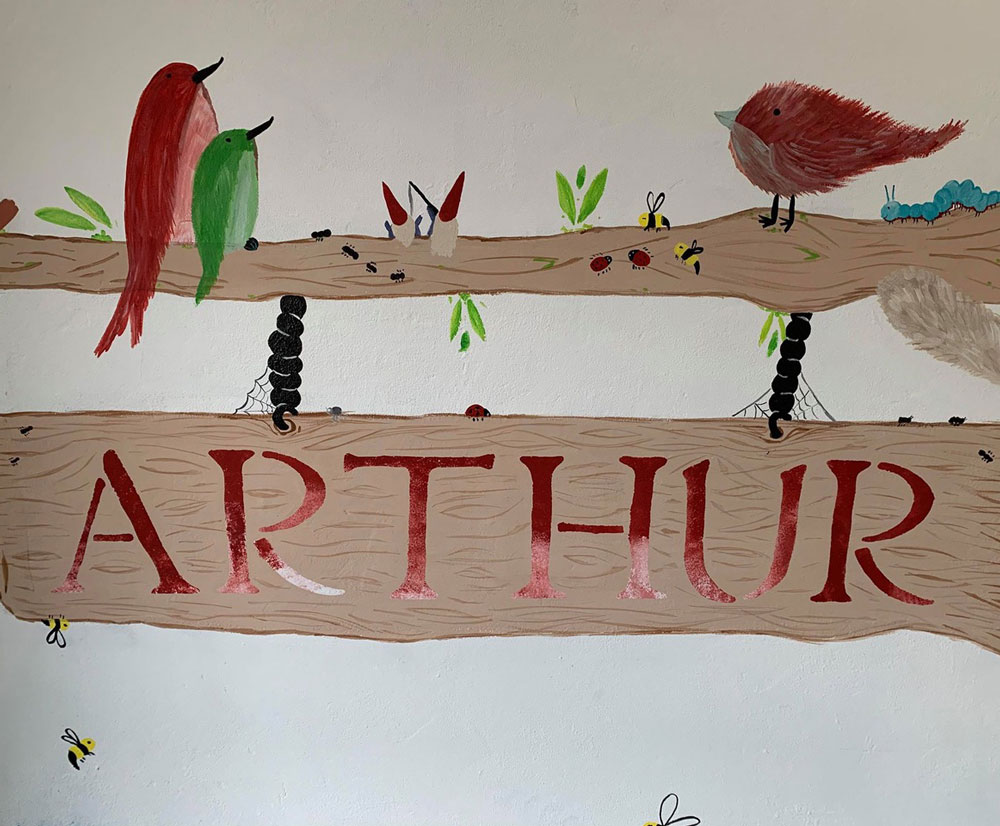
A painted sign makes the woodland mural personal to Arthur.
The nursery mural took Emma three to four days, to allow each layer of paint to dry and build upon the layers.
Emma offers another top tip, 'If you are doing something similar don’t worry if you make a mistake. Let it dry then correct it!'.
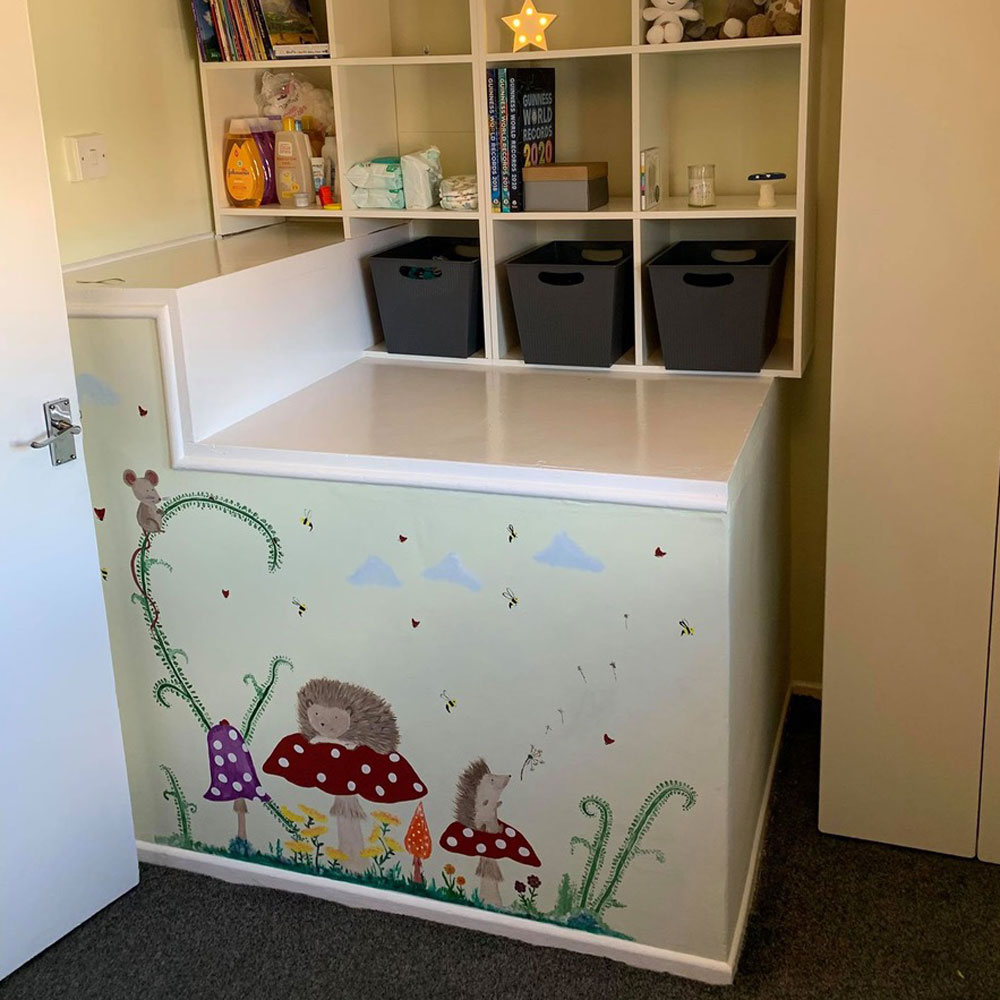
Feeling pleased with her work Emma says, 'I really enjoyed creating this space from my son at almost no cost.'
'I didn’t buy any paint as I had collected it for free from a waste exchange Facebook group. The only thing I bought was the light shade and it cost £2.50 from Wilko!'.
Related: This is what children want their dream bed to look like – and so do we!
Adding, 'It’s unusual, different and keeps him entertained looking at all the detail.'
Tamara was Ideal Home's Digital Editor before joining the Woman & Home team in 2022. She has spent the last 15 years working with the style teams at Country Homes & Interiors and Ideal Home, both now at Future PLC. It’s with these award wining interiors teams that she's honed her skills and passion for shopping, styling and writing. Tamara is always ahead of the curve when it comes to interiors trends – and is great at seeking out designer dupes on the high street.