How to create an exposed brick wall - a step-by-step guide
Everything you need to know about creating a characterful feature in your home by stripping back the walls to bare brickwork

Sign up to our newsletter for style inspiration, real homes, project and garden advice and shopping know-how
You are now subscribed
Your newsletter sign-up was successful
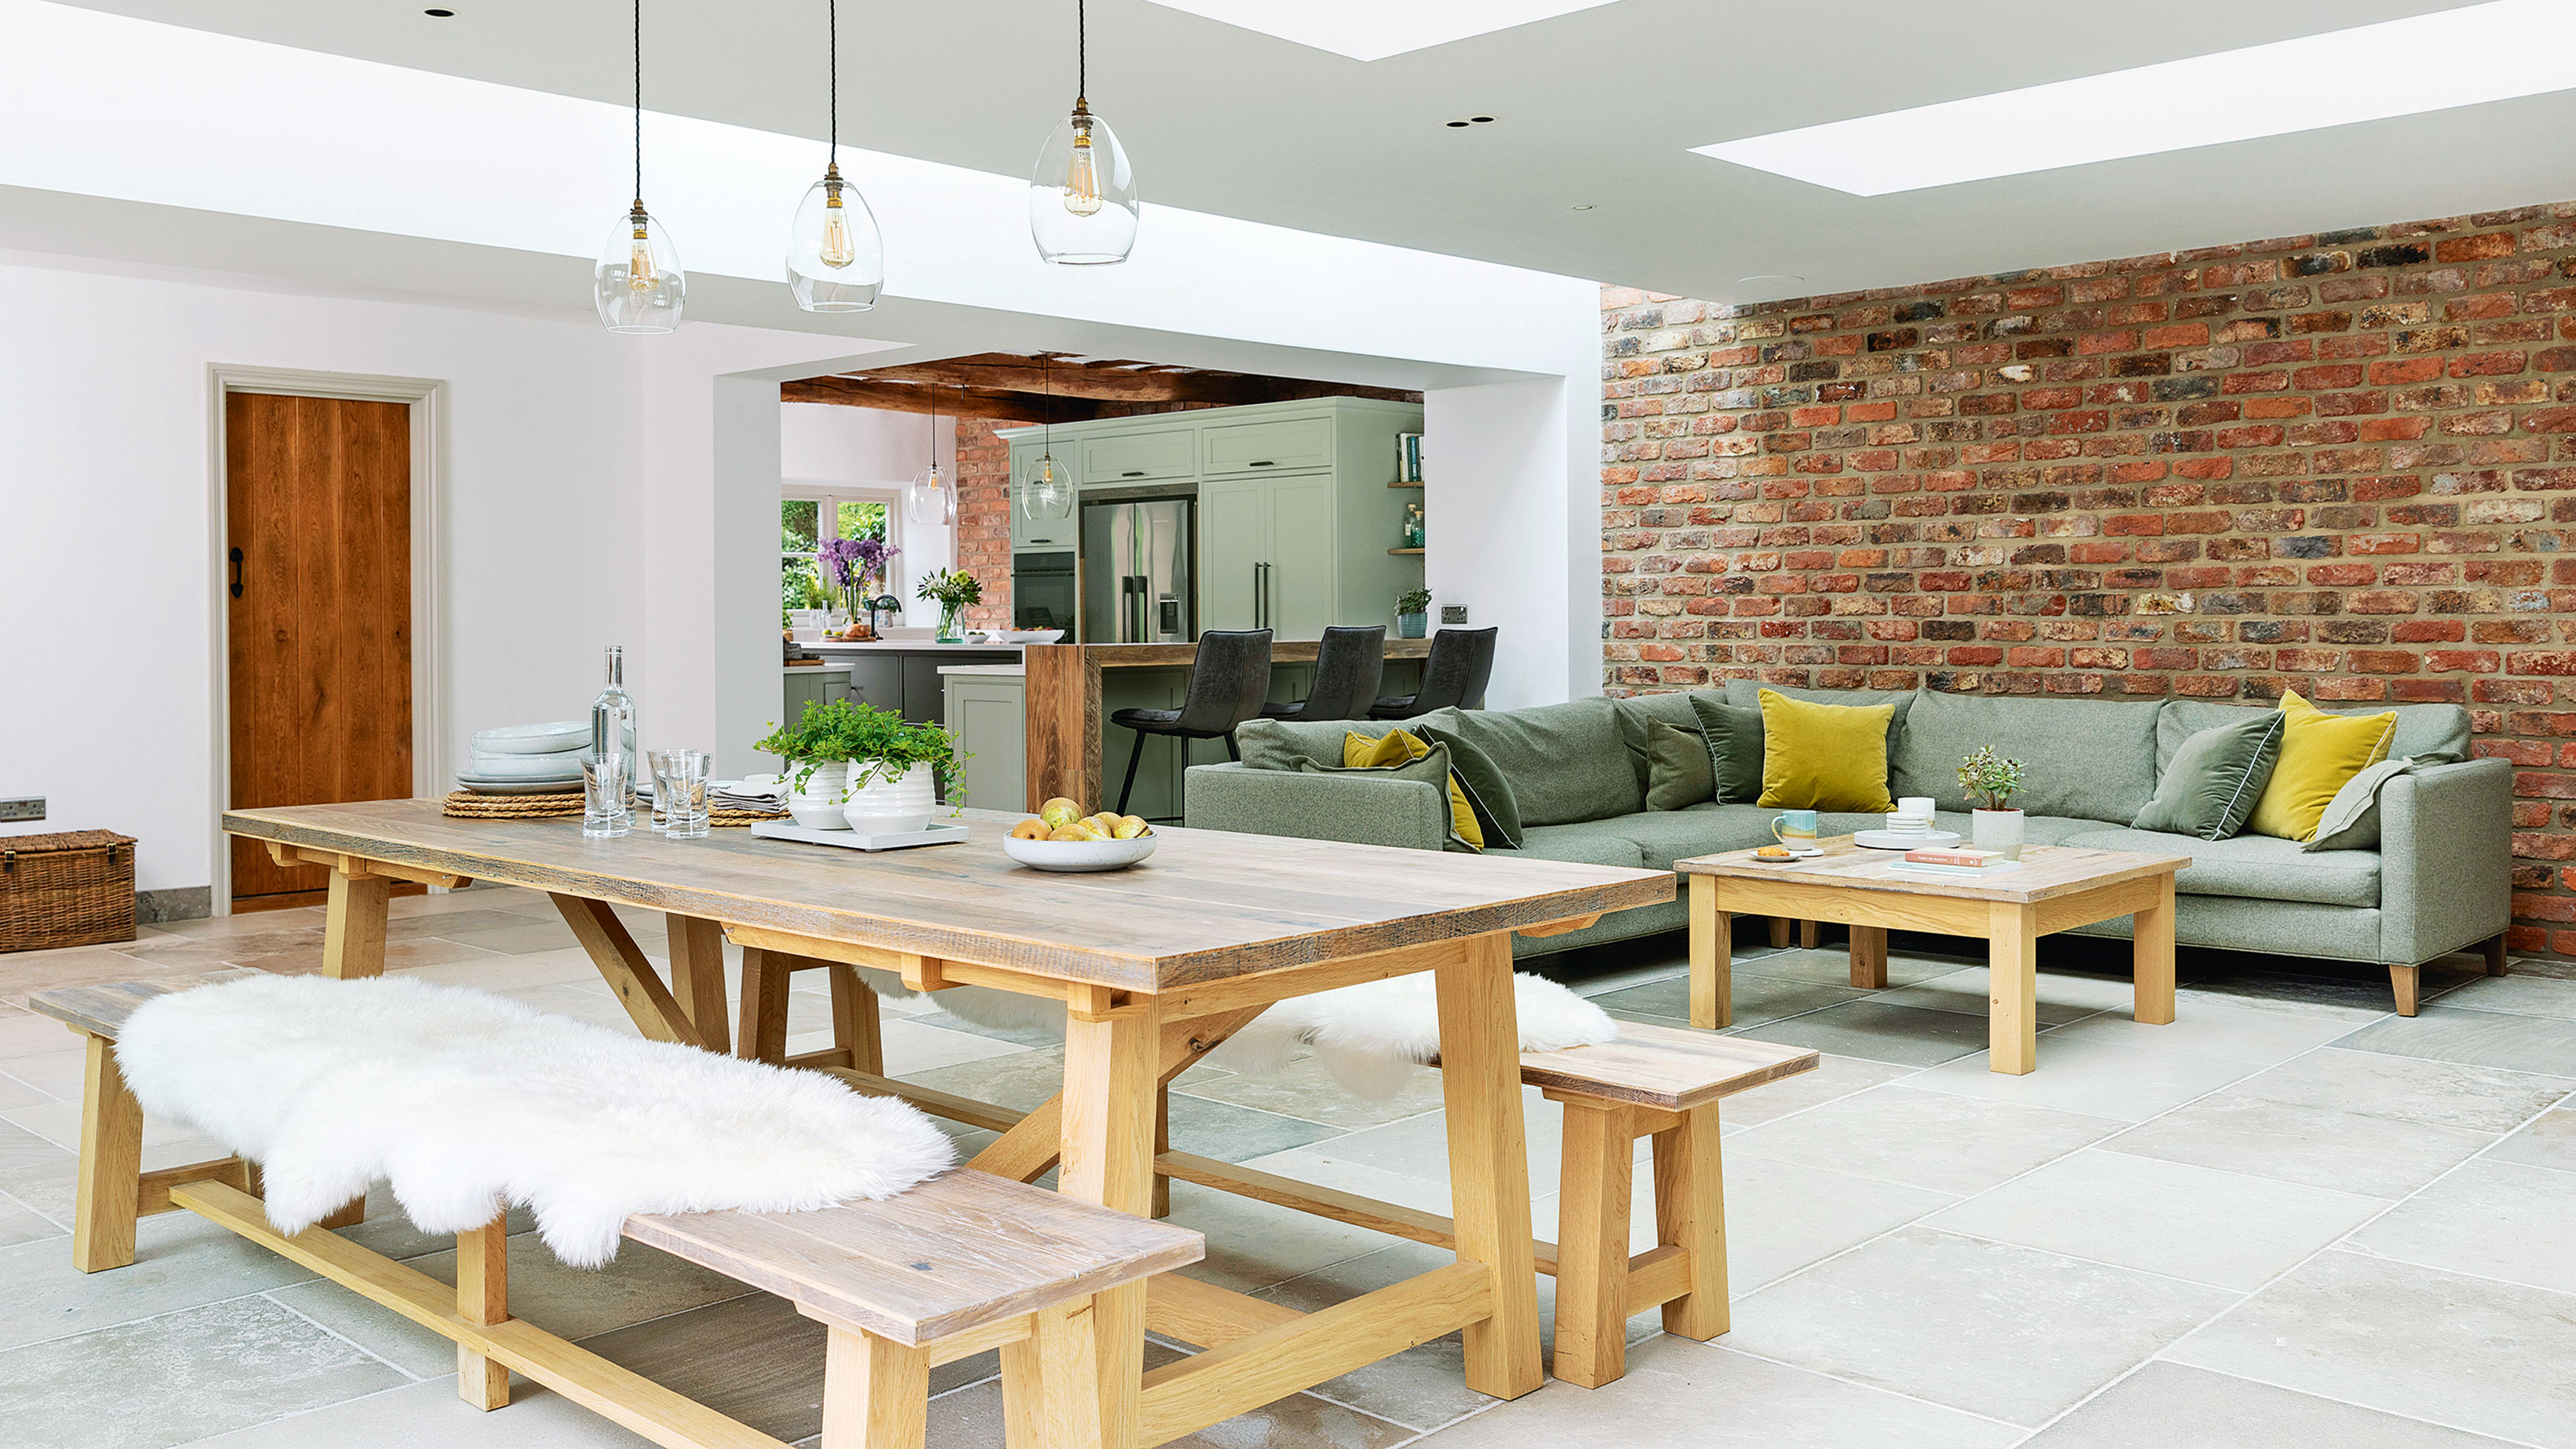
Looking to add some character to your interior? Add some bare faced chic to your home with an exposed brick wall. Whether you want to achieve a modern industrial feel or more of a rustic country vibe, you'll need to be prepared to put in some hard graft to get the best results – but we assure you it's worth it.
While there are plenty of ways to add character to your home, such as clever paint ideas or transformative wallpaper ideas, taking the next step from decoration to hands-on DIY can seem daunting, but with our step-by-step guide, we promise it is achievable.
How to create an exposed brick wall
The perfect solution for creating a stylish yet understated feature wall, it does take a little preparation to achieve the desired finish of an exposed brick wall. It's also worth noting, that if you're not a particularly dab hand at DIY or are a complete renovation novice, you may want to call in the professionals to create your exposed brick wall instead, but it will cost you.
Checkatrade member, Damien Lewis of Nationwide Construction says 'you can expect to pay between £55 – £80 per metre to clean and seal exposed brick work. The cost will depend on the amount of cleaning off it needs, the condition of your wall, how much of your wall you want to expose and where you are geographically- as it can be more expensive in London and the South than in other parts of the UK.'
James Cork, Handyman at Taskrabbit adds,' Exposing a brick wall is a lot of work so you may want to hire some help to lend a hand along the way. Whether you need a hand removing the plaster, getting rid of waste or cleaning up, hop onto Taskrabbit and hire a skilled Tasker in your area.'
With an average cost of £67.50 per metre, the costs can quickly add up, so taking on the task yourself could save you a hefty amount of money, as well as expand your DIY skills for the better.
Stick to one wall or a section of wall with natural start and finish points, such as a chimney breast or inside alcoves, and remember exposed brick is a pretty bold statement, so try not to get carried away. One exposed brick wall could look amazing, but a whole room could be overkill.
Sign up to our newsletter for style inspiration, real homes, project and garden advice and shopping know-how
So be brave, read on to discover everything you'll need to know about creating an exposed brick wall at home, and follow these simple steps to ensure yours looks its best.
1. Think carefully about which wall to expose
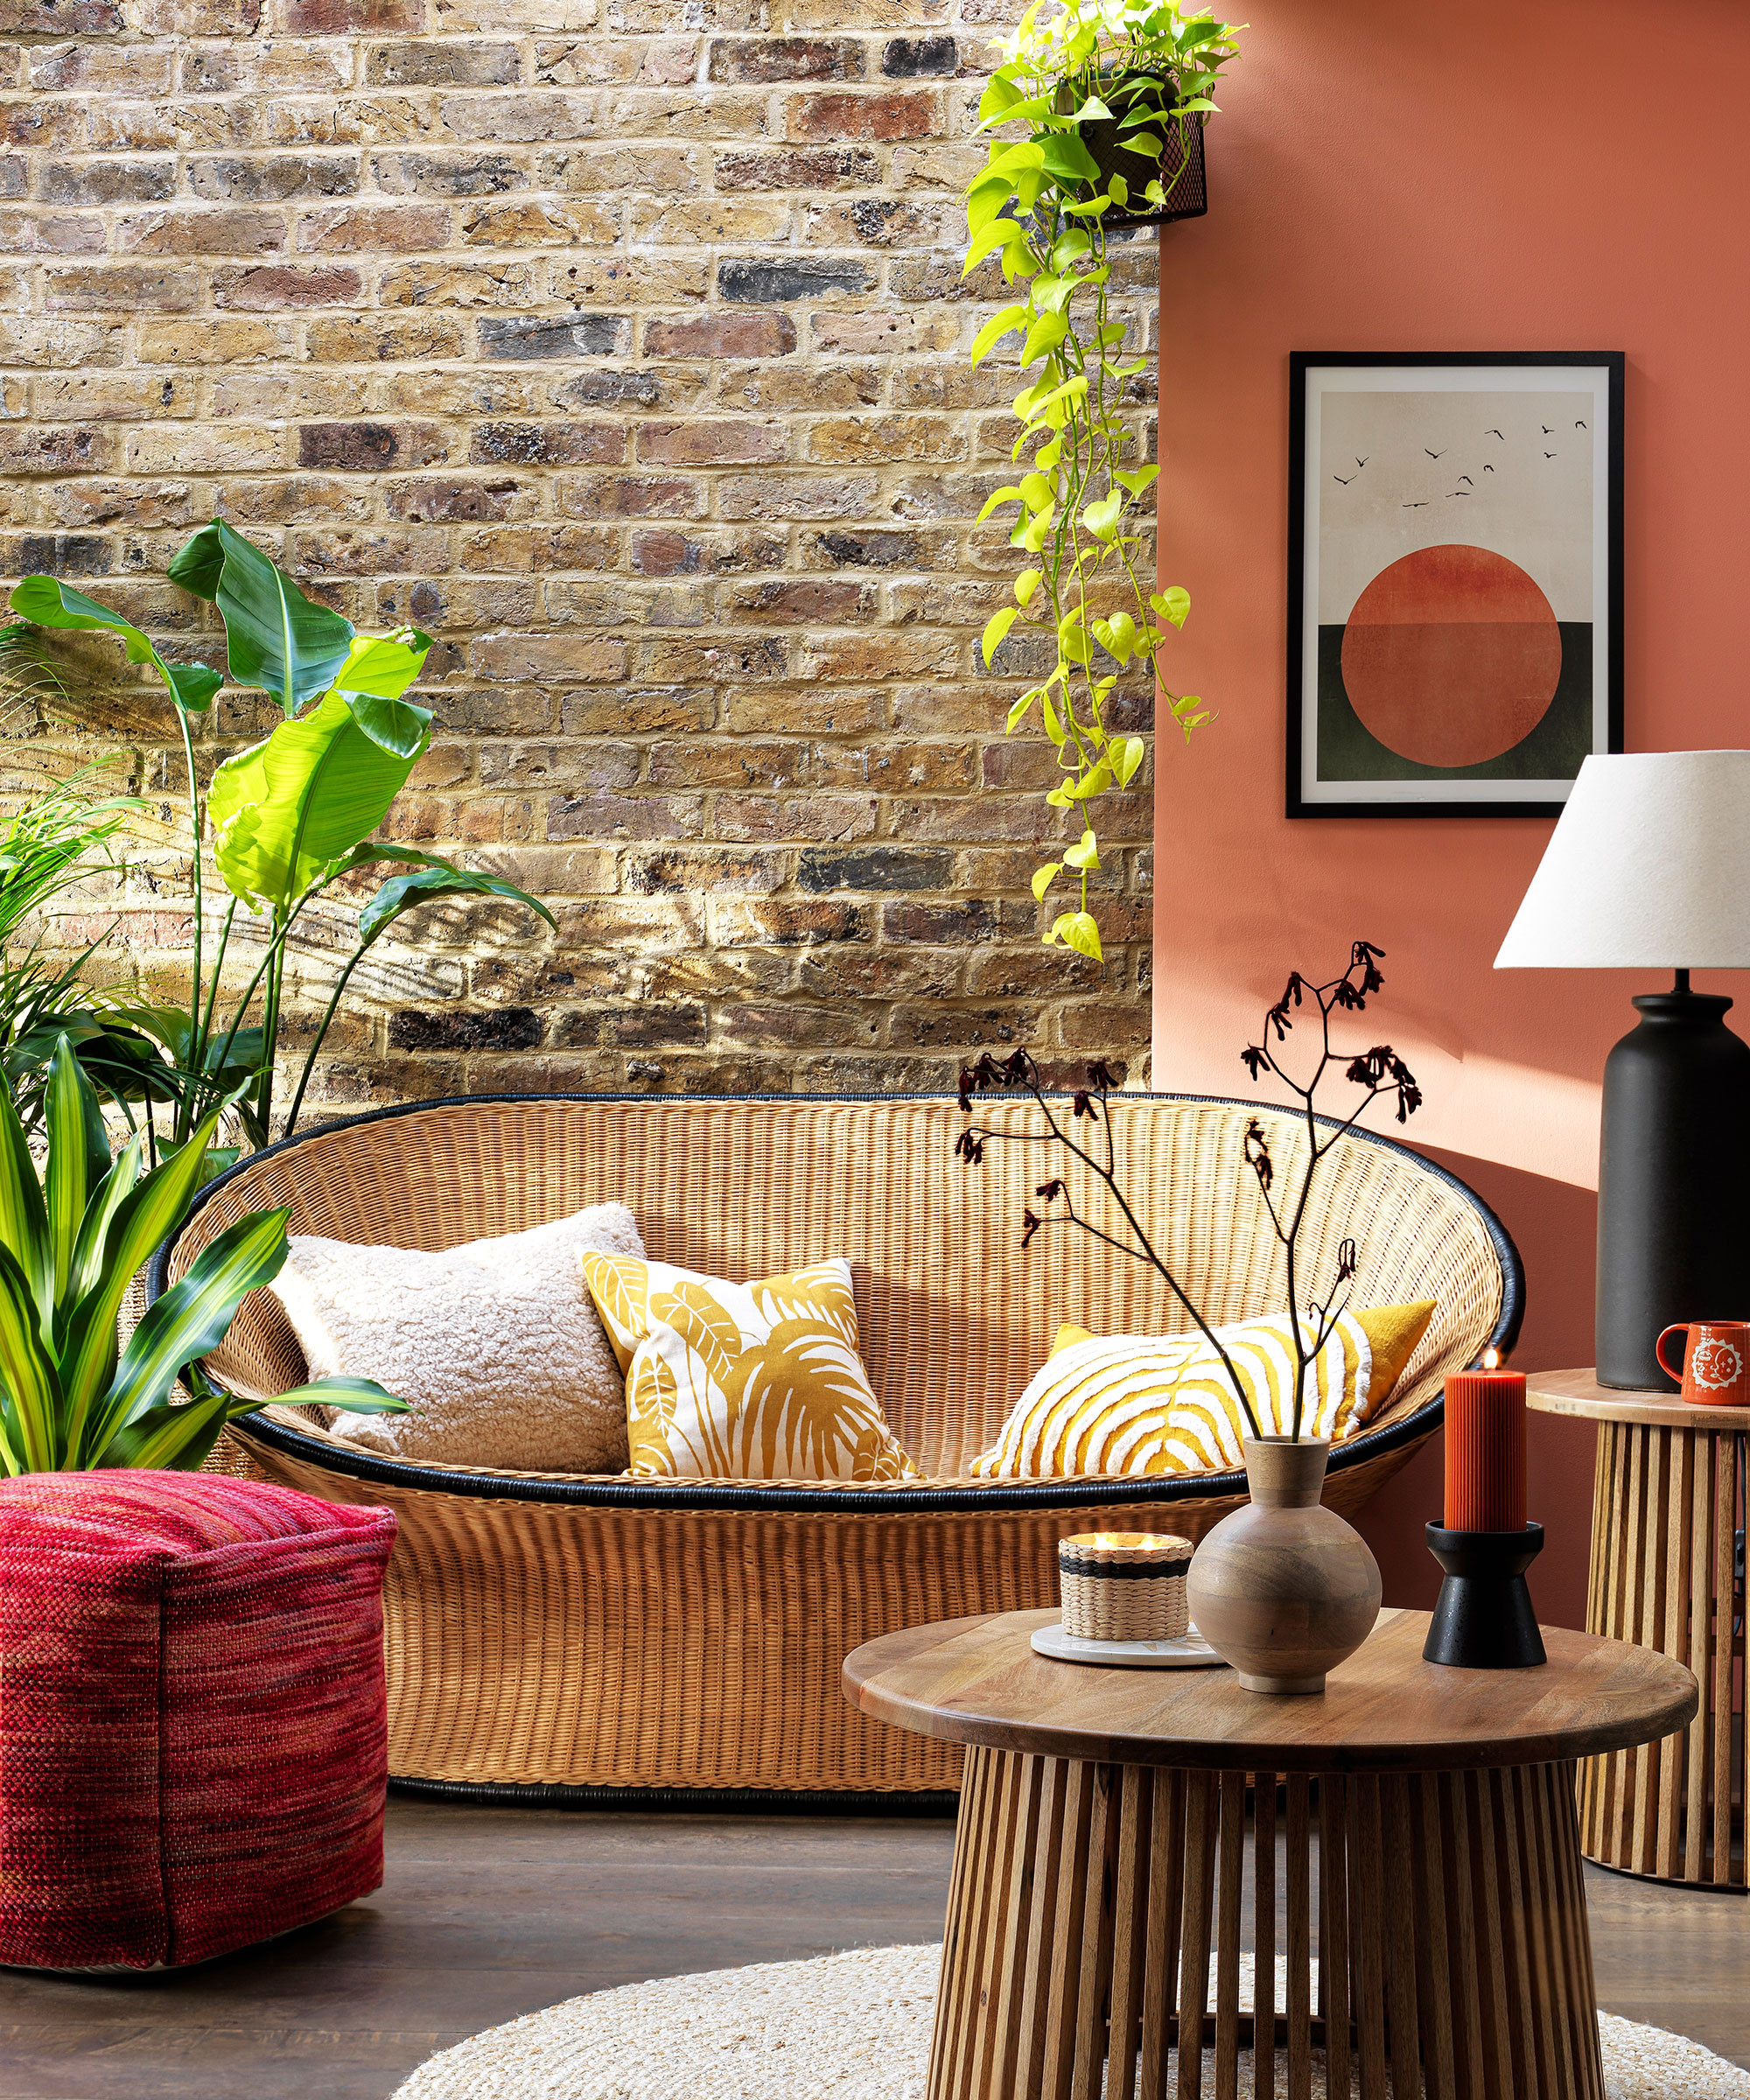
Deciding whether to expose brick depends on the age of your property. As a general rule, pre-Fifties is best and the earlier the better.
Start by choosing which wall you’d like to strip back, noting that walls without windows and doors will be quicker and easier to work with. Radiators and plug sockets can be put back into place, but will need to be removed first.
James Cork, Handyman at Taskrabbit advises, 'When picking a brick wall to expose, be mindful, as it is a dramatic statement and will become the focus of whichever room you chose. Exposing the brick around a fireplace is always an effective look and the small area generally means it’s not too big of a job.'
'If you’re looking to make a bigger statement in the dining or living room, choose the wall with the least plug sockets and ideally, with no radiators or windows, to avoid slowing down the process and making it more difficult than it needs to be- an easy DIY project this is not.'
2. Check if your walls are suitable for stripping back to brick
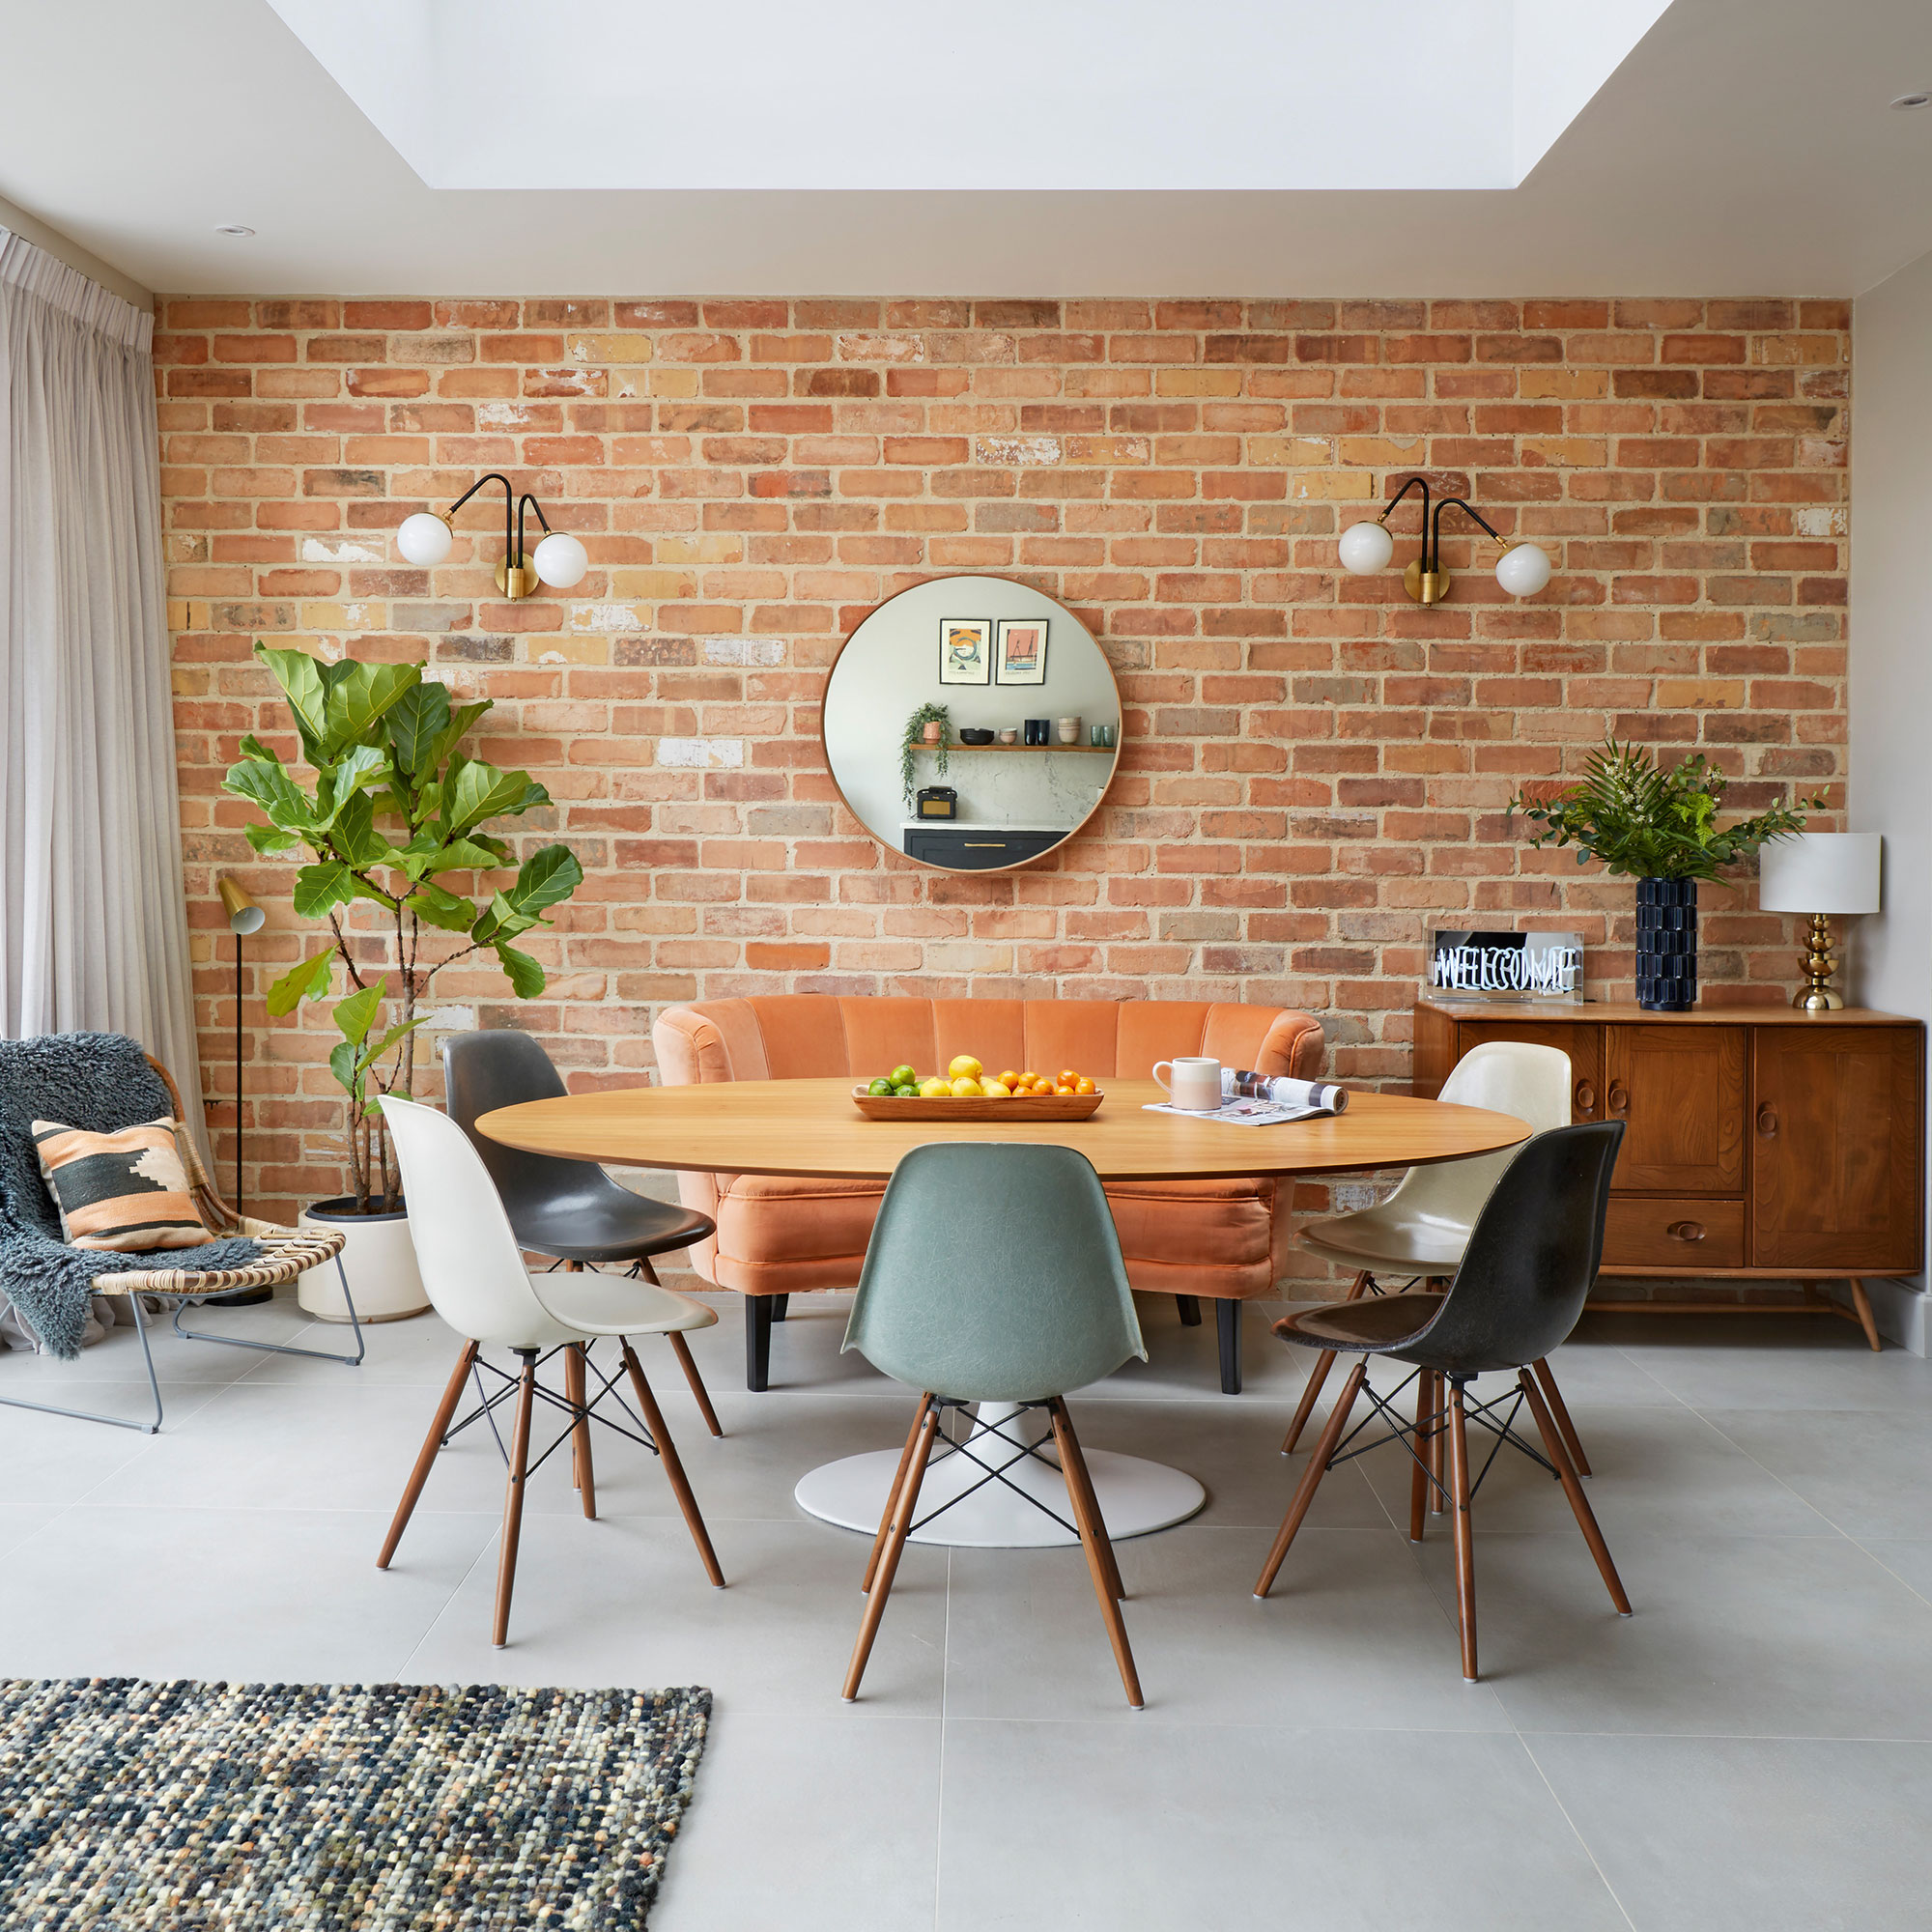
Next, take your best drill to make a pilot hole to make sure there is actually brick back there, then uncover a test site (approximately 30cm2) to give you a good idea of the quality of your brickwork. If you’re happy with what you see, crack on!
The experts at Checkatrade recommend 'Inspect the area before you start, to check the state of brickwork you want to expose. To do this, remove a portion of the plaster in a tucked-away corner, to expose a small amount of the brickwork, so you can check out the colour and quality of the bricks.'
'If it’s in poor condition – e.g., warped, water-logged, or crumbling – you’ll need to hire a specialist to inspect the wall and foundations before you start the work. If your brickwork isn’t suitable to be exposed, consider installing brick slips instead so you can still get the look.'
James adds, 'Before you do anything, make sure there’s definitely brick behind the plaster (you’d be surprised!) and uncover a test area to check you’re happy with the quality of the bricks before going any further. If you’re not satisfied, stop there and repair the wall. If you love what you see, get ready to tackle the rest!'
3. Prepare the room
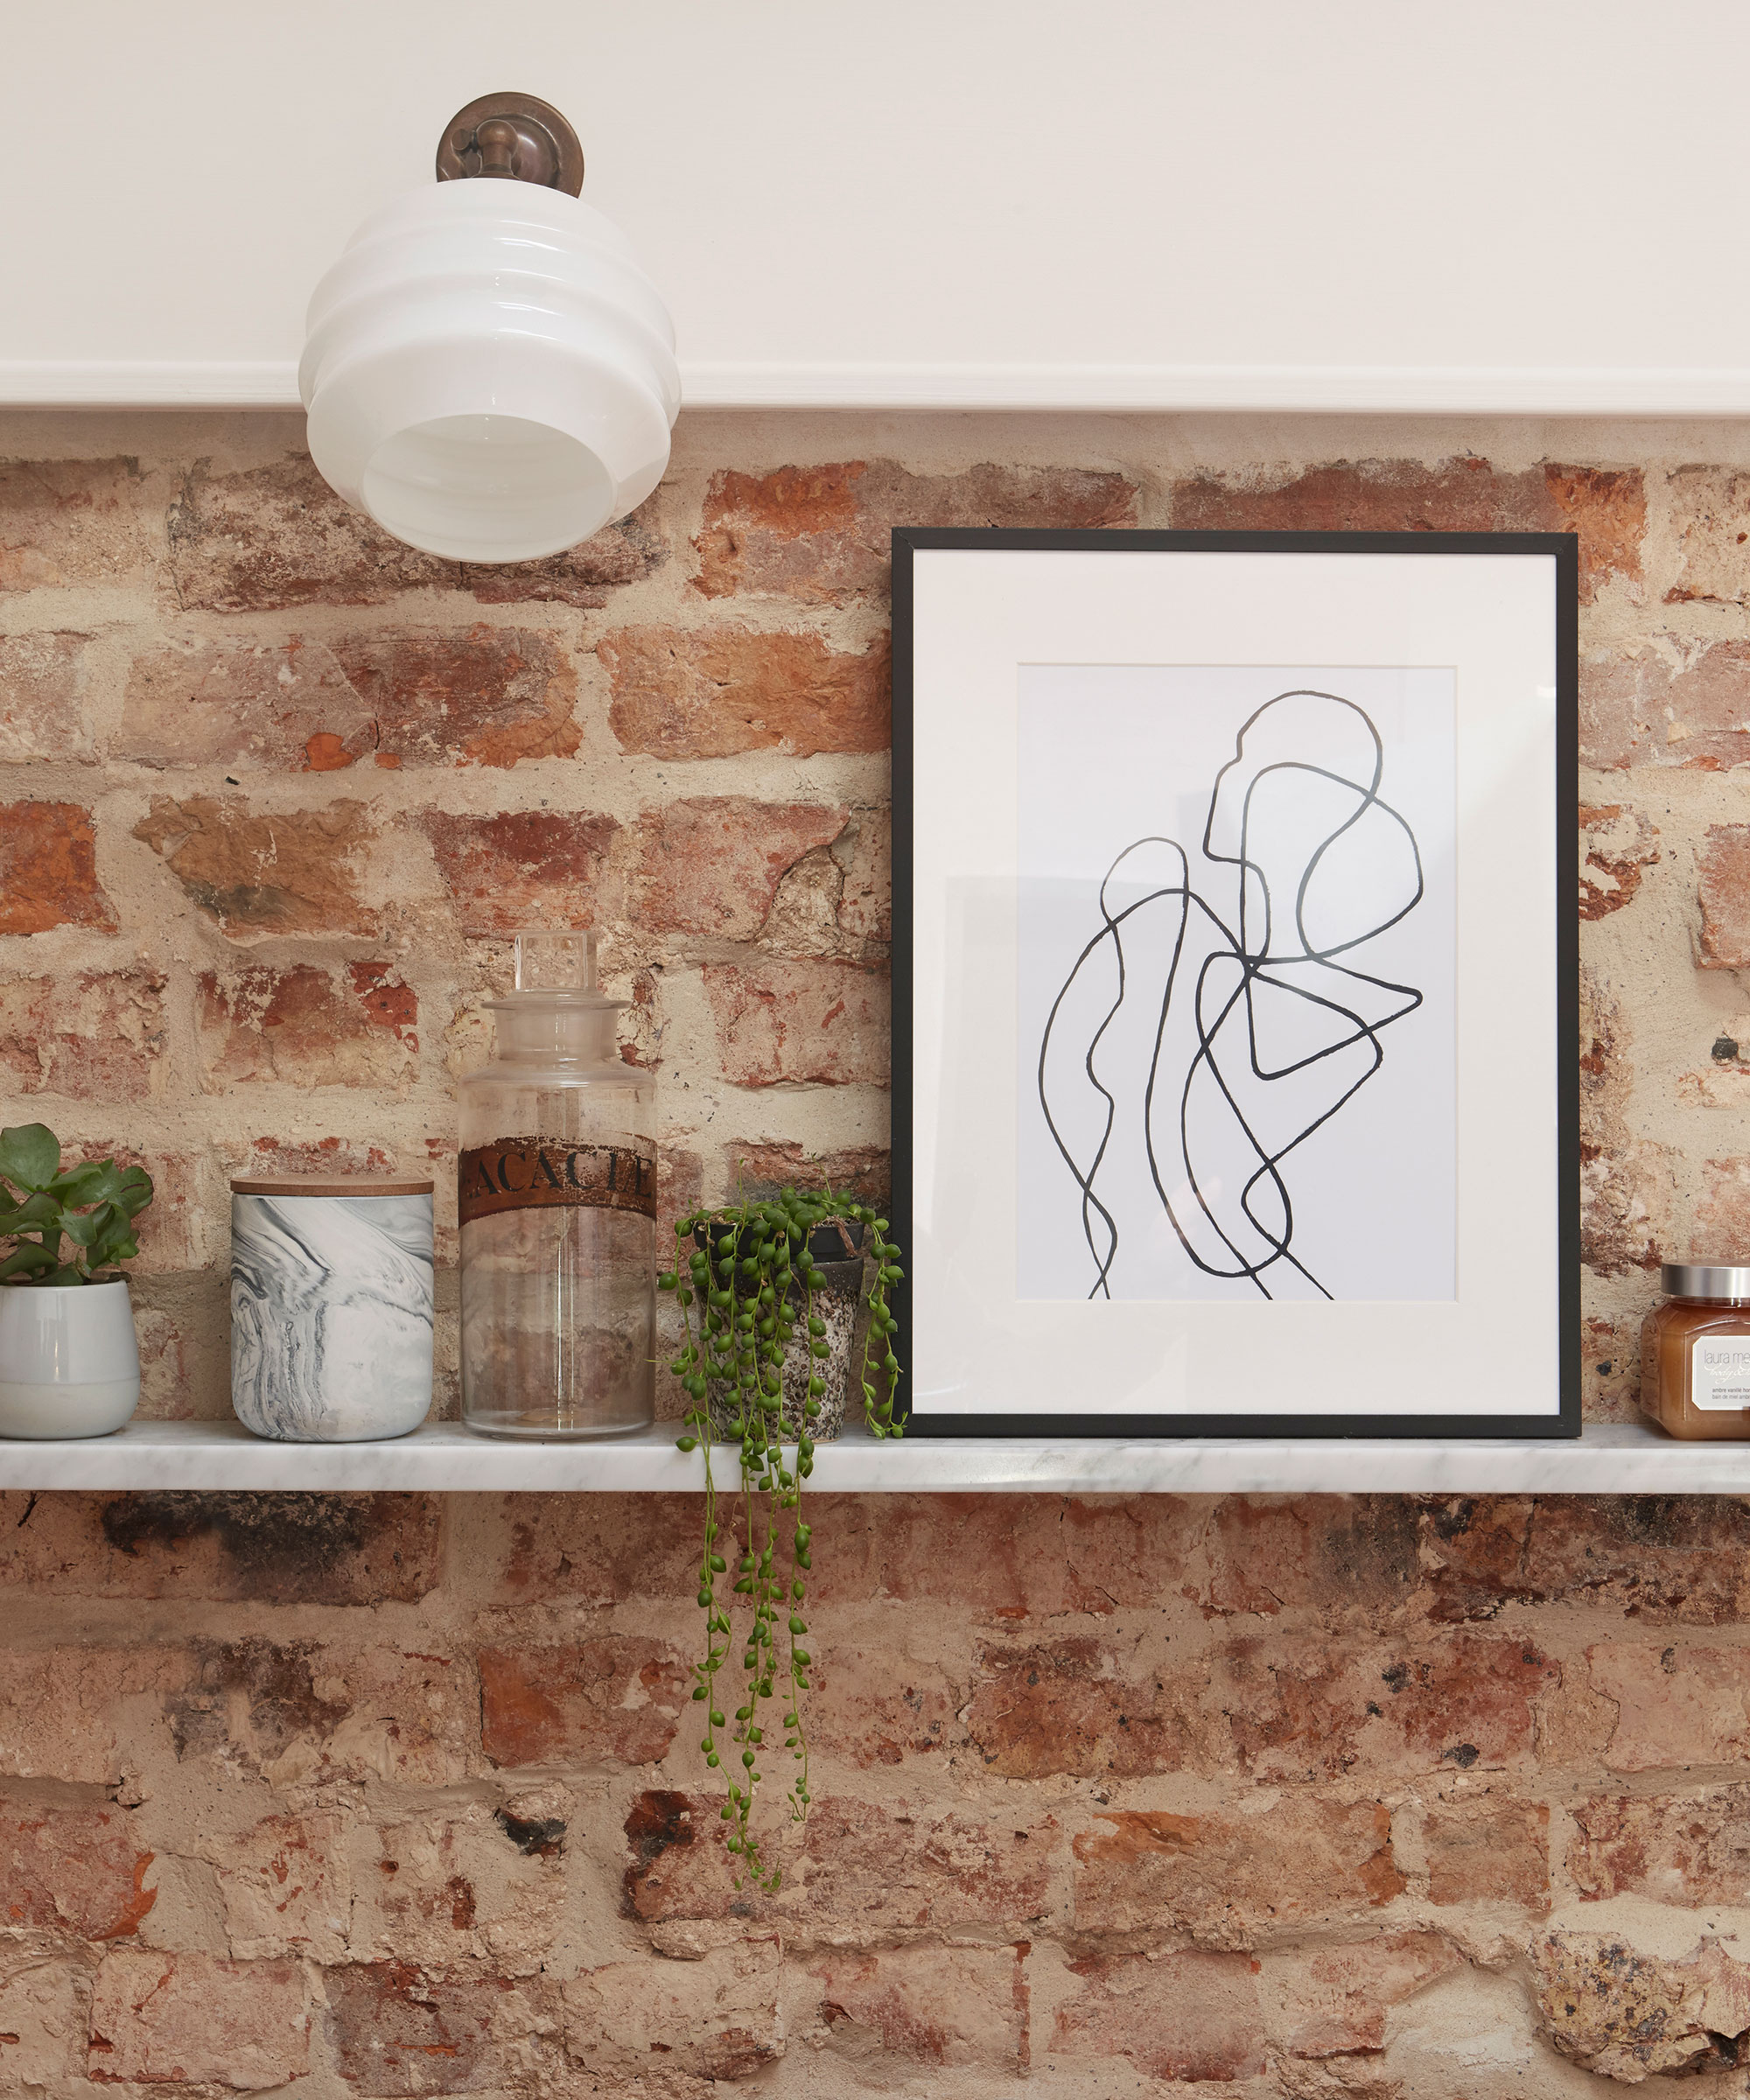
Prepare the room by covering EVERYTHING with dust sheets (there will be a lot of dust and dirt) and where you can, seal the doors.
James says, 'Exposing a brick wall can be messy work, so make sure you protect yourself and your surroundings. You need gloves, goggles, masks, and old clothing you don’t mind getting damaged. Then, remove any furniture you can from the room and cover the rest securely with dust sheets. Another tip would be to make sure you have a couple of buckets or rubbish bags nearby to gather the plaster you remove from the wall so it’s easy to dispose of.'
The experts at Checkatrade add,'Take your tarp or plastic sheeting and lay it on the floor – flush to the wall you want to expose. You’ll also need to cover the adjacent walls with plastic sheeting to stop any wayward plaster chipping or scratching your paintwork. Protecting the area like this also means you’ll be able to tidy up quicker too.'
4. Start stripping!
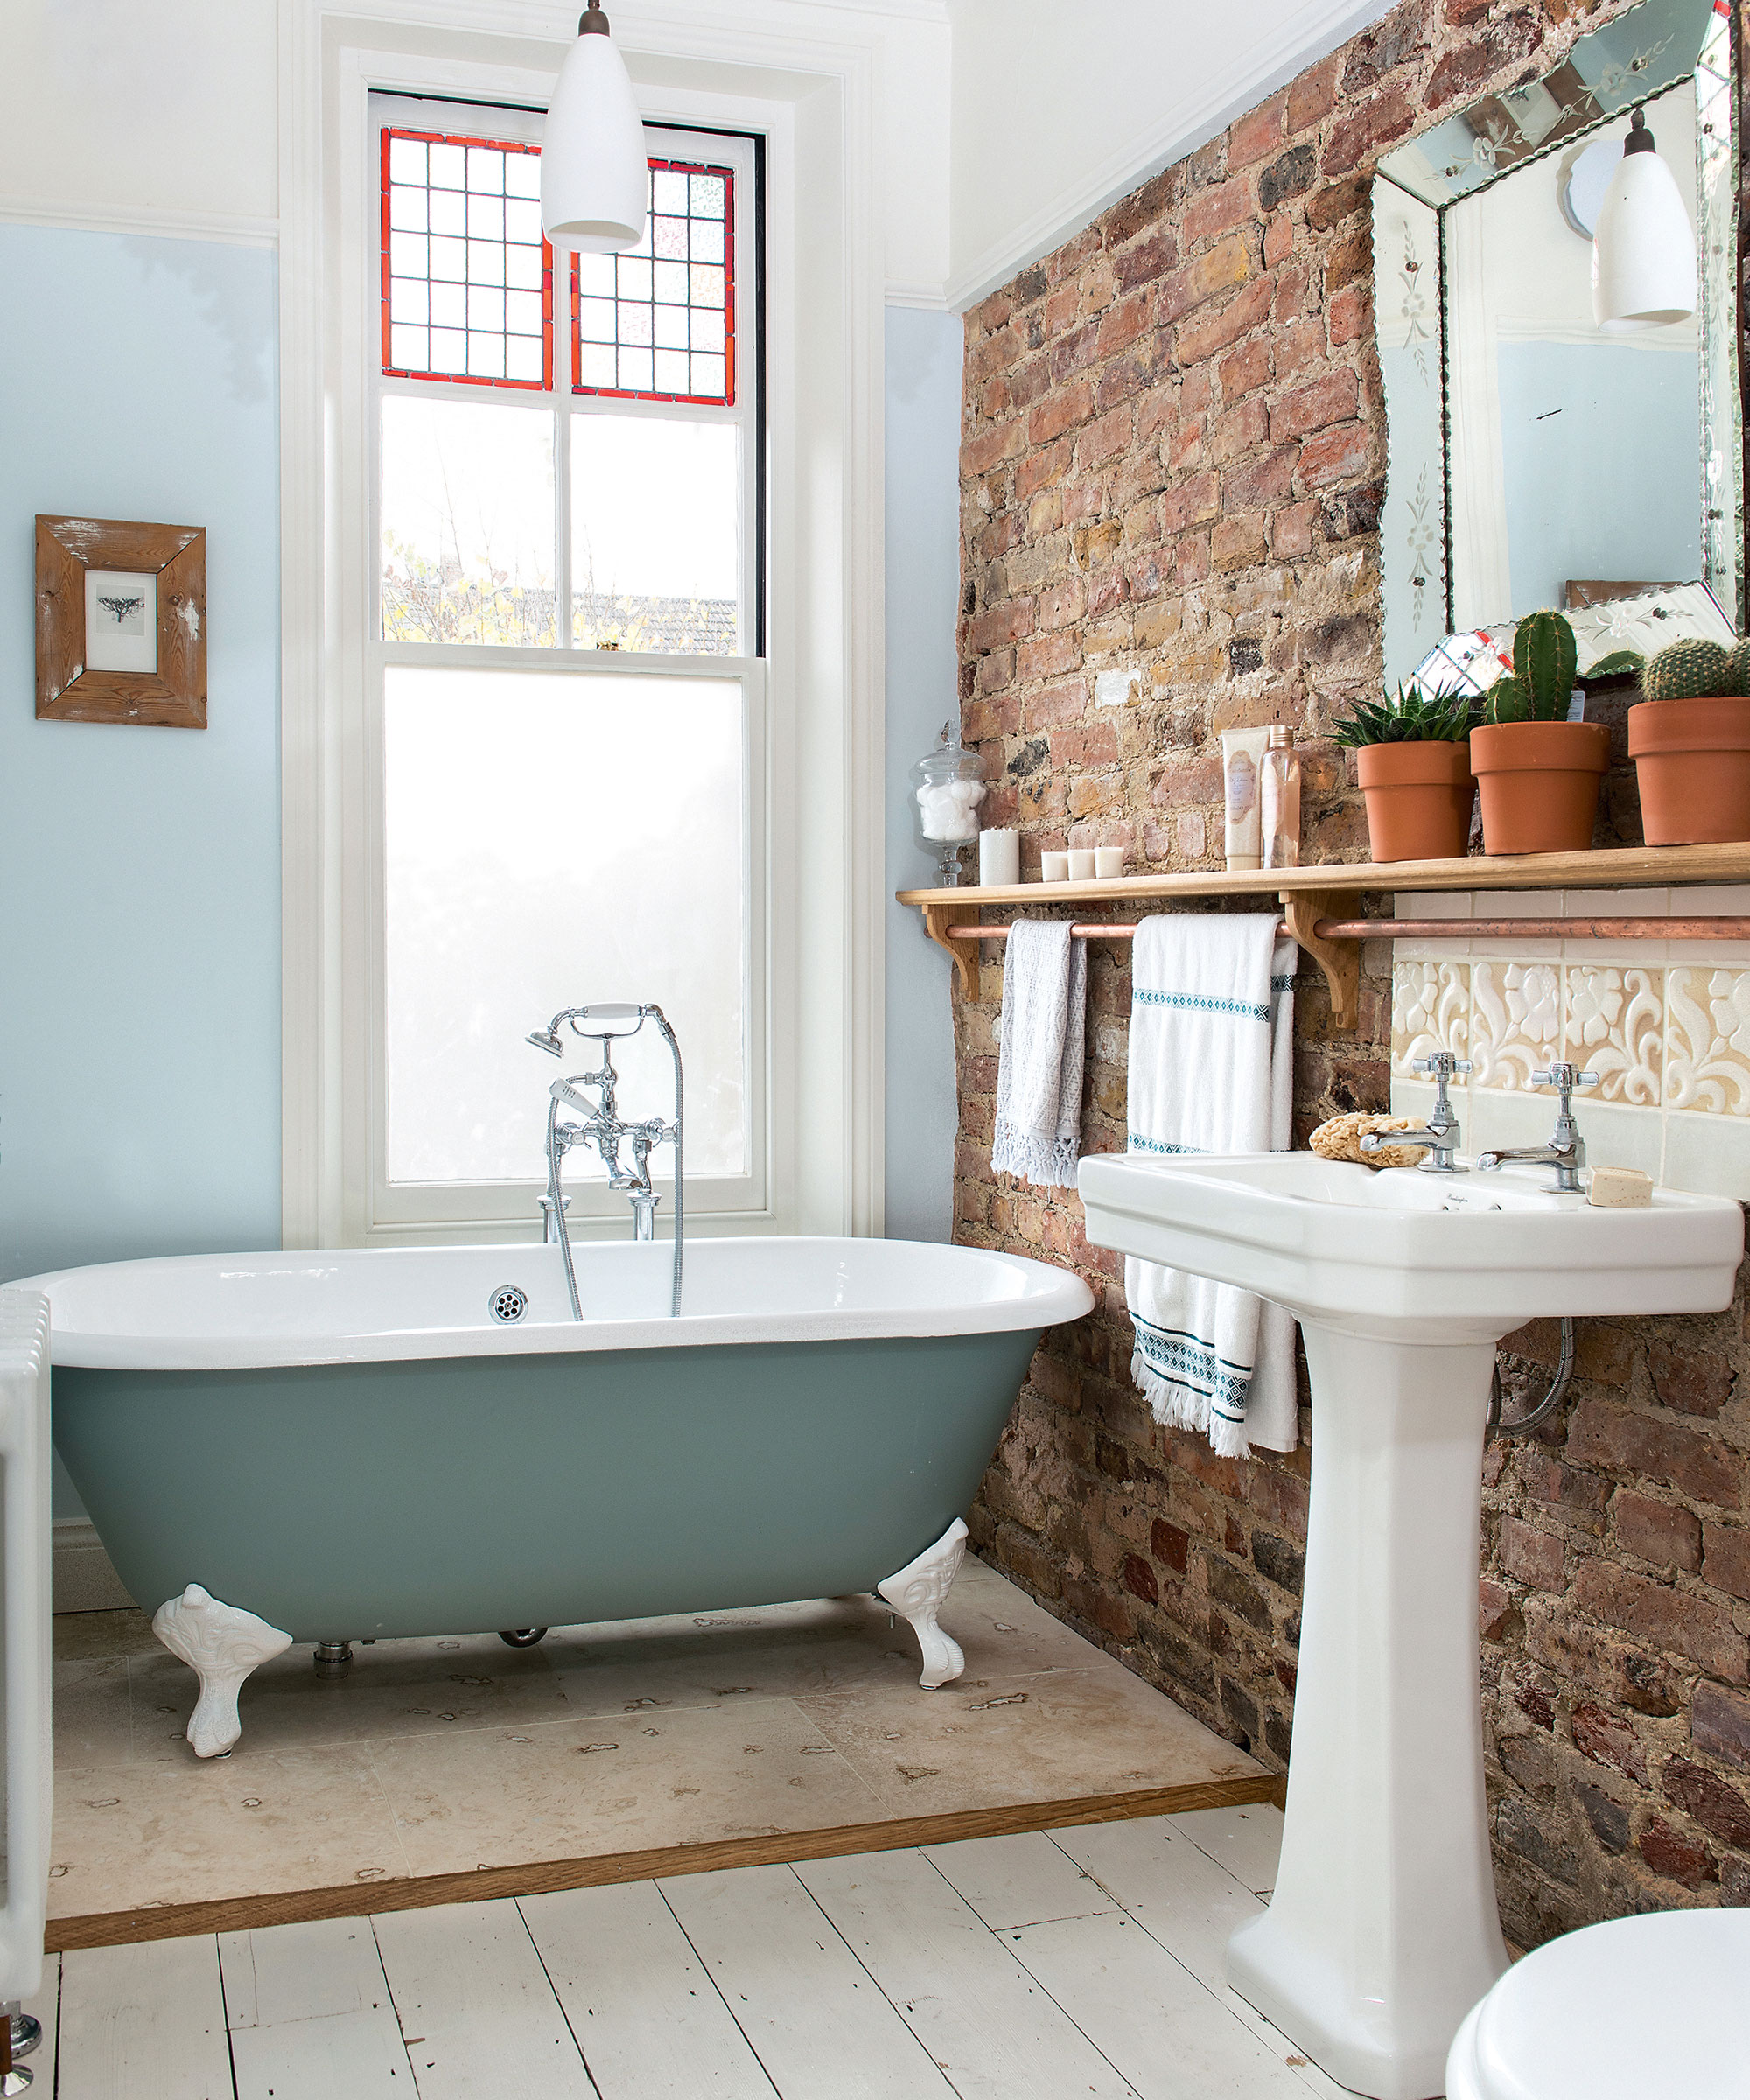
Once your room is suitably protected, it's time to start breaking up the wall. Begin hitting the wall with a hammer to break up the plaster. Work across the wall from left to right, hammering and then gently lifting the plasterwork off with a trowel or putty knife, but give yourself plenty of time to complete this time-consuming job.
The experts at Checkatrade advise, 'To start chipping off the plaster, put on your safety equipment (gloves and googles) and respirator, pick up your masonry chisel and hammer, and start breaking off the plaster from the wall you want to expose. Hold the chisel at a 45-degree angle and tap the hammer on its backside to work out the amount of pressure you need to use.'
'Once you’ve removed most of the plaster, it’s time to focus on any remaining stubborn sections. These might require your putty knife to prise loose. Our Top tip? Avoid damaging the brickwork by scraping the plaster at a 90-degree angle, flush to the wall. If you can, use ‘flicking’ motions to remove the last pieces of plaster.'
5. Tidy up the bare brickwork
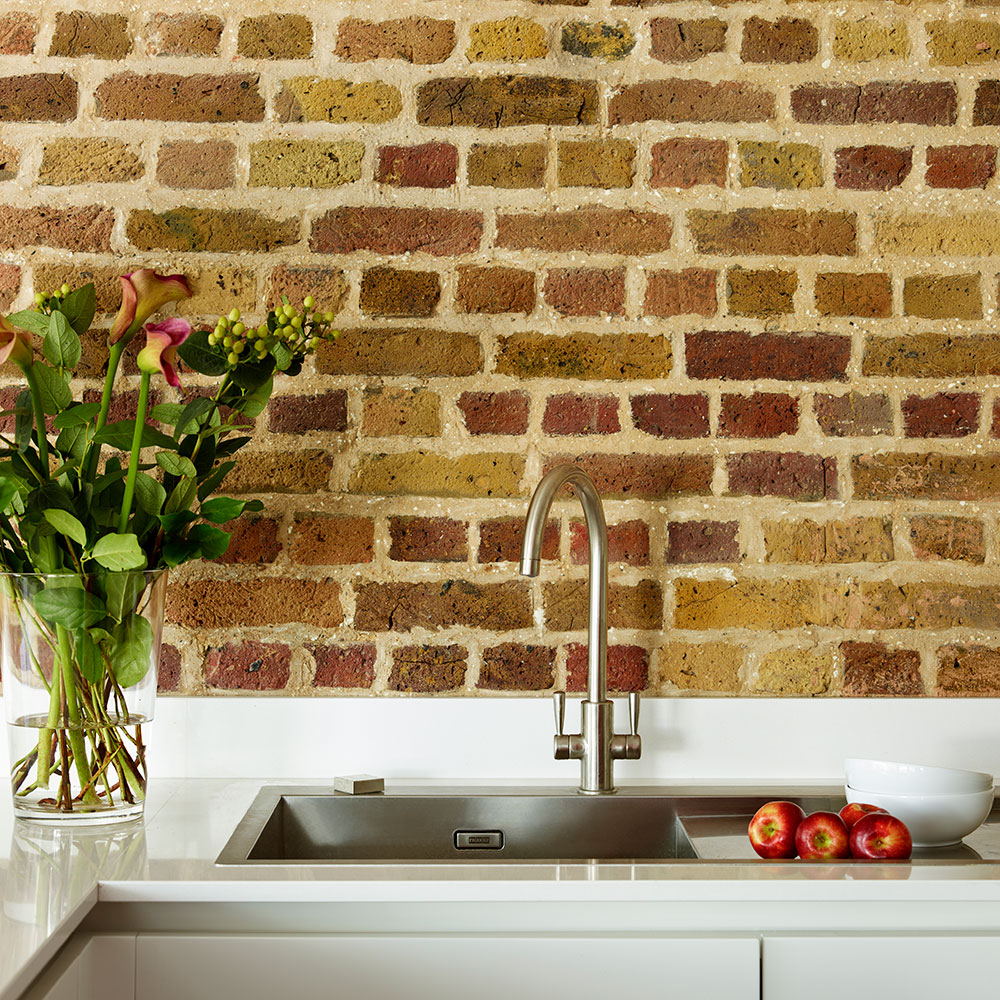
Once you've finished uncovering your exposed brick wall, sponge it down to remove as much dust as possible, then use a wire brush with a mixture of equal parts sugar soap, salt and water to give the bricks a deep clean.
The experts at Checkatrade advise, 'Once your wall is plaster-free, it’s time to give it a vigorous brush-down with a wire brush. This should remove any remaining plaster, sediment, or erosion. Then it’s time to clean it. The best way to do this is to use a mild detergent and wipe it down with a sponge. Leave it to dry overnight. For a deeper clean, dab on the mixture and let it do its job for 5-10 minutes. Then wipe off any excess suds with a sponge or old rag.'
James adds, 'Once the whole wall is exposed (this may take a while so be patient!), grab some water and a sponge and remove as much dust from the wall as possible. Then deep clean each brick using a wire brush. There are sometimes leftover stubborn pieces of plaster, so you can use brick acid to get rid of these and produce a smoother finish.'
6. Finish by sealing your wall
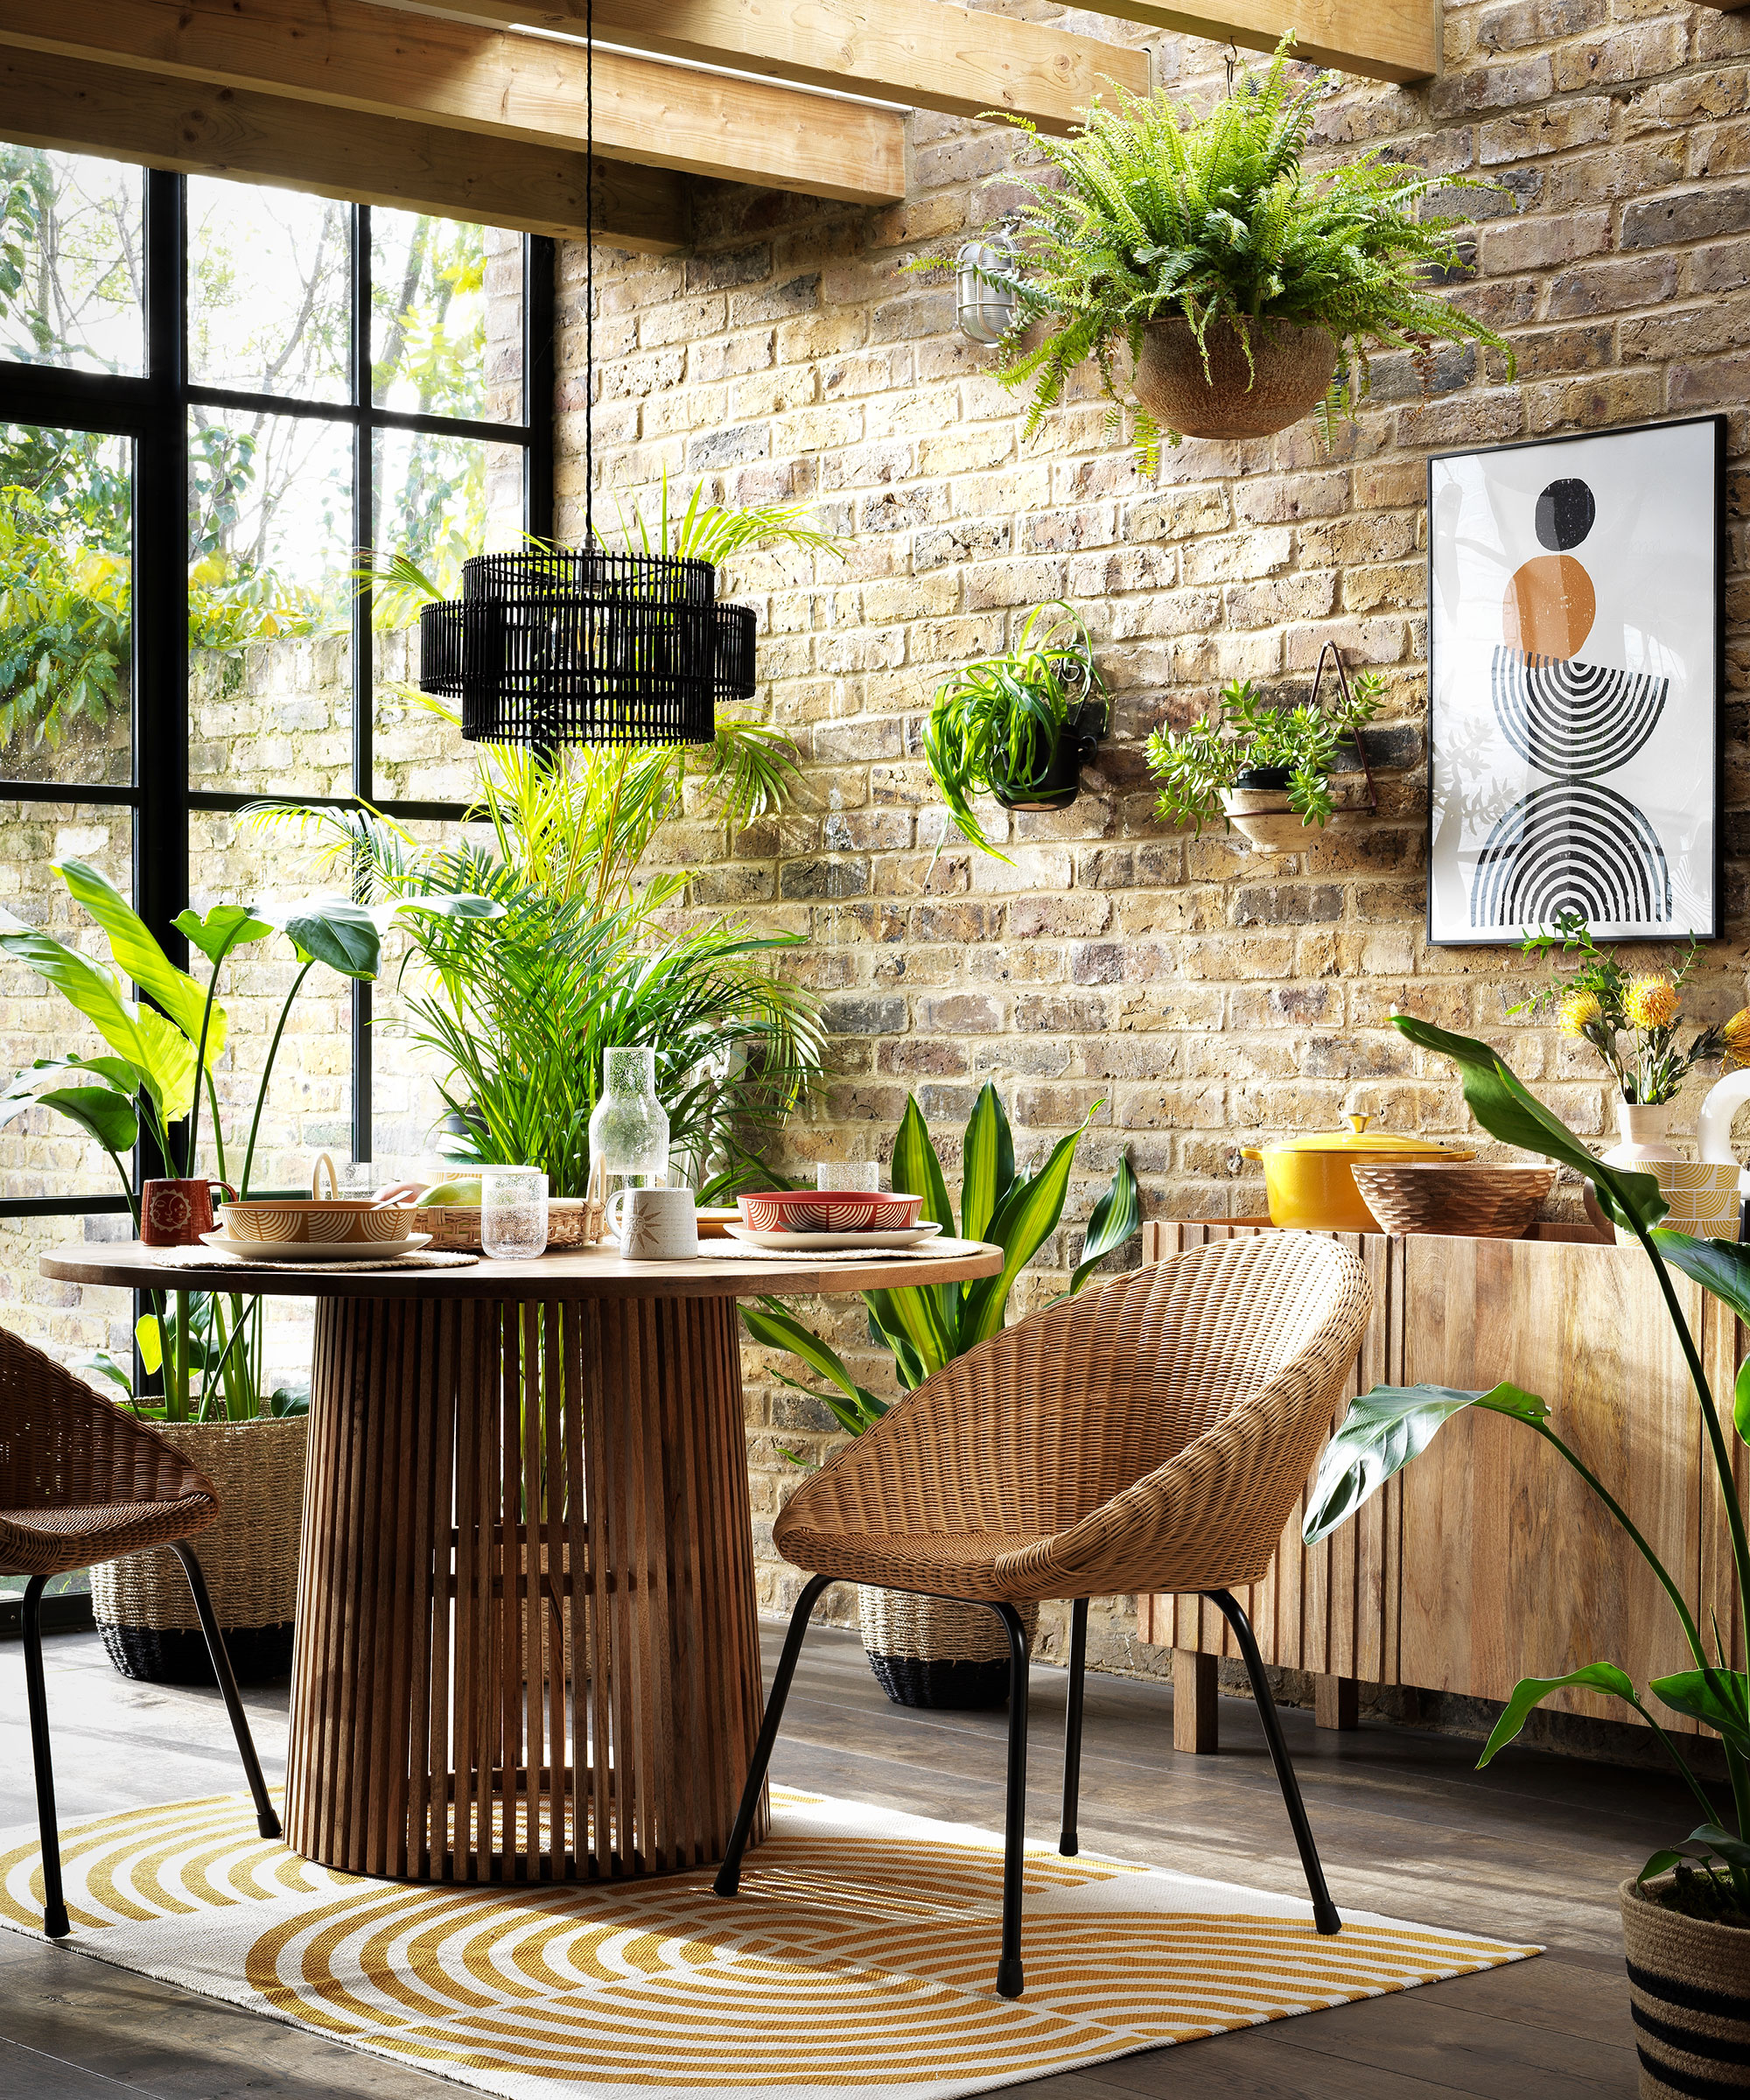
To seal or not to seal? While sealing your exposed brick wall may alter the colour of the brickwork, which can arguably ruin the original look, in moisture-prone rooms like kitchens and bathrooms, PVA or terracotta sealant is recommended to protect the bricks and improve hygiene.
The experts at Checkatrade advise, 'Once your wall is clean and dry, add two coats of sealant to protect it. Follow the manufactures instructions for the best results and Voila! Now all that’s left to do is tidy up the area and work out how you want to decorate your wall.'
Sealing the wall should protect it from any knocks or whacks plus will stop any lose dust from falling onto the floor.
Now that your feature wall is complete, stand back and admire your handiwork!
How can I fake the look of an exposed brick wall?
To emulate the look, faux-brick cladding or a brick slip tiled feature wall could be the answer – try Eurobrick or Matclad. Also called veneer bricks, they mimic a solid wall but are thinner.
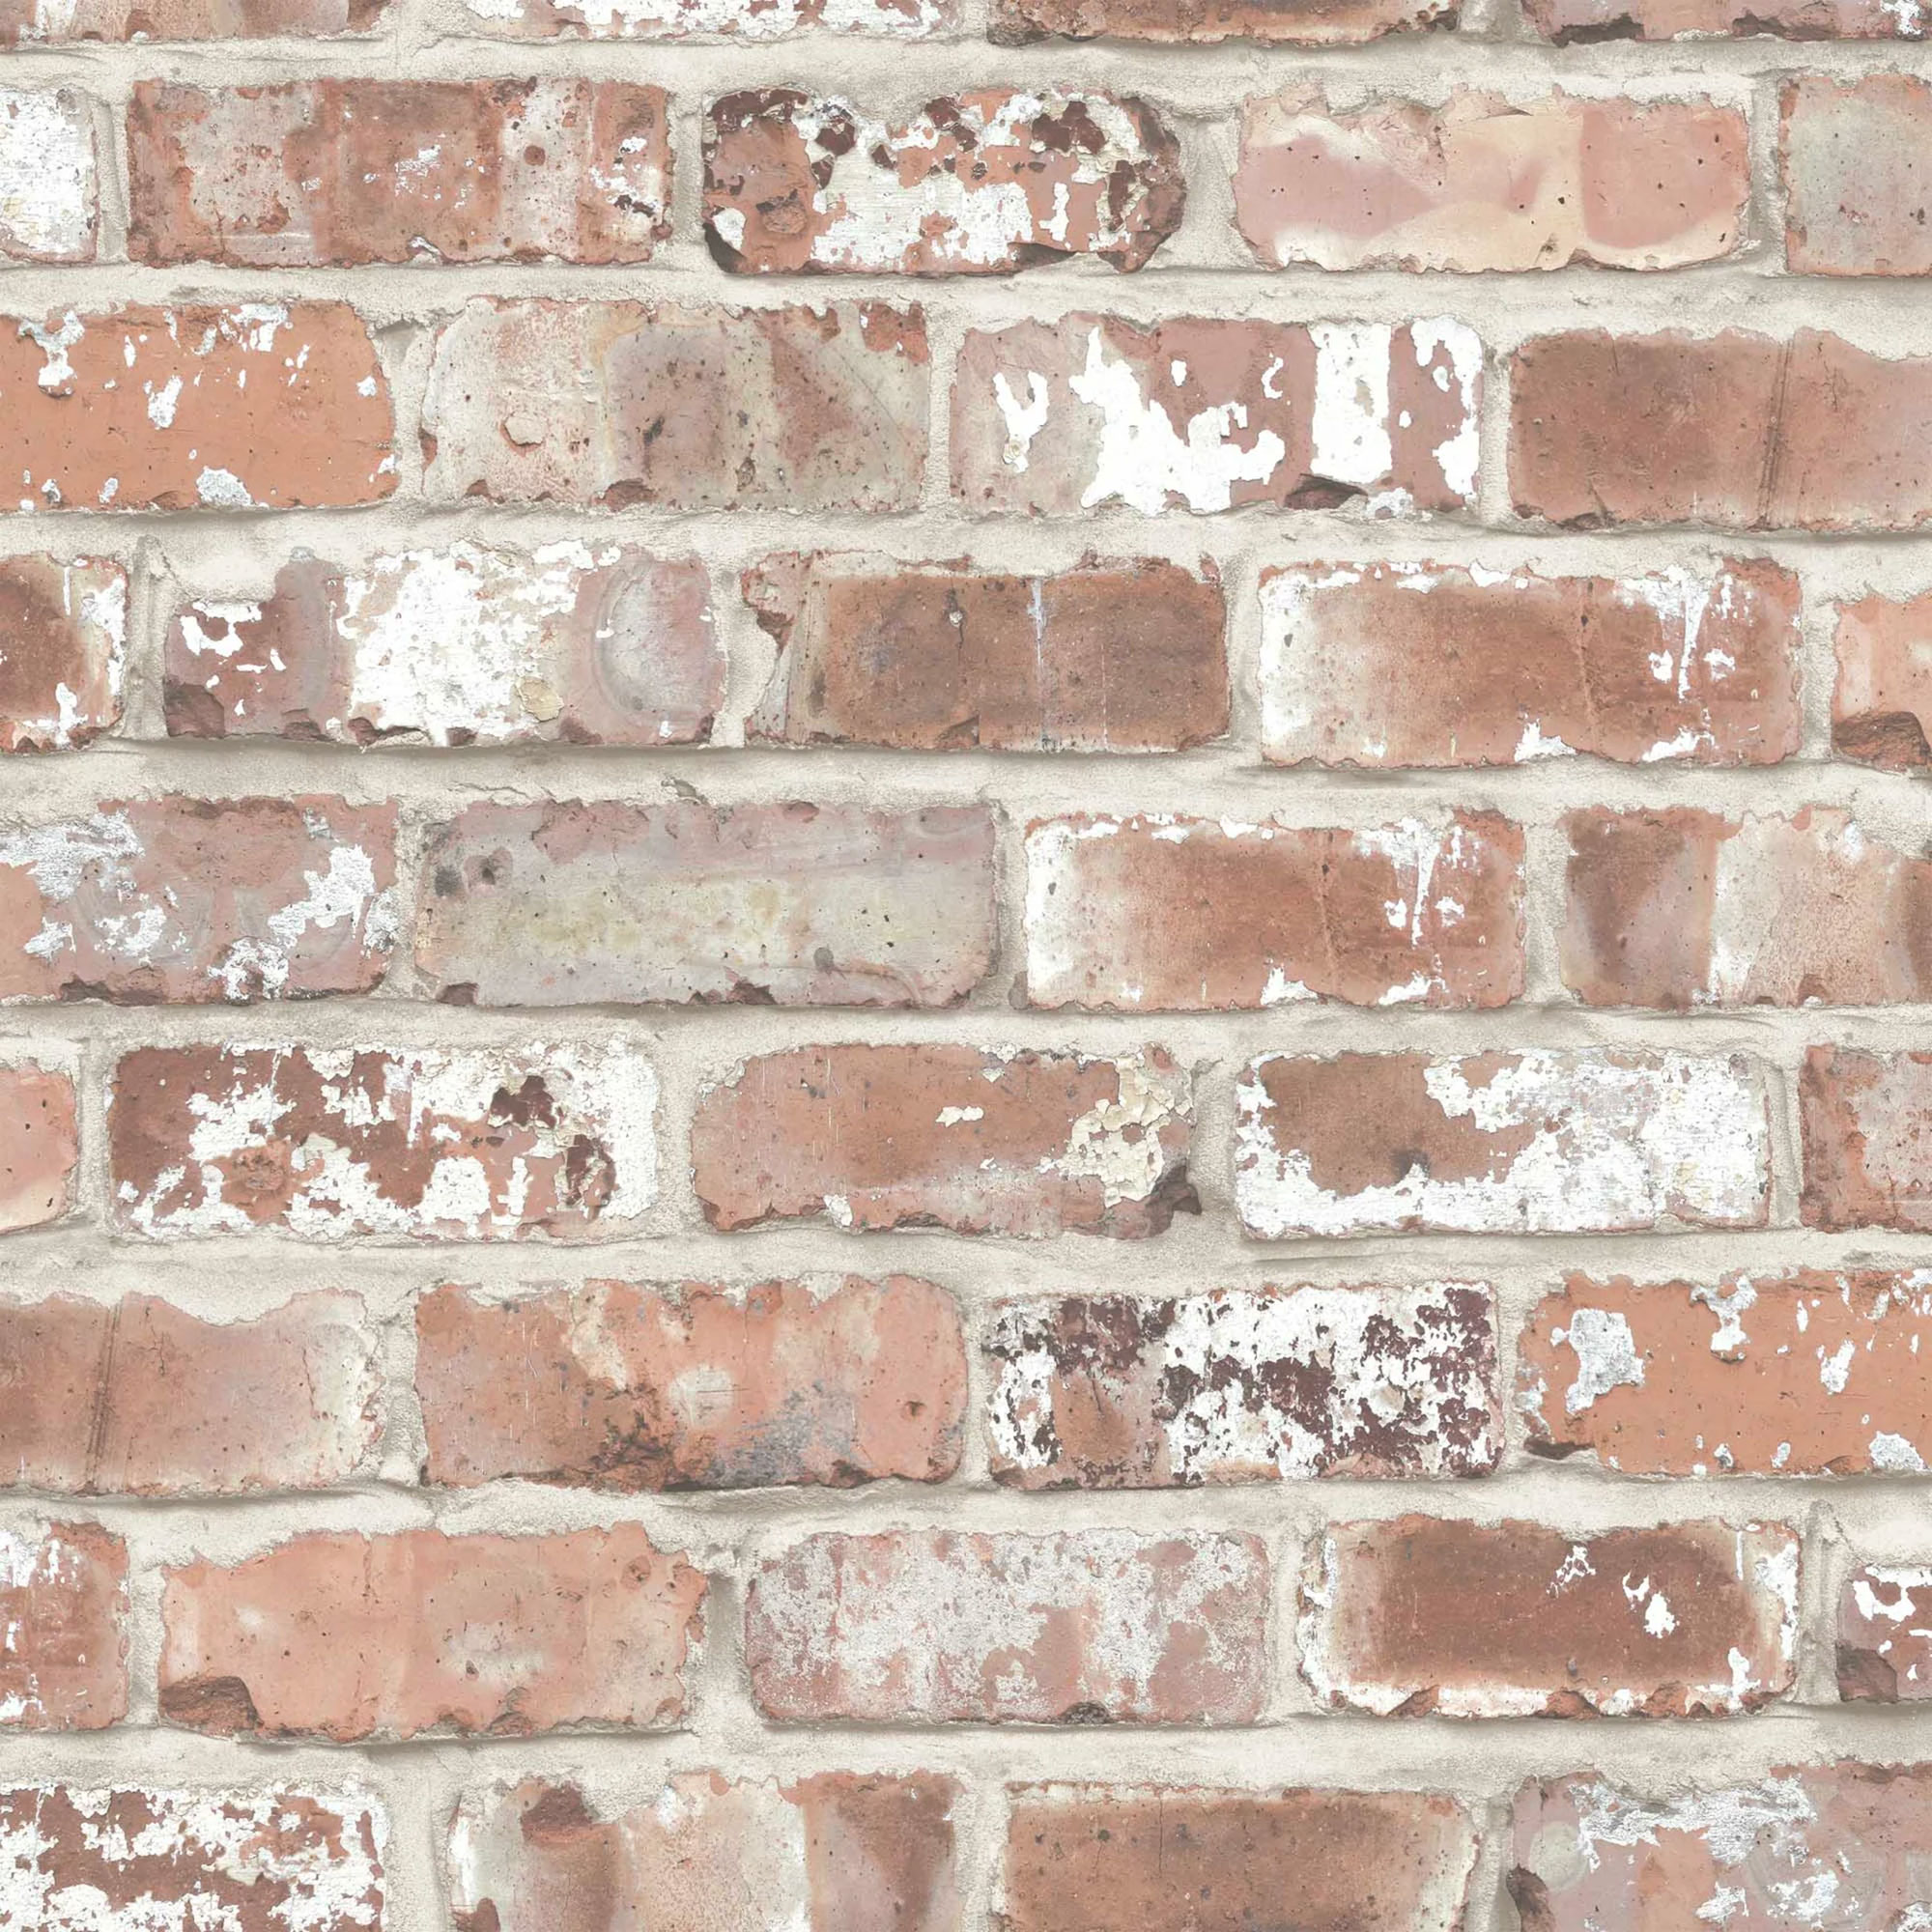
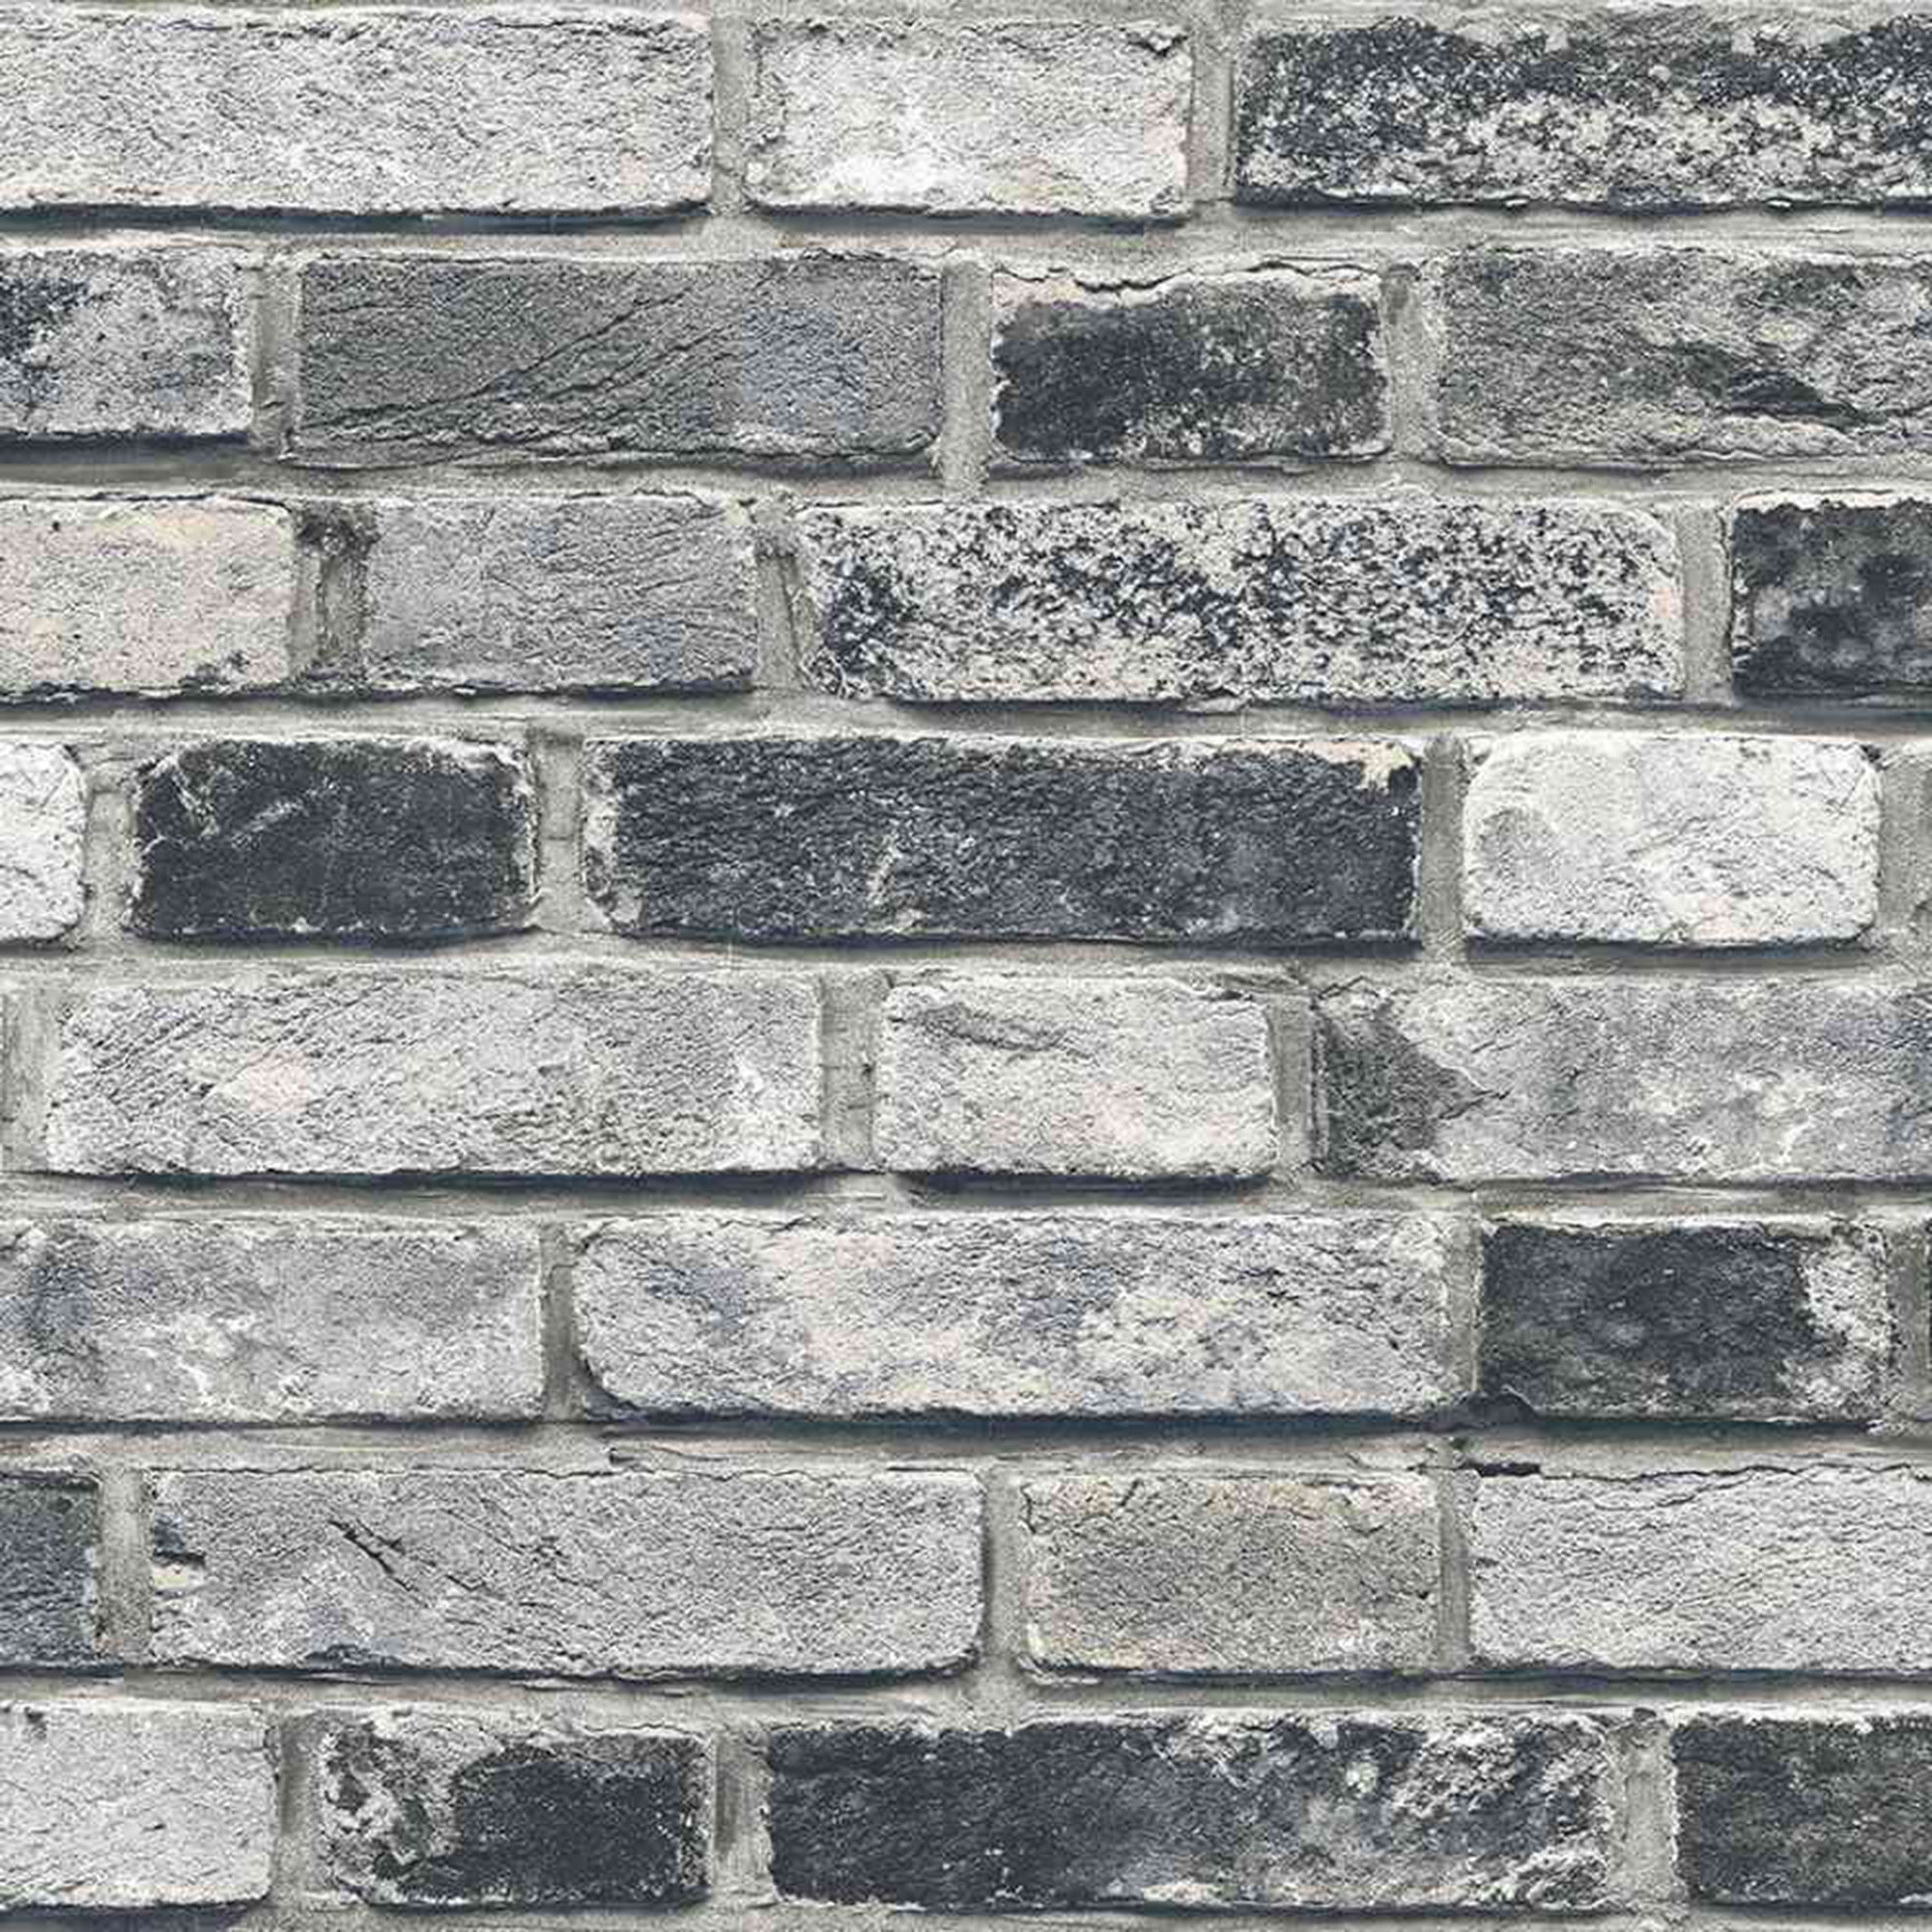
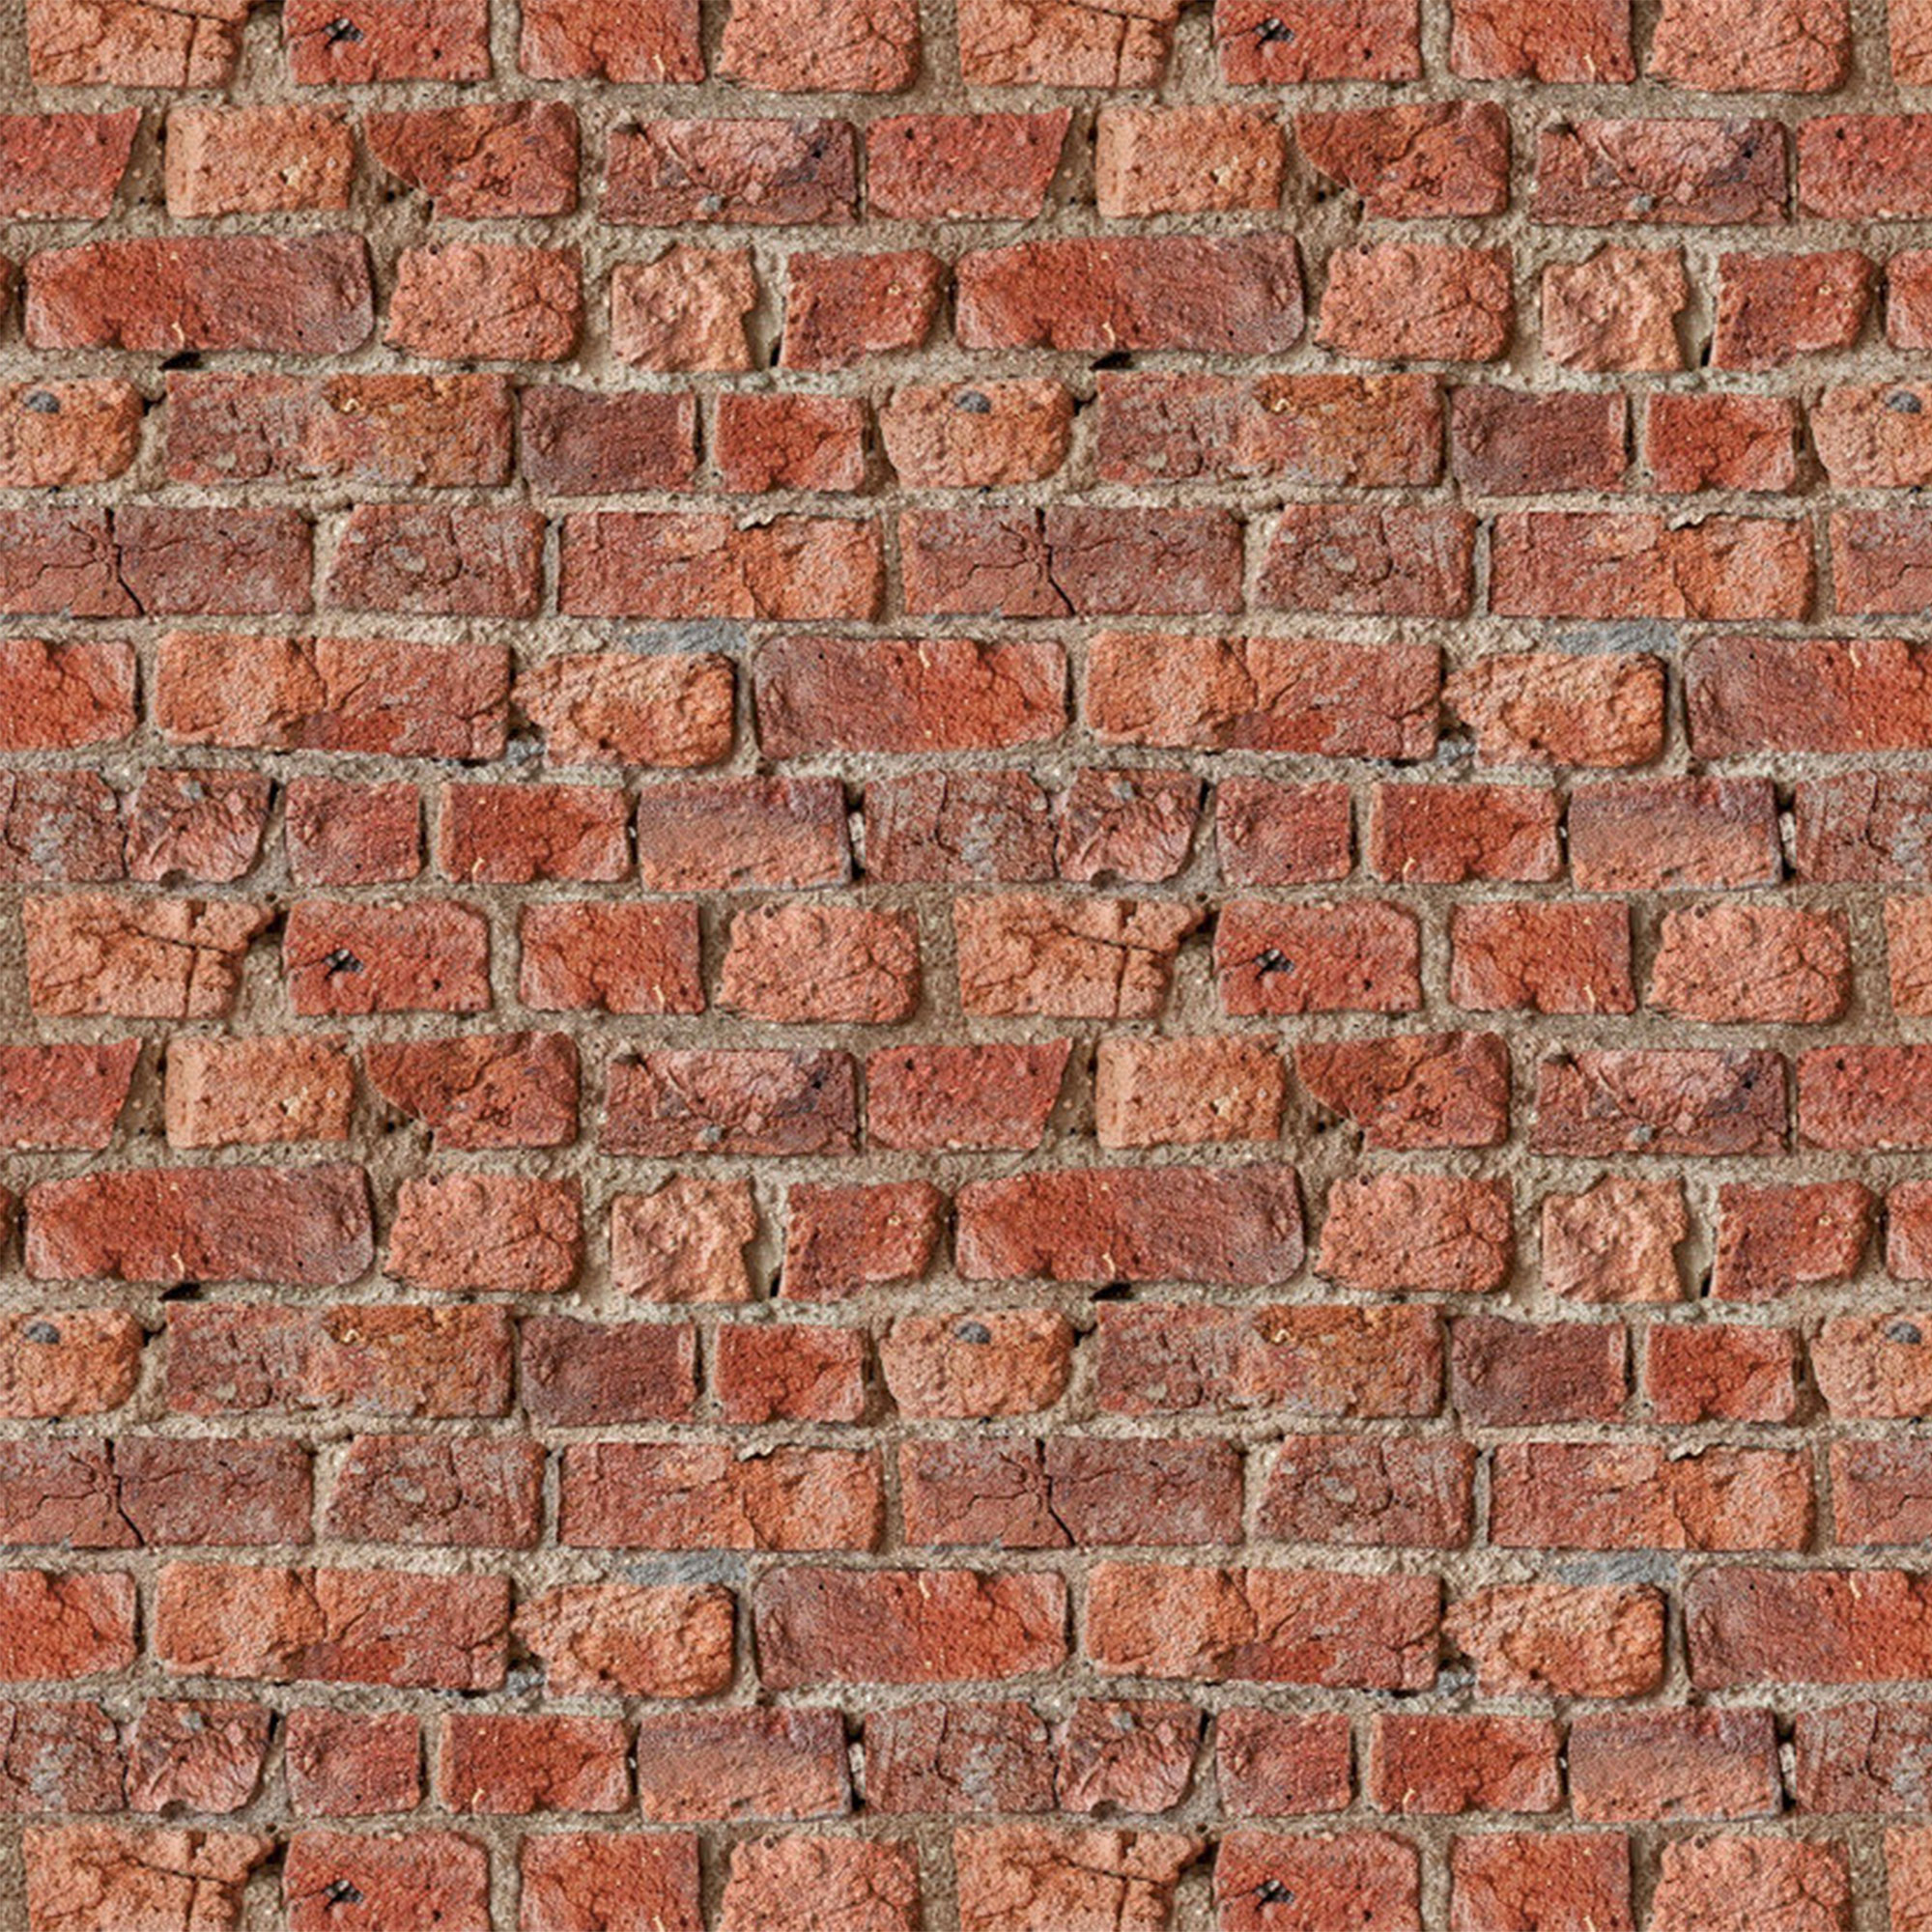
Brick wallpapers are also increasingly convincing and are a great solution if your property is rented, or if you're not sure your want to commit to the work and cost involved in an exposed brick wall.
Just think about choosing a clever spot to hang your wallpaper, as similar to the real thing, a faux exposed brick wall looks best on just one wall, alcove or chimney breast, rather than covering an entire room!
Check out our top three buys below.

Holly Walsh is a freelance Interiors Writer and Shopping Editor, but worked in-house here at Ideal Home for nearly 10 years. With a background of studies in Interior Design, her career in interior journalism was a no-brainer and her passion for decorating homes is still as strong now 15 years after she started, as it ever was. While Holly has written for most of the home titles at Future, including Livingetc, Country Homes & Interiors, Homes and Gardens, Woman & Home and Style at Home, Ideal Home has always been her ideal home, and she can still be found sharing her expertise and advice across both the printed magazine and the website, while also raising her two young children.
