How to make your own pallet bed – a step-by-step guide
Follow these easy instructions to make a sustainable and stylish wooden pallet bed
We're all conscious of doing that little bit more to help the environment and live a greener lifestyle at home. It's the little things that can make a big difference! DIY projects using recycled materials offer sustainable solutions whilst being wonderfully stylish and fun to do!
Our favourite book de jour Pallet Style by Nikkita Palmer and Billy Barker beautifully illustrates the growing trend for DIY furniture made from wooden pallets.
DIY to avoid: Nick Knowles reveals the worst DIY disaster he's ever seen – it sounds awful!
How to make a wooden pallet bed - what you'll need
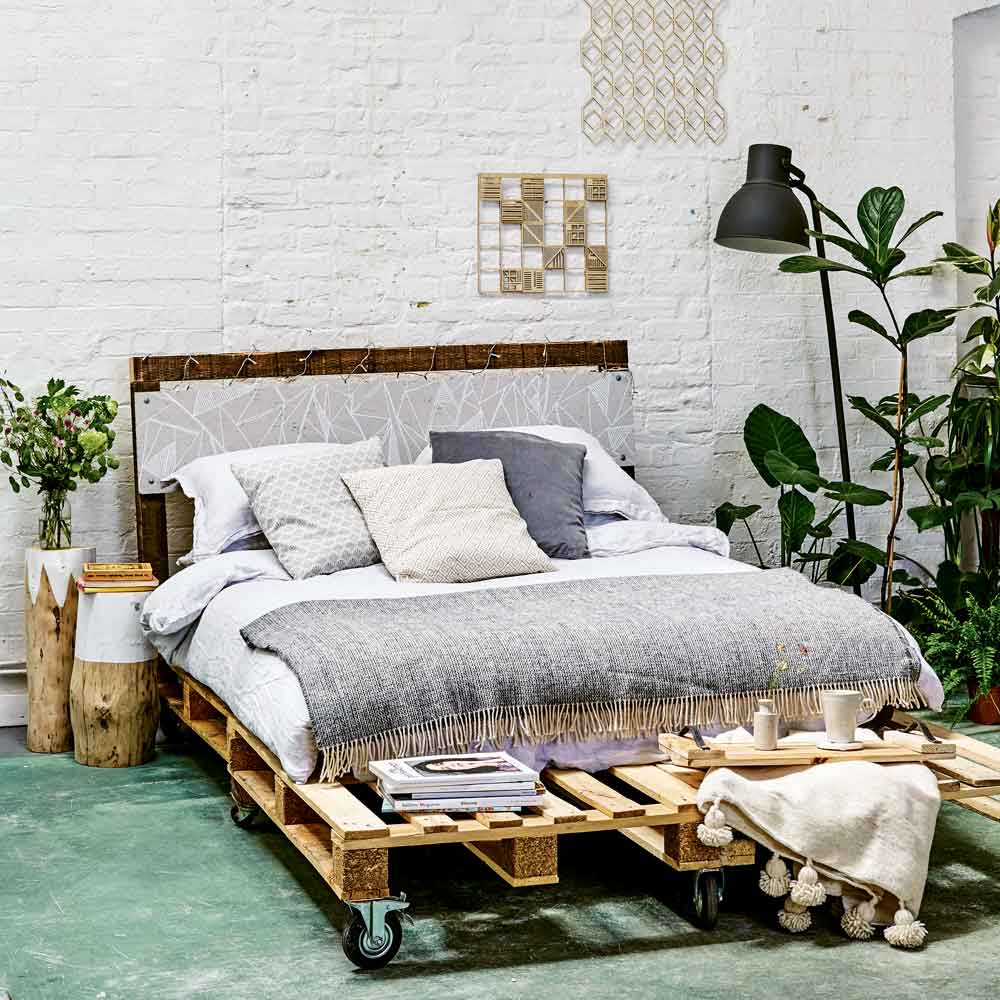
Here's a lovely gem of a teaser project to get you started and bring some loft-style Scandi cool into your boudoir. It's budget friendly too hoorah, so excuses. It might look large in scale but it's deceivingly simple to make and suitable for all abilities – from novice newbies to accomplished craftsmen!
Tools and equipment you need
- Tape measure
- Electric Drill
- Pilot and countersink drill bits
- Screw-driver bit
- Electric sander and sandpaper
- Ventilation mask
- Combination square
- Hand saw or Table saw
- Paint brush
Materials you need
- 4 identical pallets (the total dimension must be big enough to fit your chosen mattress), plus extra pallet boards to fill in gaps if needed
- Connector plates
- Wood Screws
- 9 industrial castors (2–4 lockable)
- 40mm (1½in) panel pins
- OSB (oriented strand board)
- Grey chalk paint
- 4 Spring head nails or copper clout nails
Top tip: you'll either need to prep the pallet boards (page 12 of book), or you can use FSC accredited pre-treated pieces from a popular retailer such as Homebase.
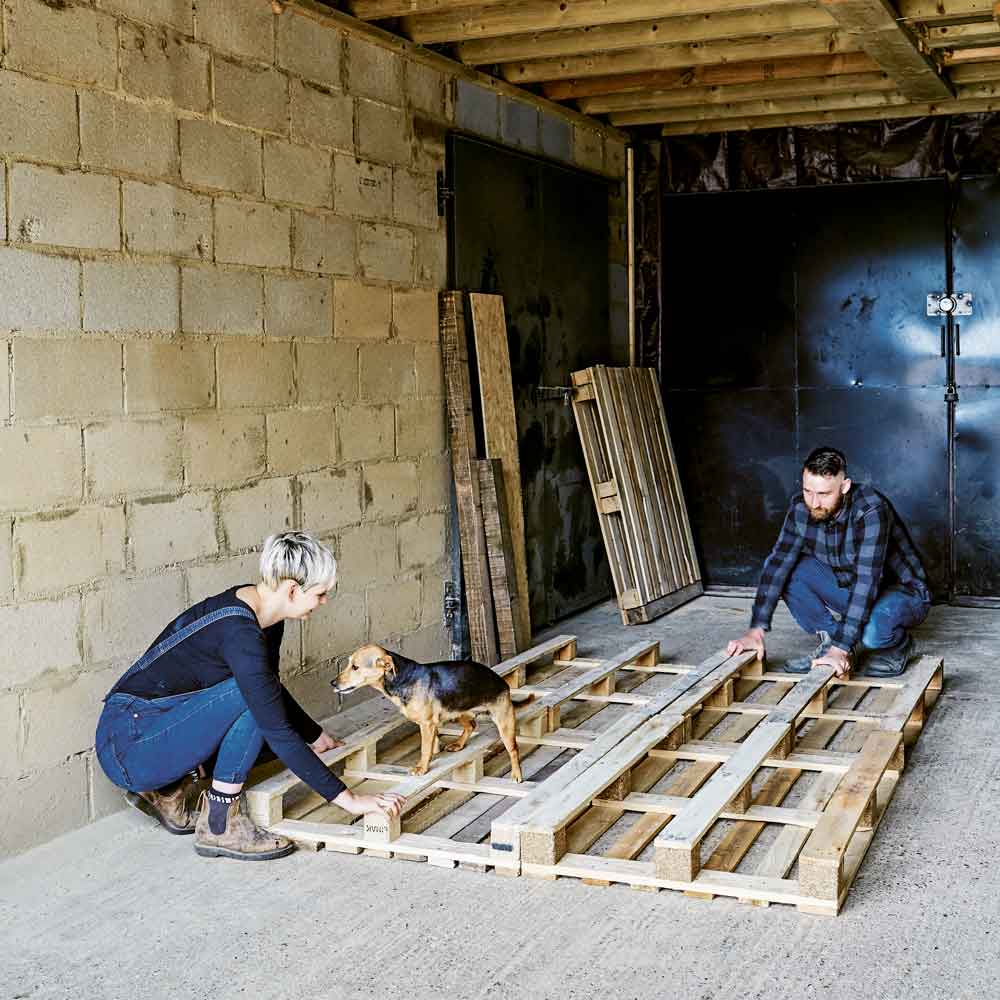
1.Position the pallets
Lay four identical pallets in place, underside facing up, on a flat surface to create the main base structure.
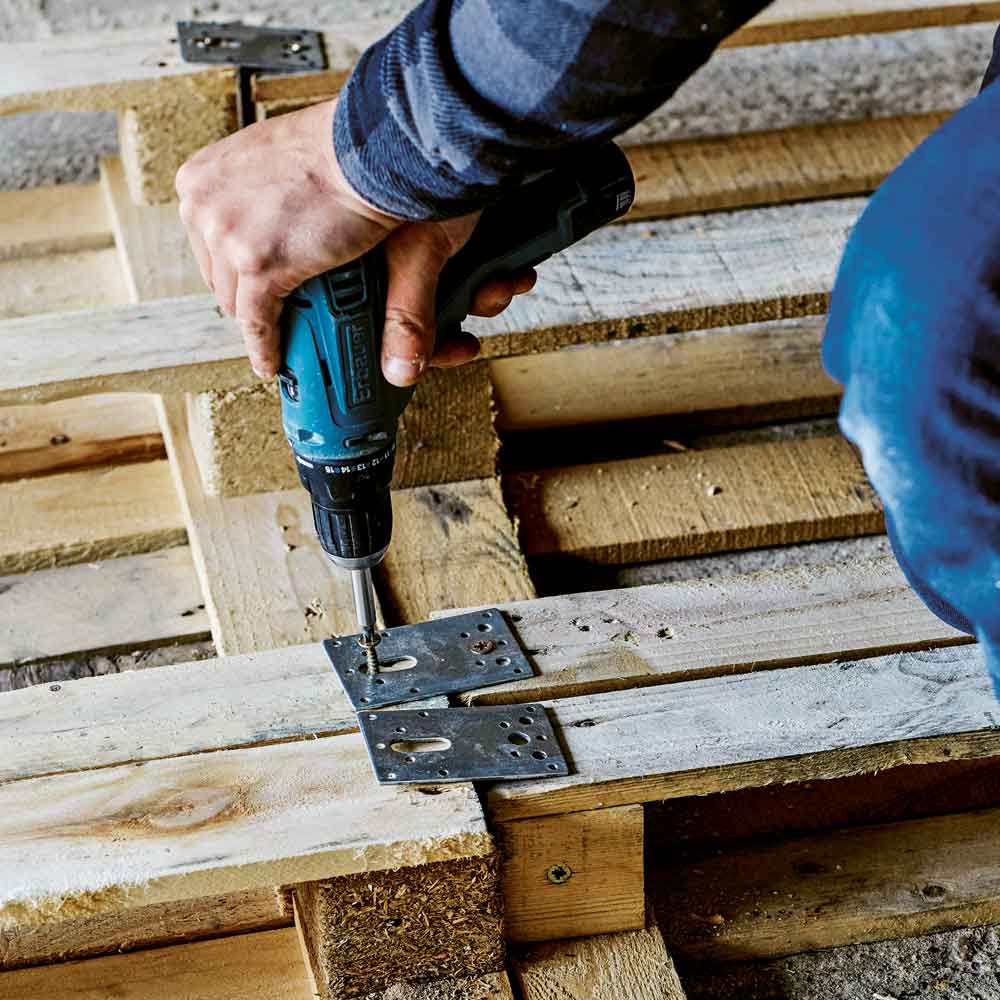
2 Attach the pallets together
Do this at the blocks by making a pilot hole and countersink in each one. Using an electric drill and screwdriver bit, screw the pallets together using long screws. You can also attach flat connector plates to the centre to strengthen further.
Sign up to our newsletter for style inspiration, real homes, project and garden advice and shopping know-how
3. Fill in the gaps
Fill any gaps on the pallets with additional pallet boards. Ensure there is a dense structure to give strength to the base.
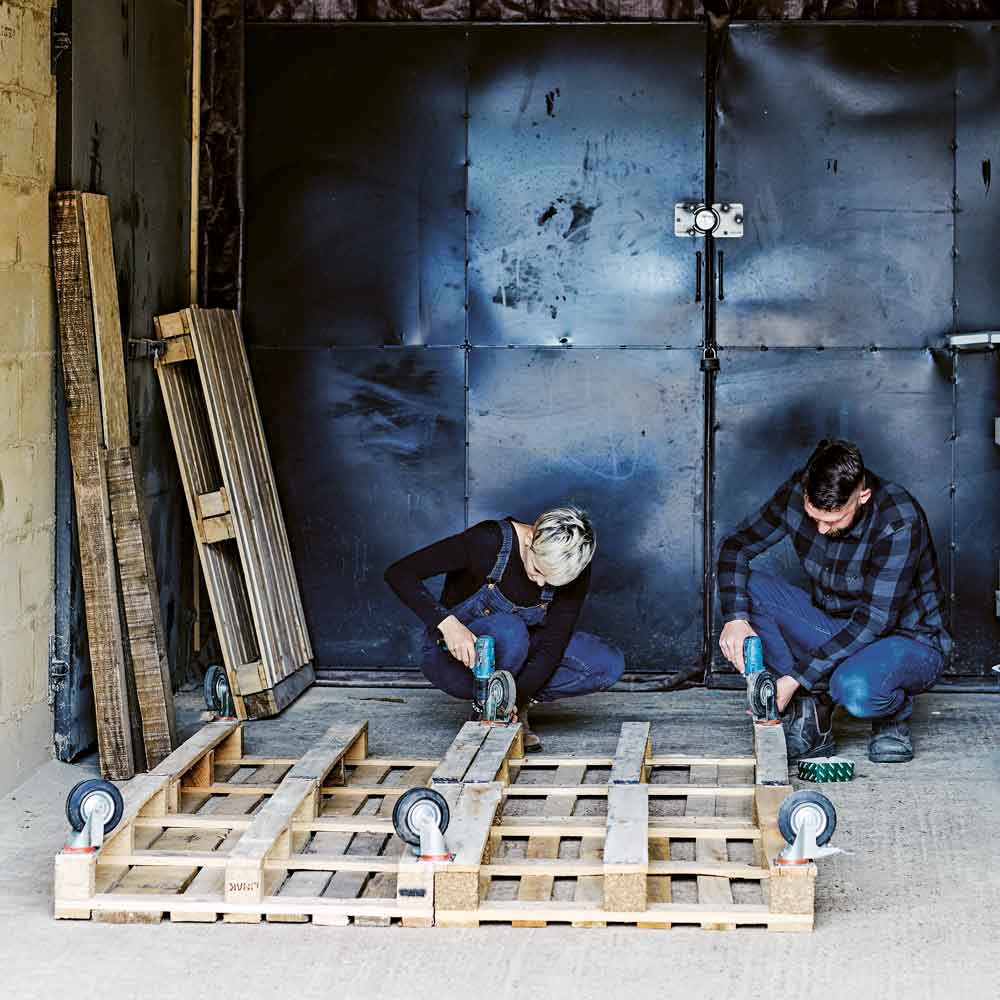
4 Secure the castors
Attach 3 castors on each of the top and bottom edges and 3 more along the centre using an electric drill, screwdriver bit and screws. Try to attach these to the pallet blocks to give additional strength, and position the lockable castors diagonally opposite each other.
5. Flip the pallet over
Turn the entire structure so that the castors are on the floor.
6. Lock the castors
Secure the wheels to reduce movement and sand all of the pallets to remove splinters.
7. Measure, mark and cut
Cut two industrial bearer/stringer beams at 90cm (35in) and one at 159.5cm (63in) or the width of your bed. These will create the headboard. Sand the beams.
Secure the two 90cm (35in) beams to either end of the top edge of the pallet using an electric drill, pilot, countersink, screwdriver bit and screws to create the headboard uprights.
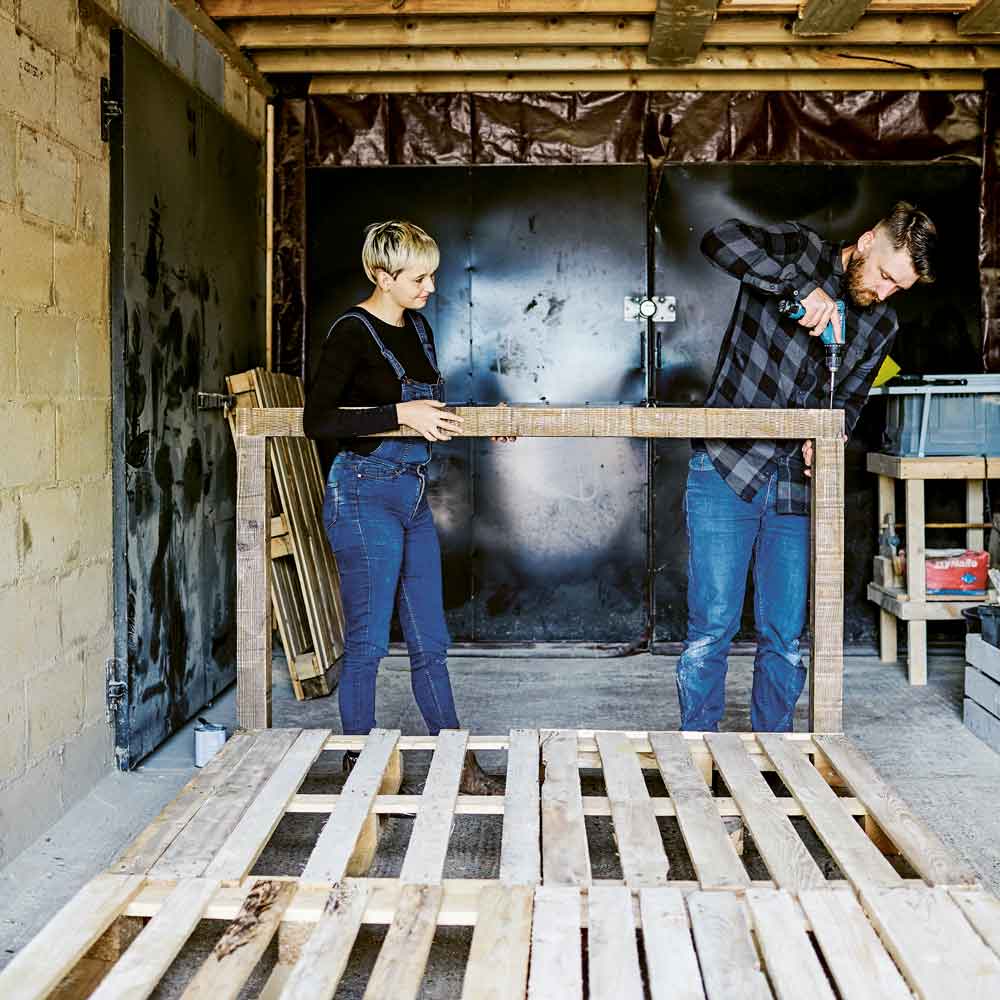
8. Place the remaining beam
Position on the top of the two shorter beams, ensuring they’re flush at both ends. Secure using an electric drill, pilot bit, countersink, screwdriver bit and screws.
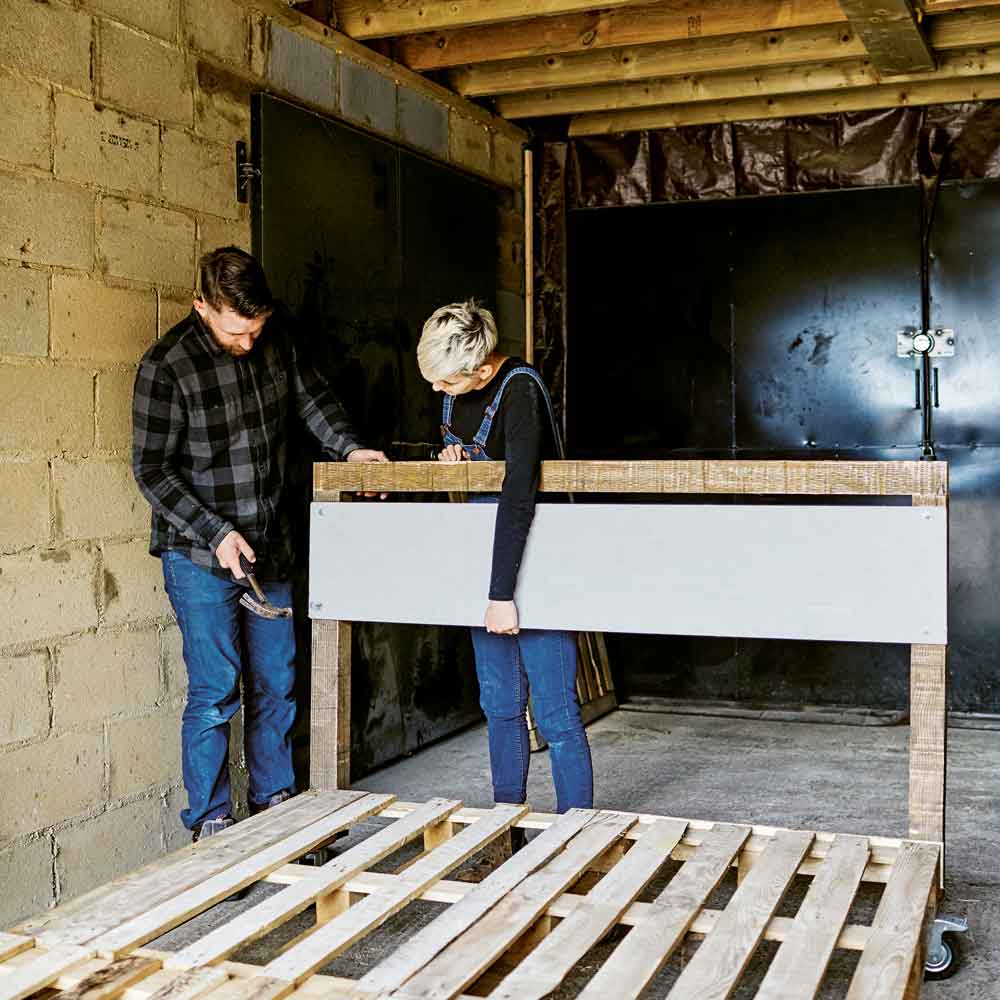
9. Cut the OSB board
Using a table saw/handsaw at 30cm (1ft) wide. Cut the length of the OSB at 159.5cm (63in) or the width of your bed.
Sand the OSB to give a smoother finish. Paint with a grey chalk paint to create the chalkboard. Decide where you would like your chalkboard to sit on the headboard and measure and mark down the headboard to ensure it is level.
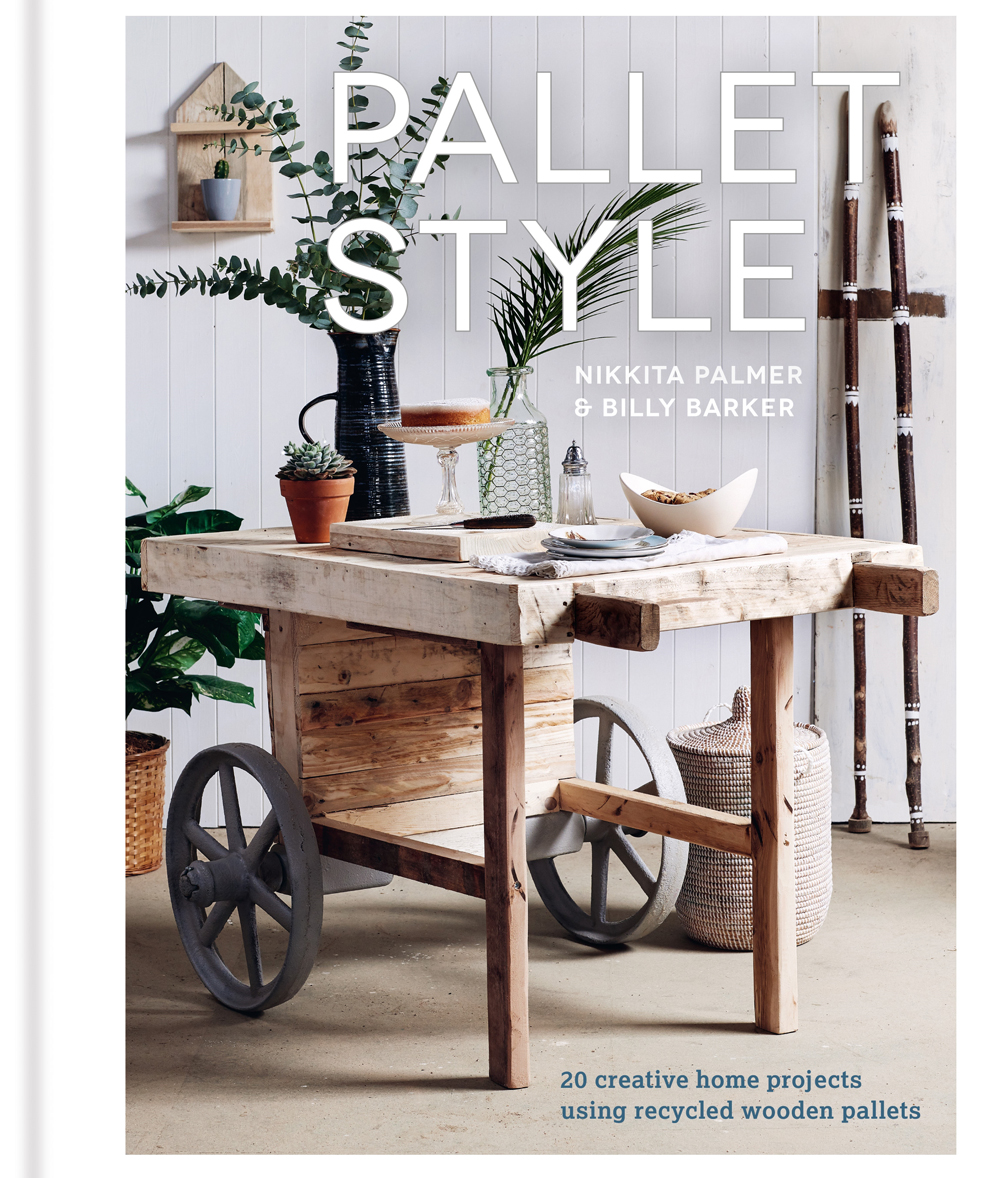
The book beautifully demonstrates 20 fun and creative home projects, that are all super simple to have a bash at.
Buy now: Pallet Style 20 Creative Home Projects by Nikkita Palmer, £14.45, Amazon
Don't stop indoors, take it outside: How to make pallet garden furniture – a step-by-step guide
Are you an upcycling pro? Share your pictures with us over in the Ideal Home Room Clinic.
Let your creativity shine with these simple DIY ideas.