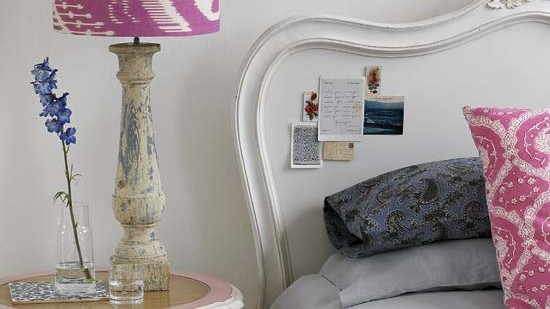
How to cover a lampshade with wallpaper
Give simple lighting a homespun twist with our latest step-by-step craft guide

Sign up to our newsletter for style inspiration, real homes, project and garden advice and shopping know-how
You are now subscribed
Your newsletter sign-up was successful
Inject homespun style into your home with this fun country craft idea.
Follow our easy-to-follow, step-by-step guide on how to create a wallpapered lampshade.
You will need
- Plain white or cream drum lampshade (avoid using a paper shade as it will be too porous for the wallpaper paste)
- Wallpaper offcut (we used Samarkand, ref IKT 4400, col Pink, £225 a roll, Ornamenta)
- Wallpaper paste
Step 1) Measure the height and circumference of your shade. Before you decide on a wallpaper, hold a section up in front of a lit bulb to make sure you like what you see: designs can look very different when backlit like this. Being careful to centre any preferred motifs on the design, cut out a piece of wallpaper to your shade dimensions, adding 2cm to the diameter measurement.
Step 2) Mix a small amount of wallpaper paste, following manufacturer's instructions. Take a pasting brush and, starting from the 'seam' on the lampshade, paste a section of around 20cm. Don't overload the brush or the shade - depending on the mix, wallpaper paste can be very wet.
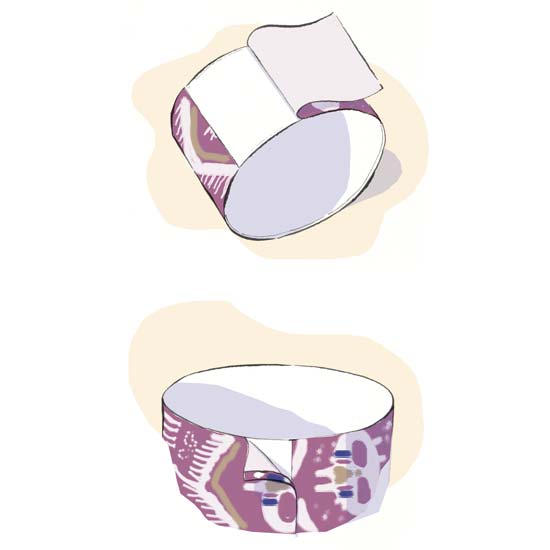
Step 3) Line the edge of the wallpaper offcut up against the seam and smooth into place over the glued section of the shade - be careful not to press too hard or you may dent the shade. As the paste takes a while to dry you can adjust the wallpaper until it's sitting flush with the top and lower edges of the shade as well as being aligned along the shade seam (see illustration).

Step 4) Continue to paste and smooth down the paper in this way until you reach the seam
again. Fold under 1cm of the excess, creating a crisp neat fold, and glue in place (see illustration). To avoid bubbles or crinkles, carefully brush from the centre of the shade to the outside edges using a clean, dry soft bristled wallpaper brush.
Sign up to our newsletter for style inspiration, real homes, project and garden advice and shopping know-how
Step 5) Leave to dry completely before fixing the shade to your lampbase.
Illustration, Michael A. Hill
For more decorating inspiration, craft ideas and cleaning hacks don't miss our dedicated DIY guide.