I turned these £8 B&M lampshades into striking outdoor solar lights - they’ve transformed my garden seating area
And it took me less than 15 minutes to do it!

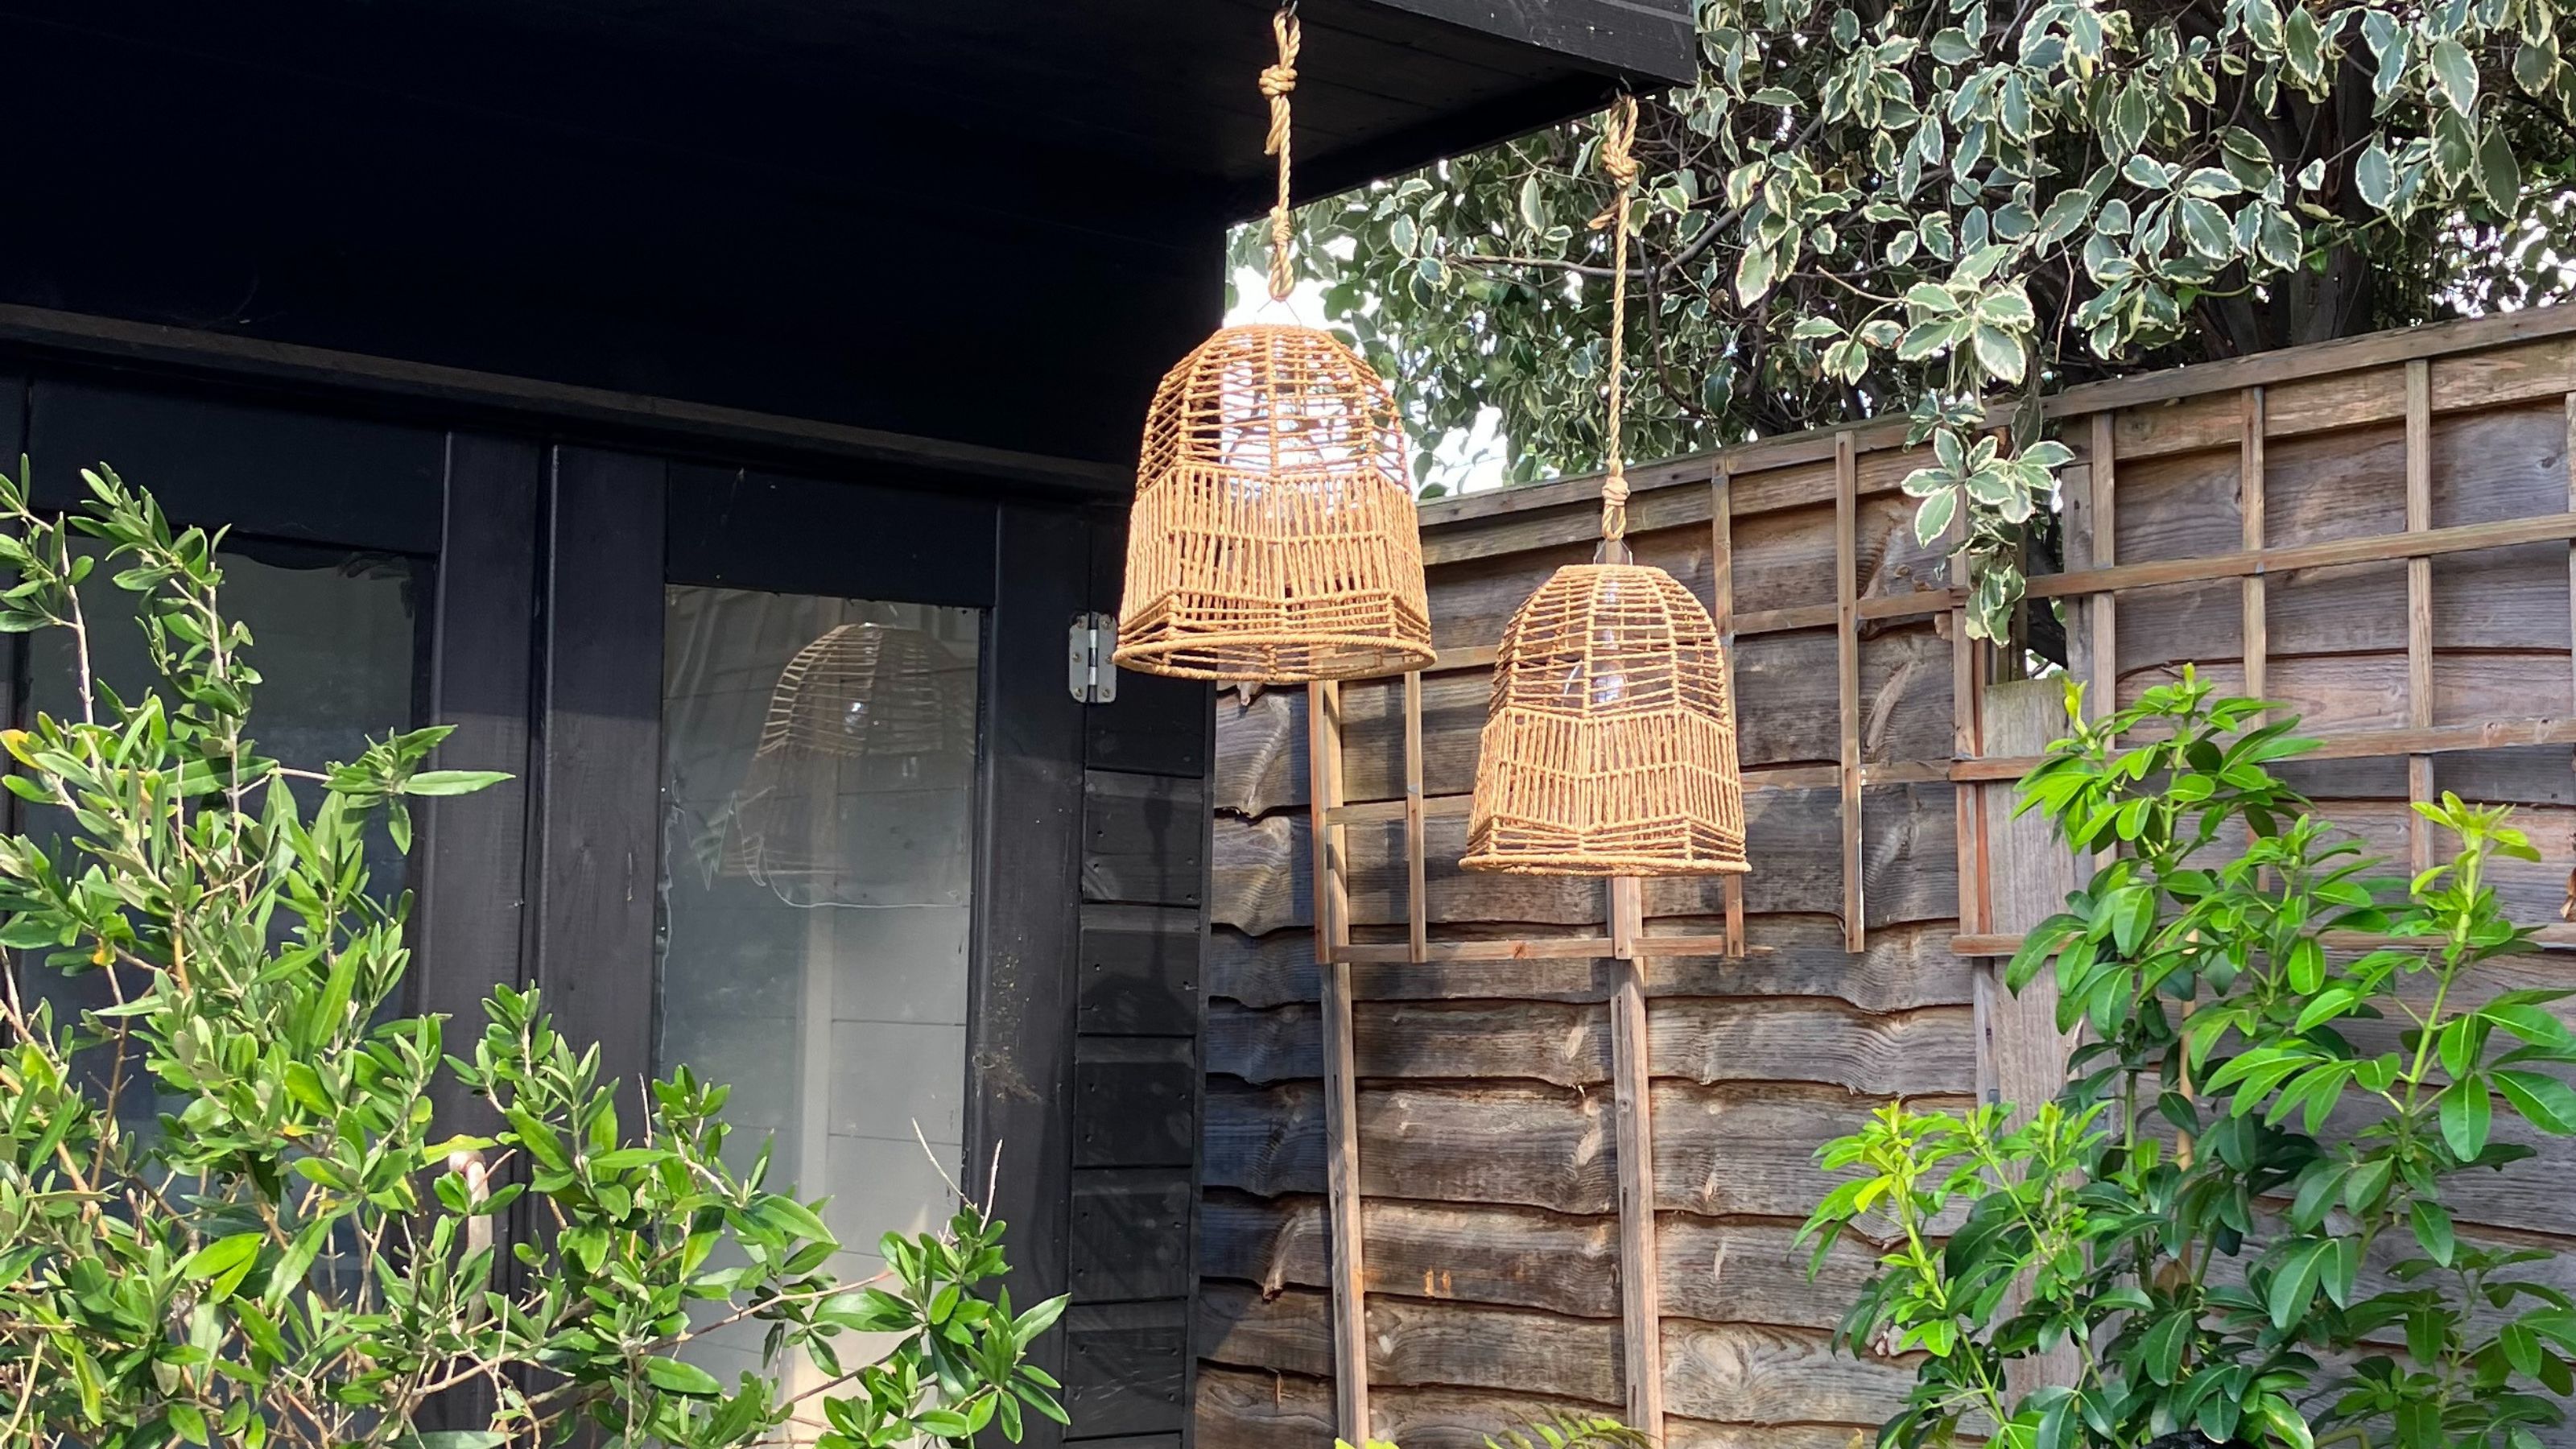
I really liked the idea of adding a couple of hanging lights to the exterior of my summerhouse, above the seating area. I’d seen similar garden lighting ideas and hacks on Instagram that looked really easy, so I thought I’d give it a go.
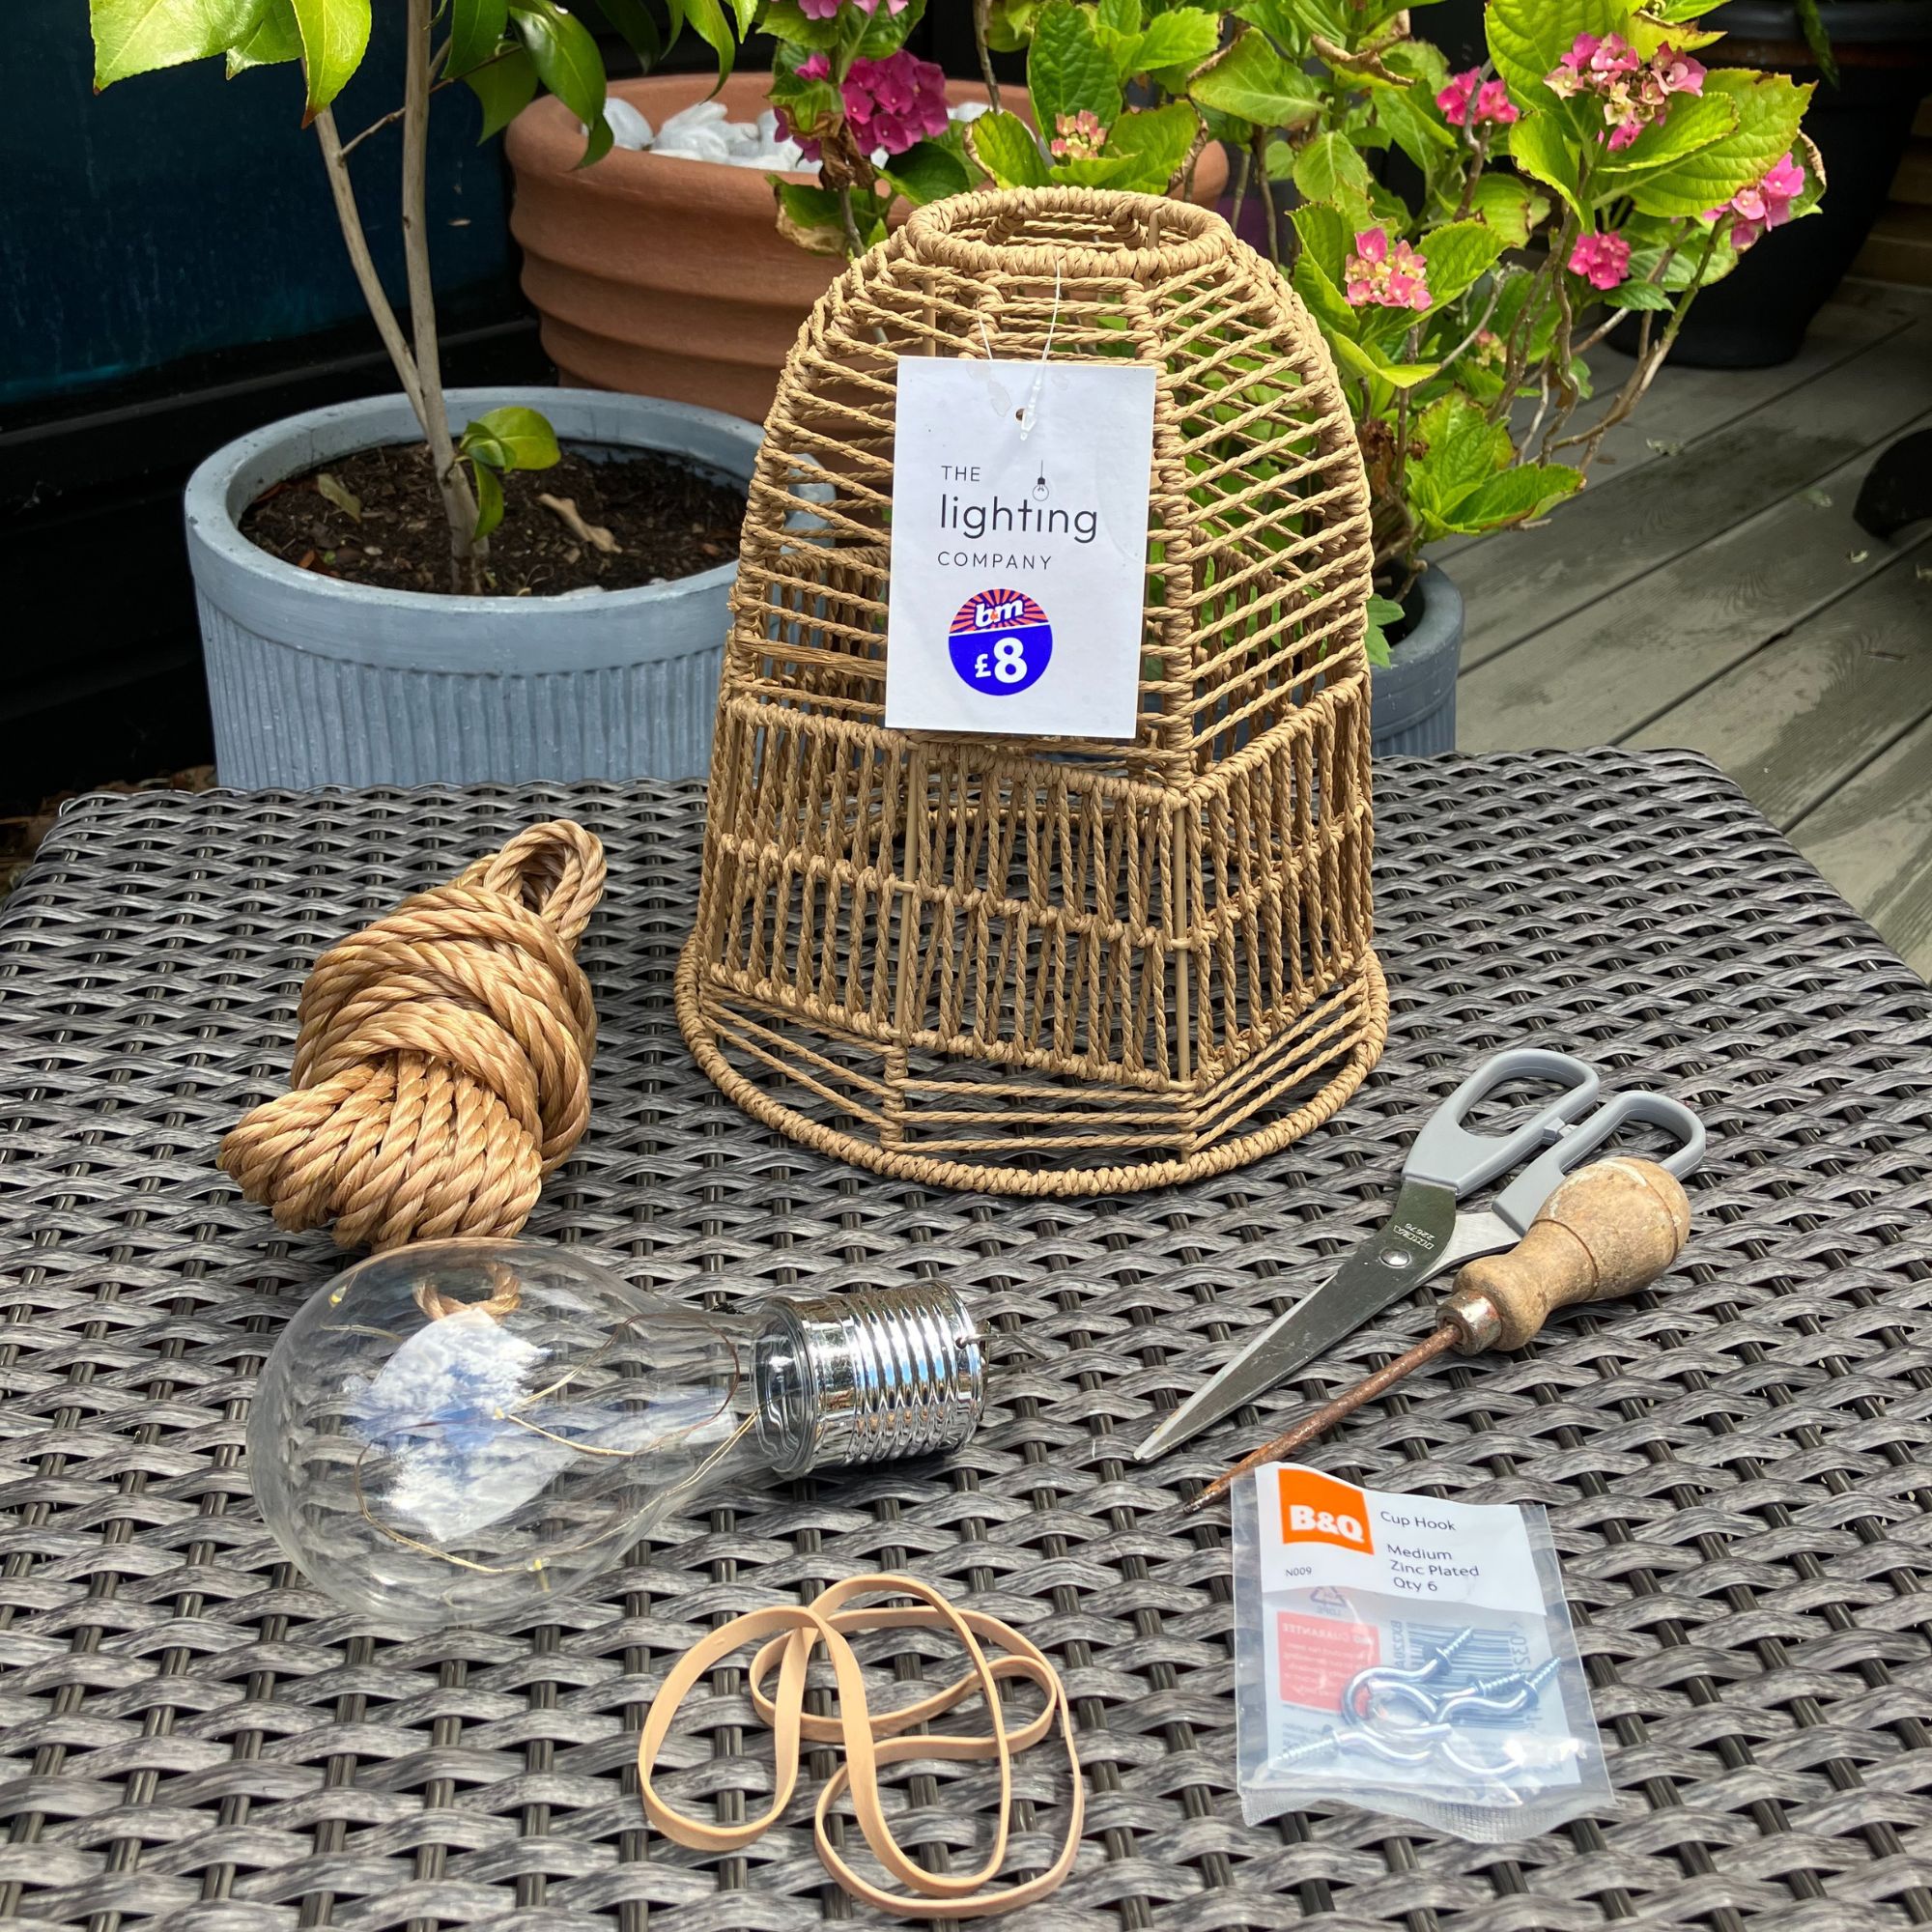
I found these great woven light shades in B&M that were a bargain at just £8 each. I love the natural colouring and thought they would stand out really well against the black paintwork of the summerhouse.
These are interior shades, which are fine as I was planning to put them in a sheltered area, where they won’t get ruined by rain. But if you wanted shades for pergola lighting ideas and needed to protect the woven material from the elements, you could always spray them with clear weatherproofing spray, £18.99 from Amazon, to give them a coat of protection or use plastic shades instead.
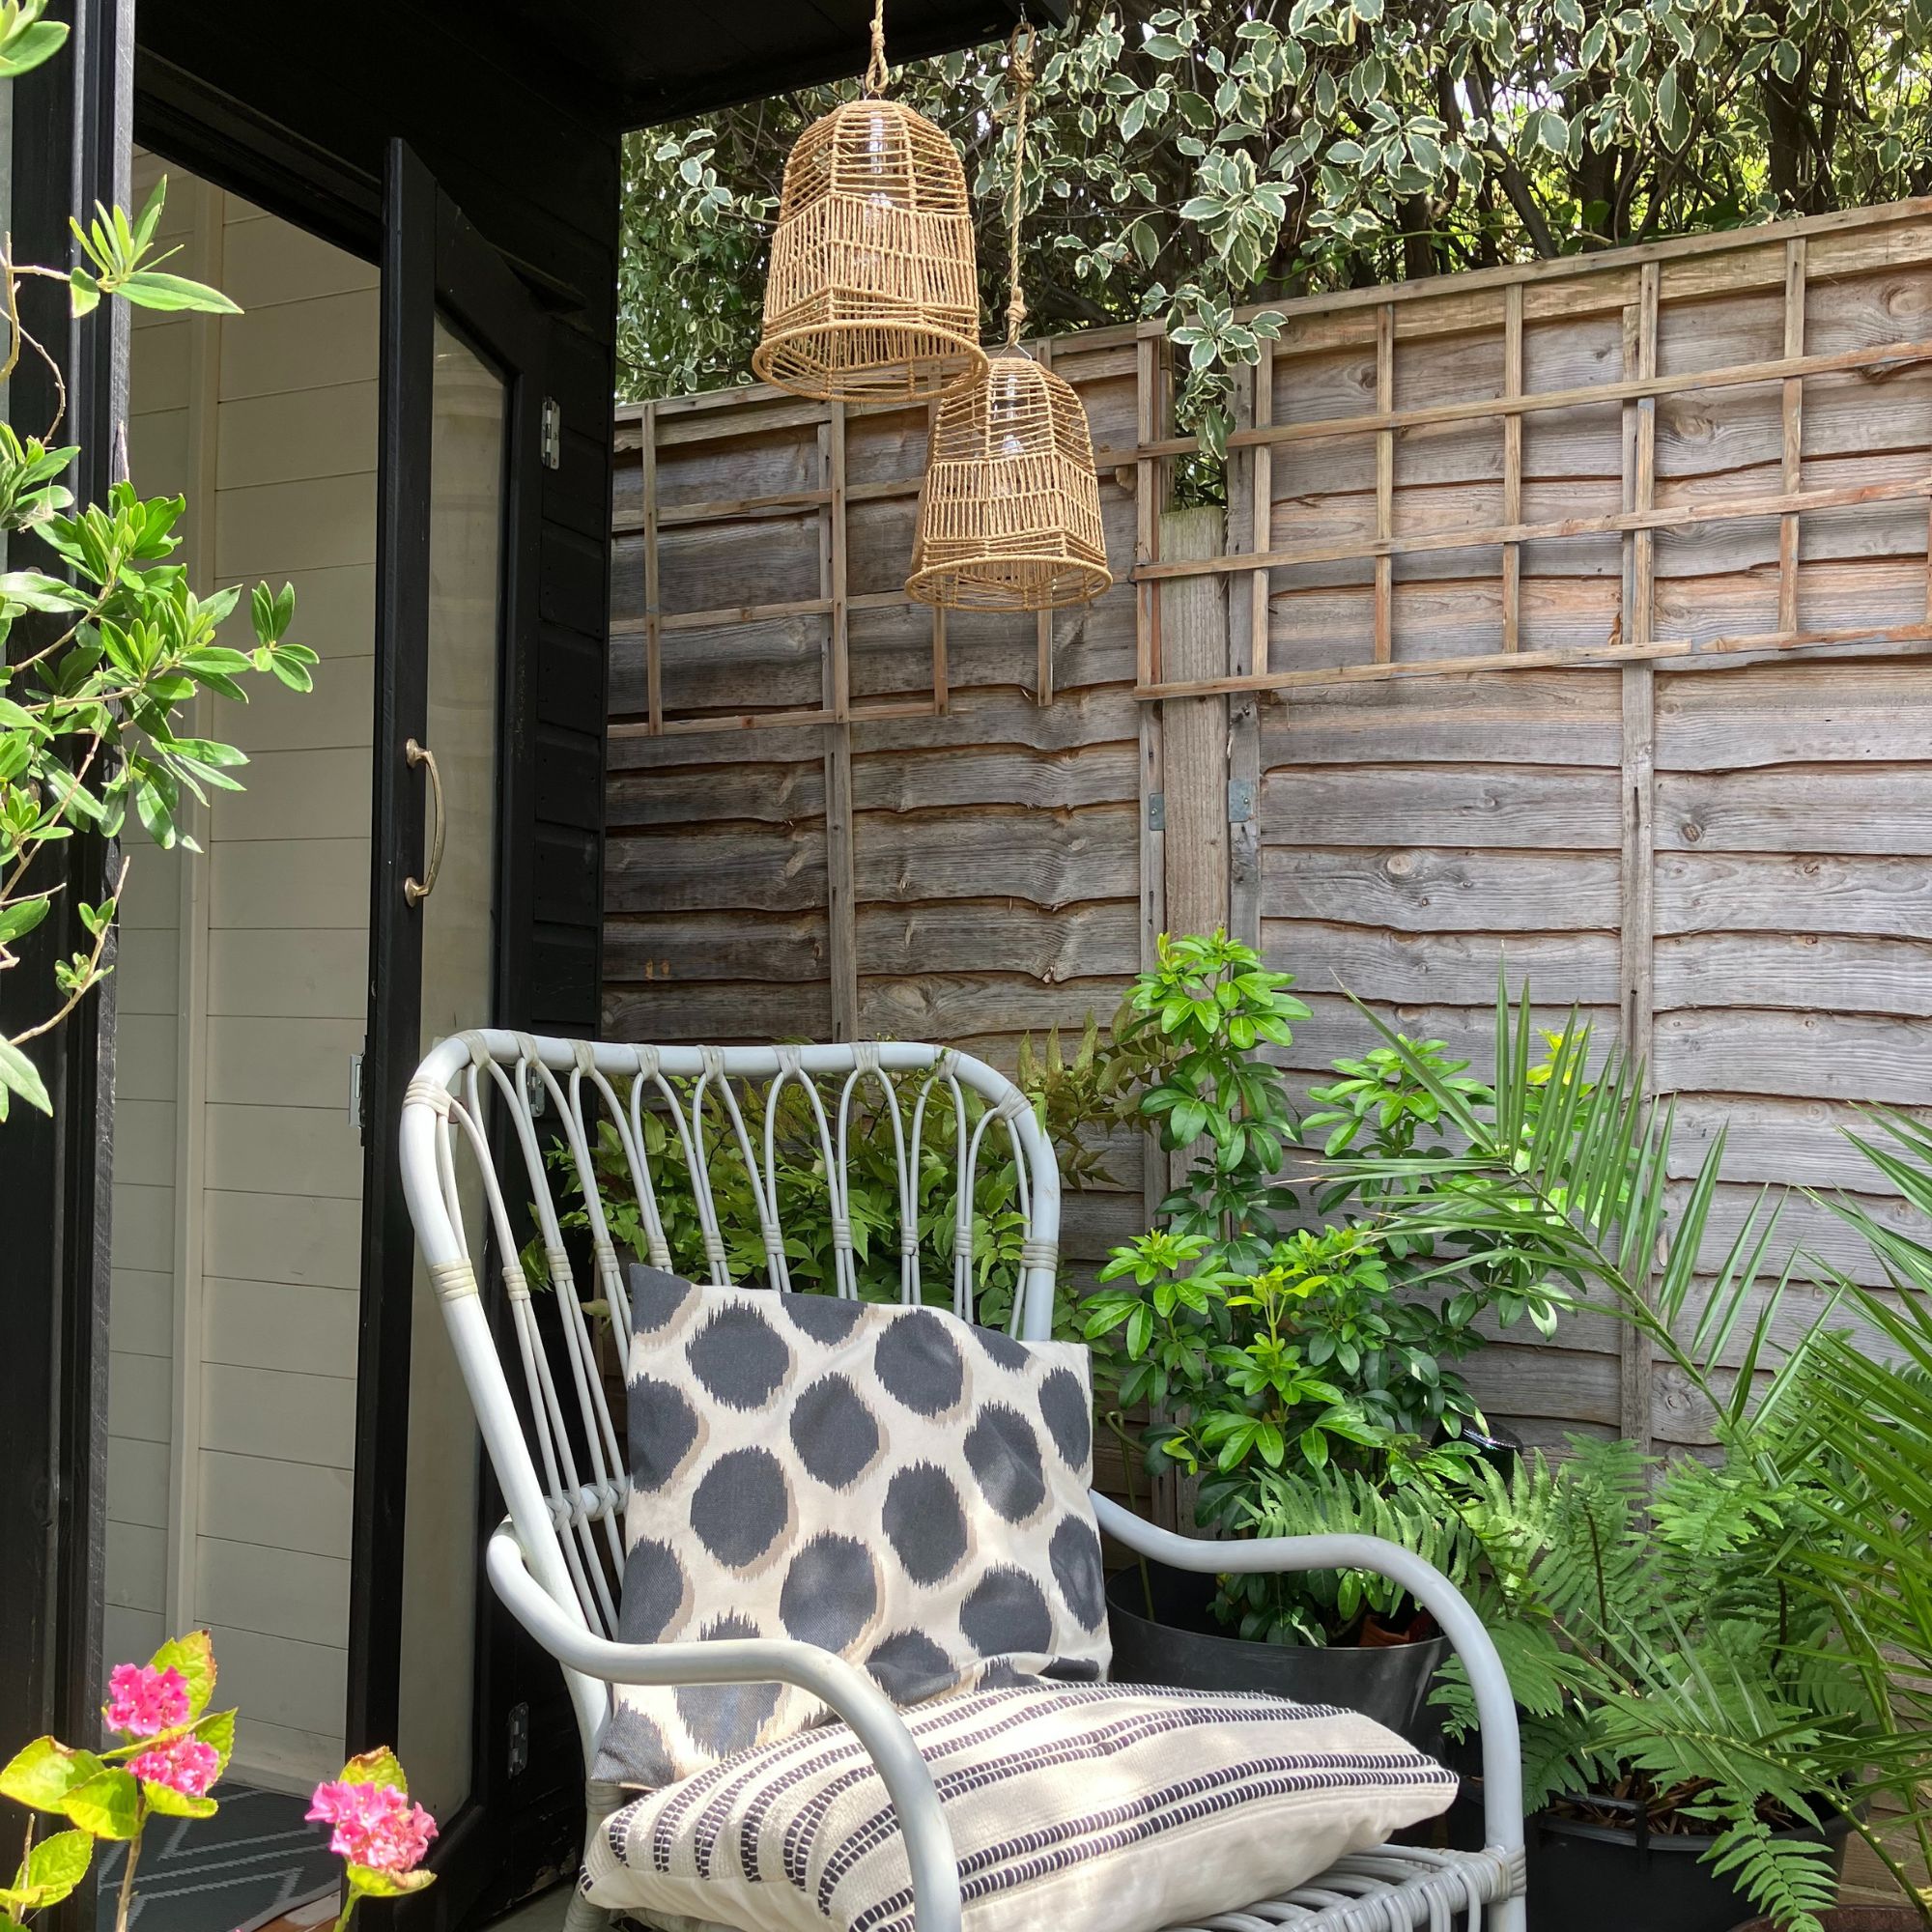
For the bulbs, I simply used glass solar hanging bulbs that cost £2 each from B&M. They're in a sunny spot so they’ll recharge during the day and give a lovely twinkly light at nighttime.
What you'll need
- Woven shade – I used the Izabella natural light shade from B&M
- Solar hanging light bulb - these were from B&M
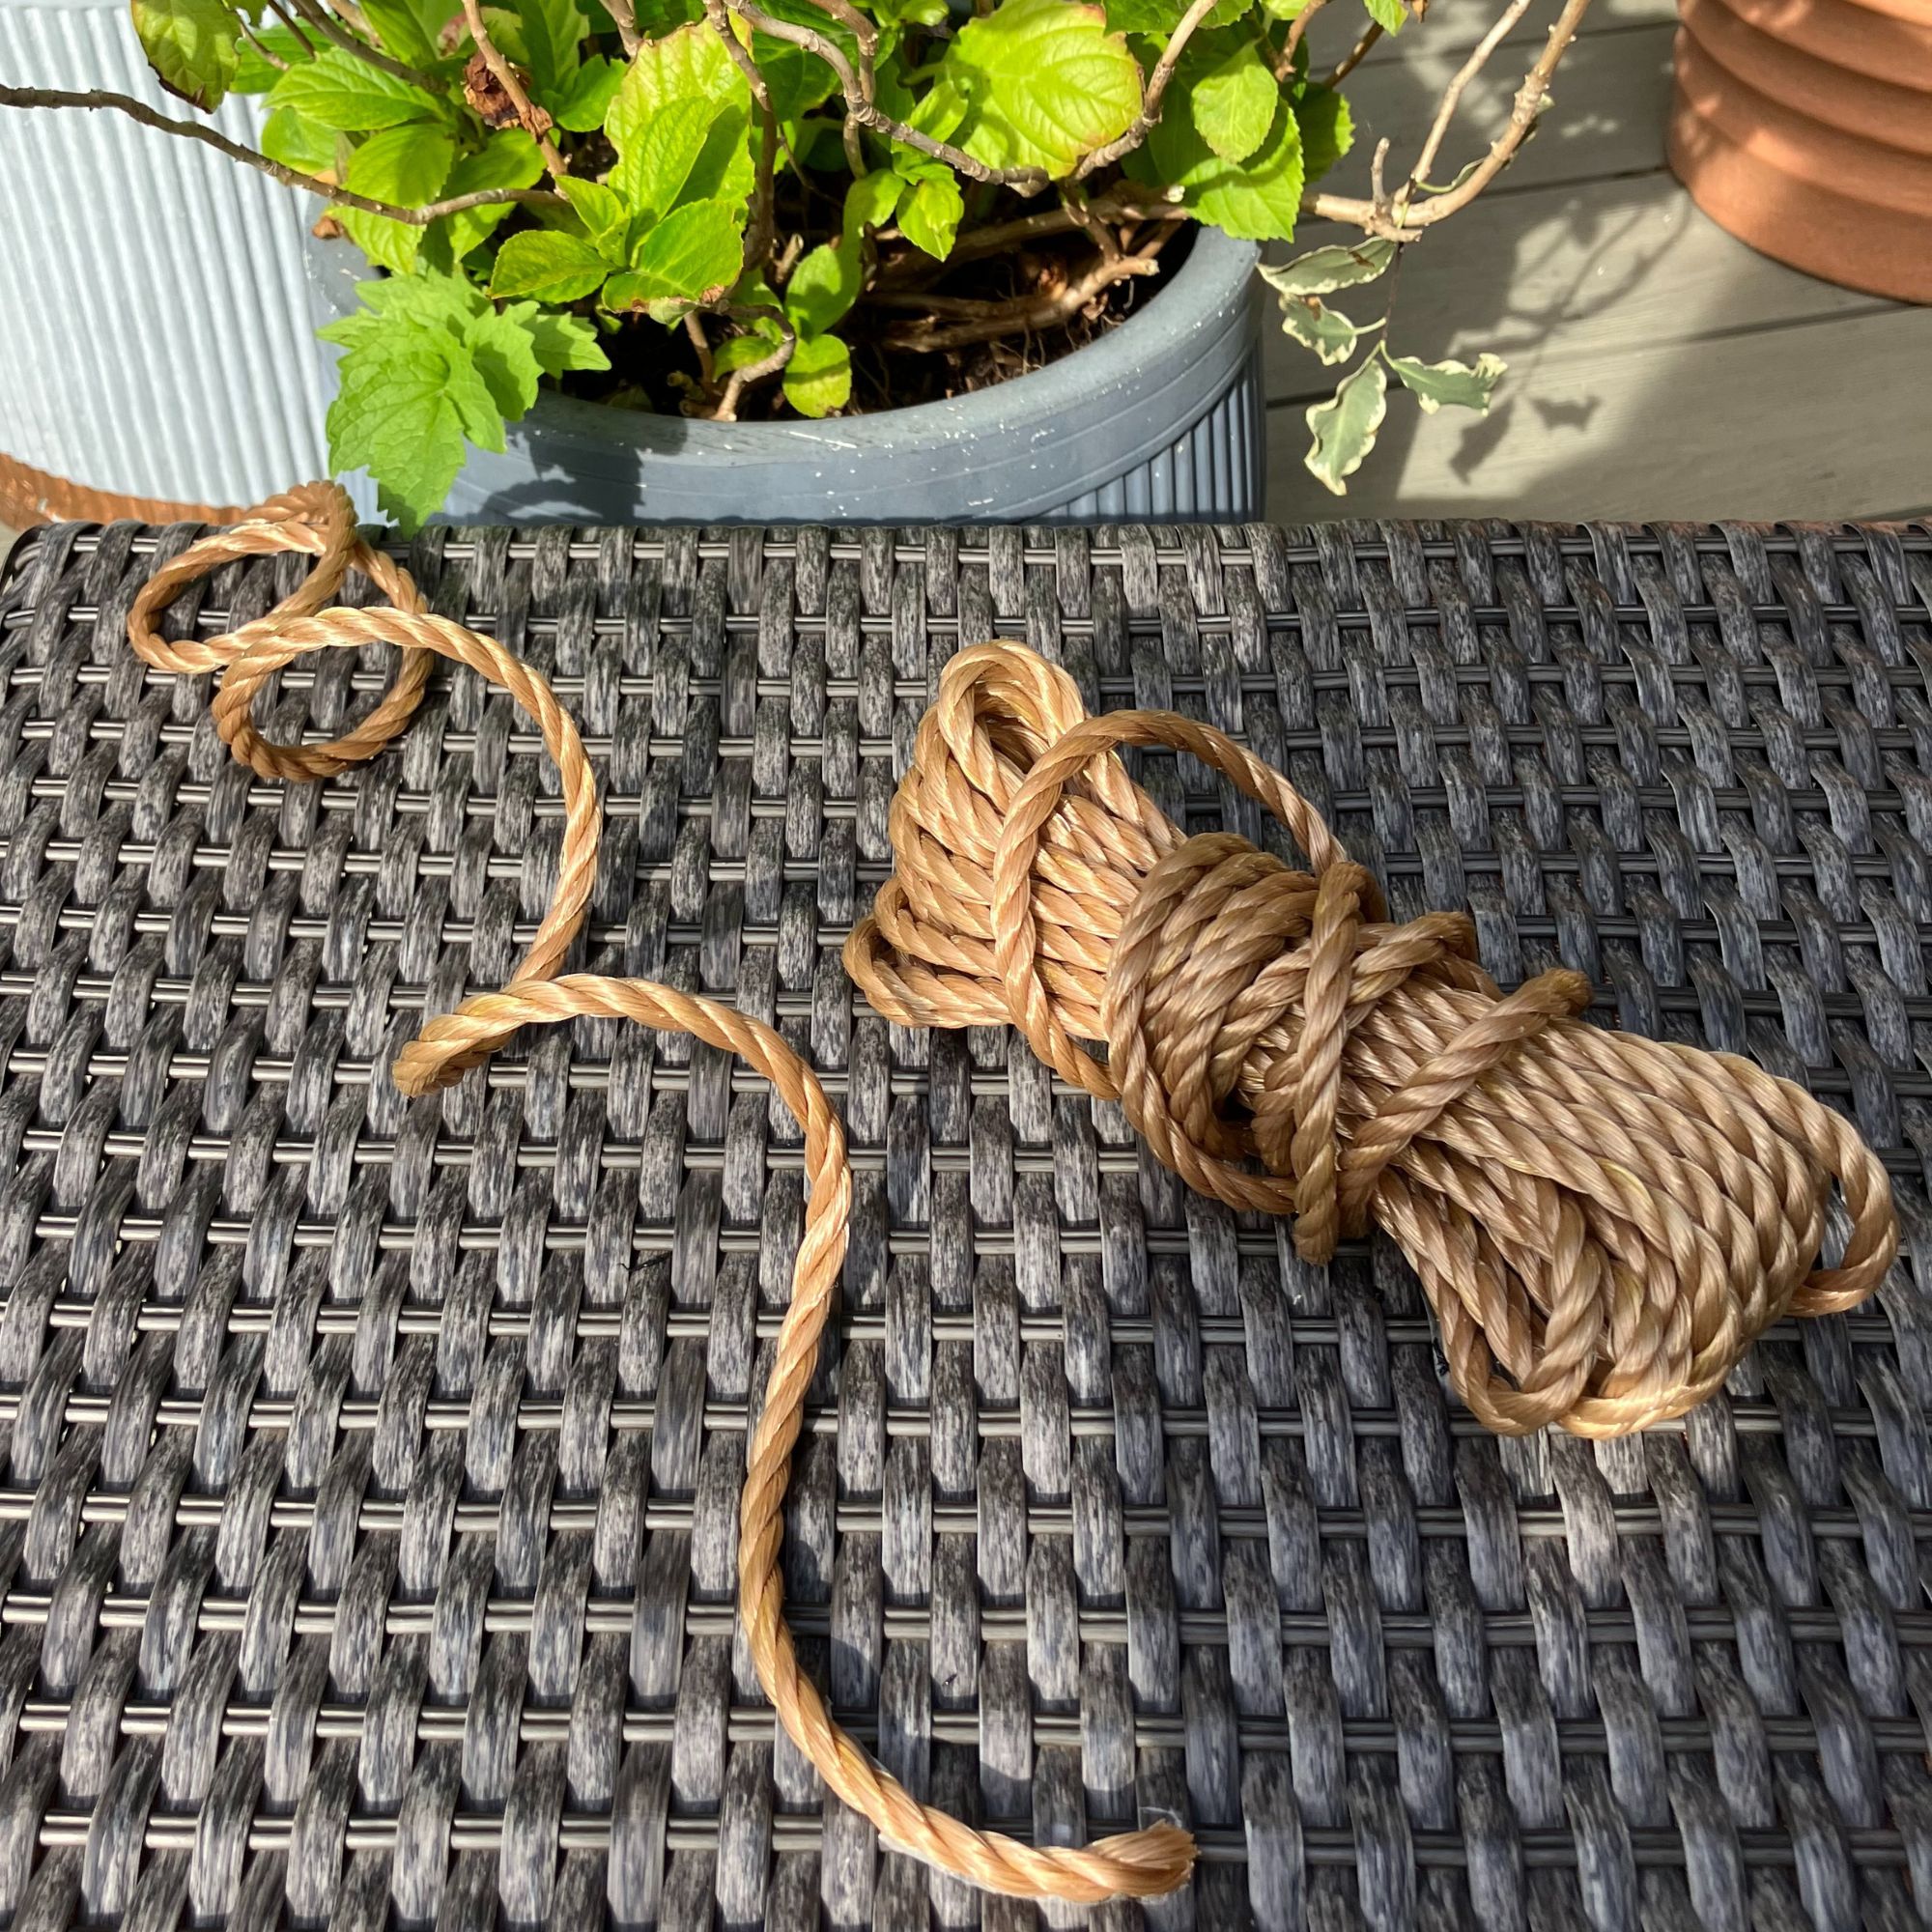
- Natural coloured rope – I used this polypropylene rope from B&Q
- Cup hooks - mine were these zinc plated cup hooks from B&Q
- Elastic bands - for securing the rope loop
- Bradawl - for making holes for the hooks
- Scissors - for trimming rope
How to make your own outdoor hanging lights
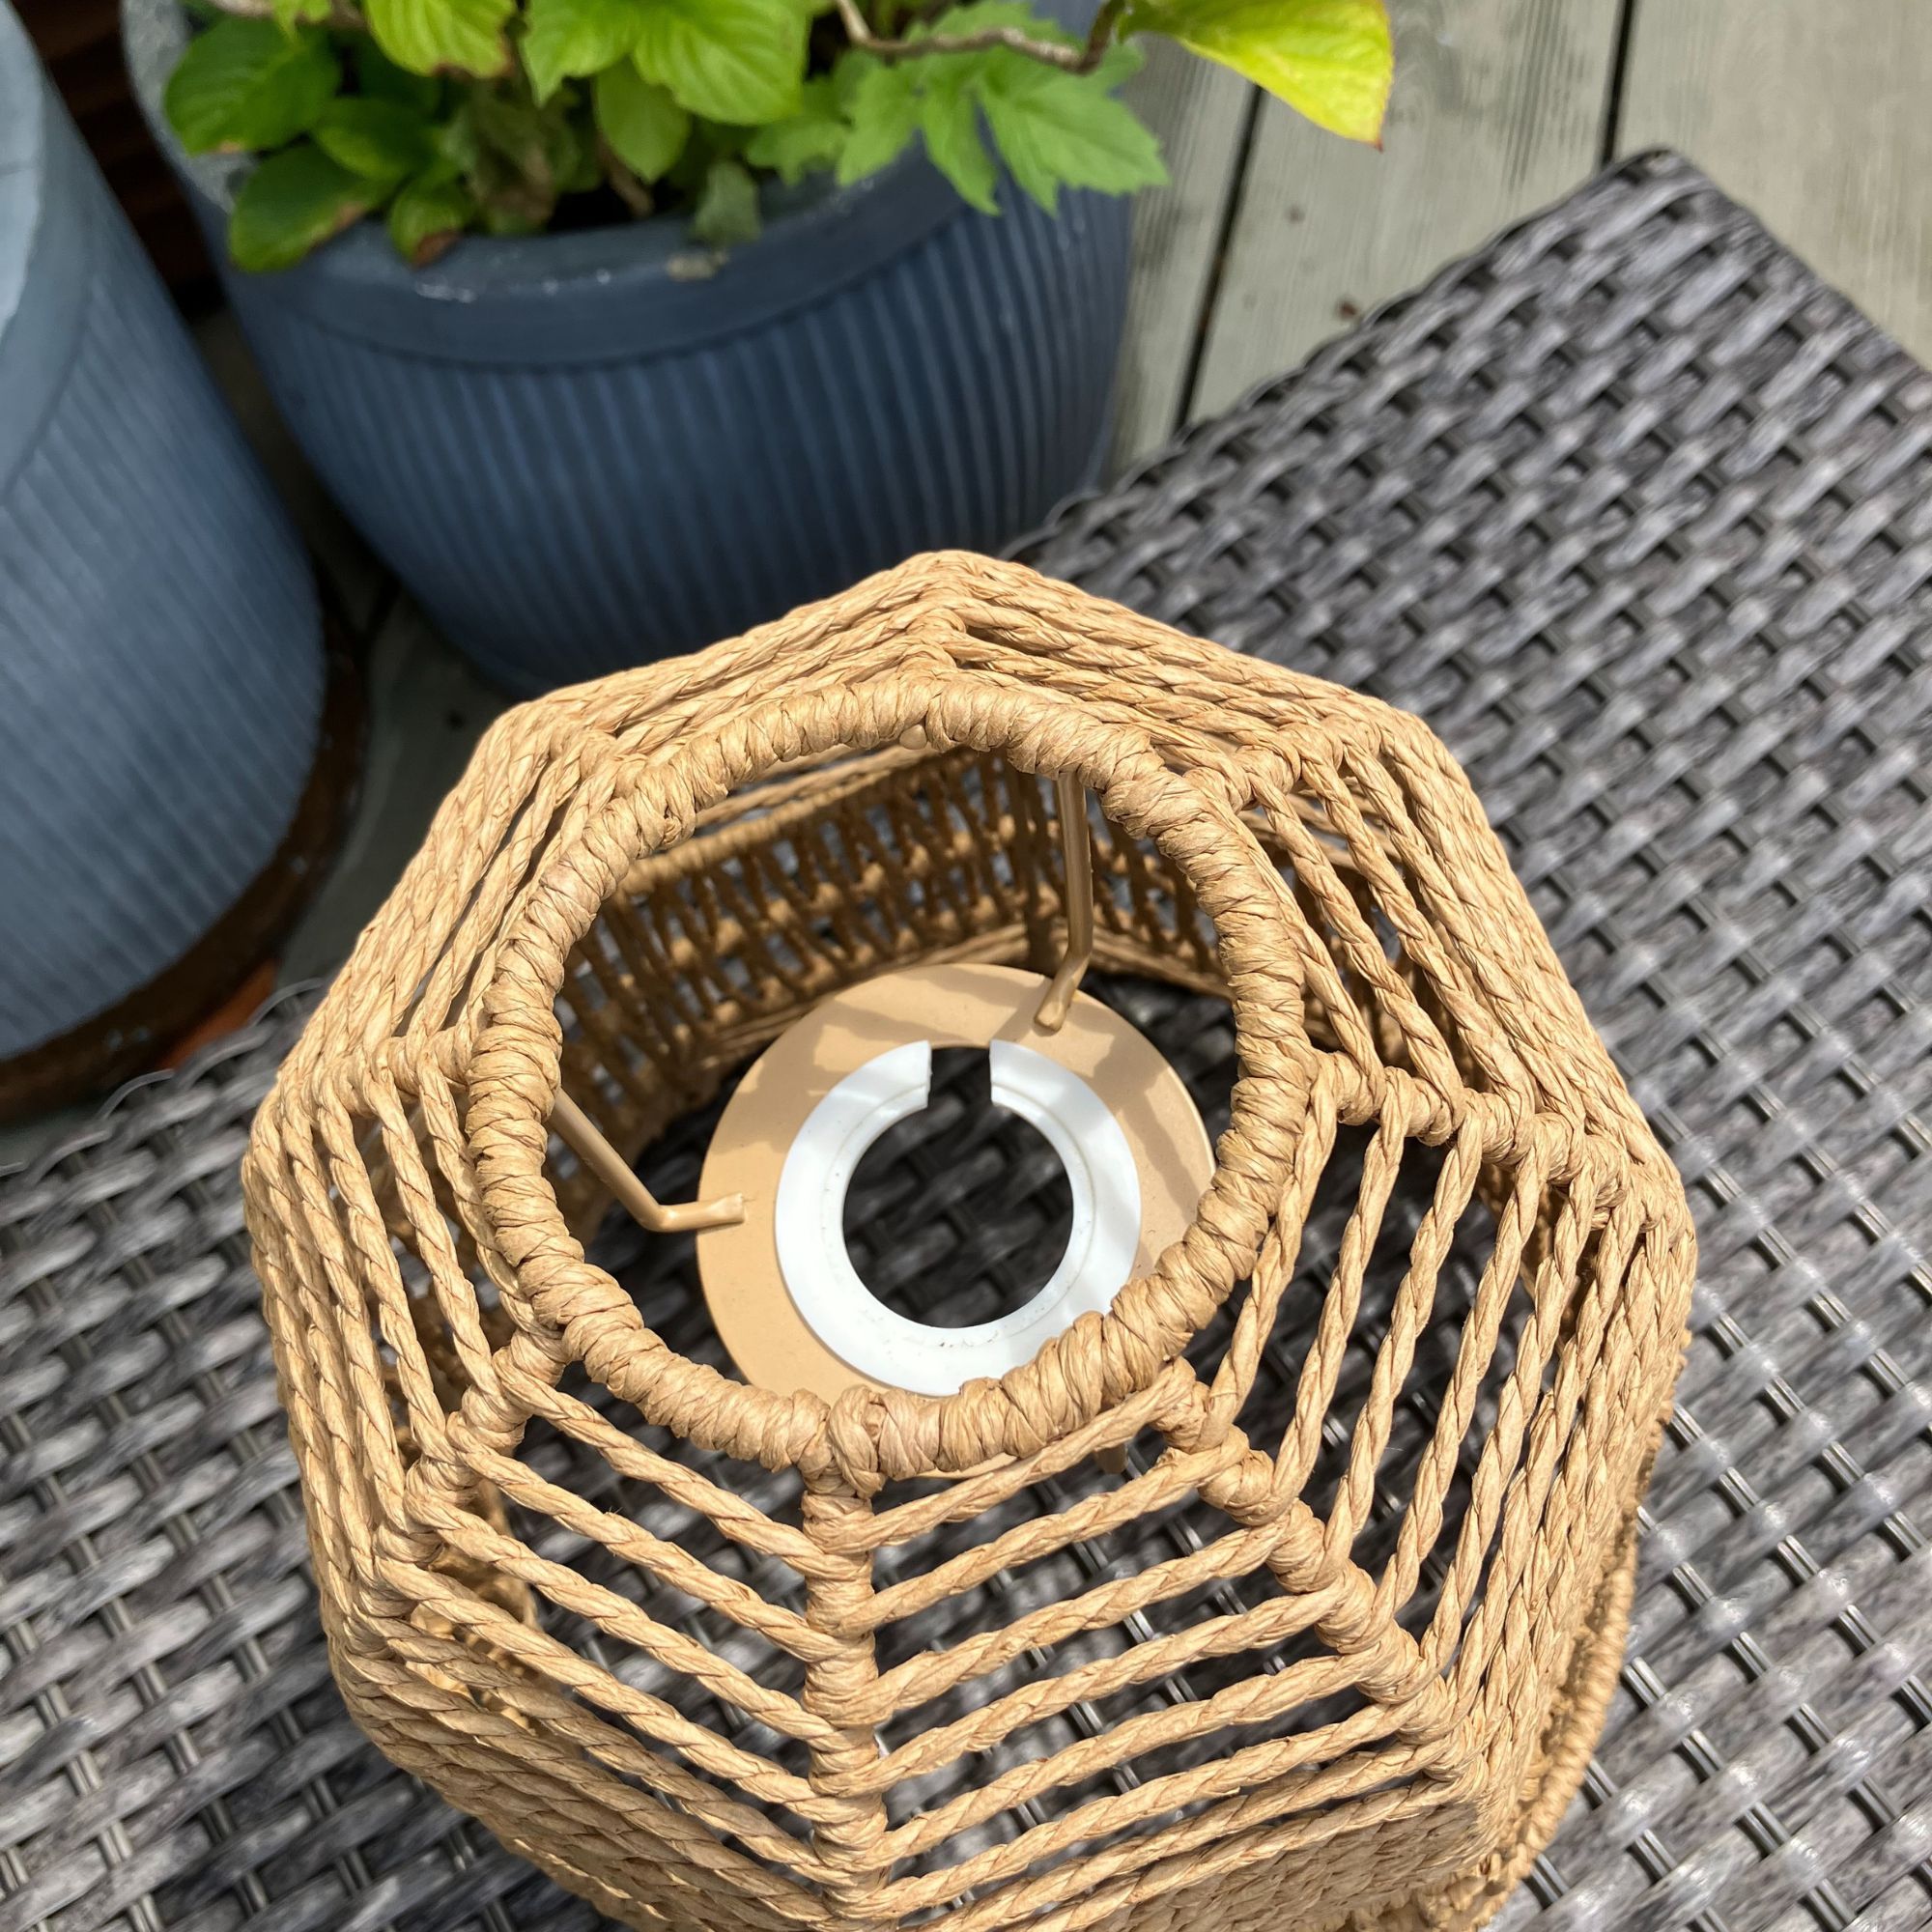
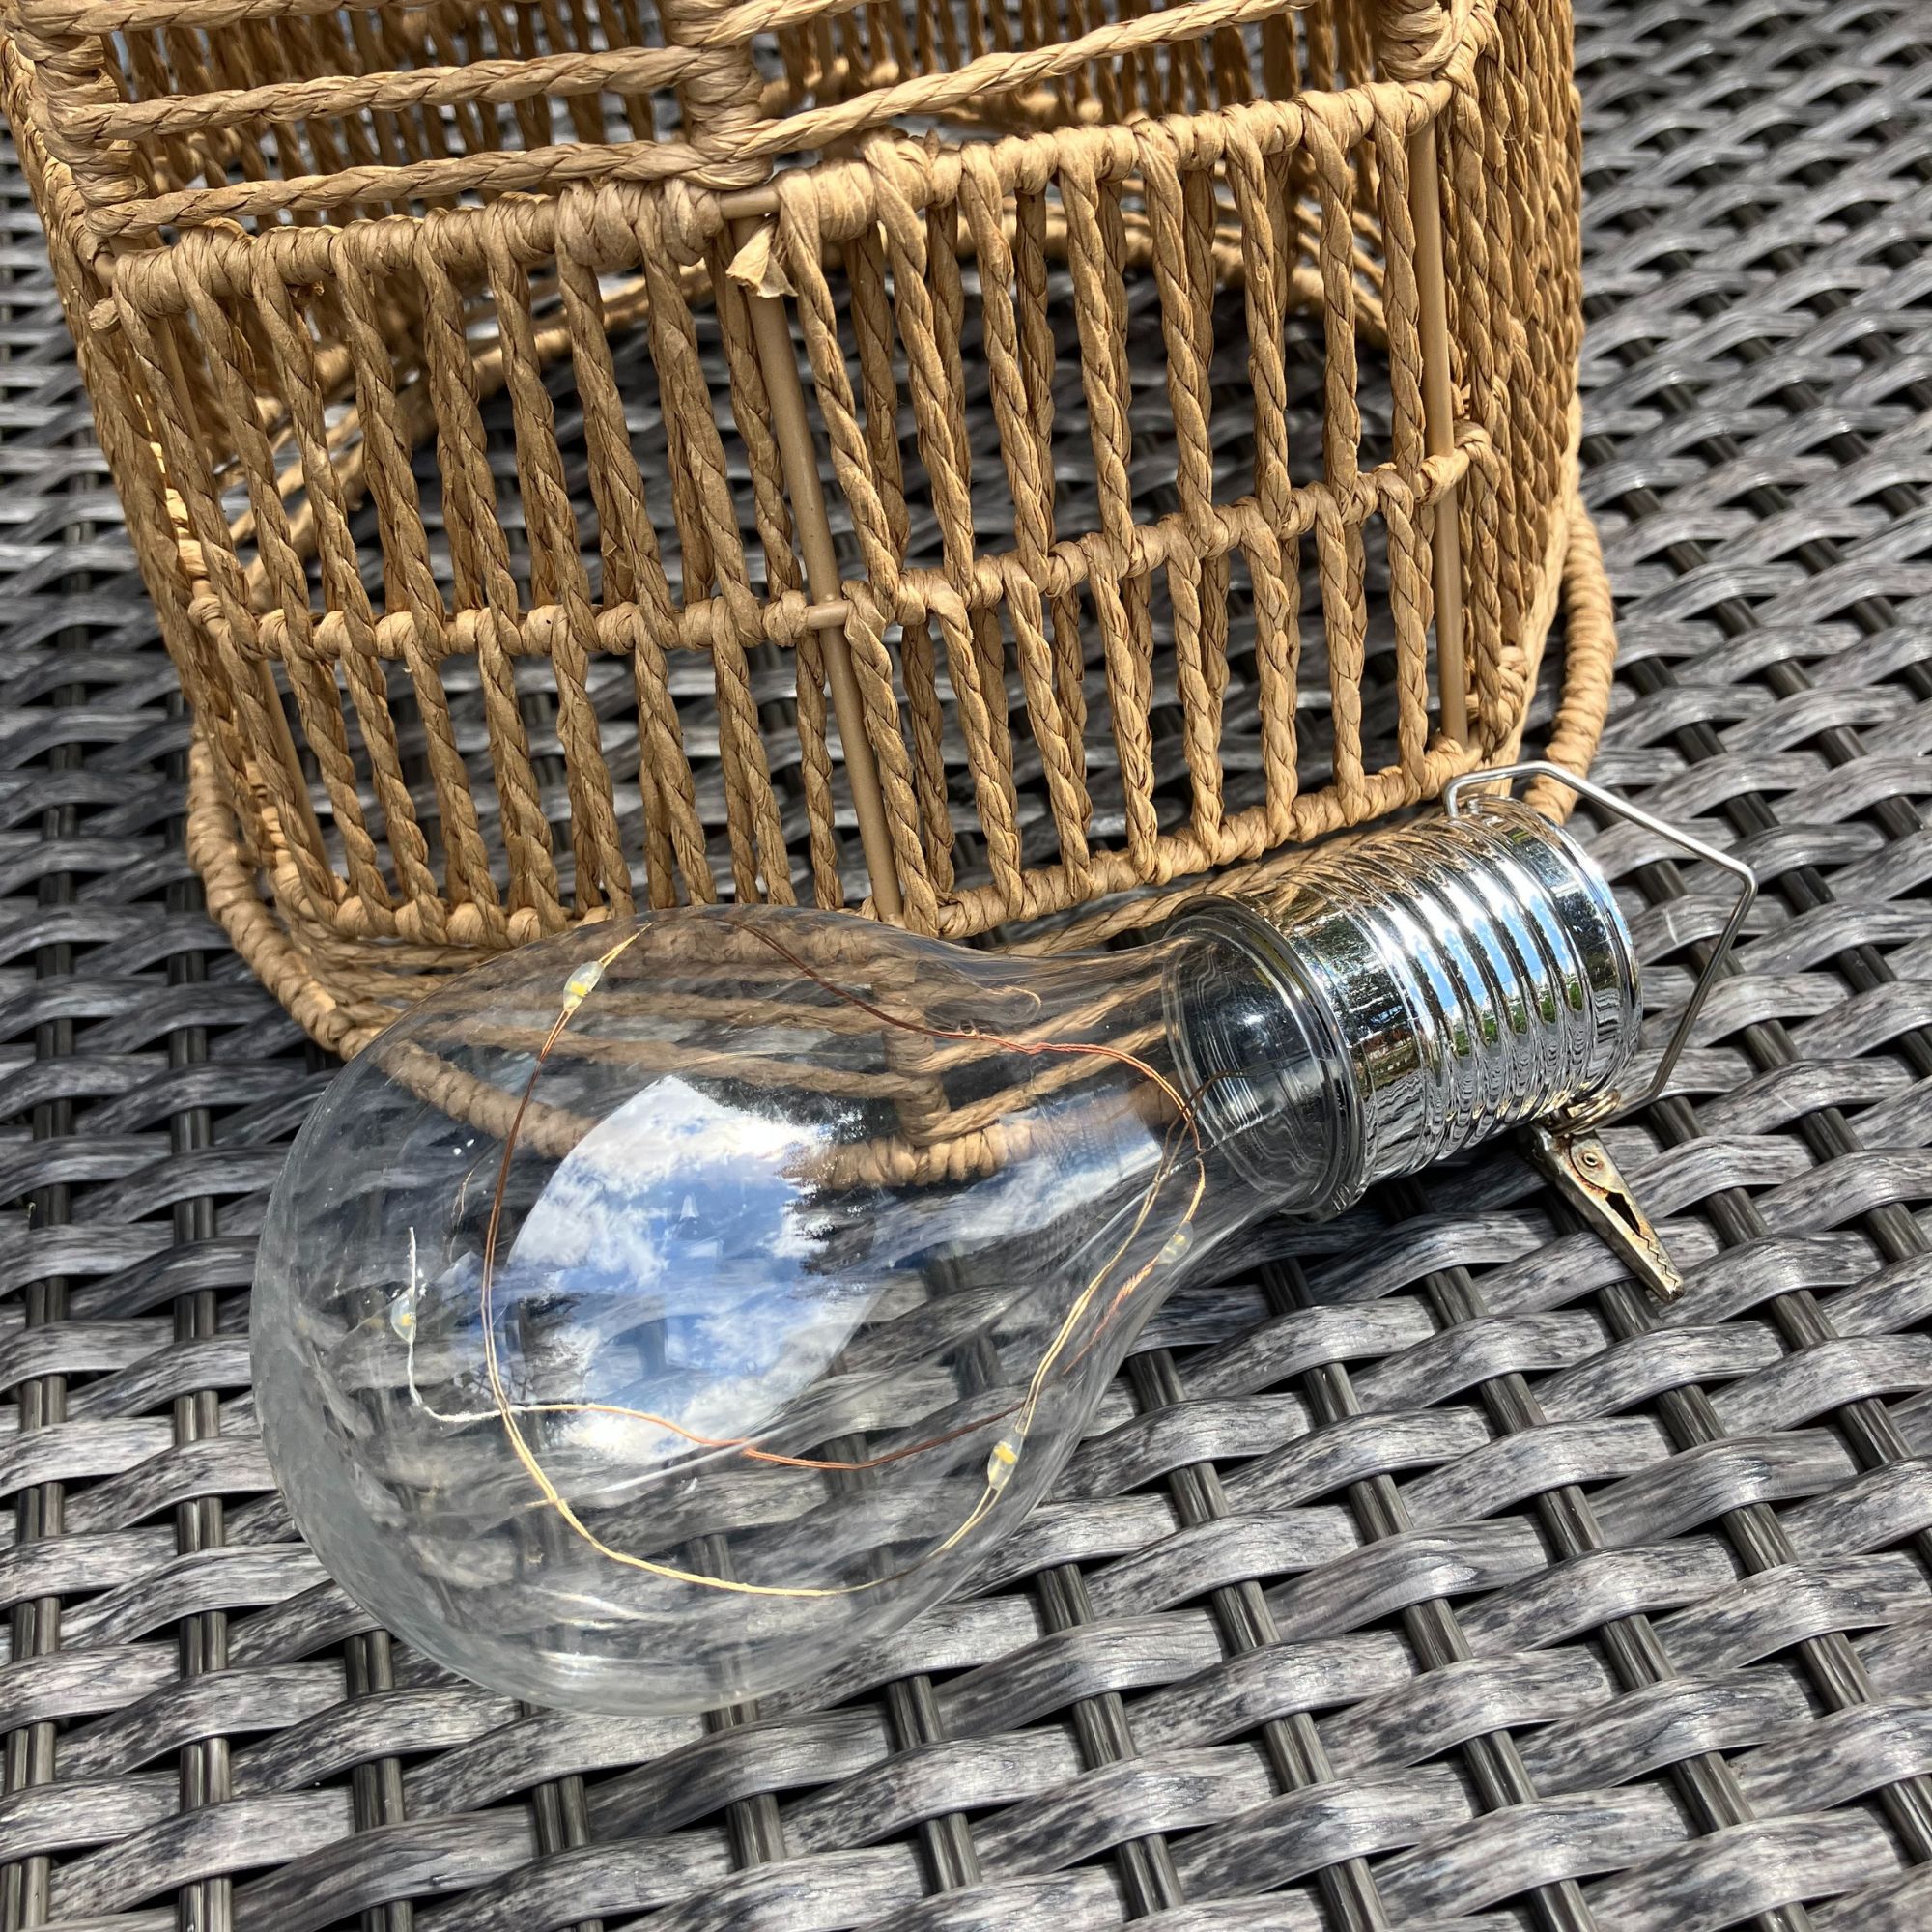
To make your first light, start by removing the white plastic reducer ring inside the shade so that the solar bulb will fit snugly inside.
Then take your solar bulb and remove the clip from the end (as you won’t need this).
Cut a length of rope to roughly the right size you’ll need for hanging your shade - you can always adjust the length later at the hanging stage. I found this great natural-coloured nylon rope at B&Q that matched the shades perfectly.
Sign up to our newsletter for style inspiration, real homes, project and garden advice and shopping know-how
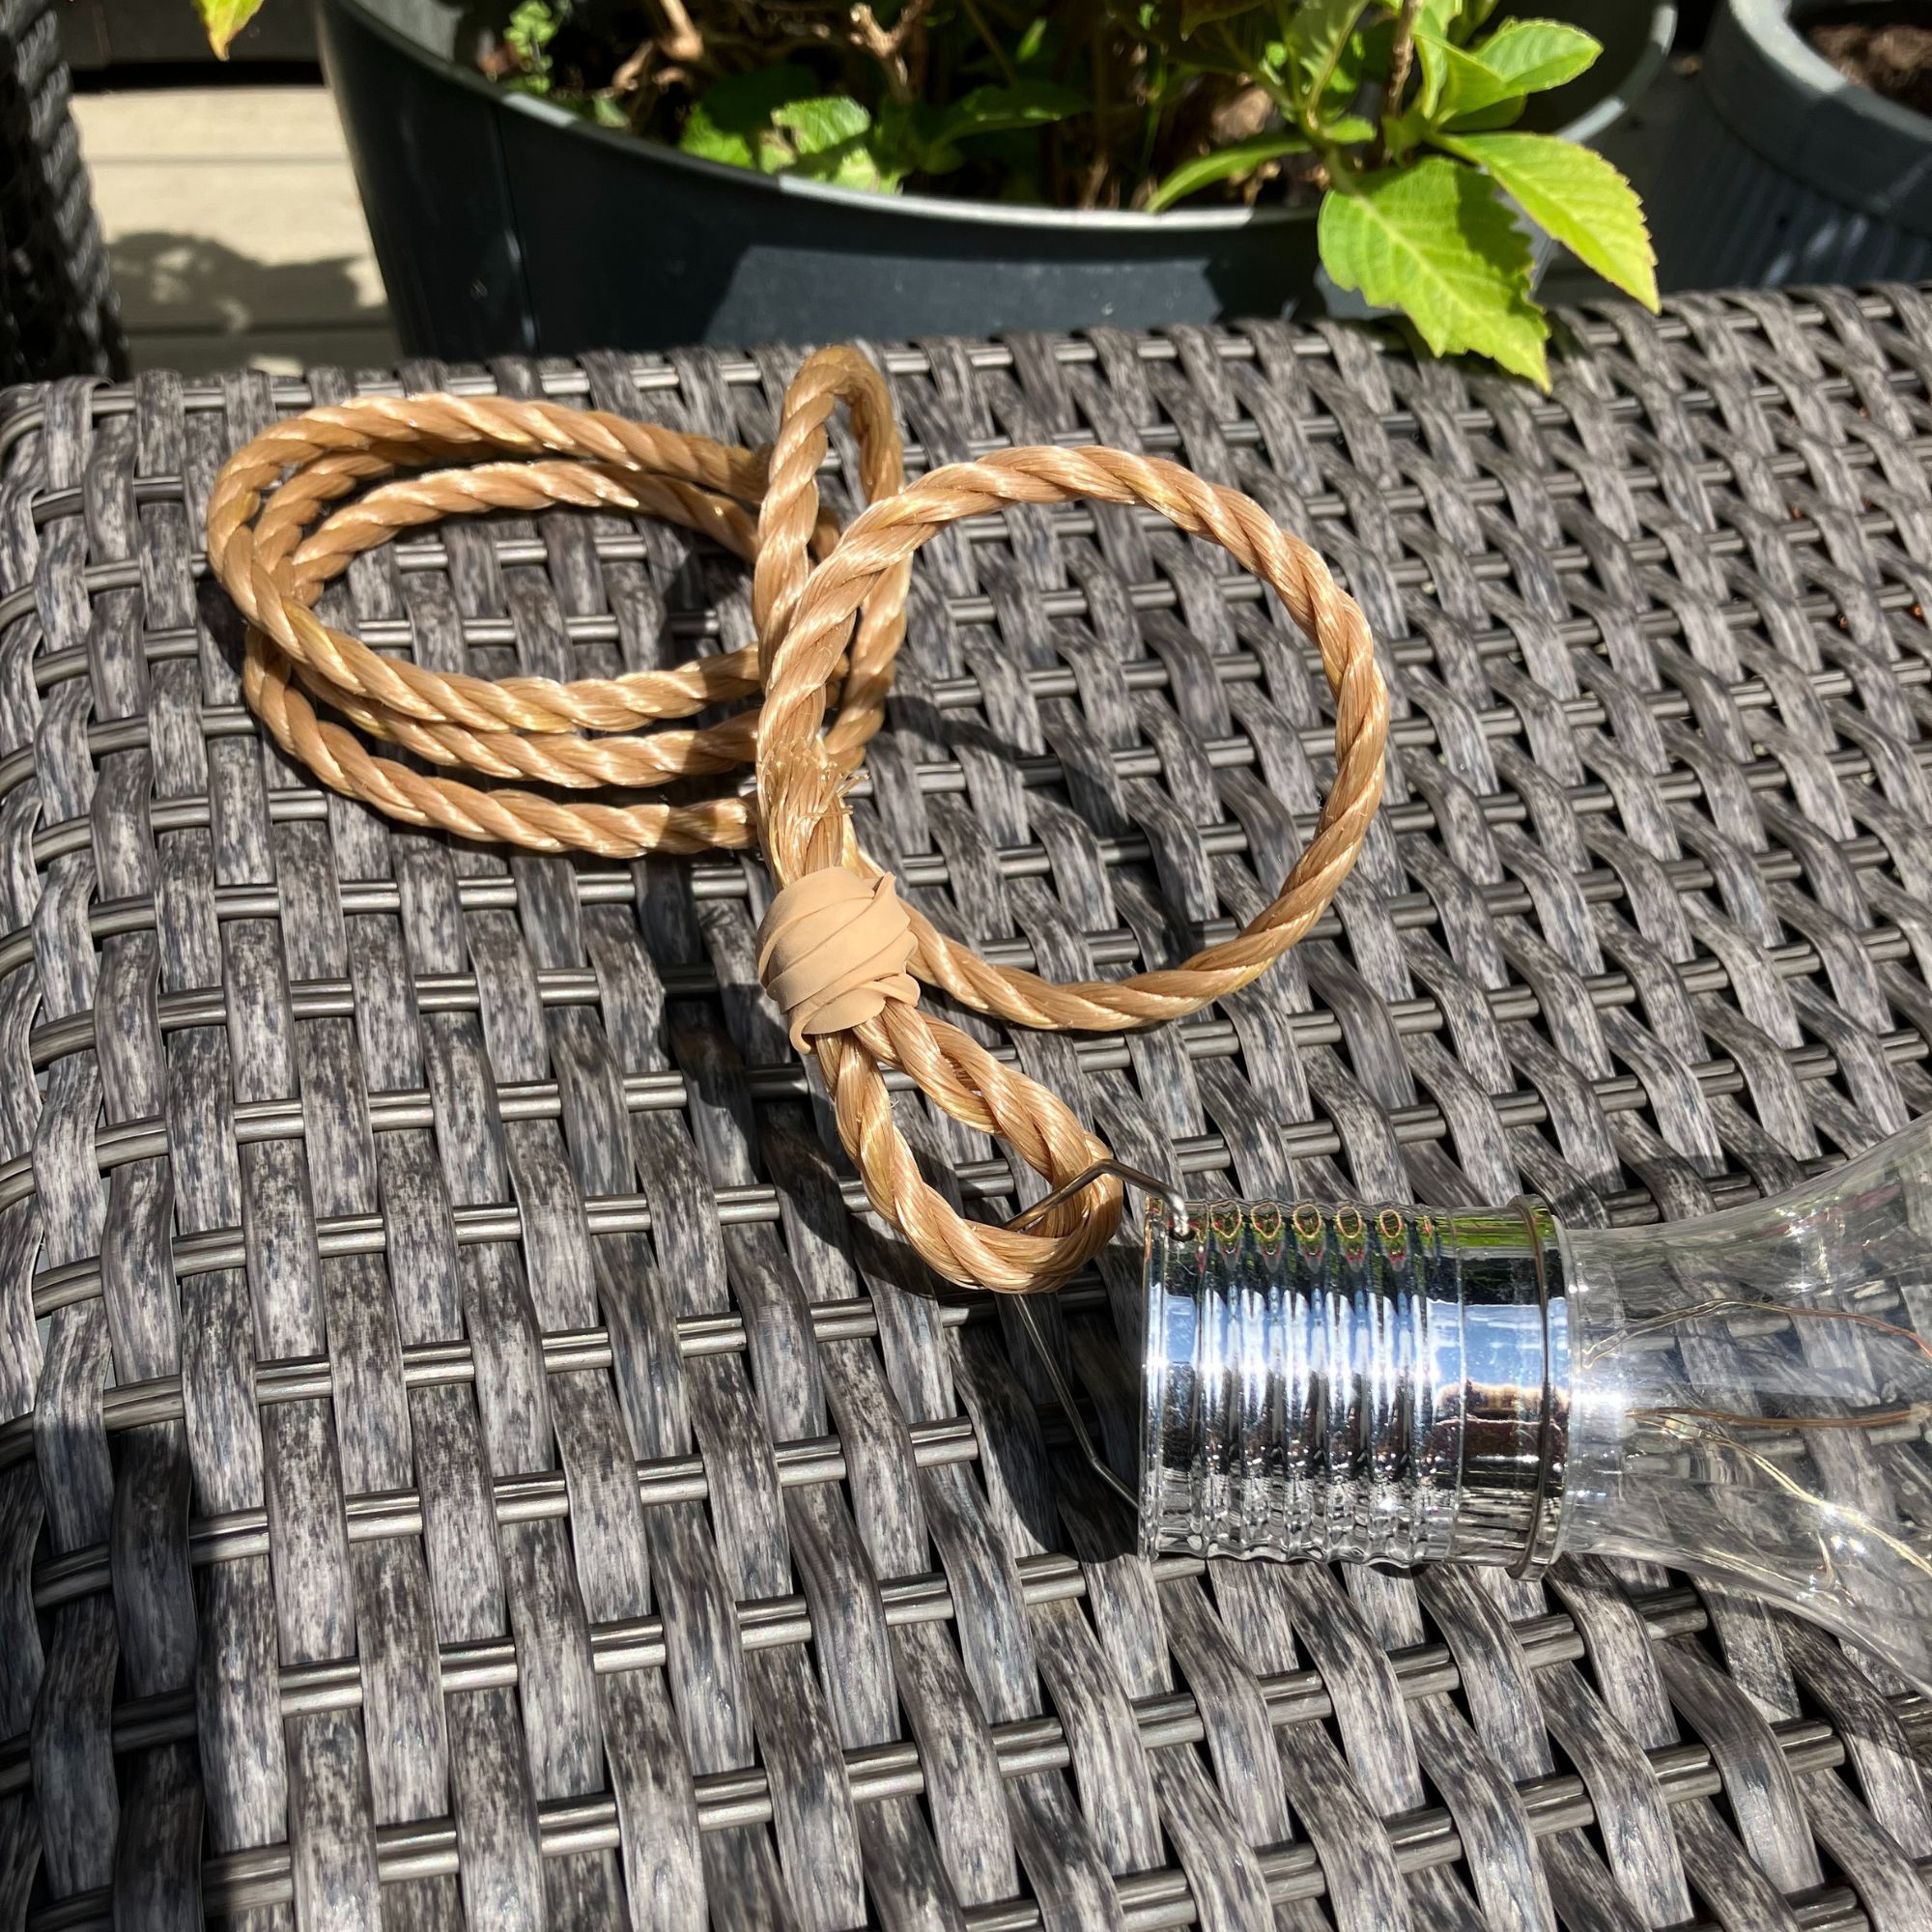
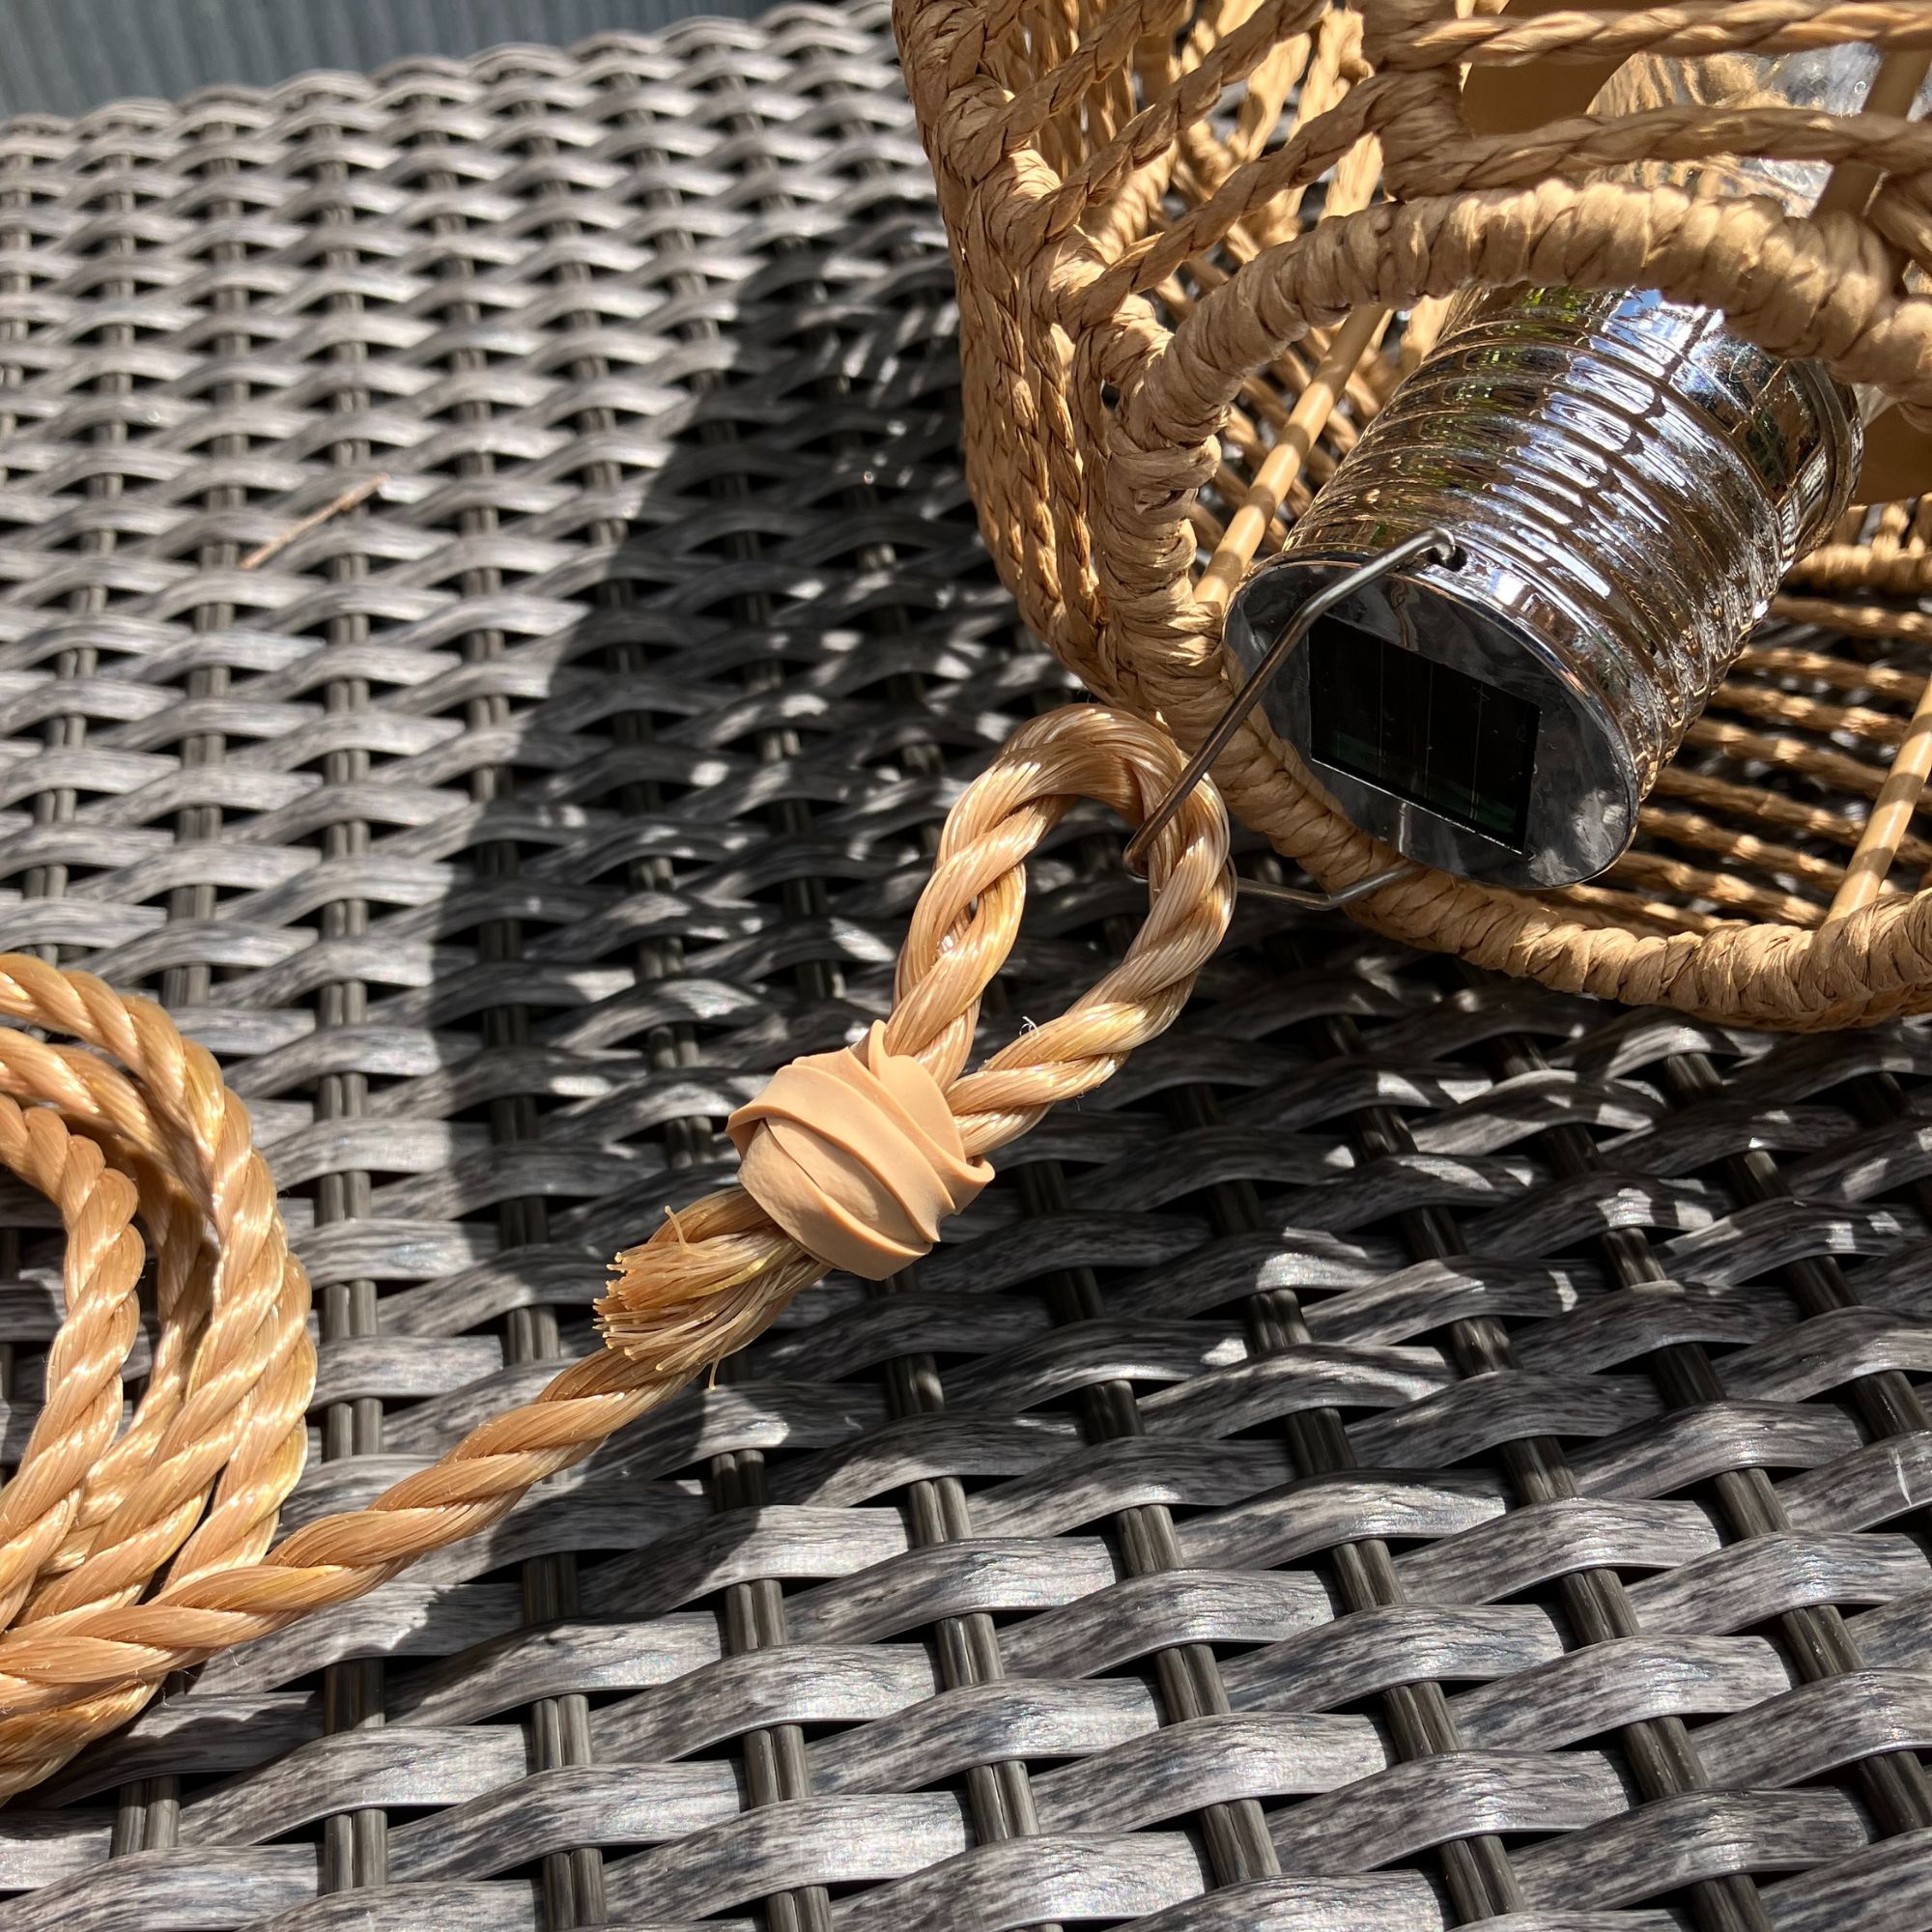
Take your length of rope and thread one end through the metal hanger on the end of the solar bulb. Make a small loop at the end and secure it by tightly wrapping a rubber band around it several times. The elastic band matches the colour of the rope exactly.
Now you simply need to fit the hanging bulb into the shade. Do this by threading the loose end of the rope through the central fitting and then pulling through the top silver section of the bulb - this might take a bit of wiggling about to pull it through.
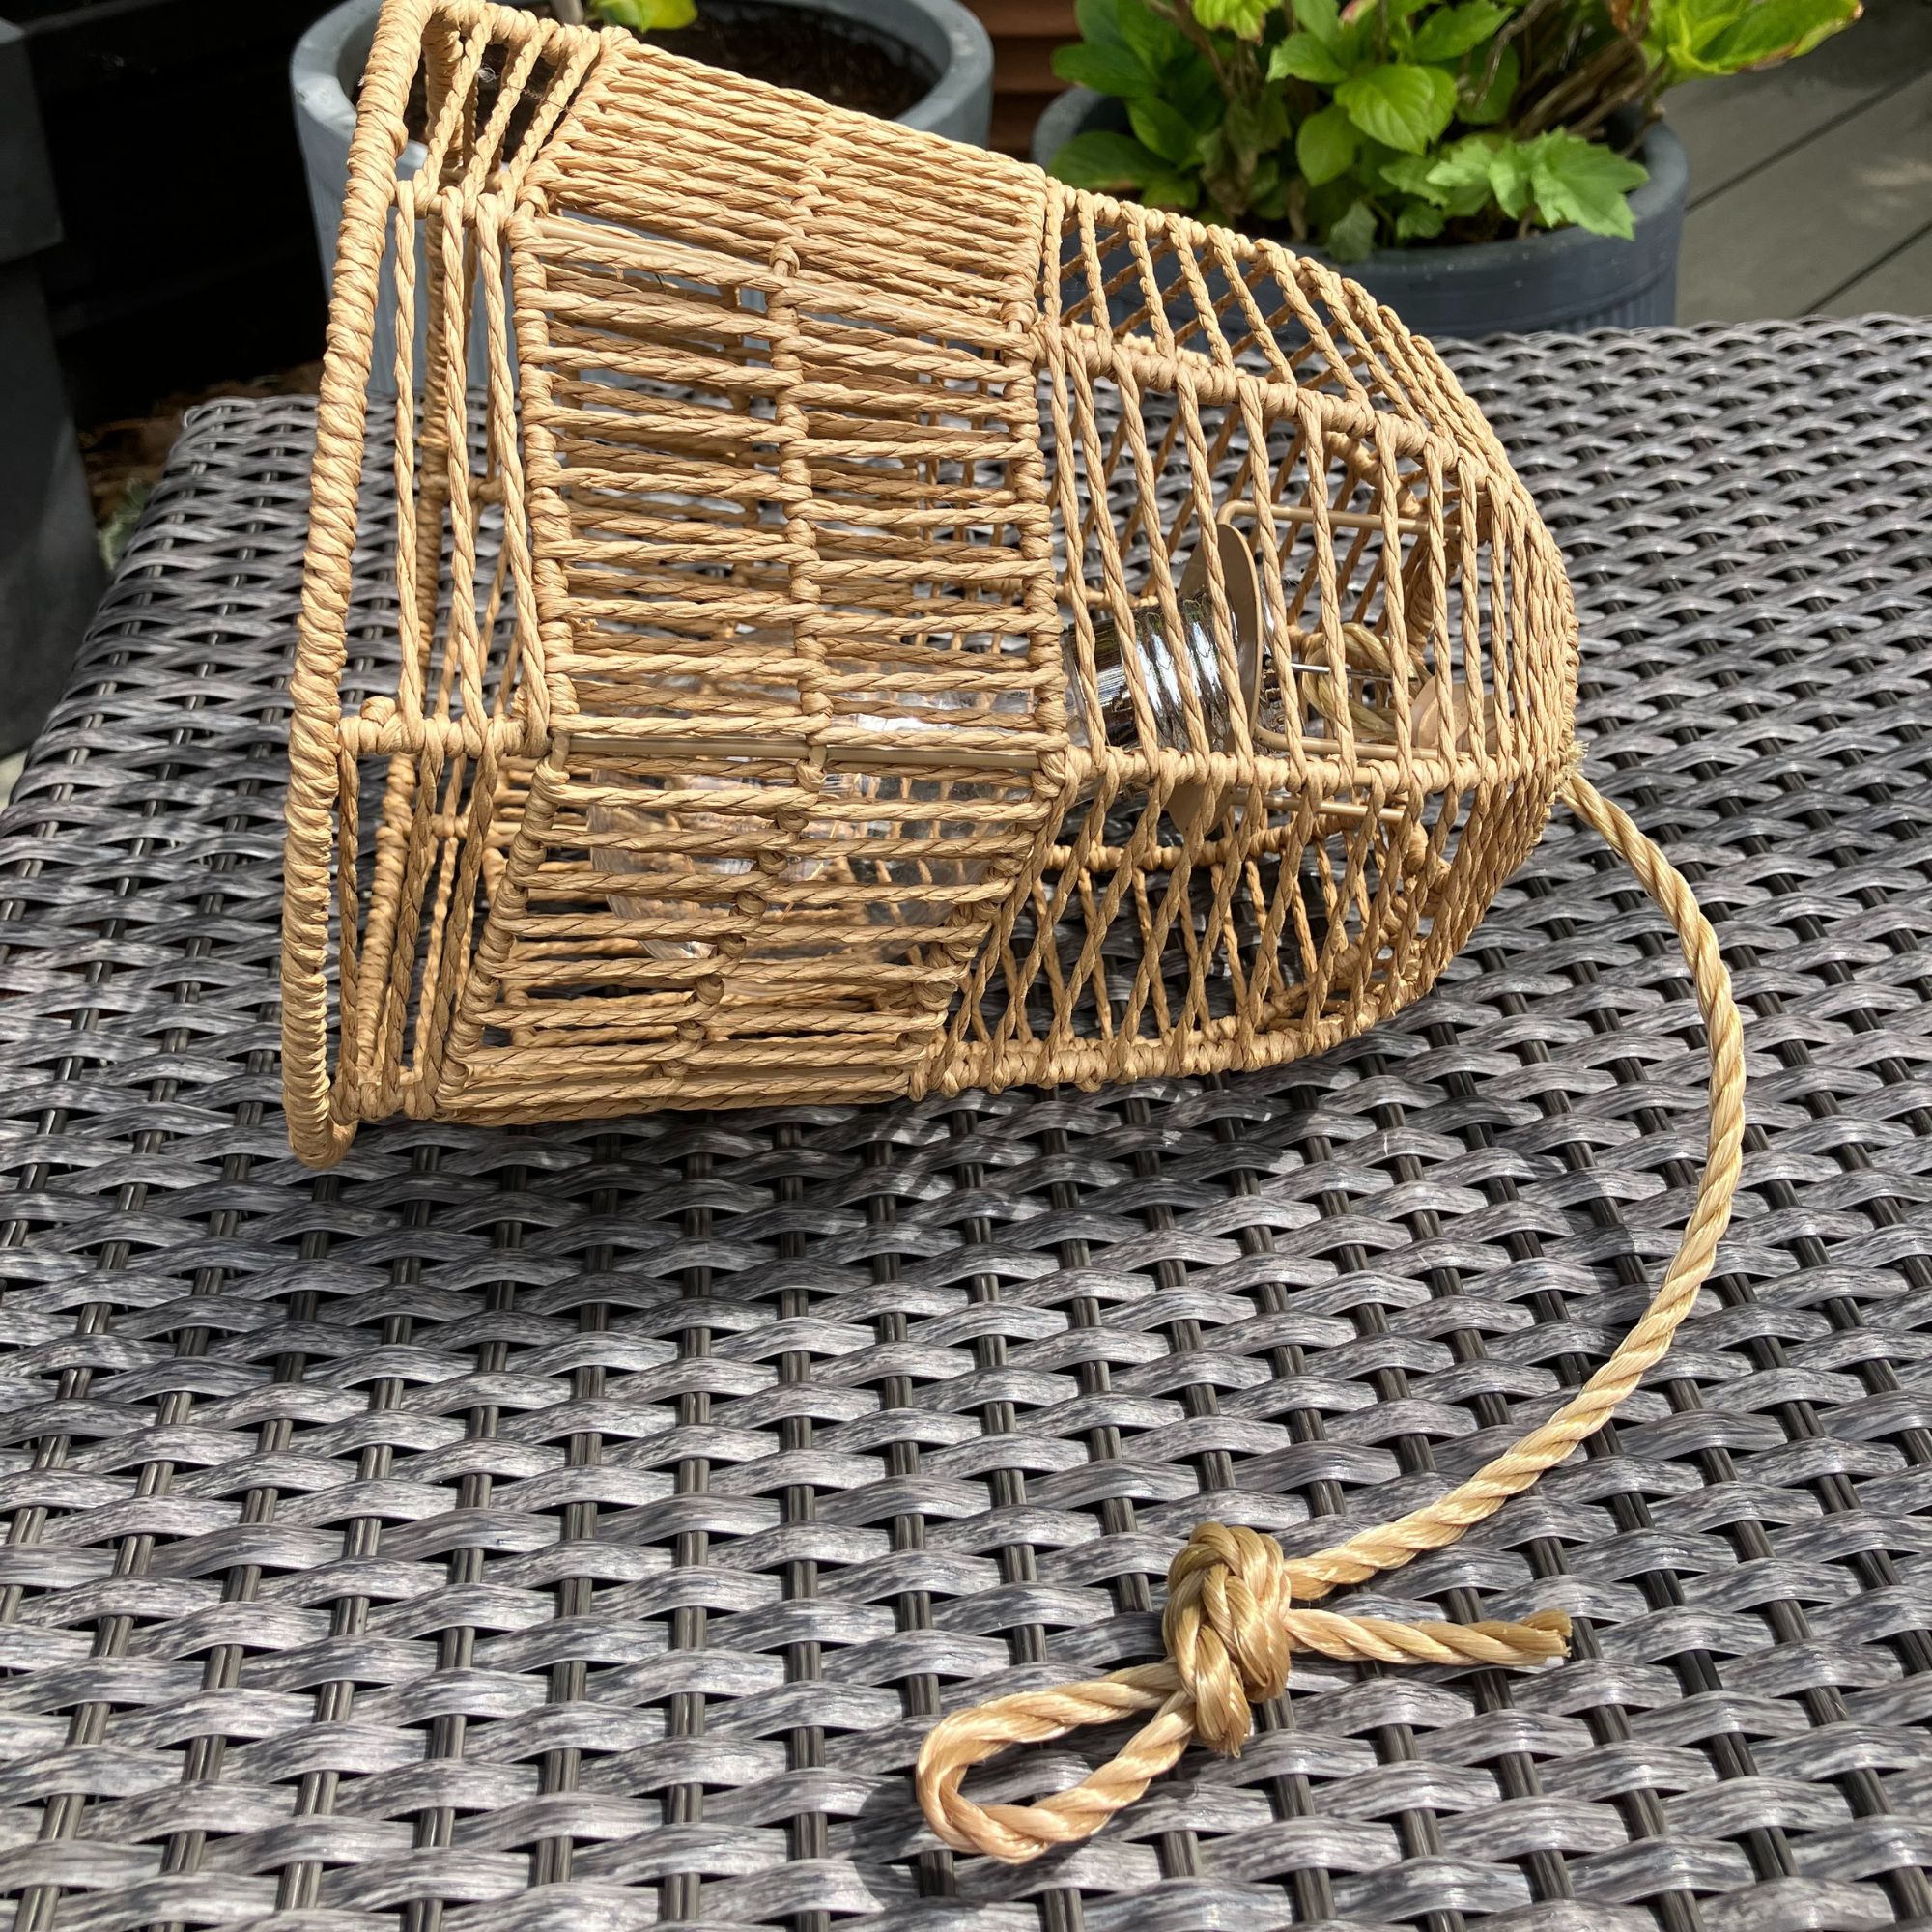
Once your bulb plus rope is slotted inside the light fitting, the shade is complete, it’s then just a matter of hanging it. Work out roughly how long you want the hanging length to be and then simply tie the loose end of the rope in a loop and knot.
It won’t matter if you have a little excess rope, this means you can easily adjust the hanging length if you need to.
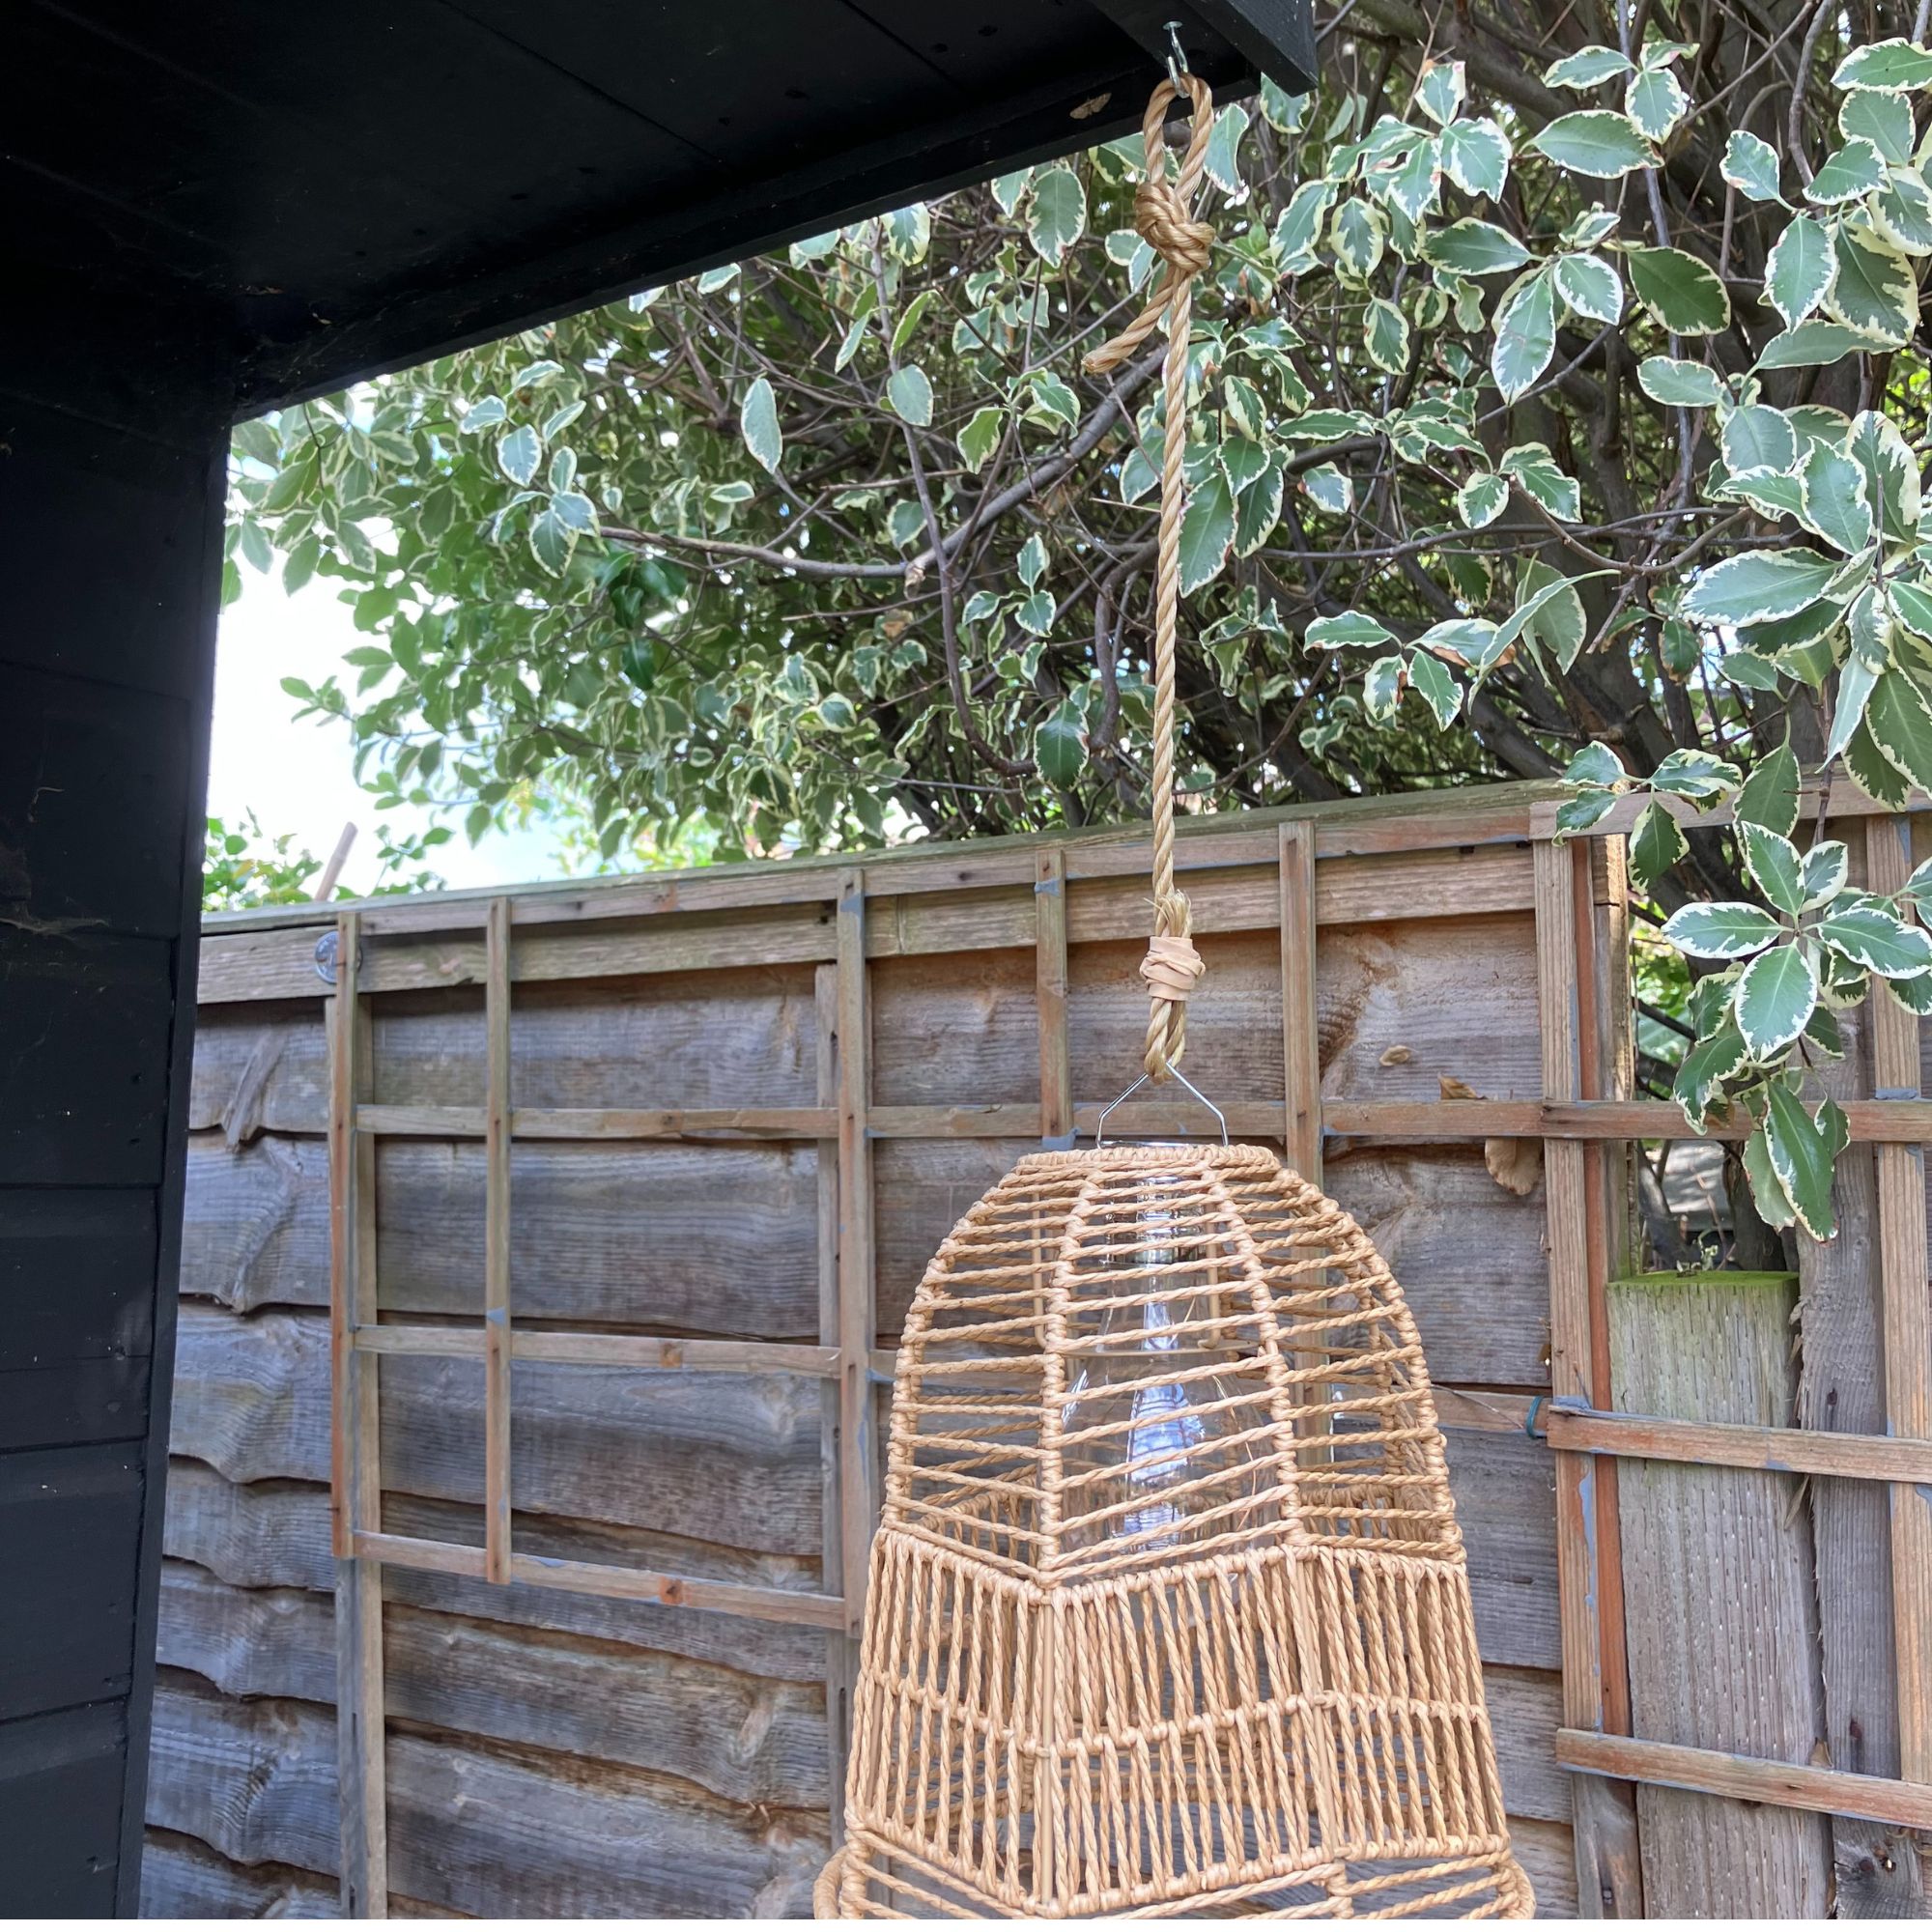
Finish off by fixing up a hook to hang your shade from. I used inexpensive cup hooks screwed into the timber overhang of my summerhouse, using a bradawl to make a small hole.
Then simply pop the hanging loop of your light onto the hook and there you have it.
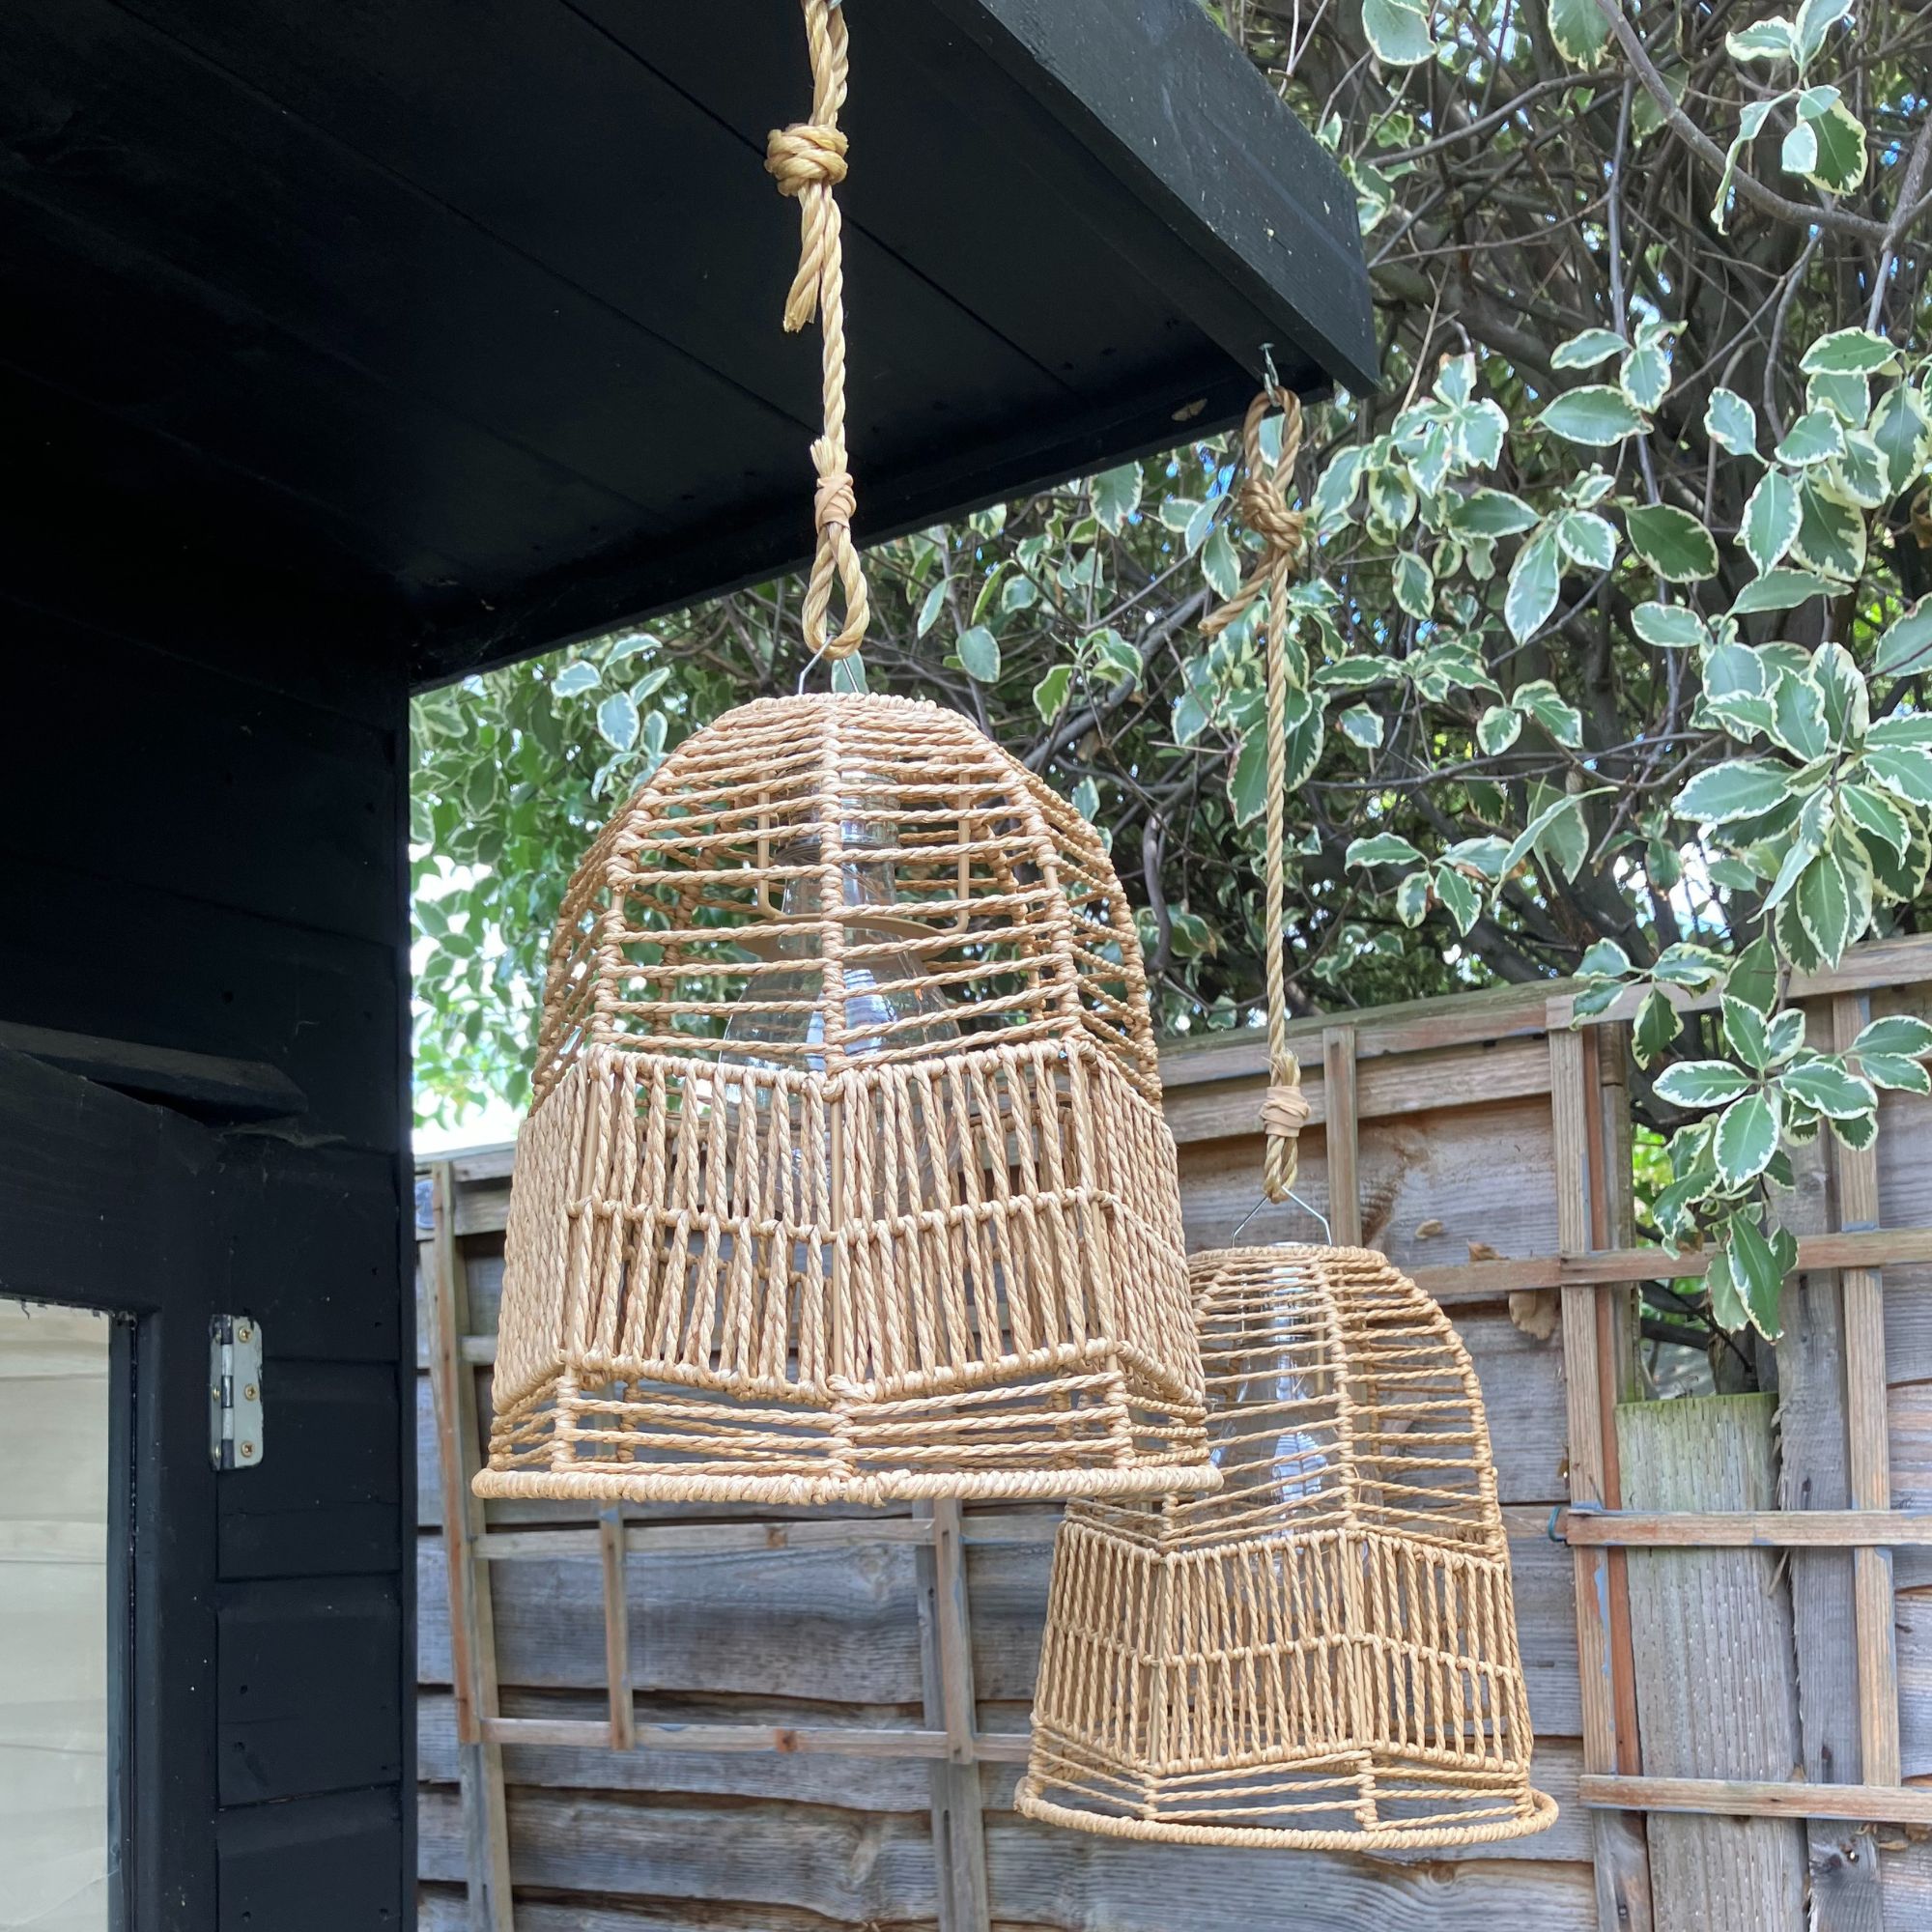
I made two shades and hung them together at staggered heights - with different-sized lengths of rope for each. You could easily add more shades to create a clustered effect if you have the space outside.
I’m really pleased with how they turned out. They look great in the daytime and then look fab when it starts to get dark in the evening with the lights twinkling.
Solar hanging light options
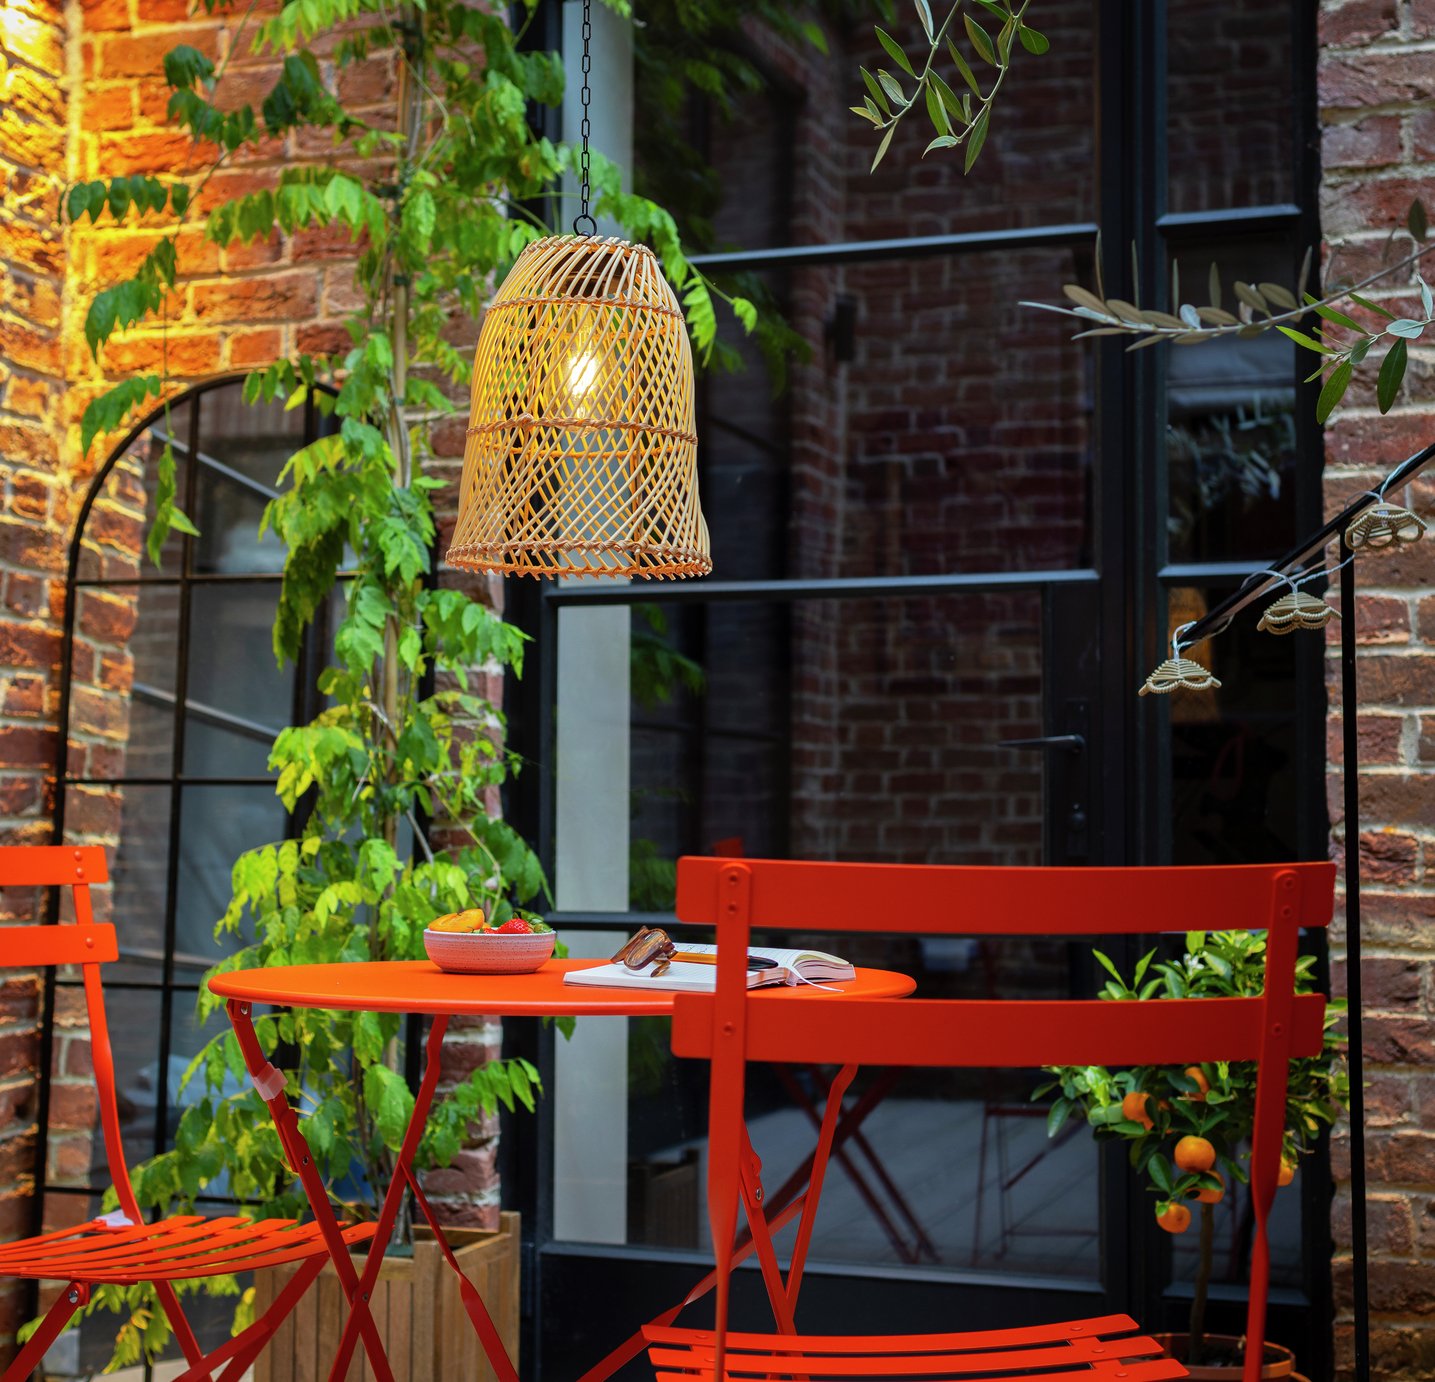
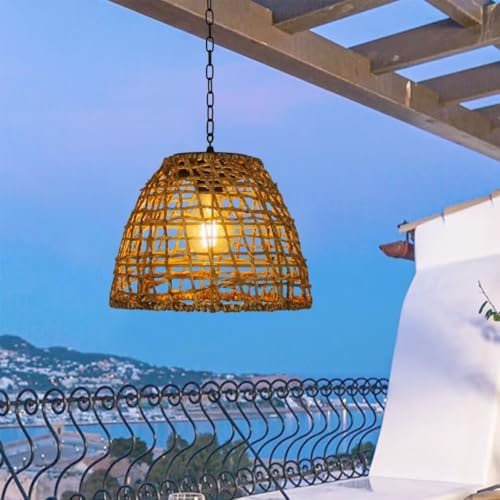
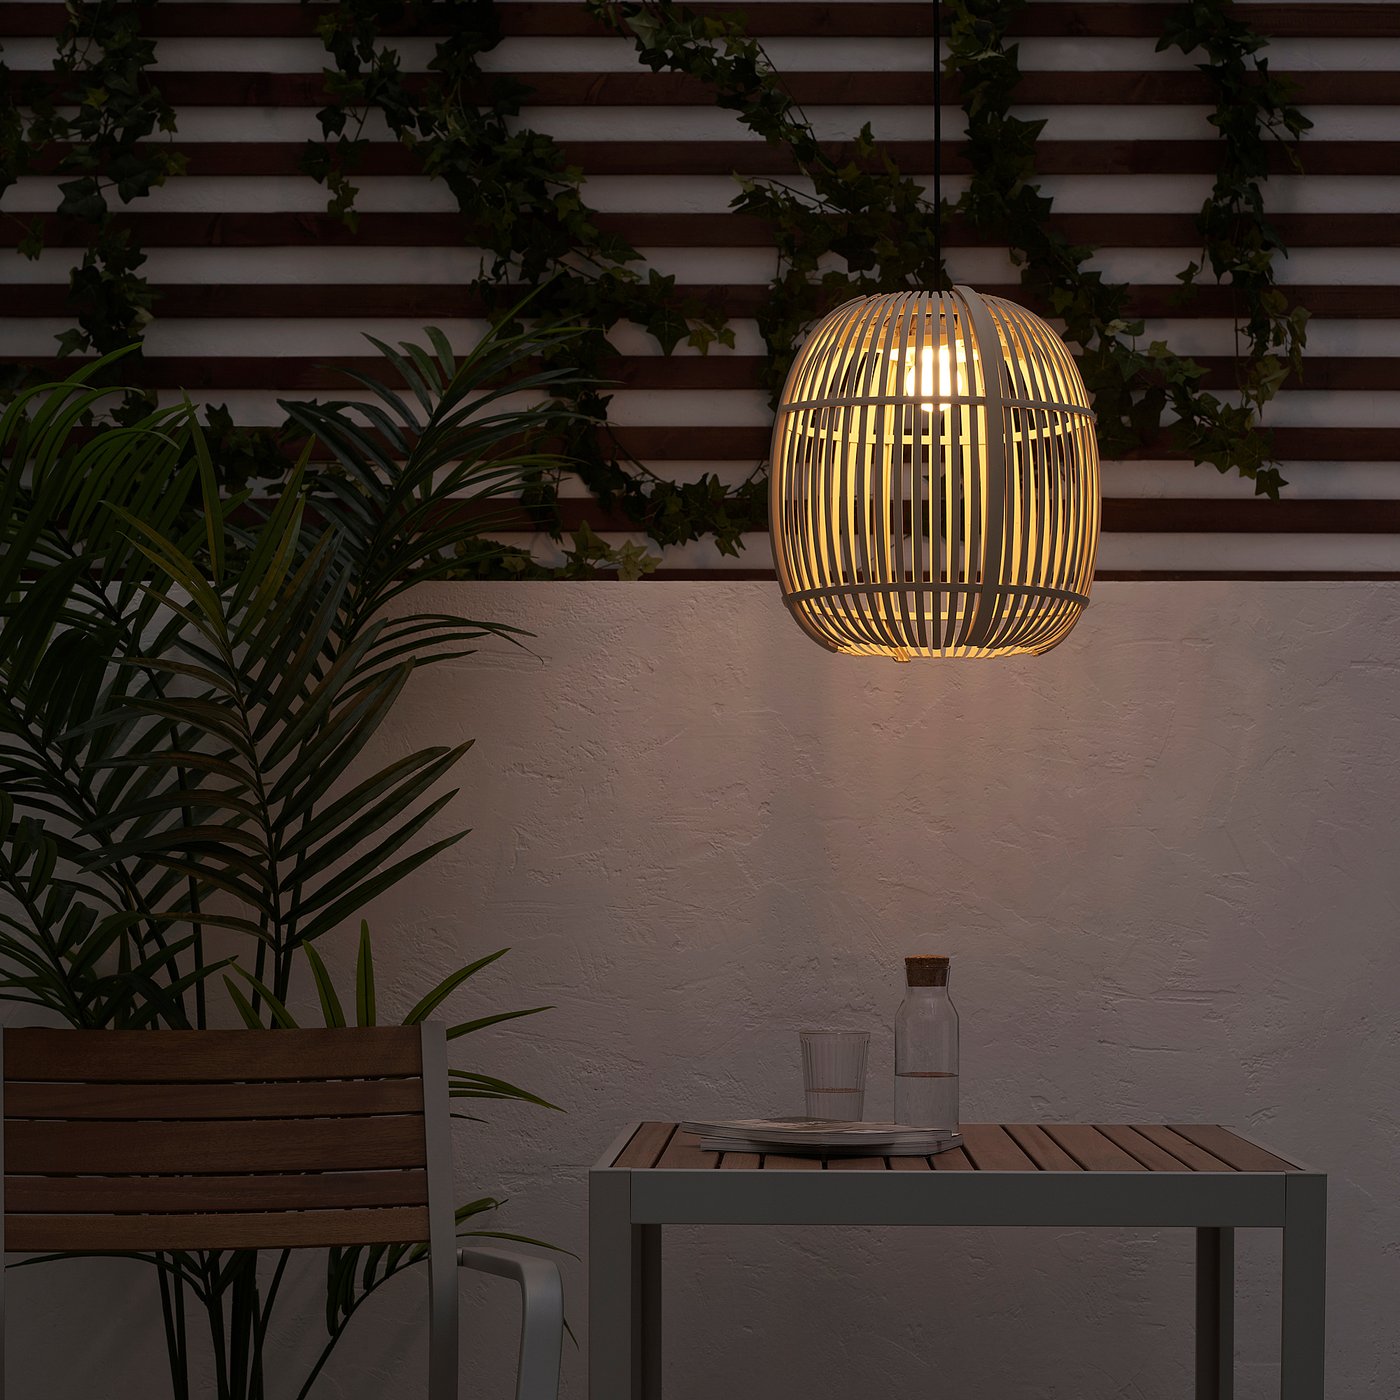
I was so pleased with how the lights turned out, that I’ve made another two for the other end of the summerhouse. Have they inspired you to make your own?

Lisa is a freelance journalist who has written about interiors for more than 25 years. Previously editor of Style at Home magazine, she has worked on all the major homes titles, including Ideal Home, Country Homes & Interiors, 25 Beautiful Homes and Homes & Gardens. She has covered pretty much every area of the home, from shopping and decorating, crafts and DIY to real homes and makeovers and now regularly writes gardening stories for Ideal Home.