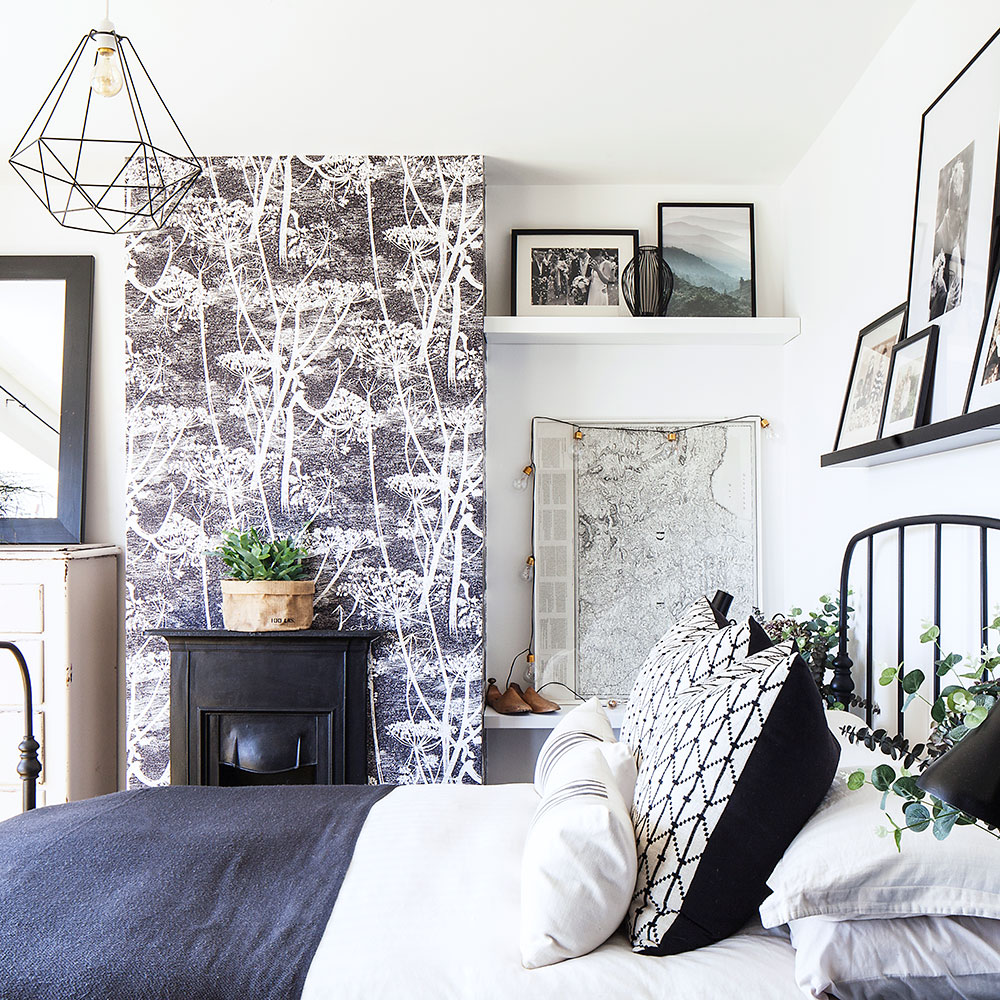
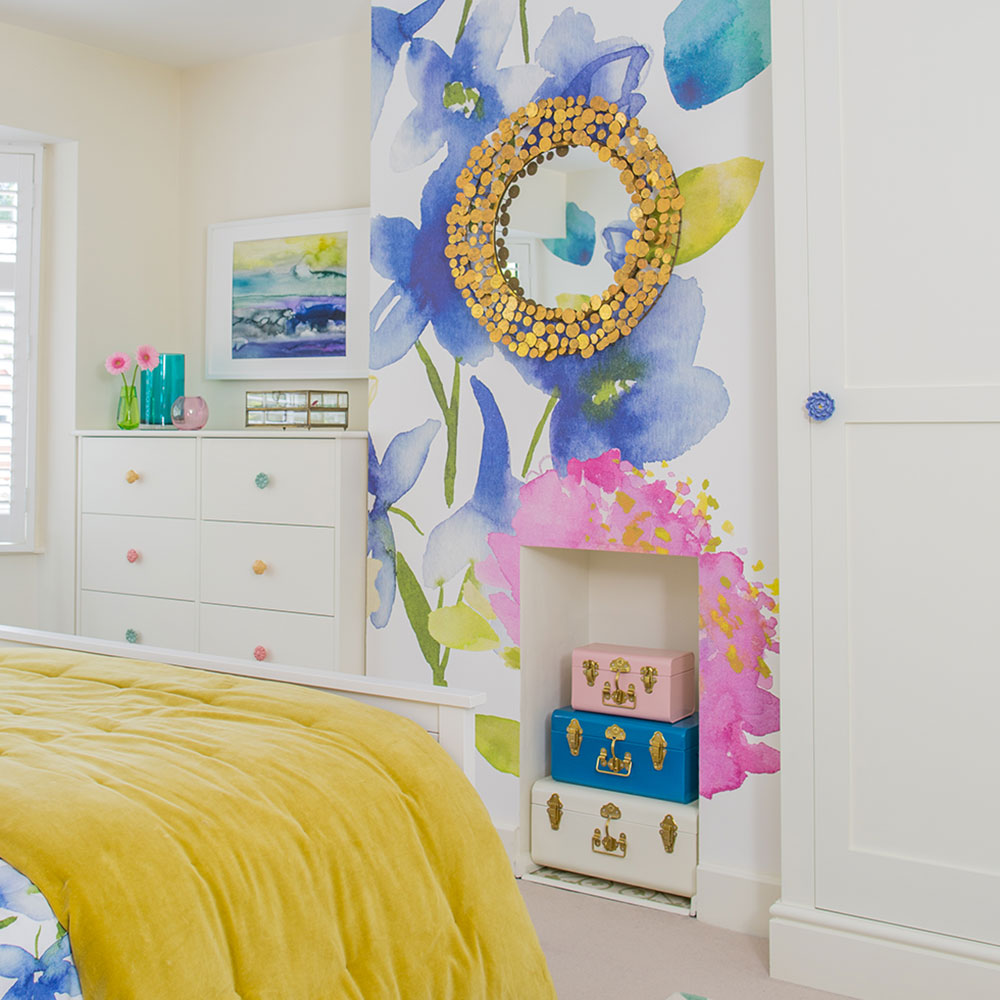
How to wallpaper a chimney breast to create the ultimate feature wall
Create a stylish focal point in any room in just a few hours with our step-by step guide to wallpapering a chimney breast
There are so many ways to up the style ante of your decor without spending a fortune – and wallpapering a chimney breast is one of our favourites. The prominent aspect of the structure provides the ultimate wall to star as a feature wall for any room fortunate enough to feature a fireplace. Pick one of the many gorgeous statement wallpapers around and try your hand at wallpapering a chimney breast – it's easier than you think.
It can make an instant difference in a living room, dining room or bedroom, and you should only need one roll of wallpaper. So even if you've had your eye on an expensive design, you won't need to spend a small fortune.
Whether you're painting, tiling or papering, learn how to tackle the job with our DIY and decorating advice.
How to wallpaper a chimney breast

Wallpapering a chimney breast – the kit you'll need
- Dustsheet
- Plumb line (with chalk)
- Stepladder
- Retractable tape measure
- Wallpaper scissors
- Pasting table
- Ready-mixed wallpaper adhesive paste
- Pasting brush
- Paper-hanging brush
- Stanley knife
- Clean dishcloth
Step 1. Measure up
Measure the width of your chimney breast. Measure half the width of your wallpaper and mark a vertical line this far from the centre, using a chalked plumb line. Next, measure from the ceiling to the mantel shelf, then from the ceiling to the floor, adding an extra 10cm to each measurement to allow for trimming.
Step 2. Choose how to hang the design
The experts at Graham & Brown now advise, 'You have the choice, to centralise the paper or to centralise the seam. To centralise with the seam in the middle of the fireplace hang to the right of the plumb line to the corner of the room as normal, then work from the plumb to the left to the corner.'
'To centralise the design which we would recommend, measure a new plumb line half the width of the wallpaper to the left of the centre line (normally 26 to 26.5cm). Hang the wallpaper to the left of this plumb line as previous. The centre of the wallpaper will now be at the centre of the fireplace.'
Step 3. Start in the middle of the chimney breast
Cut a length to go above the shelf. For paste the paper designs place the wallpaper face down and brush on the paste, from the centre out. Loosely fold and leave to ‘soak', according to paste instructions. With modern wallpapers you will paste the wall directly. For this process the experts advise, 'Apply the paste liberally to the wall, ideally with a roller (it’s quicker). You can paste over the plumb line and make sure you apply paste a couple of centimetres wider than the wallpaper you are about to hang.'
Sign up to our newsletter for style inspiration, real homes, project and garden advice and shopping know-how
Top tip: If using a pattern design, check it's the right way up – the outside end of the roll isn't always the top.
Watch our simple video guide to help: How to hang wallpaper – an expert guide.

Step 4. Score and trim the excess
Use your chalked line to position the paper in the centre, brushing down and out. With the back of a pair of scissors, mark where you need to trim at the top and bottom, ease the wallpaper away, trim and ease back.
Step 5. Paper the sides of the chimney breast
Start at the edge of the front corner and take the paper back into the recess.
Step 6. Remove any excess paper from the sides
Where the chimney breast joins the wall, mark the line with the back of a pair of scissors, trim and ease back into place, as before.
Step 7. Finish the job
Measure the distance from the edge of the wallpaper in the centre to the front corner of the chimney breast, then add 25mm. Cut a length of paper to this width and hang, taking the extra 25mm round the corner, overlapping the side piece. Repeat for the other side.
Tamara was Ideal Home's Digital Editor before joining the Woman & Home team in 2022. She has spent the last 15 years working with the style teams at Country Homes & Interiors and Ideal Home, both now at Future PLC. It’s with these award wining interiors teams that she's honed her skills and passion for shopping, styling and writing. Tamara is always ahead of the curve when it comes to interiors trends – and is great at seeking out designer dupes on the high street.