How to paint interior windows - a step-by-step guide
Follow our top tips and take on this easy DIY job to give your interior windows a smart refresh with a lick of paint


Sign up to our newsletter for style inspiration, real homes, project and garden advice and shopping know-how
You are now subscribed
Your newsletter sign-up was successful
Replacing windows can be a messy, not to mention, costly job, but thankfully a fresh lick of paint could be all you need to gives yours a refresh.
An easy DIY project, our guide on how to paint interior windows will highlight just how simple a job it is, and how much it can transform your space too.
If your windows are made from uPVC, fear not as we've also got a guide on how to paint uPVC windows, but this one will talk you through the techniques and tips for painting traditional wooden windows.
How to paint interior windows
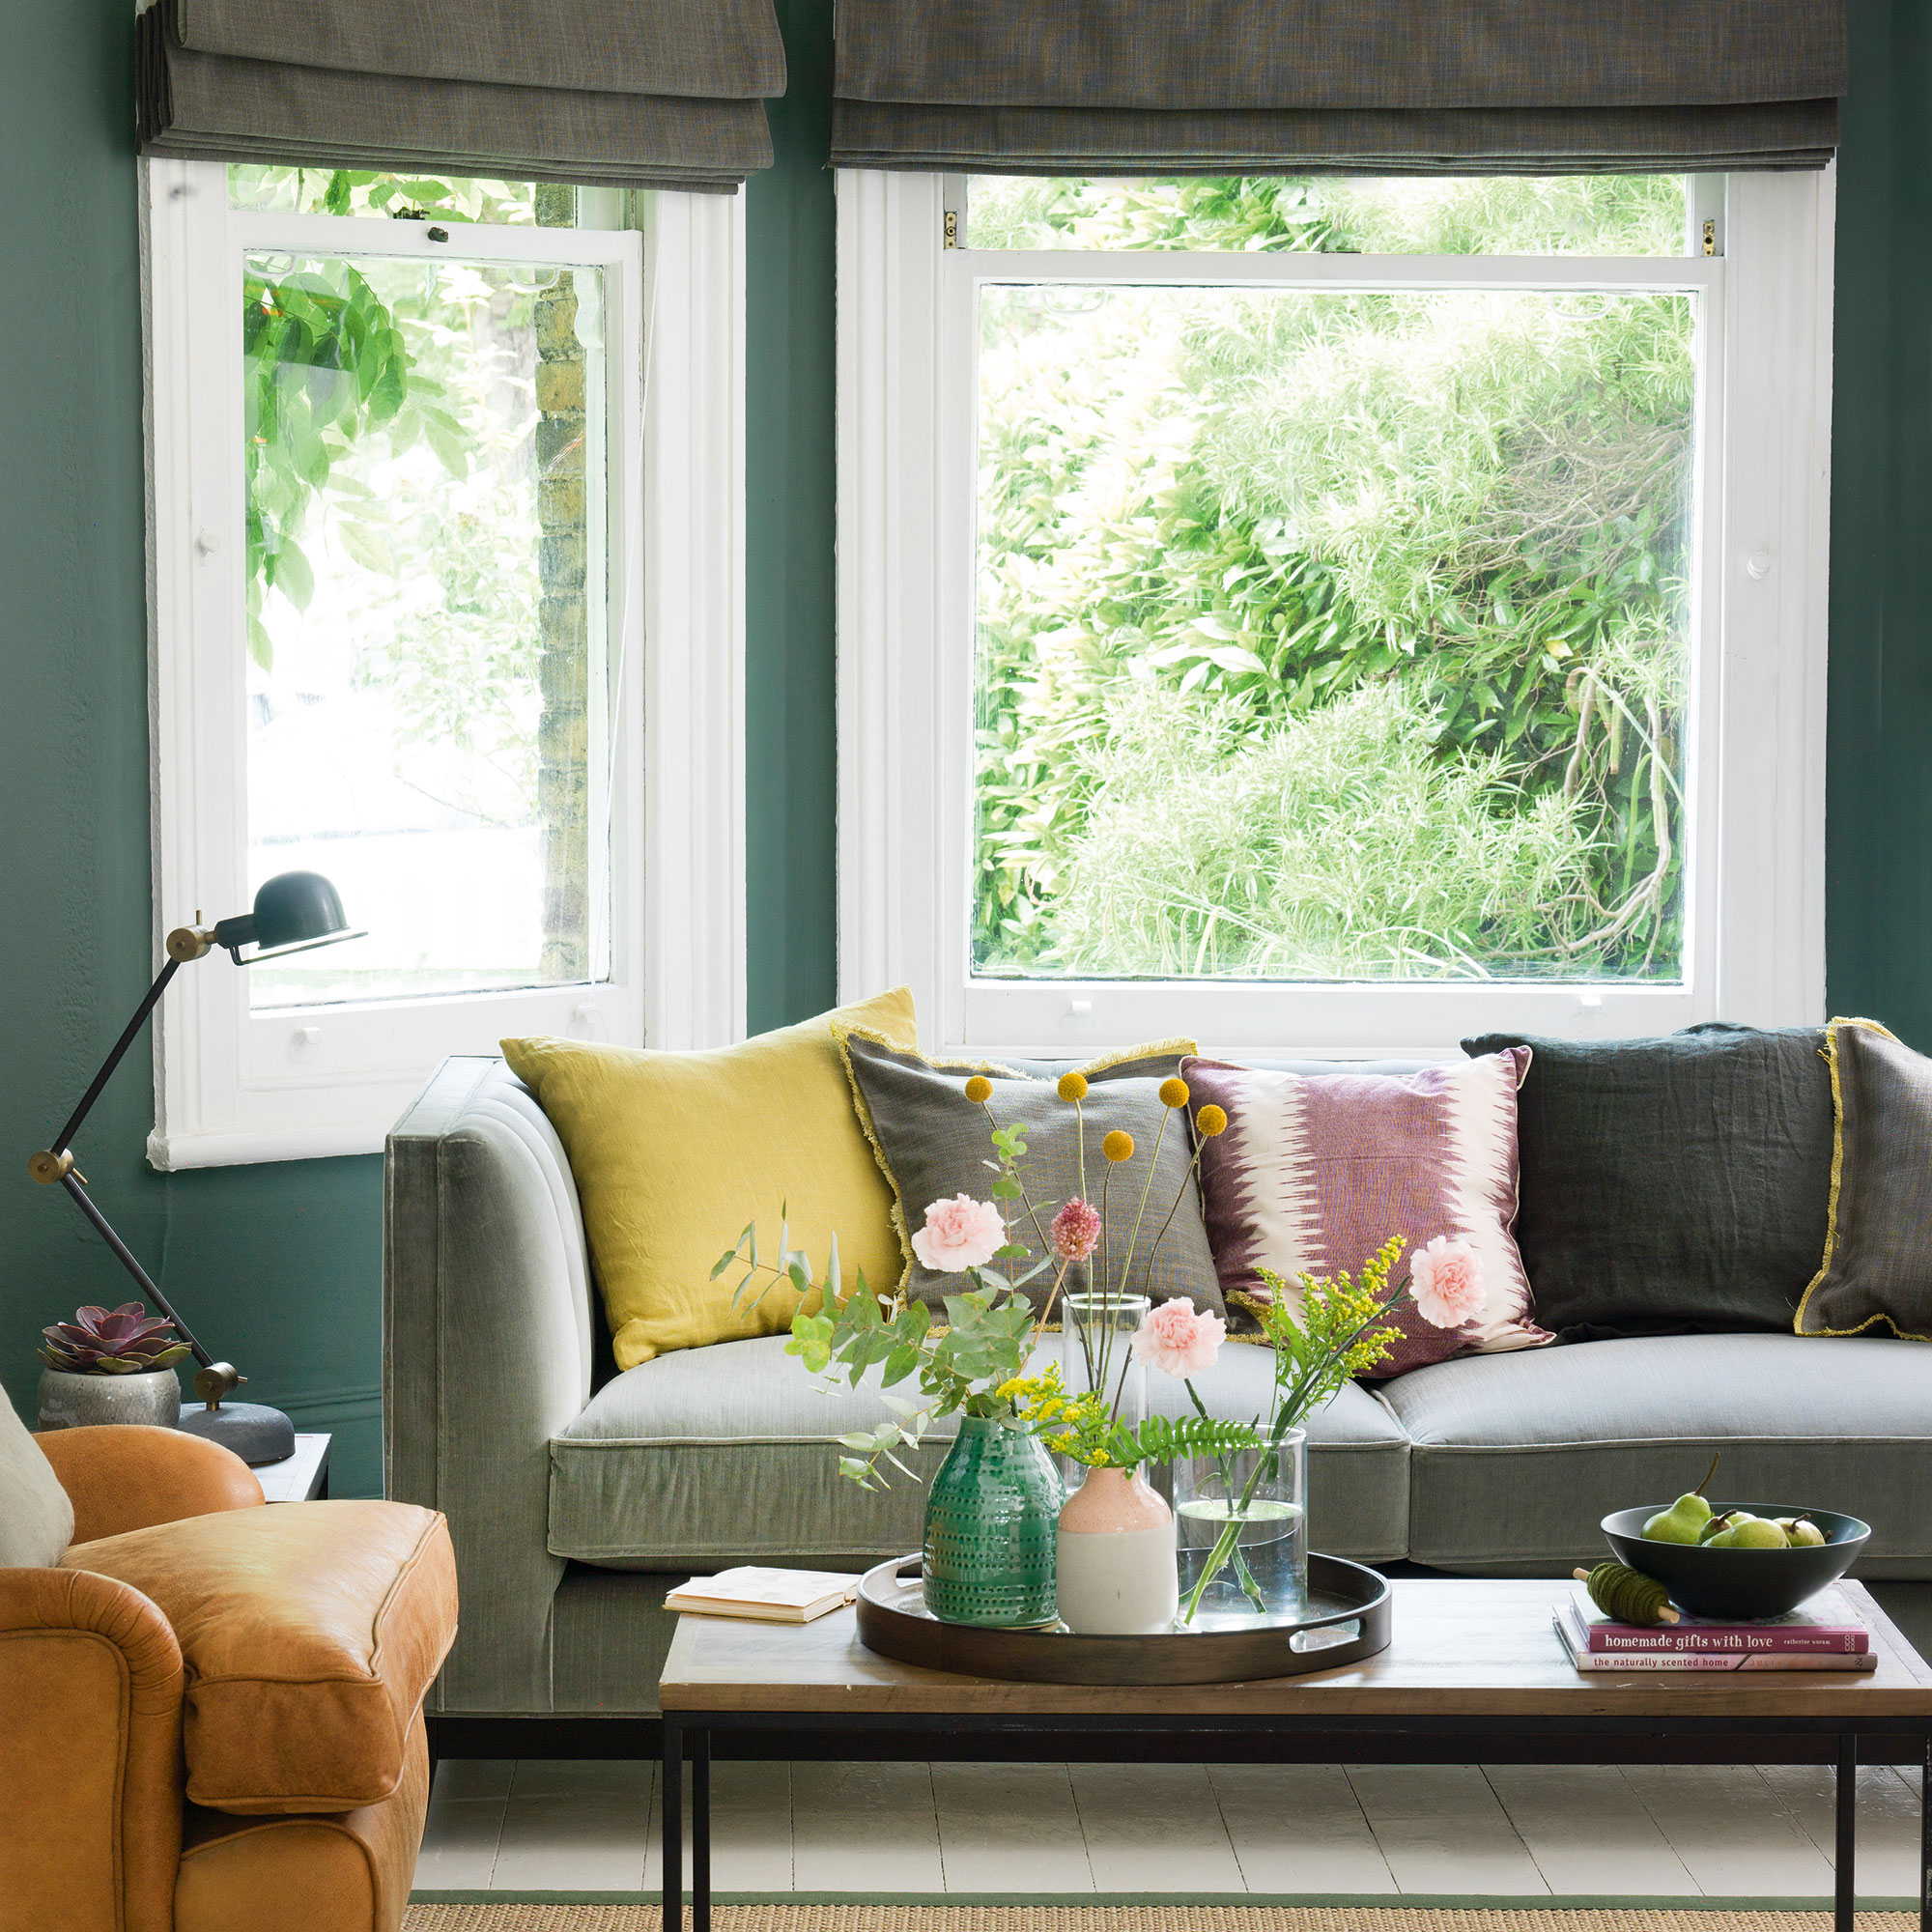
We often think more about how our windows look from outside our property, as understandably smart windows add to our homes kerb appeal. If you're looking to start by freshening up your frames outside, then our guide on how to paint windows will talk you through the simple steps.
For this, you'll need a dry, preferably sunny day, however to get stuck in on your interior windows, you can let the weather do as it pleases, as it won't really make a difference to this paint idea.
Before you get started, check the material and condition on your window frames so you know what paint to use and whether they can be painted. Most window frames can, from wood, to plastic and even metal, but they'll all need a different type of paint.
Michael Rolland, DIY Expert at The Paint Shed advises, 'Window frames come in various materials, so it is critical you pick the correct type of paint. Water-based paints are popular for window frames, especially internal frames, as this adheres to a wider range of surfaces as well as producing less fumes.'
Sign up to our newsletter for style inspiration, real homes, project and garden advice and shopping know-how
What paint finish to choose, is totally up to you. A gloss paint is the most durable, but can look dated in some spaces (or fantastic in others!). A satin finish might be more to your taste, or even an eggshell- try a couple of tester pots out before you begin the work.
What you'll need
- Dust sheets or newspaper to protect your floor and furniture
- Protective gloves and clothing
- Sandpaper
- A damp cloth
- A good quality paint brush
- A paint of your choice
Step-by-step
1. Pick your paint
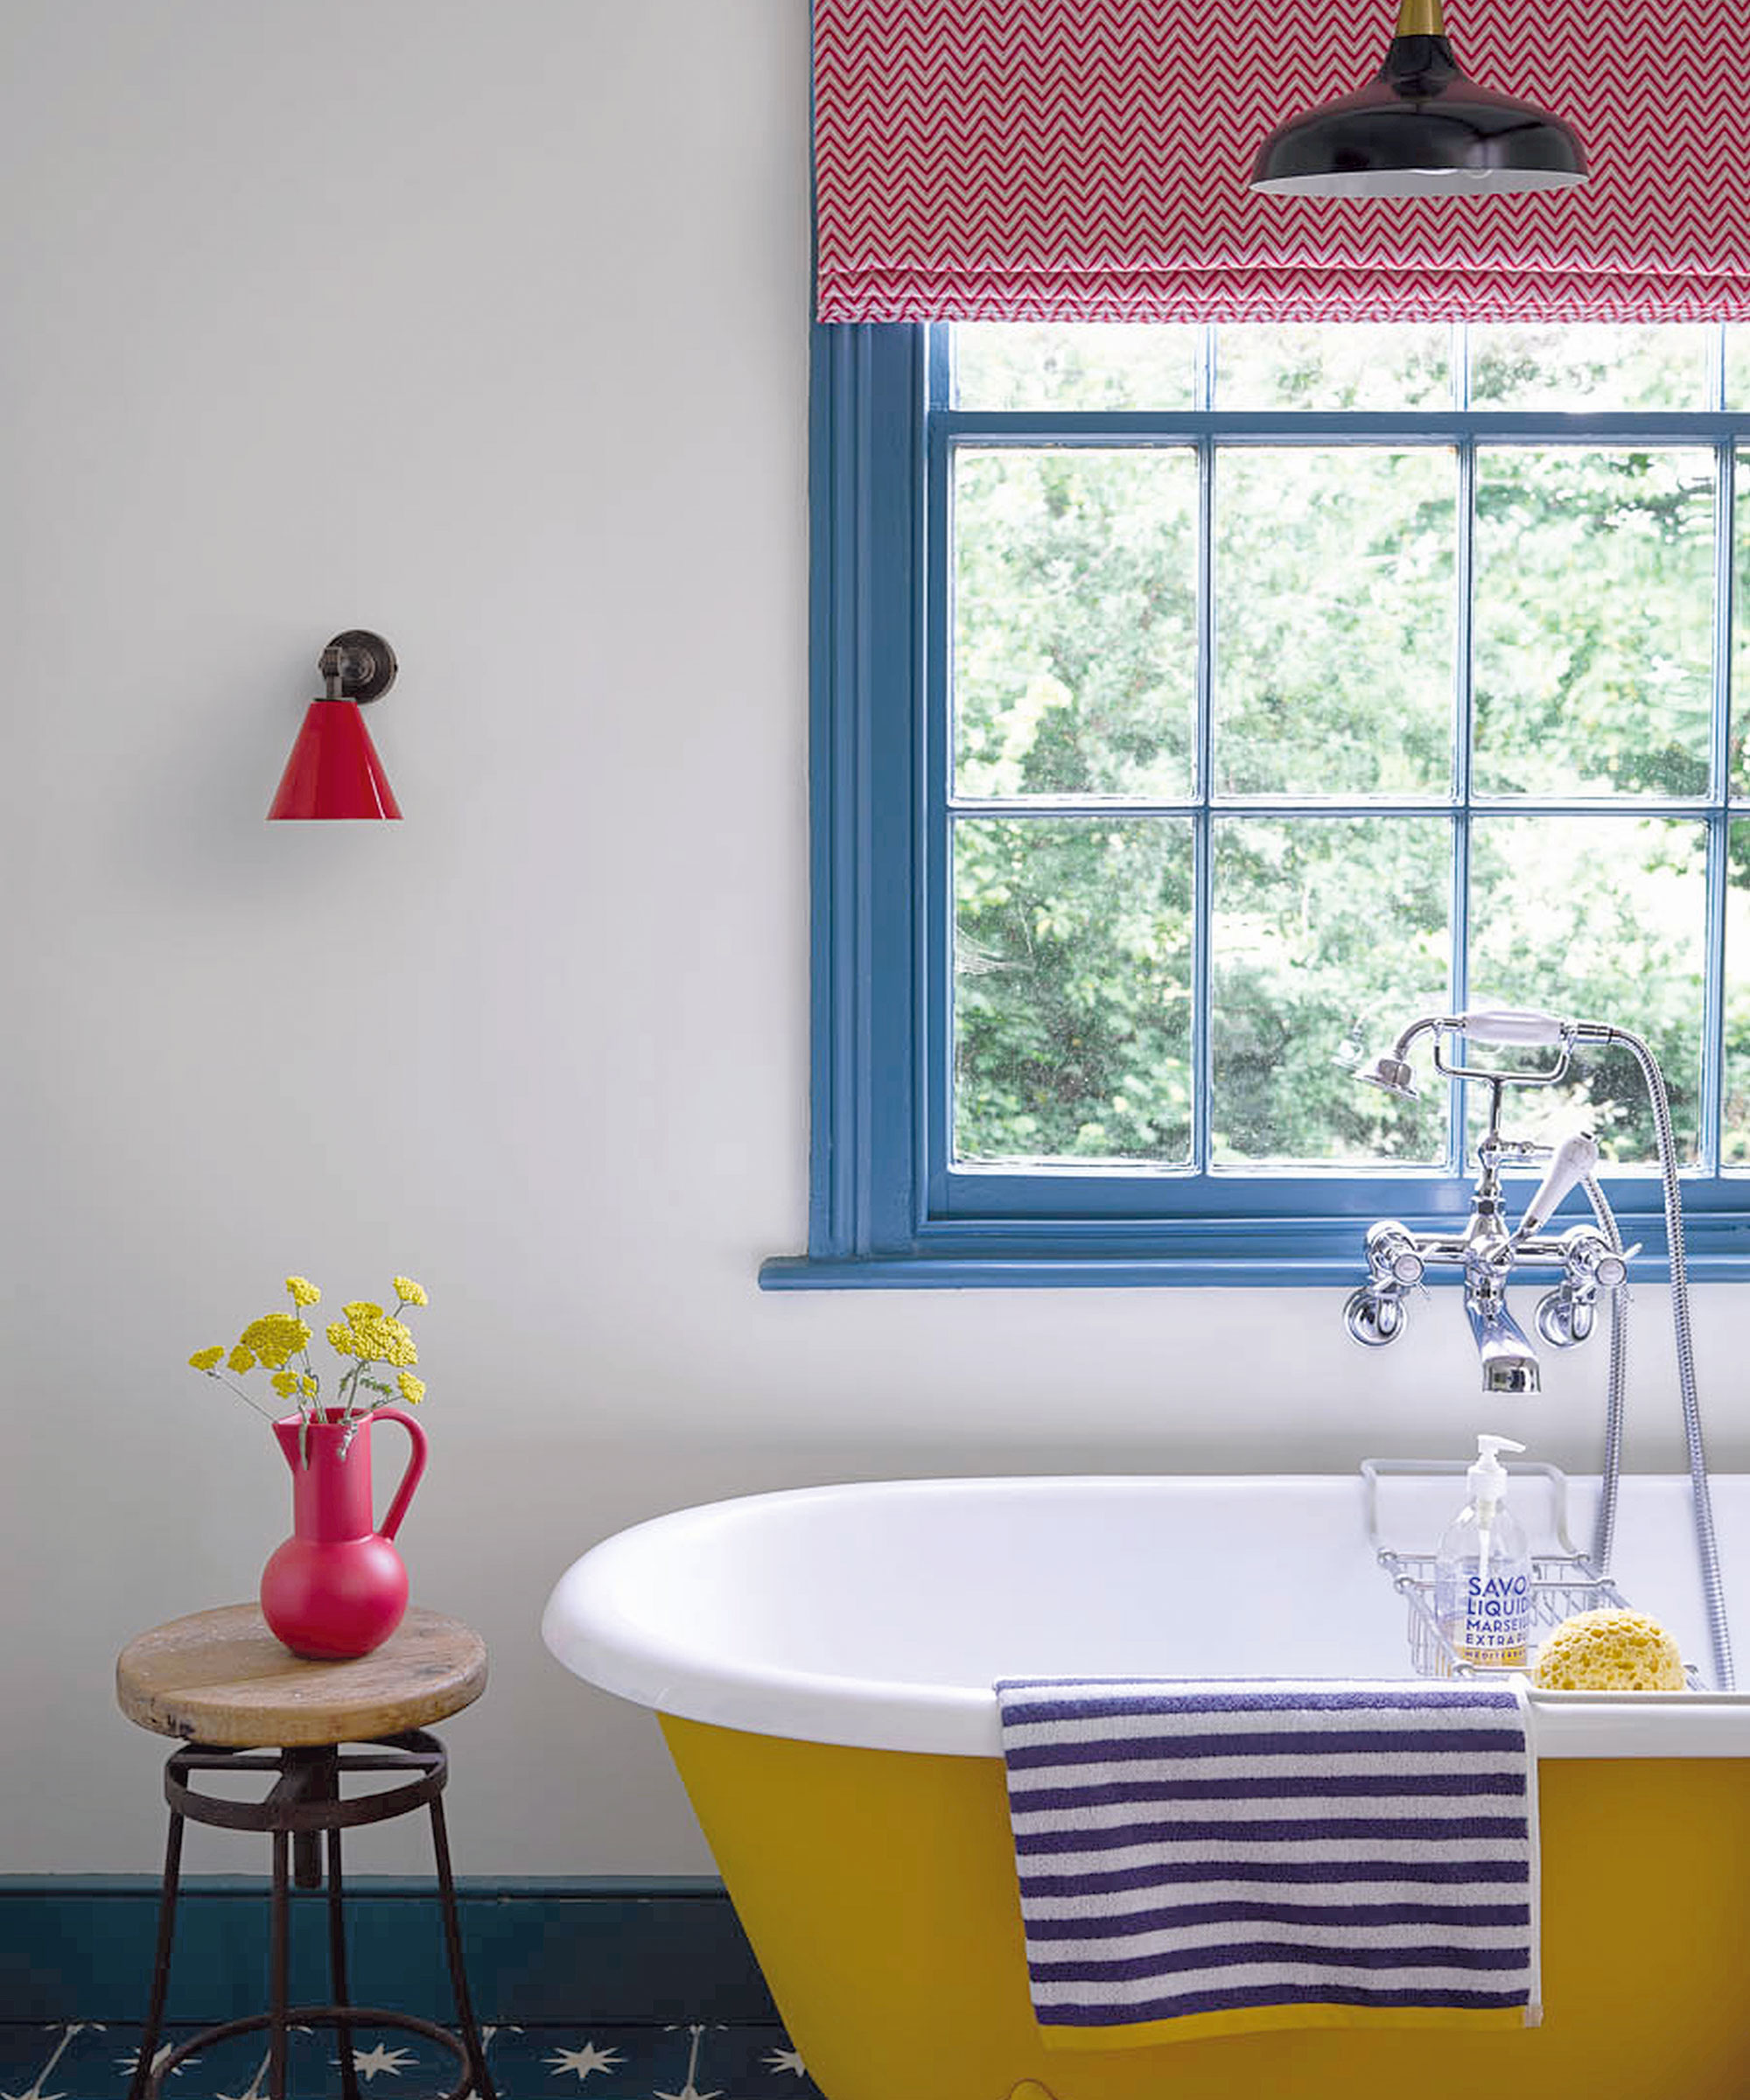
'When it comes to any painting job, the most important aspect is actually choosing the paint itself,' Michael says. 'The most common colour is white as it goes well with a wide range of other colours, but don’t be afraid to be bold with your decision. A paint a few shades lighter or darker than your walls can work a treat, and gives a room that extra bit of character.'
Similarly to how painting your skirting boards a different colour to your walls gives a room definition, painting your window frames a contrasting shade, can also make a real statement in your space and create a feature of your windows.
2. Prepare the area
Once you've chosen your paint, get the frames ready by removing any hardware, then ensure you protect the surrounding area.
James Greenwood, in-house Paint and Interior Expert at Graham & Brown advises, 'Before you get started painting your interior windows, use a screwdriver to carefully remove any handles or lifters. If the hardware can't easily be removed (you might find it tricky on some older sash windows) then cover them with decorating tape.'
Next, lay down some old newspaper or a dust sheet on the floor below the window and cover any nearby furniture too.
3. Time to sand
'Before you start painting you need to make sure you have a smooth surface to paint on,' says Michael. 'Grab some sandpaper, preferably medium grade and get sanding.'
James adds, 'Sanding down the windows using sandpaper will make sure there are no splinters or loose paint. Doing this also provides the window with texture which will help the paint adhere to it. Once you’re done, wash the window with a damp cloth and mild detergent to lift away any remaining grime and dust.'
4. Protect your window panes
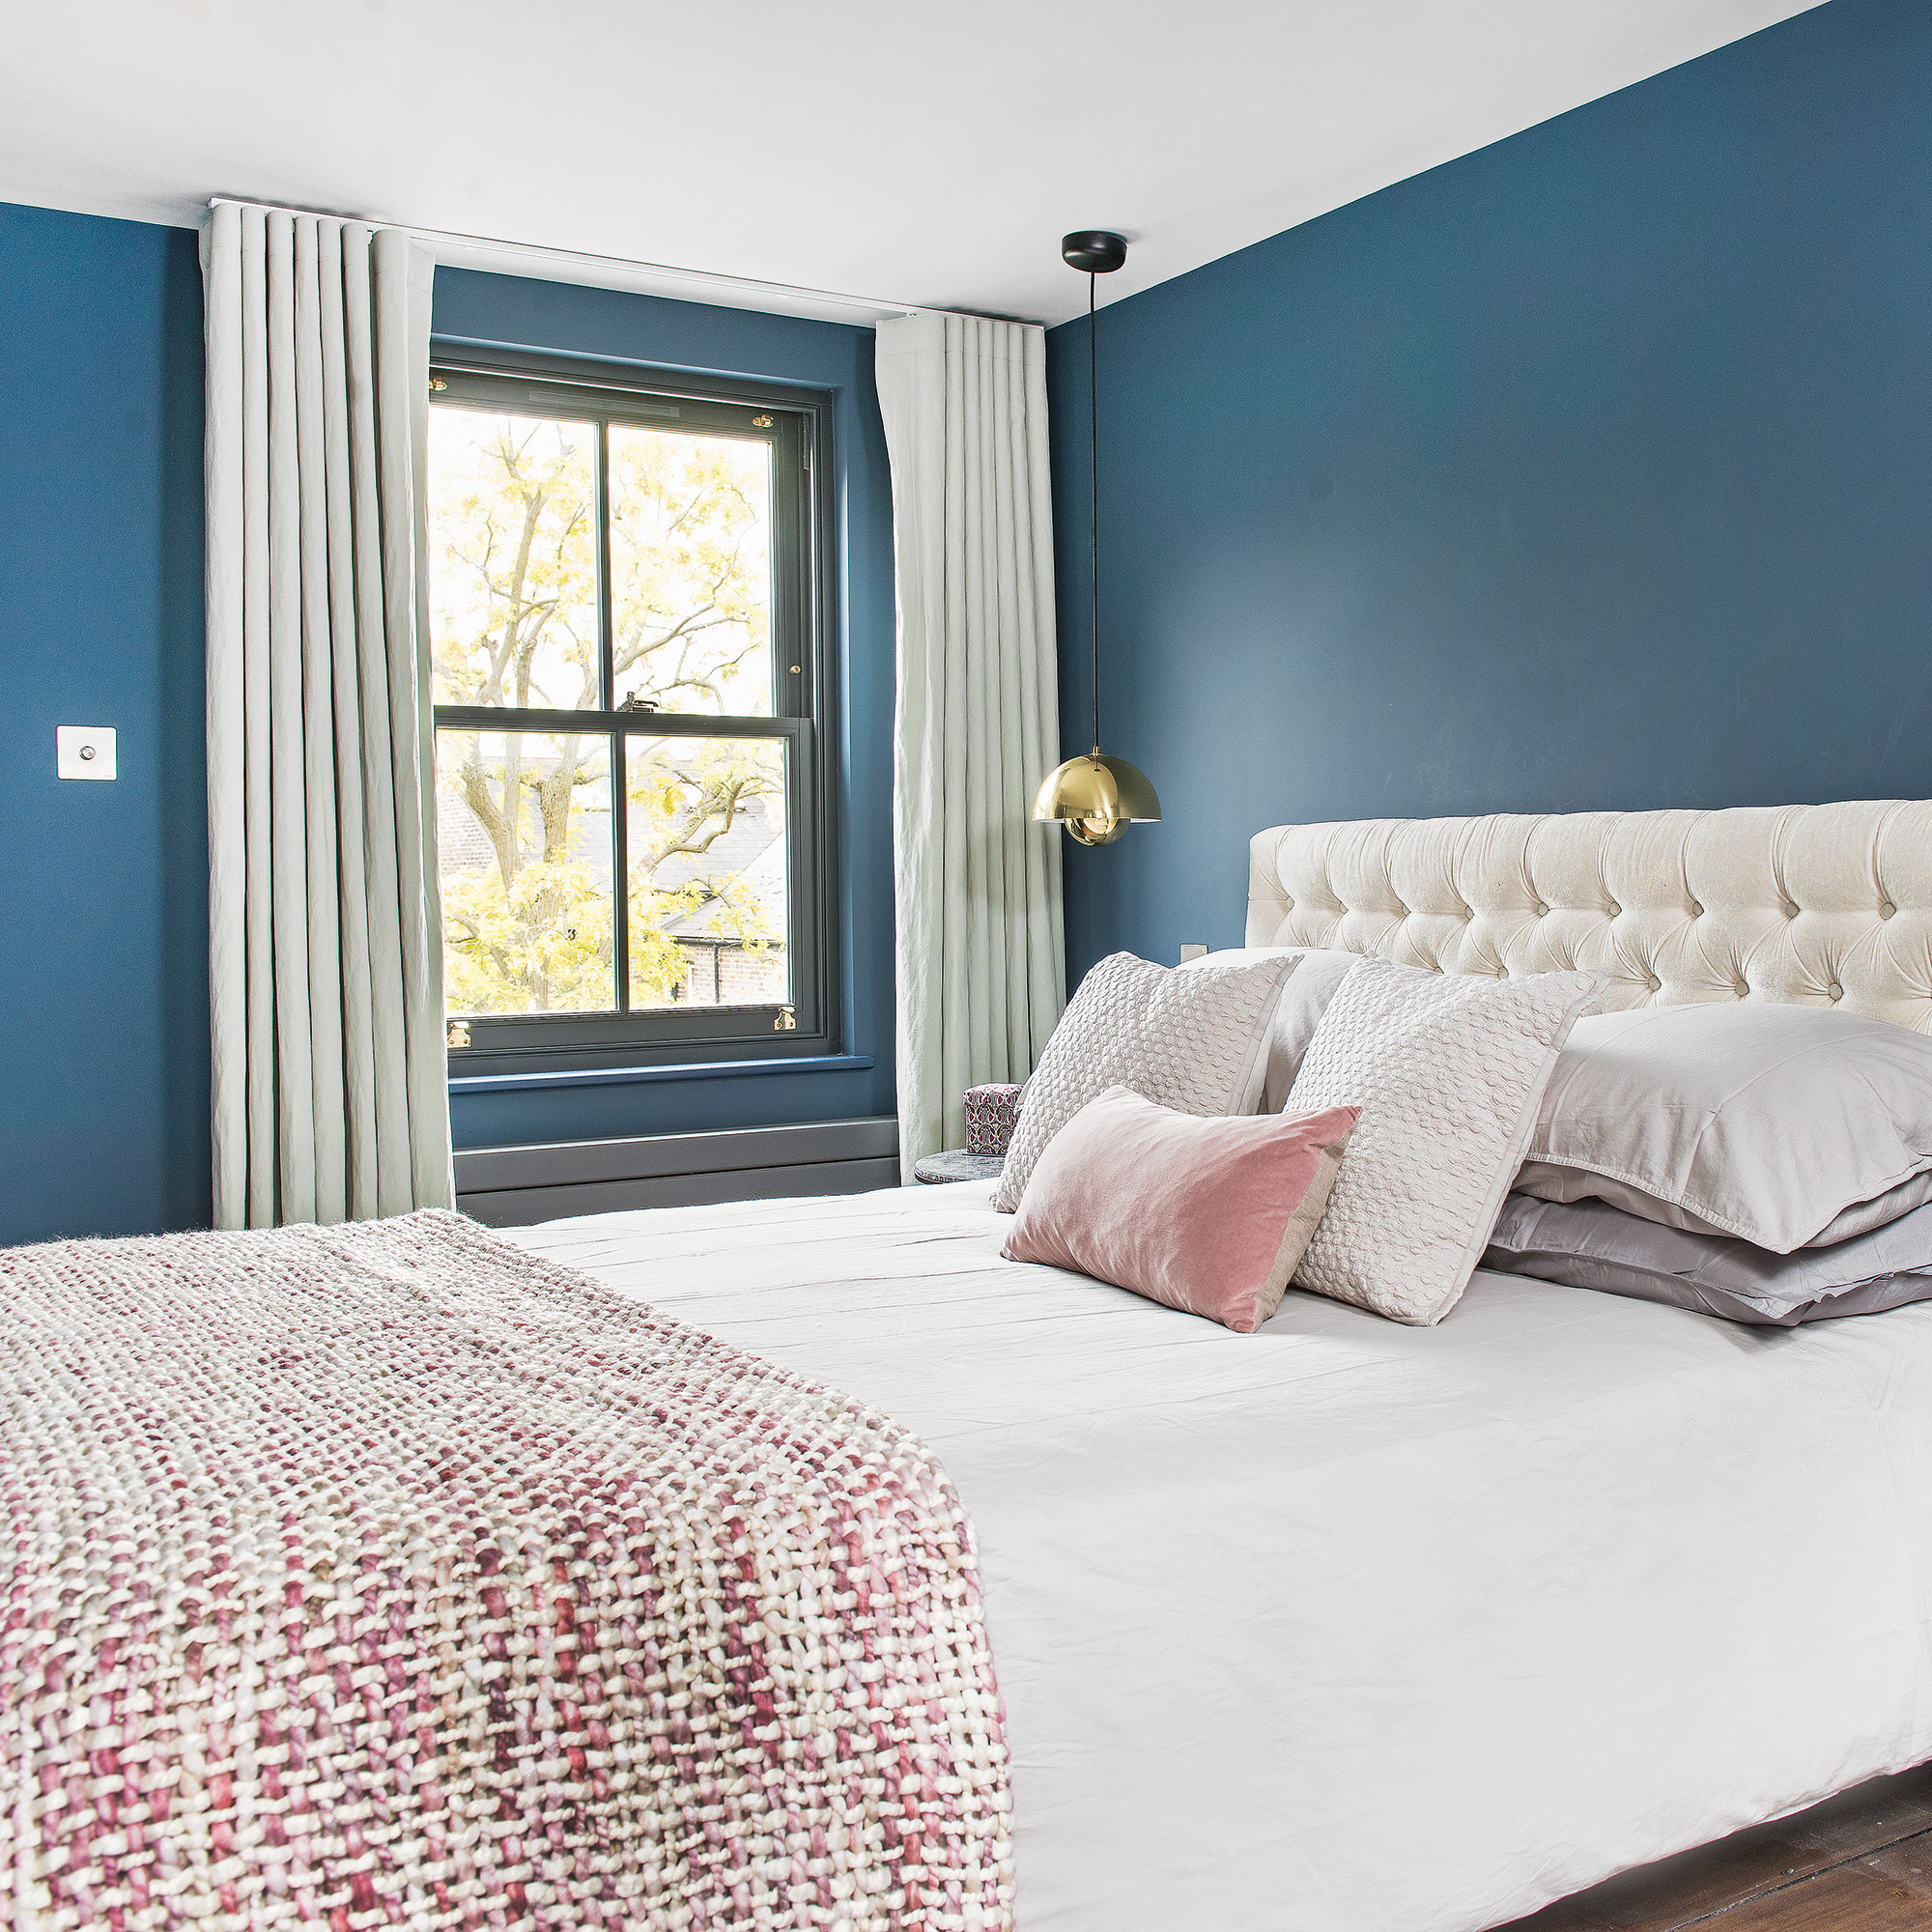
Once your frames and sill are dry, you'll want to protect the window panes.
Michael advises, 'To make sure that you don’t get any paint on your actual windowpane, use old newspaper to cover it. This is a cheap and accessible material, just stick it over the window with some masking tape and take it down once the paint job has been completed.'
'Alternatively, you could just use masking tape alone and place it carefully along the edges of your windows, which again protects it from rogue paint splashes, but you'll need to have a steadier hand for this option.'
'You can also buy window protection film, such as this one, £14.99, Amazon, ideal to protect glass against mess, staining and spillages that occurs during decorating work. It also reduces the risk of costly scratches to glass. With the adhesive coating on the outside it is also easy to apply.'
5. Apply a coat of primer
'To ensure an even and long-lasting finish, it’s always bets to start a paint job with an undercoat or primer, says James. 'All our paint primers at Graham & Brown are suitable for multiple surfaces, including wood, making them perfect for your interior windows.'
'Choose a primer that closely matches the colour of your topcoat and apply in broad strokes, working with a wet edge.'
Michael adds, 'It’s important not to overload your paintbrush so gently dip your brush around about halfway into the tin and then wait for the excess paint to fall off.'
'Paint your frames in one consistent direction, as this will give you the best looking results. Now leave the window frame to dry for around 2-3 hours.'
6. Add your top coat
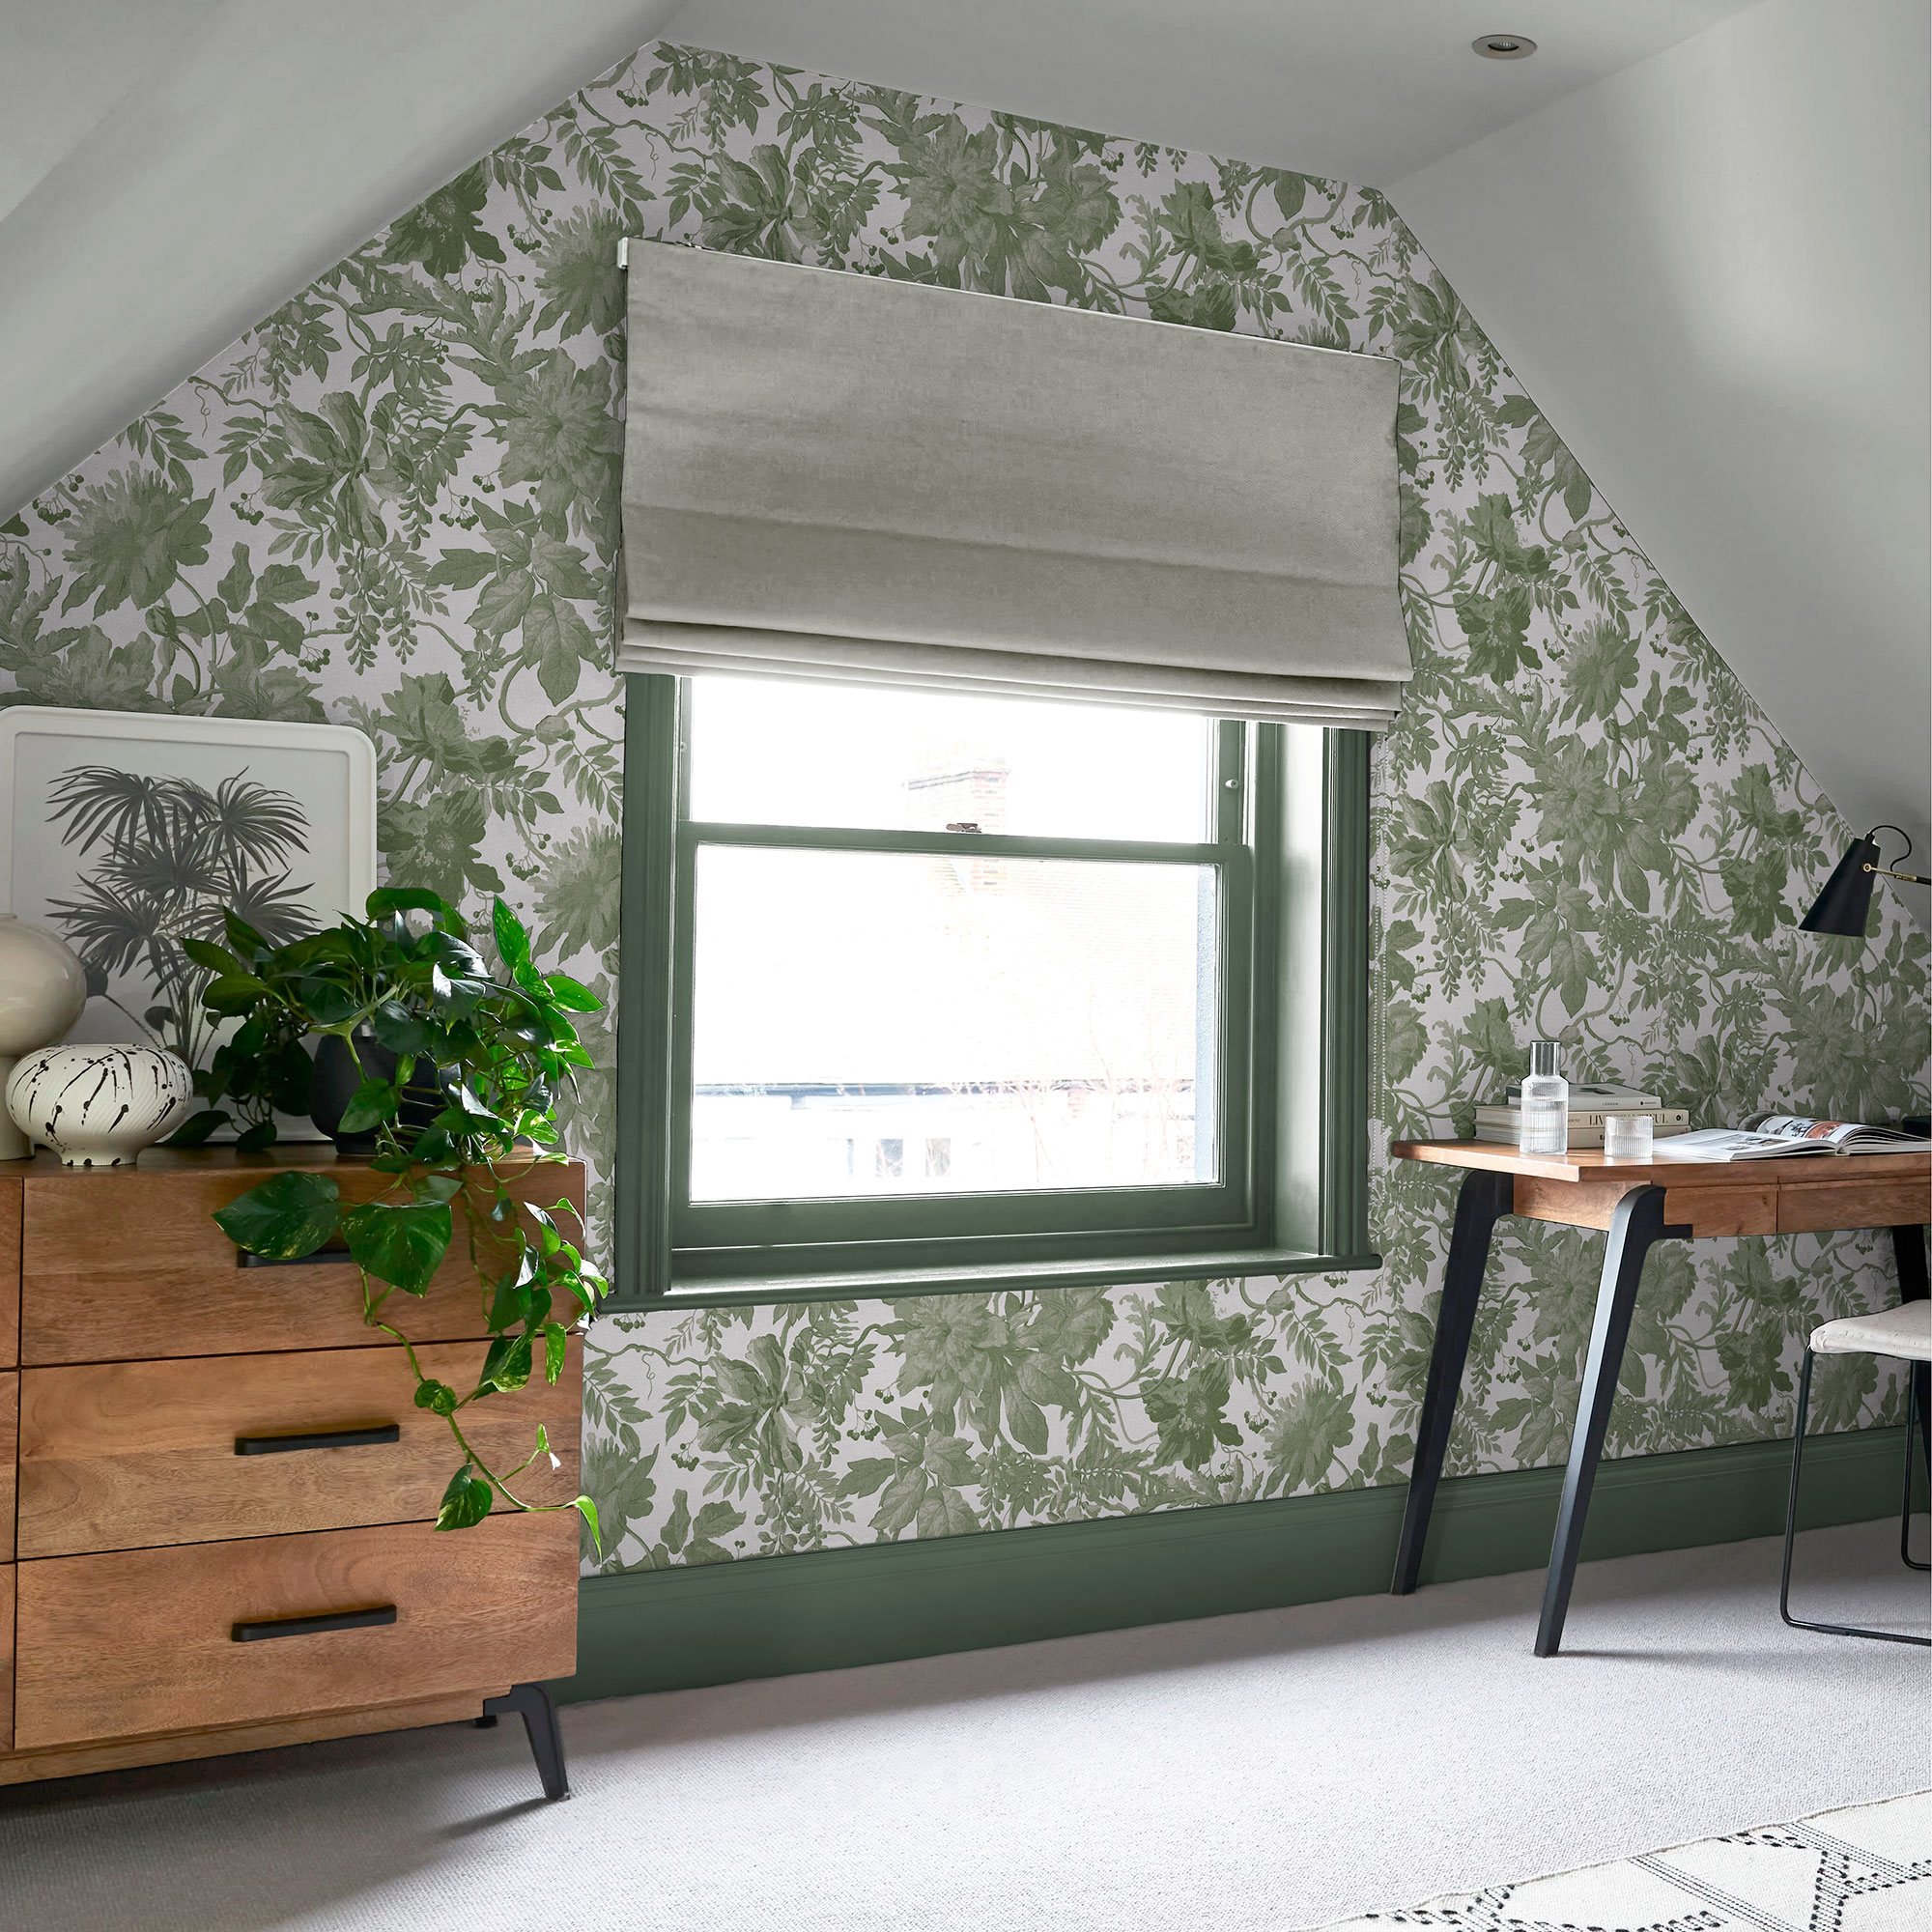
Now it's time to add your chosen paint colour to your interior windows.
James advises, 'When painting a window, it’s always best to start with the edges that connect to the windowpane. Even though you have taped the edges, it’s best to try and be as neat as possible, so use a small brush to do this and apply a light layer of paint. It’s always better to do two light layers that one heavy layer.'
'Next, neatly paint the exterior edges that connect to the walls. Finally fill in the gaps ensuring each section of the wood has an even coverage of paint. Afterwards, wait for the paint to completely dry and then apply a second coat.'
You might want to give your windows a light sanding between coats to give it a 'key' for the paint to adhere to, but be sure to wait for the first coat to dry completely.
7. Ensure a thorough clean up
Once you've painted your windows, be sure to let them dry completely, preferably overnight. Then remove and tape and newspaper to get a proper look at your handiwork.
James says, 'Once the window has dried, remove the masking tape from the panes, walls and hinges and reattach the handles, and that’s really all there is to is!'
If you've had any small accidents where the paint has bled into the walls, use a tiny artists brush to touch these up- you might need a couple of goes if you've used a dark colour on your window frames.
And there you have it, fresh, smart-looking windows to give your interior a polished look.
FAQS
What kind of paint do you use on interior window frames?
Depending on what material your window frames are made of, you'll need a different type of paint. For wooden window frames, a water-based paint is good choice and can even be the same paint as you use for your walls and ceiling. Often a satin wood paint is used for painting woodwork, but gloss finish paints are definitely having a resurgence, so think carefully what finish will work best for your room.
If your window frames are made of plastic or uPVC, you'll need to apply an all-surface primer first, then an eggshell, satin on gloss paint can be used on top.
How do you prepare interior window frames for painting?
Before any paint job, it's all about the preparation. If your windows have been painted several times, you might need to strip them right back to the bare wood, especially if the paint is peeling or flaking. Otherwise a good clean with a damp cloth and detergent, followed by a light to medium sanding, should be all you need. A coat of primer will allows give a better finish, but some paints have primer mixed in already, so check the manufacturers guide before you get started.

Holly Walsh is a freelance Interiors Writer and Shopping Editor, but worked in-house here at Ideal Home for nearly 10 years. With a background of studies in Interior Design, her career in interior journalism was a no-brainer and her passion for decorating homes is still as strong now 15 years after she started, as it ever was. While Holly has written for most of the home titles at Future, including Livingetc, Country Homes & Interiors, Homes and Gardens, Woman & Home and Style at Home, Ideal Home has always been her ideal home, and she can still be found sharing her expertise and advice across both the printed magazine and the website, while also raising her two young children.