How to paint laminate furniture - the pro tips experts swear by for a perfect finish
Don't be put off by a laminate surface - it's simple to bring it back to life with a fresh lick of paint

Sign up to our newsletter for style inspiration, real homes, project and garden advice and shopping know-how
You are now subscribed
Your newsletter sign-up was successful
Upcycling is on the rise, and for good reason. We should all be prioritising making use of what we already own and shopping secondhand, which might result in you needing to know how to paint laminate furniture.
A large amount of furniture has a laminate layer on the top which gives it a faux-wood appearance. While this is great for aesthetic purposes, and for finding cheaper alternatives to real-wood pieces, it means that if you want to repaint it then you might need to approach it with caution. It's a relatively easy DIY project that you can undertake in a weekend, but you'll need to know the steps to doing it properly, as well as the best paint for furniture so that you don't damage the item.
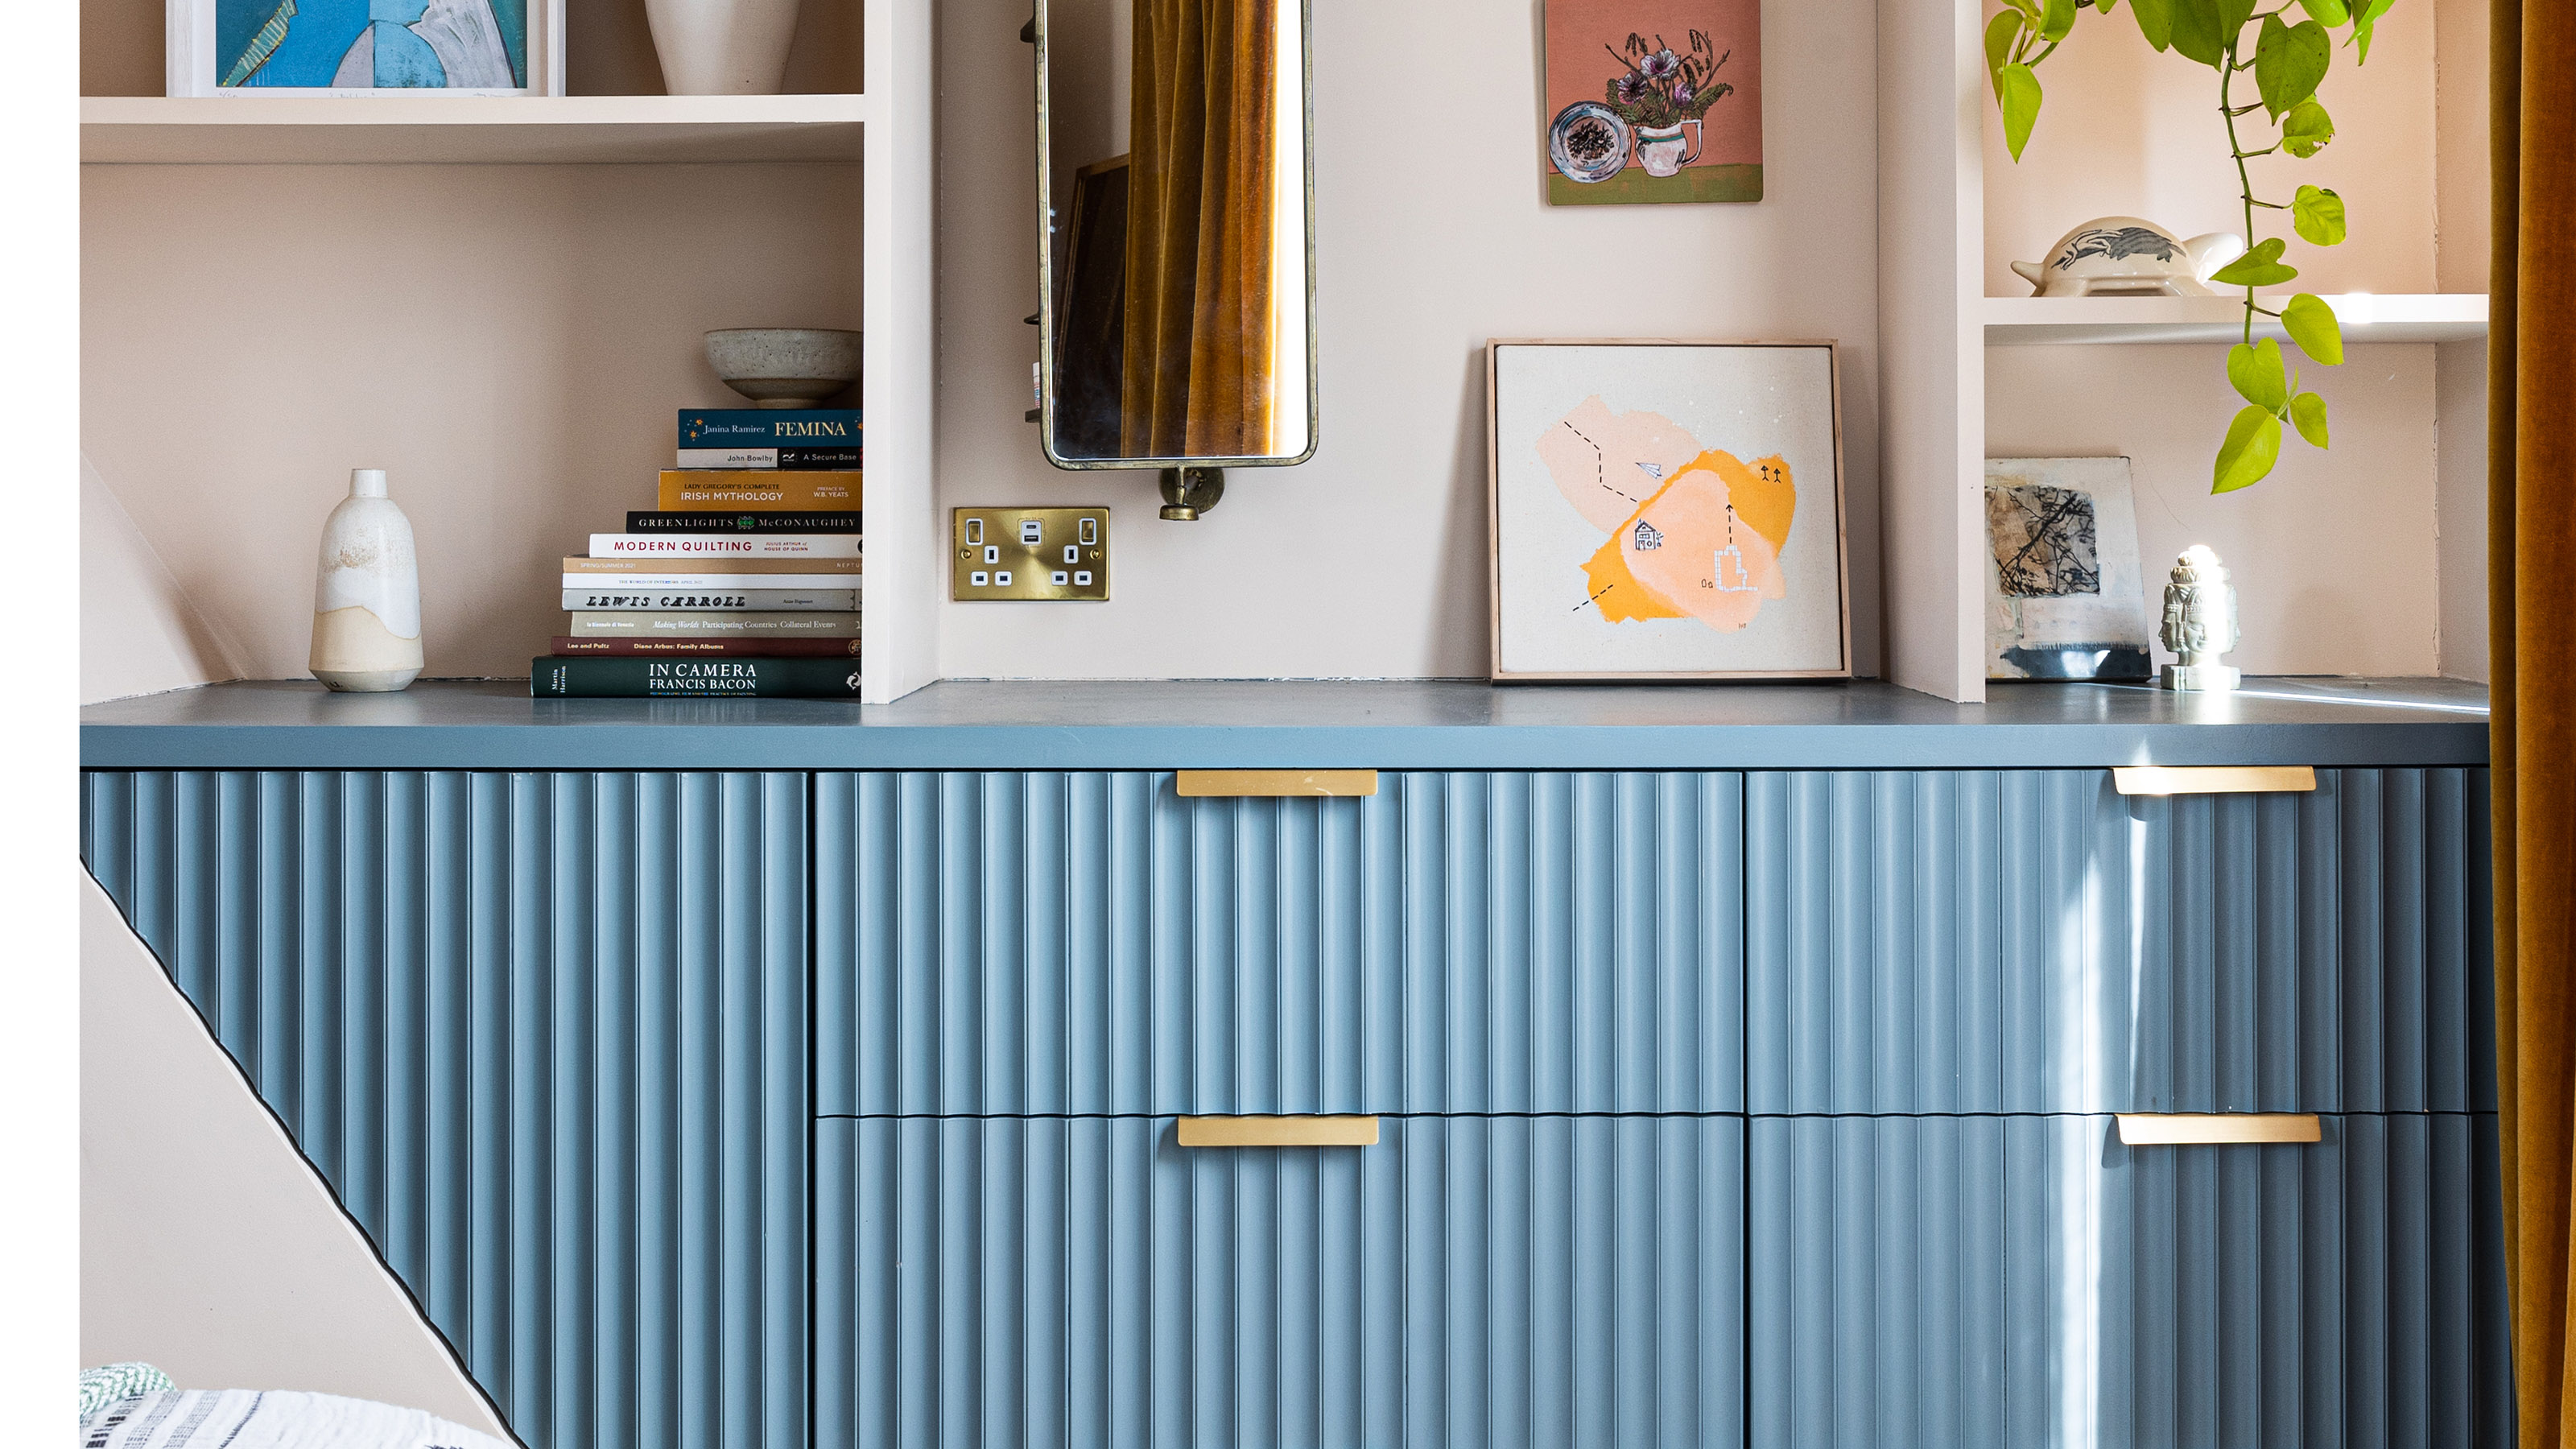
So whether you have the urge to undertake an Instagram-worthy IKEA hack or your dresser needs a refresh to remove any chips, follow this step-by-step advice to painting laminate furniture.
How to paint laminate furniture
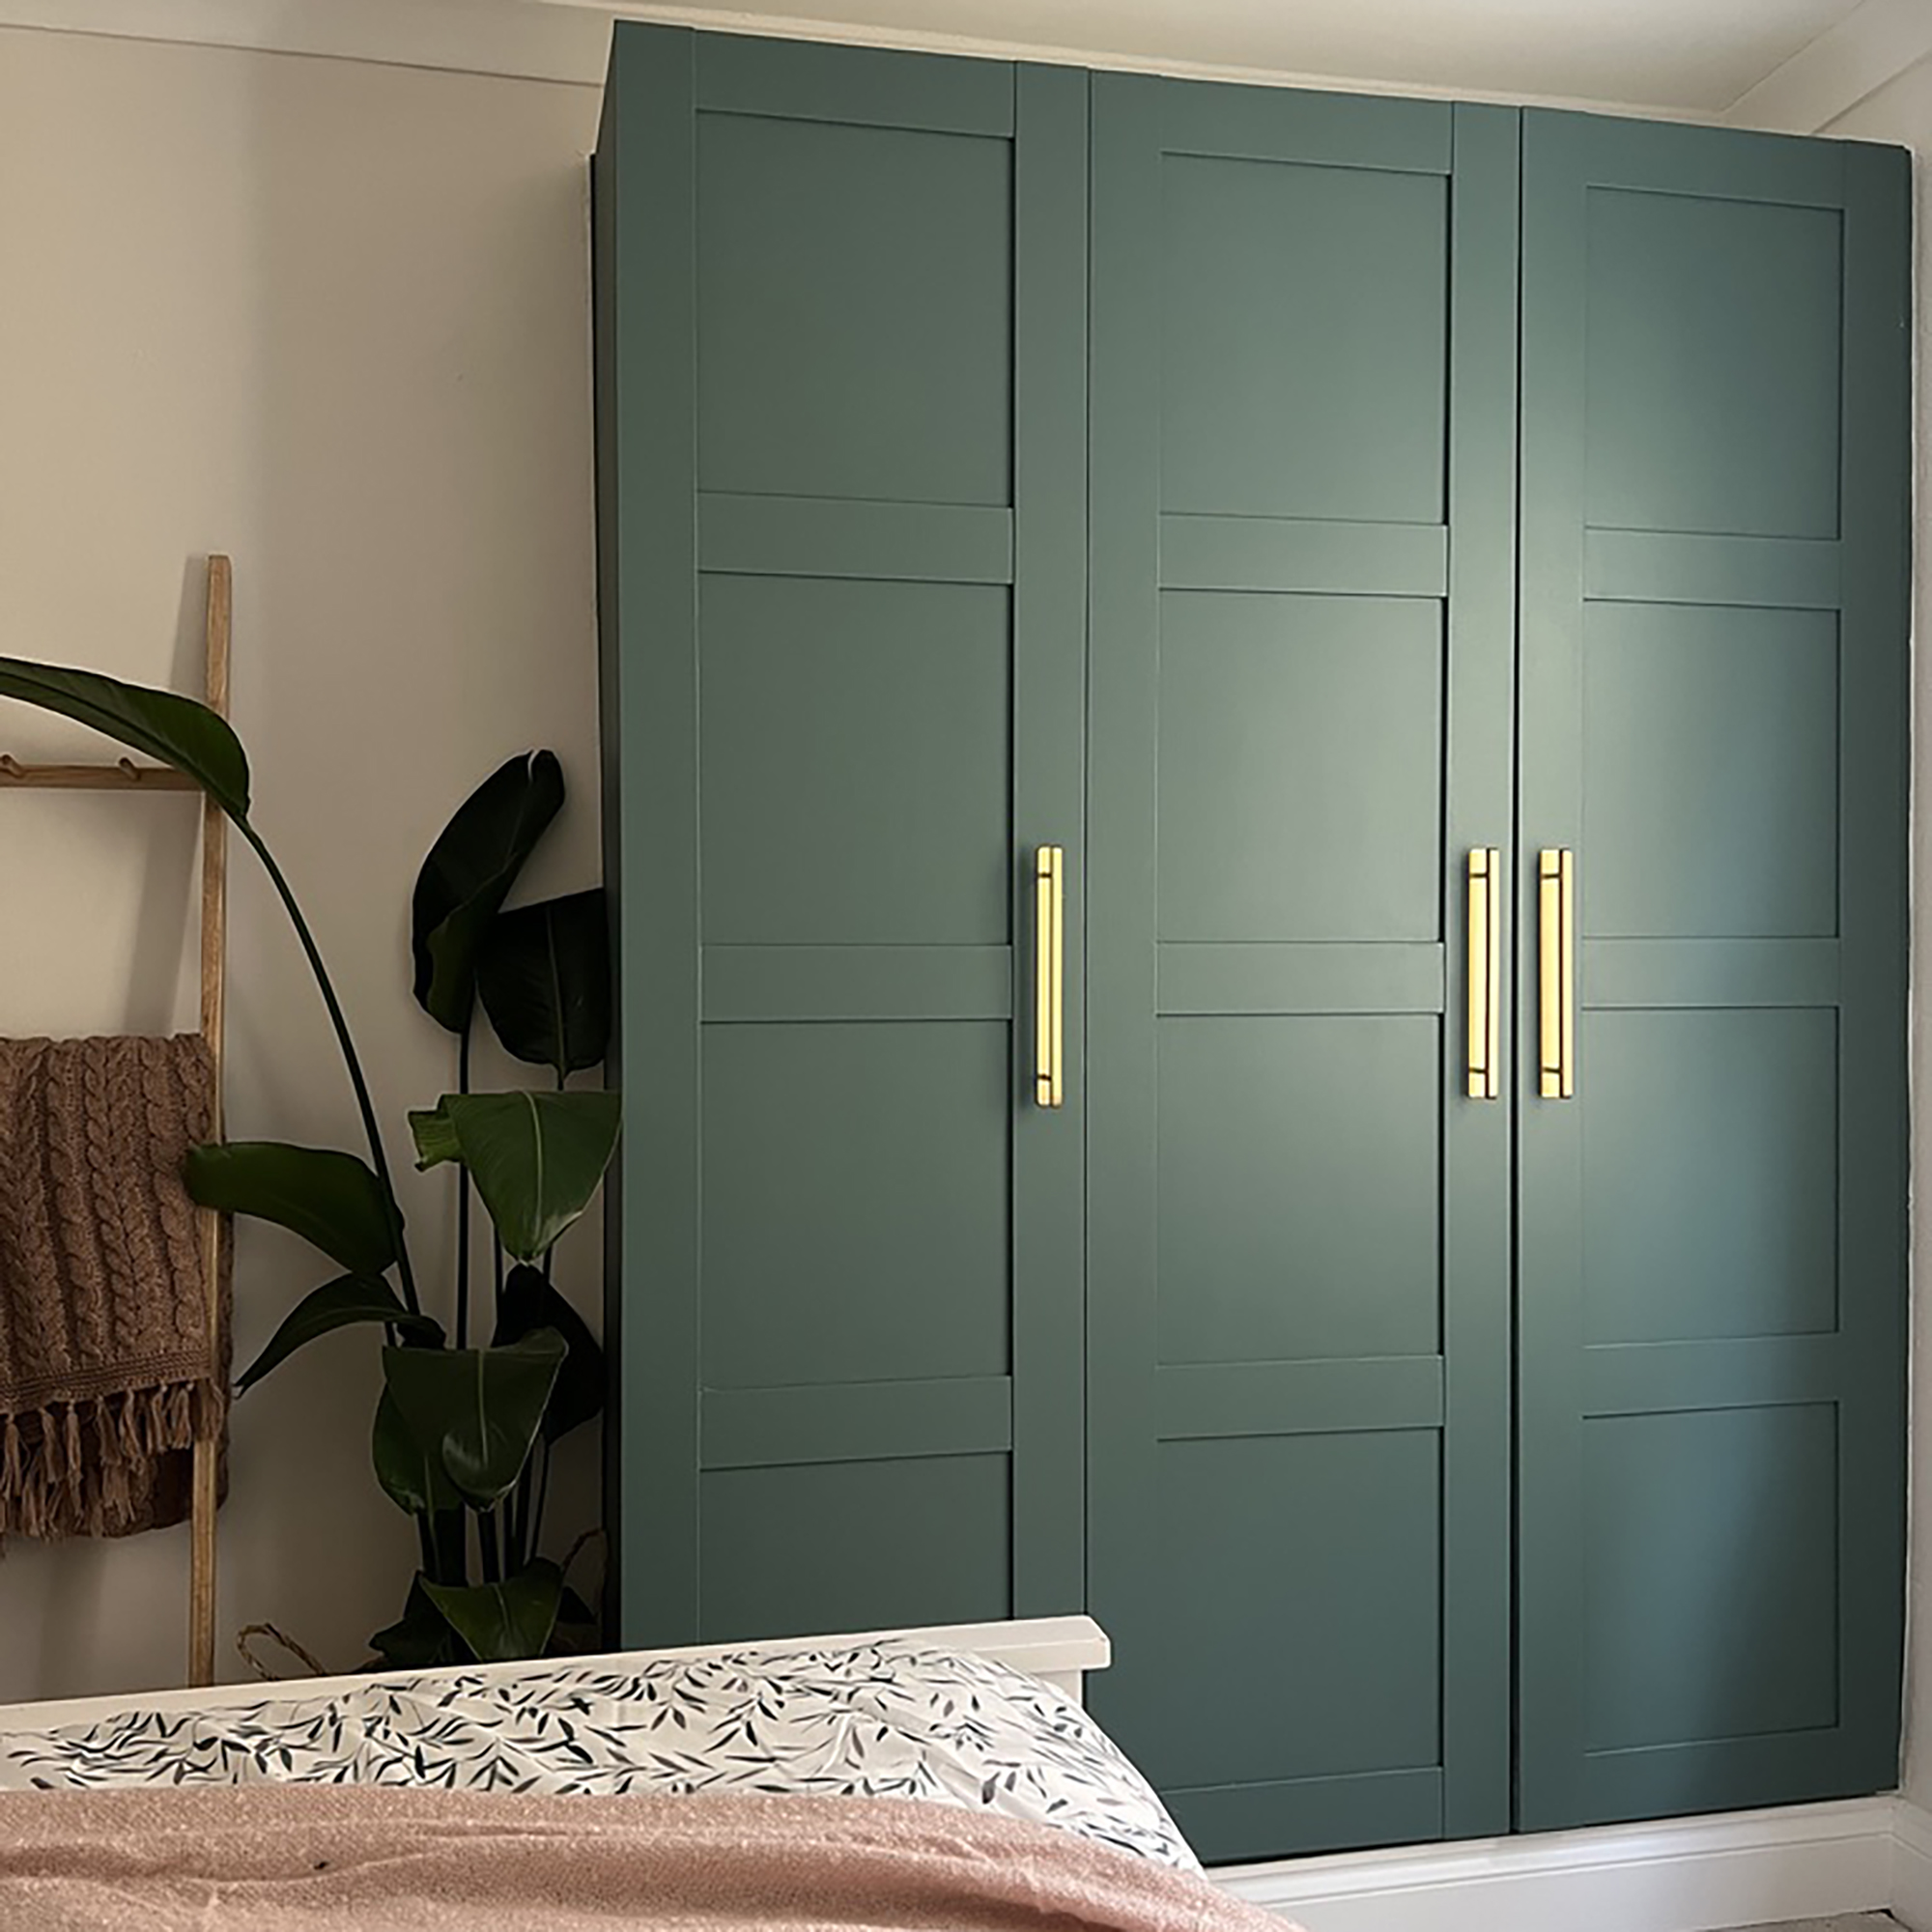
Painting laminate furniture is a great way to breathe new life into old pieces of furniture that either are no longer your taste or need a fresh lick of paint.
It's not a difficult task, but you'll want to apply some caution and approach it differently to unlacquered wood. The majority of more affordable furniture bought on the high street is likely to have a thin laminate layer, so bear this in mind when you're planning your next upcycling project.
'Painting laminate furniture is one of those projects that can either go perfectly, with a long-lasting finish, or horribly wrong, flaking off and chipping within days of finishing,' says Jasmine Gurney, co-founder of The Female DIY Collective. 'To achieve the perfect finish, that is scuff and scratch-resistant, my top tip is not to skip the primer and sealer.'

Jasmine Gurney, founder of Oh Abode, is a passionate DIY expert, Handywoman and advocate for women in home improvement. Recognising gender disparities in the DIY world, she empowers women through tailored advice and resources in The Female DIY Collective. Her expertise and dedication revolutionise DIY, inspiring women to embrace creativity and practical skills for fulfilling home improvement journeys.
What you'll need
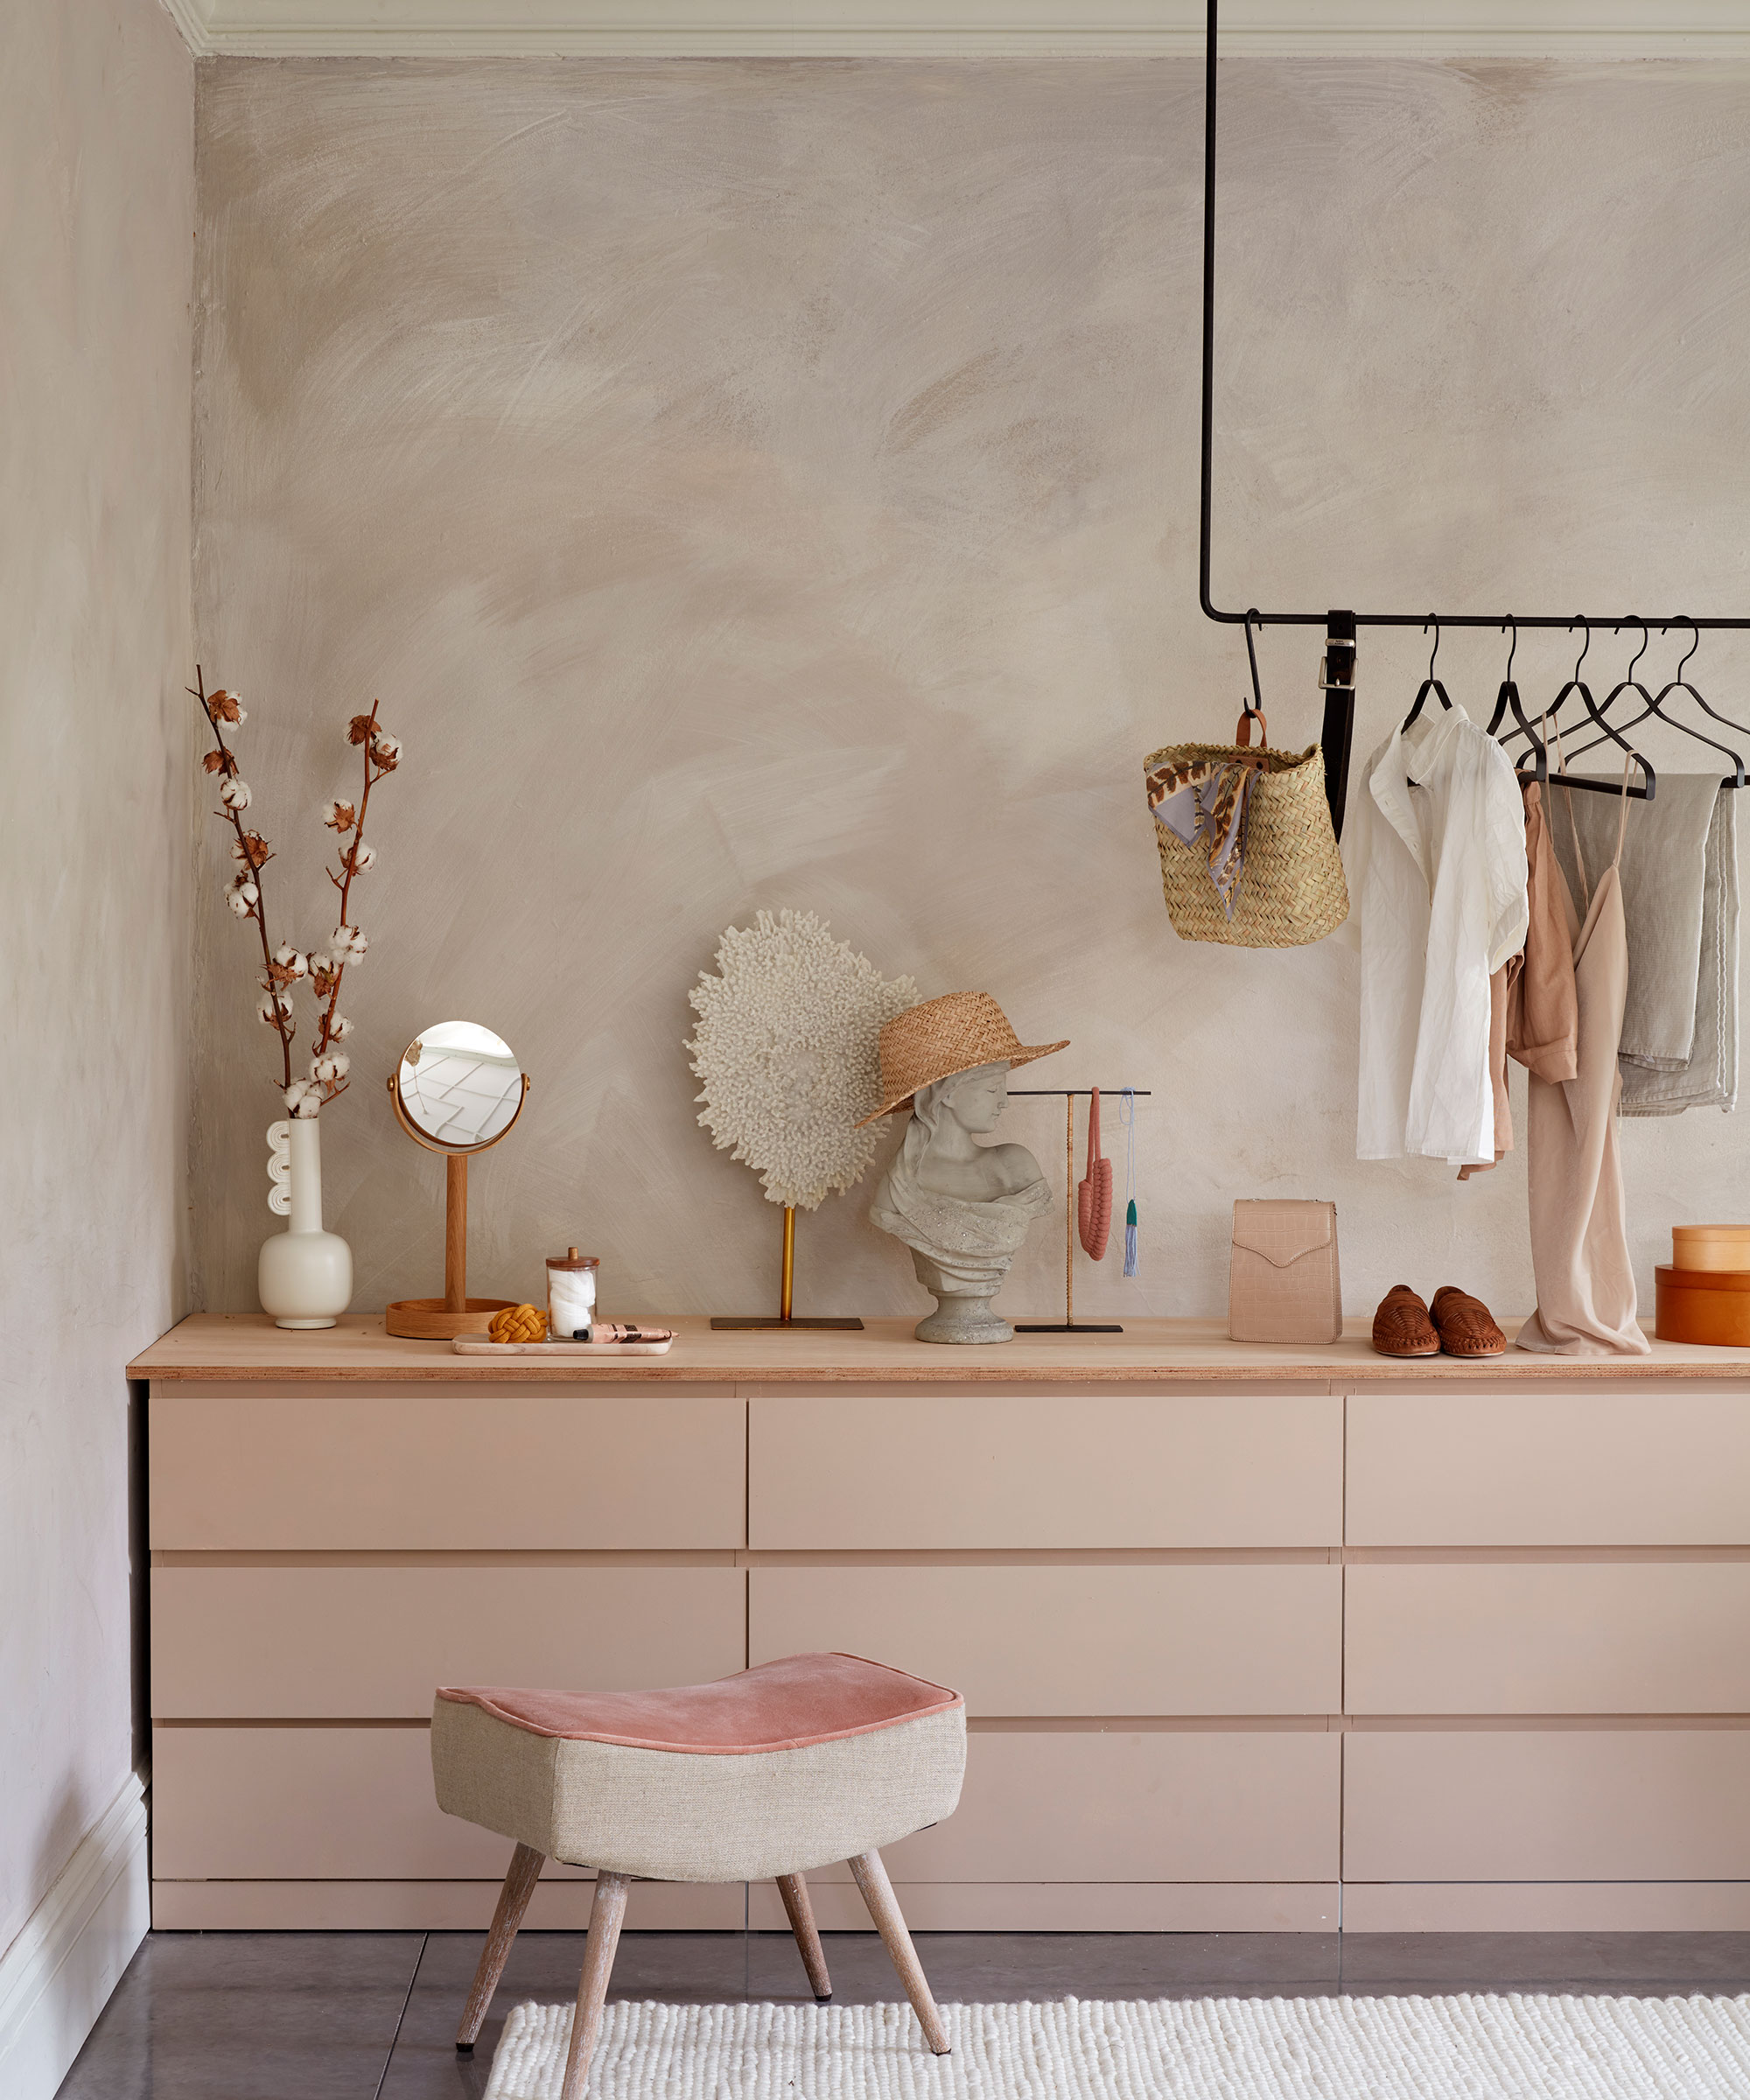
- Sugar soap
- Sandpaper
- Primer and paint
- Roller and tray
- Paintbrush
Step-by-step
1. Prep the surface
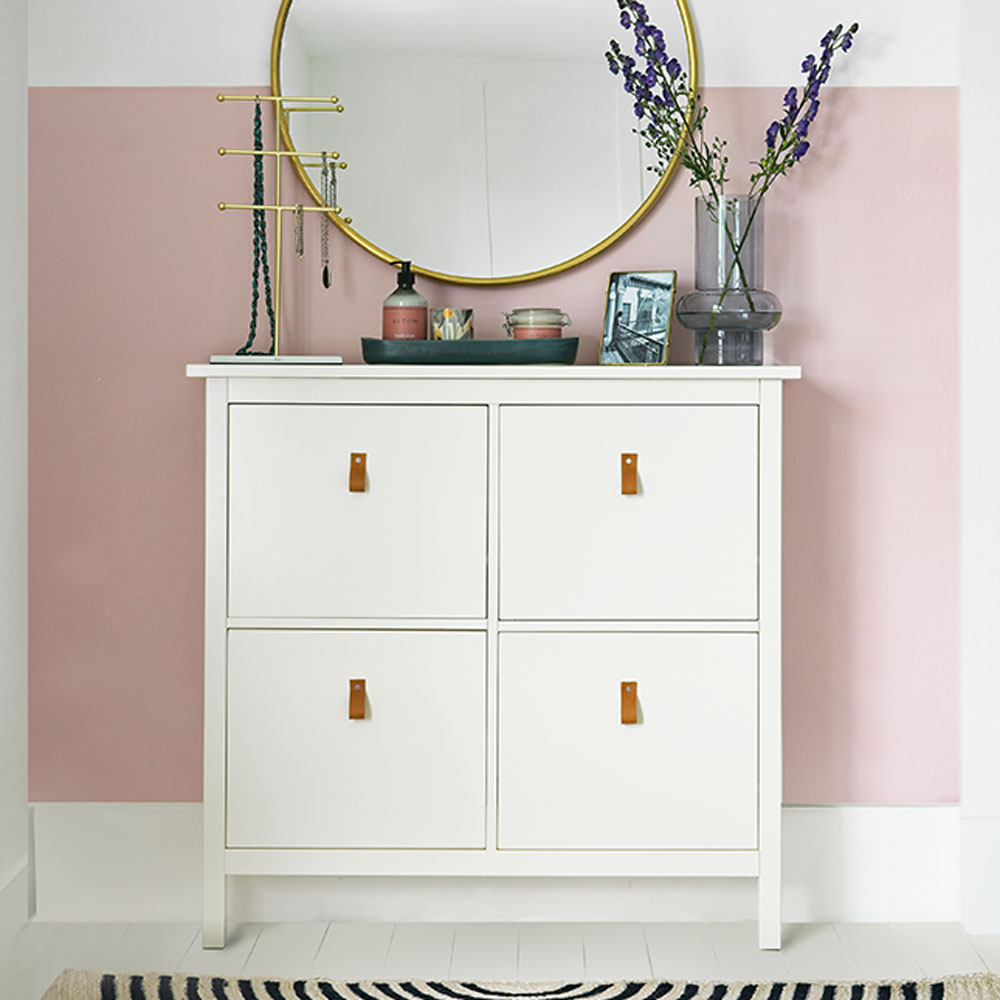
'Start by cleaning the surface to remove any excess dirt or grease,' advises Anna Elkington, design expert at Melody Maison. 'This will help achieve a smooth finish and ensure the paint adheres properly to the furniture.'
Sign up to our newsletter for style inspiration, real homes, project and garden advice and shopping know-how
You can either use a damp cloth for this, or sugar soap if the piece of furniture is looking a little worse for wear. Make sure you wipe it off with a microfiber cloth or leave it to fully dry.
2. Sand down the area
Laminate has a smooth texture which means it can be hard for the paint to grip, so you'll need to sand the surface down to create a rough texture.
You'll just need to lightly sand down using a 120-grit sandpaper, available on Amazon, then brush away the excess dust.
3. Don't forget to prime
'Priming is arguably one of the most important steps when painting laminate furniture as it creates a tacky surface for the paint to cling onto,' adds Anna.
Pour a small amount of primer into a paint tray and then use a foam roller to apply a lighter layer. If the furniture is a dark colour and you want to paint it lighter, apply two coats. Leave each layer to fully dry and sand the primed surface between coats.
'A primer specifically for laminate and melamine surfaces is preferable, but wood primers do tend to work too. I mostly use Zinsser BIN. Roll it on with a foam roller or sprayer and leave it to dry. You don’t always need to sand before using BIN either, but with any furniture painting, a light scuff with 120 grit will be enough to enable the paint to adhere better,' Jasmine recommends.
4. Start painting!
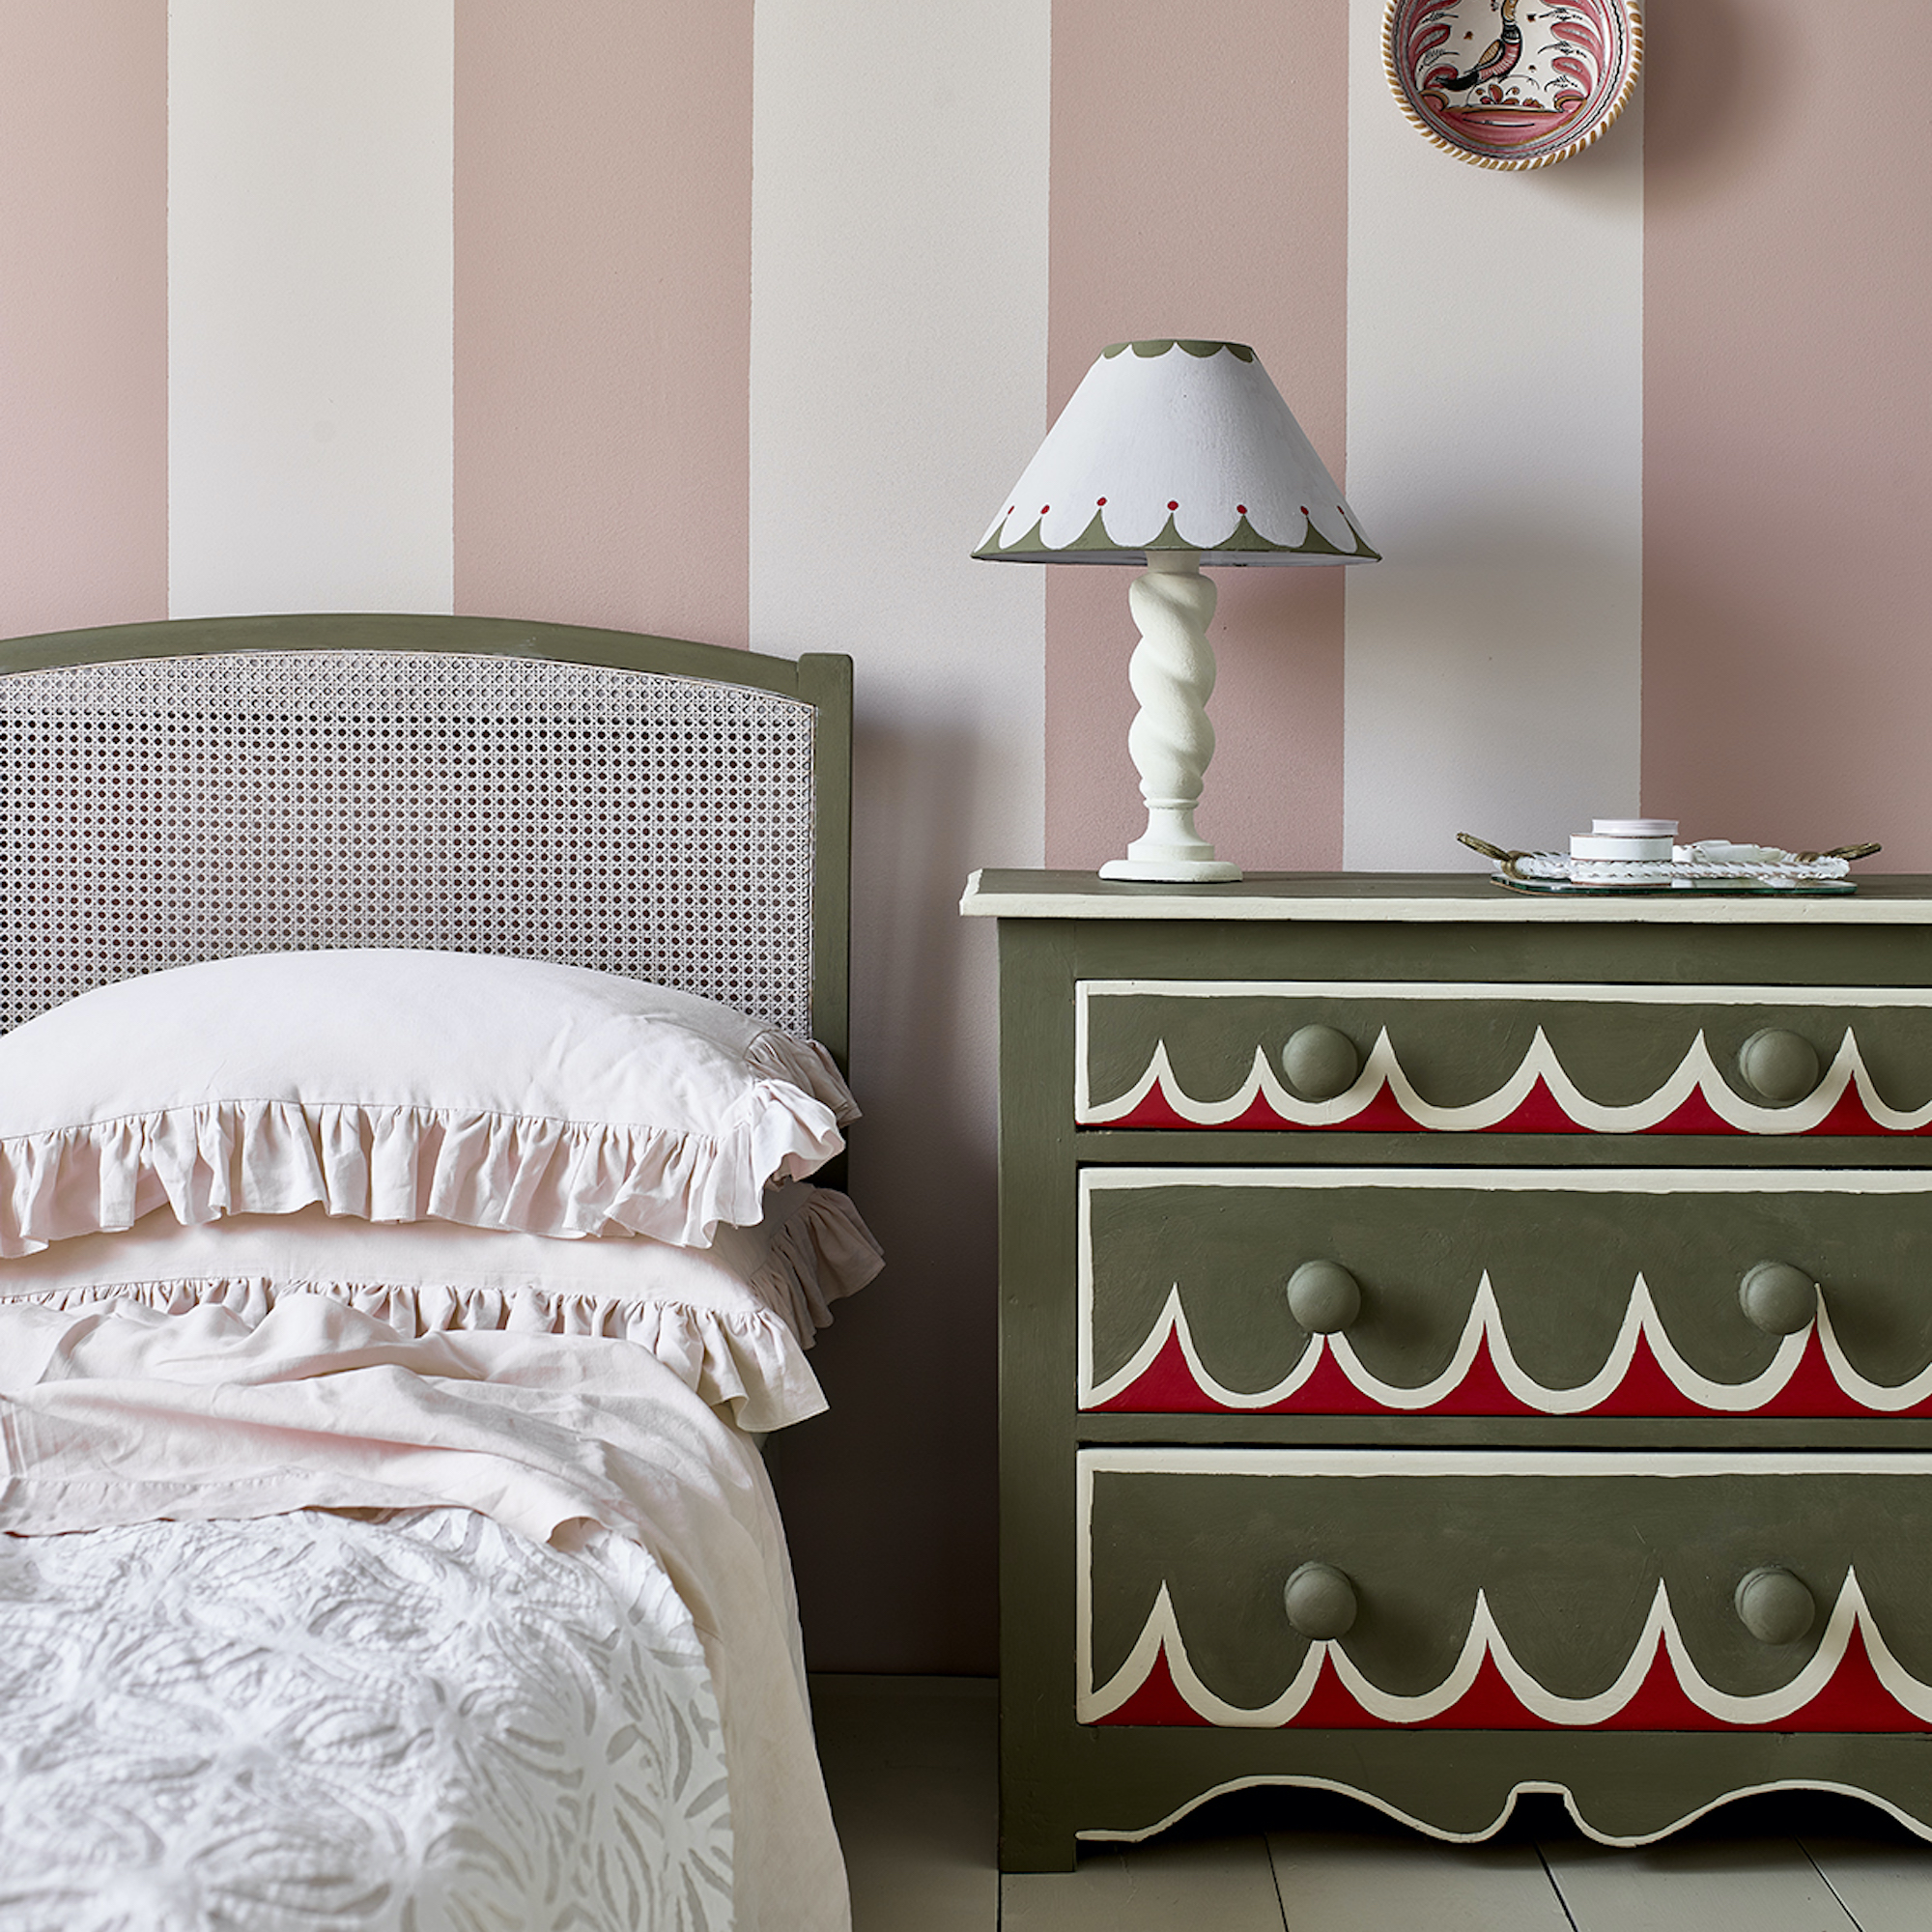
Now the fun can begin! Once the piece of furniture has been fully prepped you can start to pain in a colour of your choice.
'If you’re after a quick upcycle, a furniture paint with a built-in primer and sealer will do the job too. Frenchic’s Lazy Range is great for this,' says Jasmine. Alternatively, there are a plethora of paints for furniture that will achieve different looks, whether you want a gloss or matt finish or even an eco-friendly choice.
'If you’re painting a piece that has panelling or intricate detail, start on the outside and work your way in, painting in a logical order. Follow the instructions on the paint, ensuring you sand between each coat. After you’ve applied the last coat, remove the tape while the paint is still wet. Voila! It’s like you’ve got a brand new piece of furniture,' advises Sarah Lloyd, Paint & Interiors Expert from Valspar.
If your original colour is darker than your new colour, then you will need more thin layers (we recommend three) to ensure it is covered. If you're painting a dark shade over a light shade, however, then two coats will suffice.
5. Add a seal for high-use areas
If you're setting out to achieve a DIY coffee table, for example, then you'll want to add a seal to ensure that the furniture doesn't wear and chip. High-use areas like a bedside table or a desk are worth adding an extra layer of protection to so that your hard work doesn't go to waste.
'A good sealer like Rustoleum’s Crystal Clear lacquer will protect from spills, scuffs and chips. If you’re after a quick upcycle, a furniture paint with a built-in primer and sealer will do the job too,' says Jasmine.
6. Leave to dry
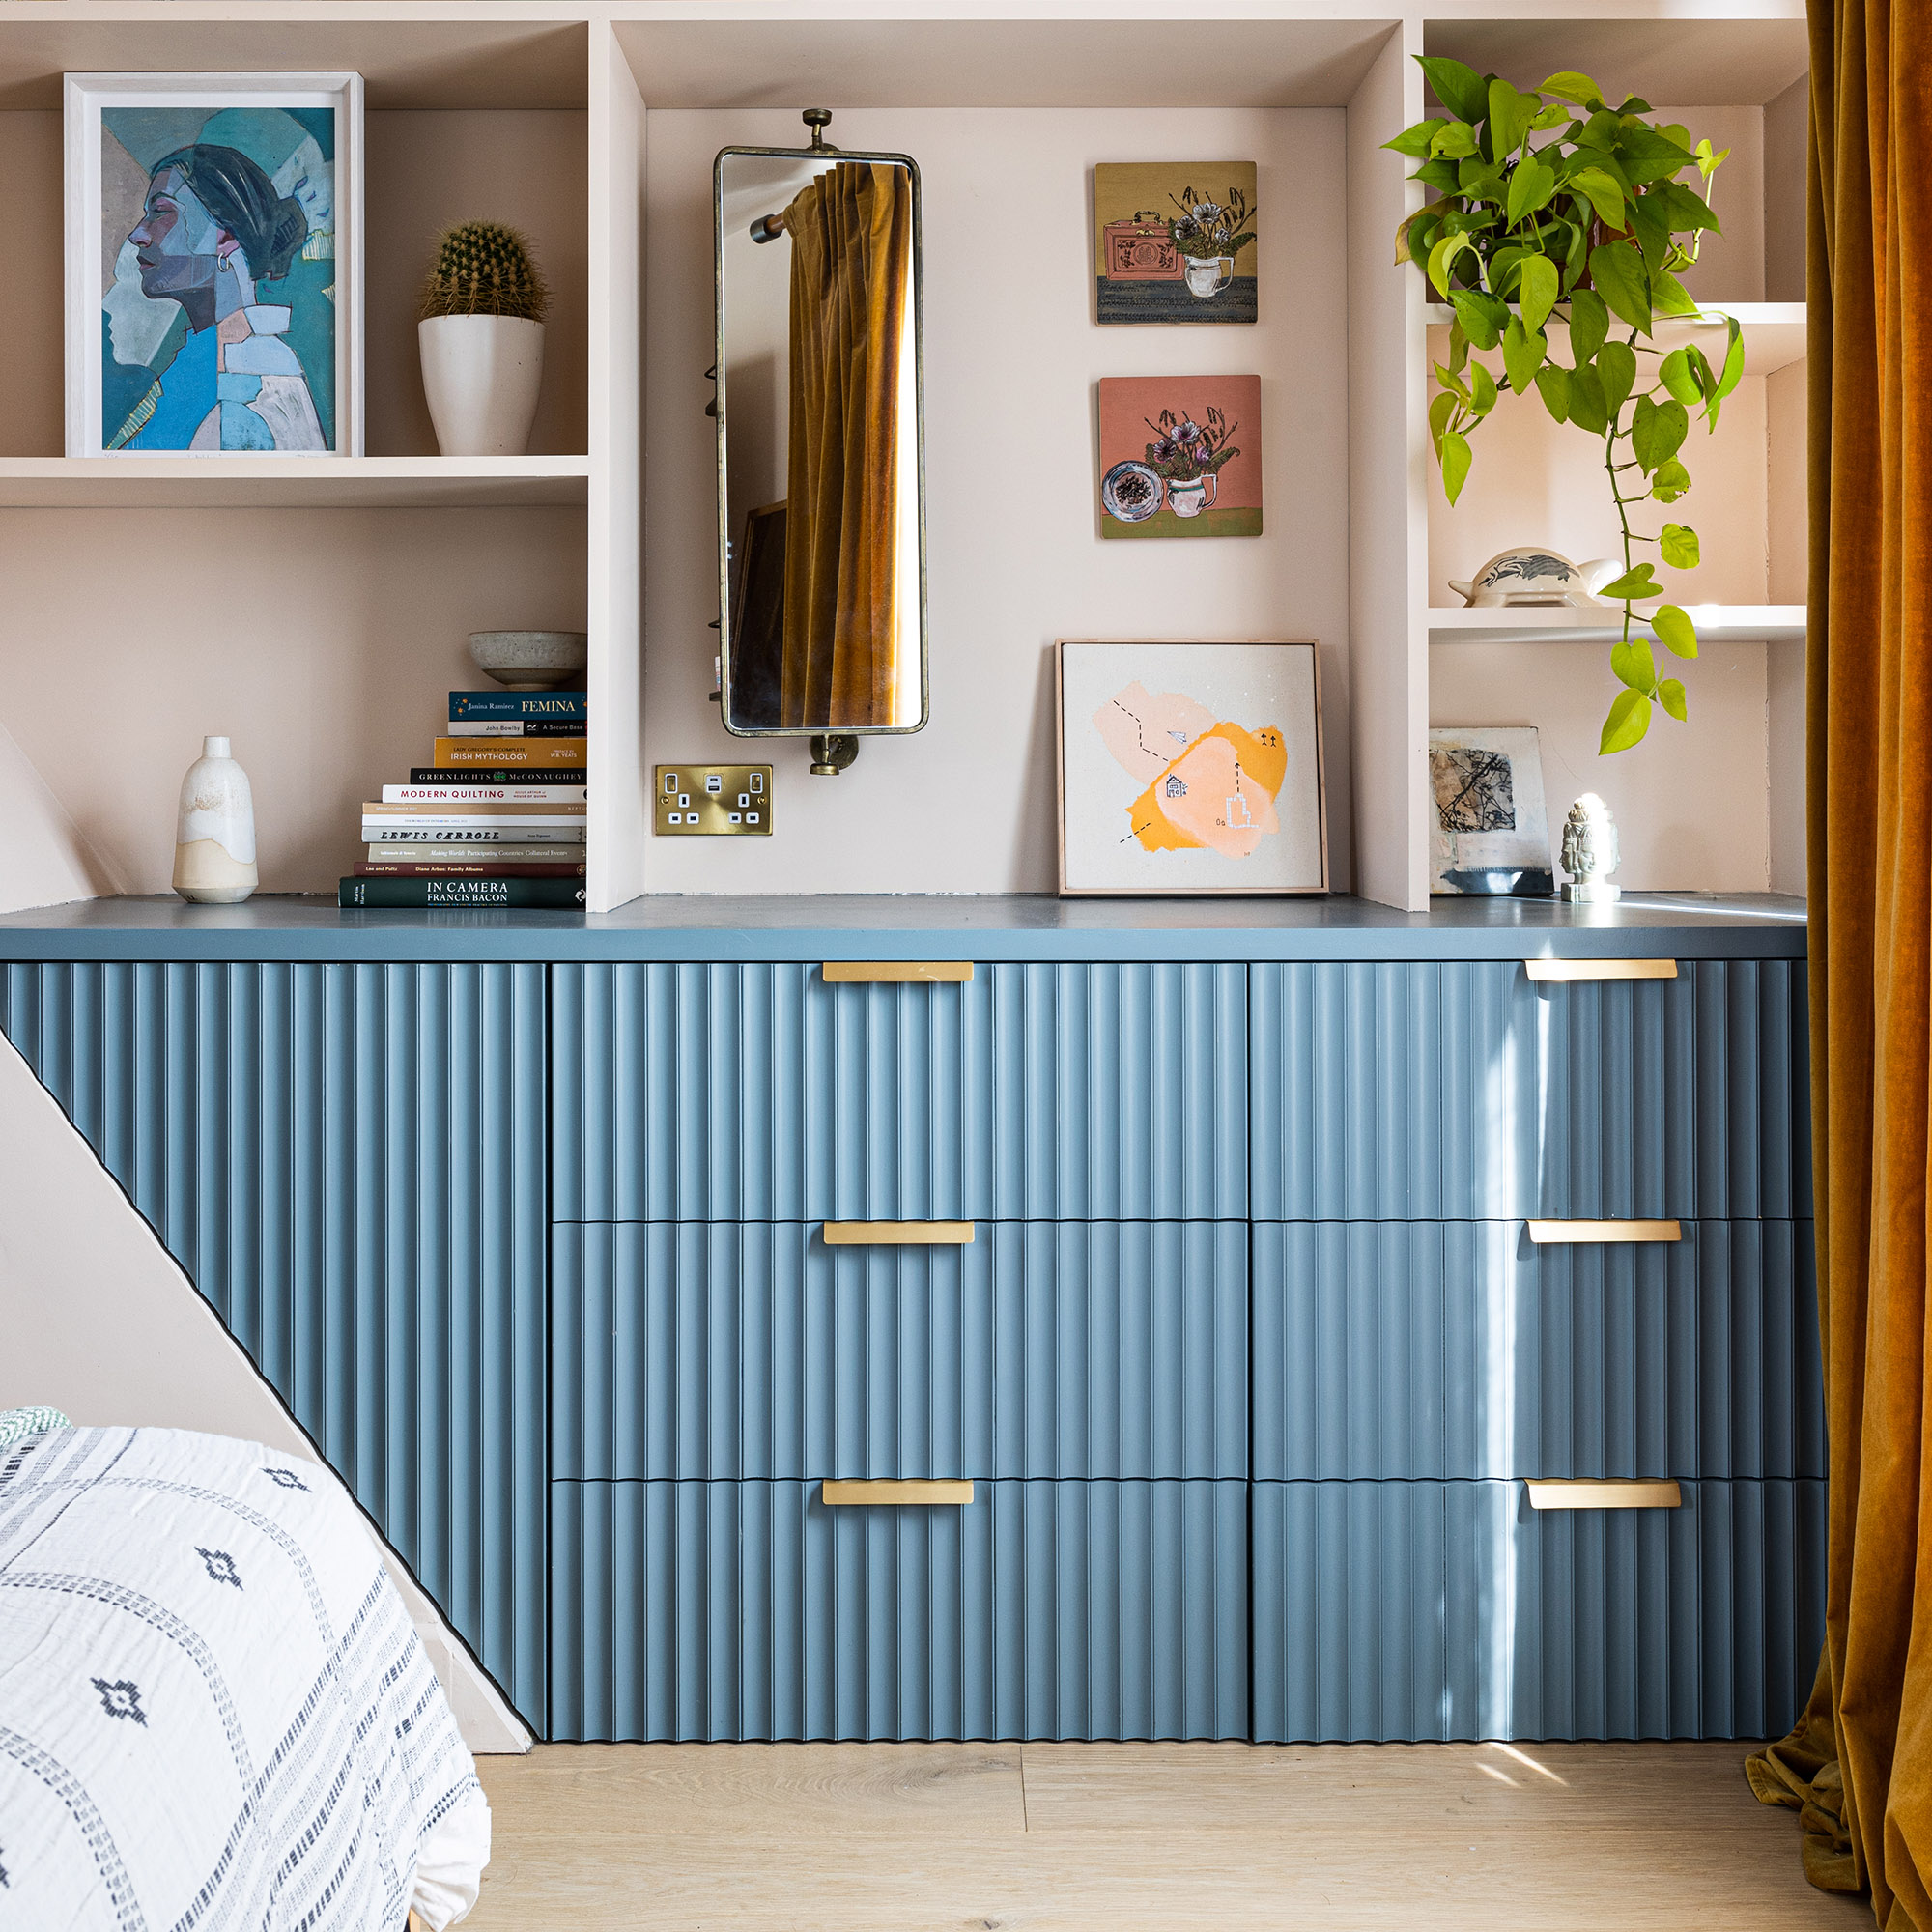
It's easy to want to use your freshly upcycled furniture as soon as it's finished, but you'll need to leave it to dry so that you don't ruin the paint.
Jasmine recommends to 'make sure you read the dry time instructions on your tin, as many lacquers require 24-48 hours to fully cure.' So don't try to rush the process, patience will result in a better result!
FAQs
What is the best paint for laminate furniture?
There are two main base types of furniture paint: oil-based and water-based.
Oil-based is typically more hardwearing and durable. You can use it on most surface and usually won't need a topcoat. However, it takes a lot longer to dry and contains solvents.
Acrylic or water-based paints are easy to apply, dry quicker, and have fewer strong chemicals. As with any laminate furniture upcycle, you'll definitely need to use a primer with this paint type and you're likely to need several coats.
Jasmine adds that 'A good sealer like Rustoleum’s Crystal Clear lacquer will protect from spills, scuffs and chips.' She also recommends Frenchic's selection of paints for easy application.
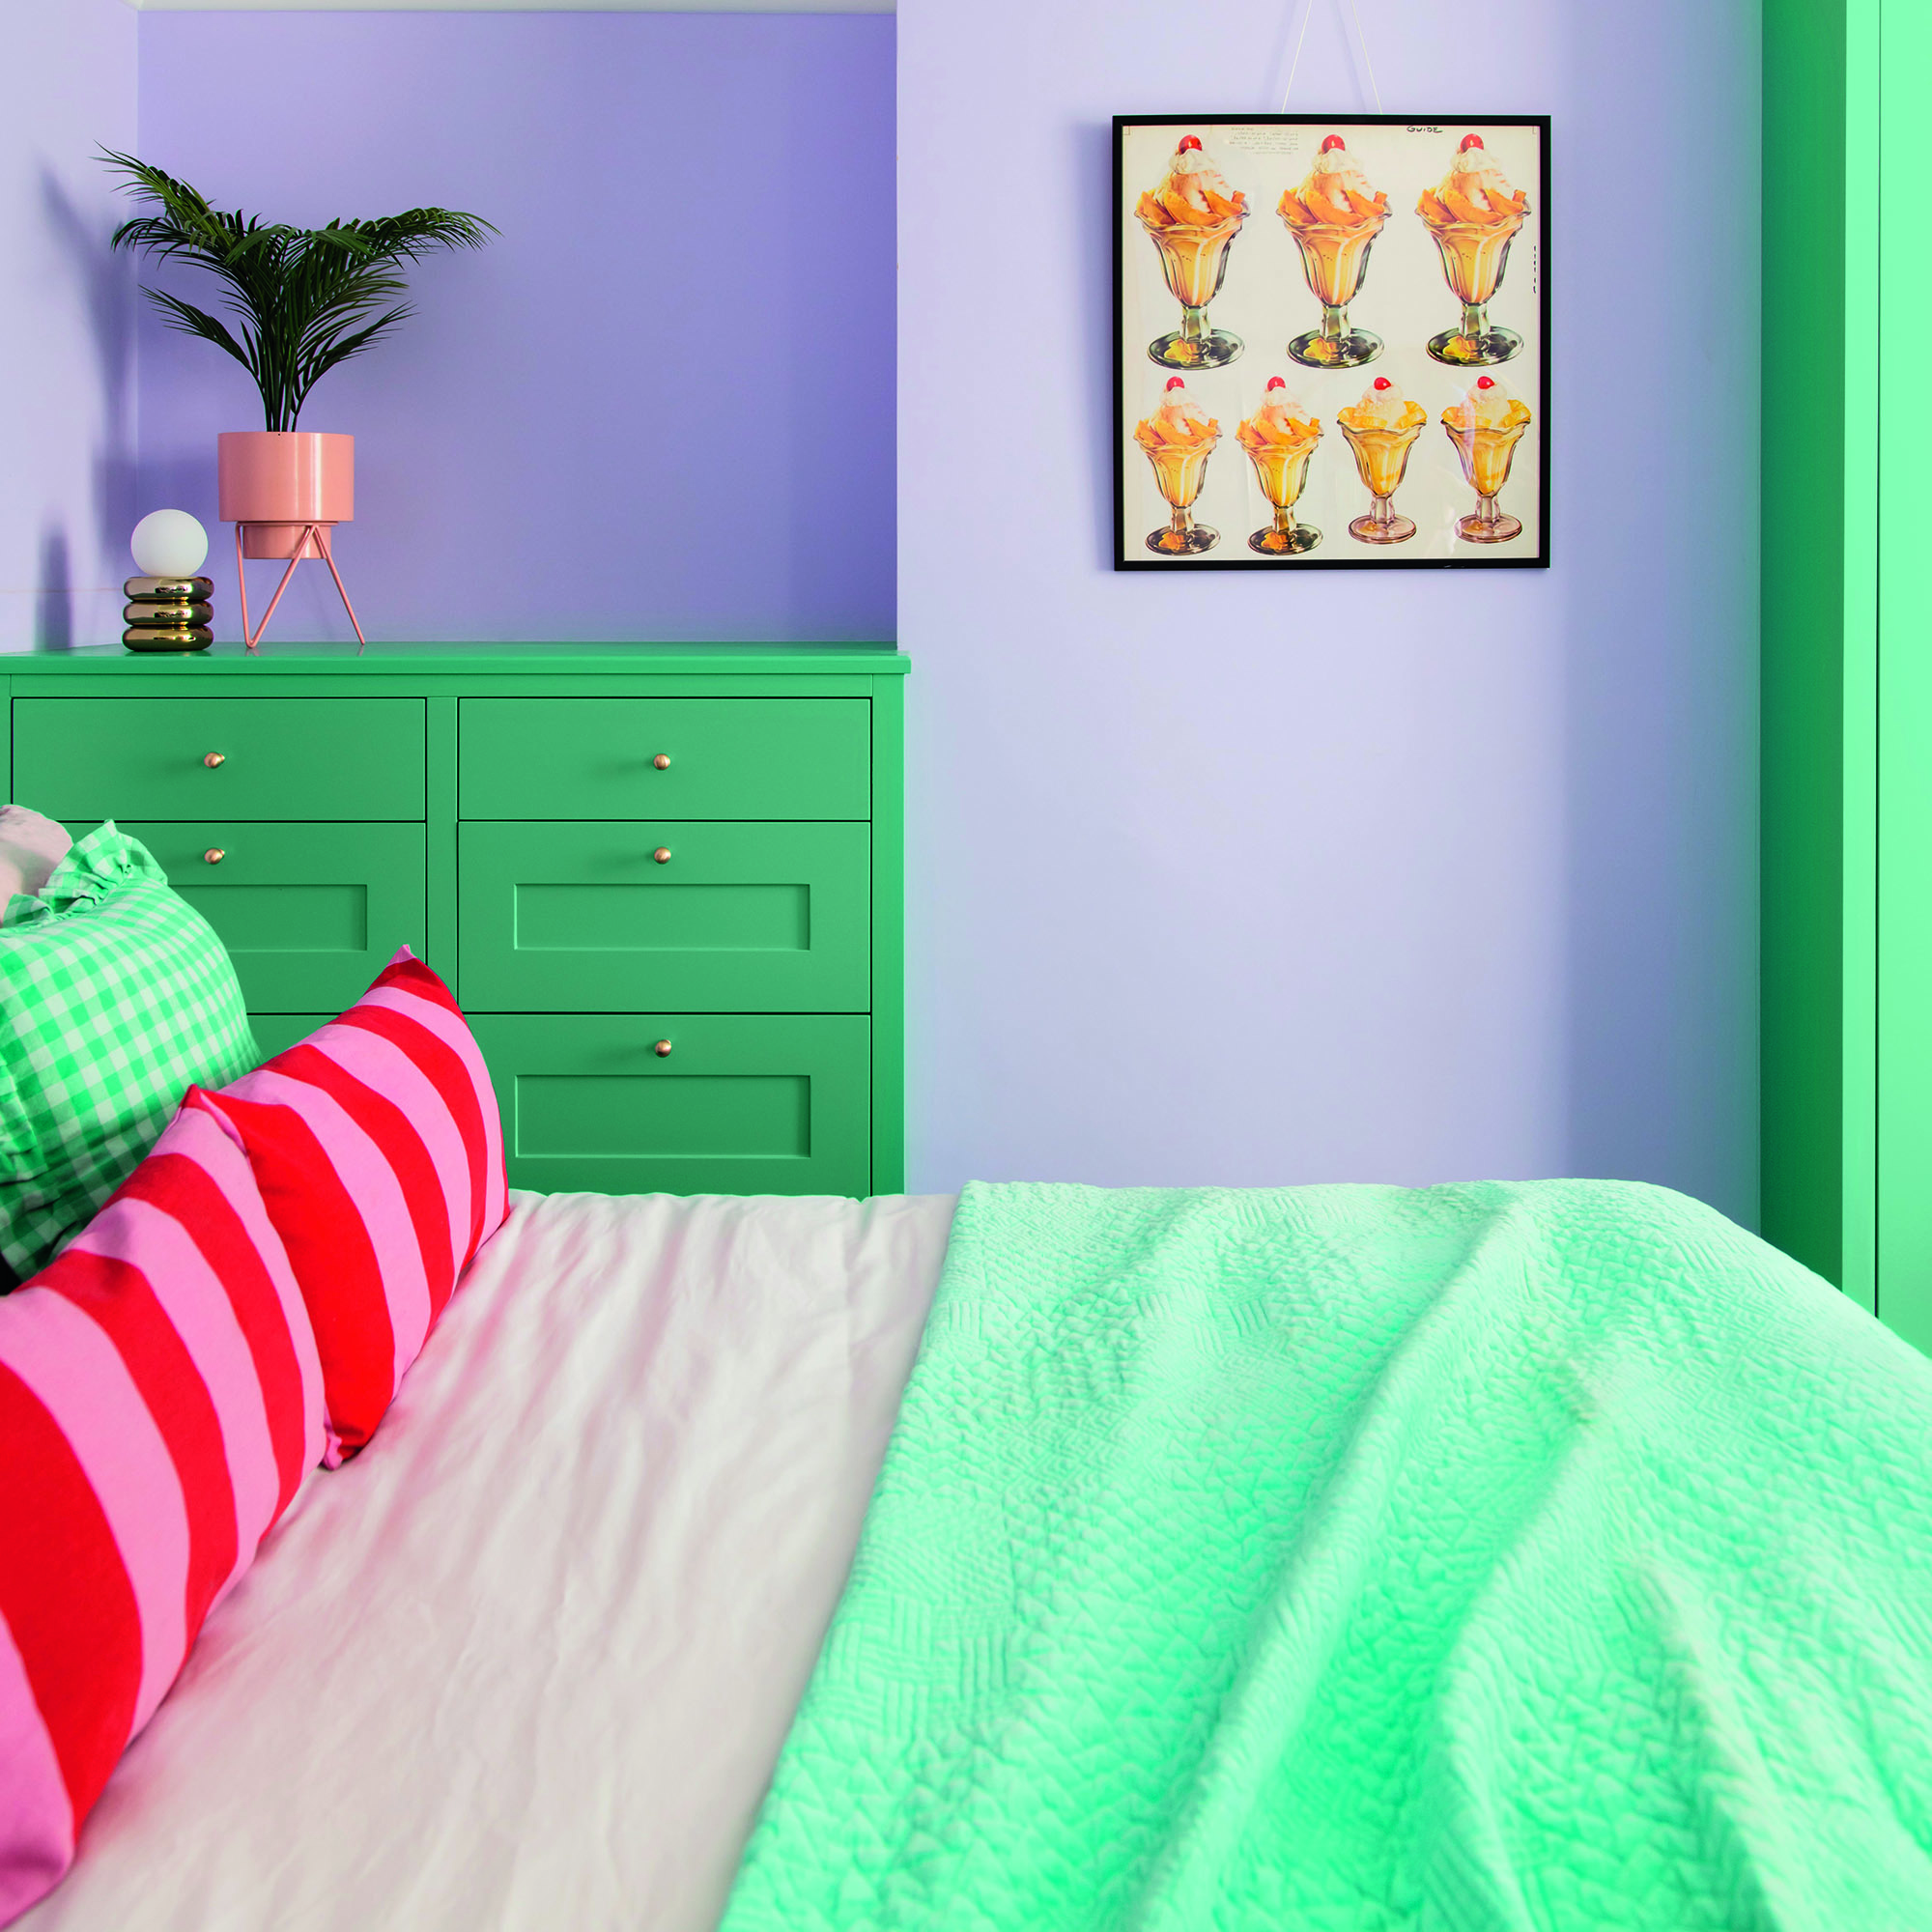
Can you paint laminate furniture without sanding it?
While sanding is always recommended for a more professional finish that not only looks good but also stands the test of time, there are ways to paint laminate furniture without sanding it.
One option is to use a product called liquid sandpaper. This creates a chemical reaction with the laminate surface which causes the paint to adhere better to it. It's far less time-consuming than sanding a large piece of furniture down, so if time is of the essence then consider giving this a go.
Your other option is to go straight in with an ultra-strong primer, creating a larger barrier between the laminate and the paint.
Whether you're looking to start painting your old-faithful IKEA furniture or you're simply bookmarking the knowledge for when you come across the perfect secondhand find, you can rest assured that your paint job will be better than the rest.

After starting out her journey at Future as a Features Editor on Top Ten Reviews, Holly is now a Content Editor at Ideal Home, writing about the best interior ideas and news. At Top Ten Reviews, she focussed on TikTok viral cleaning hacks as well as how to take care of investment purchases such as lawn mowers, washing machines and vacuum cleaners. Prior to this, Holly was apart of the editorial team at Howdens which sparked her interest in interior design, and more specifically, kitchens (Shaker is her favourite!).