When to remove painters tape – for a seamless finish when painting walls
The experts reveal their top tips!
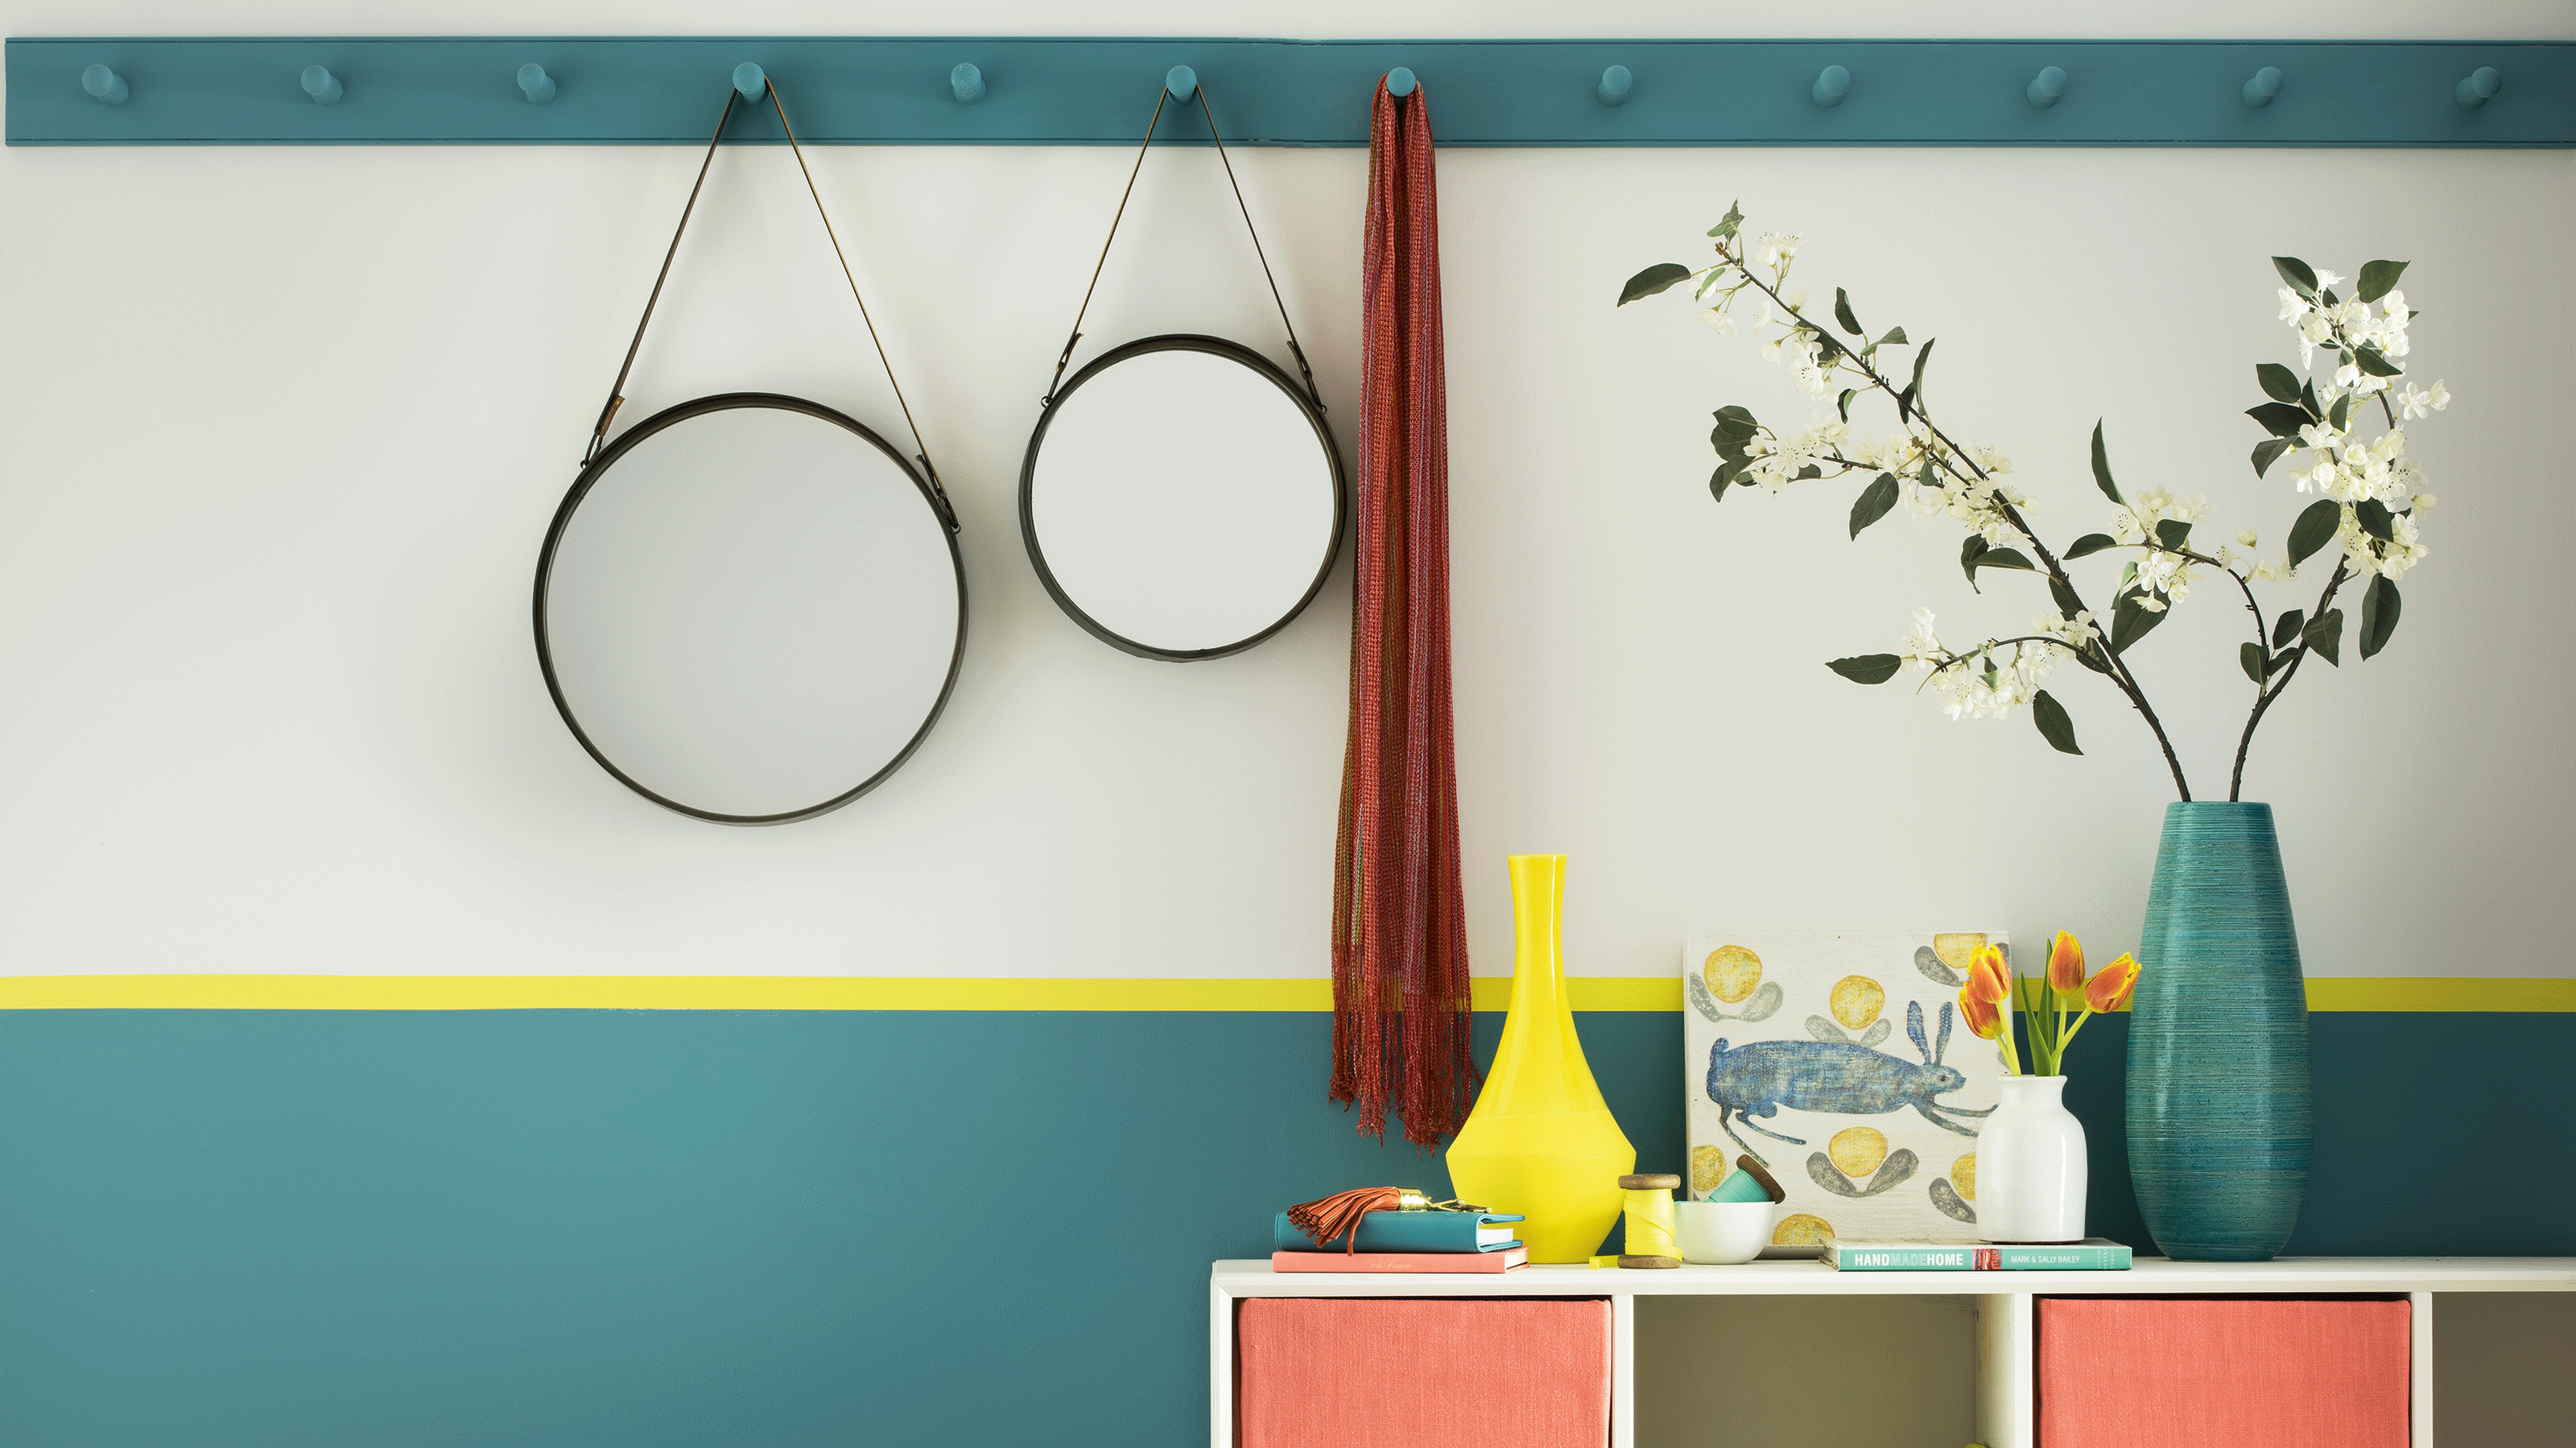
We’re all probably familiar with using masking or painter’s tape to stop excess paint from getting onto skirting boards, door frames and ceilings but there are even more creative ways to use masking tape when painting a wall.
There are so many clever paint ideas using masking tape that can jazz up your home from painting a wall in two distinct colours, to painting a striking mural feature wall. It can even be a clever secret for upcycling furniture with a smart design like this Farrow and Ball Harlequin dresser.
But when is the best time to remove the tape, for the most seamless finish on your design?


When to remove painters tape for a seamless finish
I mean, there’s nothing more satisfying than removing the tape to be met with a super sharp and clean result. But if we’re being totally honest, from trying it out ourselves many times, it can be tricky to judge exactly when to remove the tape.
If you haven’t let the paint dry most of the way before removing the tape, you can end up with a bit of a mess or paint that has bled into the areas that you were purposefully trying to keep paint-free.
On the other hand, waiting too long can make the tape harder to remove, and even rip some chunks of paint off too.
So, we asked the experts for their advice and thanks to them, we can’t wait to get started on our next easy DIY project. Roll on the next bank holiday weekend.

Best practice for a professional seamless finish
To remove masking or painter’s tape successfully, you should ‘wait until the paint is dry to the touch – if you are unsure of how long this will be, check the tin for the manufacturer's estimate,’ says Tim Warren, DIY expert at Adkwik.
He recommends scoring, ‘along the edge of the tape with a putty knife. This will stop the paint from cracking and being pulled up with the tape.’
Then you’ll want to slowly lift the tape at a 45 degree angle, ‘pulling it back on itself.’
If you find that the adhesive from the tape is sticking, you can try pulling at a 90 degree angle instead, as this may make it easier to safely remove it.

Jimmy Englezos, Senior Product Expert at Ronseal, echoes this sentiment.
‘Most painting professionals will advise that you wait until the paint is fully dry before pulling back the painting tape on itself at a 45 degree angle, that way it should peel away with ease and leave you with a crisp line.’
‘However, if your paint has overlapped onto the tape and you wait too long to remove it, this could lead to the paint from the wall peeling away with the tape. In this case, you should remove when the paint is only partially dry – although this will vary from product to product.’
While it may be very tempting to pull all of the tape off at once, doing it in sections gives you more control over it and can often create better results.
How to deal with any mishaps when removing tape
For any issues or mishaps, the experts also have a few tips and tricks.
‘Use a sharp tool to lightly score along where the painting tape and paint meet before removing, then sand this until smooth once removed.’ Jimmy suggests.
While ‘the longer you leave the tape on a surface, the harder it will be to remove. If you have not used a low tack tape, you may need to rub a small amount of turpentine on any residue left behind,’ says Tim.
Which DIY paint project will you be attempting first, now that you know the best practice to get that professional finish?
