Kitchen Chronicles Part One – how I'm crafting my dream space on a budget
I'm chasing my dream kitchen while convincing my husband it's something we need to do and hunting down budget-friendly options


Sign up to our newsletter for style inspiration, real homes, project and garden advice and shopping know-how
You are now subscribed
Your newsletter sign-up was successful
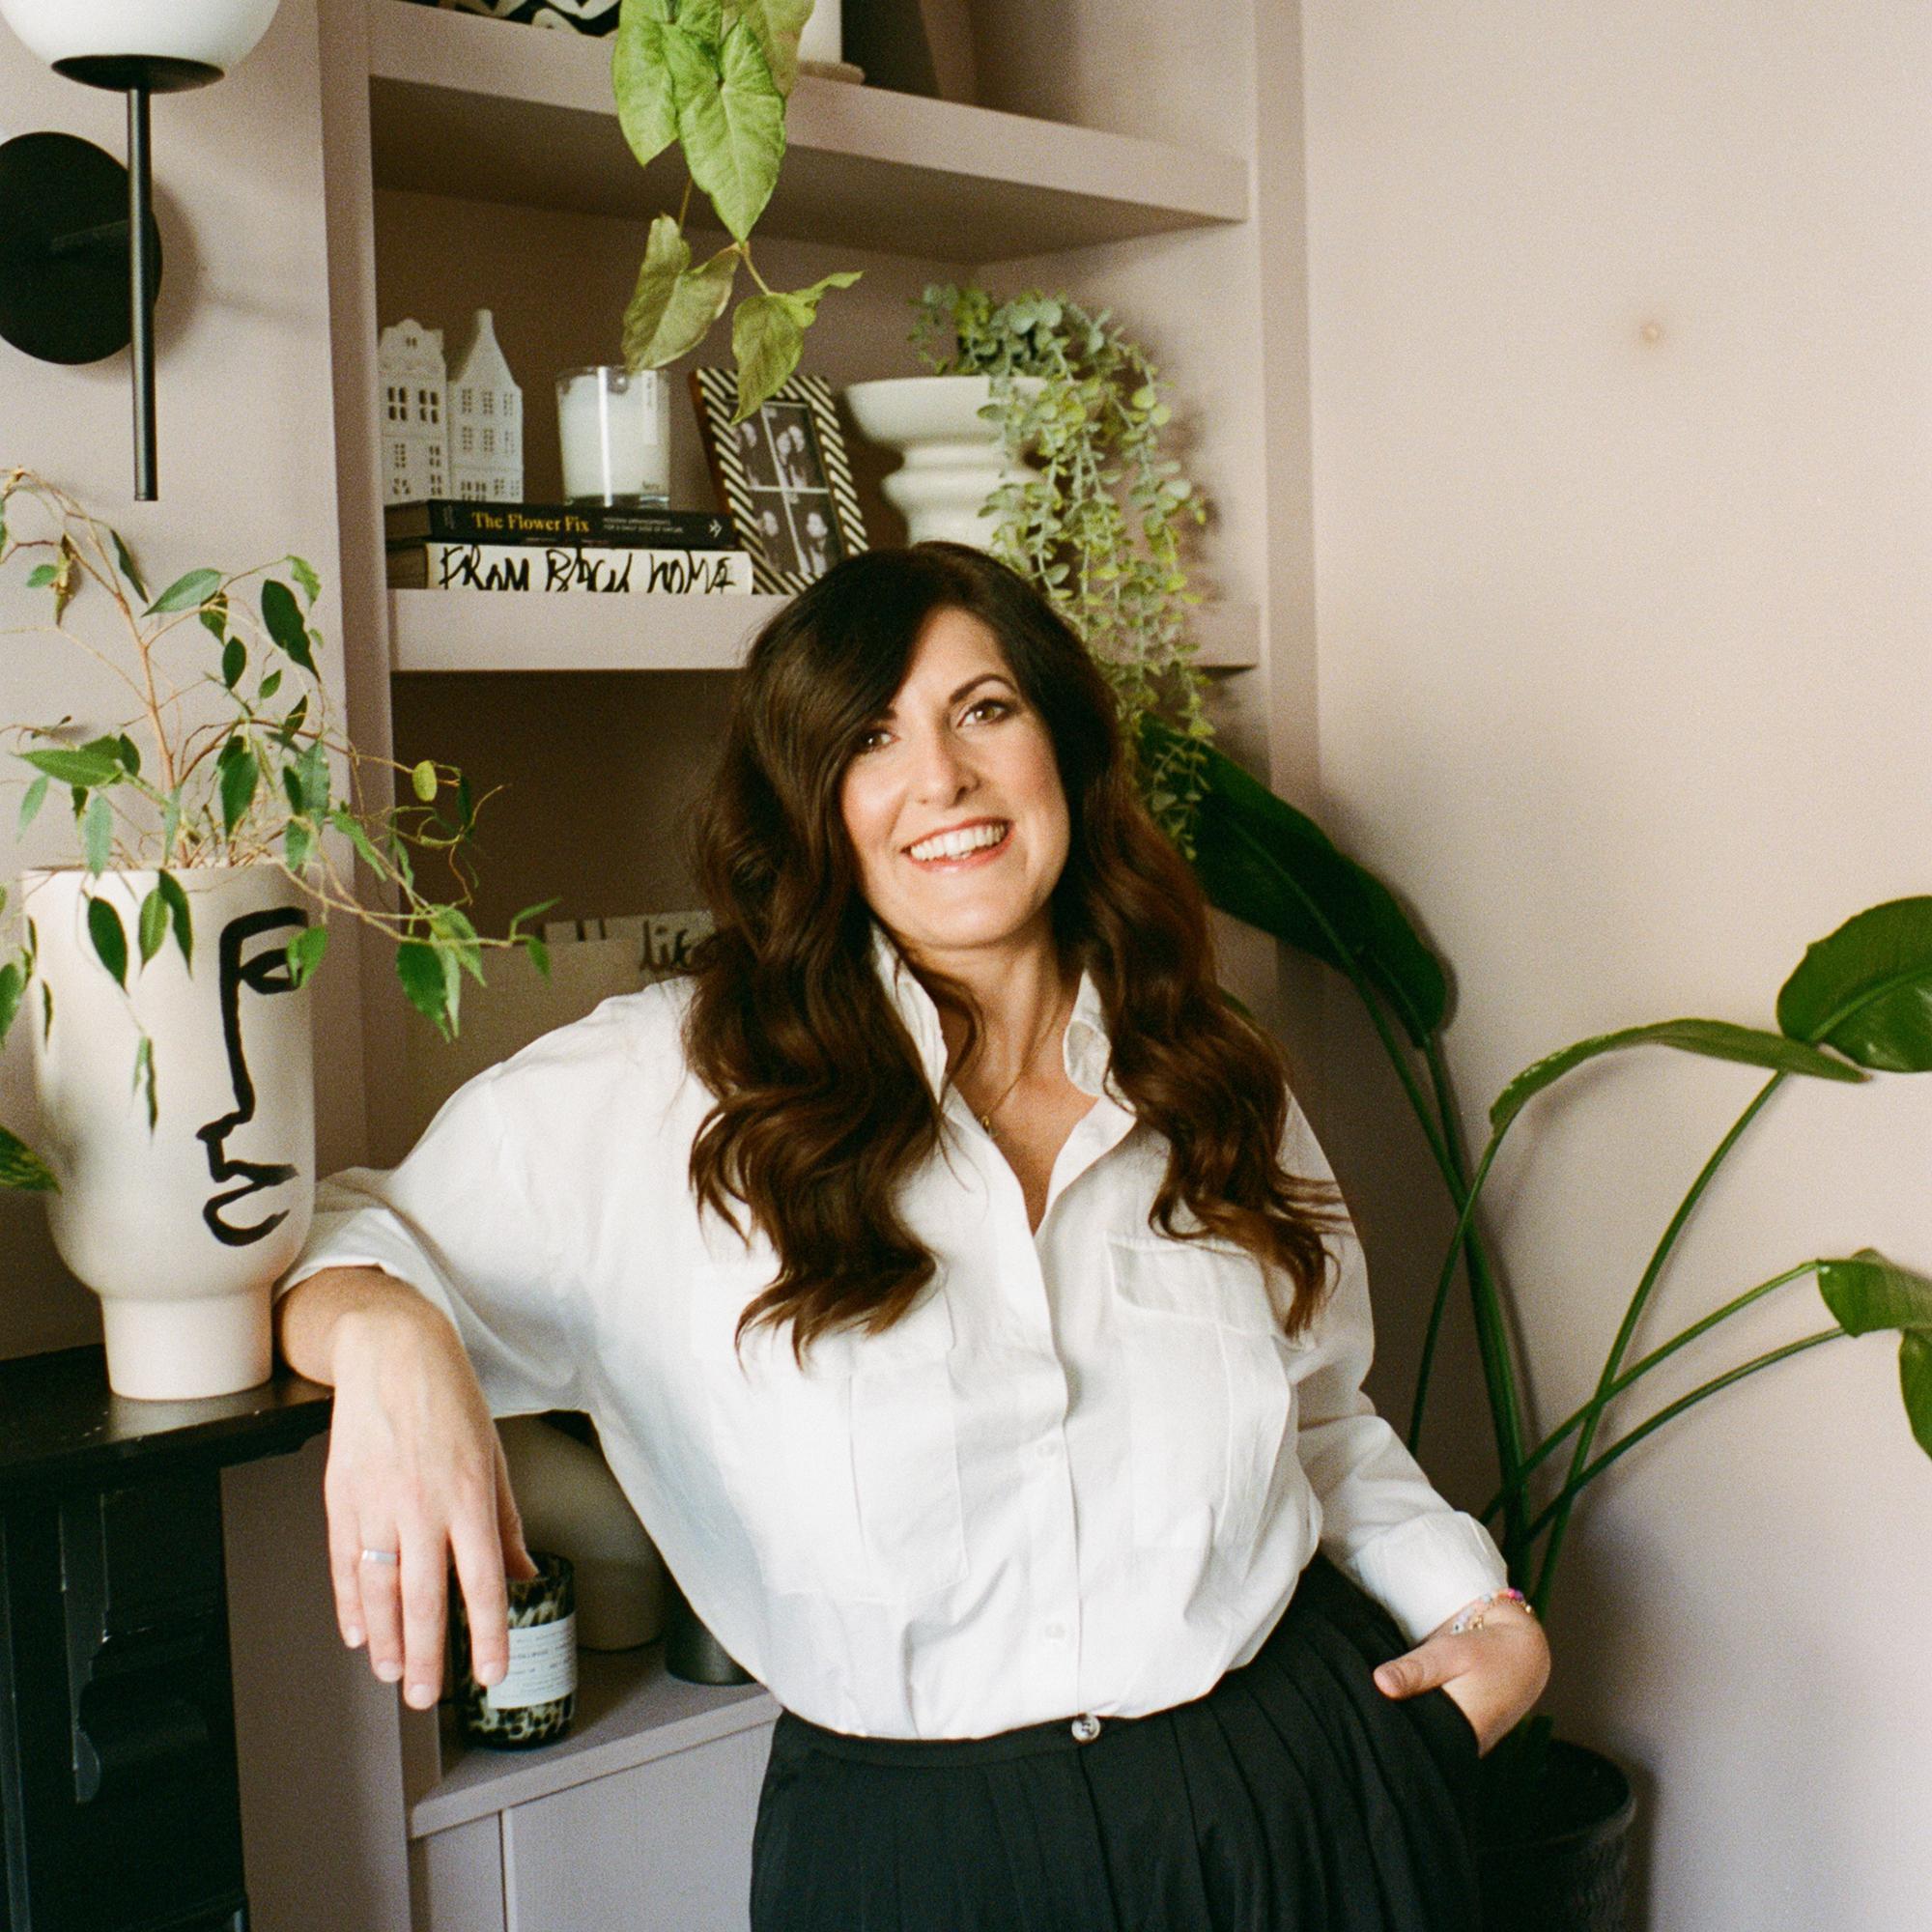
Interior designer Natalie Jahangiry is one of Ideal Home's new Open House contributors, sharing her thoughts on decorating a home to suit a busy family life while sticking to your aesthetic values, too. See the rest of her articles here.
'I want to renovate our kitchen' are the words that my husband Tom has been quietly dreading since the day we moved in. He knew this day was coming… he just didn’t know it would be now.
After two years in our home, I’ve done my best to tweak the kitchen into the warm, family hub we’ve been dreaming of, working with a small budget and doing the hard work myself. But despite my efforts, I’ve had to admit defeat. In truth, I think I set myself up for disappointment; I designed such a wonderfully sociable family kitchen in our previous home that this one simply can’t live up to it.
As a very social foodie family (my Dad is a chef!) the kitchen has always been the heart of every home I’ve lived in. I know everyone has their own preferences, but for me (and Tom, by his own admission), it’s a really important part of our day-to-day family life. That’s why, in our previous home, we built and designed the kitchen area from scratch, so moving into someone else’s vision in our home now has been niggling at me from the day we arrived. Don’t get me wrong, the kitchen was ok as it was, but my main bugbear has always been where it’s positioned in the room. After designing our old kitchen to be in the brightest, most social part of the house (opening up into the garden at the back of the room), our now kitchen is in the darkest corner at the back open plan room. It’s a great space, but to me, it’s not utilised in the best way.
Three Rounds of DIY Transformation
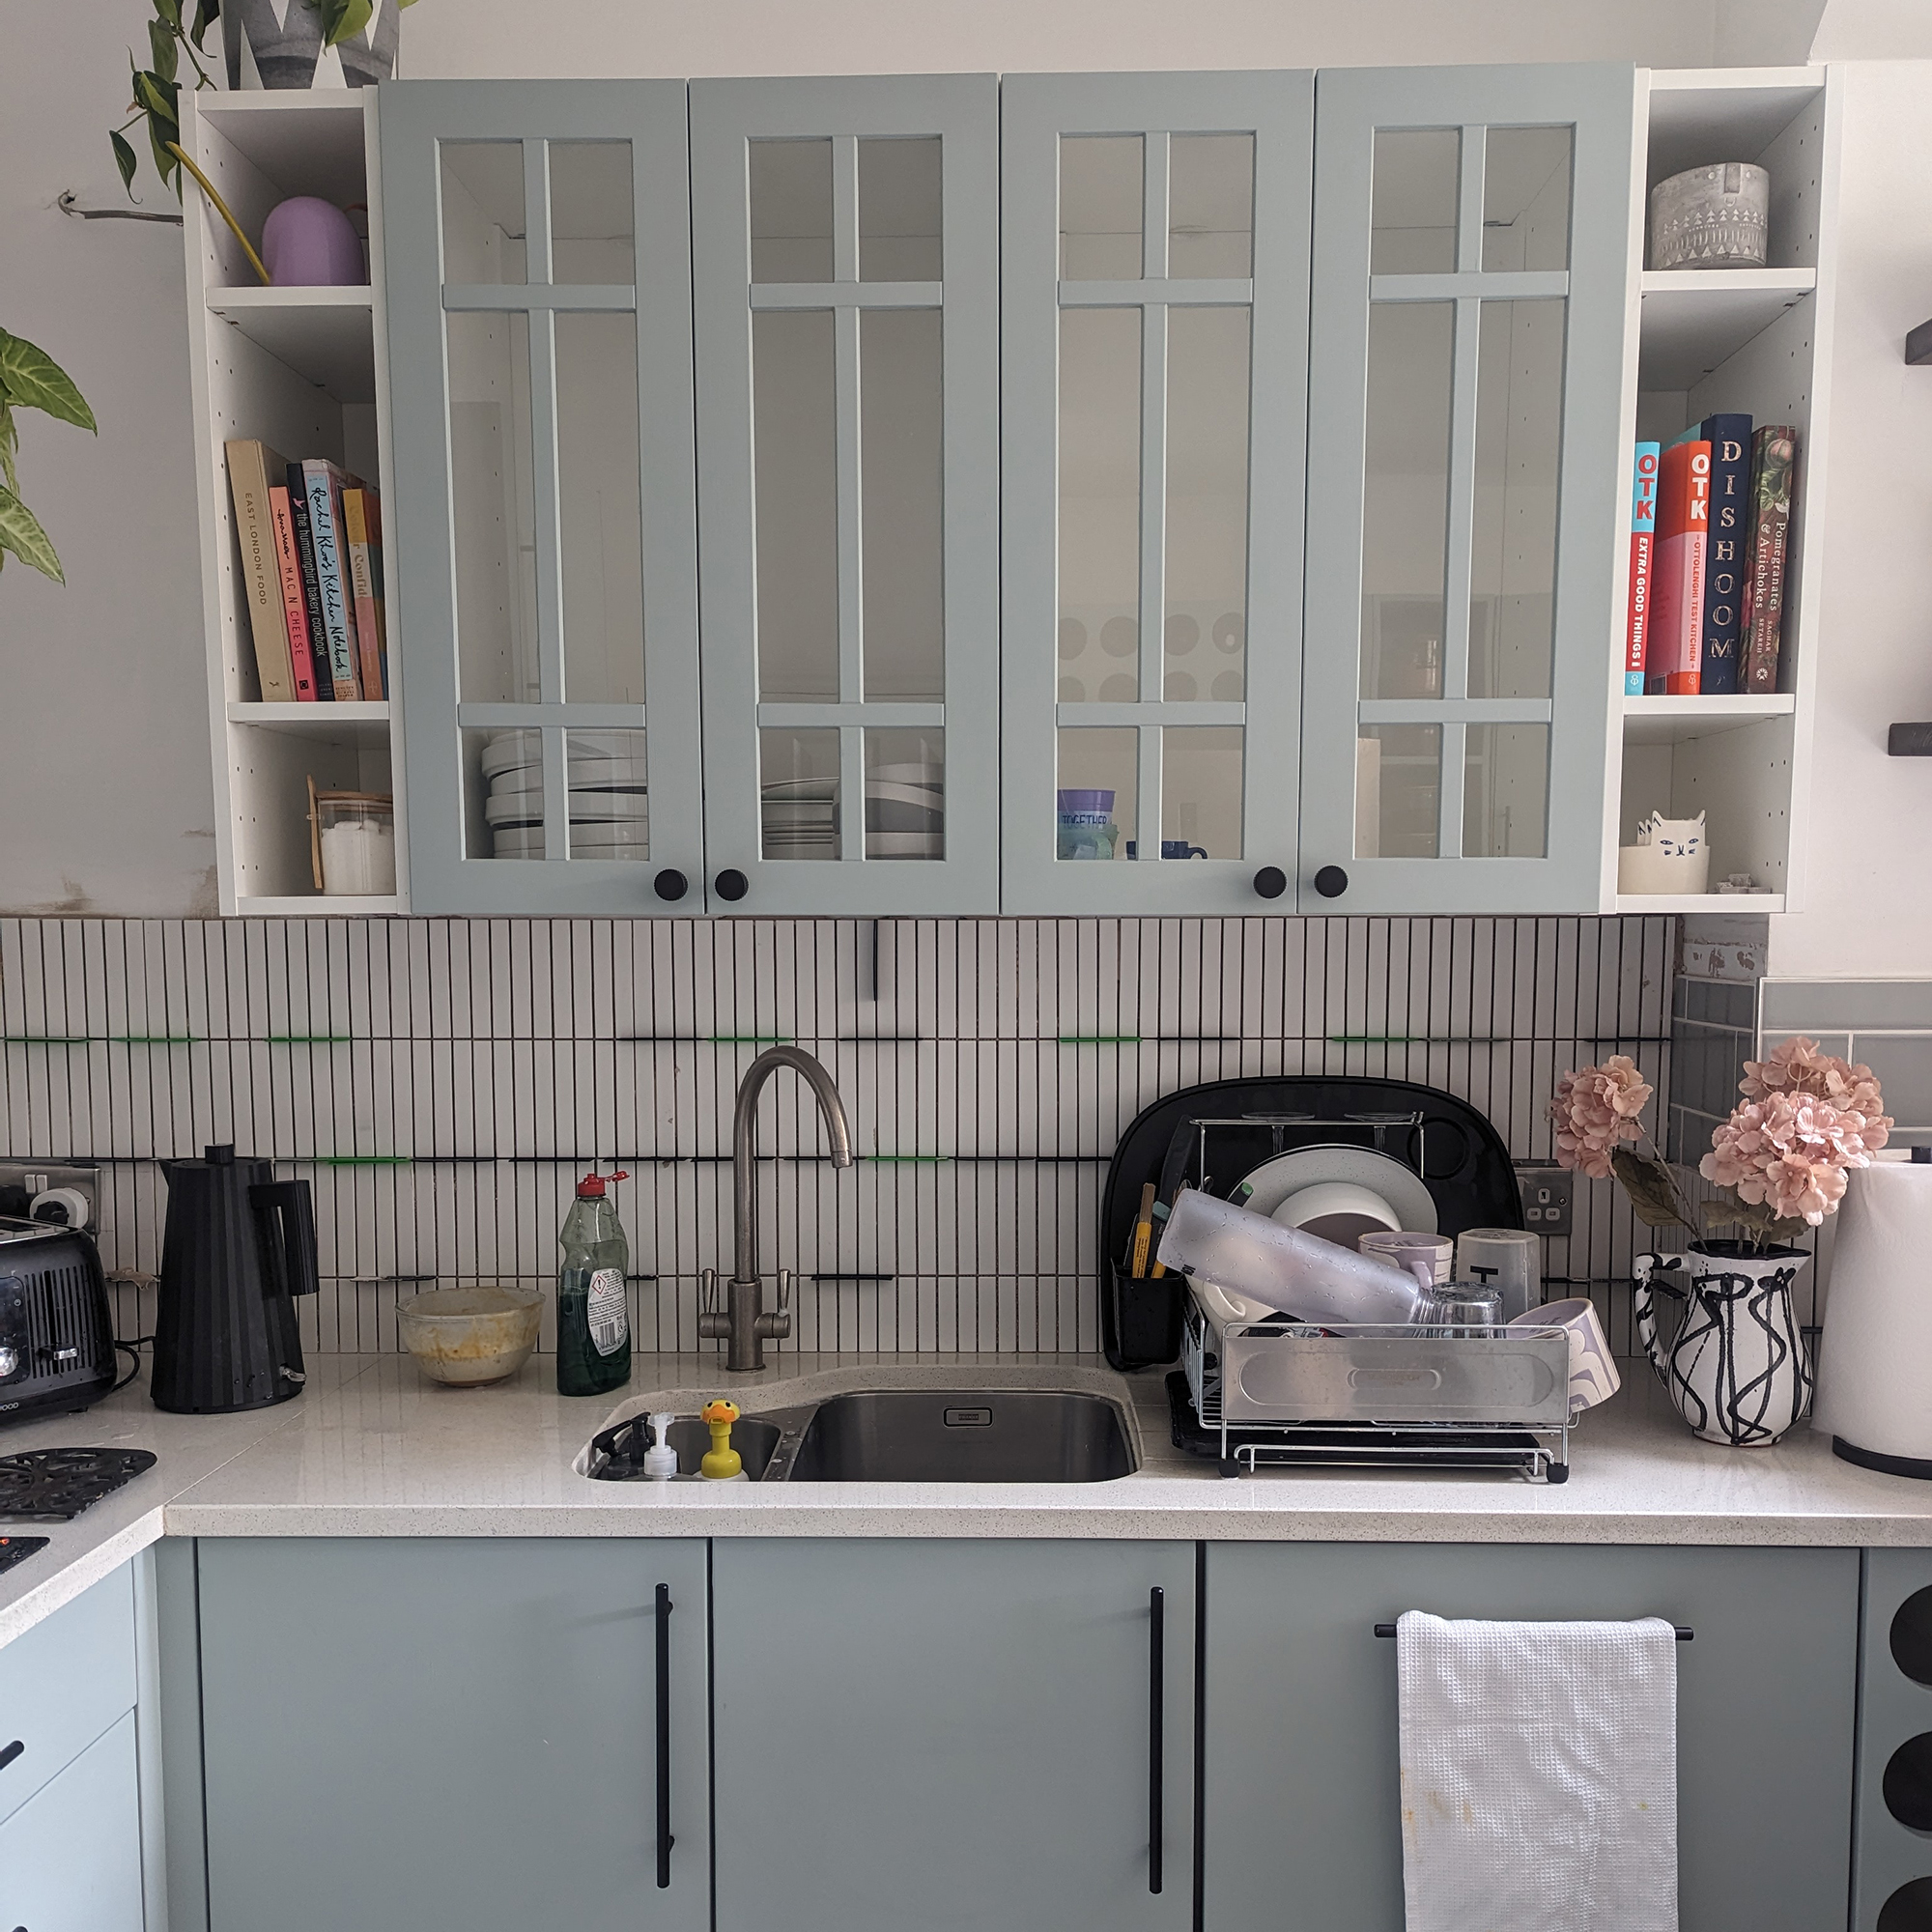
In the two years we’ve been here, I’ve ‘tweaked’ the kitchen three times.
Round One: I removed the overhead units around the sink and replaced them with glass-fronted IKEA ones, above. At that stage, I also had the high-gloss doors painted green (no offence to anyone with a glossy kitchen, but they’re just not for me!) and swapped out the handles.
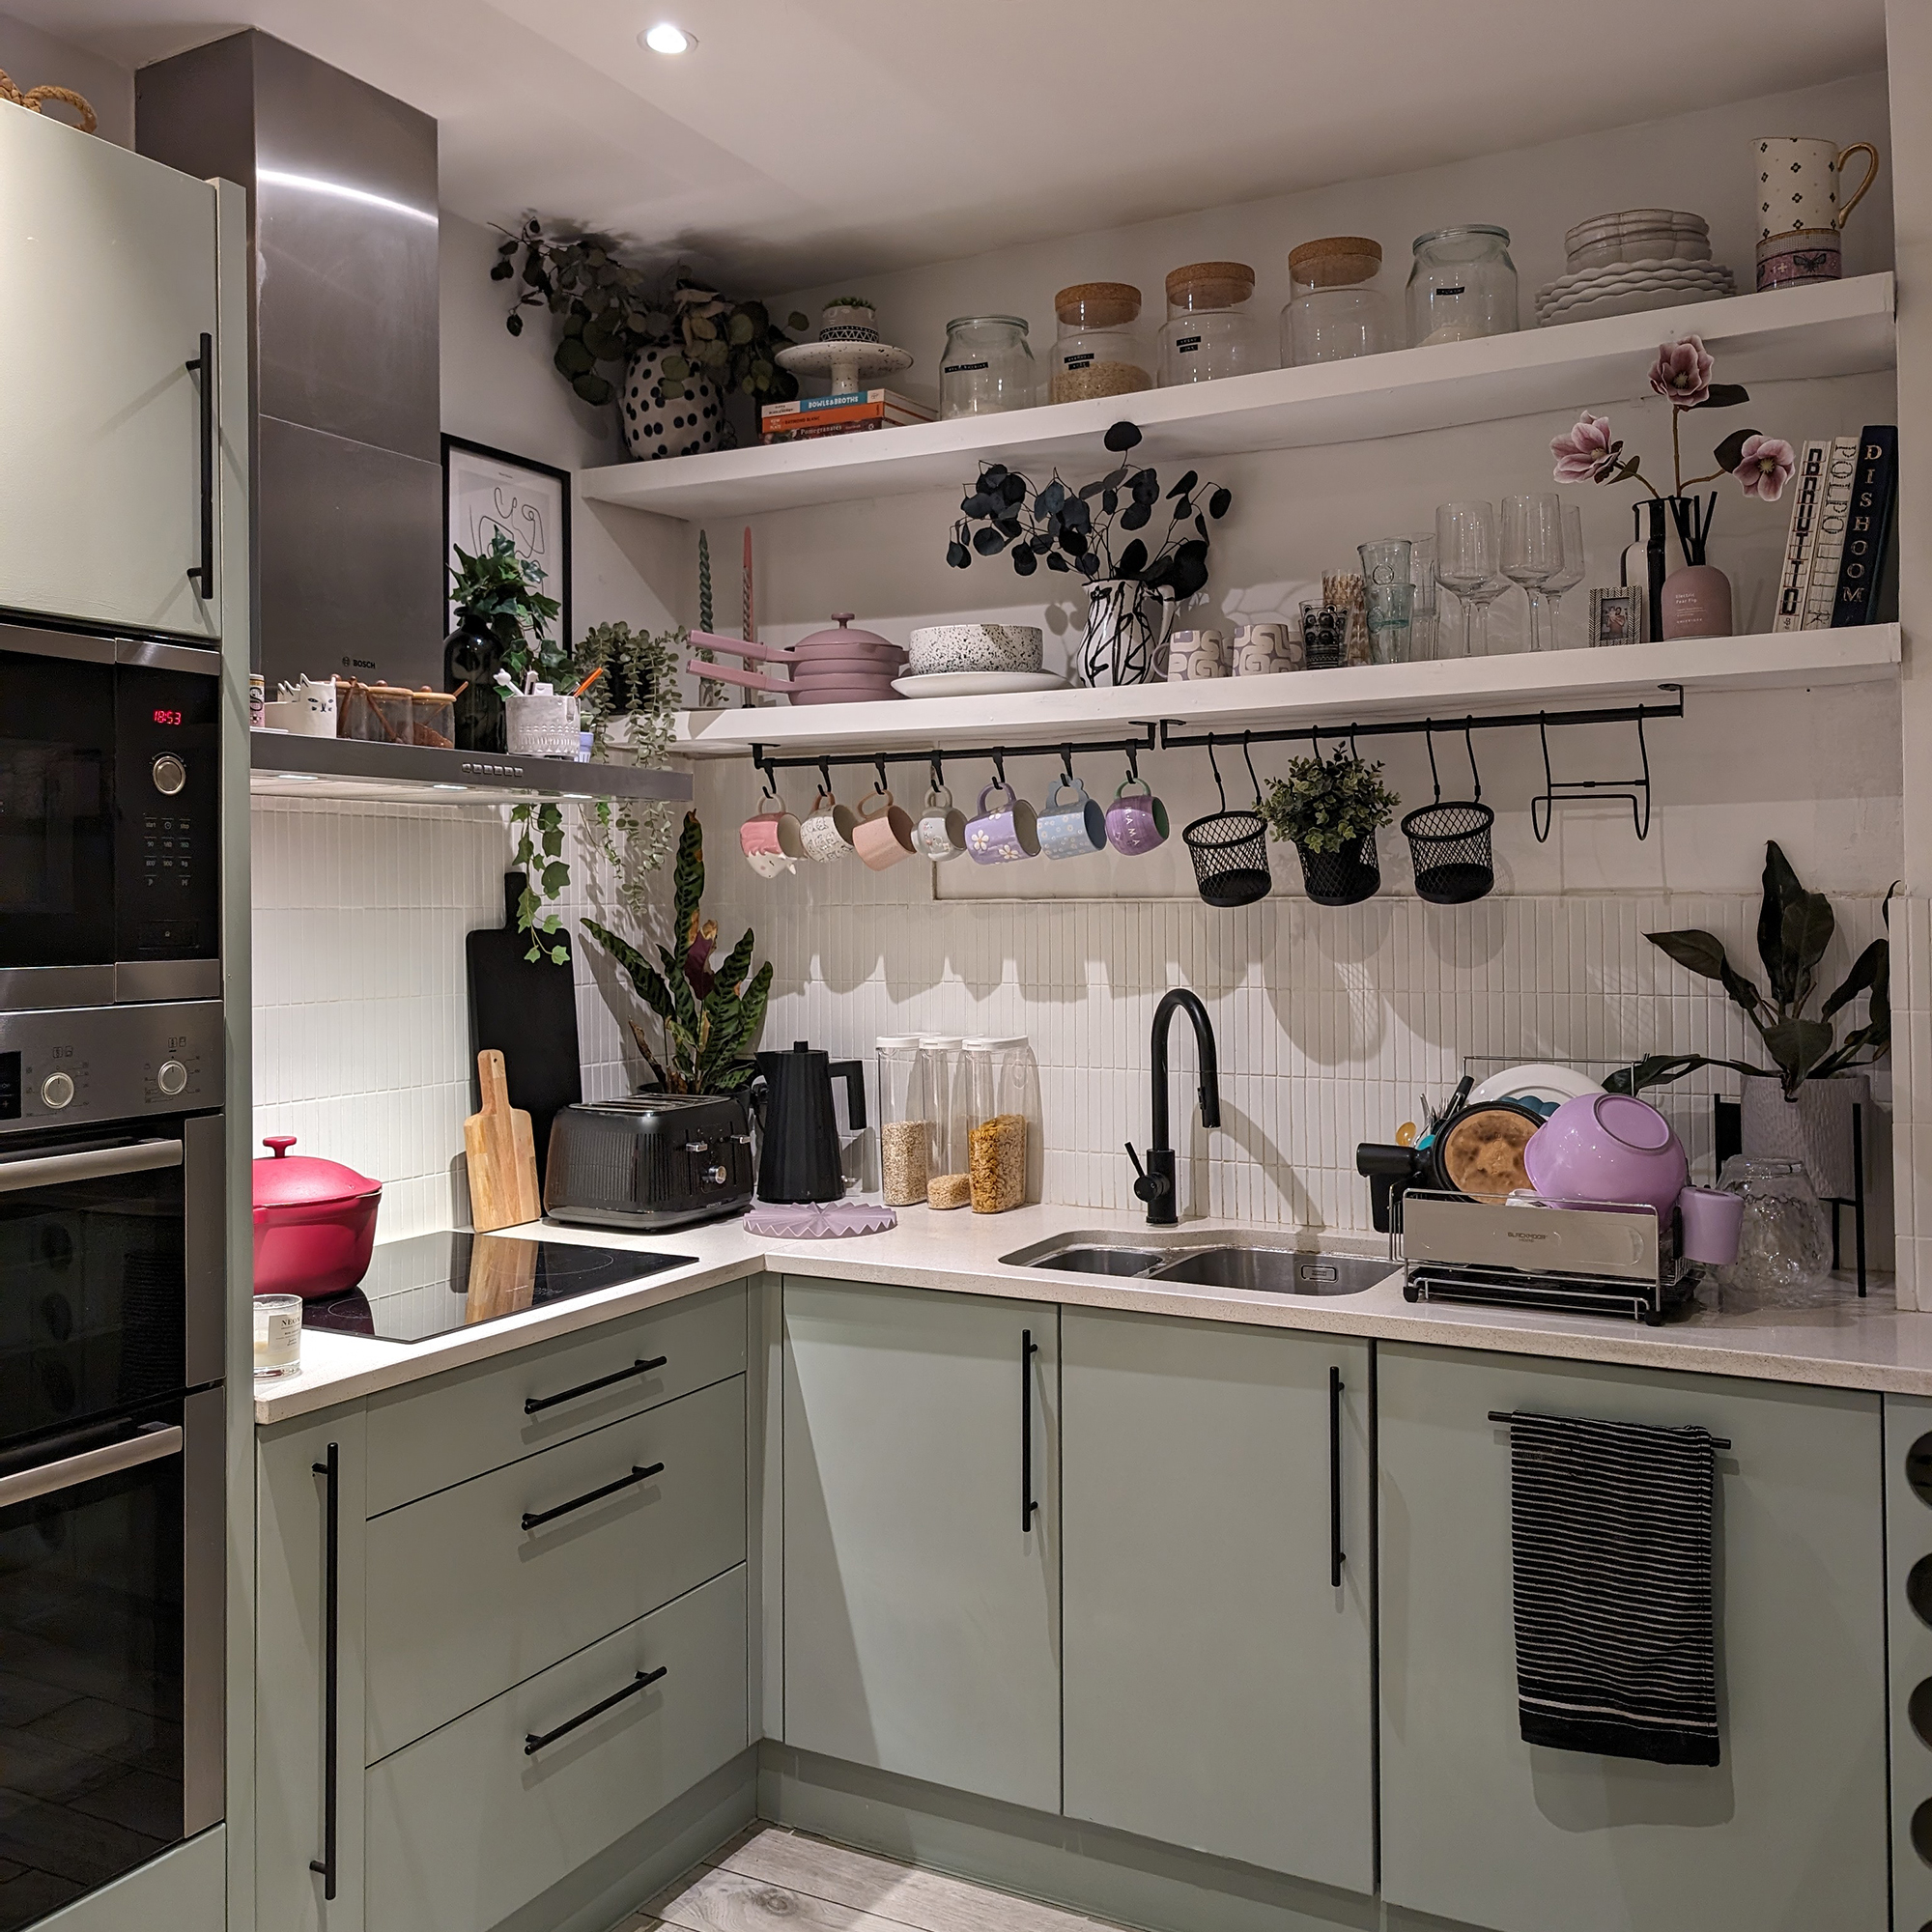
Round Two: Since the sink sat right below the wall units, we kept bashing our heads on the doors and it all felt really cramped, so I took them down and built floating shelves instead.
Sign up to our newsletter for style inspiration, real homes, project and garden advice and shopping know-how
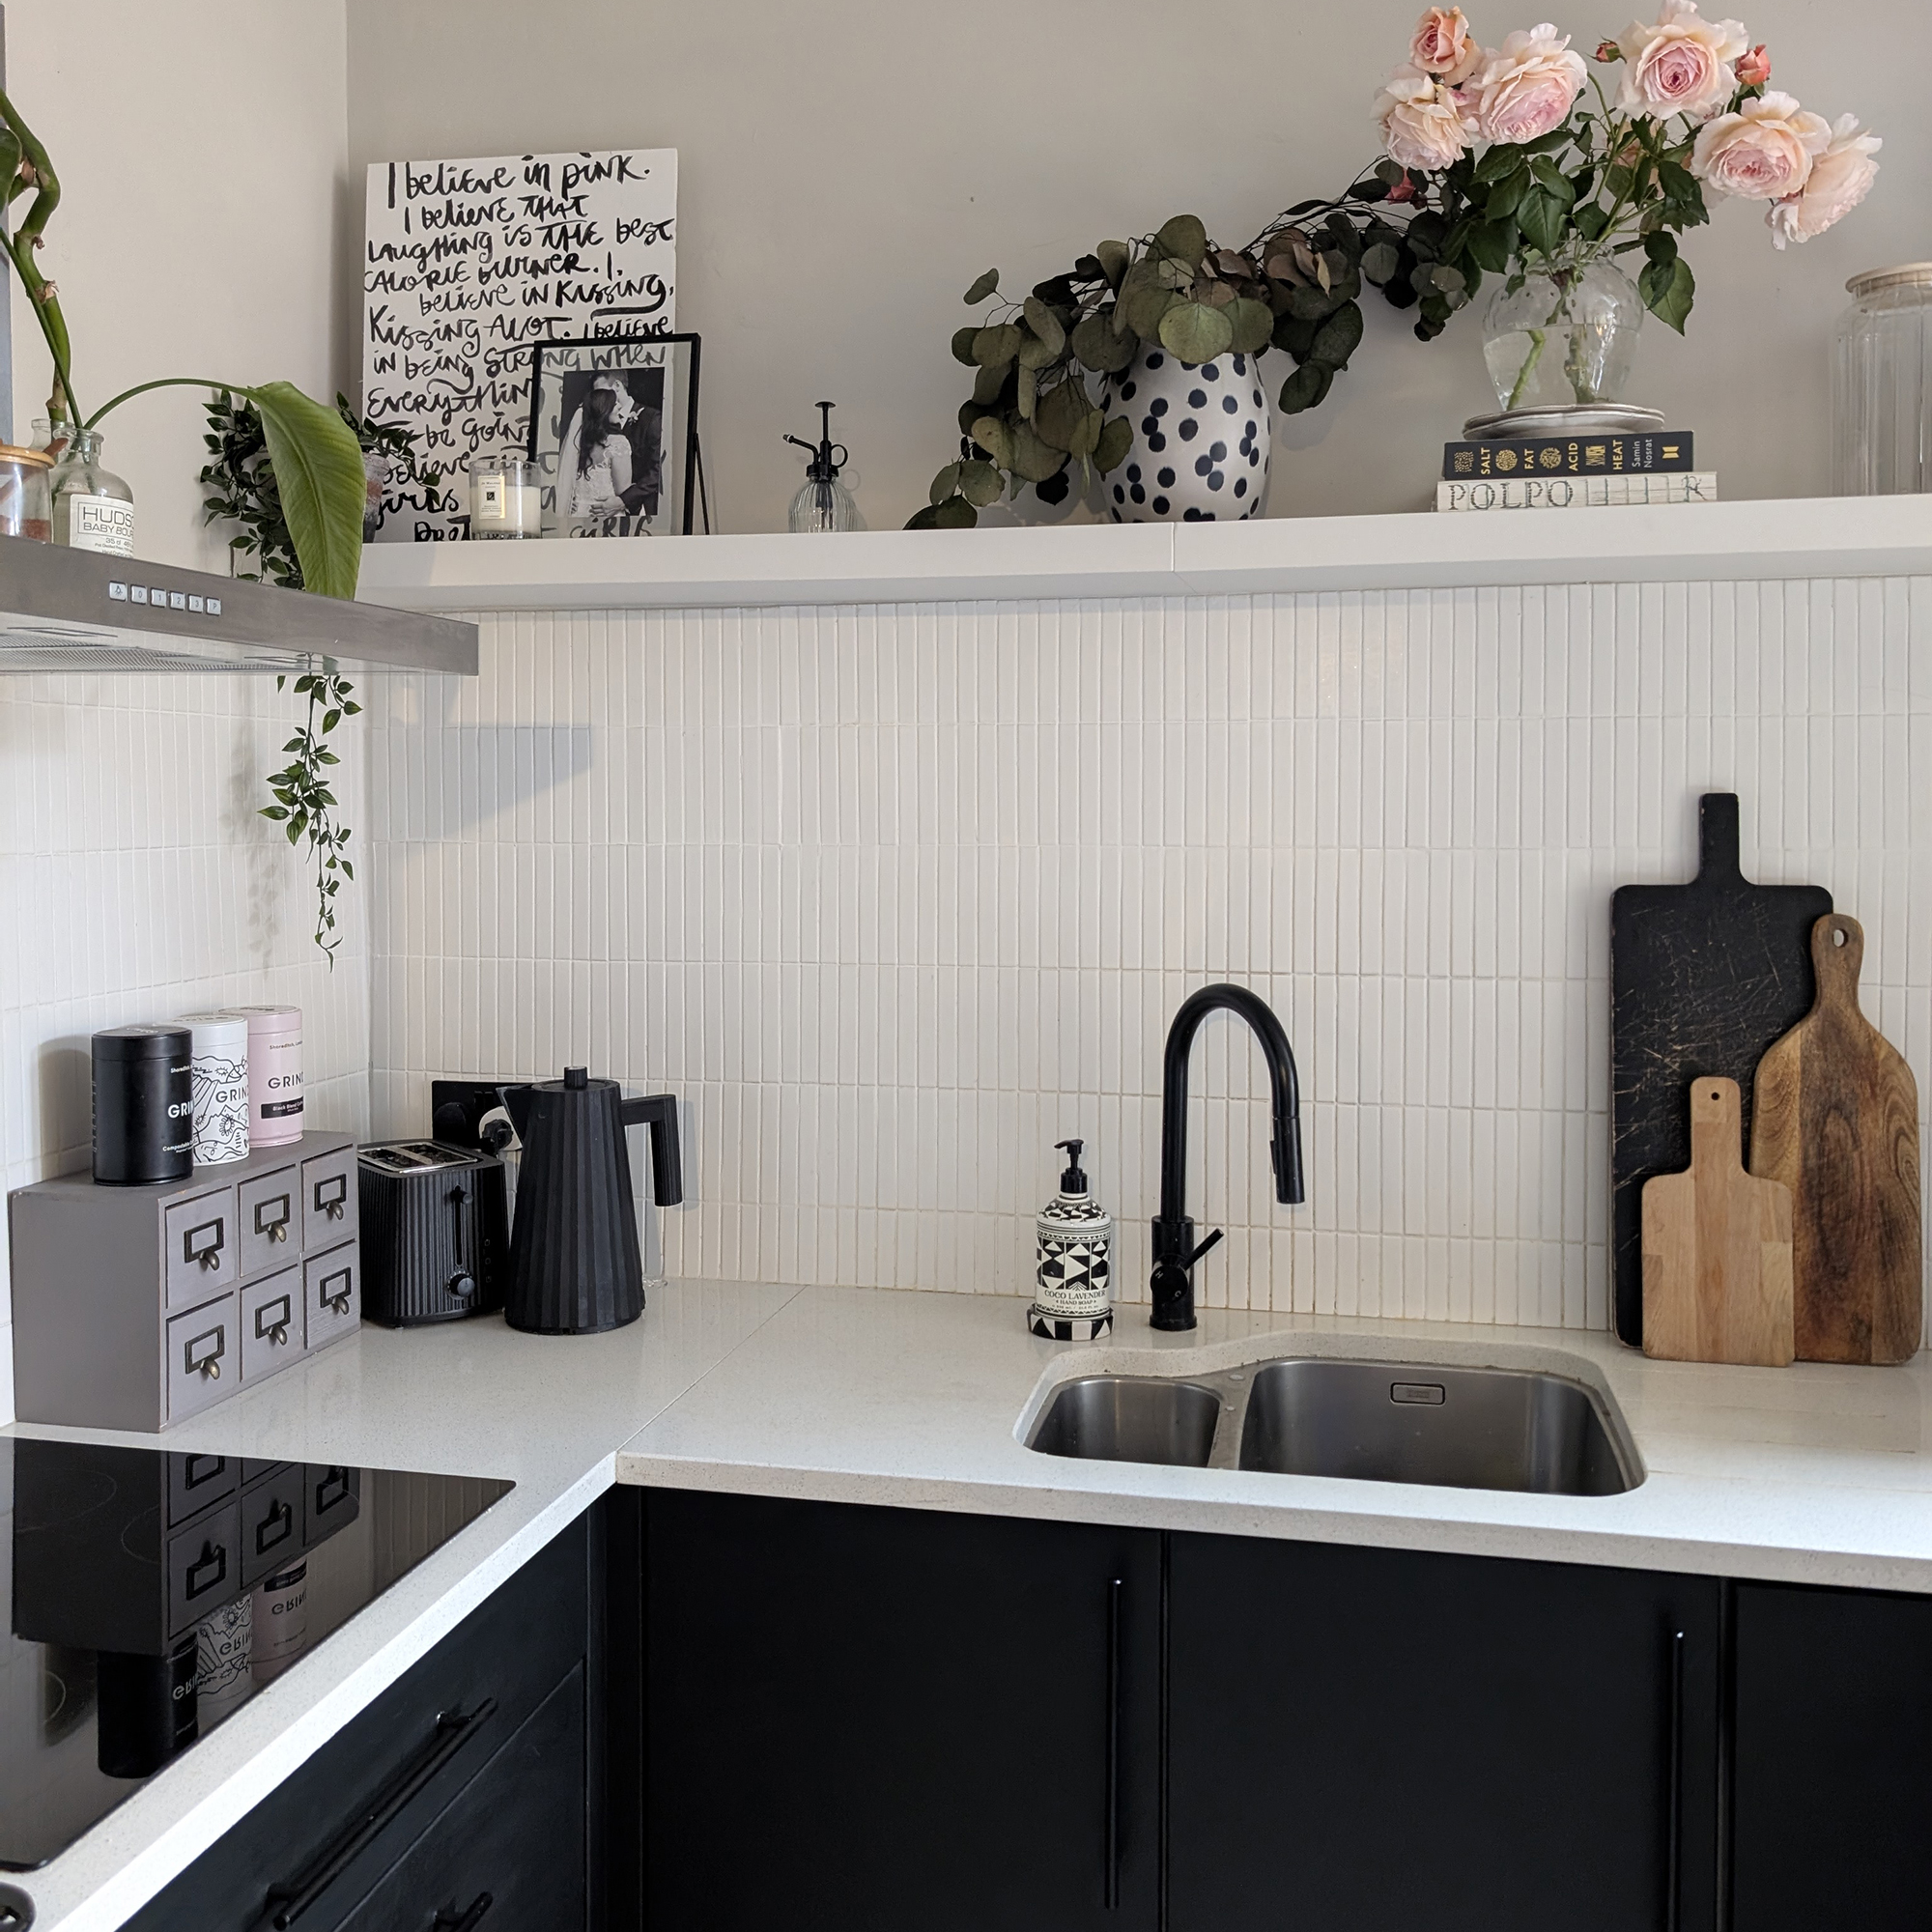
Round Three: I revamped the shelving yet again, this time opting for just one shelf, painted the white walls a light taupe (Good Intentions, Coat), and updated the unit doors in black and dusky pink (Mrs Bouquet, Coat). This latest version is by far my favourite, closer to the space I want in terms of look and feel, though sadly not in layout and not brilliant for durability… especially with the greasy finger prints of two little ones on a daily basis!
Cue the heated debate on kitchen renovations with Tom, which went something like this: ‘I designed and loved our old kitchen. I hate this one… I love this house but the kitchen was a real sticking point for me when we moved in. I’ve tried tweaking it several times, but it’s just the wrong layout. It started off as a glossy-door, plastic-handle kitchen tucked in the darkest corner of the room, which really bugs me. I’ve painted it and done my best, but I just can’t cope with it!’ The issue is, Tom thinks it’s ‘fine,’ (as do many others), but he also agreed we both loved our old kitchen after our extension. If we want to add value, and create a space that works for us long-term, maximising the large open-plan back-of-house area, it has to be replaced.
With the small glimmer of hope that Tom gave the sort of tentative go-ahead with the words ‘We’re not spending an absolute fortune; show me affordable costings and options, and then we can discuss’, I set out armed with a plan and a budget tracker (best keep him happy) to turn my dream kitchen into somewhat of a reality.
Bringing Luxe Style to a Practical Budget
I have a crush… and it’s on Devol – Devol Kitchens that is. This has been years in the making and I spend hours swooning over them on Instagram. The problem is, I have expensive taste in kitchens, but not the budget to match. So when it comes to our potential new kitchen I need to be smart in the use of budget, looking for affordable units themselves while implementing clever design tactics to bring the style into a more luxurious look and feel. Especially if I want to win over Tom!
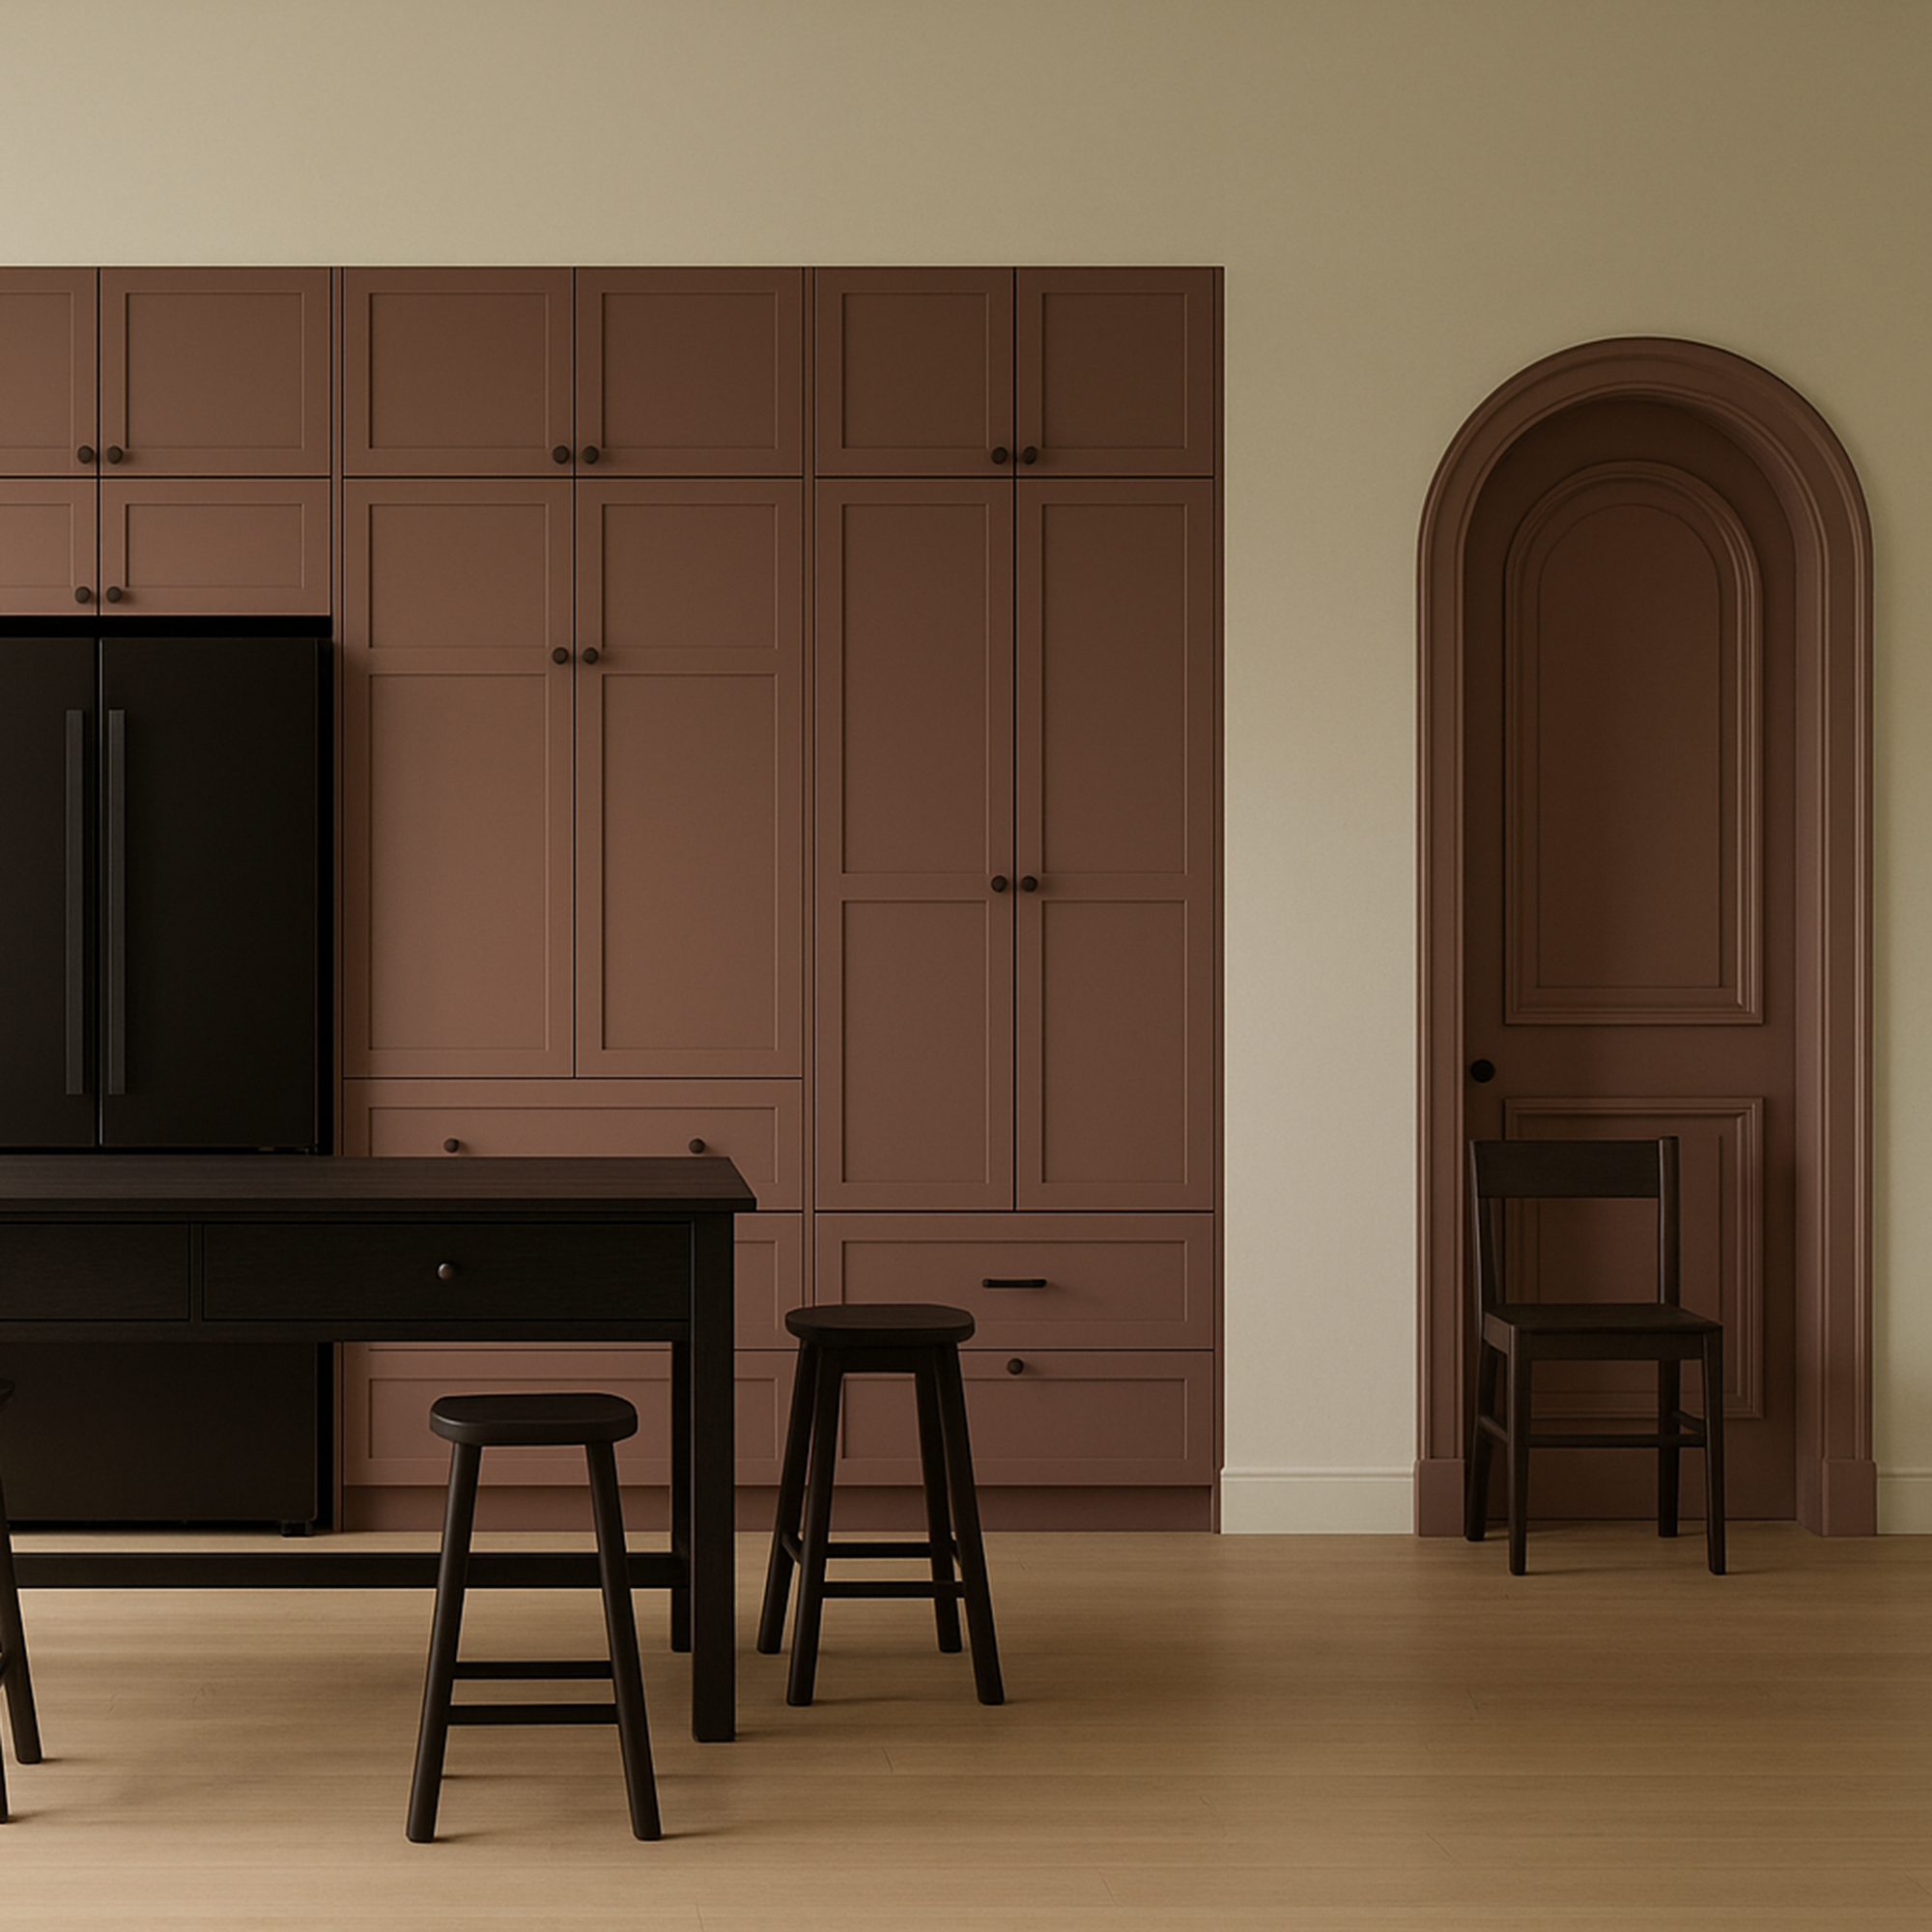
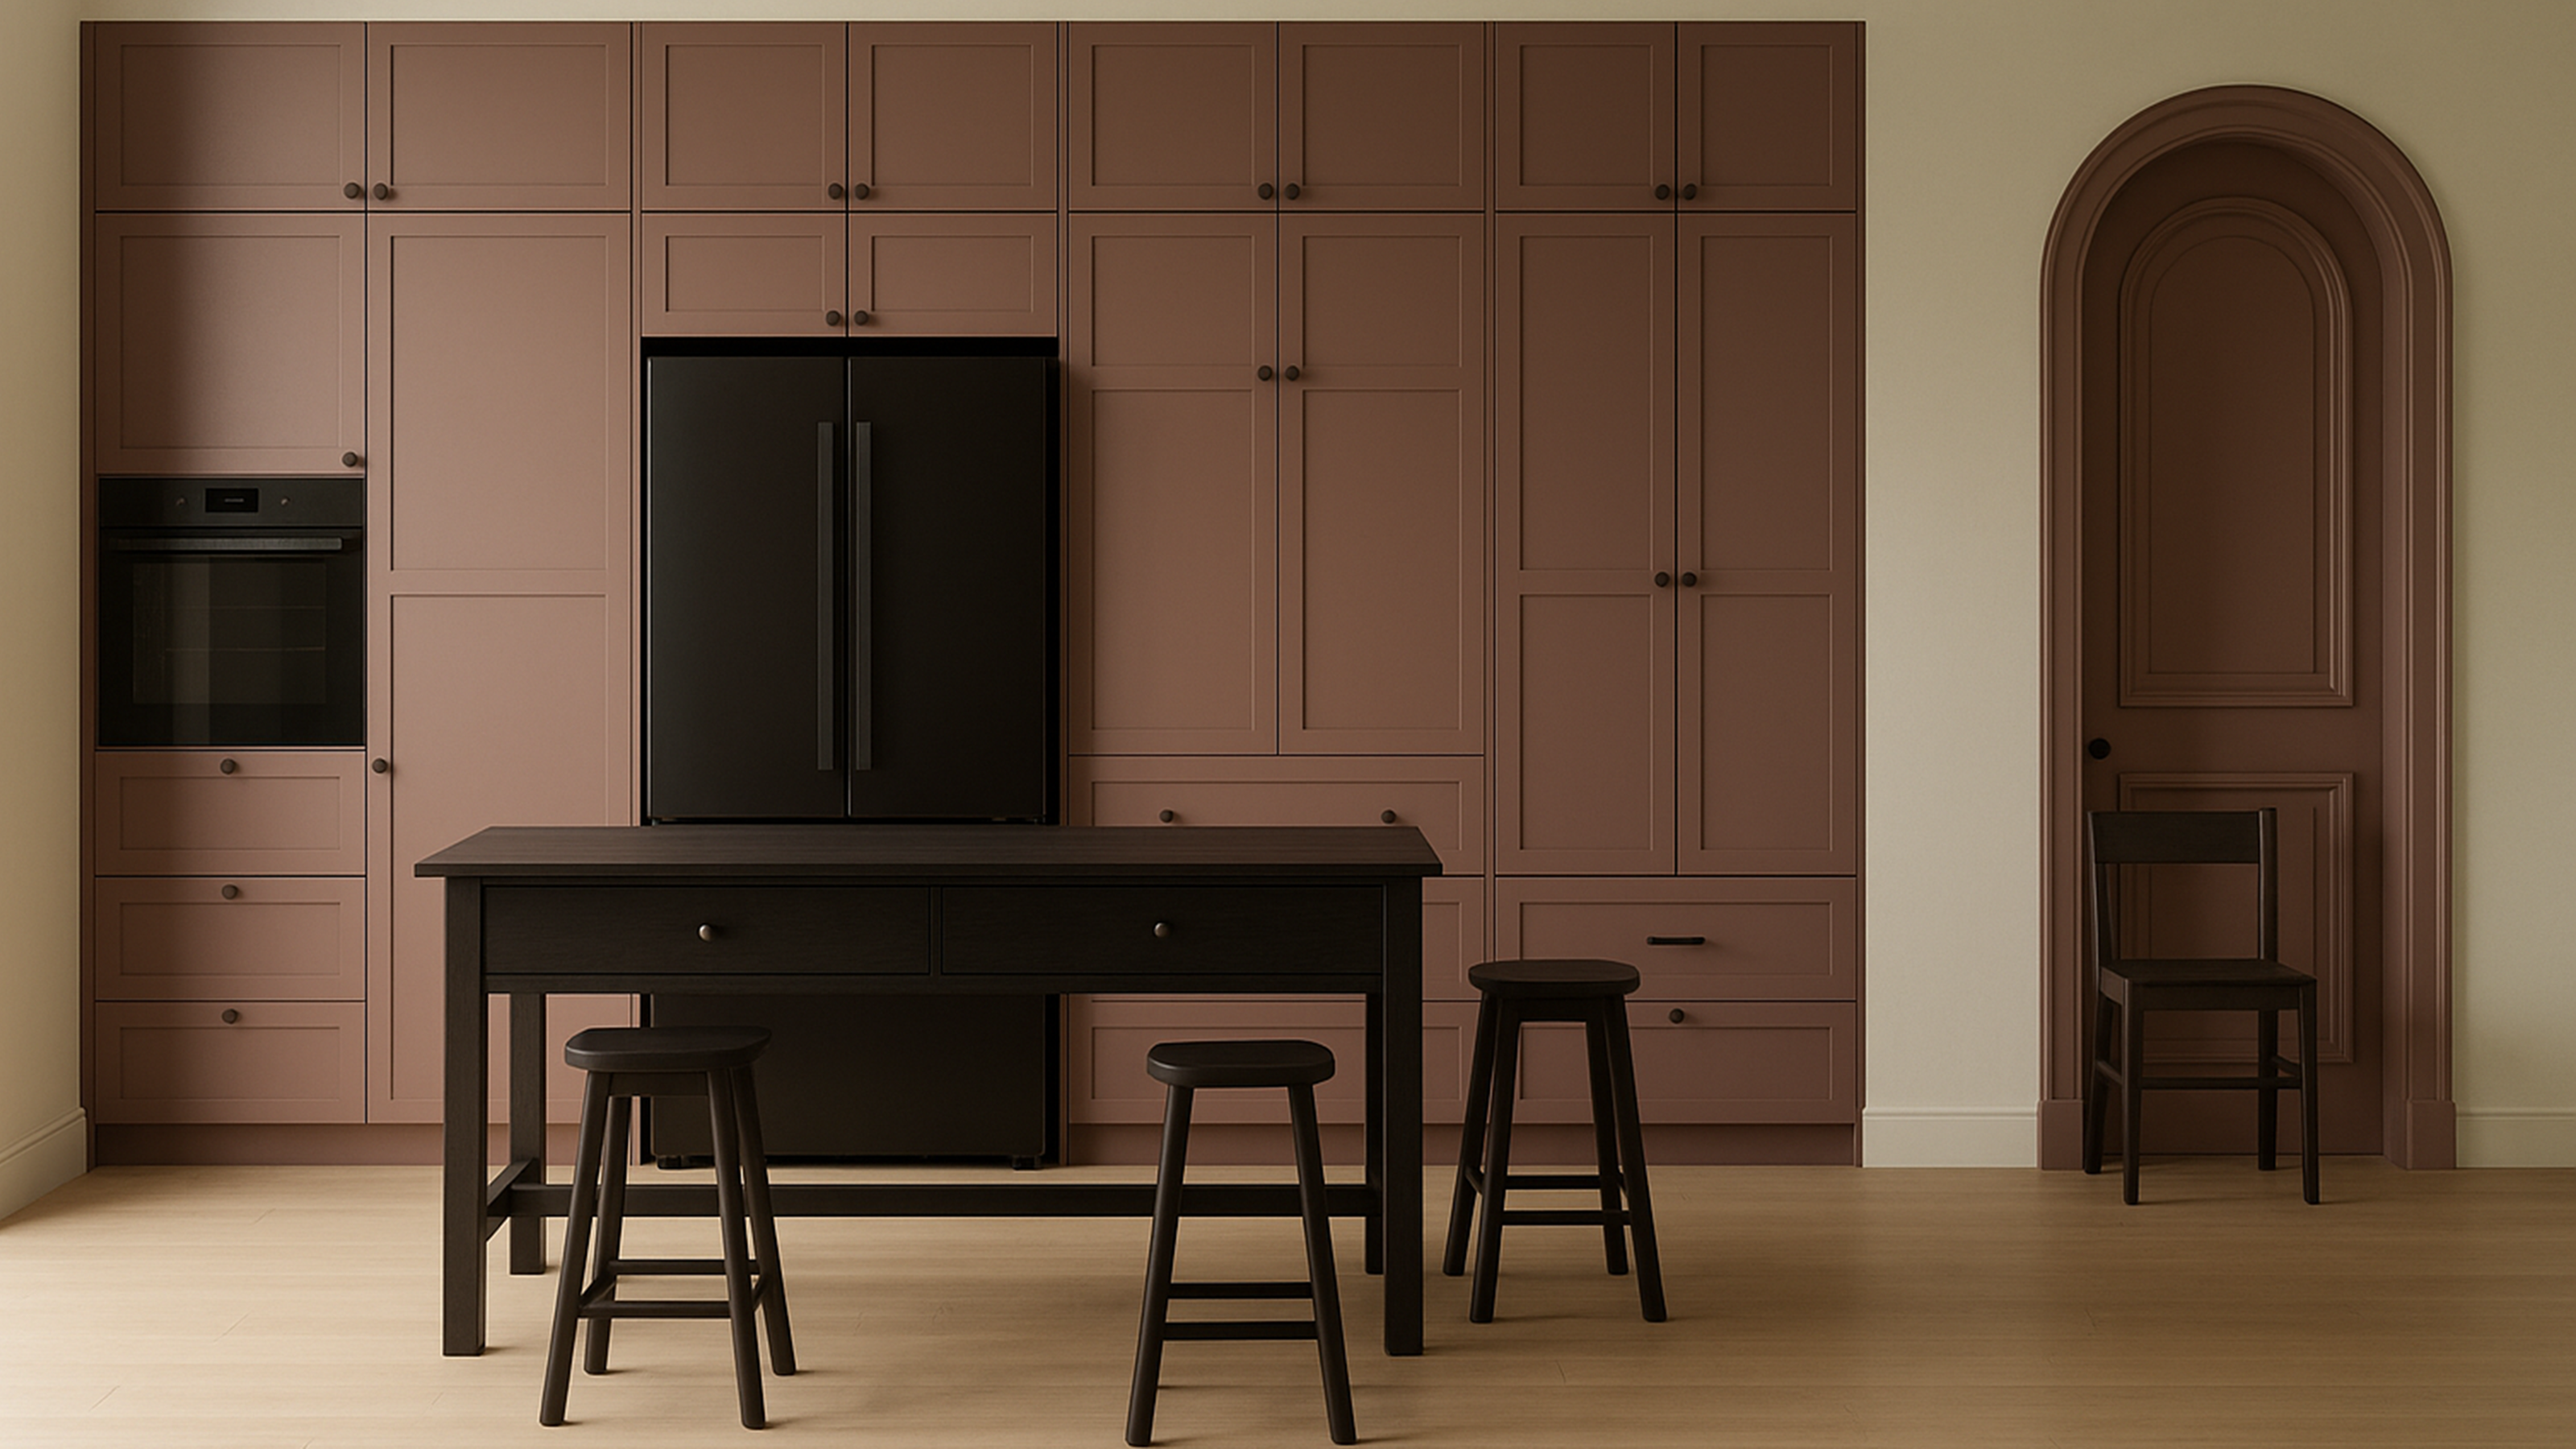
Following my usual client process with Design & Refine, I started on Pinterest, then pulled the visuals into more decisive mood boards to establish an overarching look and feel. Next, I measured the room and mapped out the floorplan in Reno. If you haven’t tried Reno, I’d highly recommend it. We use it for our client projects, and it’s a great cross between InDesign and CAD programs, letting you create detailed floorplans, wall elevations, and even generate photo-realistic AI examples, like the one above, which is a brilliant new feature. While mapping out my initial ideas I had a really good play with different options for dining spaces vs kitchen space and set out some initial colour ways, mood boards and renders in Reno itself.
Next, I created a budget tracker, detailing every single item we’d need to consider or buy, which trades we’d require, and ways to keep costs down. A top tip I borrowed from my business partner Jenna is to include two columns for low and high budget estimates. In theory, you’ll hopefully land somewhere in the middle with real costs, but it gives you a clear starting point and highlights what areas could push you toward the maximum budget.
After that, I started a design document to map out the details for each section (worktops, unit style, inner unit style, hardware choices, dining space ideas etc) and began discussions with kitchen companies. Armed with a clear vision for how I wanted the space to flow, I could also provide them with detailed cues and direction, making the process much smoother.
So let Round Four commence as I set out on my quest for the dream kitchen. Follow my renovation journey as I cover all aspects of this project in a mini series of articles. Next up I'll be exploring high street kitchen companies vs online offerings. Stay tuned for more!
Natalie is a designer through and through, with over 15 years of experience. She began her career in graphic and web design and has explored a wide range of industries along the way. These include advertising, of which she worked in some of the top agencies in London, creating an award-winning Persian food company (based on her family heritage) and building a renowned wedding stationery company pre-pandemic. However Natalie’s real passion lies with interiors. She currently is the co-founder of Design & Refine Interiors, a London-based studio she runs with her friend and fellow wedding contractor, Jenna Hewitt. Natalie also heads up a design offering (Nat’s Design Studio), helping small businesses stand out and grow their brands through strategic, tailored design.
