How to tile a bathroom floor – expert tips on getting it right first time
Follow our tips on how to tile a bathroom floor so yours has a professional finish
Sign up to our newsletter for style inspiration, real homes, project and garden advice and shopping know-how
You are now subscribed
Your newsletter sign-up was successful
If you've been wondering how to tile a bathroom floor but have no idea where to start then have no fear. We've asked our favourite tile experts for their top tips so you have an easy guide through the process.
Whether you're designing your bathroom from scratch or you're looking to enliven a tired space, the right tiles can add personality and life to this oft minimalistic space.
'There are a lot of steps and factors to consider when tiling a bathroom,' says Amanda Telford, marketing manager, CTD Tiles. 'You need to think about the practicalities of the space but also make sure that your tiles will work with your chosen sanitaryware, brassware, lighting, furniture and so on.'
'Also think about what grout colour you would like. On floors, we would recommend using a slightly darker grout as white grout can get a bit grubby and requires more maintenance to keep it clean.'
How to tile a bathroom floor with ease
What you'll need
- Tiles
- Grout, £15, Homebase
- Adhesive, from £7.50, B&Q
- Tile cutter, from £13.50, Wickes
- Pencil
- Spirit level, from £4.50, Wickes
- Grout float, £8, B&Q
- Mixing bucket, £1, B&Q
- Grout sponge, £4.50, B&Q
- Tape measure, from £3.40, Wickes
- Spacers, £3, B&Q
- Dust sheets, £4, Homebase
- Silicone sealant, £15, Homebase
- Protective googles, £7.40, B&Q
- Trowel, £6, Homebase
Step-by-step
1. Prep your bathroom floor first
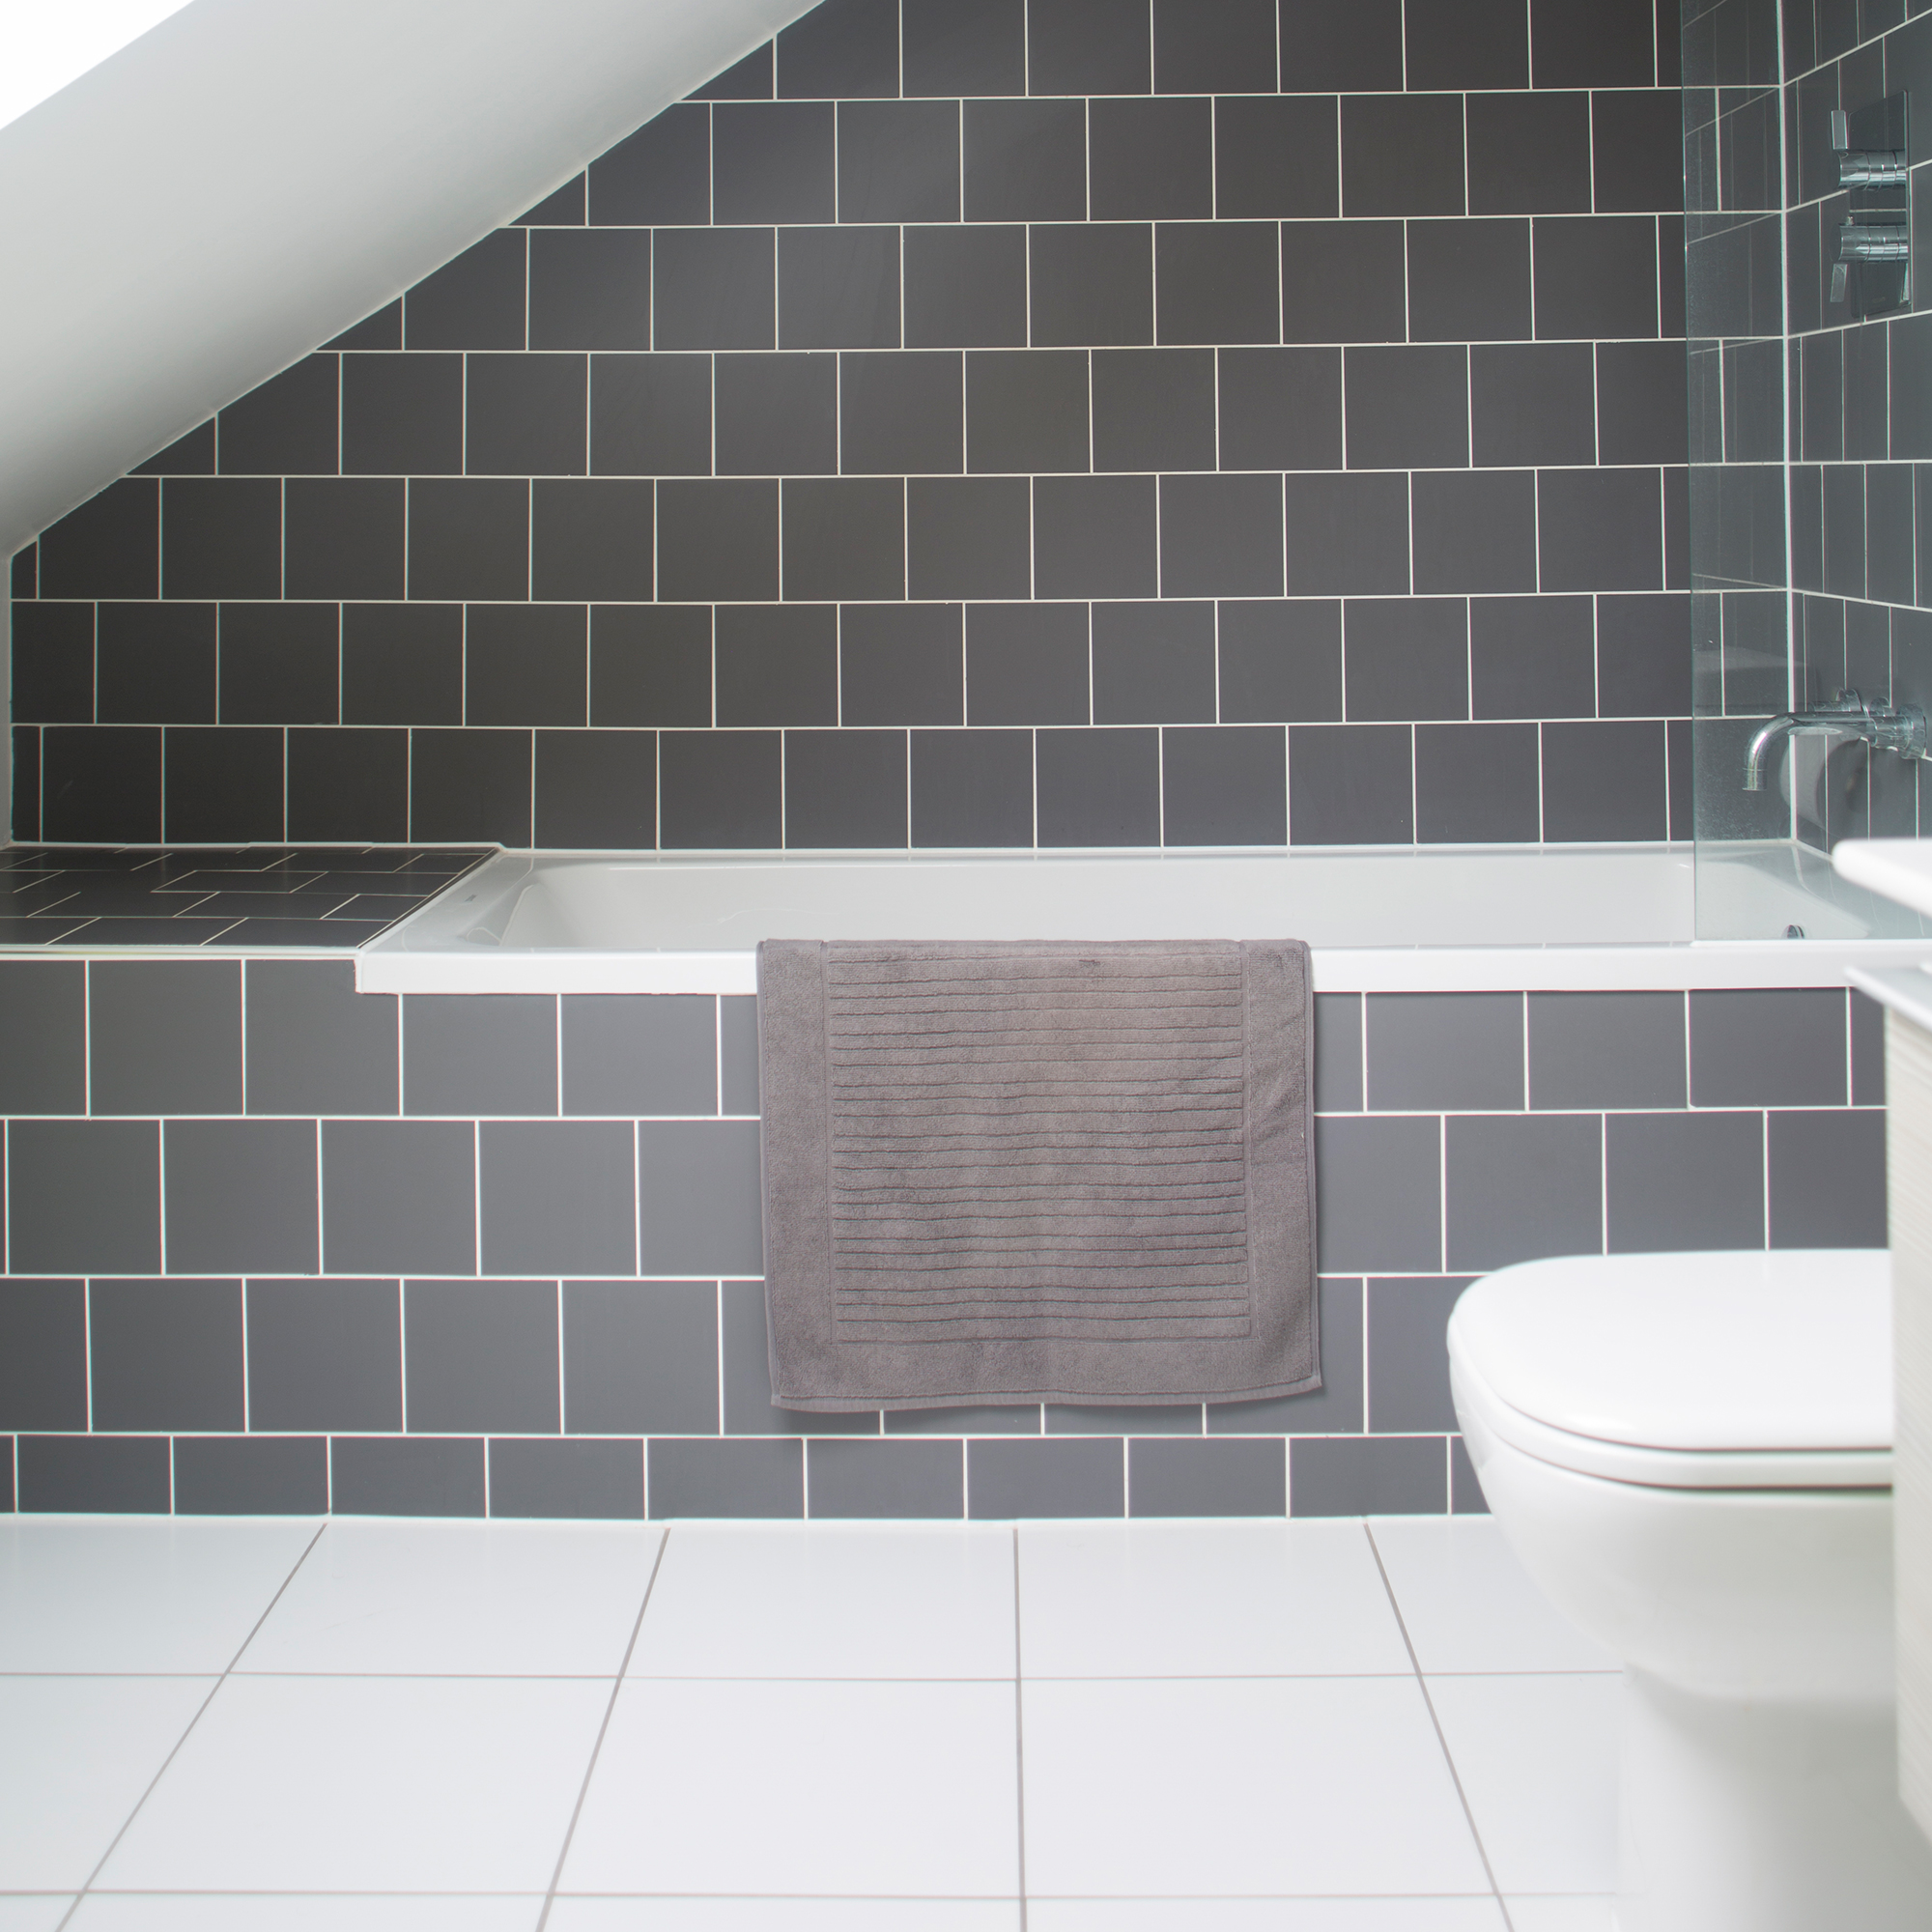
First things first, you need to prep your bathroom floor – the surface you're tiling needs to be clean, level and dry. Do check your existing floor – it's not a good idea to tile over your current floor. This prep time is key and is the most important part of the process so don't skimp on it.
You may need to lay a sub-floor first, this could be plywood for example, it will give a good surface for your tiles. If you have a concrete floor you are good to go straight on to that as long it's clean and dry.
Once ready, measure your floor accurately so you can work out how many tiles you'll need. Another element to consider is whether you want plain or patterned tiles.
Sign up to our newsletter for style inspiration, real homes, project and garden advice and shopping know-how
2. Work out how many tiles you need
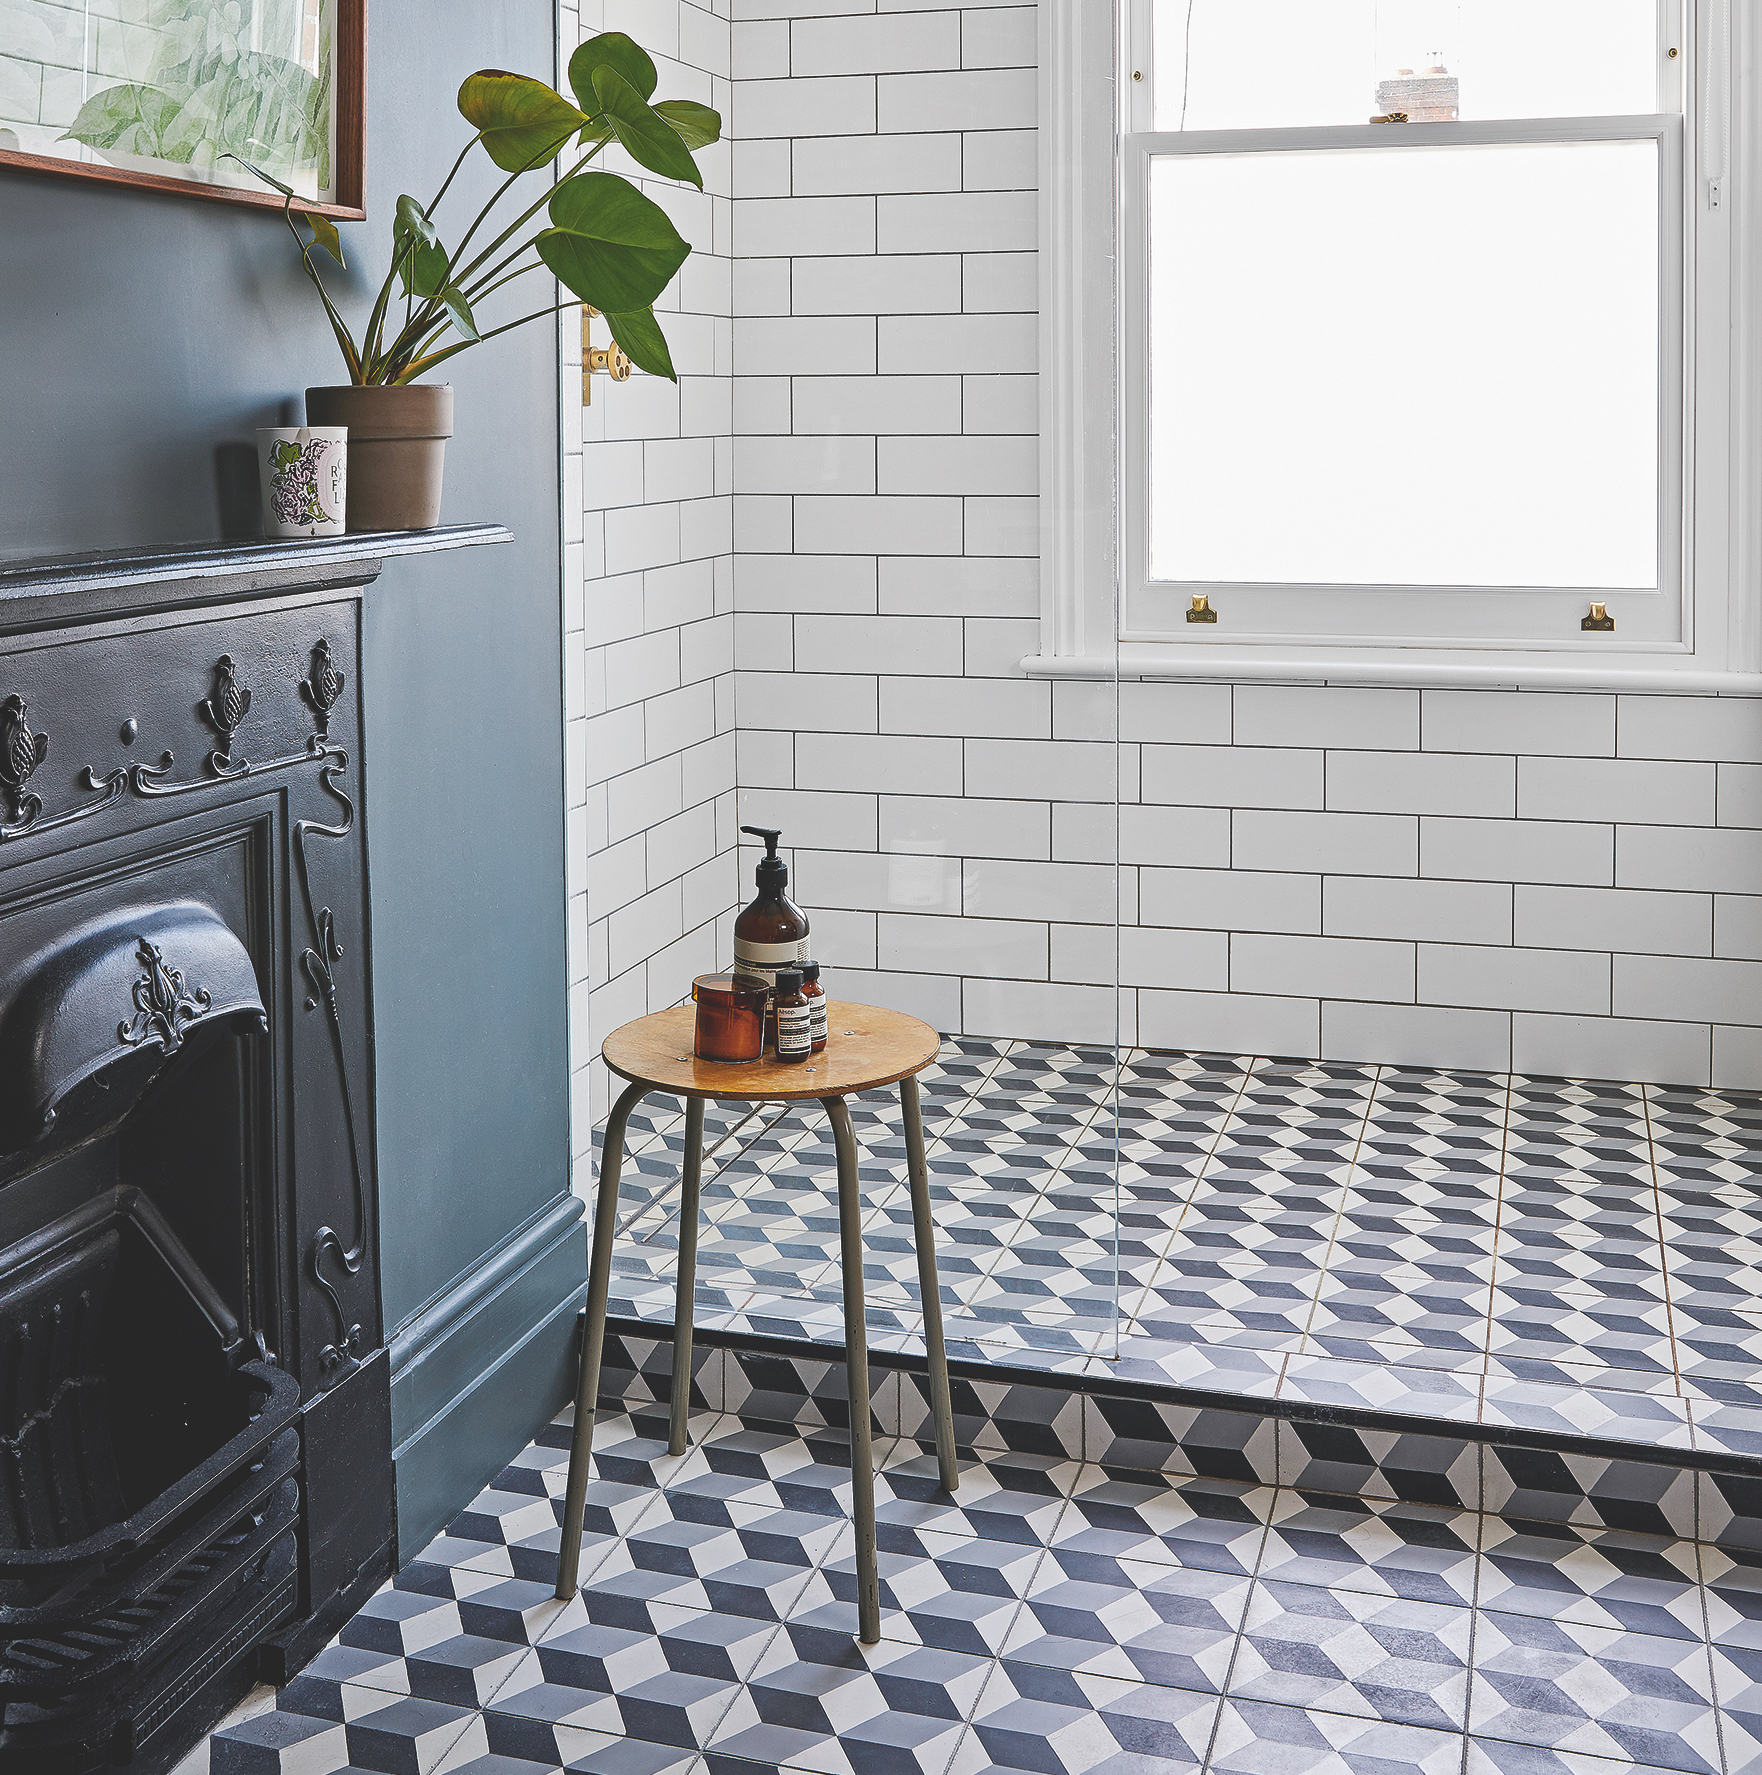
Perhaps the most asked question when you're wanting to know how to tile a bathroom floor – and the answer is – calculate your surface area in m2, this is the length and width.
Each tile pack will have a 'coverage' amount listed on it, so double check and then add on 10% for wastage. CTD Tiles have a really useful online calculator that will work it out for you.
Once you have your tiles 'dry-lay' them first. 'When working with patterned tiles or with tiles that exhibit significant variation in colour or texture, dry-lay your tiles before installing them so that you can create a natural-looking spread of colour or pattern,' explains Colin Roby-Welford, creative director, Fired Earth.
'Laying your tiles out in this way will also enable you to work out where and how to cut tiles to seamlessly fit the space.'
3. Getting started
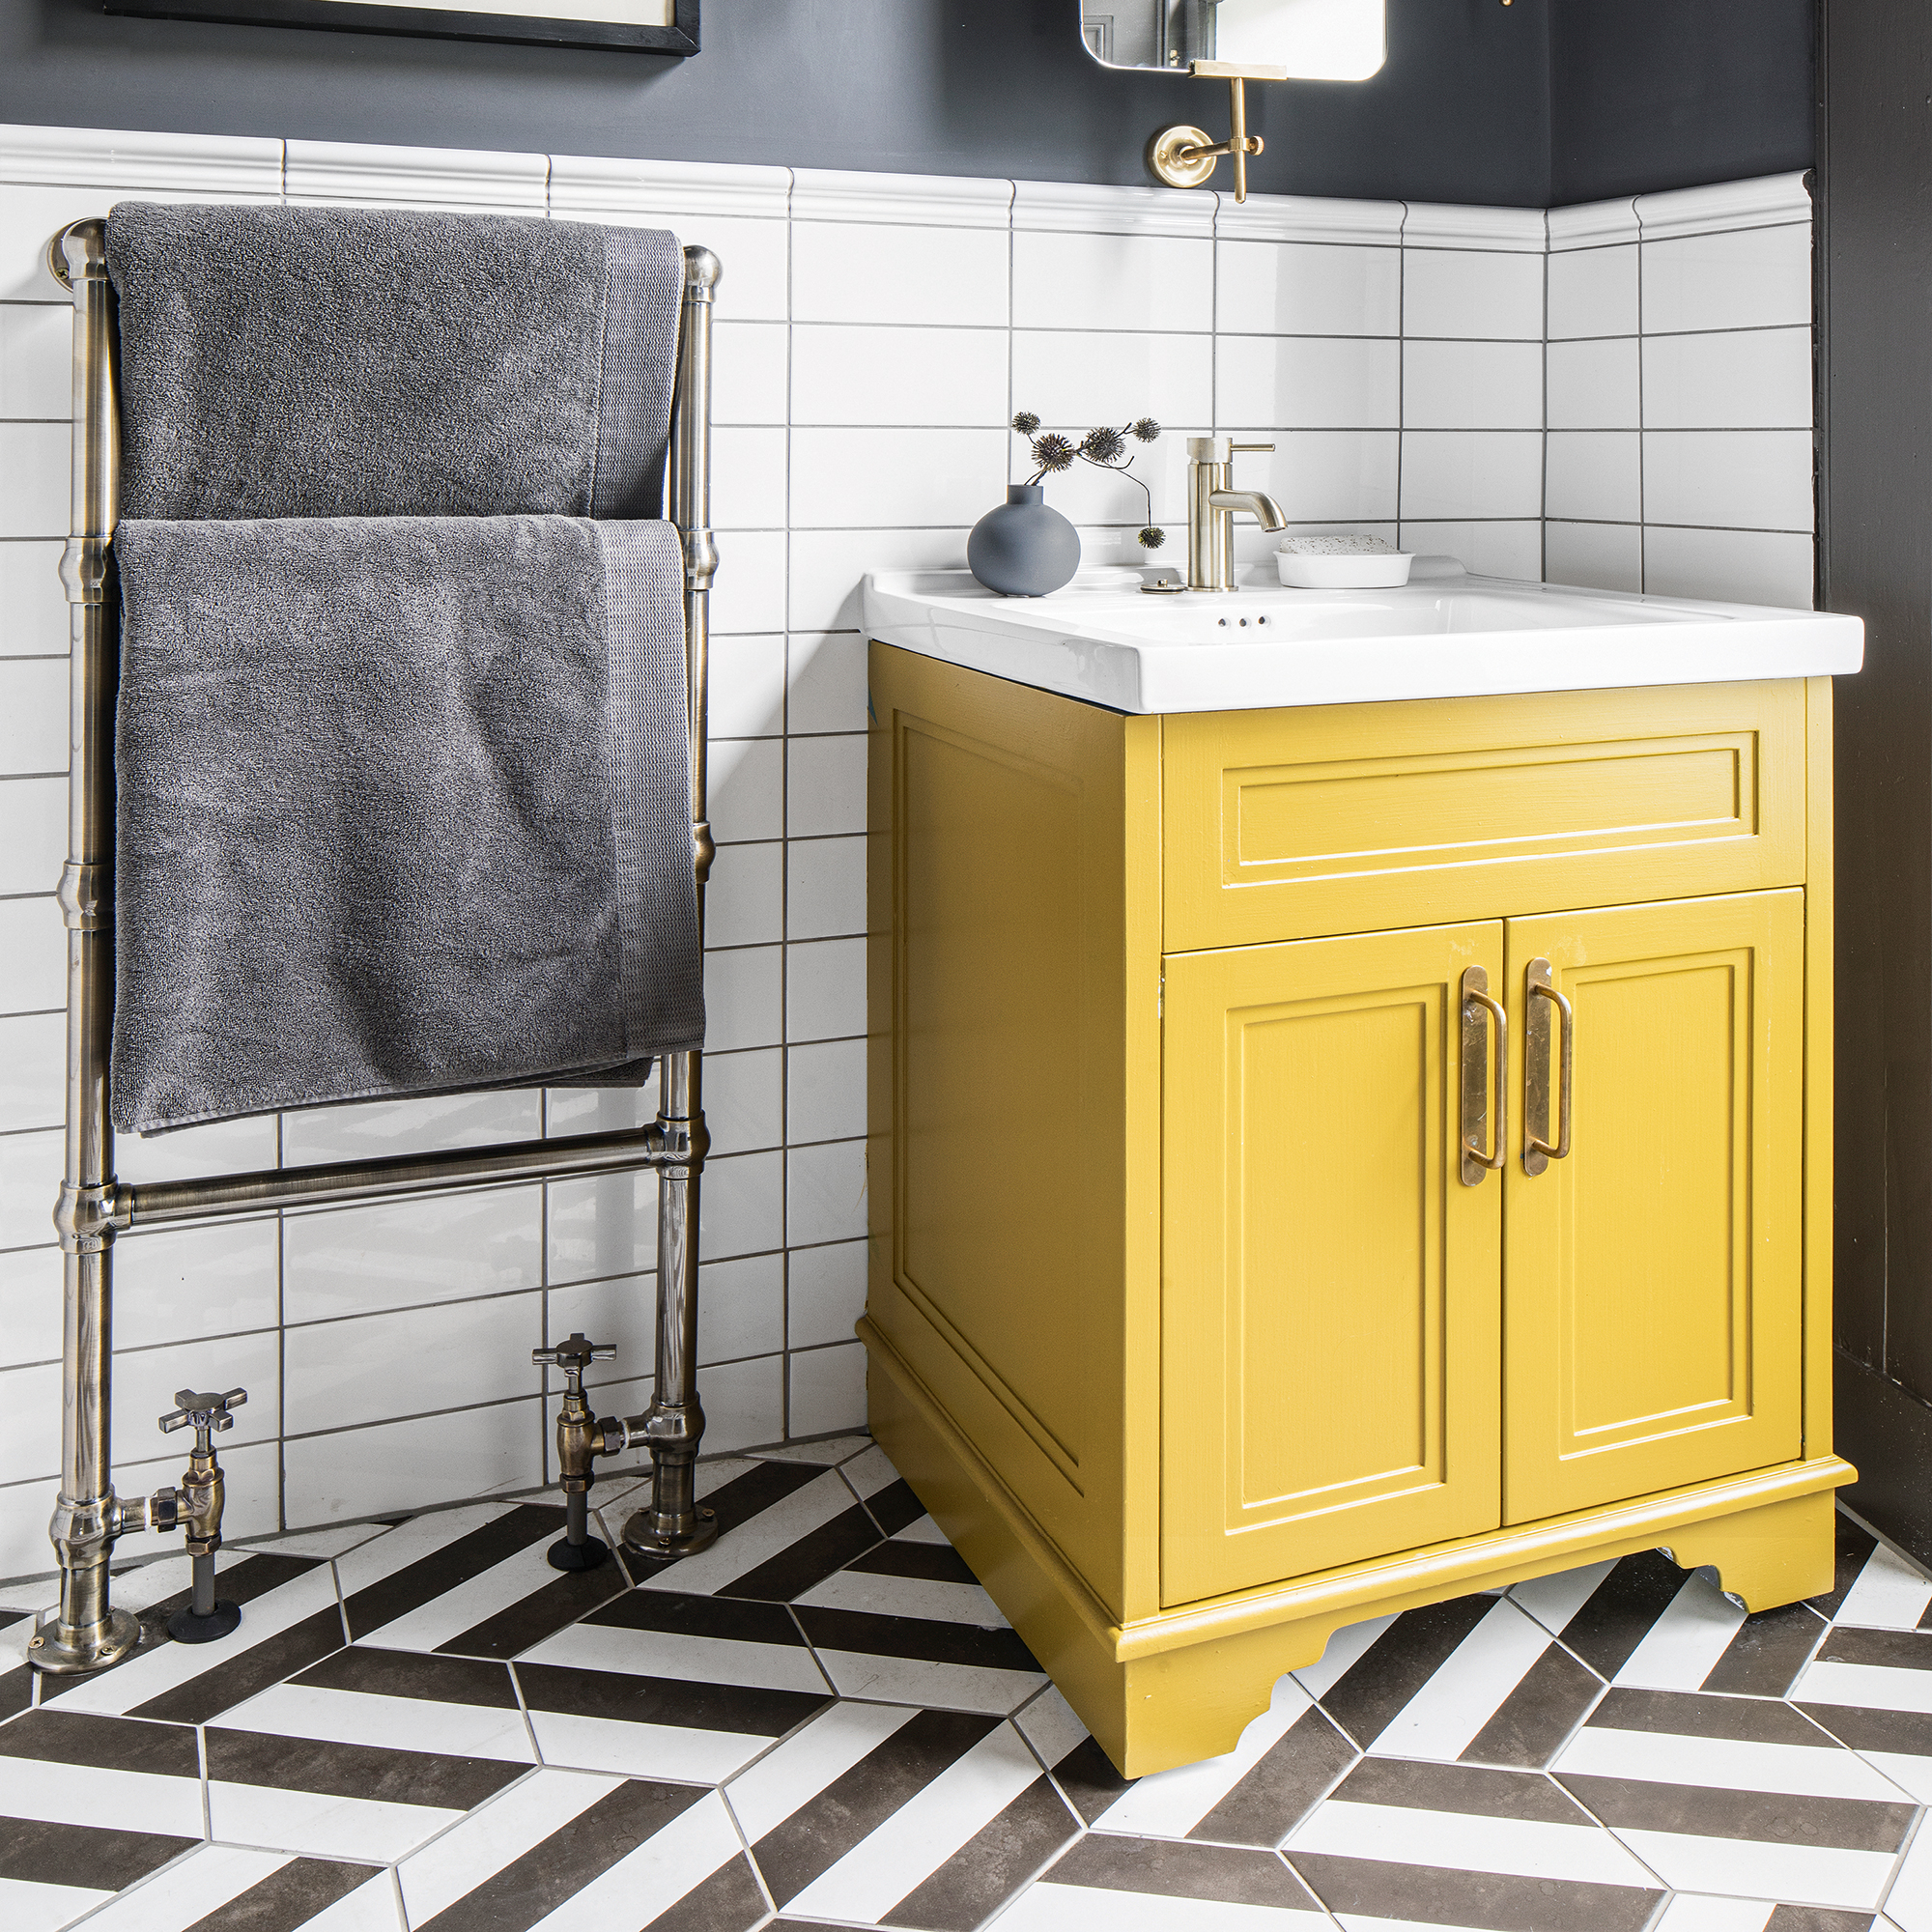
'Working from the lower centre upwards and outwards, apply your adhesive to the floor, making sure you work in small and manageable areas at a time,' advises Amanda from CTD Tiles.
'Apply your tile to the adhesive on the floor and place it in the right position, making sure it’s straight (look down at your lines). Add a spacer to the sides of the tile and then carry on with this process row by row.'
4. Add your grout
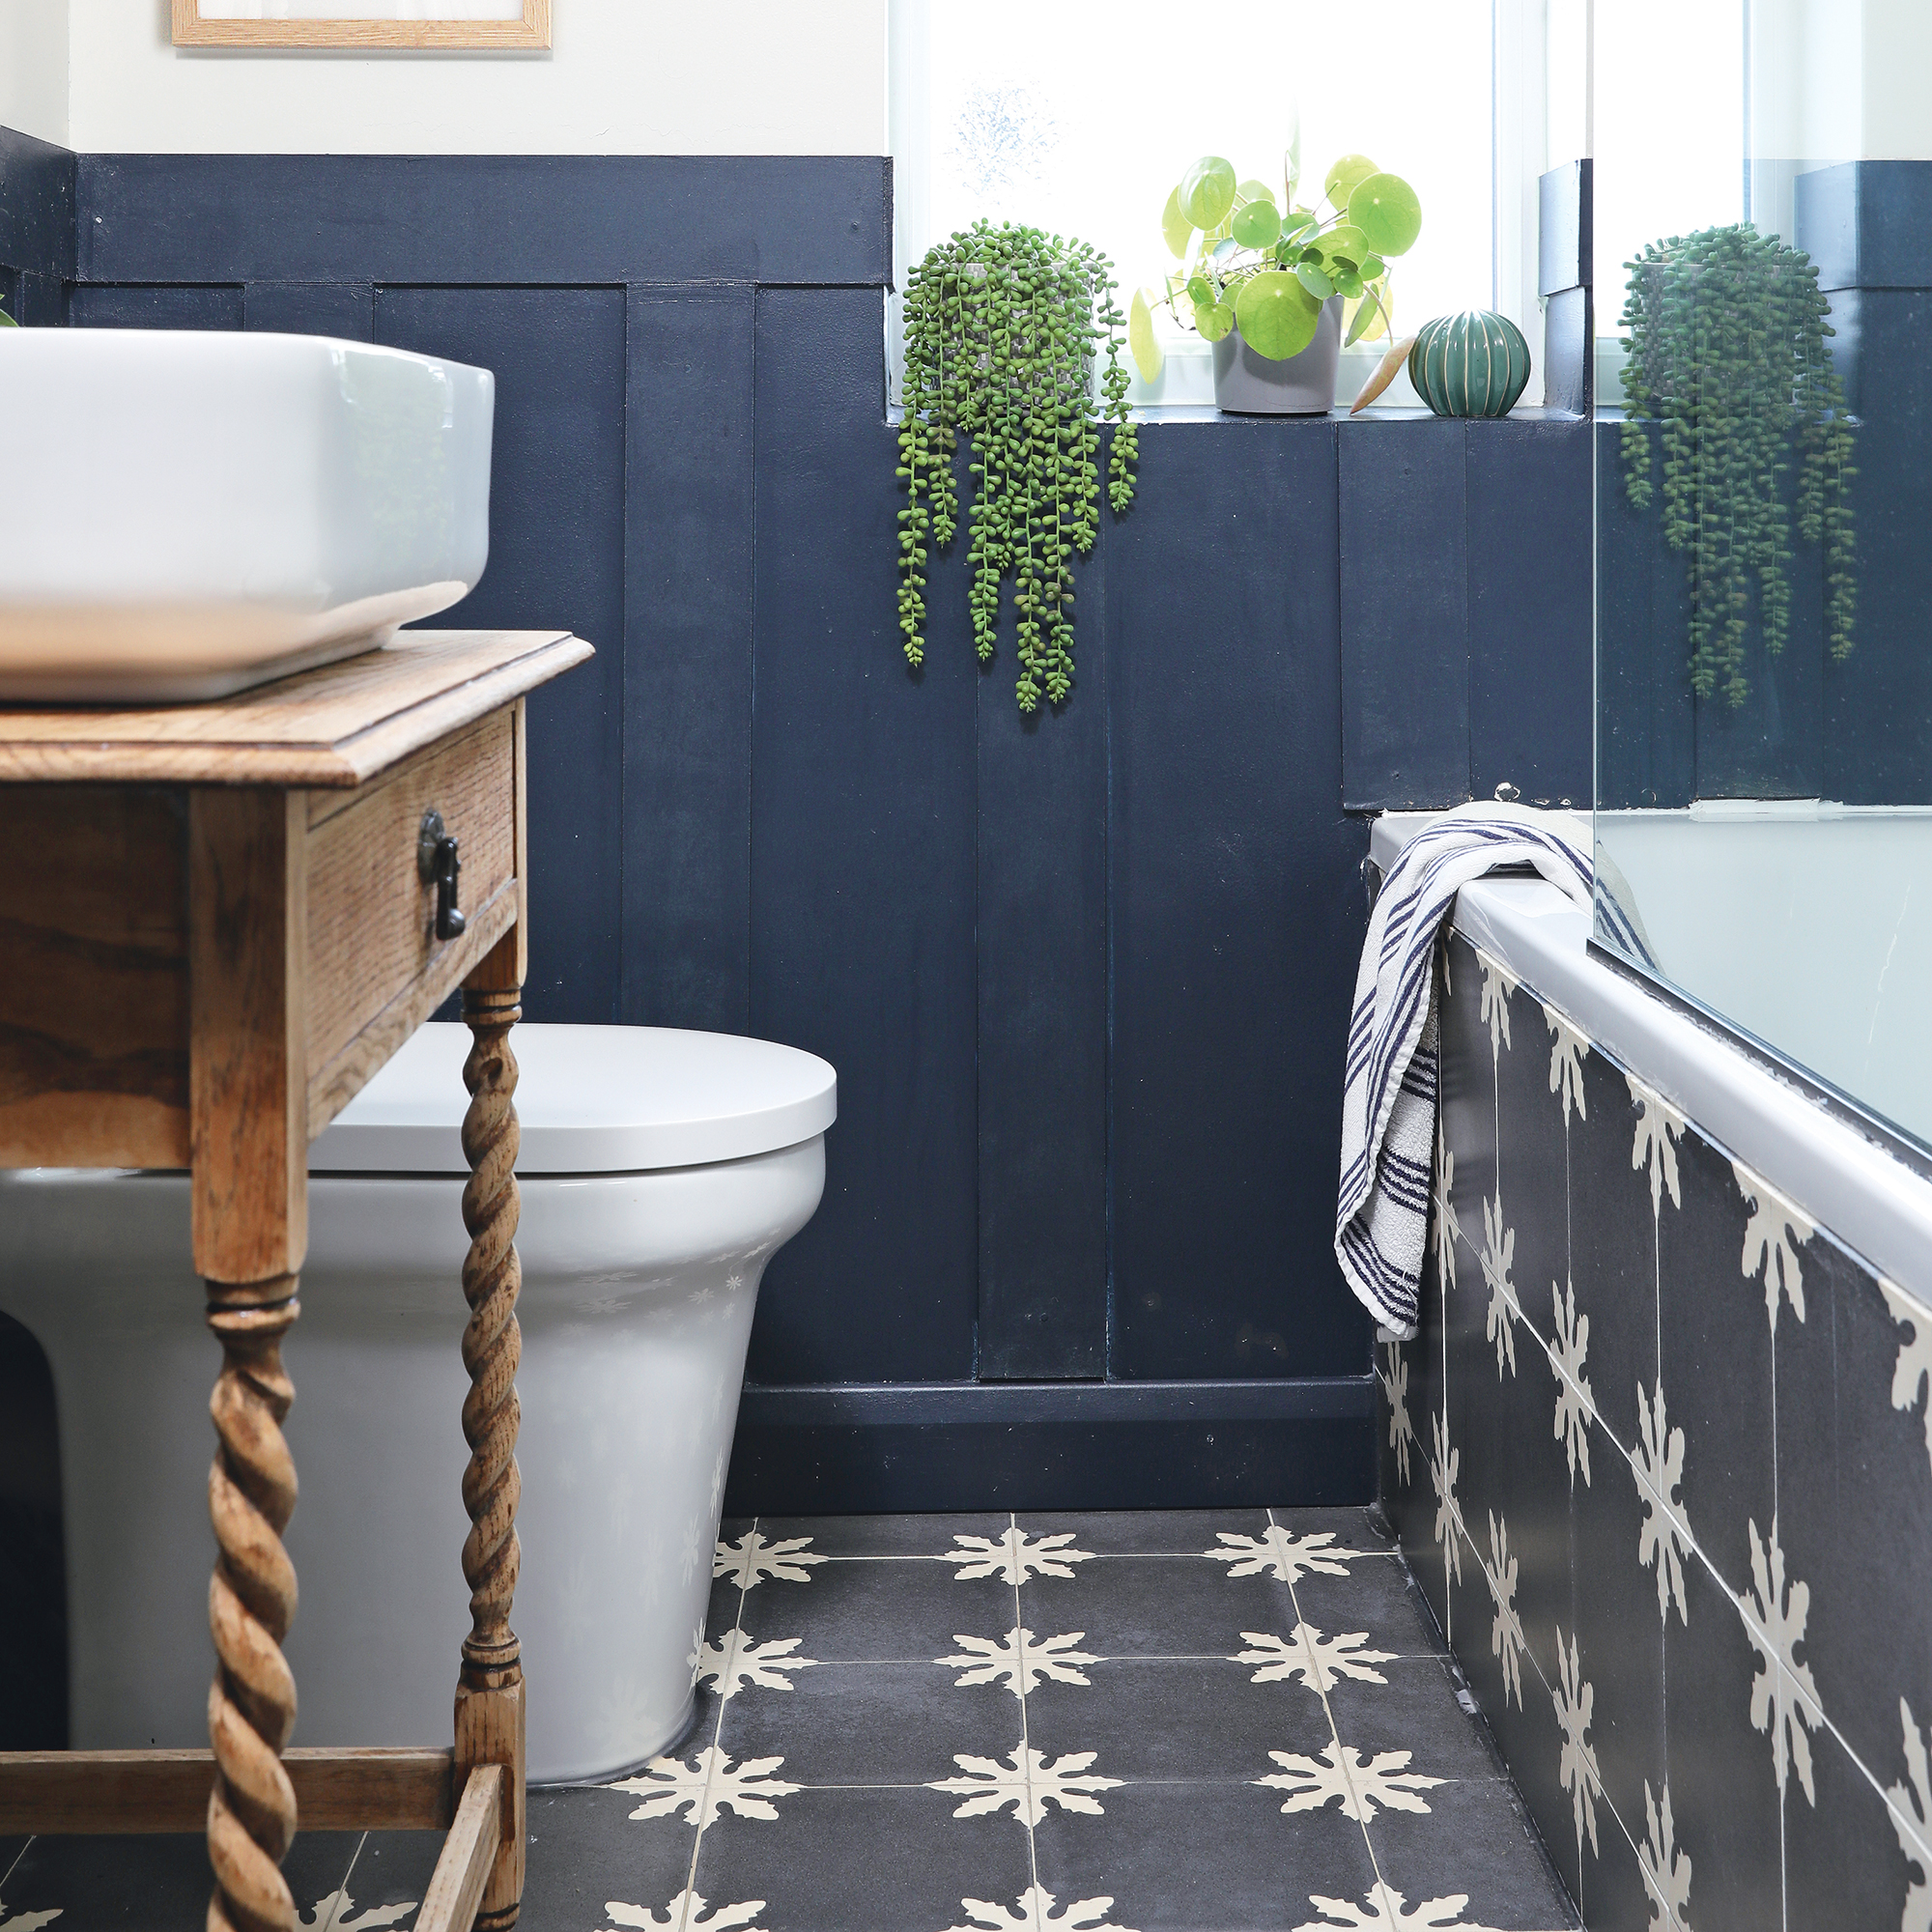
'Before grouting, make sure your tile adhesive is completely dry (18 hours should be enough time but be sure to check the adhesive product packaging to make sure you allow enough time),' cautions Amanda from CTD Tiles. 'Mix your chosen grout as per the specific product instructions and get ready to apply!
Use a grout float or squeegee to spread the grout into the gaps between the tiles. Work in small sections at a time and make sure you get into all the gaps, using your fingers if needed. Wipe away the excess grout with a damp sponge and then buff the tiles with a cloth. Repeat this process until complete!'
5. Make sure you seal your tiles
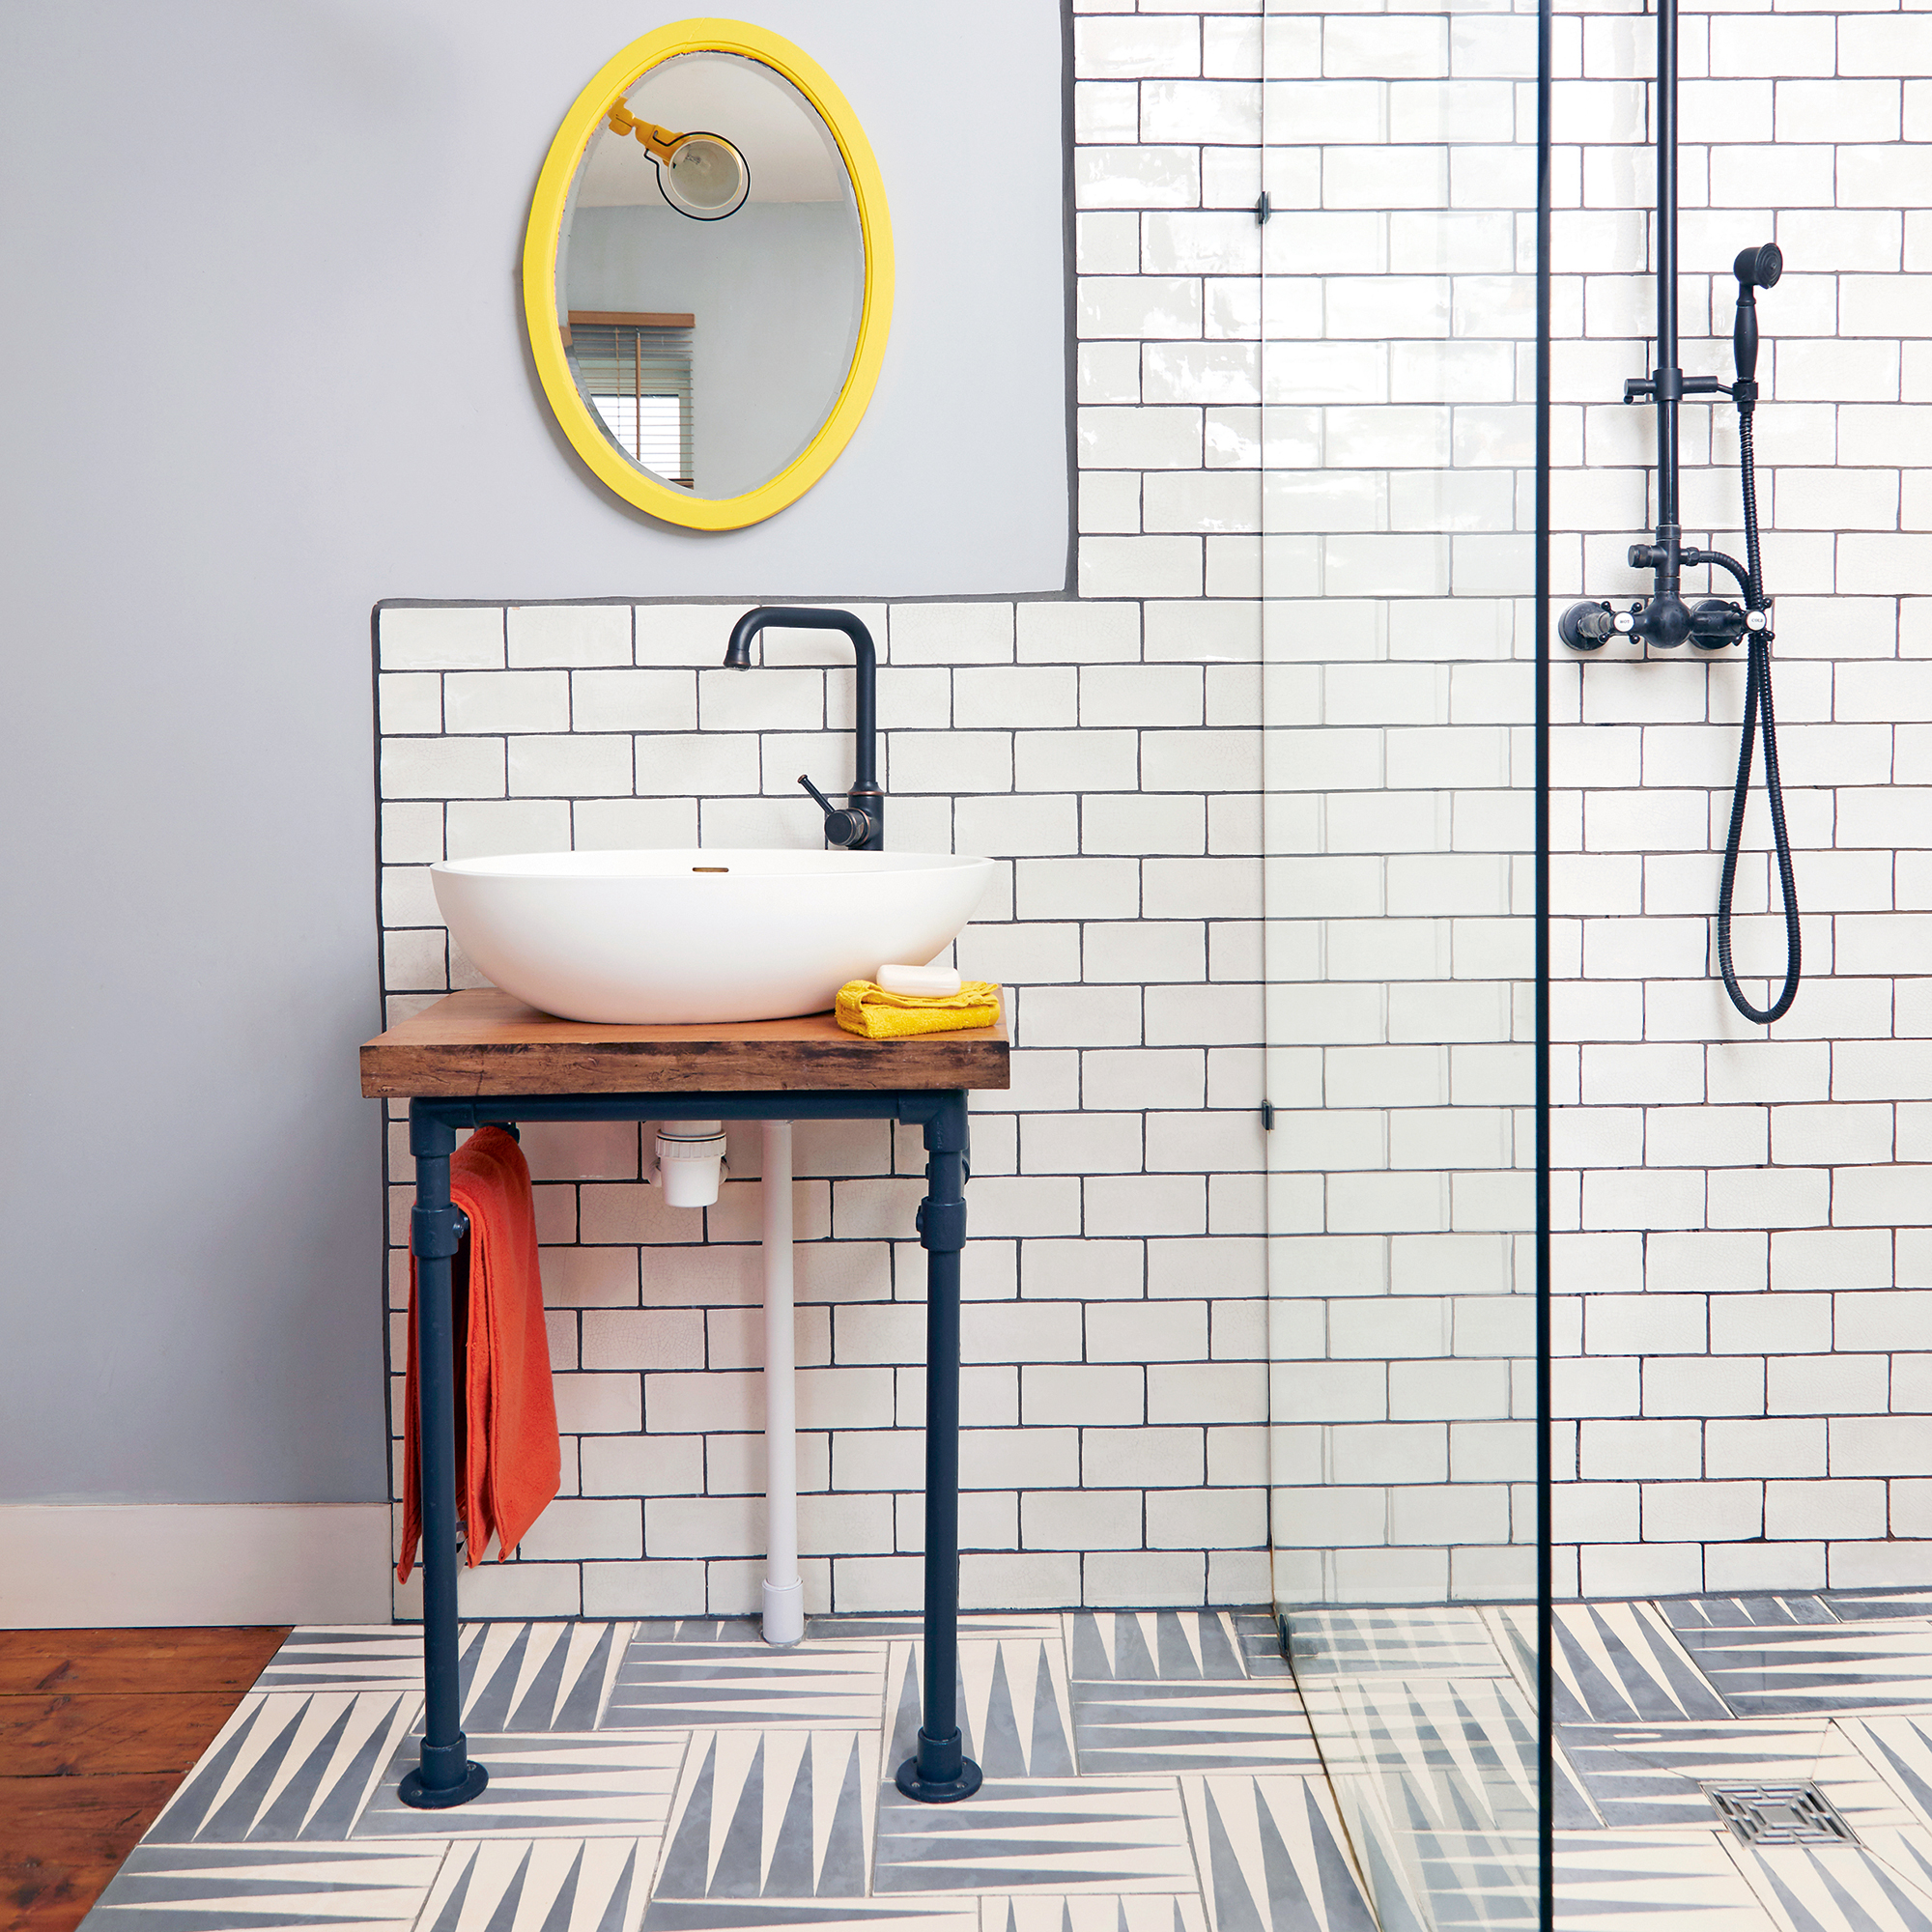
'Once you have grouted, make sure you seal along any edges with silicone sealant (preferably a matching colour to your grout) and then leave to dry,' continues Amanda.
And finally, it’s worth considering sealing solutions if you are using polished or porous tiles to prevent stains and water penetration. 'You may also want to use a grout sealer spray for added protection and ease of cleaning.'
Where do you start when tiling a bathroom floor?
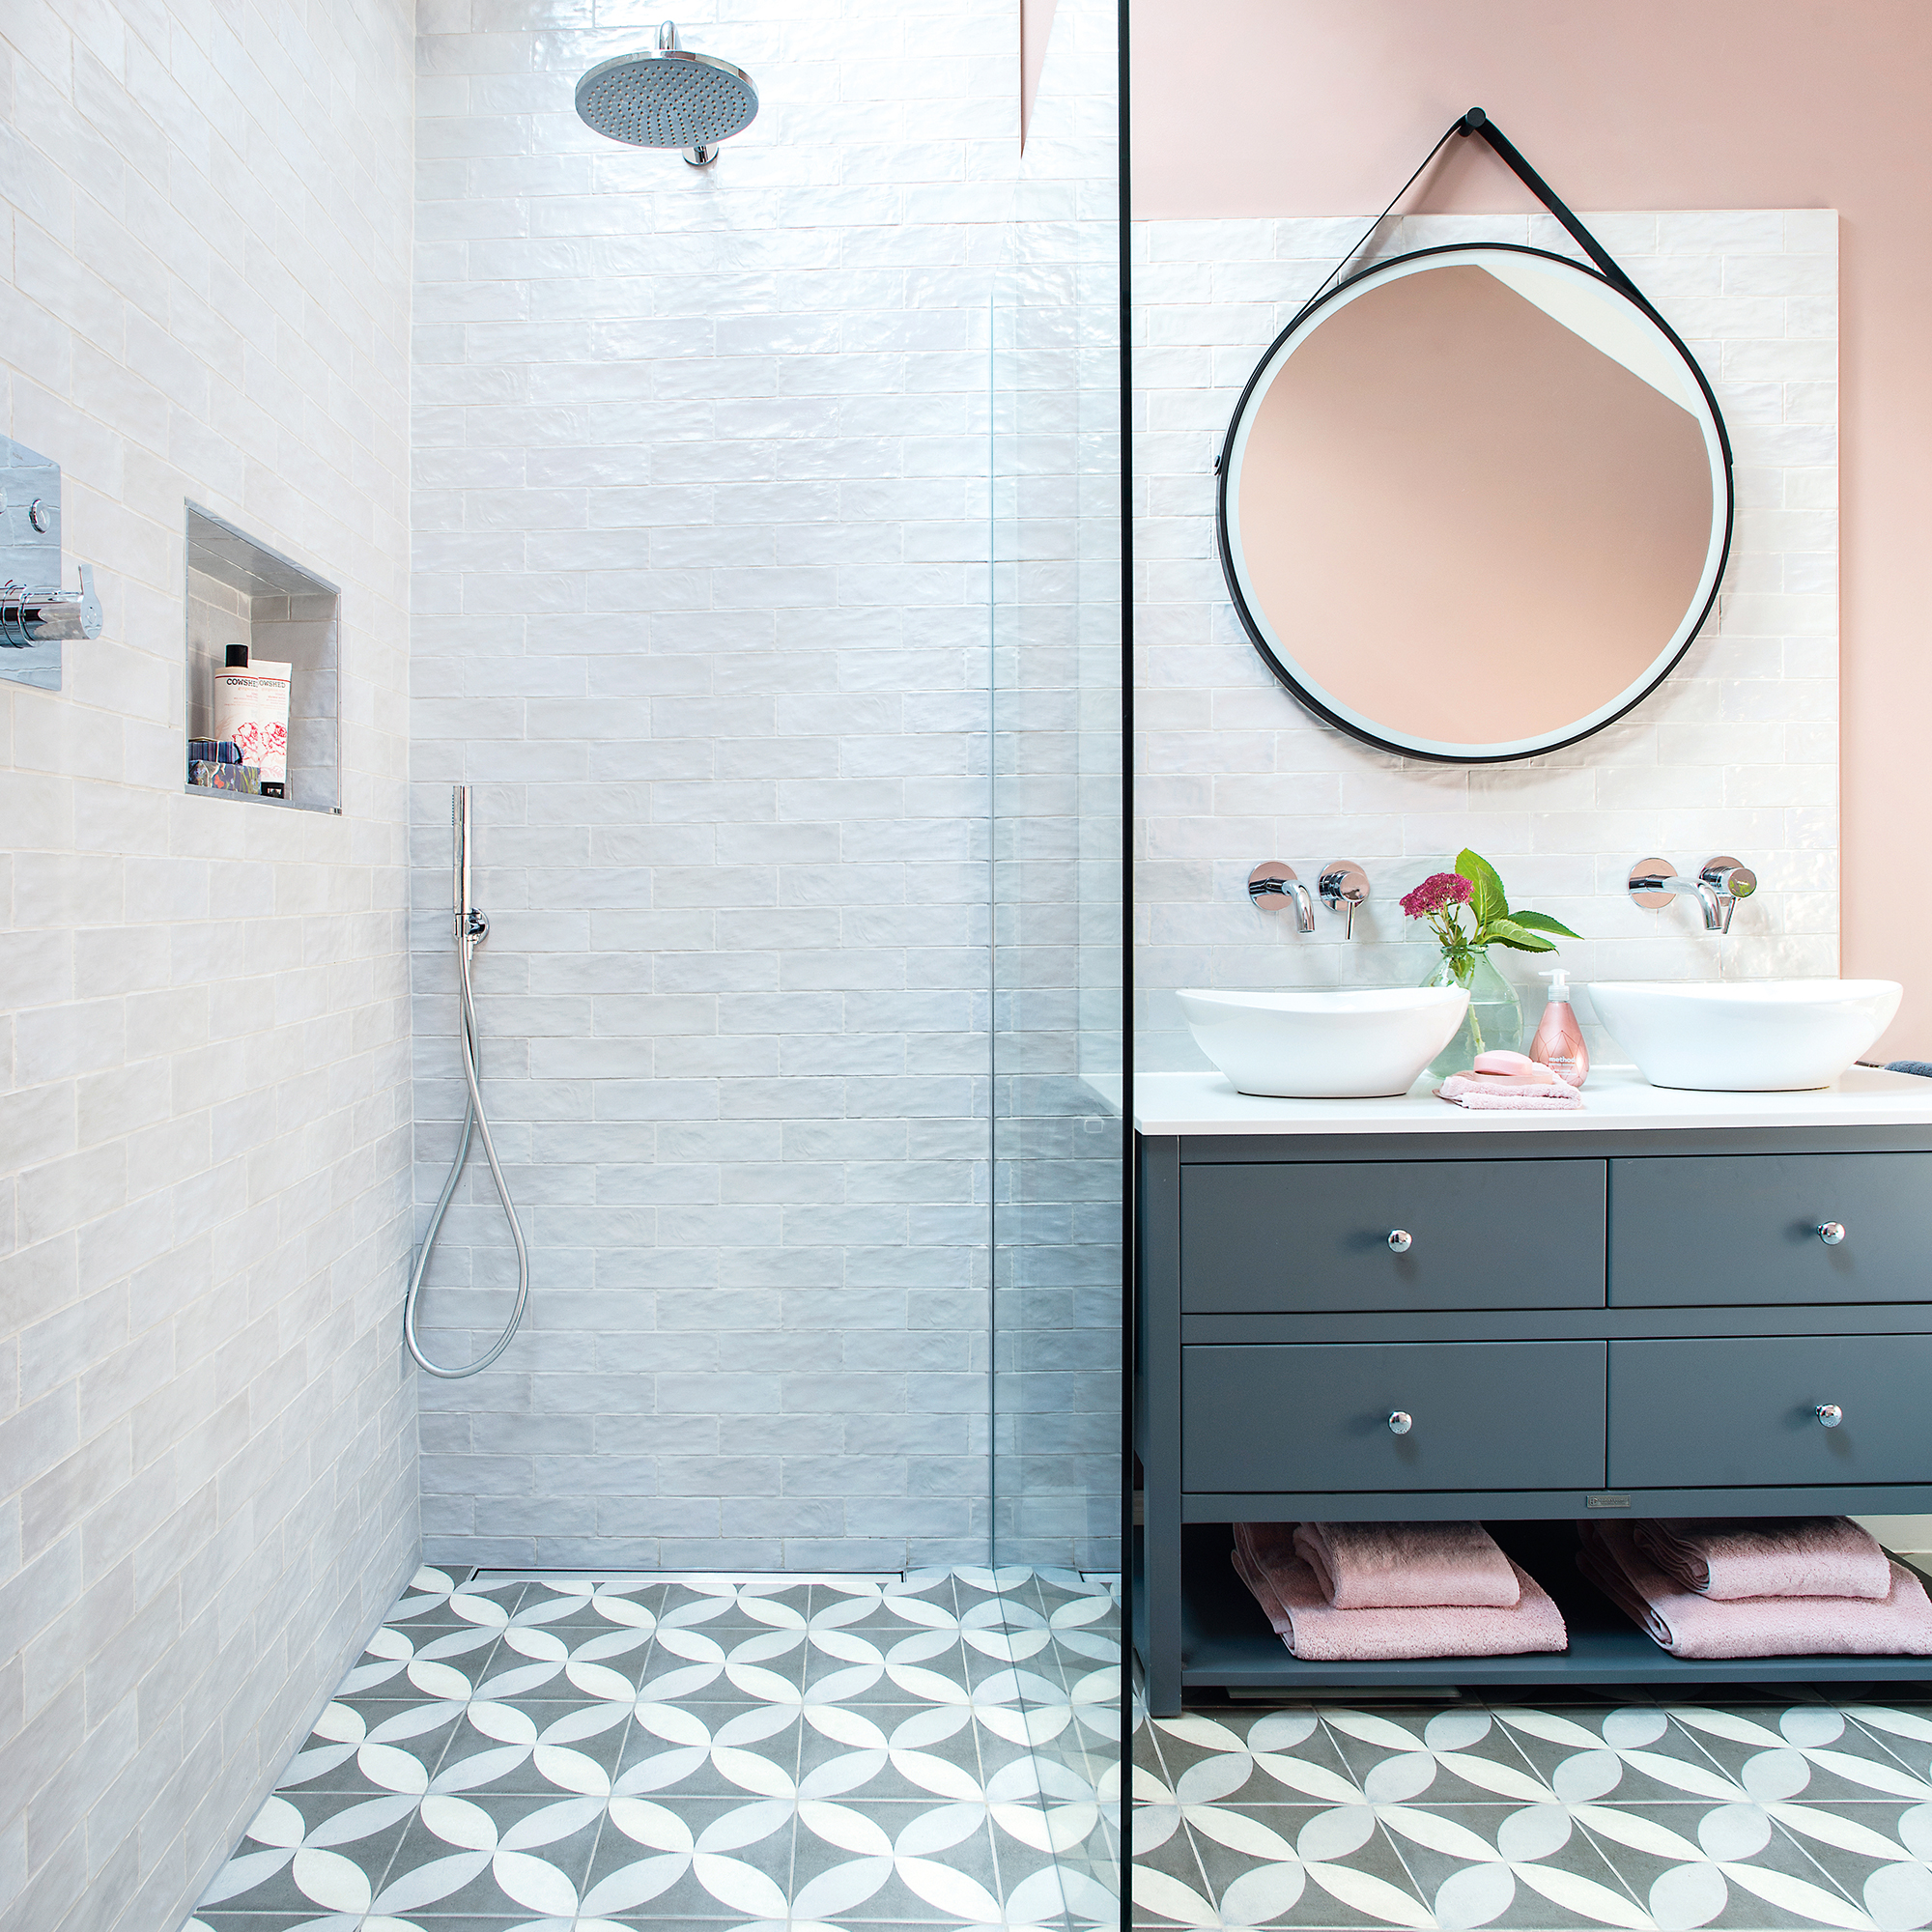
One consideration before buying your tiles is to decide how big you want them to be. Jo Oliver-Singh, director, The Stone & Ceramic Warehouse, suggests using larger floor tiles to make the space feel bigger than it is. 'It ensures fewer grout lines to draw the eye – so even in small bathrooms, go large for impact. In larger rooms, still go big if you want to increase the sense of space.'
'Larger tiles have fewer grout lines, so if you want a low-maintenance bathroom always go as big as you can, whether that be 60 x 120cm tiles or large format porcelain slabs that measure an impressive 100 x 300cm.'
Placement is also important to bear in mind from early on. 'If you wish to use small tiles on both the wall and floor it is sometimes a good idea to restrict their use to the shower or bath and wet room areas,' adds Jo. 'This, combined with painting the other walls, stops the room from becoming too busy.'
You also need to choose the right adhesive. 'A flexible adhesive is recommended for floors subject to potential minimal movement, such as floorboards,' advises Amanda from CTD Tiles. 'Slow setting adhesive is often advised for walls to allow more time for tweaks and adjustments, whilst fast setting tile adhesive is often used on floors to enable foot traffic quicker after tiling.'
What are the best floor tiles for the bathroom?
With so many floor tiles on the market it's a bit of a minefield as to which ones are best.
'When choosing tiles for a bathroom floor, we recommend our encaustic tiles, which have a matt finish making them naturally slip resistant,' suggests Lee Thornley, founder, Bert & May.
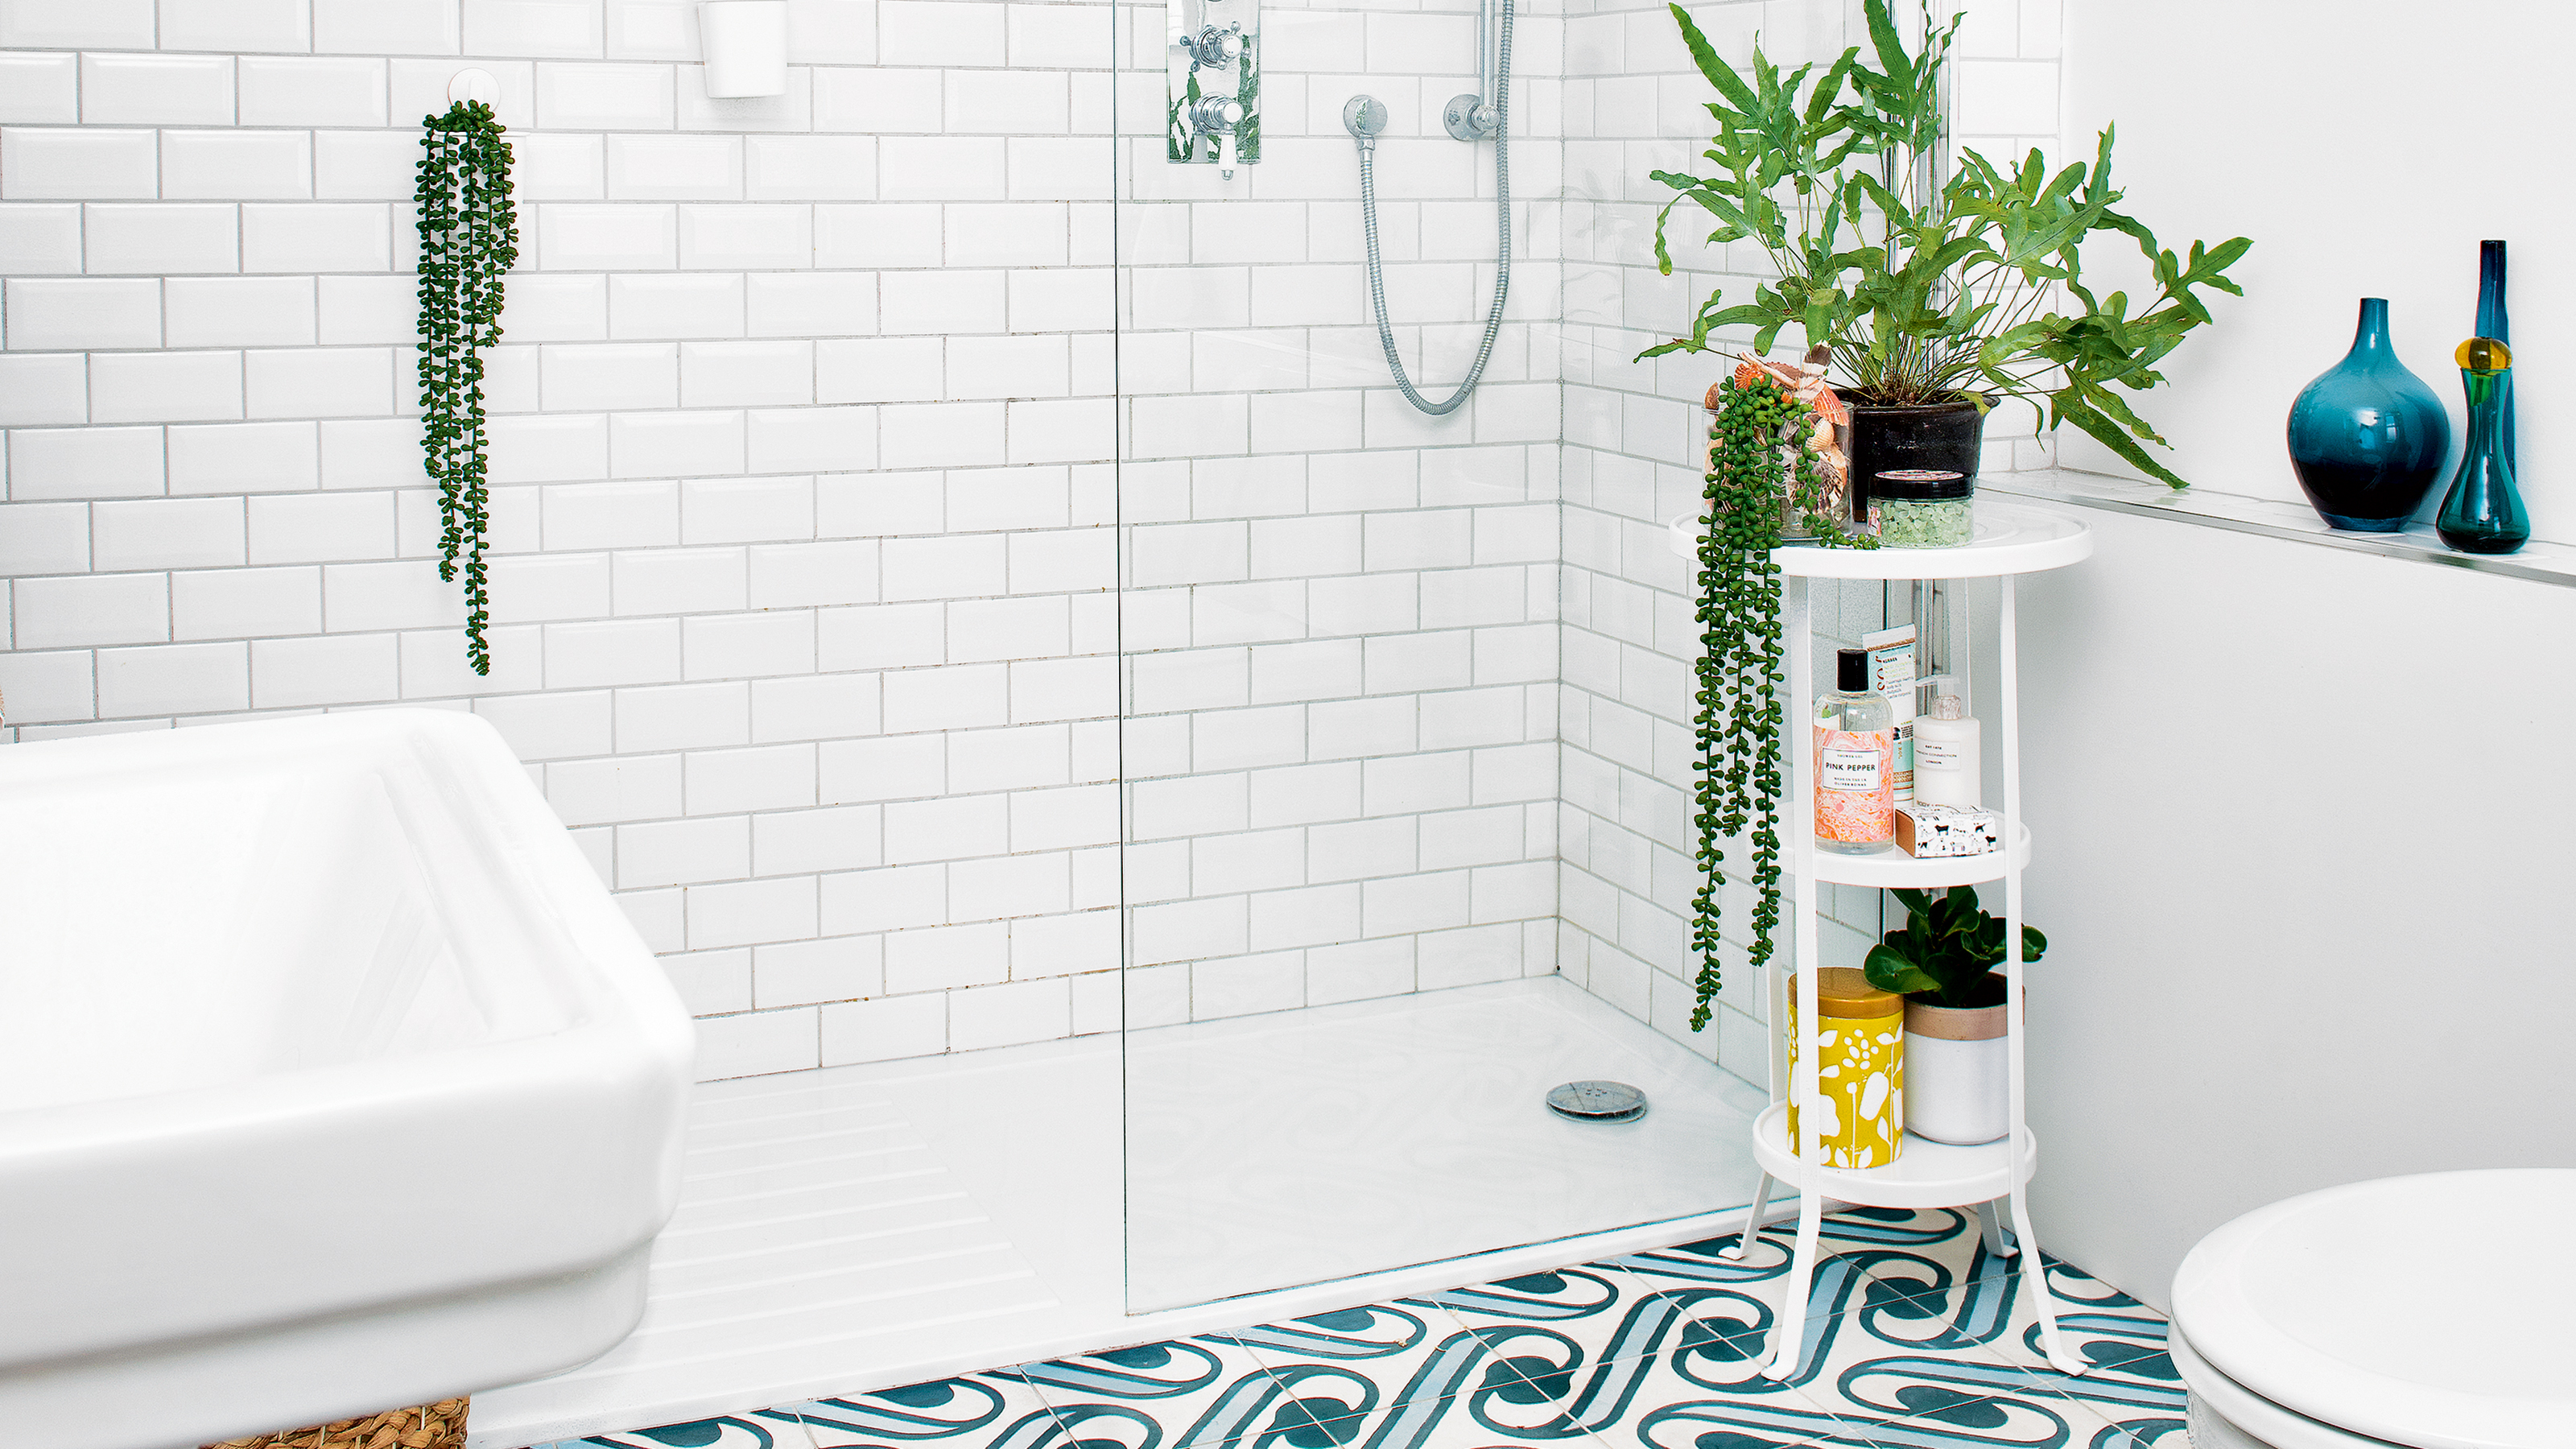
'Bold patterned tiles are ideal for adding visual interest to a bathroom, such as an eye-catching geometric pattern that adds a pop of colour and contemporary feel, or a simple chequerboard design using a combination of plain tiles in your favourite colours which can create a timeless and personalised design.'
Can you tile a bathroom floor in one day?
The answer to this is yes, but it might be worth doing your prep work the day before. As with most DIY jobs, preparation is the most important aspect and worth getting right. You can get rapid adhesives that will allow you to grout quicker than average products, but do check the manufacturers instructions beforehand.

Sophie has been an interior stylist and journalist for over 25 years and has worked for many of the main interior magazines during that time, both in-house and as a freelancer. On the side, as well as being the News Editor for indie magazine, 91, she trained to be a florist in 2019 and launched Flowers Inside My Head, a bespoke floral design studio where she curates beautiful flowers for modern weddings and events.