How to tile a bathroom floor – tiling, grouting and sealing for a professional finish
Watch our easy guide to getting the job done like a professional

Tiles are the perfect flooring solution for many different rooms - especially kitchens and bathrooms. Adding both a durable, highly practical flooring solution tiles can also be the ideal way to add character and pattern to your decorating scheme. To save on budget if you're happy undertaking a spot of DIY and decorating, there's no reason why you can't lay your own tiled floor.
Our easy-to-follow guide shows even the most novice of DIYers exactly how it's done. Watch our video for an easy guide to tiling a bathroom floor or a kitchen floor.
How to tile a floor
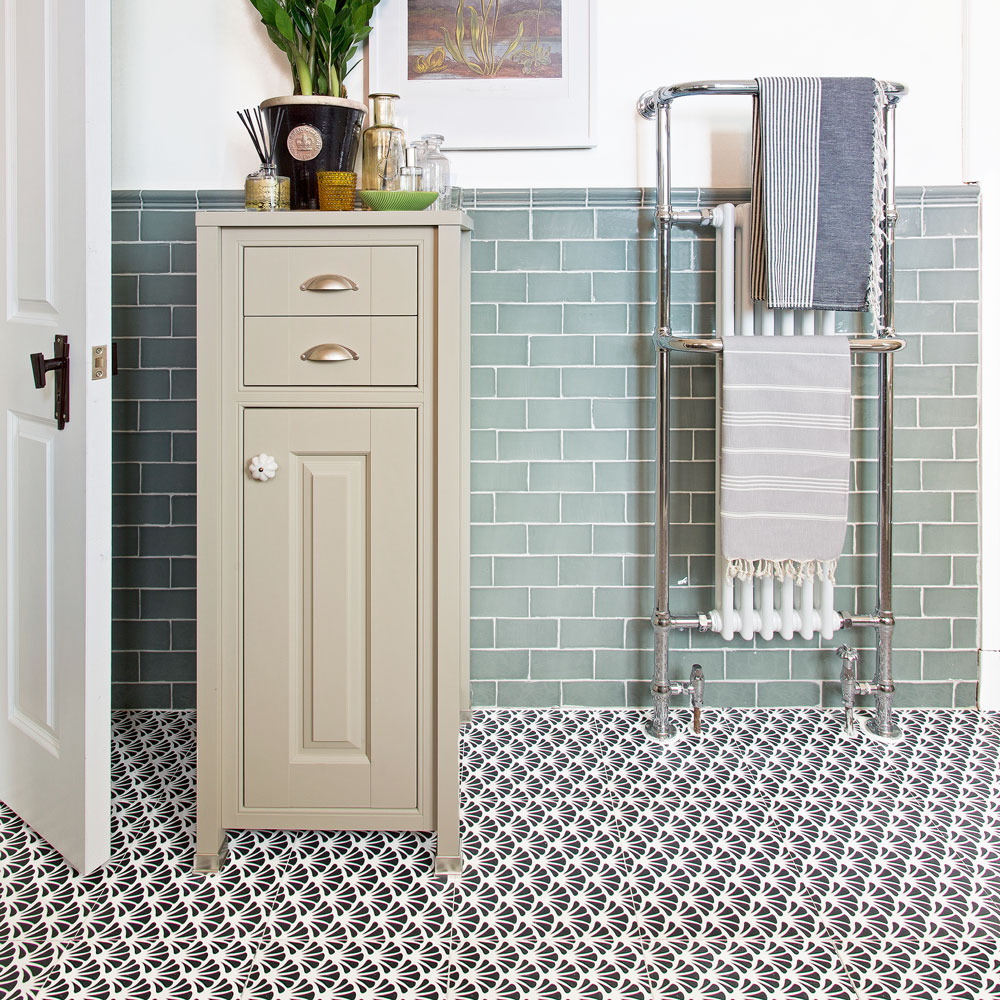
A patterned bathroom tile idea can go a long way to enhancing any decorating scheme. Equally as pleasing in a kitchen a tiled floor provides an easy to clean surface that will stand the test of time on the design front.
What you'll need
- Protective floor covering
- Sugar soap
- Bucket
- Long spirit level
- Drill
- Tile cutter
- Notched trowel
- Grout float
- Tape measure
- Tile clippers
- Pencil
- Sponge
- Protective glasses and gloves
Step 1. Prep the floor
Take time to ensure your floor is even with no bumps or cracks. Make sure the surface is thoroughly cleaned using a degreasing agent such as Sugar soap, if required.
Depending on the type of tile and adhesive you are using and the condition of the floor, you may need to prime the surface. Always check with the tile manufacture to follow the correct instructs for the tile you've chosen.
Step 2. Measure up
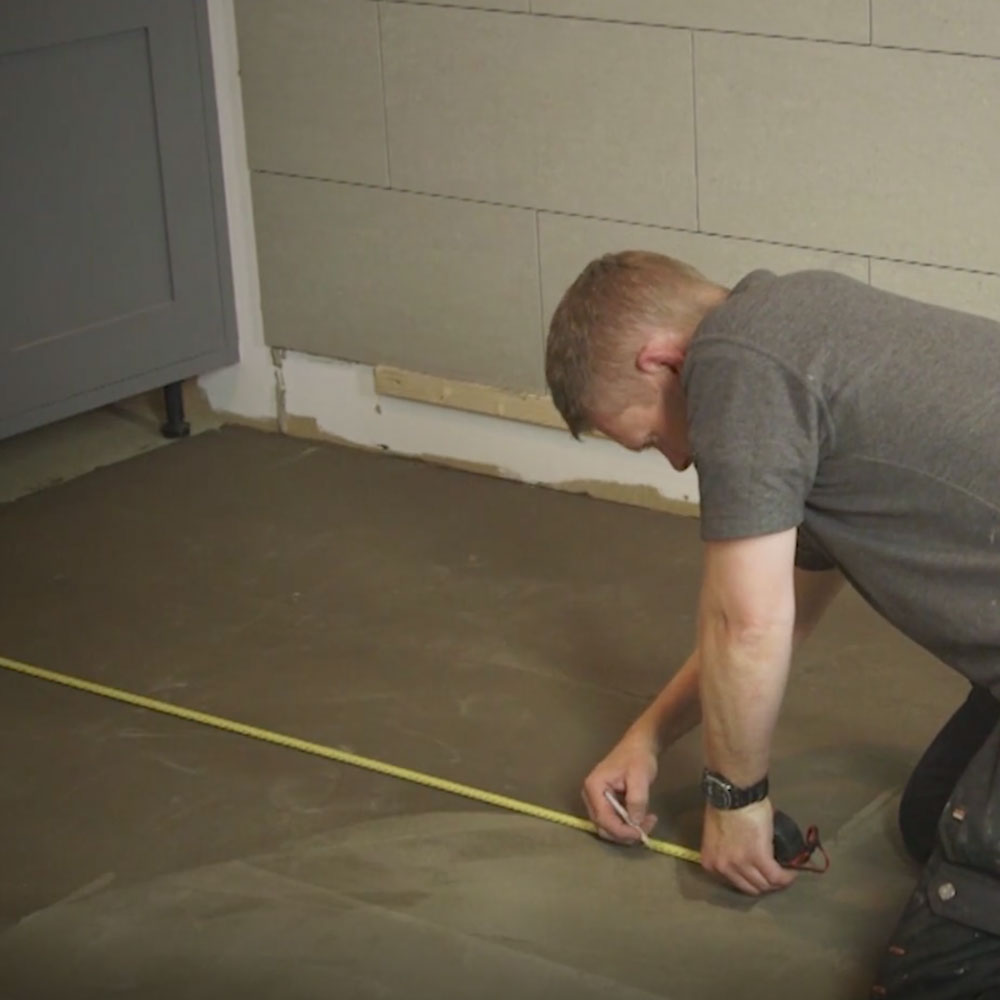
Once prepped and primed you're ready to measure up. With chalk or pencil measure a centre mark on the floor, between the opposite walls or units and draw a straight line. as a guide. Don't assume that the opposite walls are equal in size, as a lot of rooms aren't perfectly square.
Step 3. Dry plan the layout
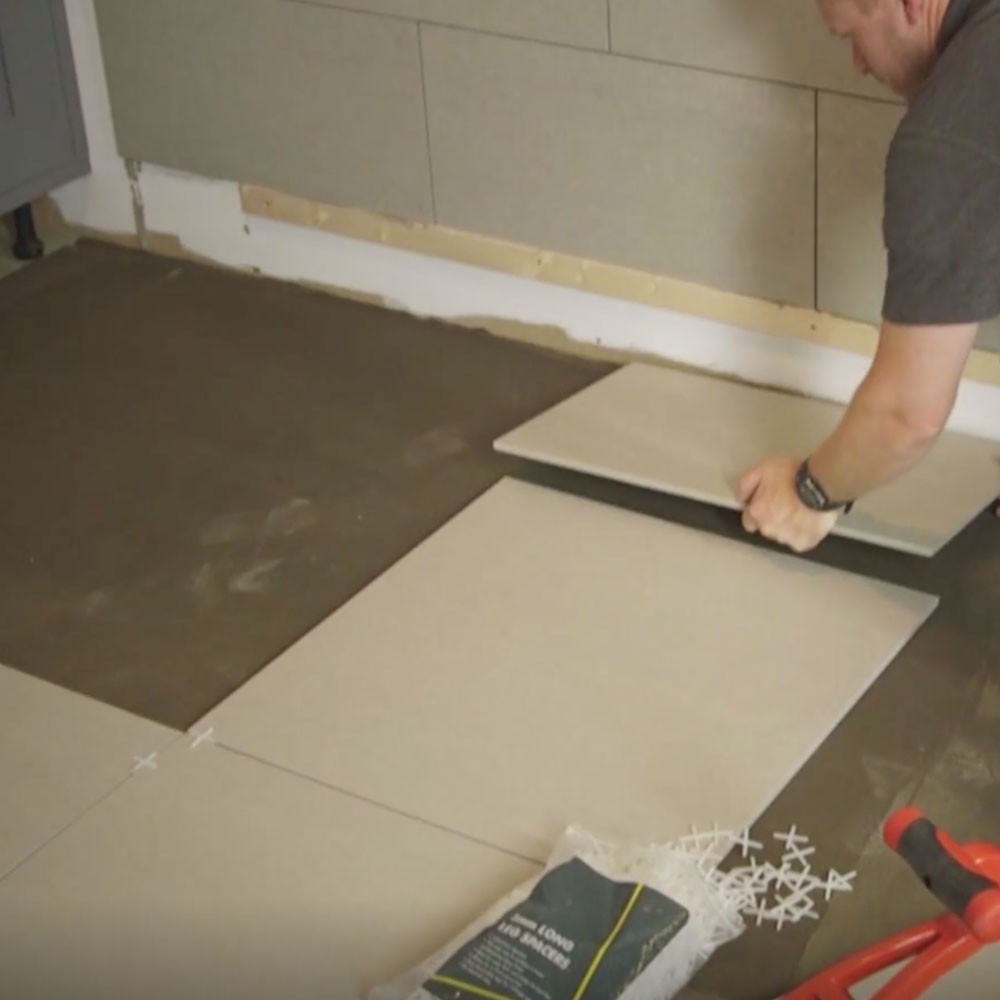
Starting at the middle point, dry lay a row of tiles in both directions up to the walls. This will give you a clear vision of the finished result. Make sure you include a 3mm tile spacer in between each tile to ensure the joins are even.
Sign up to our newsletter for style inspiration, real homes, project and garden advice and shopping know-how
At this stage if you are left with a thin piece of tile left at the edge of the wall we suggest rearranging the centre tiles so there is a larger section of tile left at the edge, which will be easier to cut to size – rather than a thin strip.
You may need to remark the lines on the floor to fit the setting until works in your space.
Top tips: remember to leave roughly half a tile or more at the edges as it can be difficult to fit small sections of tiles around the edges. When measuring remember to leave enough room for the grout and sealant.
Step 4. Apply the adhesive to the floor
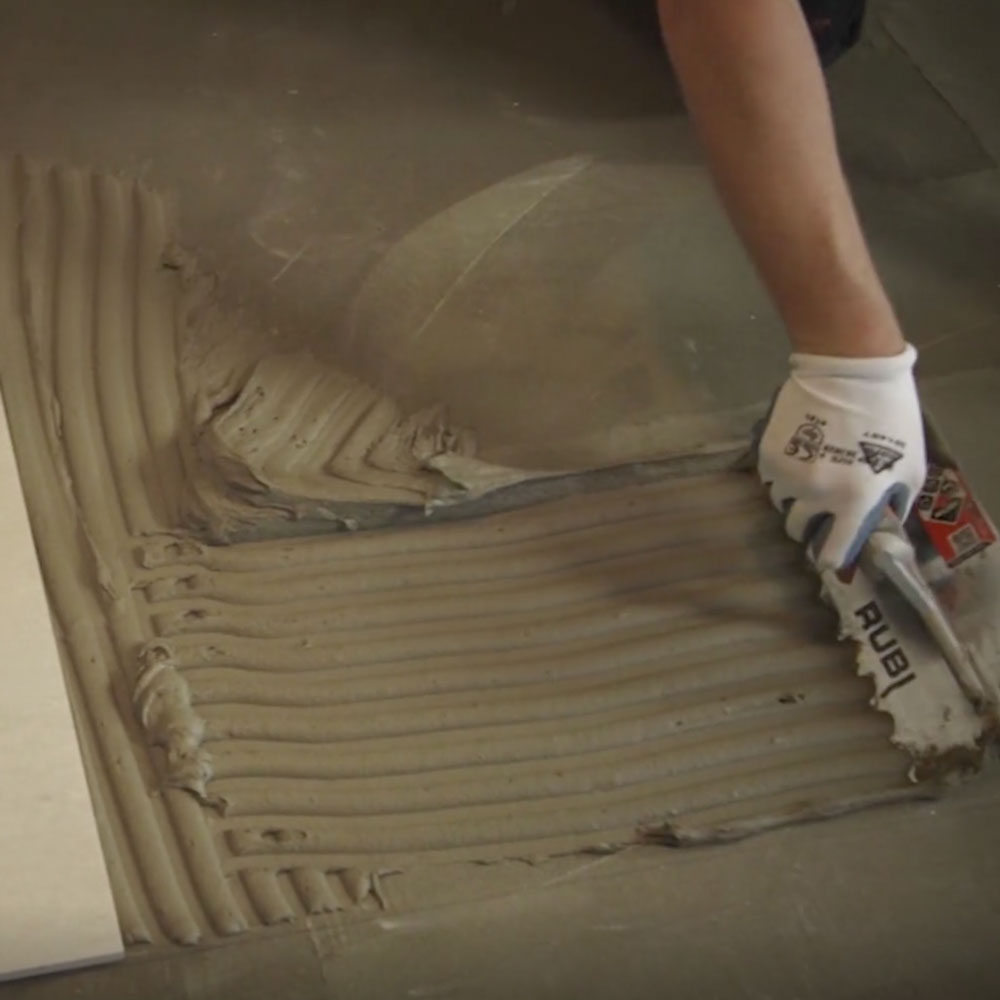
Once you're ready to mix the recommended tile adhesive, for your chosen tile, in a bucket according to the instructions. Then working off your set out lines or from a straight edge spread the tile adhesive onto the floor, using a notched trowel held at a 45 degree angle. Ensure the notches are all facing in the same direction.
Only cover a small area at a time, approximately one metre square, as the adhesive will begin to dry once applied.
Step 5. Place the tiles
Next place the first tile on to the bed of adhesive. Press down and twist, sliding it into place to ensure the adhesive sticks properly. Use a spirit level to check the tile is positioned flat. Insert tile spacers along each edge before repeating each step as needed to cover the entire floor.
Top tip: If you're using extra large tiles (anything larger than 60 by 60cm) use self-levelling clips and wedges in addition to the spirit level.
Wash down the surface of the tile with a clean damp sponge as you go, to keep the tiles clean and free from any excess adhesive. Once you've covered the whole area leave the tiles for three to four hours, or even better overnight to give the adhesive time to set.
Step 6. Prepare and grout
Then to prepare the grout, using the correct type according to the tiles you've chosen, mix the grout powder with water in a bucket as required. It's best to mix a little at a time and grout the tiles in small batches, as the grout will begin to harden very quickly.
Once the grout is ready, remove the tile spacers and clean the joints to remove any excess adhesive. Hold a grout flat at 45 degree angle and evenly spread the grout between the tile joints. Work in small areas at a time to ensure you have enough time to cover the tile before the grout sets.
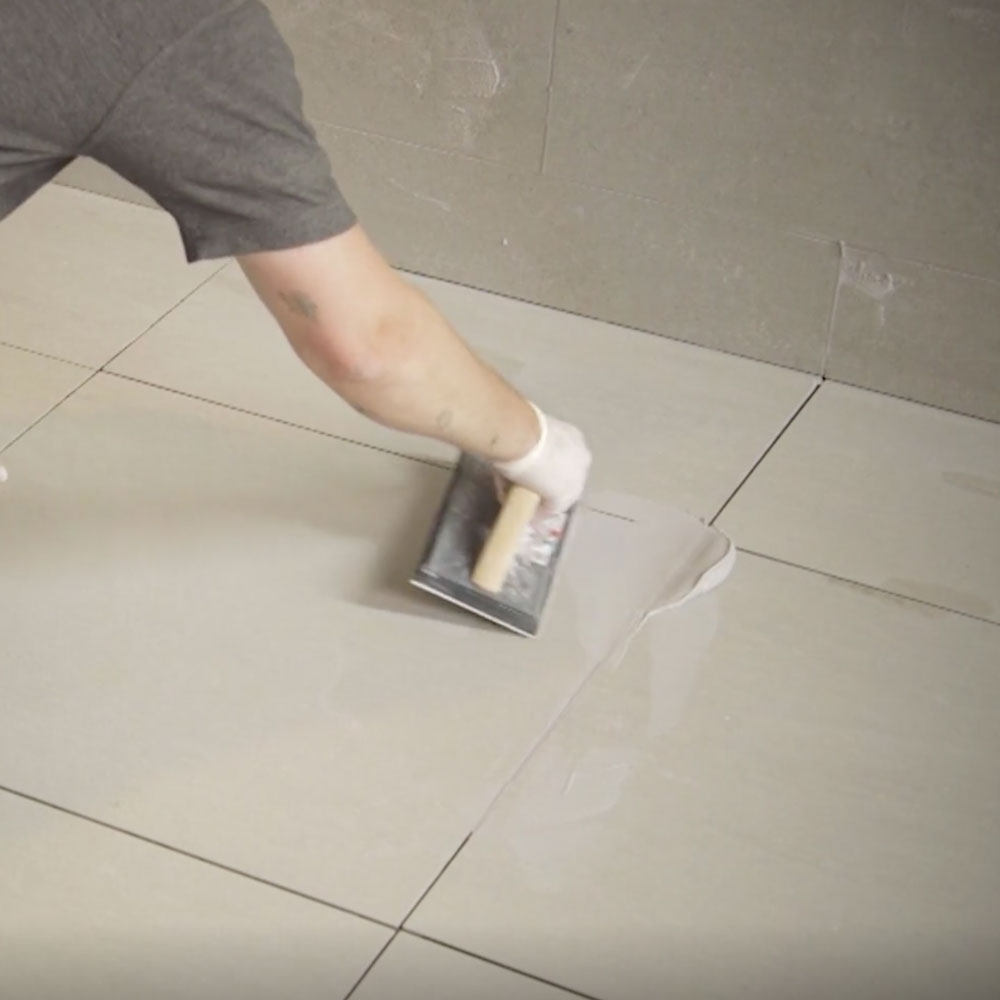
Once all the joins between the tiles are grouted leave to dry for around 10 to 15 minutes before wiping the tile surface with a damp sponge.
Top tip: Don't apply too much pressure on the grout joins, so no to remove the grout in between the tiles. You may need to wipe the tiles down later to remove any left over residue.
Our guide to how to grout tiles has even more expert tips and advice for this stage.
Step 7. Finish with a sealant
Finish with a silicone sealant around all the edges and smooth for a tidy finish.

And there you have it, a newly tiled floor that's been grouted, sealed and polished to achieve a professional standard. And to keep it looking its best, our guide to how to clean grout has a whole host of useful tips.

Heather Young has been Ideal Home’s Editor since late 2020, and Editor-In-Chief since 2023. She is an interiors journalist and editor who’s been working for some of the UK’s leading interiors magazines for over 20 years, both in-house and as a freelancer.