How to tile a wall – DIY tutorial to achieve a professional finish on a budget
Create a protective tile surface that's pleasing to the eye and perfectly polished
Sign up to our newsletter for style inspiration, real homes, project and garden advice and shopping know-how
You are now subscribed
Your newsletter sign-up was successful
When it comes to tiling a wall it's not just the pretty colour and pattern that creates an impact, the finished design needs to be flat and have tiles fitted together consistently and cohesively. It may seem daunting but learning how to tile a wall is easier than you might think – especially with our step-by-step DIY and decorating guide.
Taking the time to prepare the surface and the surrounding area is key to achieving a professional-looking finish, even when you do the job yourself. Take a look at the full video tutorial below:
How to tile a wall – what you'll need
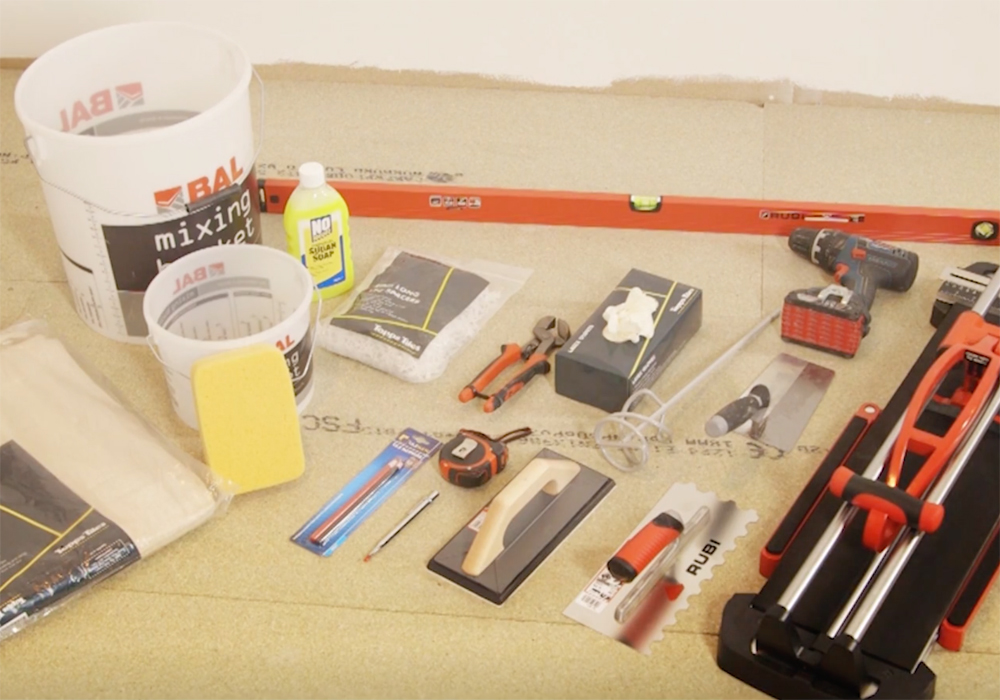
Image credit: Future Plc
- Protective floor covering and masking tape
- Sugar soap
- Bucket
- Long spirit level
- Timber pole and drill
- Tile cutter
- Notched trowel
- Grout float
- Pencil
- Sponge
- Tape measure
- Tile clippers
- Protective glasses and gloves
- Tiles
- Tile adhesive
- Sealant and caulking gun
Tiling a wall – DIY step by step
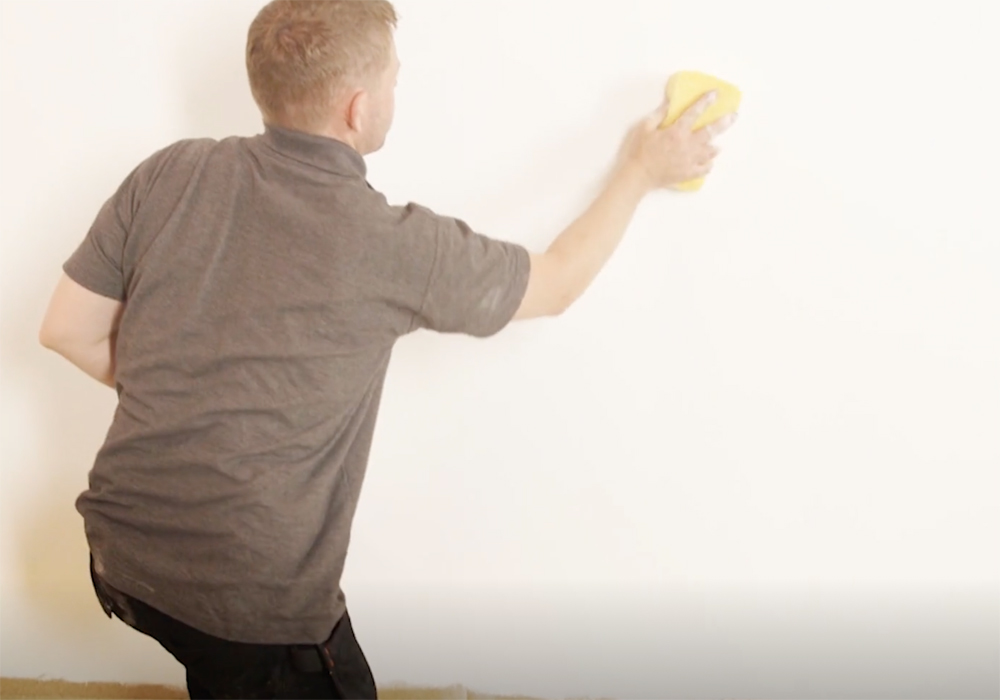
Image credit: Future Plc
1. Prepare the walls
Begin by laying a protective cover on the floor, securing it with masking tape. Then, using a clean damp cloth or sponge, wipe down your surface or use a suitable cleaning agent such as sugar soap. Once rinsed leave the wall to dry completely.
Depending on the chosen tiles you may need to prime the wall. Check with the adhesive manufacturer to see if this is recommended.
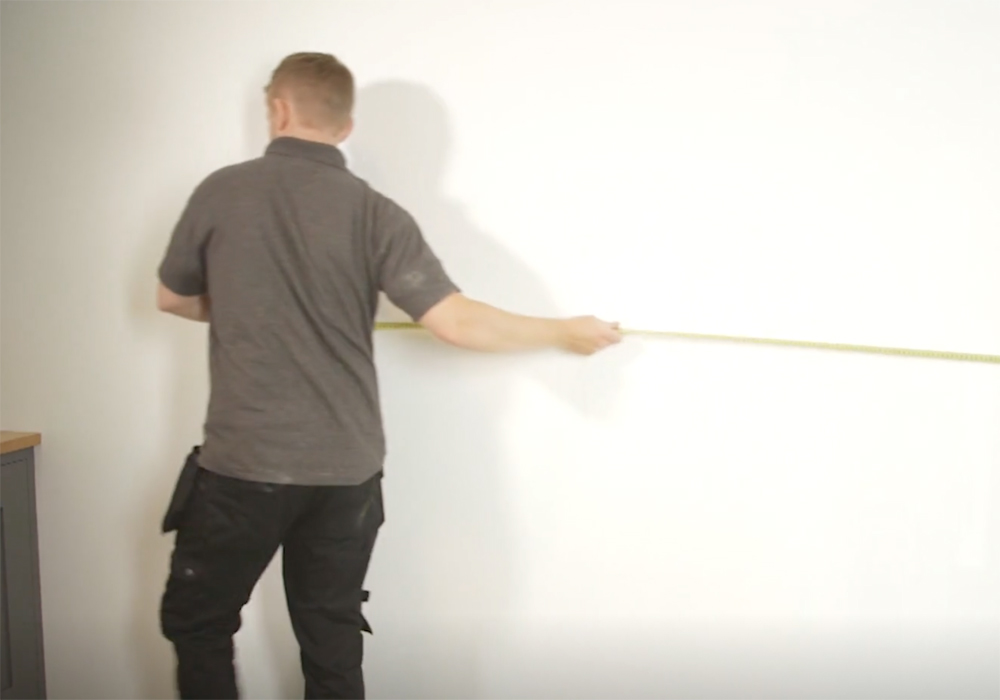
Image credit: Future Plc
Sign up to our newsletter for style inspiration, real homes, project and garden advice and shopping know-how
2. Work out your surface area
To work out how many tiles you need, measure the wall height and width and multiply the two measurements to calculate the metre square value. Make sure to measure each individual separately and add together to get the total coverage.
Include a 10 per cent contingency for offcuts particularly if you are laying more decorative laying patterns such as herring bone. Don't make these common tiling mistakes that can prove costly.
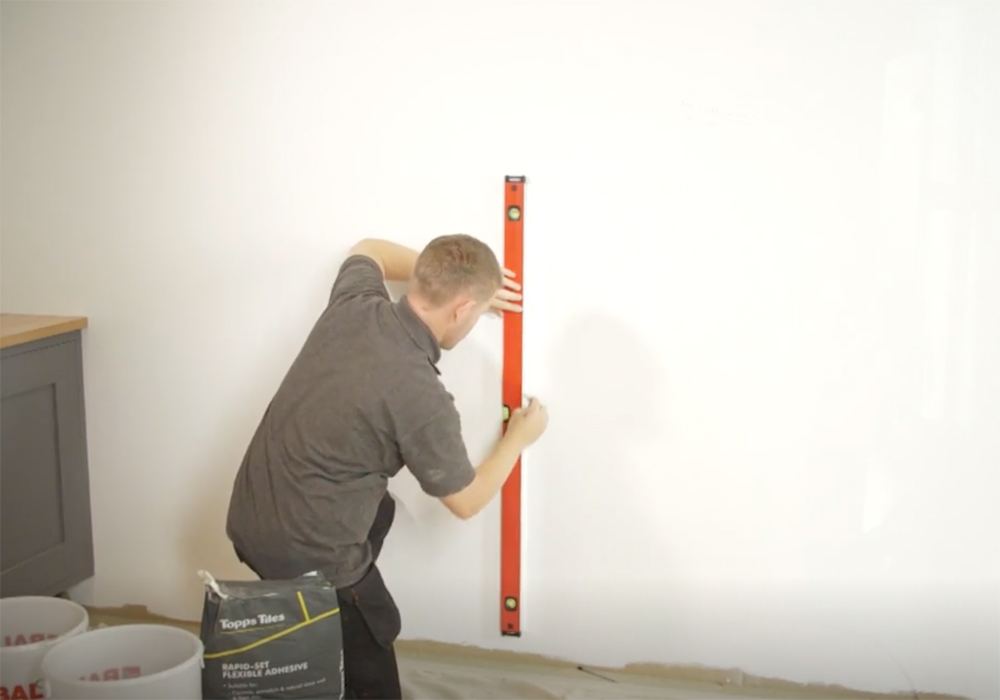
Image credit: Future Plc
3. Mark out the measurements
To find your starting point locate the centre of the wall and mark a pencil line. Then using a spirit level create horizontal and vertical level lines as accurately as you can, as these will be your starting points.
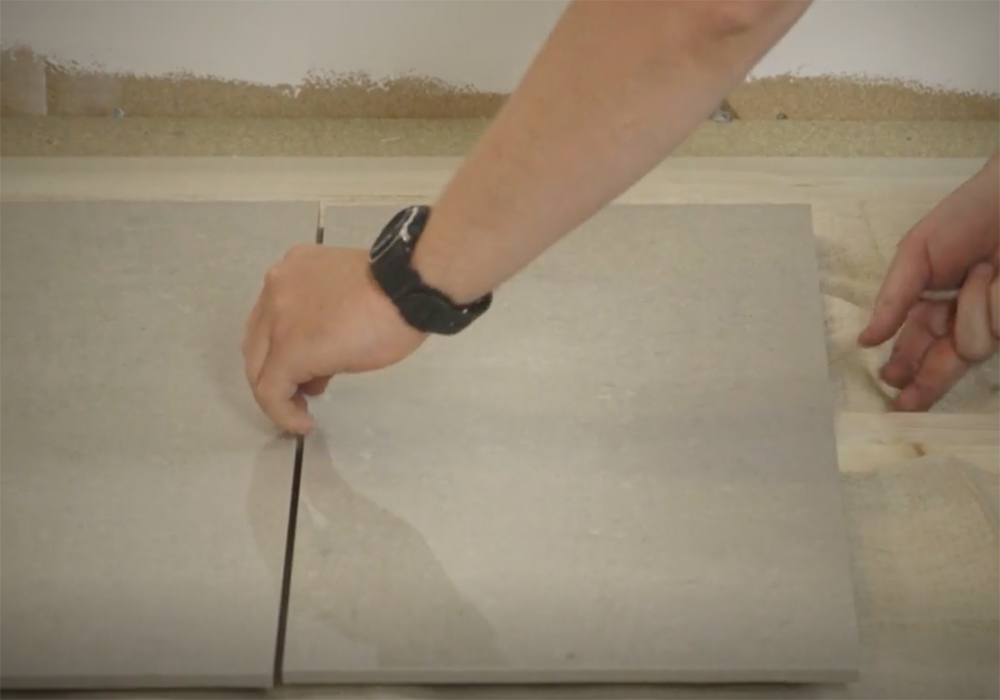
Image credit: Future Plc
Using a tile staff, mark the widths and lengths so you can see exactly where the tiles will lay. A tile staff is a pole showing the width of the tiles marked in pencil. Where the bottom tile is less than approx half a tile, rearrange the layout slightly by raising the tiles so you have at least half a tile and mark the wall again accordingly once you are happy.
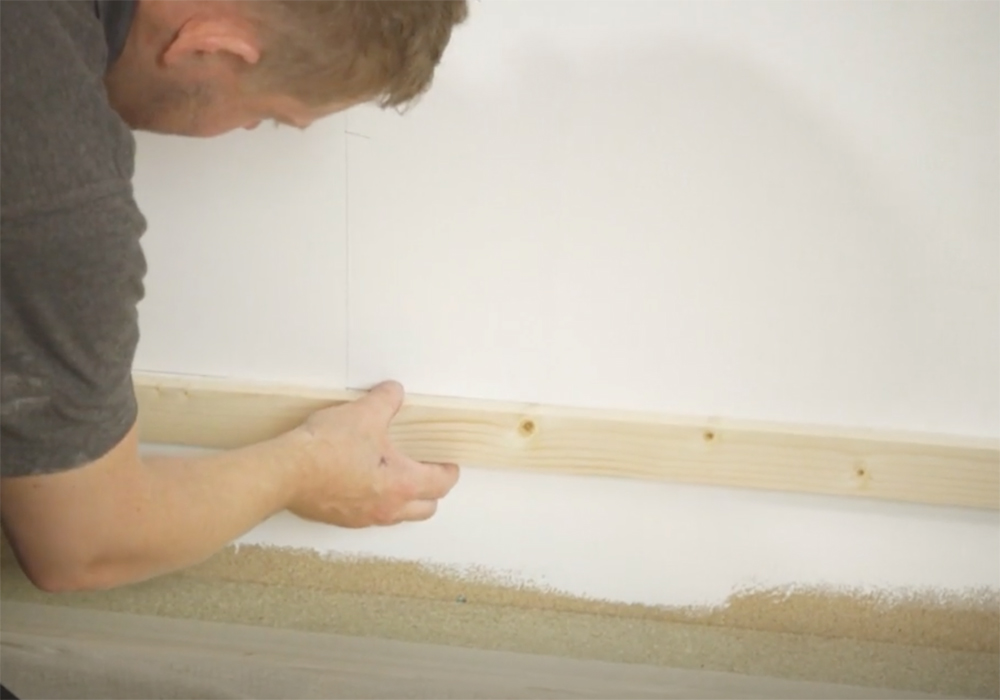
Image credit: Future Plc
4. Add a timber batten
On the mark nearest the floor use a spirit level and draw a line horizontally across the wall and fix a timber batten onto the surface with a drill. You'll use this as a guide and tile up to this point.
Remember though it will need to be removed later so it only needs to be tacked on.
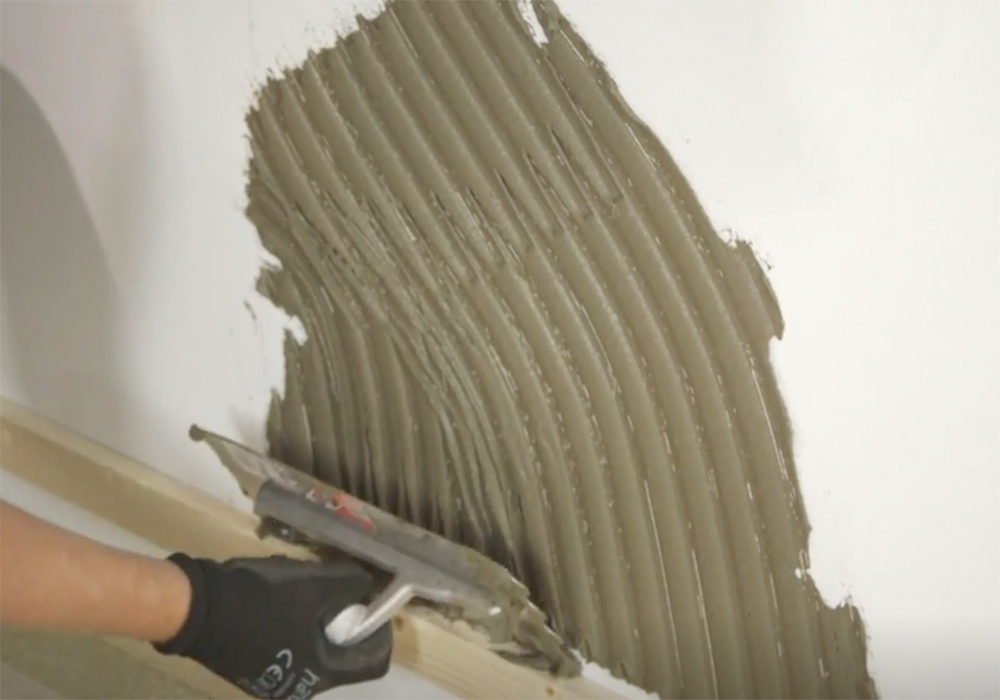
Image credit: Future Plc
5. Prepare and apply tile adhesive
Using gloves and goggles mix the powder adhesive with water in a bucket. For smaller tiles, it's fine to use pre-mixed adhesive but for larger surfaces, a cement-based adhesive (mixed yourself) is best. Follow packet instructions for consistency.
To apply the adhesive use a notched trowel held at a 45-degree angle to spread out the adhesive onto the wall. Drag it across the surface to ensure an even surface right up to your timber batten and pencil outline. Make grooves in the same direction and only cover enough to suit your application without the adhesive going off (start to set before you've applied your tile.) Cover one square metre at a time.
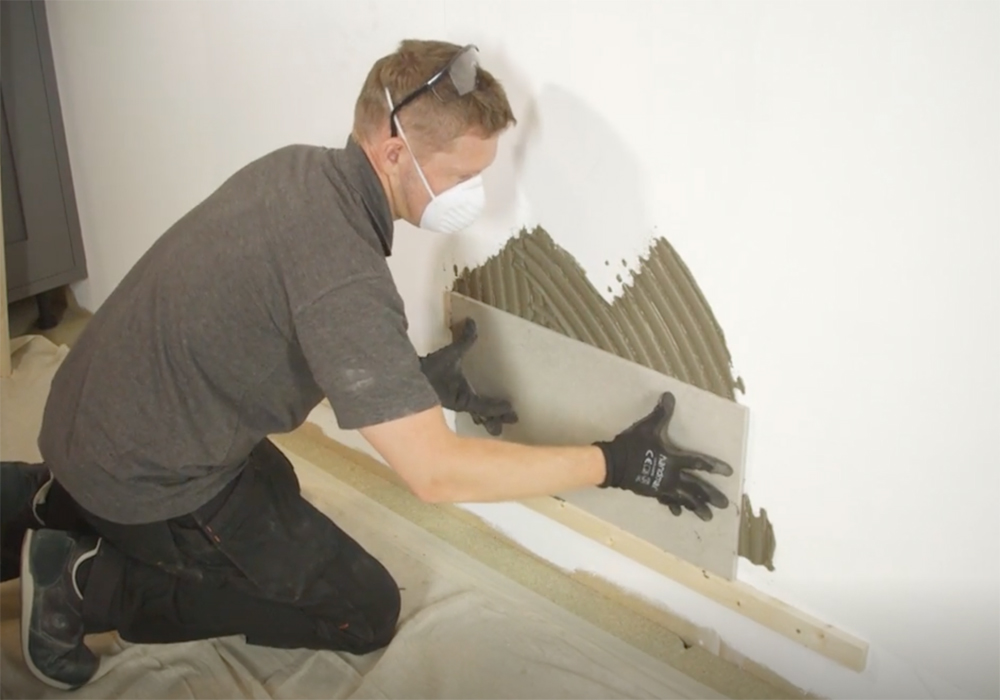
Image credit: Future Plc
6. Place the first tile
Place the first tile and push gently. twist and slide to make sure it sits perfectly in position.
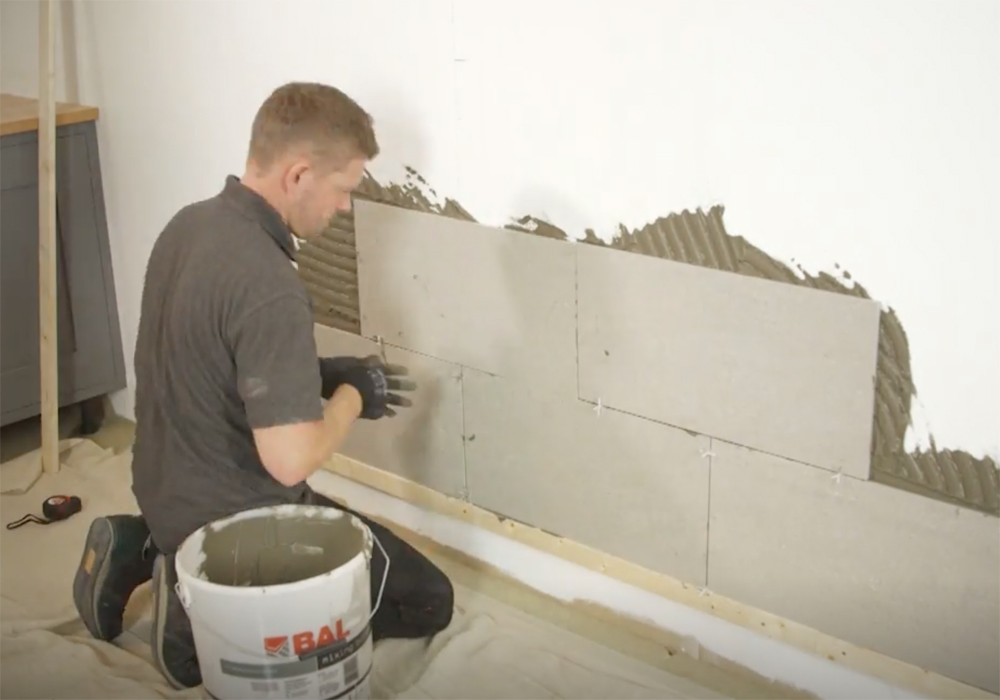
Image credit: Future Publishing Plc
7. Add more tiles
Continue placing the tiles, putting a tile spacer along the edge and use a cloth to wipe away access adhesive as you go. Carry on with these steps until you have covered the whole area fully with tiles.
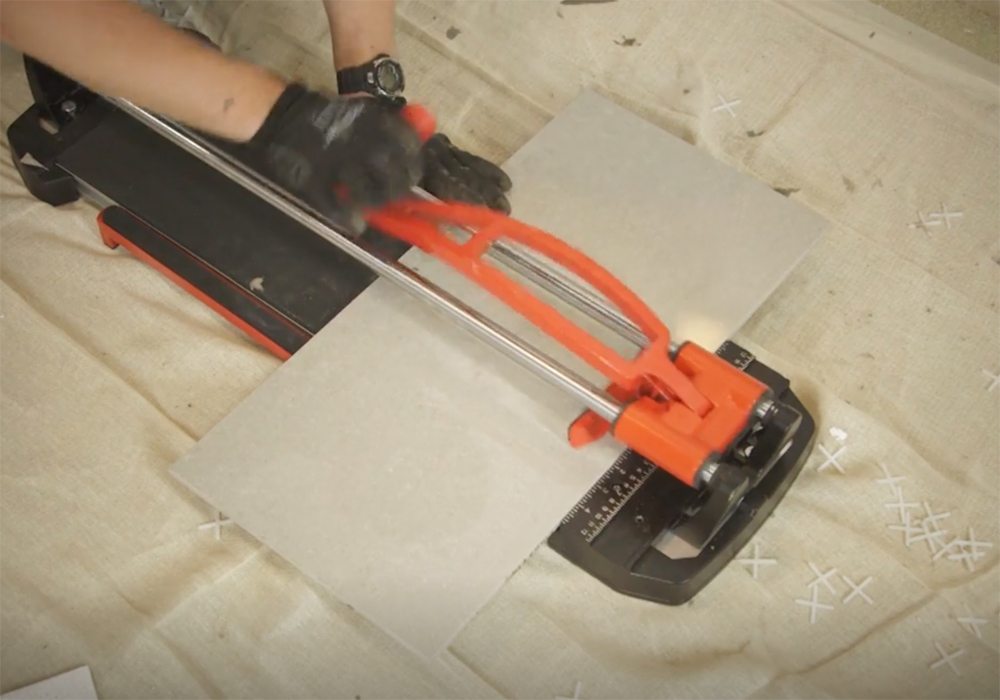
Image credit: Future Publishing Plc
7. Prepare tile cuts
When you come to the edges you may need to cut tiles to fit. Use a manual cutter that is best for straight cuts, a tile scribe for thin tiles, or an electric cutter for right-angles or curved edges, and thicker tiles such as porcelain or natural stone.
Once cut to size, use the same method to secure the tiles in the gaps on the wall.
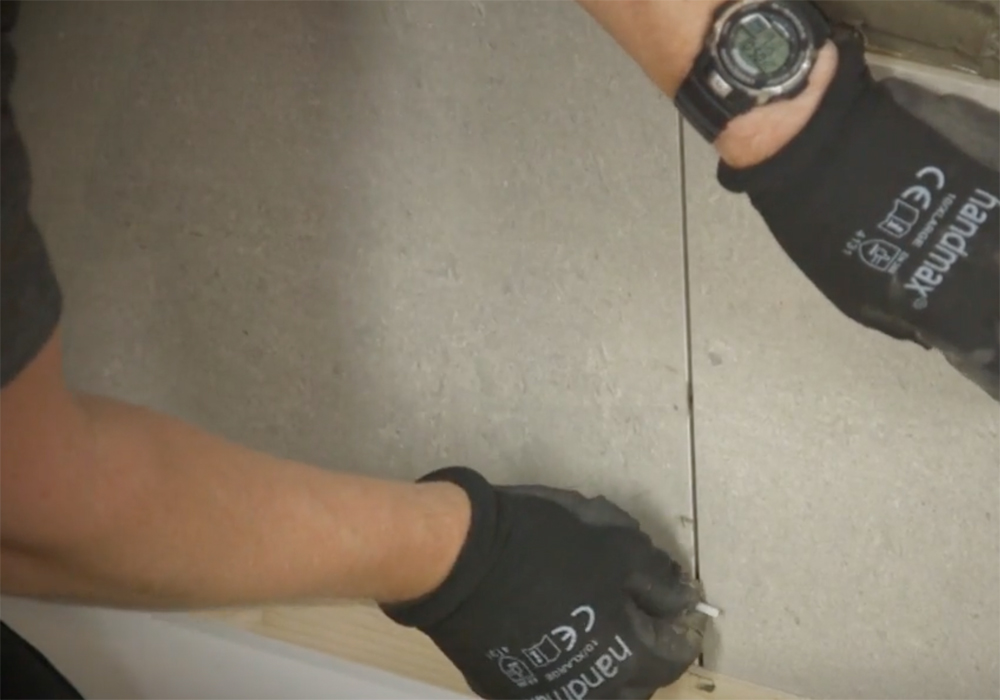
Image credit: Future Publishing Plc
8. Remove spacers
Remember that adhesive drying times may vary, so check pack instructions. Once dry, remove the spacers and any remaining excess adhesive, using a cloth and prepare your grout.
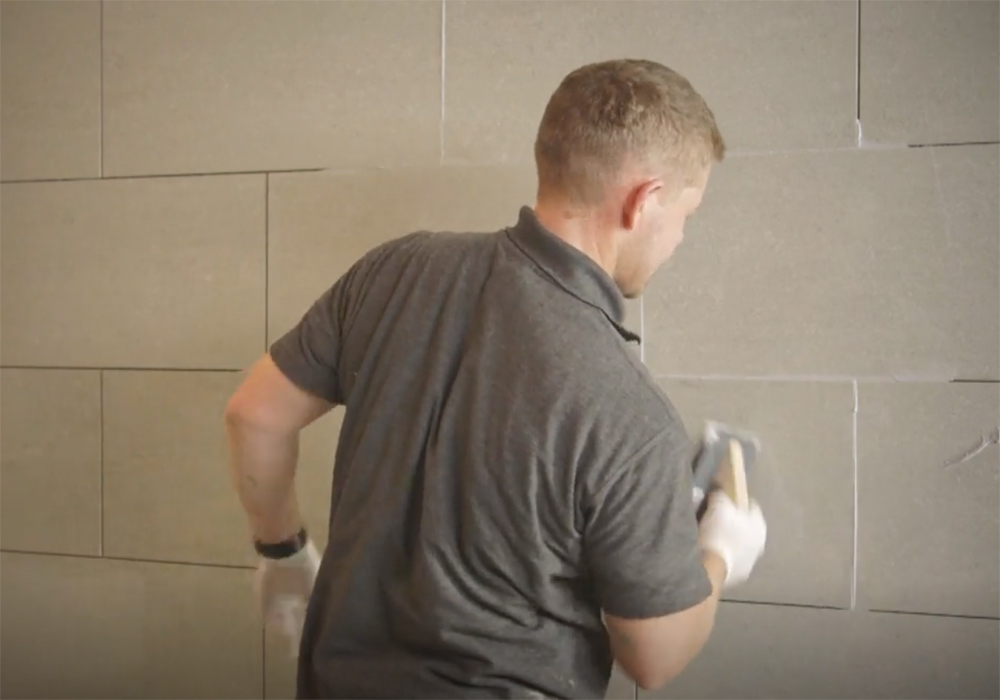
Image credit: Future Publishing Plc
9. Grout between tiles
Mix the grout powder and water in a bucket to packet instructions. Don't mix too much at once as it will set too quickly. Using a grout float, push the grout into the gaps and wipe away any access with a damp sponge.
After about an hour wipe the wall again to remove any residue and use a grout profiler to smooth the grout lines. Avoid over-wetting the grout at this stage. Our guide to how to grout tiles goes through the process in more detail, and for top tips on keeping it clean once installation is complete, our how to clean grout guide has you covered.
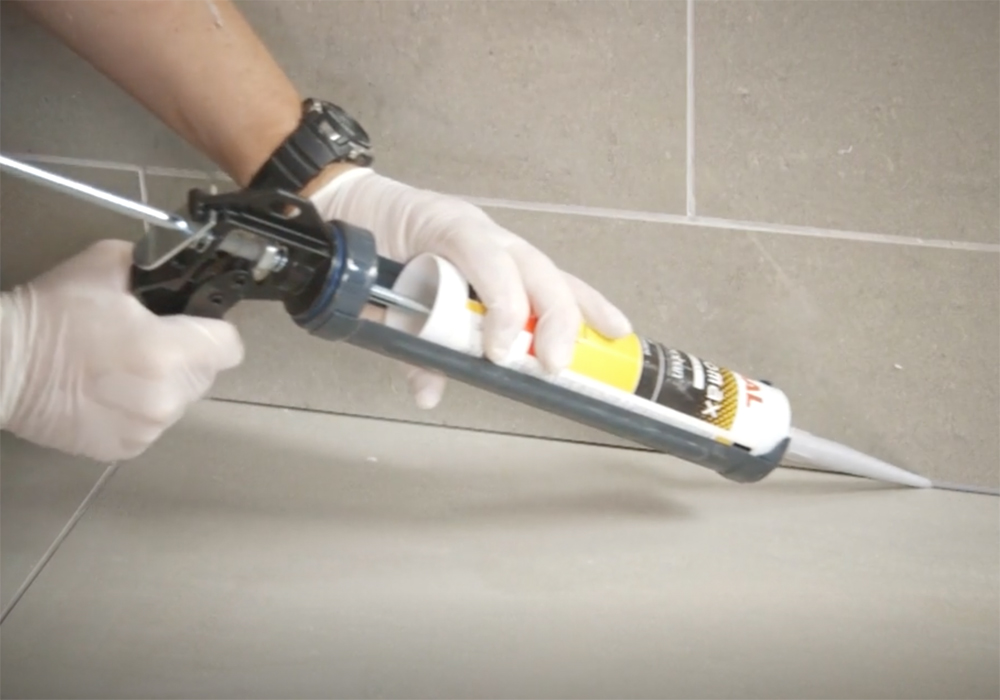
Image credit: Future Plc
10. Seal the wall
Finally use a silicone sealant to seal the edges of the wall ensuring a watertight finish. Use a caulking gun to squeeze it from the tube and use a profiler or your finger to take away any excess using rubber gloves.
Leave the sealant for 24 hours to fully cure and then your newly tiled wall is complete, with a perfect professional style result.
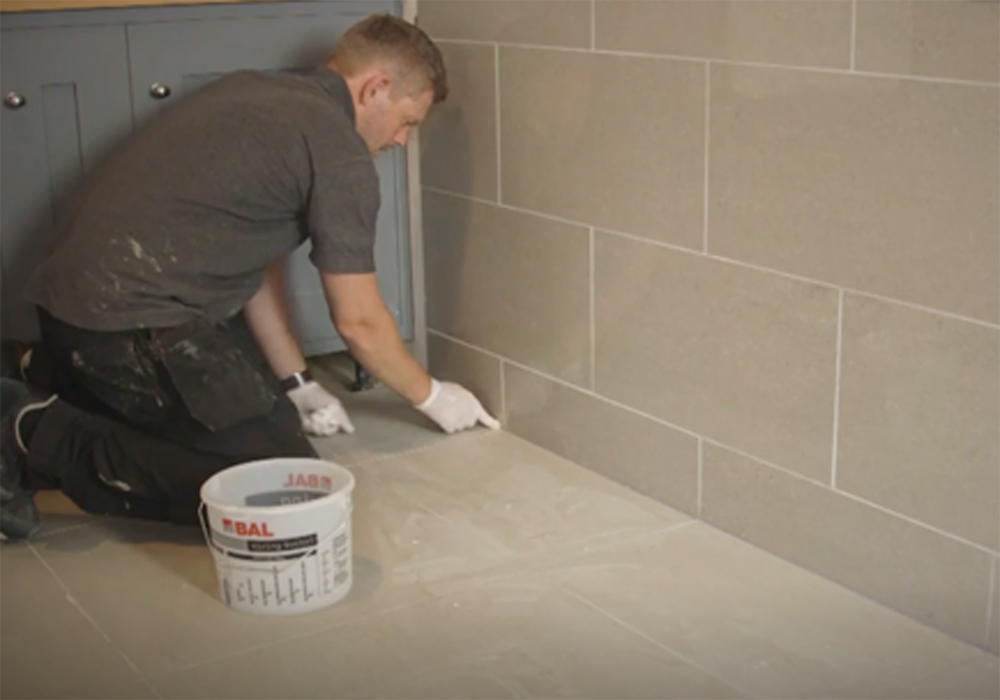
Image credit: Future Publishing Plc
Now you know how to tile a wall you can tackle any home renovation project, from tiling a kitchen splashback to making over bathroom walls.
Rachel Homer has been in the interiors publishing industry for over 15 years. Starting as a Style Assistant on Inspirations Magazine, she has since worked for some of the UK’s leading interiors magazines and websites. After starting a family, she moved from being a content editor at Idealhome.co.uk to be a digital freelancer and hasn’t looked back.