Kitchen splashbacks shouldn't cost a fortune – these 7 solutions will help you cut back on costs to spend better elsewhere
Clever ways to save some cash on your splashback

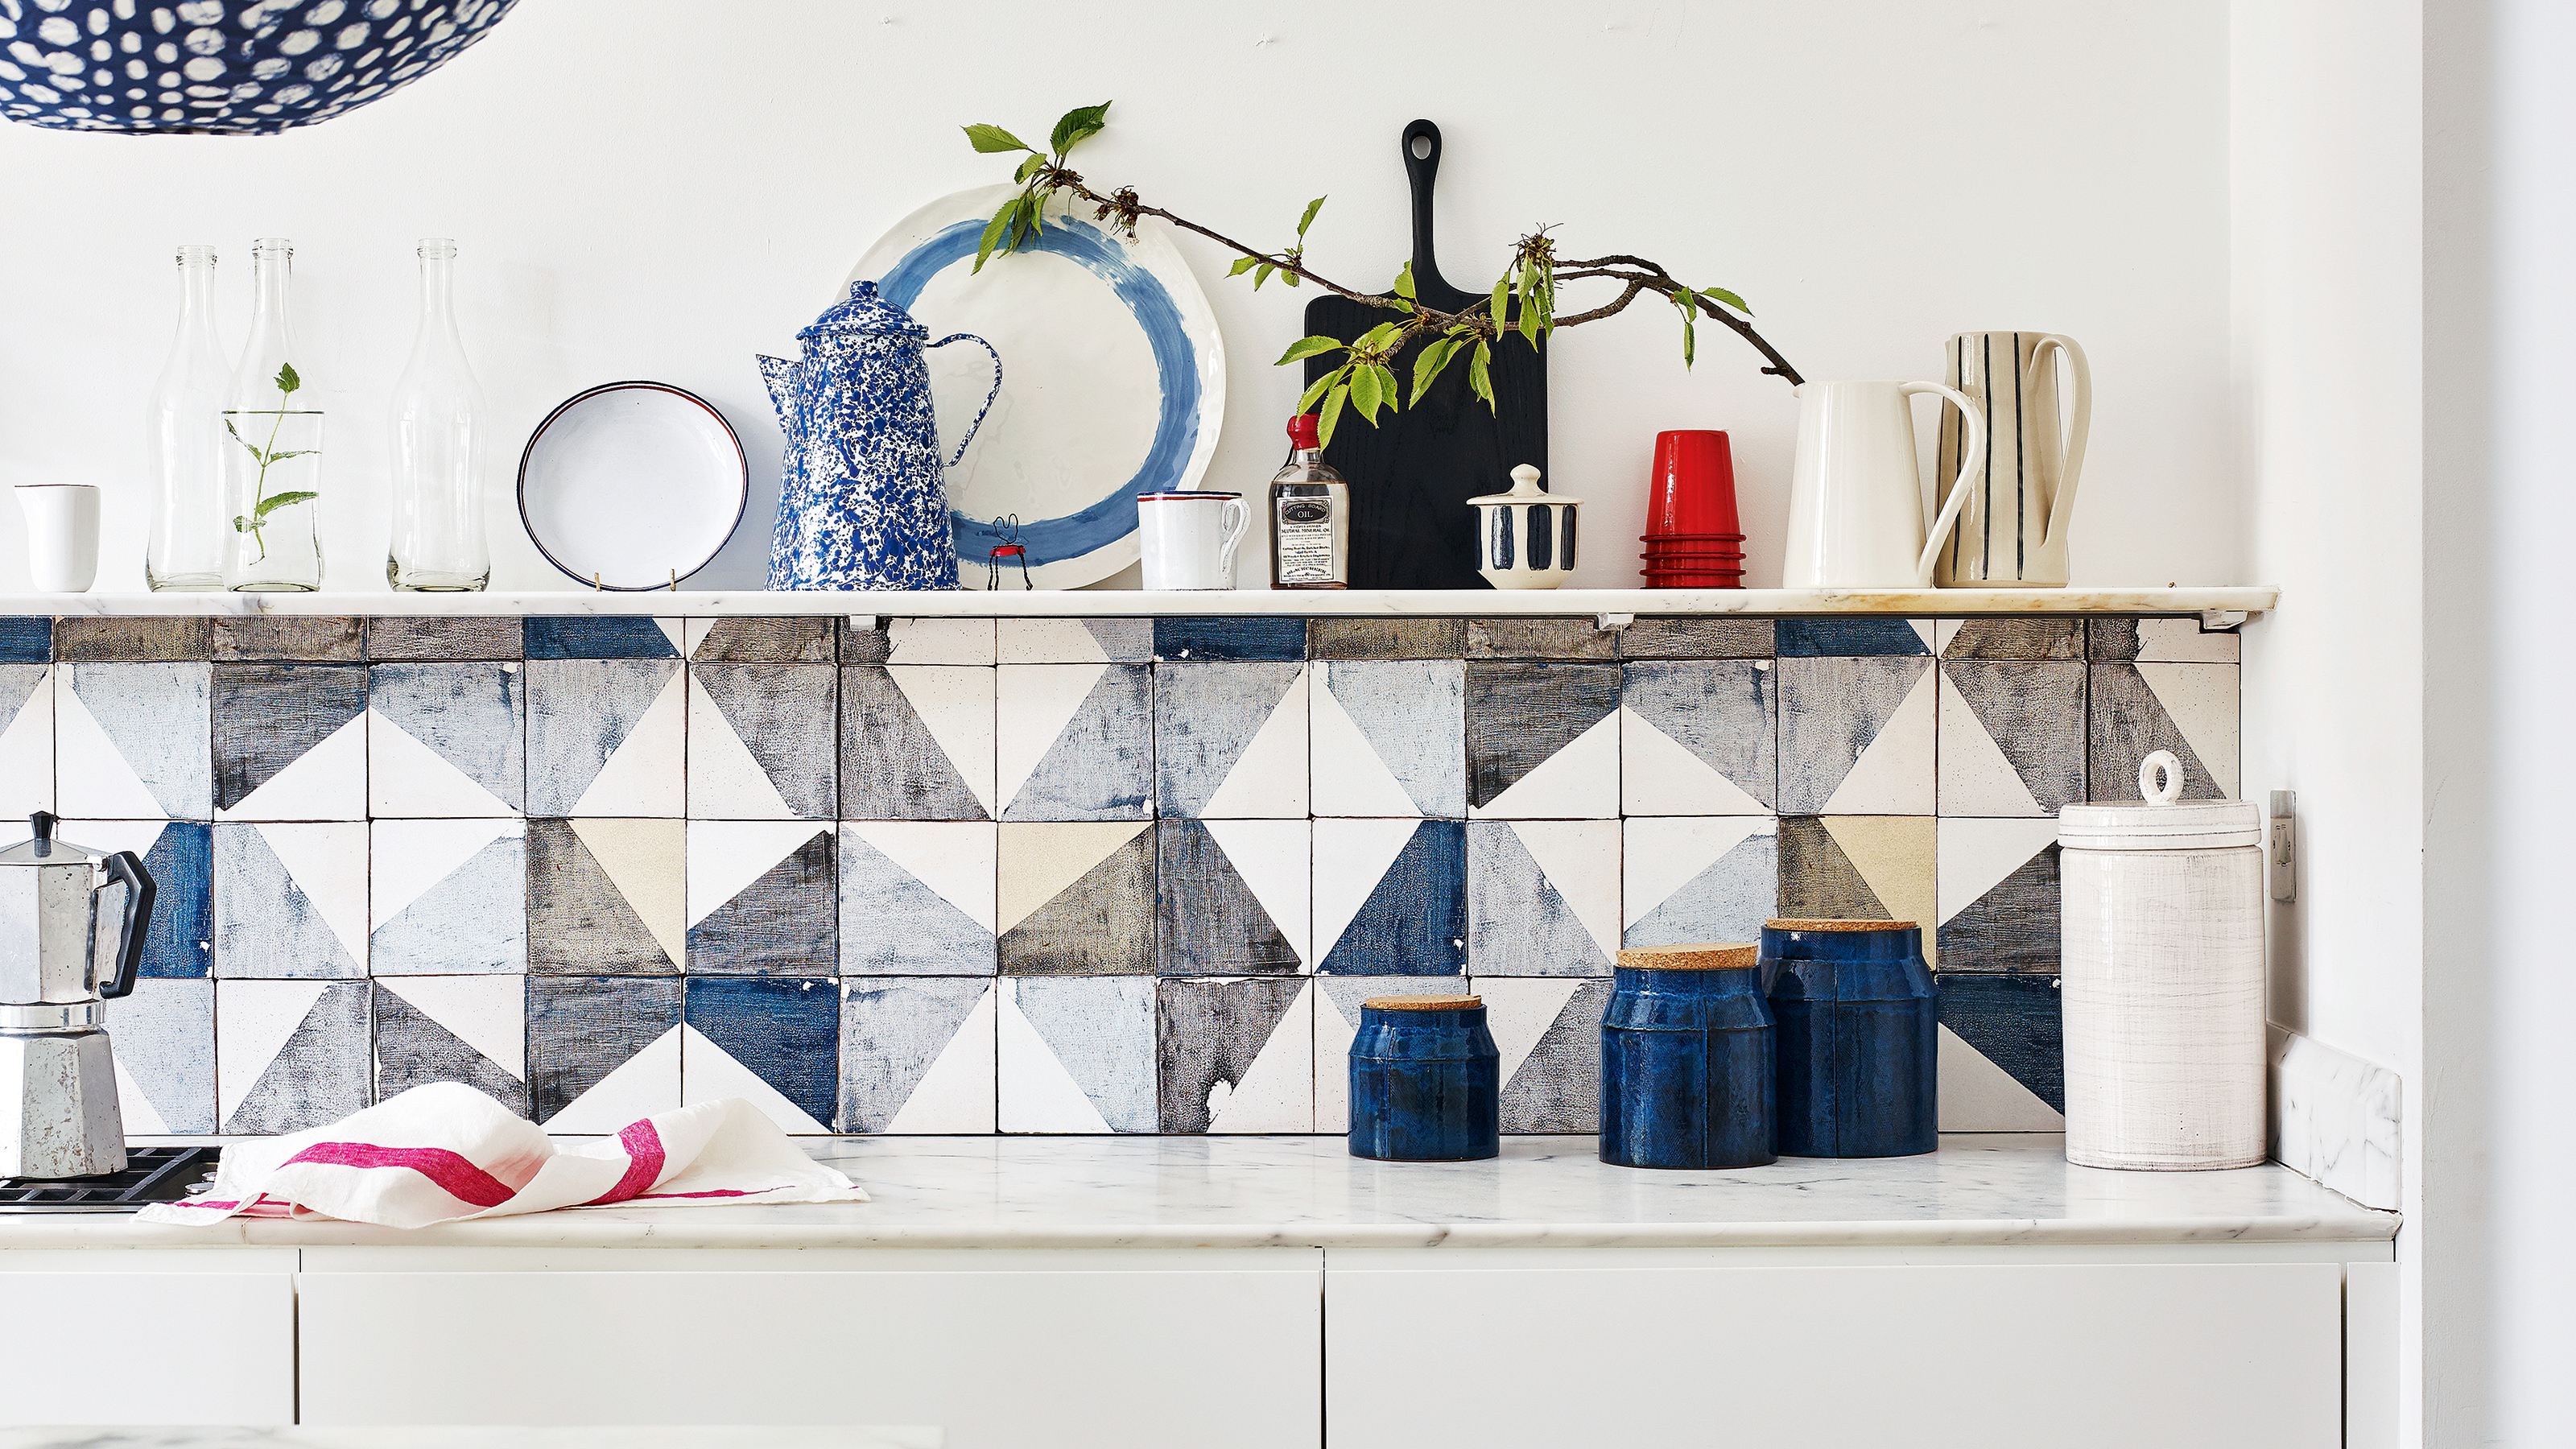
A splashback is a fairly essential part of a kitchen set-up, albeit one that might not be at the forefront of your mind when planning a kitchen refresh. But if you're looking for kitchen splashback ideas and wondering how you can save some money at the same time, then we may just have some ideas to answer the question of 'what is the cheapest way to do a kitchen splashback?'
'A splashback is designed to protect your painted walls from splashes and spills when cooking, baking and washing up,' explains Emma Britton, decorative glass designer, which is why it's not worth skipping on them.
But we all know how expensive a kitchen redo can be and that's where budget kitchen ideas really come into their own. While there are some corners that can't (or at least shouldn't) be cut, being smart with your splashback could be where you claw back some cash to invest in other areas of the kitchen.
1. Opt for Aluminium (but not as you know it...)
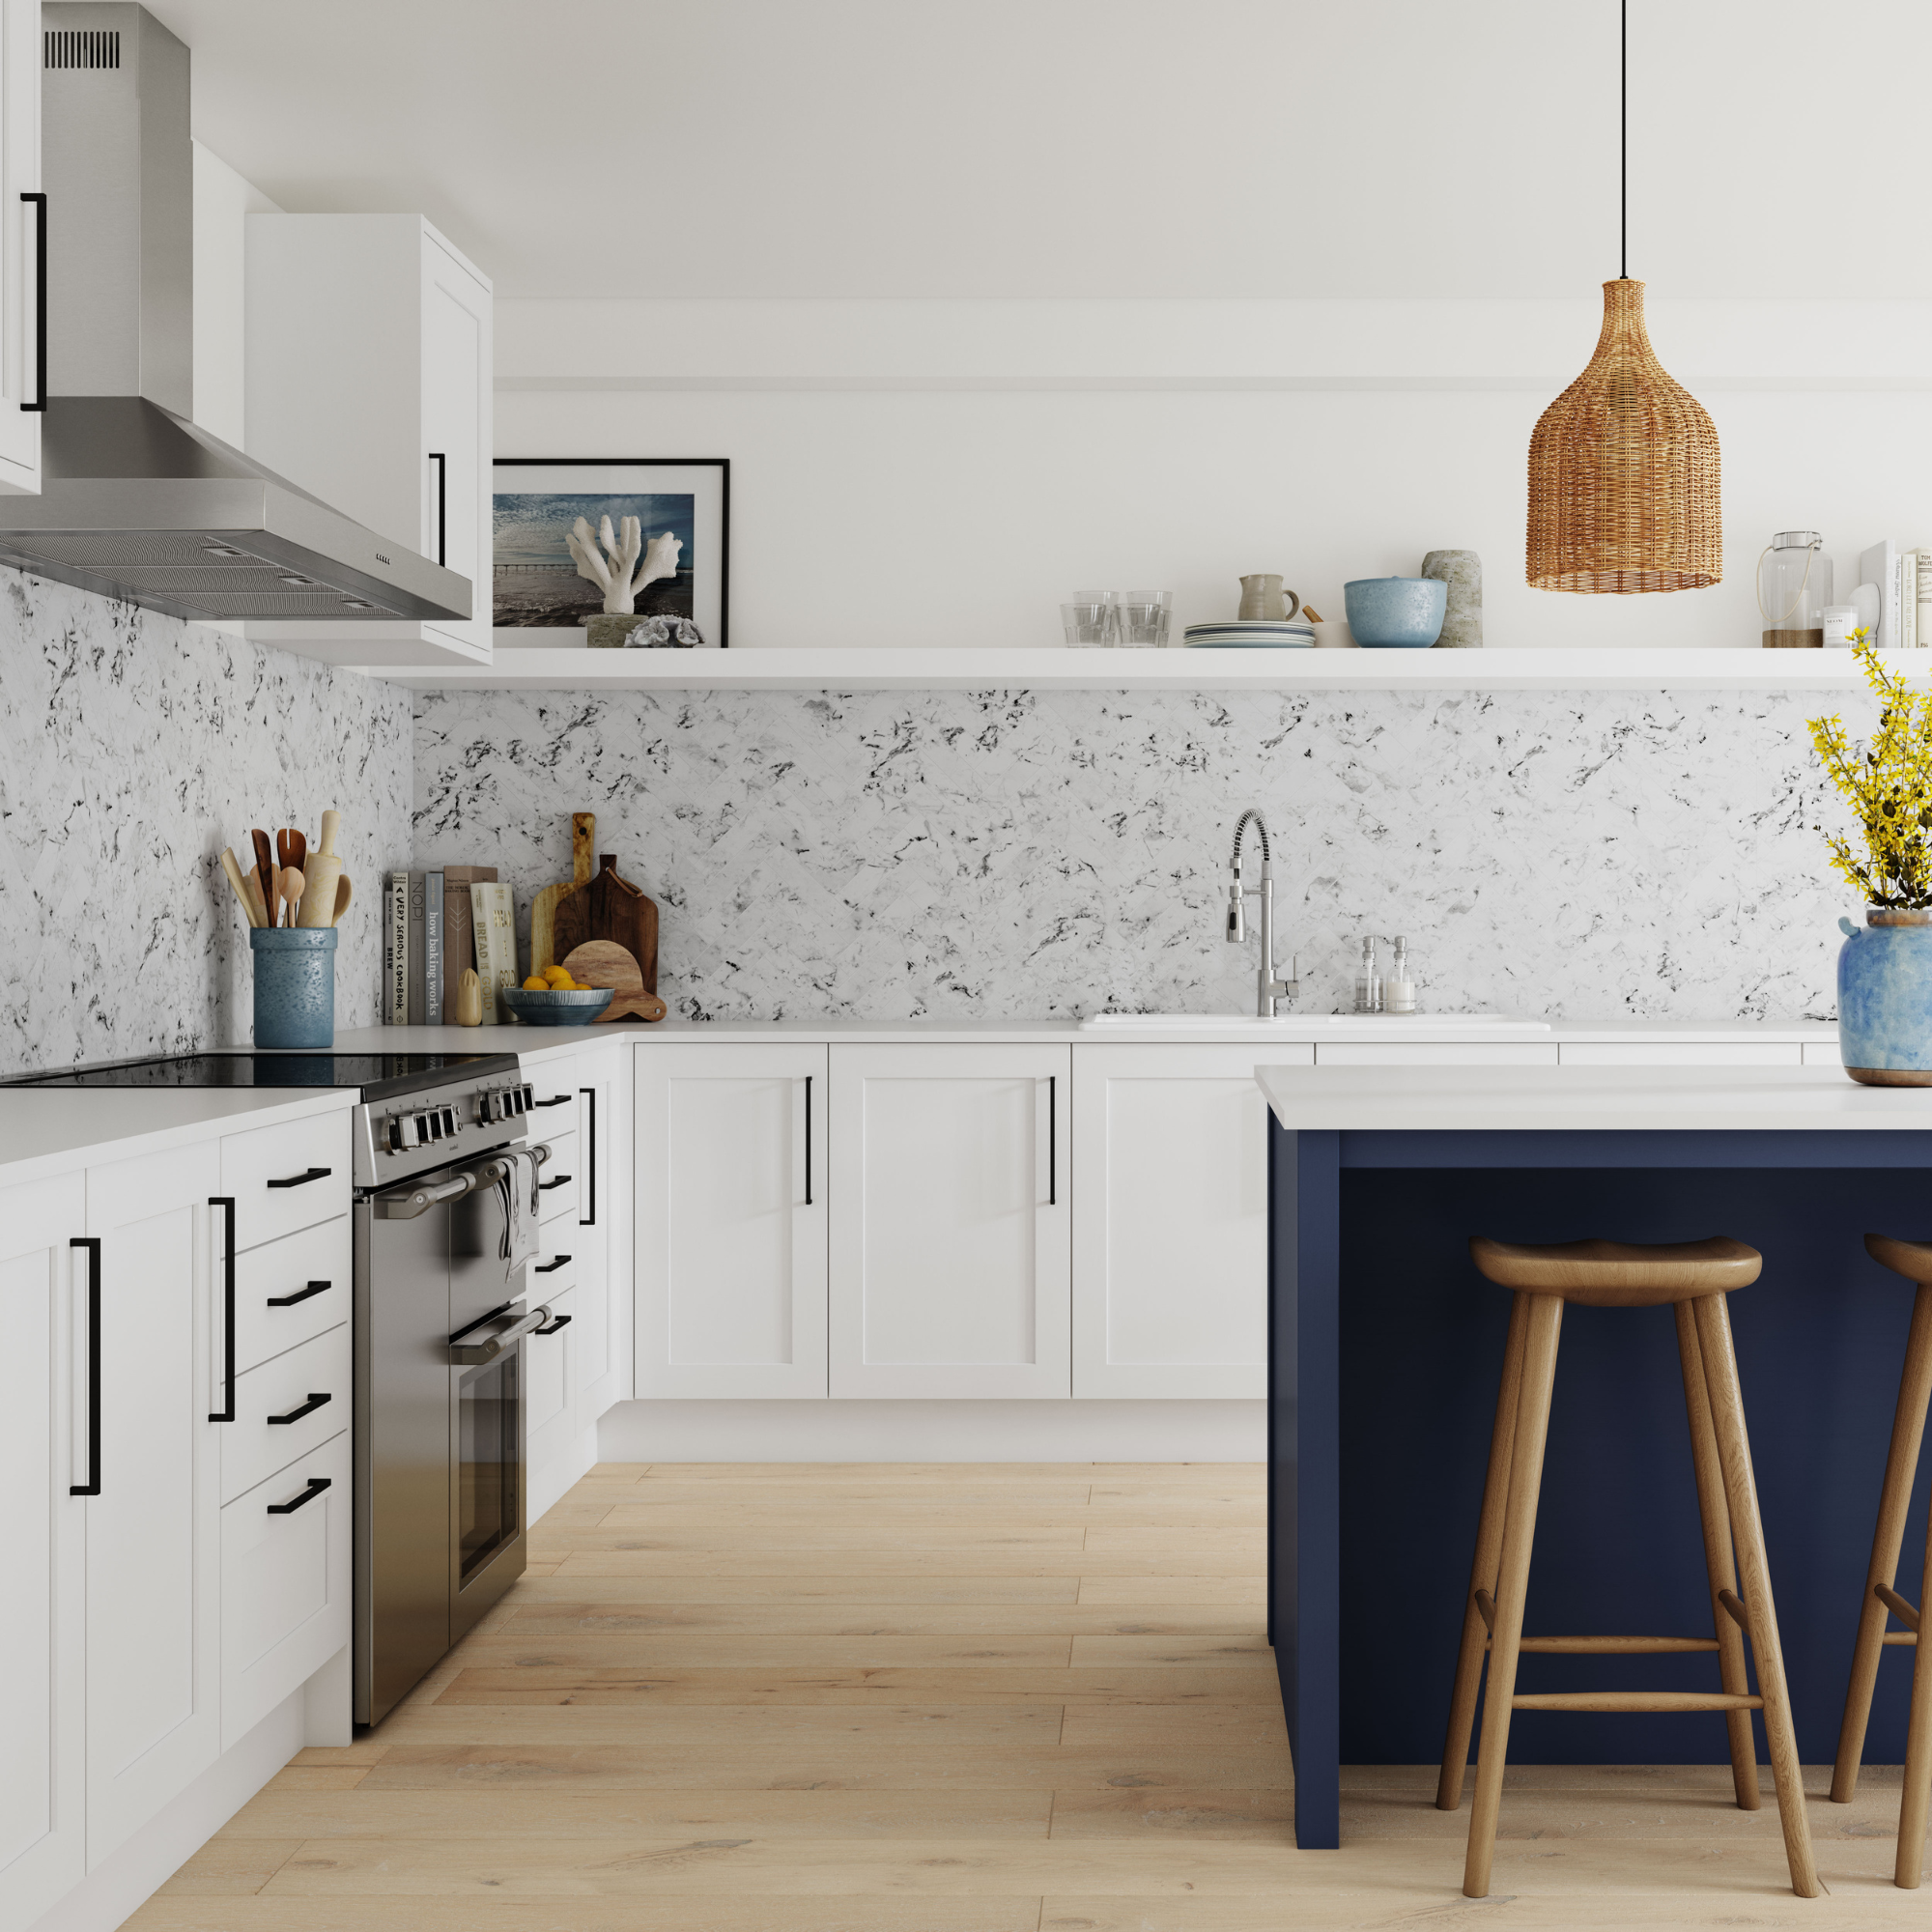
'If you’re renovating on a budget, one of the most cost-effective ways to update your kitchen splashbacks is to consider large format, grout-free wall panelling, which can be applied over existing tiles', advises Emma-Louise Braham, product manager for Alloy Kitchen Splashback.
'This reduces the need for removing old tiles, replastering, or extensive pre-work, which can quickly add up when costing through everything that’s needed for a kitchen refresh.'
'Aluminium splashback panels are a great go-to solution; they’re quick and simple to install and come in a great choice of finishes that appeal to the widest range of interior design tastes.'
2. Go for glass
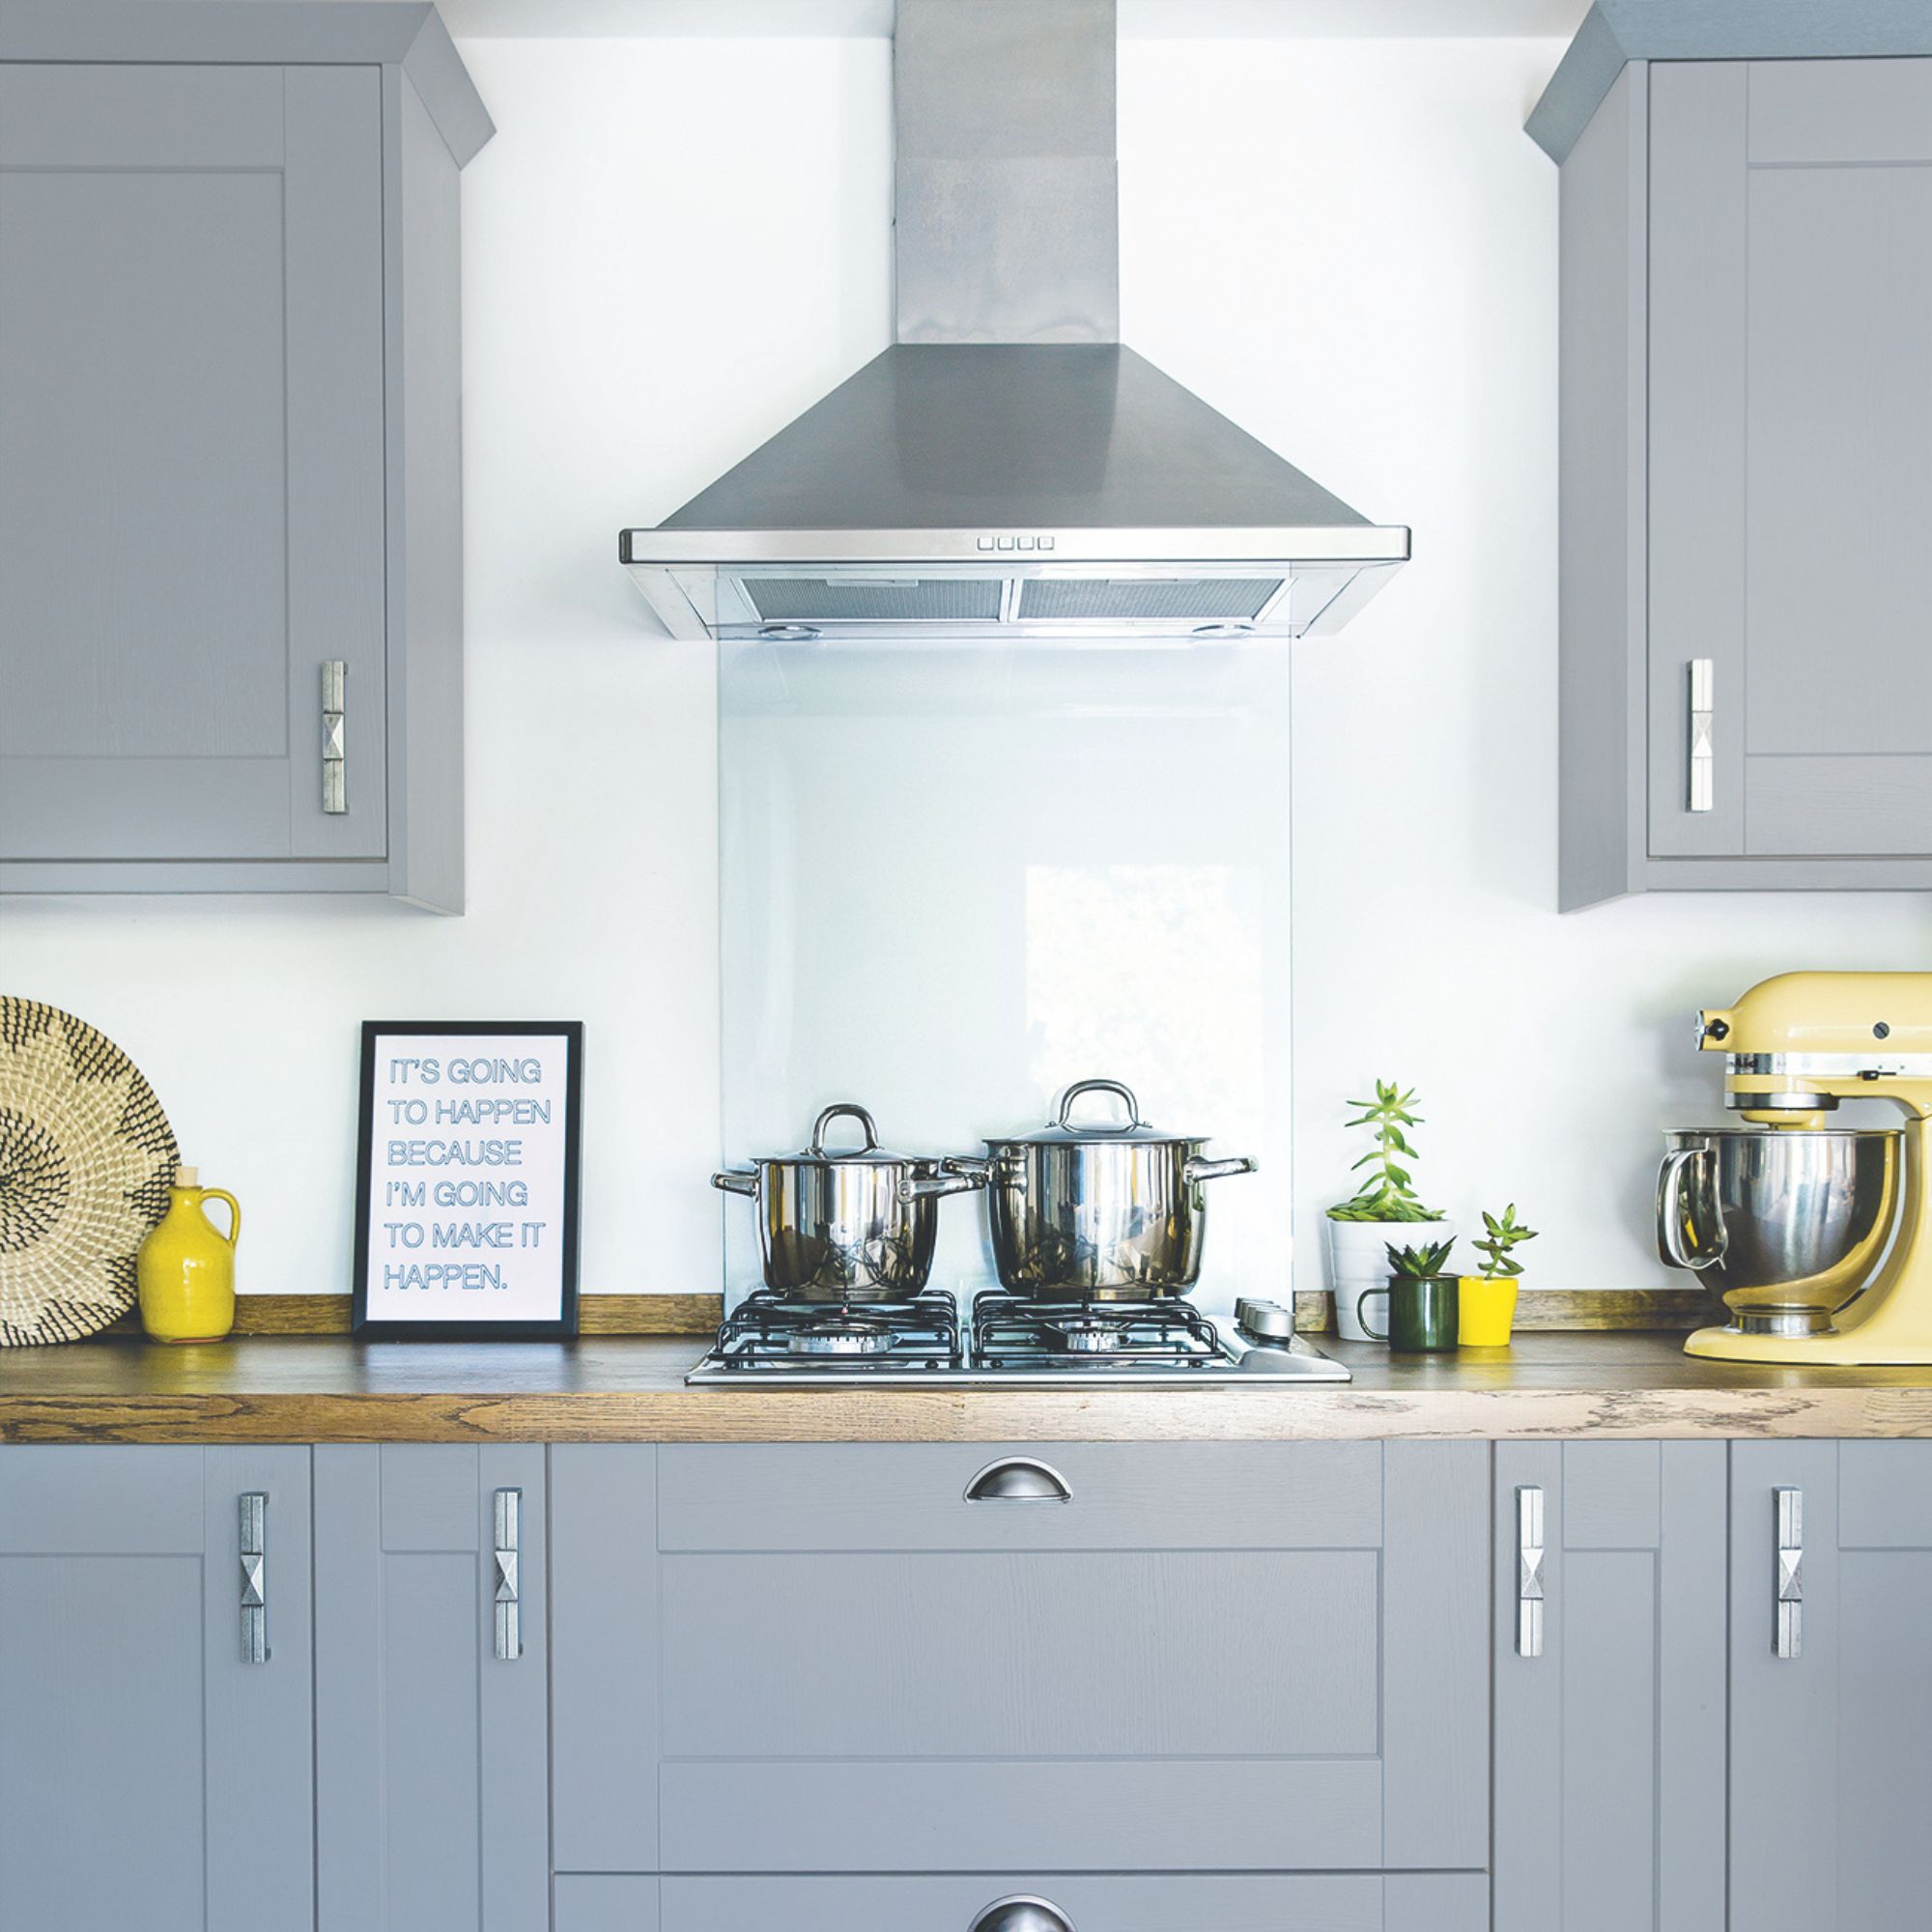
'The best kitchen splashbacks are non-porous and easy to clean like glass,' comments Emma, 'and if your budget is tight, just focus on a small area to keep the cost of a splashback low, like directly behind your hob.'
Sign up to our newsletter for style inspiration, real homes, project and garden advice and shopping know-how
'However while this is a clever small kitchen idea, if you’re a messy cook you may find yourself continuously making good those parts of the wall you didn’t cover!', Emma explains.
But glass is a great option for a splashback in your kitchen as it is so readily available and can be cut to any size. You can even source it from your local glass merchant, it doesn't have to be from a specialist glass splashback supplier. If you do go for this option though, it's best to ask for the glass to be toughened to ensure it can withstand the heat from your hob.
You could even back the glass with wallpaper from other areas of the room or rooms in your house to tie a look together, great for continuity of style.
3. Try out tiles
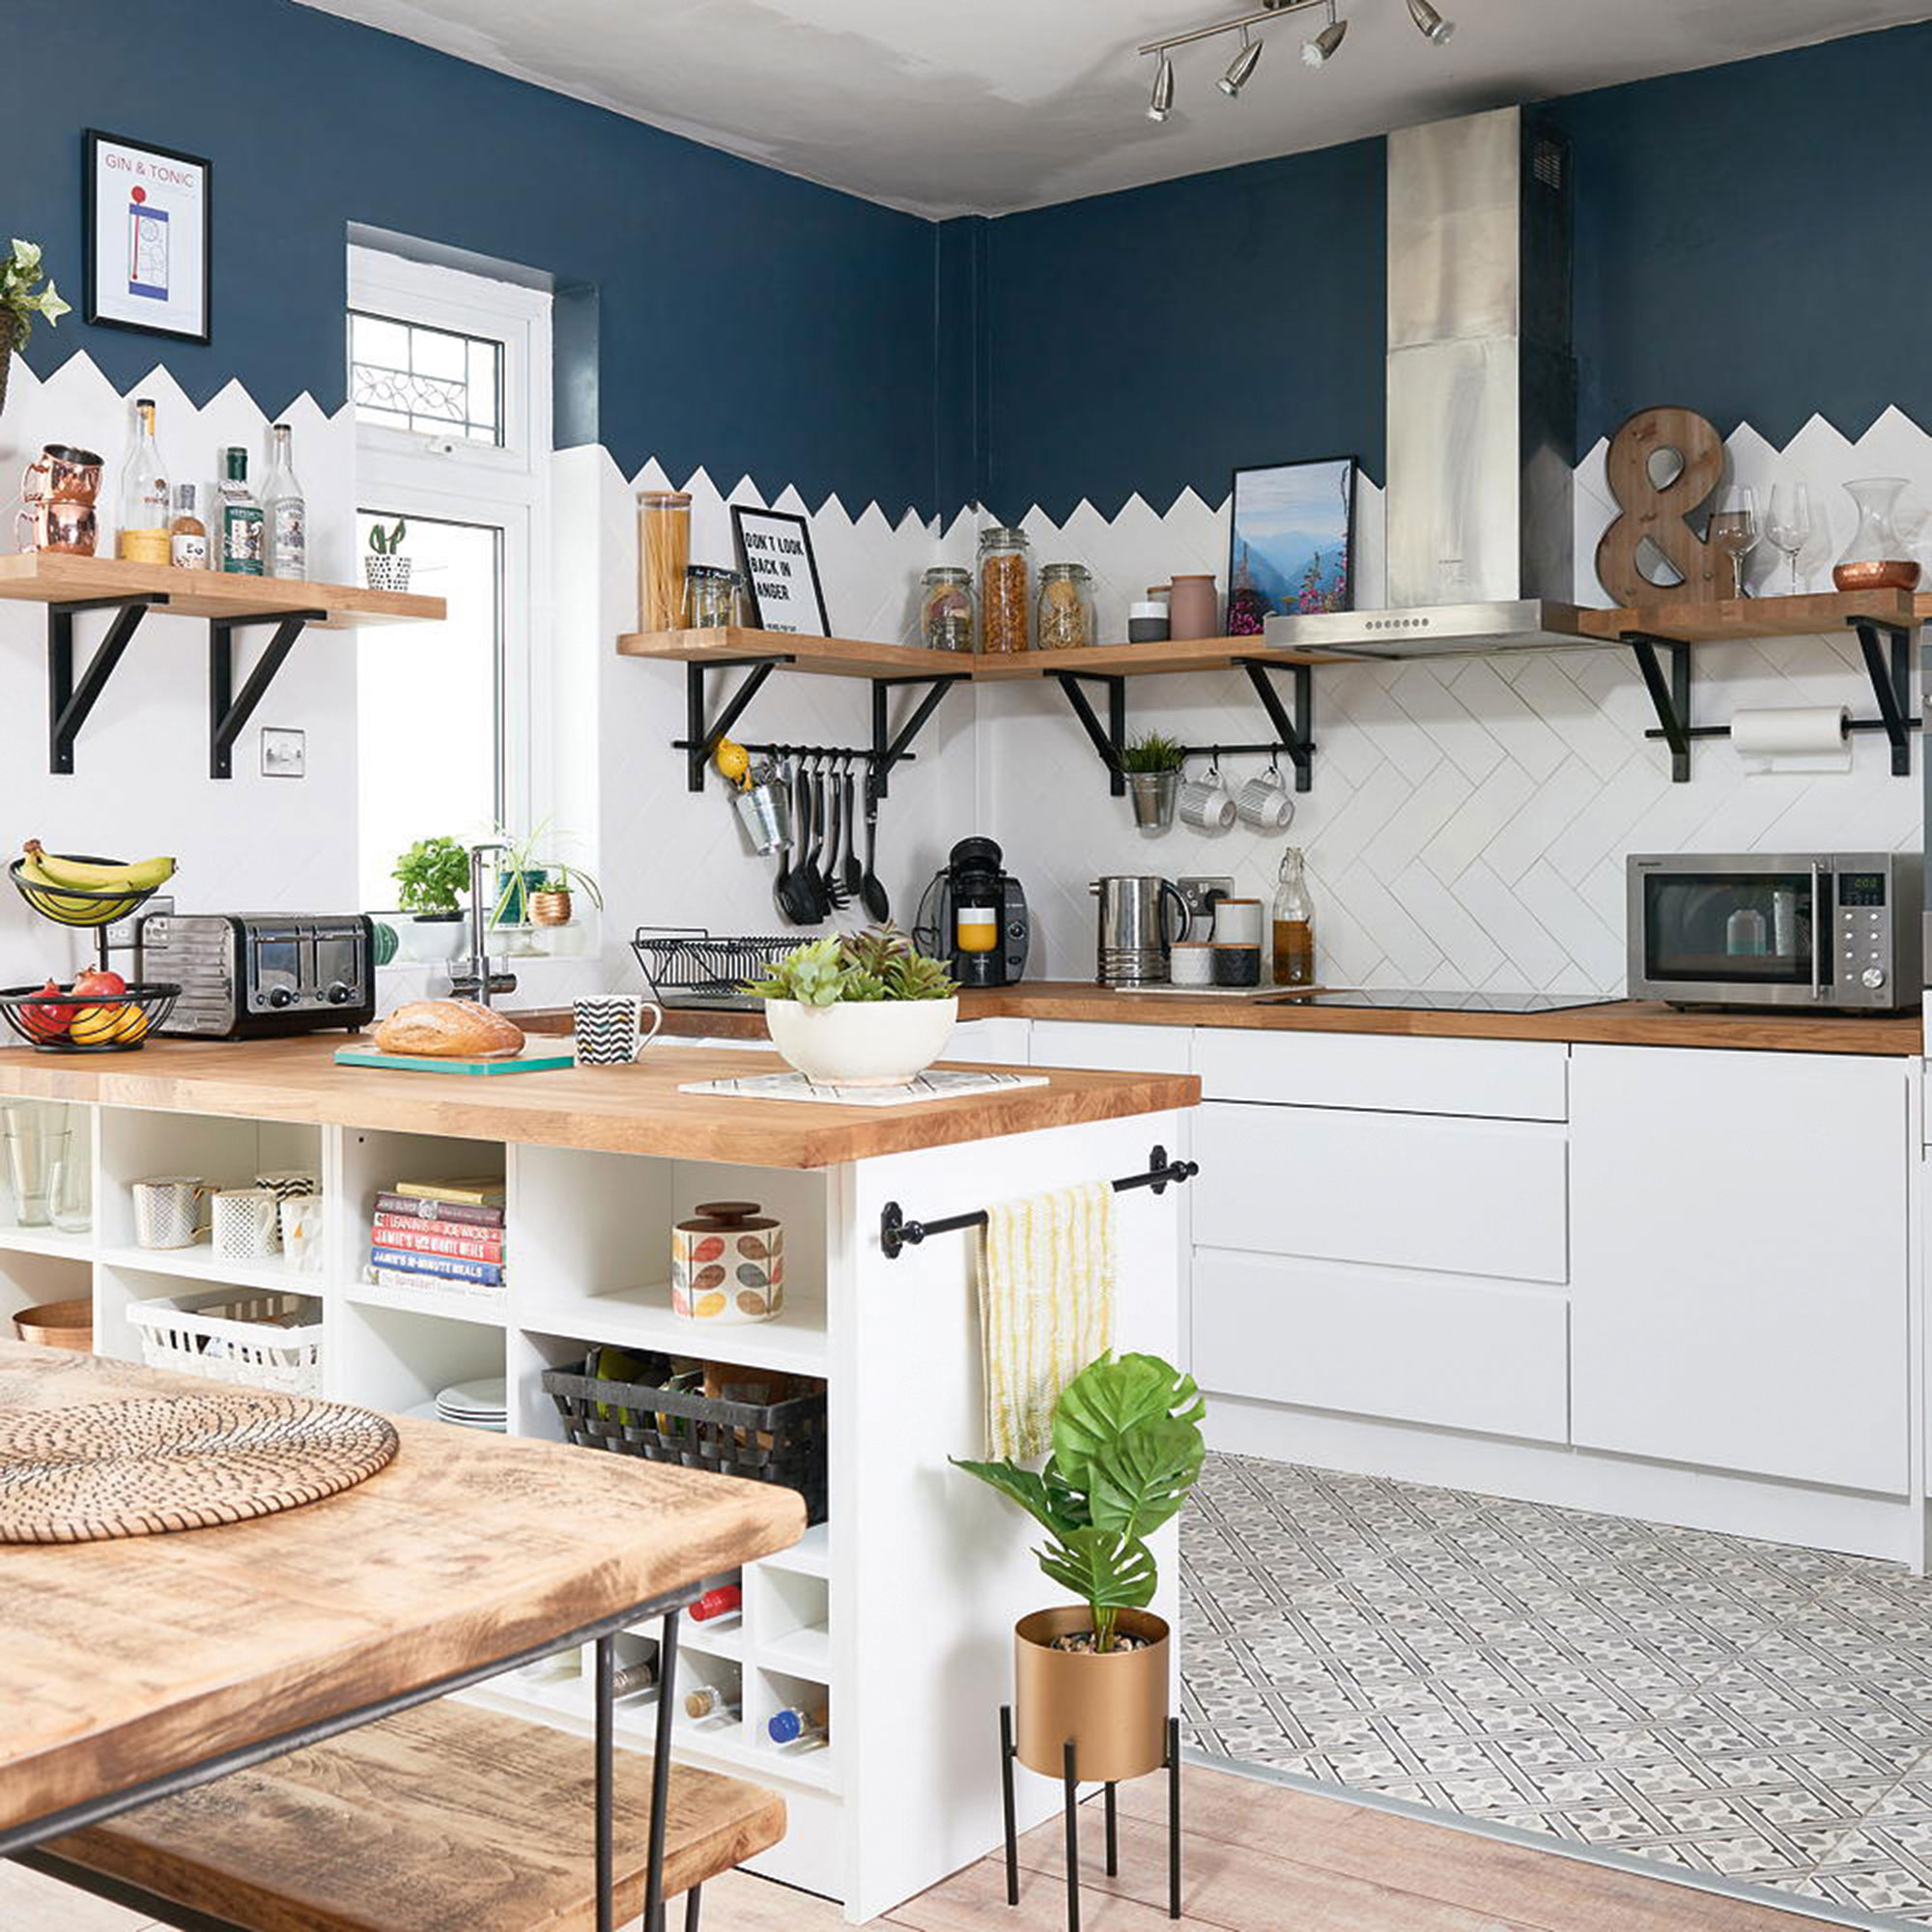
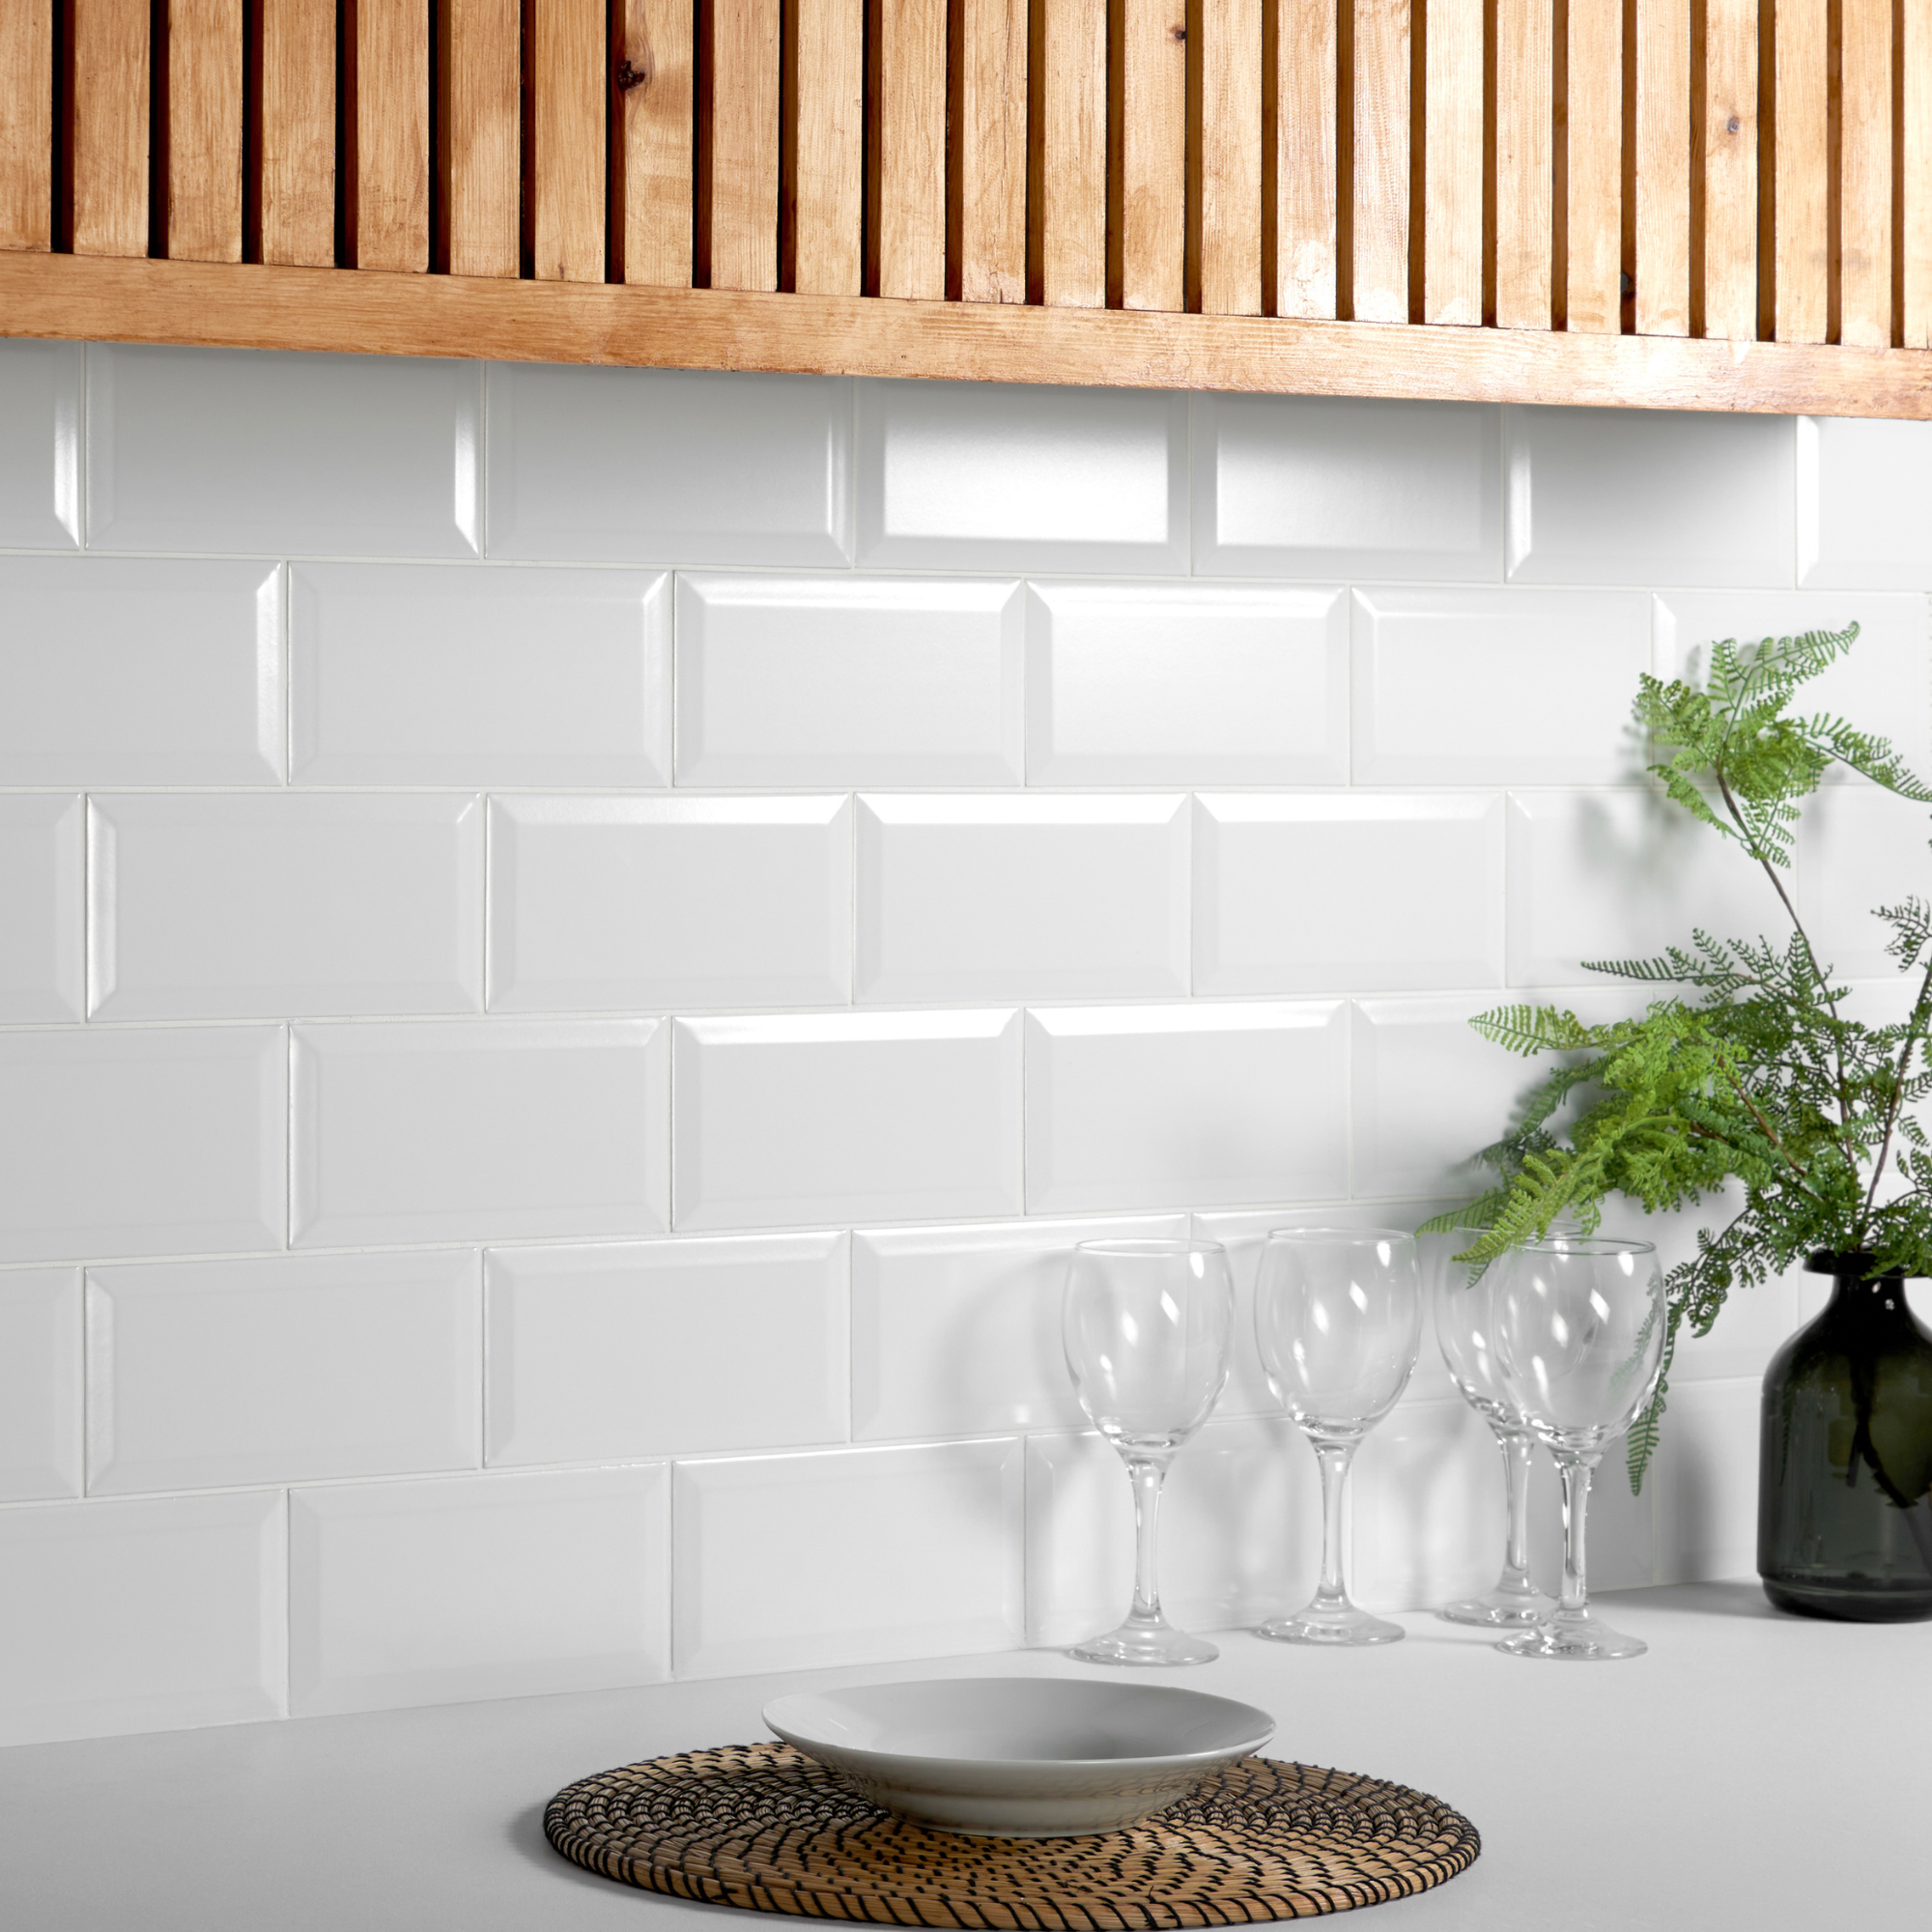
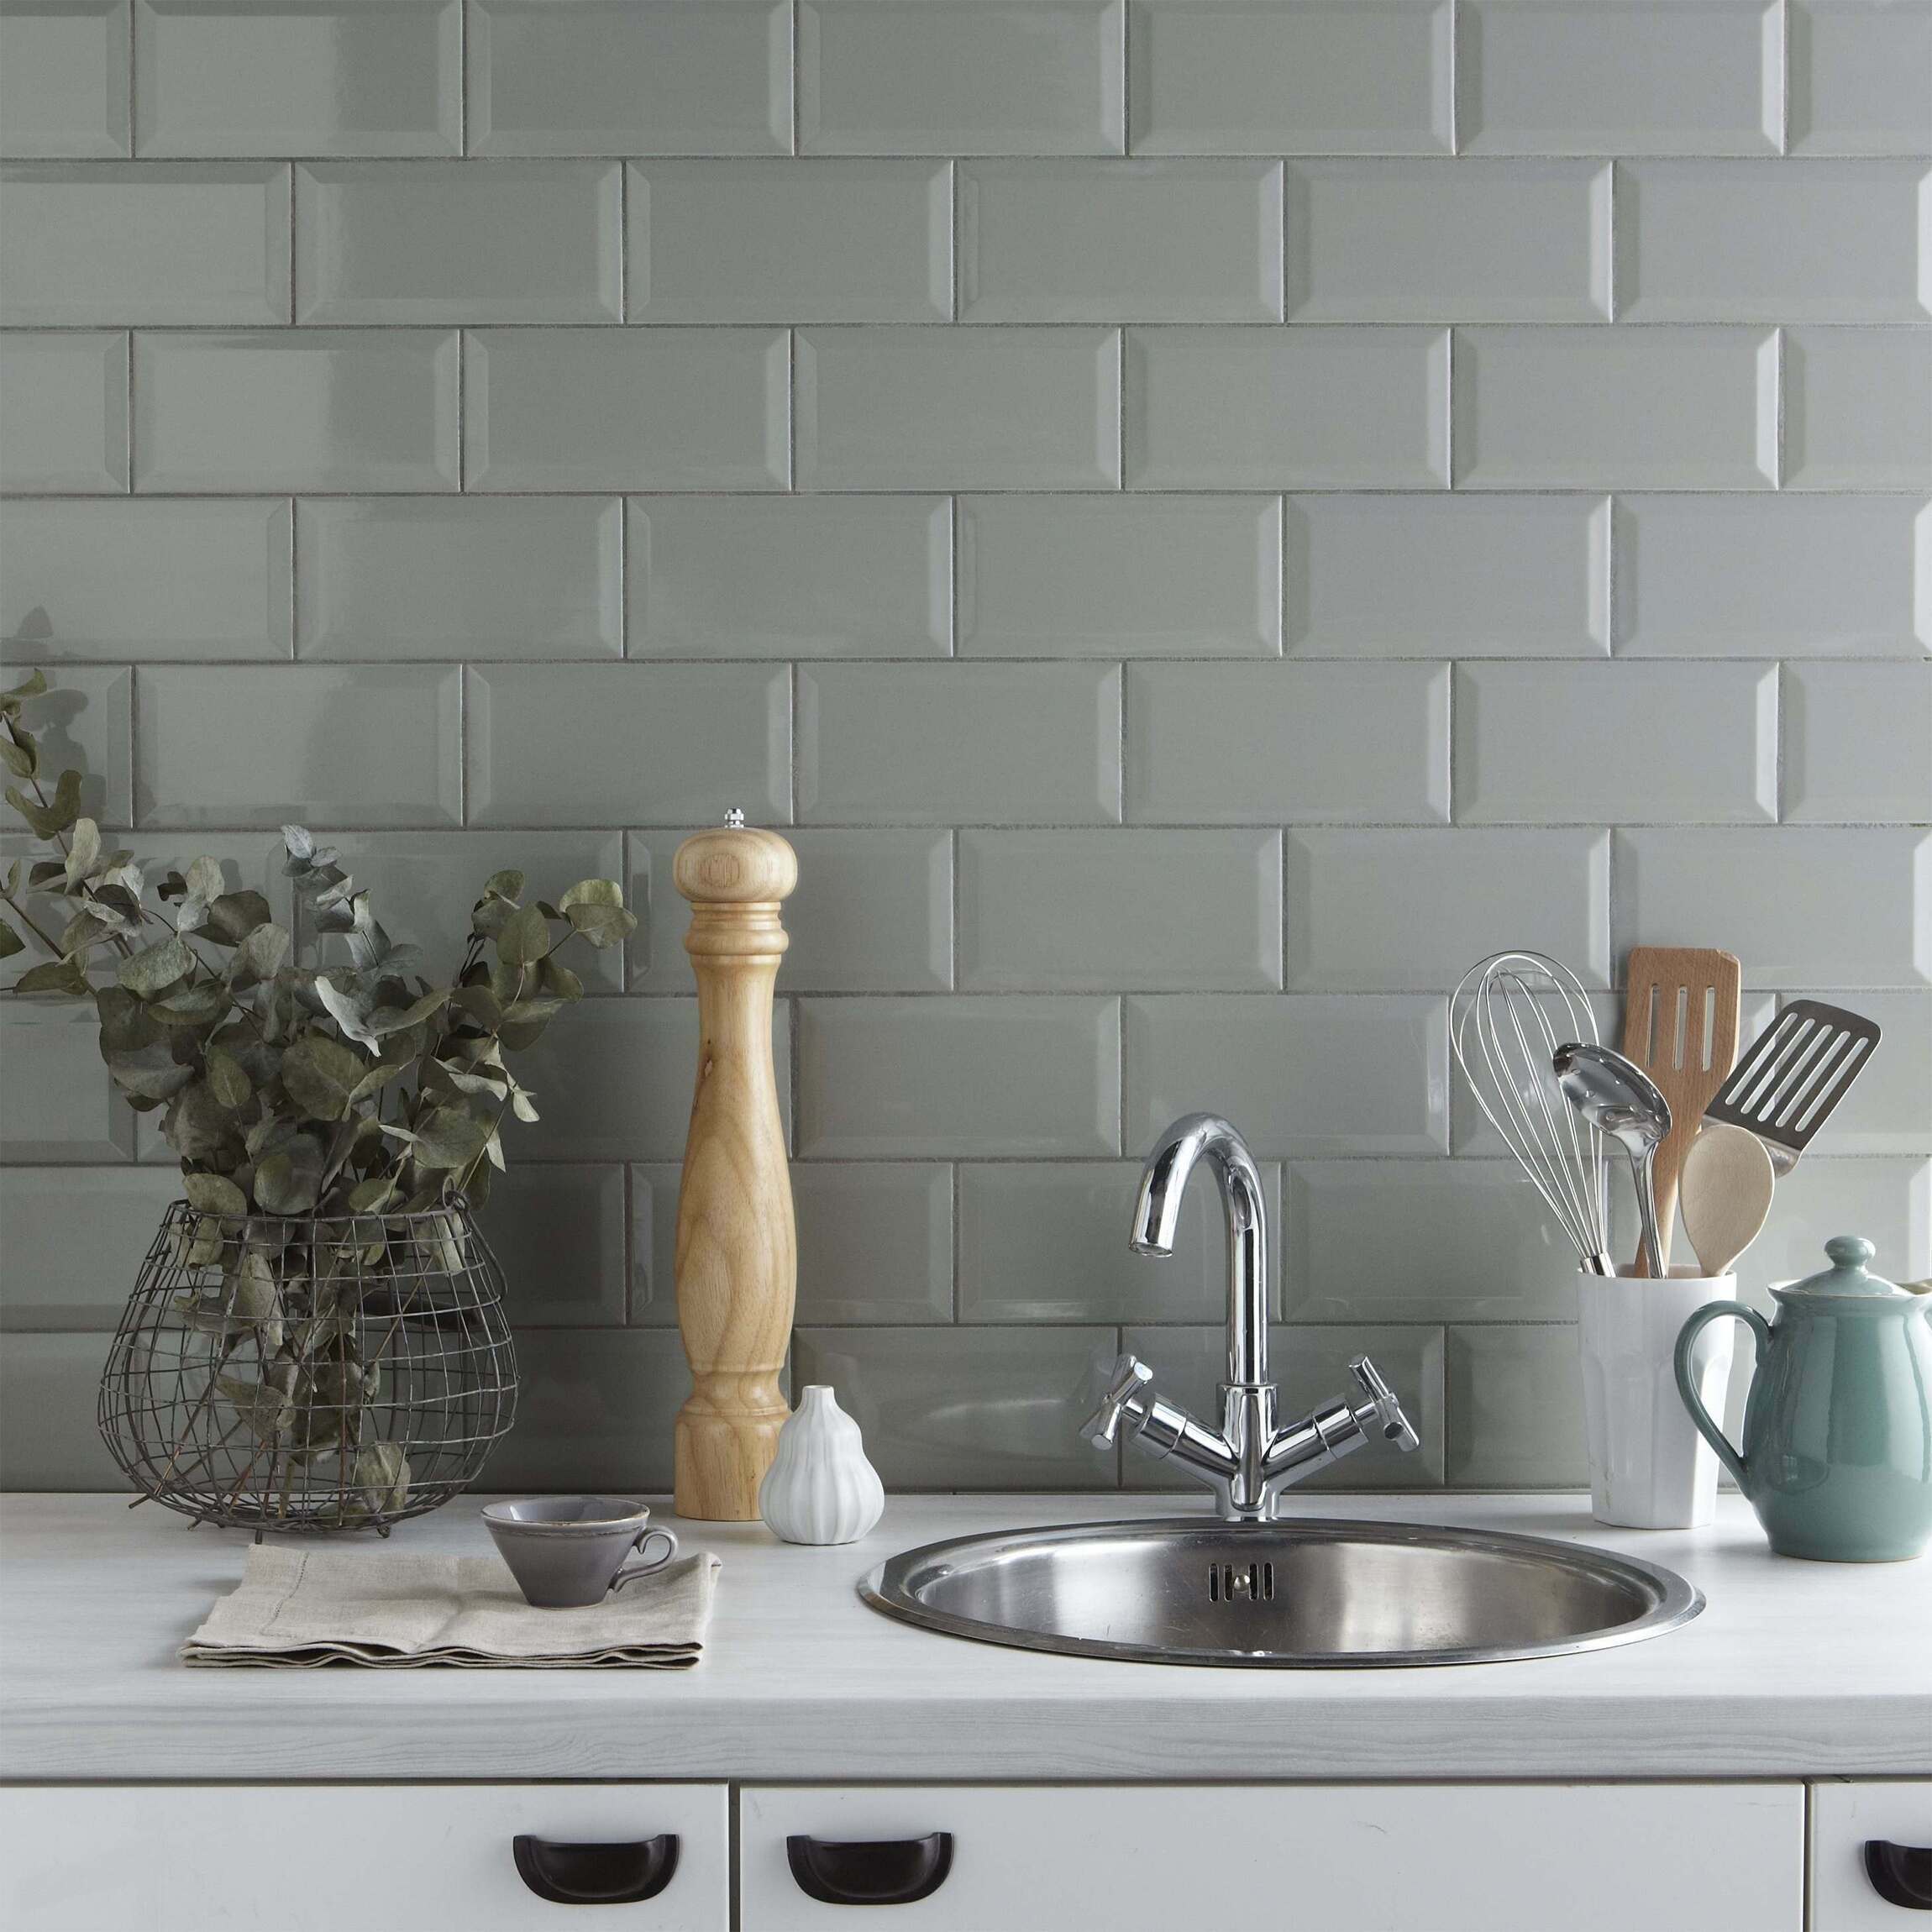
Another answer to what is the cheapest way to do a splashback is to use simple and cost-effective metro tiles. As kitchen tile ideas go, plain white metro tiles are super budget-friendly but still look great, allowing you to get creative with how you use them.
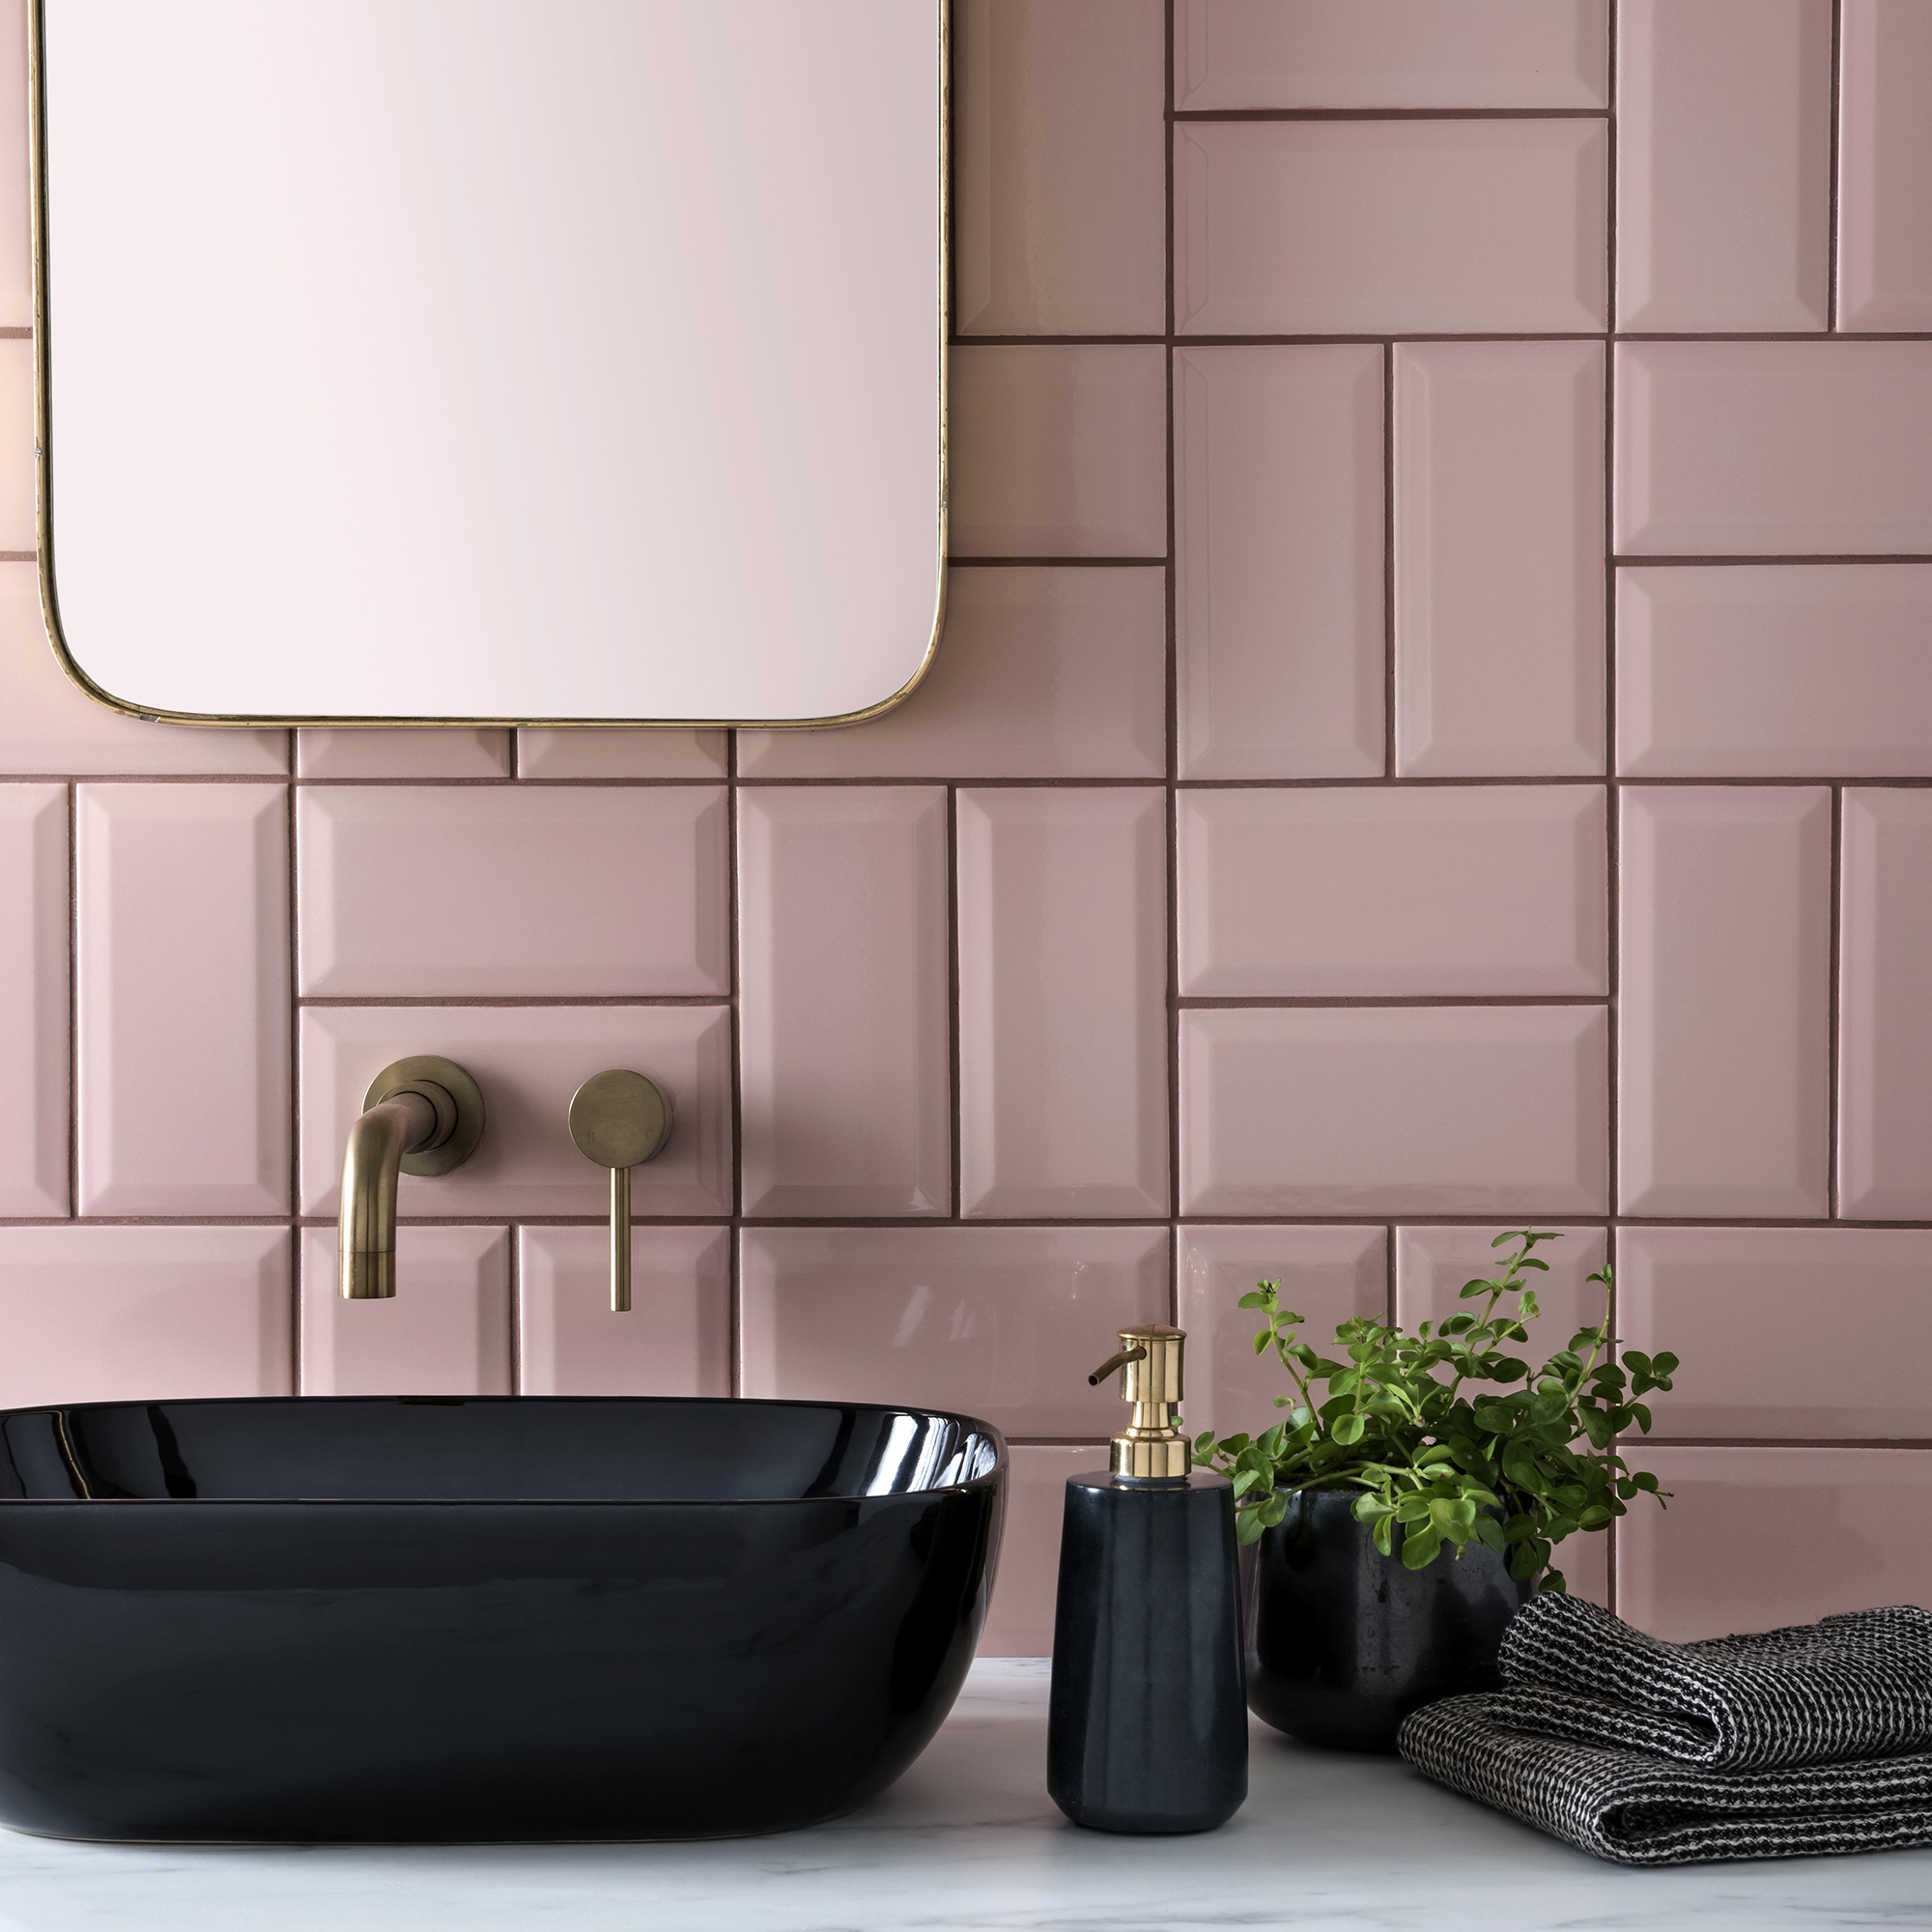
If you want to keep costs to an absolute minimum, run just a couple of rows up the wall above your worktop, keeping it sleek and simple. But if your budget allows you to spend a little more, opt to tile further up the wall, and lay the tiles in a herringbone formation, just like the homeowner above has.
Not only is a good proportion of your wall protected from spills and splashes but it also becomes a design feature in your kitchen, turning a humble kitchen splashback into something more exciting.
4. Style it out with stick-ons
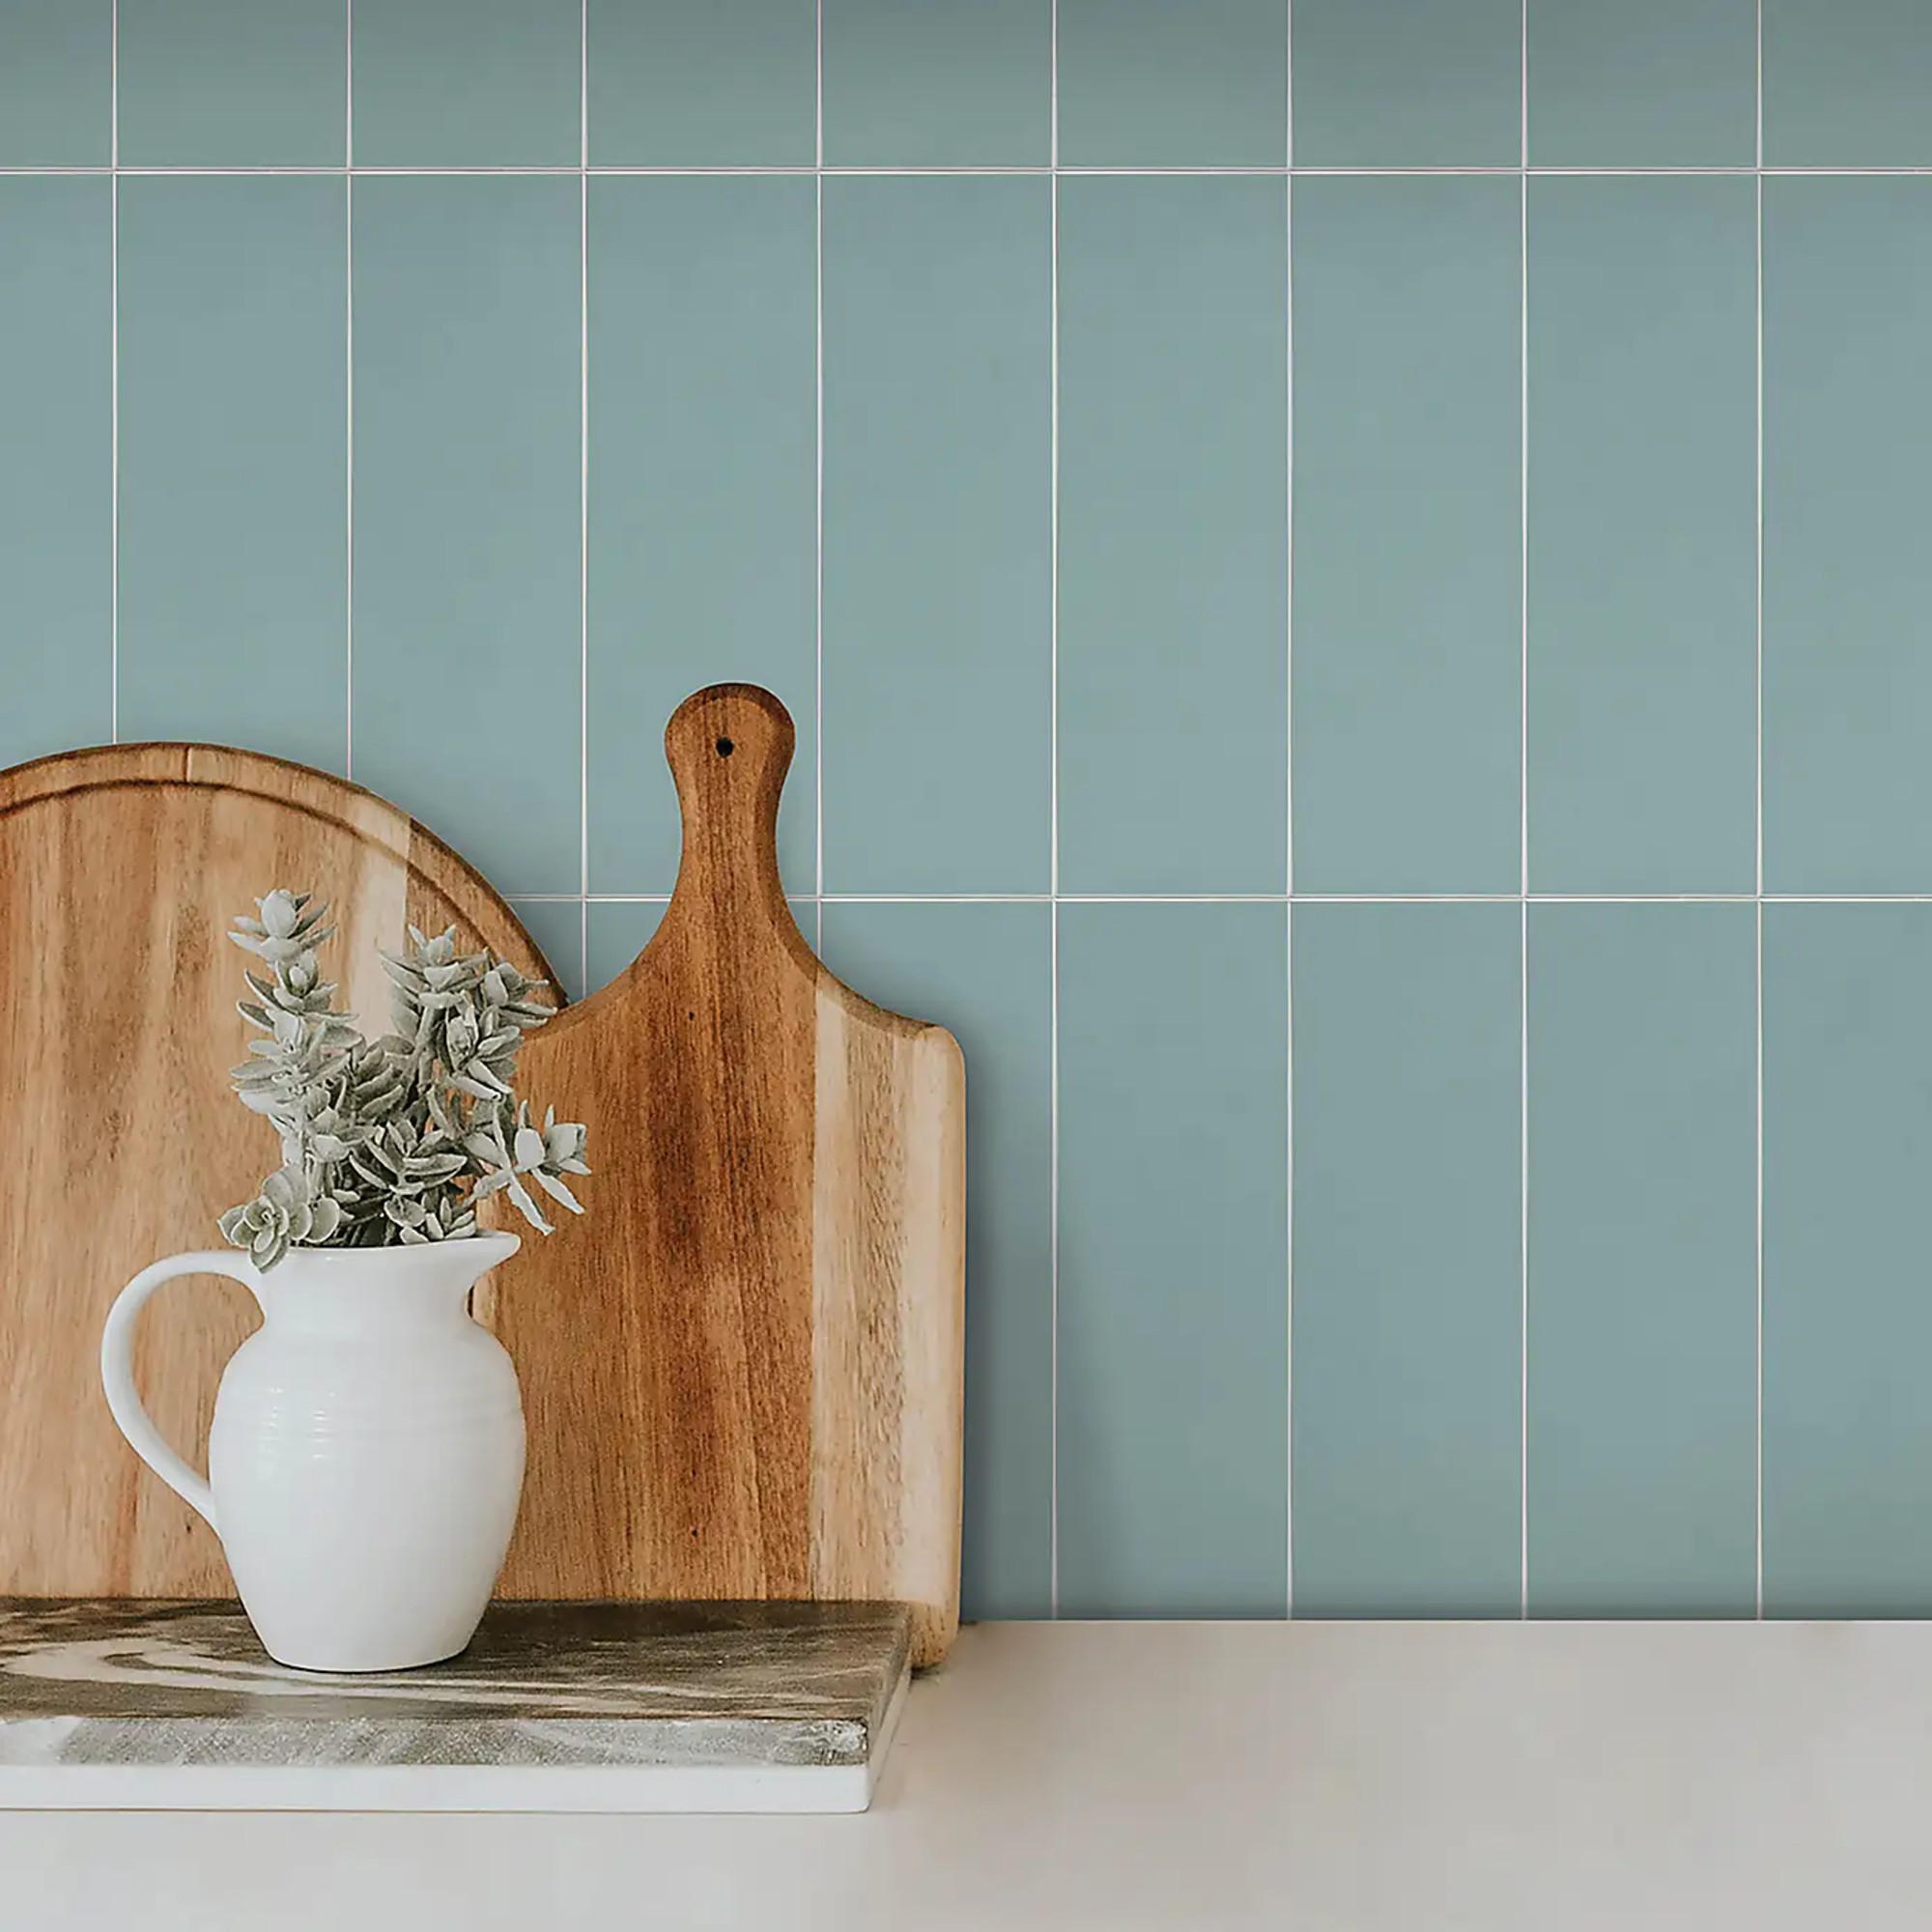
If you're a total DIY novice and are looking for a super quick, easy and budget-friendly way to do a kitchen splashback, why not give stick-ons a try? These subway self adhesive tiles from Dunelm give the look of smart metro tiles, but can applied just like a sticker to a clean, smooth wall.
Not only are they great if you're renting your home and want a way to add some colour to your kitchen, they can be cut to any size and shape, so whether you want them to go just behind your sink or hob, or around the entire kitchen, you can make them a bespoke size.
5. Delve into DIY
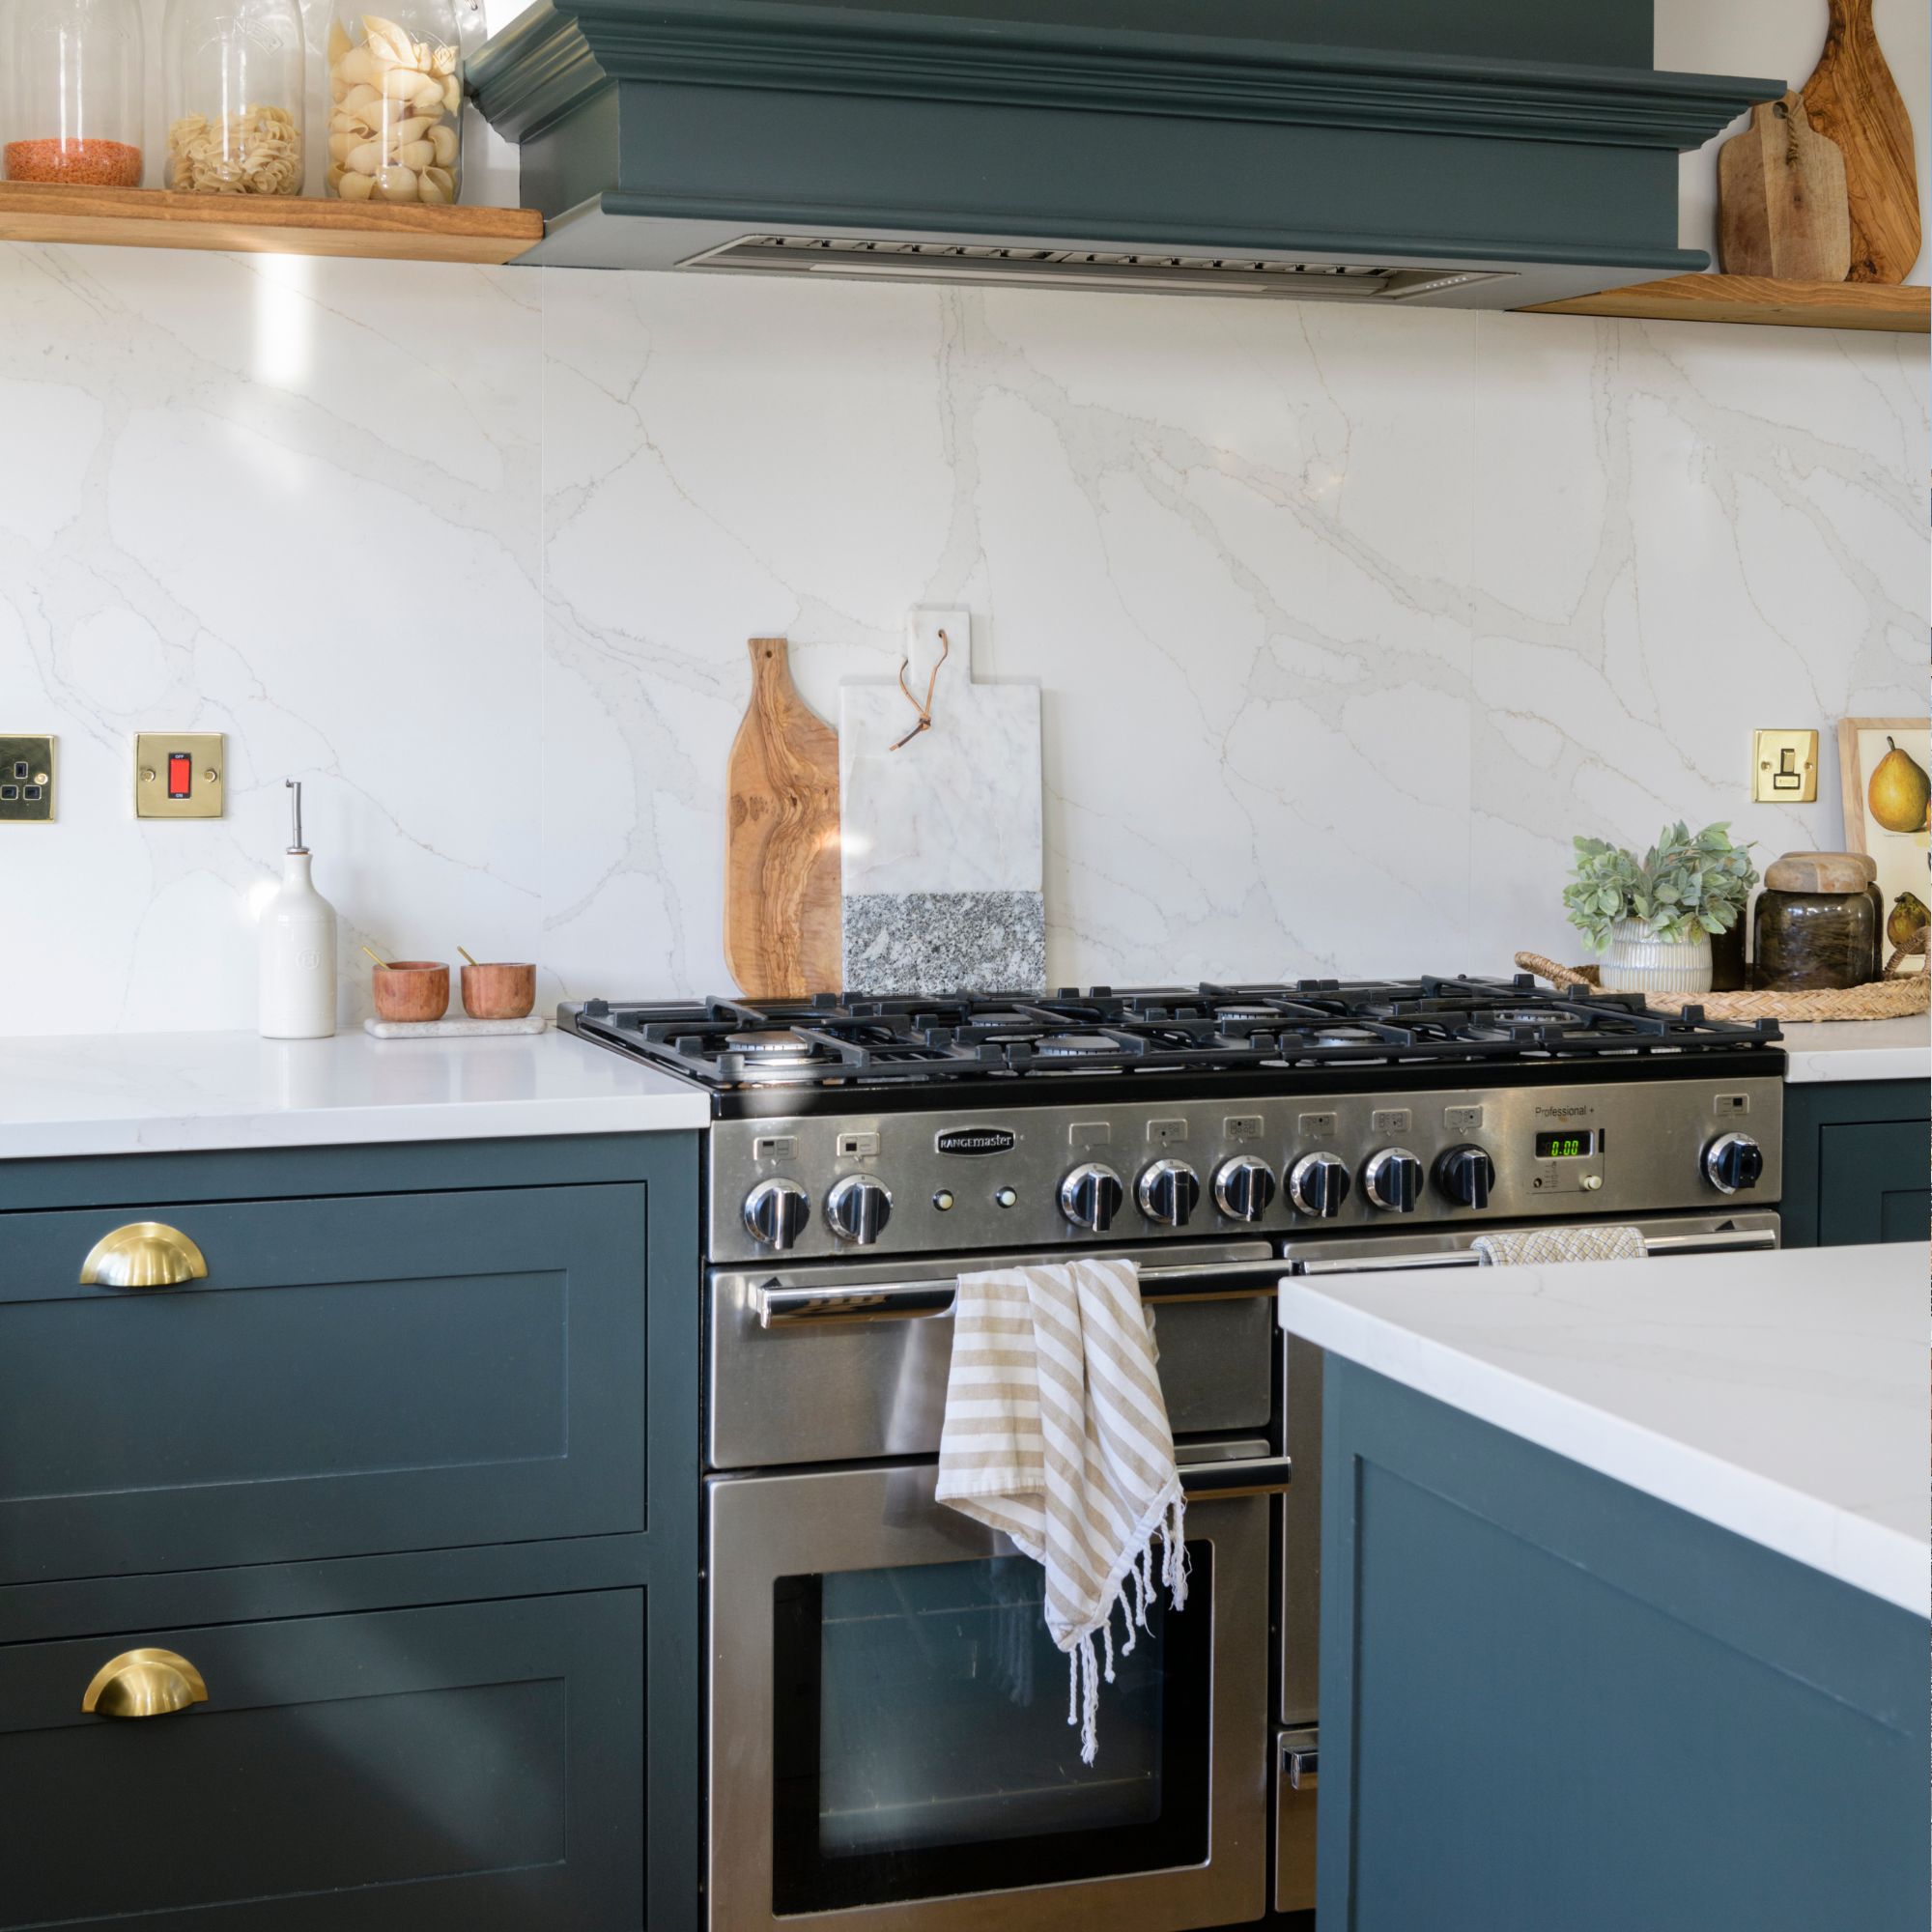
Contrary to our last idea, if you're up for a bit of DIY, then why not save costs on labour and opt to install a splashback yourself?
Niza Geronga, marketing executive at AluSplash explains, 'Opting for a splashback made of natural materials can also be costly to source, making aluminium a more budget friendly alternative. Sleek and modern, aluminium splashbacks are a durable option that competes with glass, acrylic, and tiles. Their non-porous, grout-free, antibacterial surfaces simplify cleaning and reduce upkeep.'
'You don’t need a garage full of tools to install an AluSplash panel either. The main essentials include a measuring tape, a silicone gun, double-sided tape, and packers. You may also need some electricity and plug cutting tools, as well as wood working tools like a jigsaw or drill, both of which you can hire. Just be aware, that if you are placing the panel behind a cooktop, make sure to leave a 1.5mm expansion gap using the packers,' she advises.
6. Play with pattern
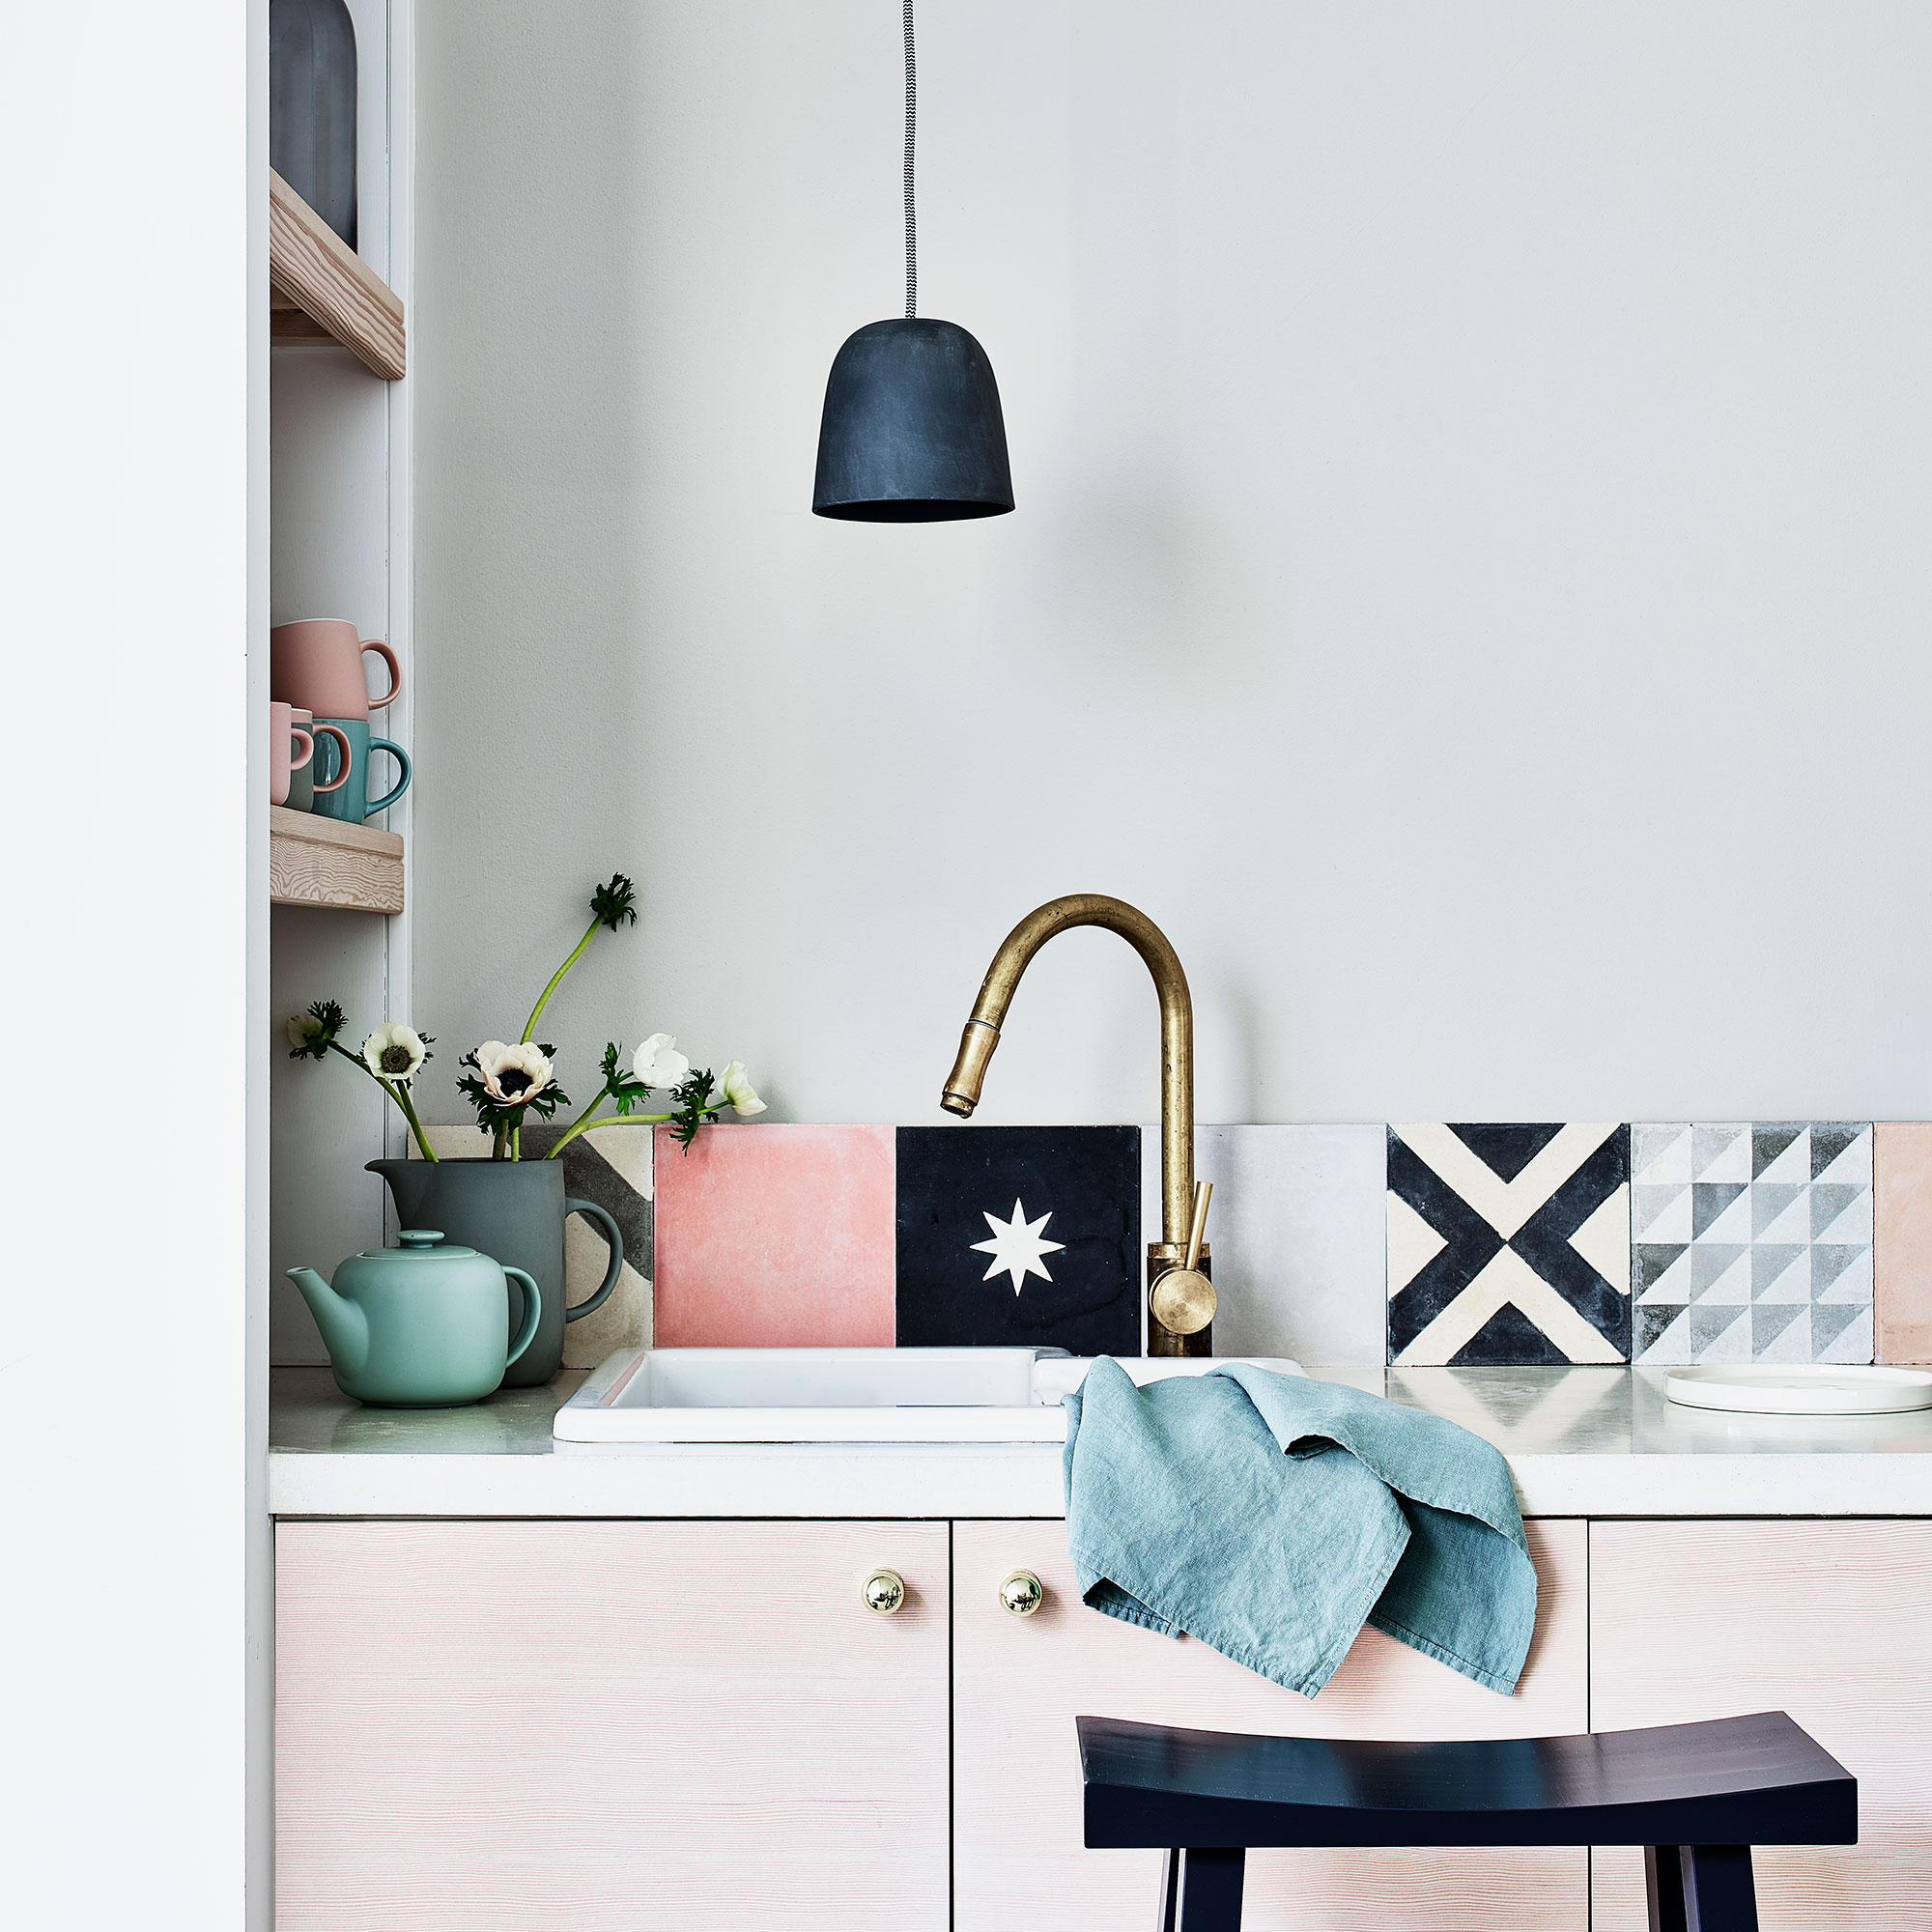
Alternatively, if your heart is yearning for pattern, this next tile idea could be for you.
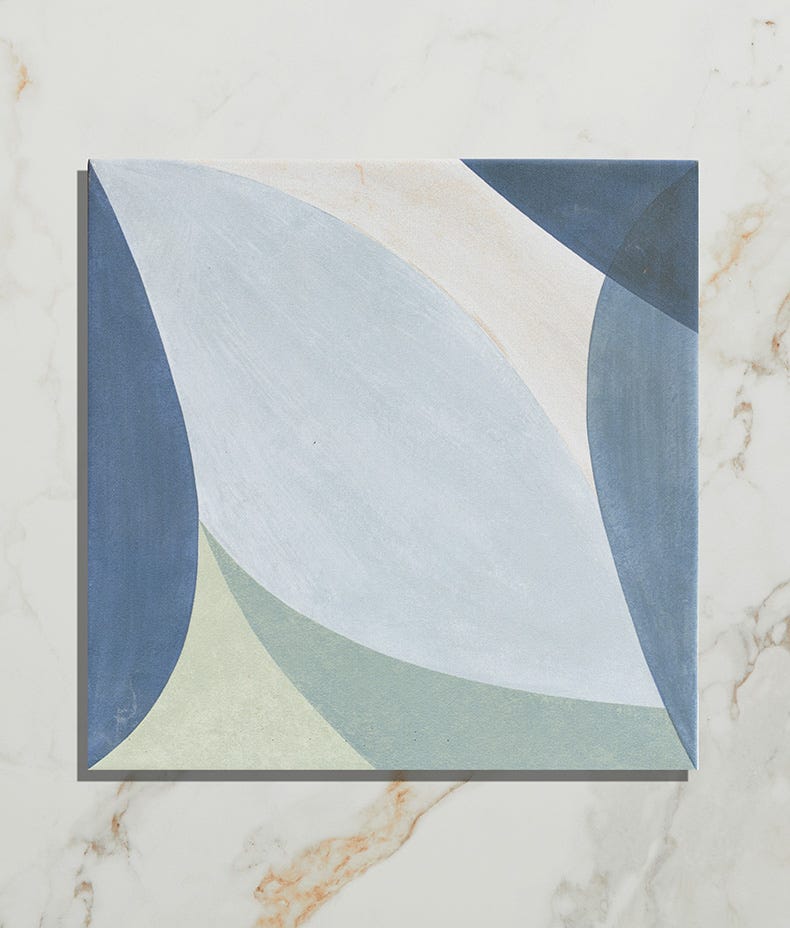
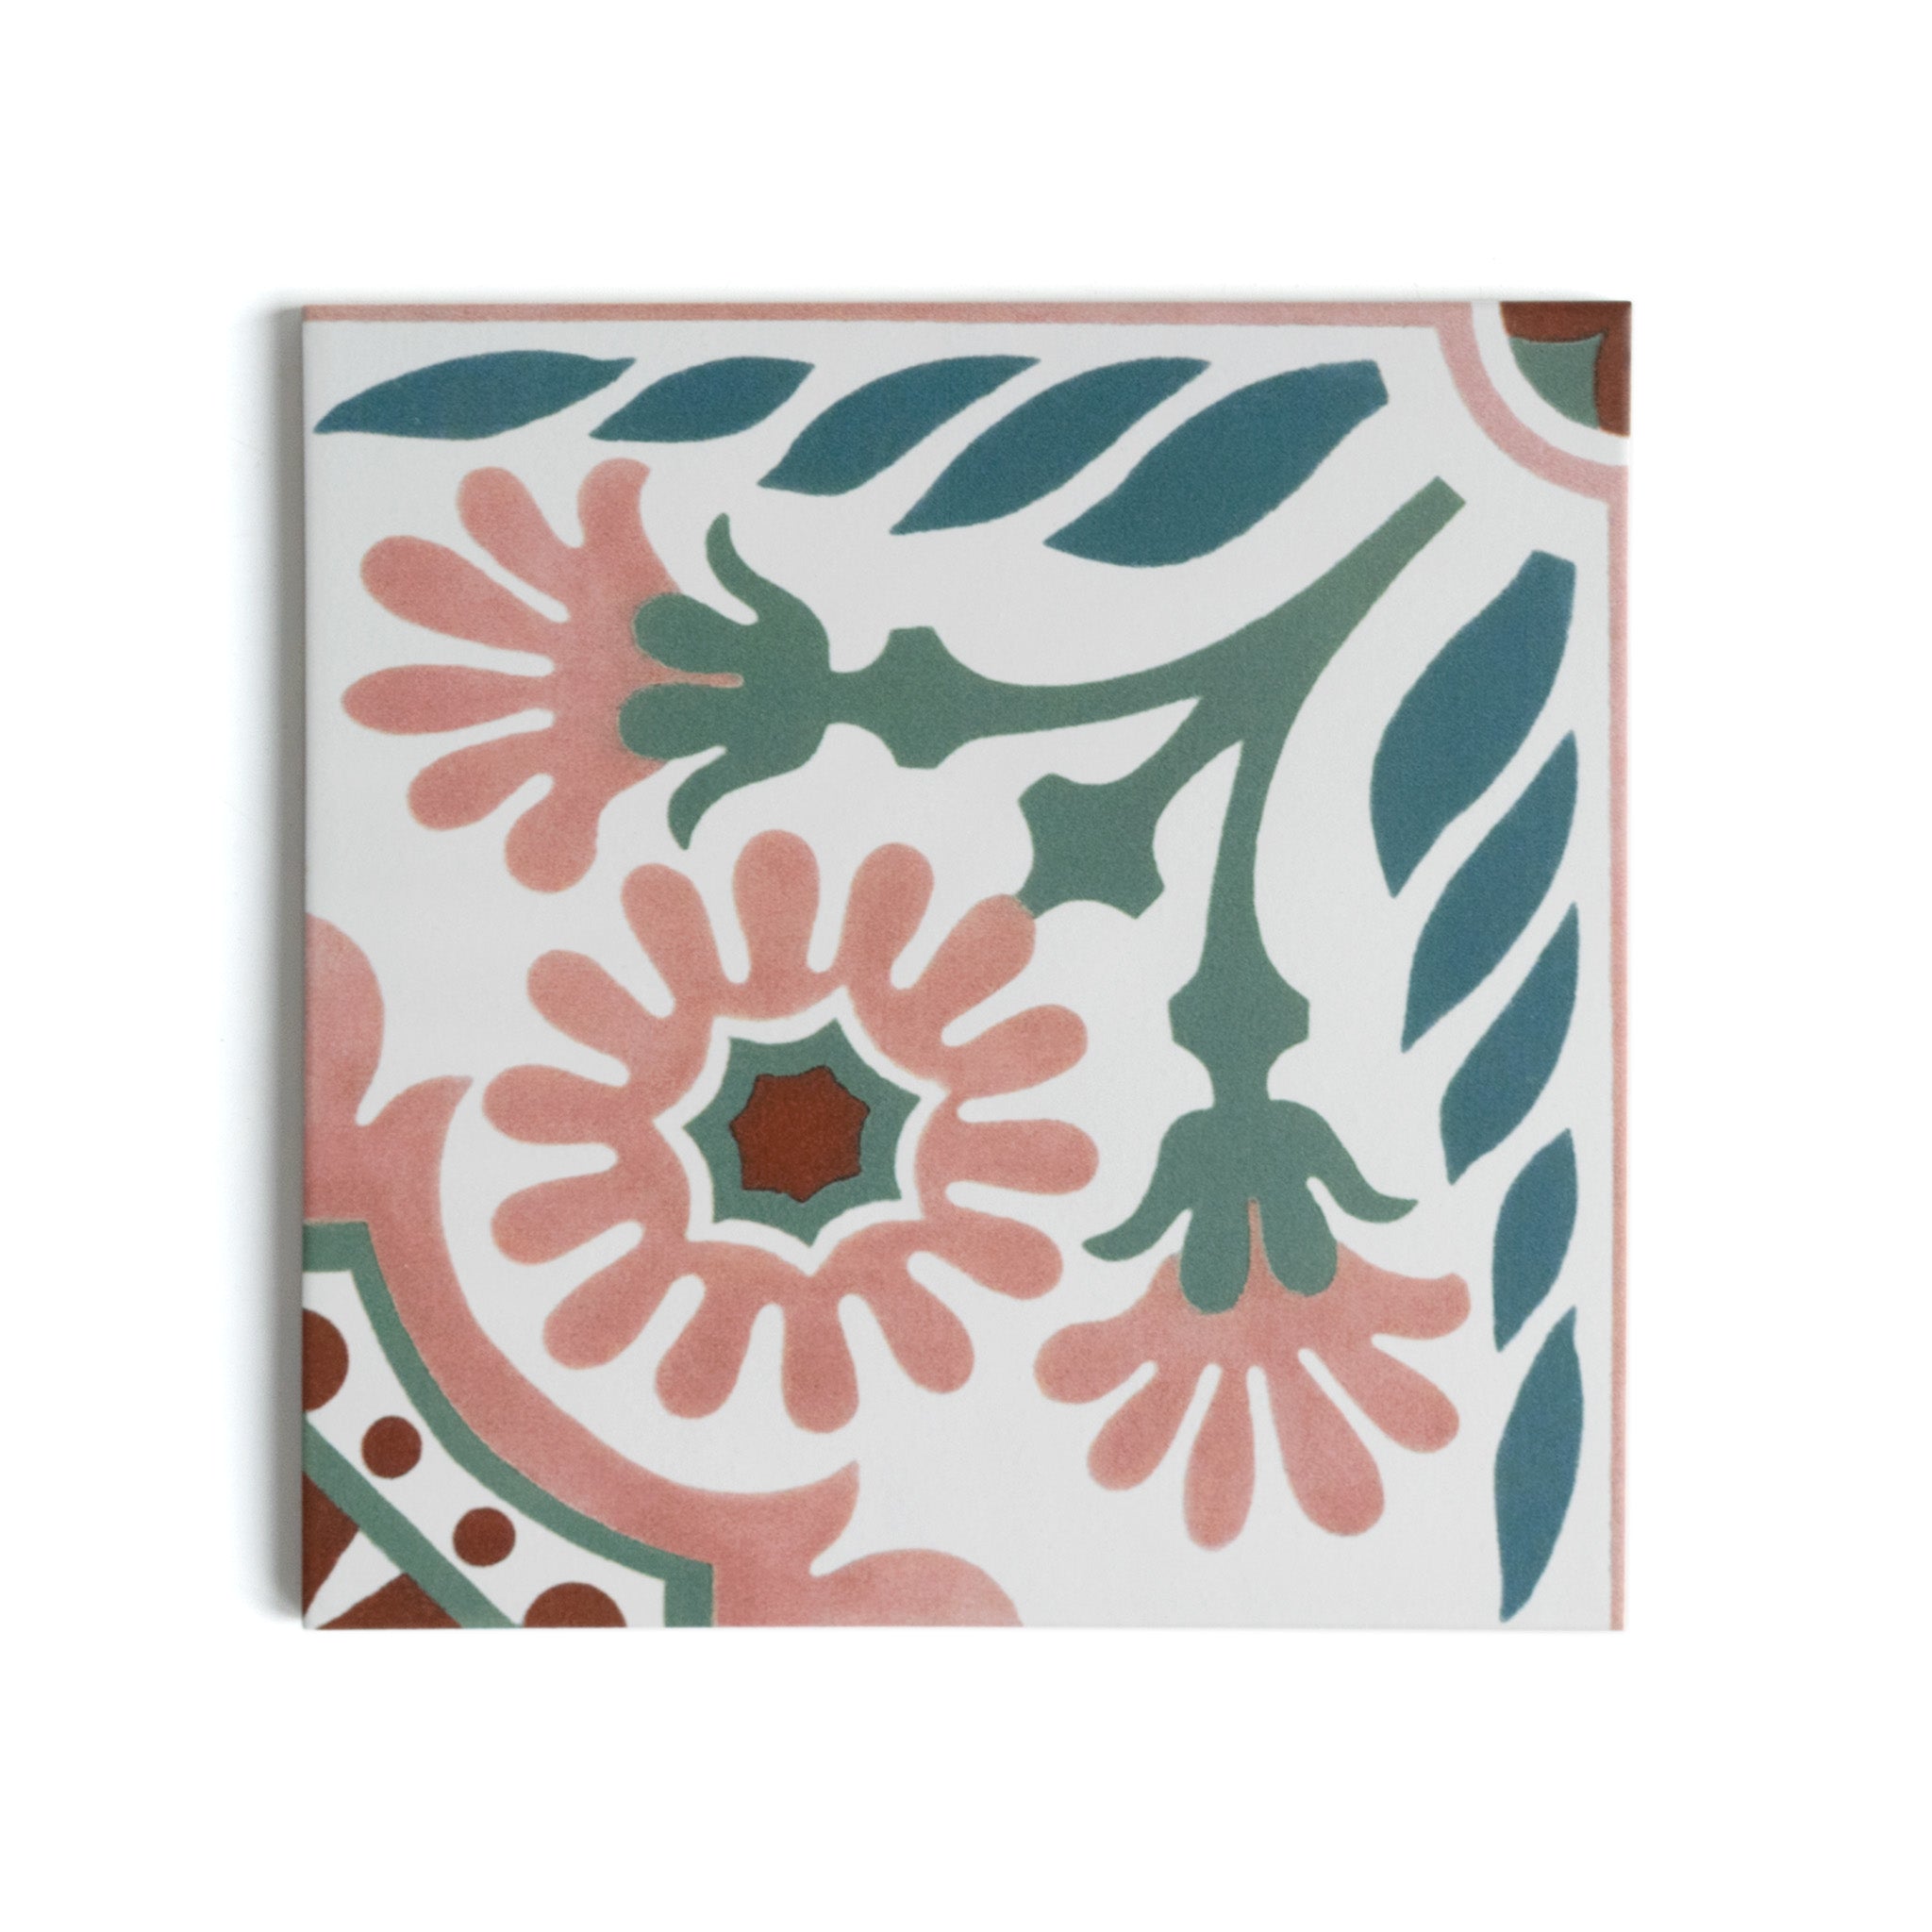
Patterned tiles are a great way to add interest and colour to your kitchen and a cheap way to do a splashback is picking just a few that you really love and lining them up behind your sink. You might only need 5-10 and you can often get great deals for such a small quantity at your local tile retailer, or even from second-hand sites and charity shops.
Just be sure to use a sealant on the gaps between the tiles and your worktop and be aware that any water that reaches the wall above will need to be dried off quickly to avoid lasting marks.
7. Get creative with paint
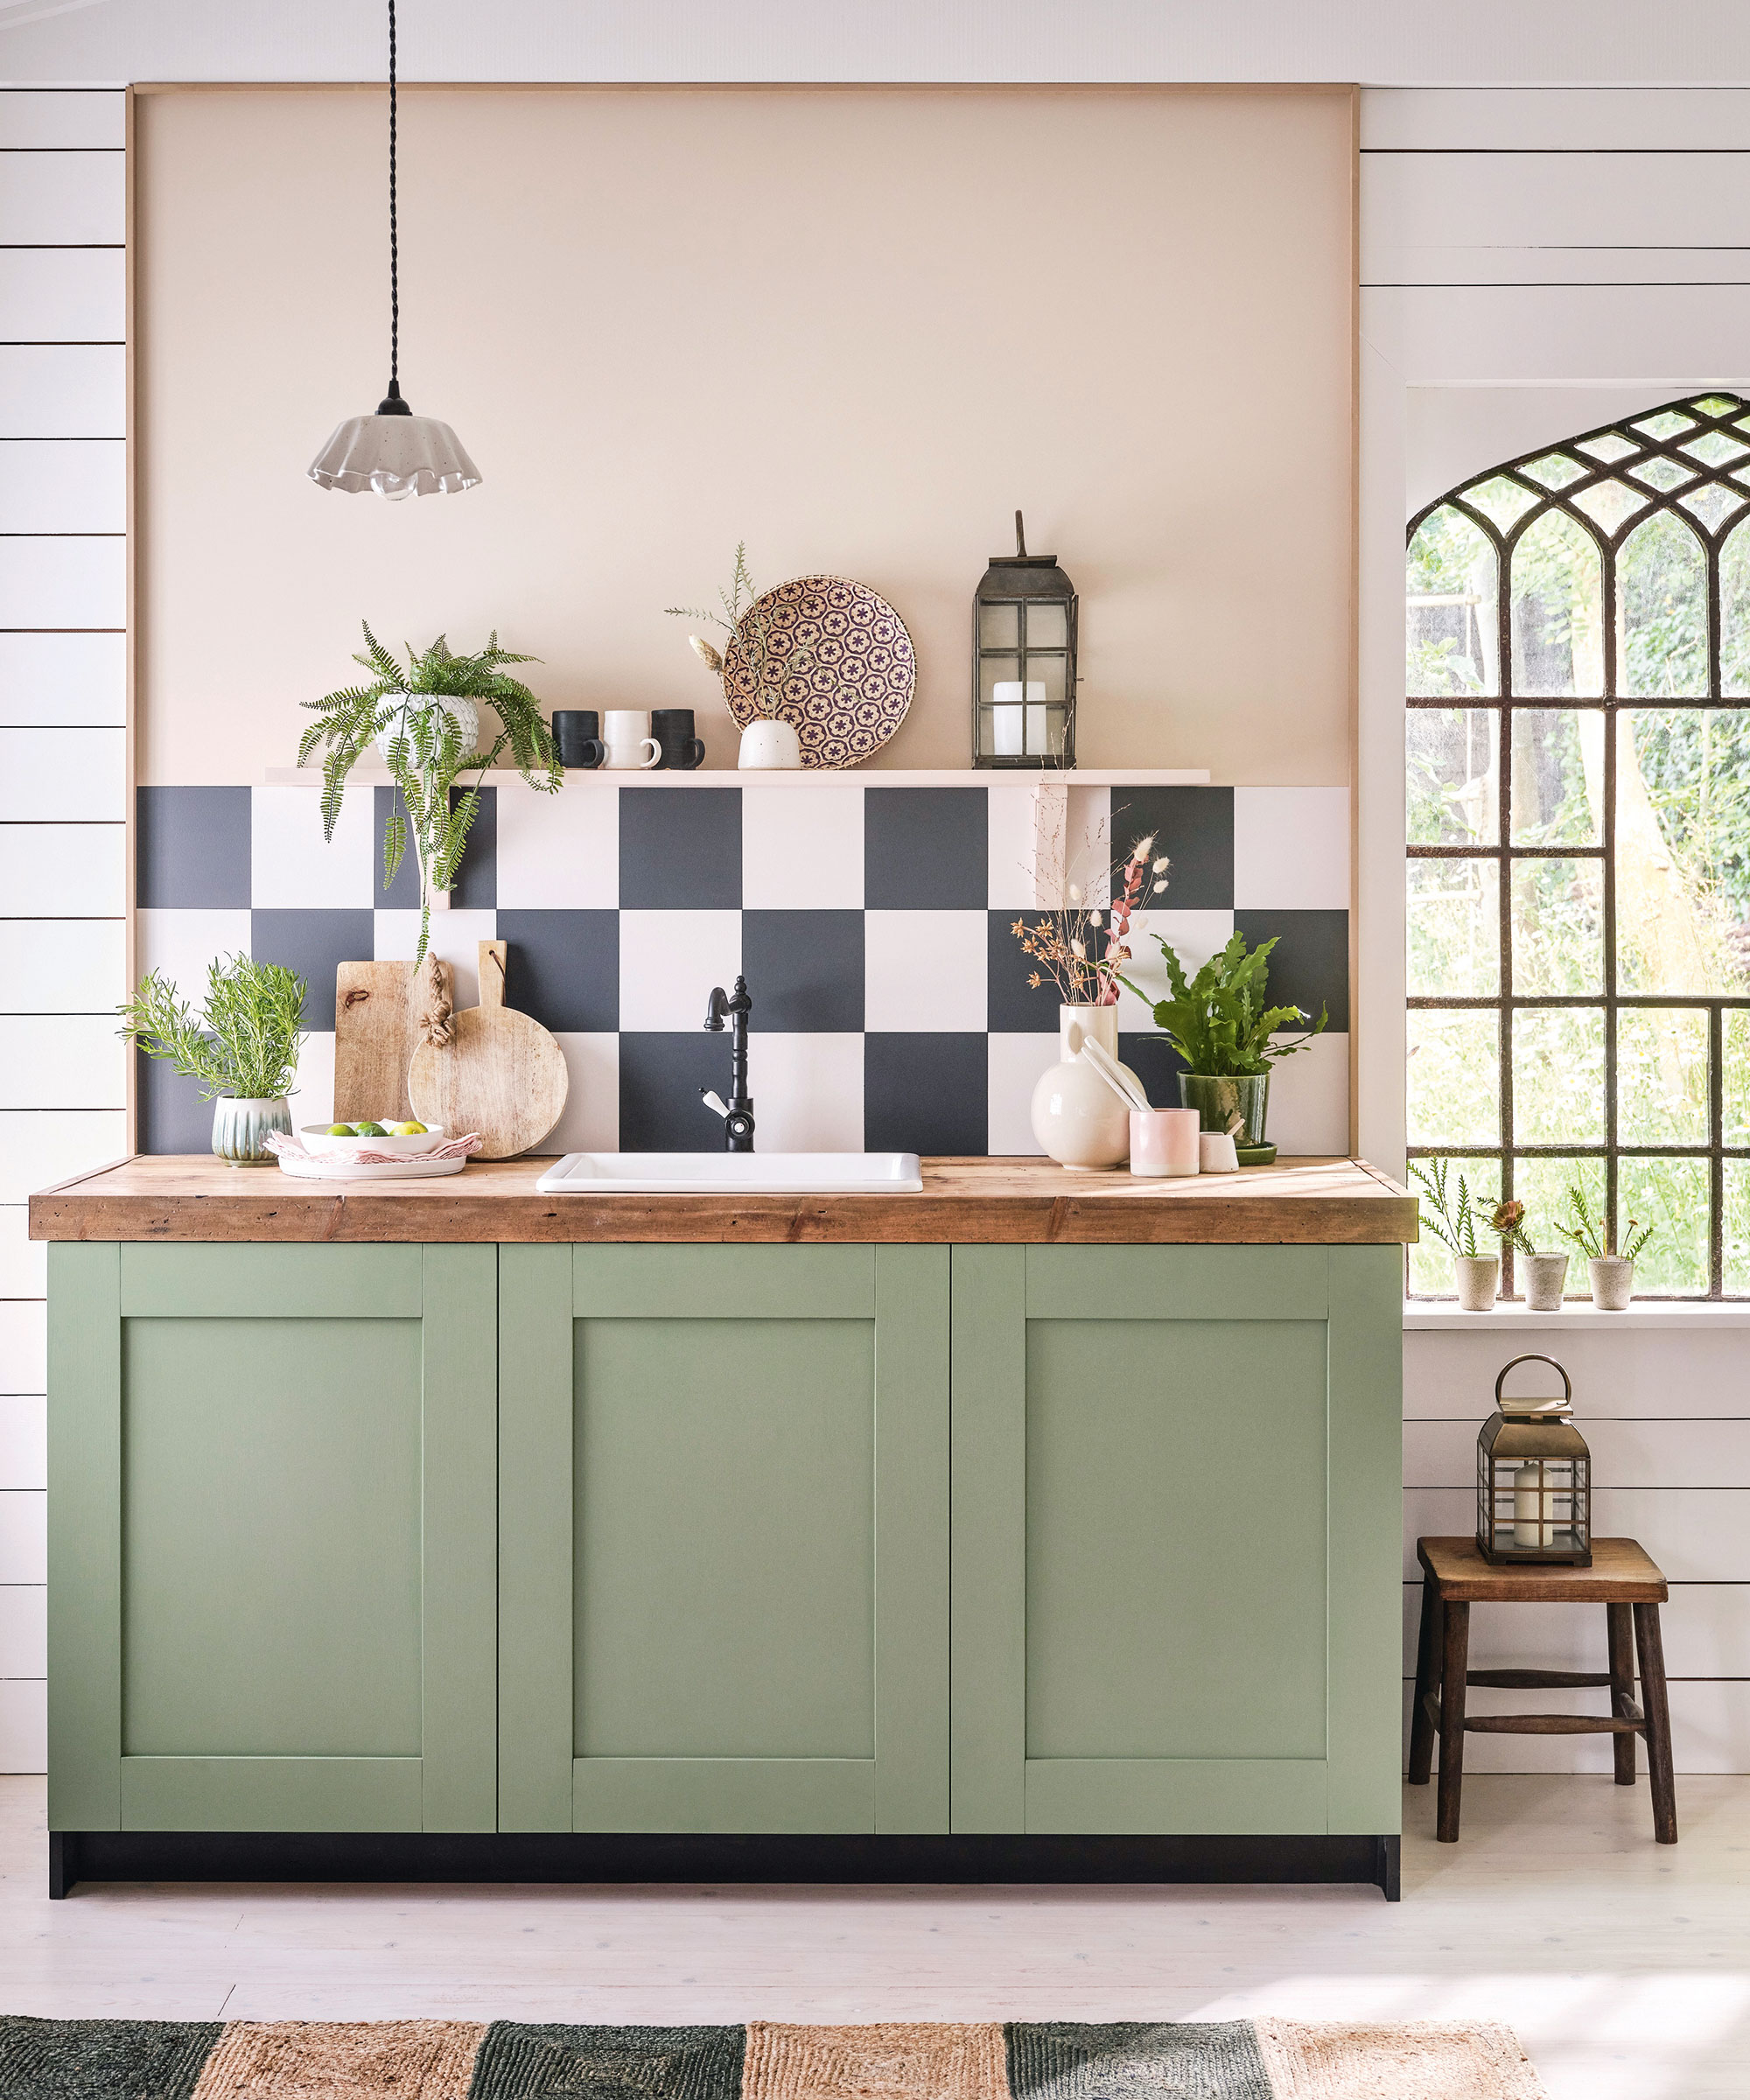
Perhaps the most simple way to create a splashback in your kitchen, either paint your design or pattern (using left-over paint from a previous project to really keep costs down) and then cover it in a sheet or glass or perspex, or use a decorators varnish to keep it splash-resistant.
Sticking to a monochromatic palette in a checkerboard formation will keep the look classic, or let your creativity shine and paint a design more personal to you.
You could even combine two of our ideas and look into how to paint kitchen tiles, using plain metro tiles to create a bespoke look for your kitchen, unique to your space! Just be sure to seal the tiles with transparent sealant so the paint doesn't come off whenever you wipe the tiles down.
FAQS
What is the best material to use for a kitchen splashback
'When choosing a splashback material, it is worth thinking beyond just the aesthetics,' advises Emma-Louise.
'Areas behind the hob and around the sink need to stand up to high temperatures, steam, water splashes, and the wear and tear of kitchen life, so safety and durability should always be key considerations.'
'Aluminium splashbacks have grown in popularity, especially because they tick so many boxes. They’re fire resistant, making them a safe choice for behind hobs and other hot zones in the kitchen. They are 100% waterproof and durable, making them an ideal choice for multigenerational households with demanding daily routines.'
'Plus, they offer grout-free maintenance, so they can be easily wiped over and kept looking clean and pristine. It is a great surface solution that combines practicality with contemporary aesthetics; a perfect choice for those looking for a tile alternative that’s quick to fit and built to last.'
Emma adds, 'Personally I like glass splashbacks because they’re hygienic and you don’t have to deal with hard to clean grout lines that discolour over time, so they’ll stay looking great for years.'
Will you be trying one of these budget splashback solutions in your kitchen?

Holly Walsh is a freelance Interiors Writer and Shopping Editor, but worked in-house here at Ideal Home for nearly 10 years. With a background of studies in Interior Design, her career in interior journalism was a no-brainer and her passion for decorating homes is still as strong now 15 years after she started, as it ever was. While Holly has written for most of the home titles at Future, including Livingetc, Country Homes & Interiors, Homes and Gardens, Woman & Home and Style at Home, Ideal Home has always been her ideal home, and she can still be found sharing her expertise and advice across both the printed magazine and the website, while also raising her two young children.
