How to panel a wall – DIY this trending look in your home this weekend
Our guide on how to panel a wall will give you the confidence to try this effective design feature
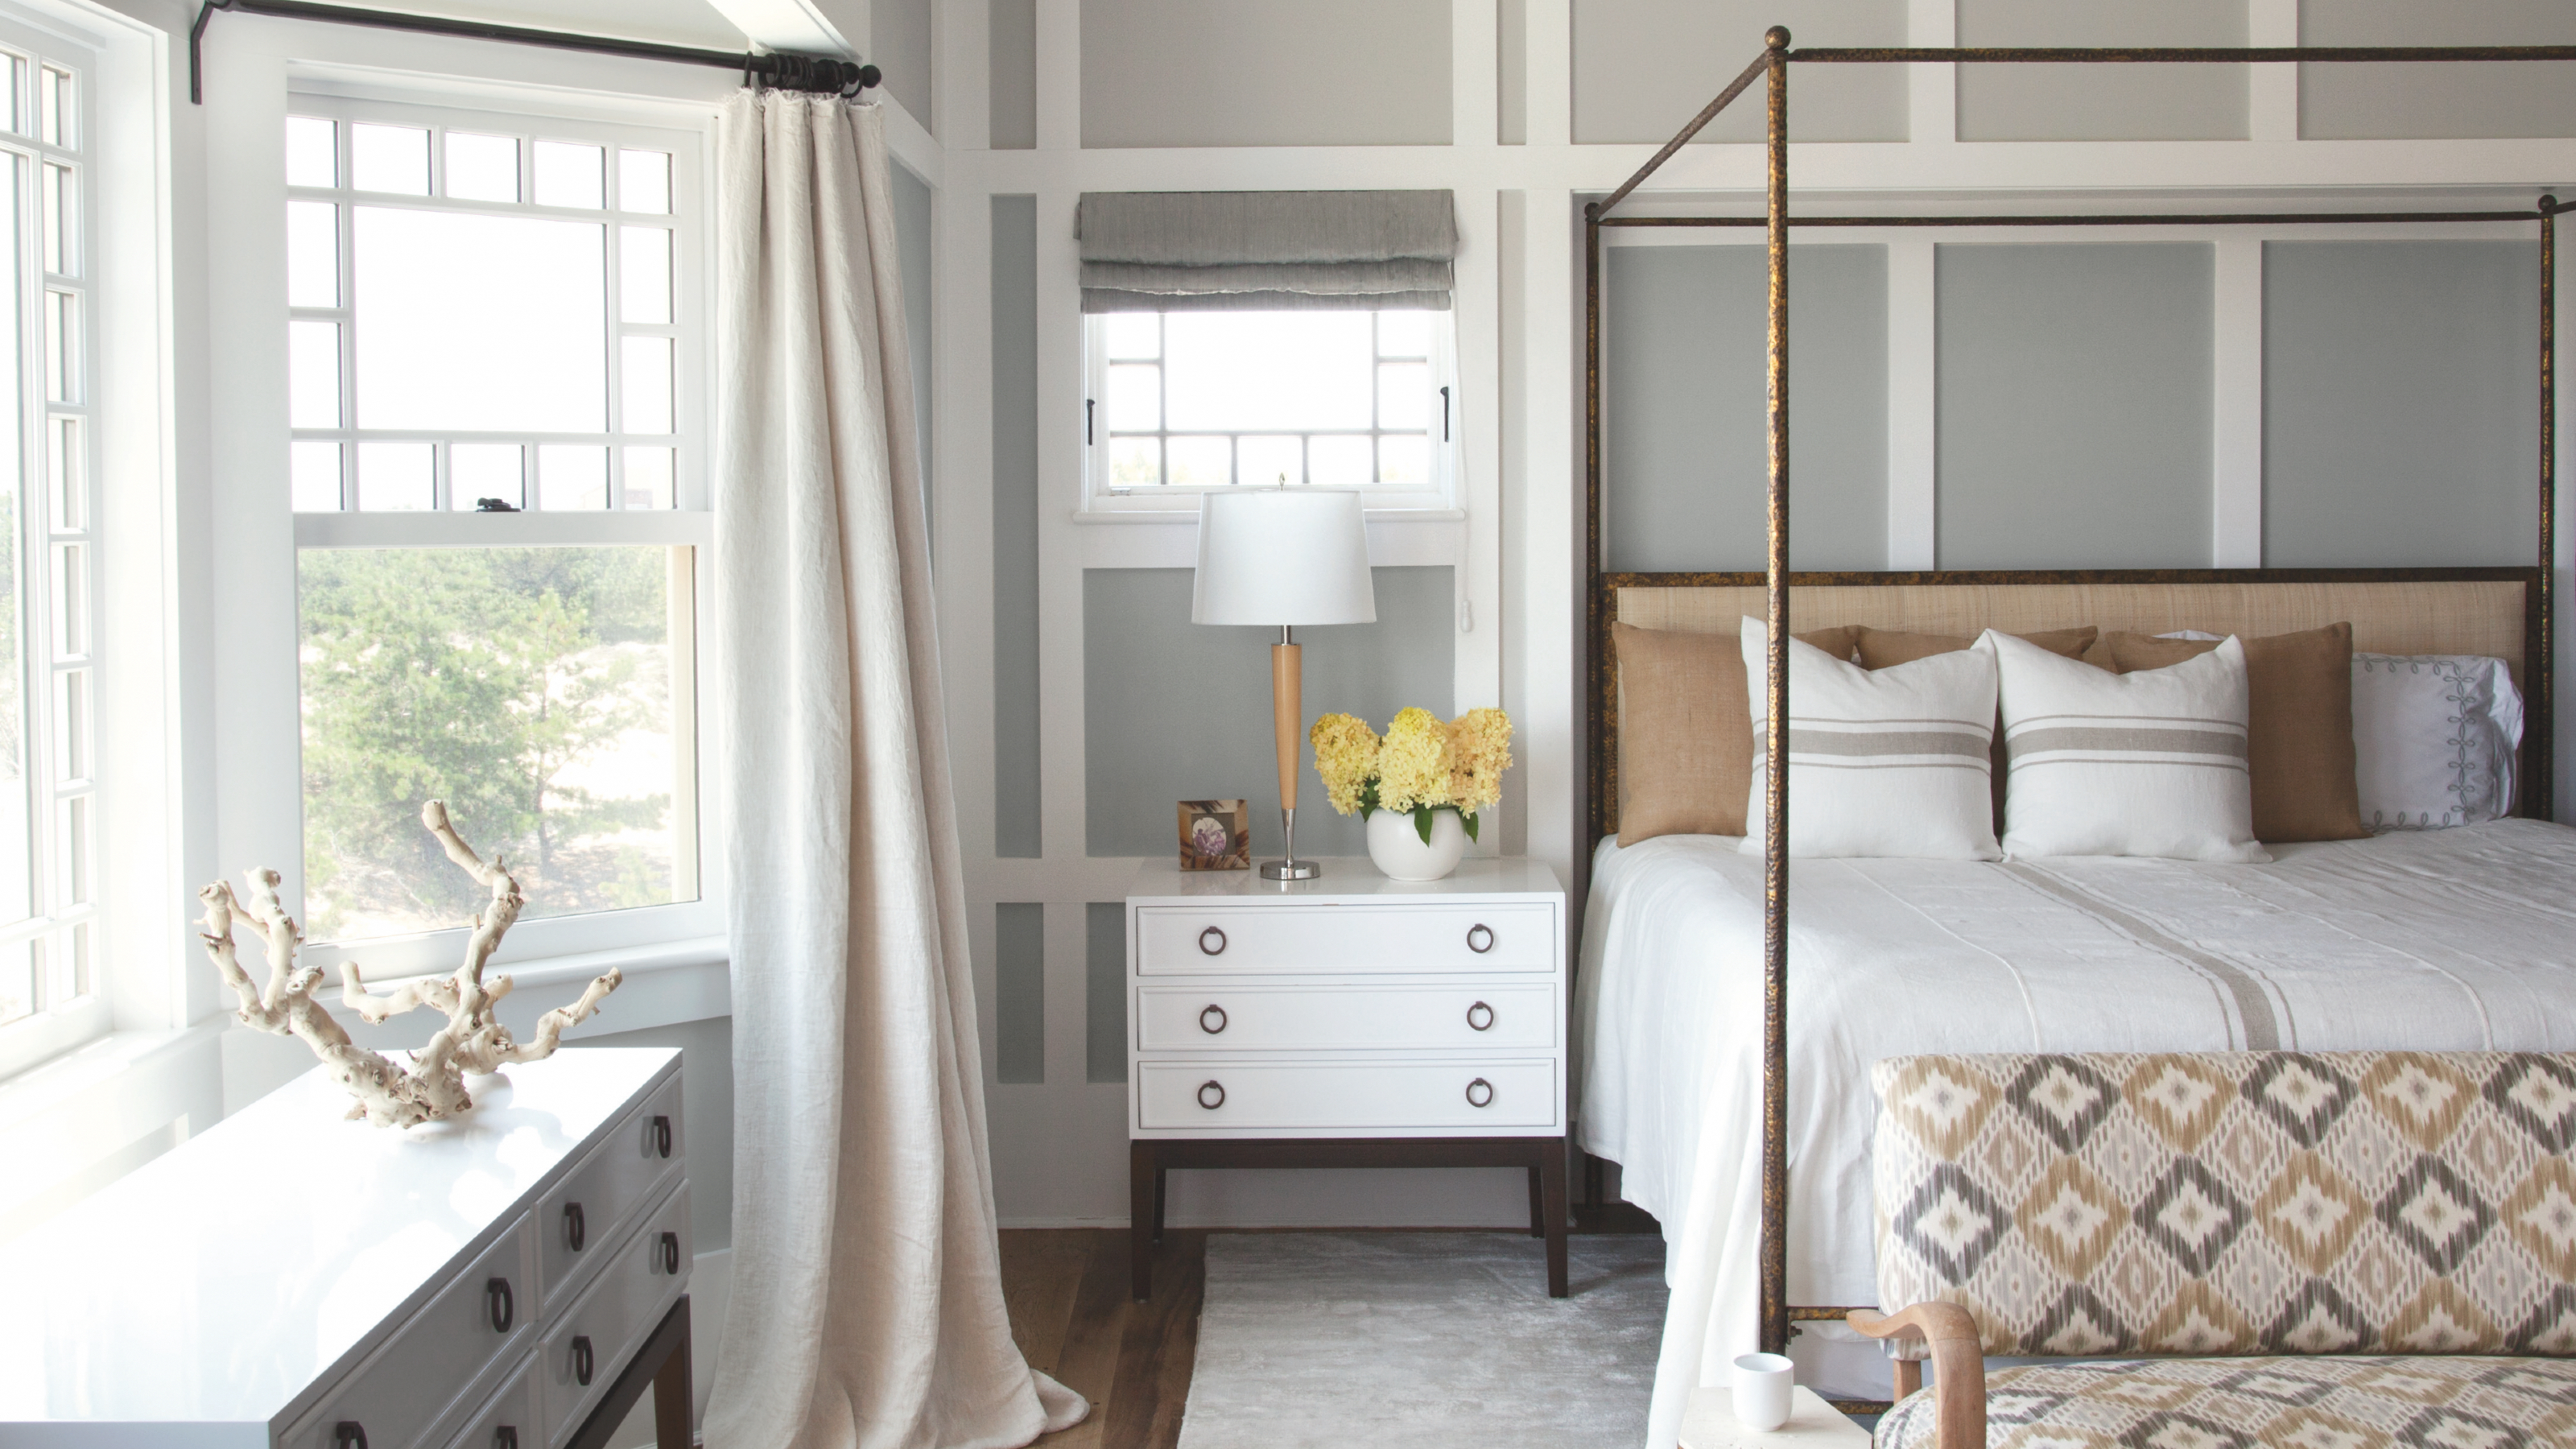
Wall panelling is having a serious moment, to the point where it would be unfair to call it a moment as it is fast becoming a classic feature in many modern homes. Fortunately, learning how to install wall panelling is a lot easier than it used to be. Whether you are looking to add some character to a new build or restore traditional features in a period home, there are a host of wall panelling ideas that you can DIY yourself.
'Statement panelling has been on the rise for a while now, as clients become braver with the design choices,' says Emma Deterding, founder and creative director, Kelling Designs.
Before you start, do make sure the plaster you're covering isn't blown (coming away from the walls) – if it is, you'll need to replaster. Another no-no is damp walls, panelling fixed to these will eventually rot, so find the cause of the damp and treat it. Otherwise, wood panelling can be used in any room in your home (waterproof it properly if you are planning to use it for a bathroom.)
How to panel your walls with wood
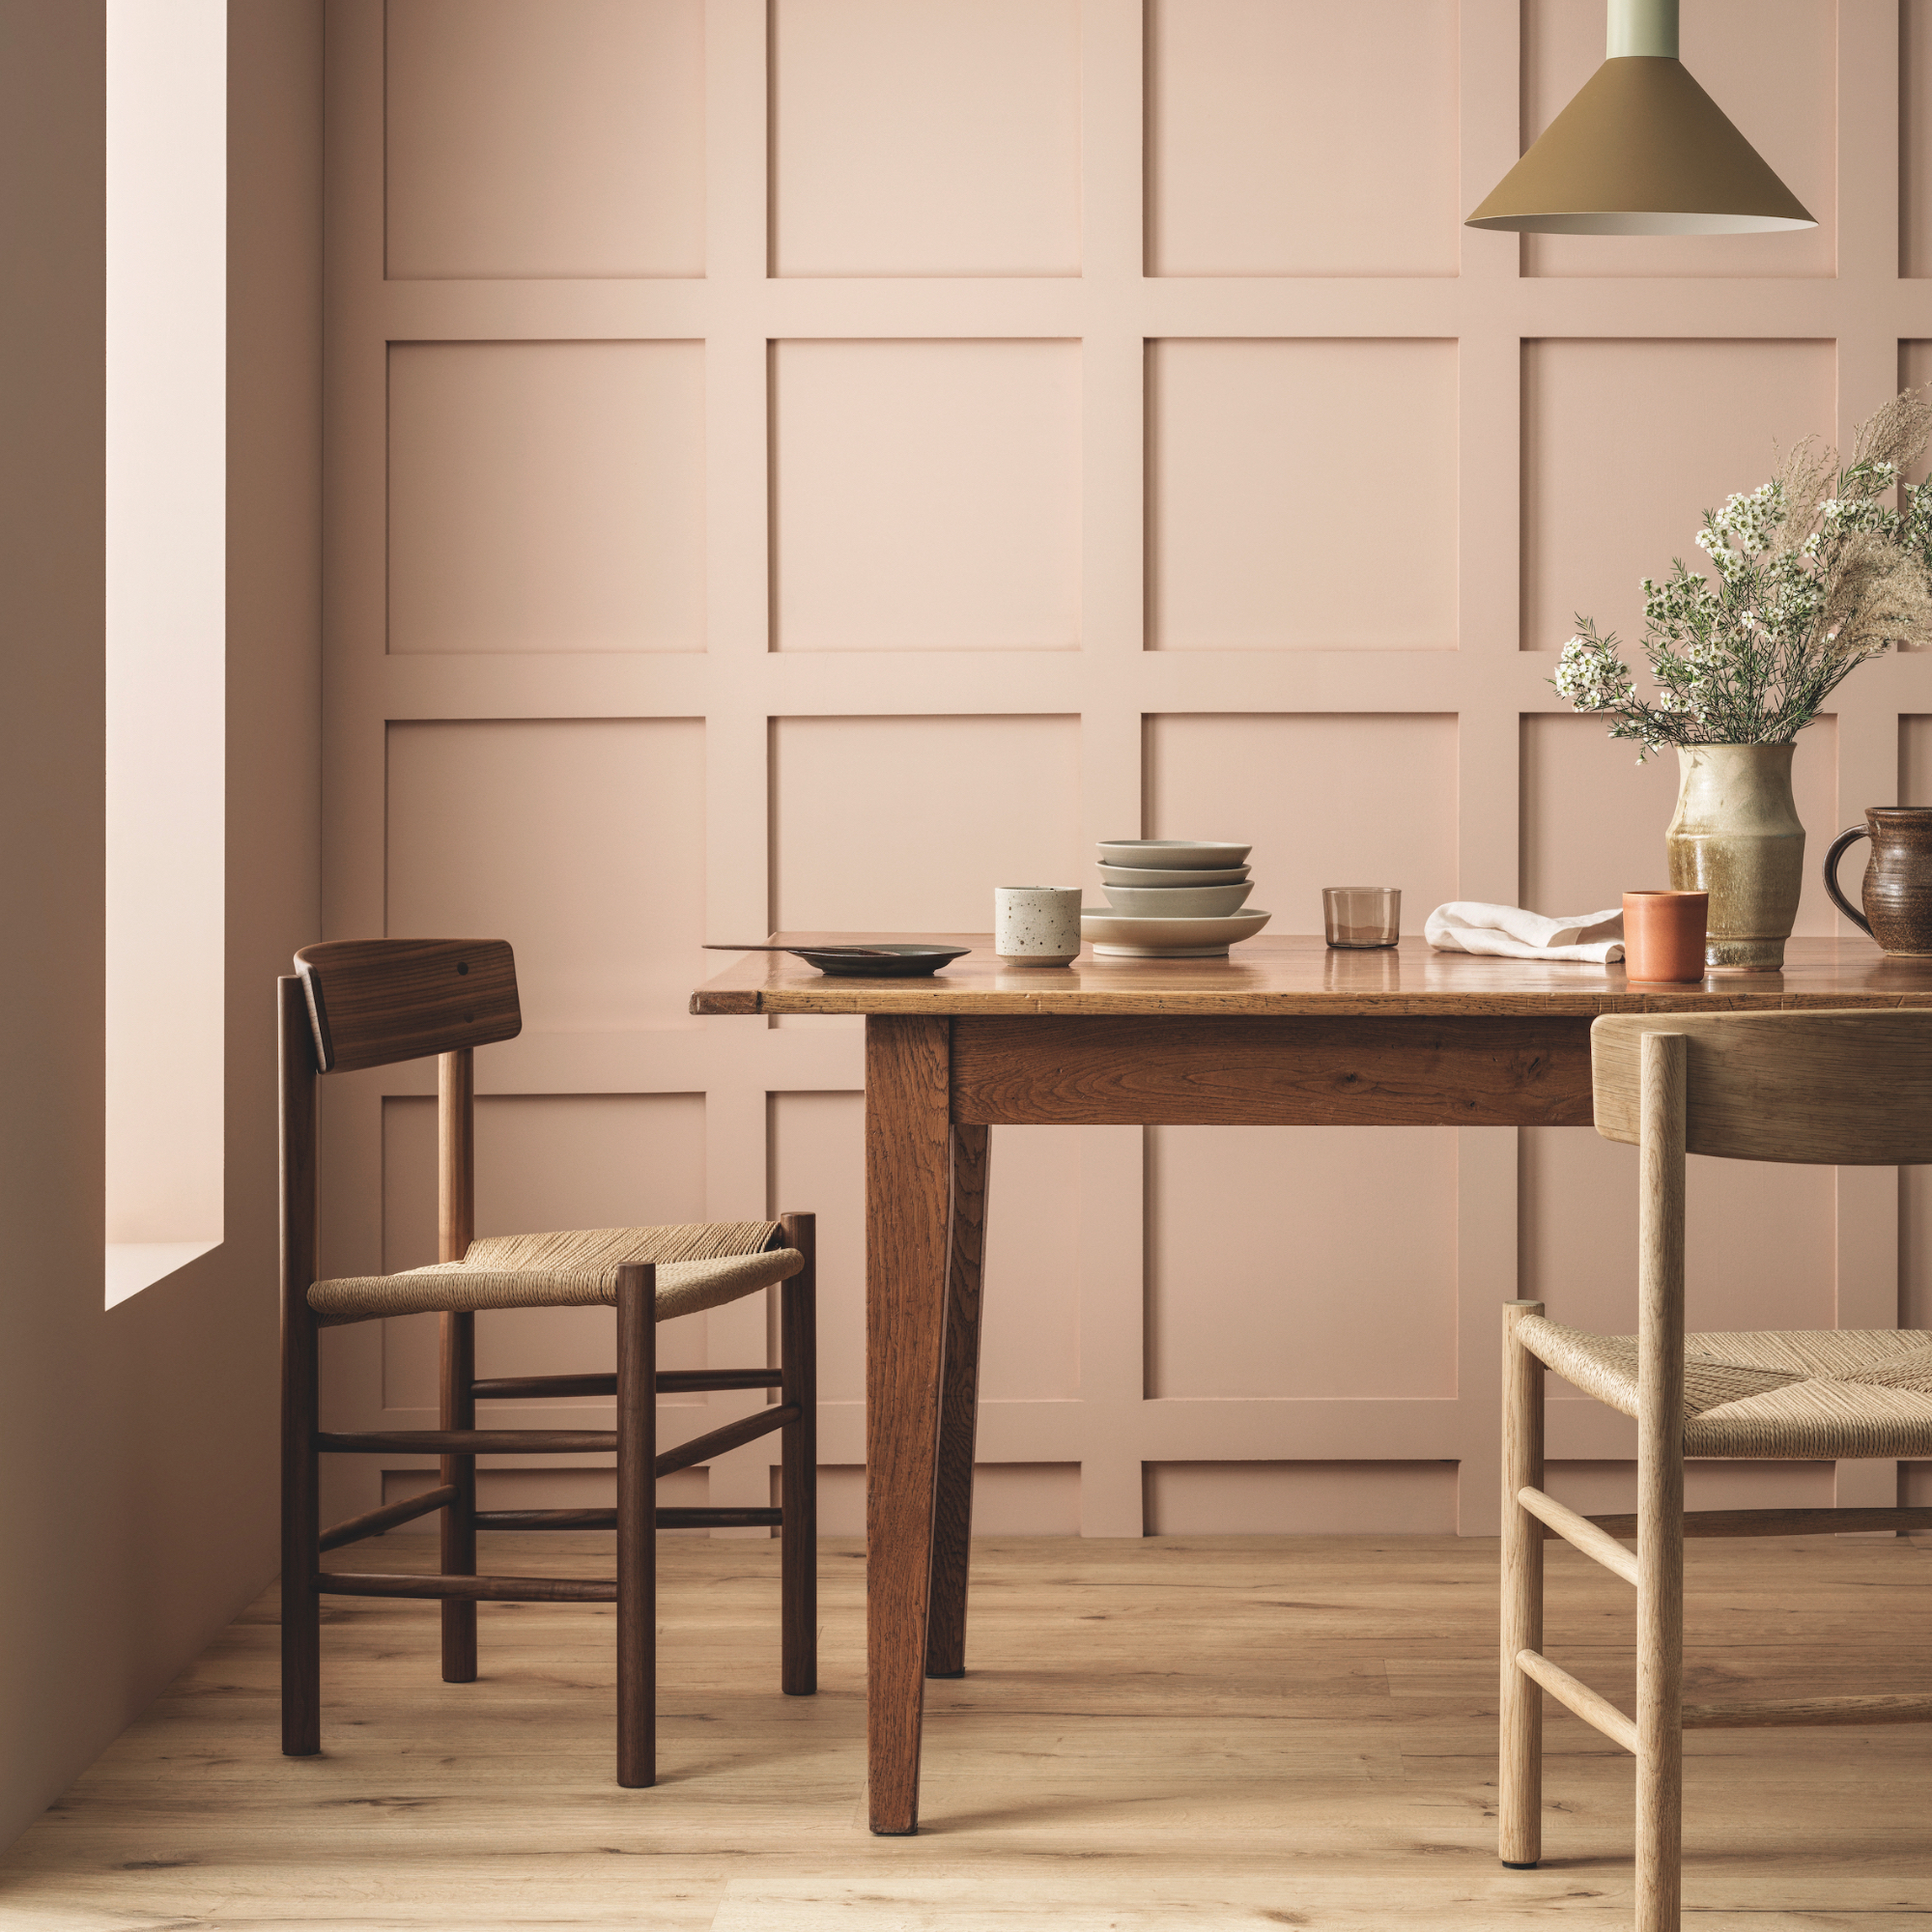
Tony Kersey, buying manager for decorating and home at Homebase says: 'Don’t be afraid to play with shape and colour when it comes to panelling. Whilst traditional vertical panels are beautiful, we are seeing real trends in designs like honeycomb or grid patterns. With a bright pop of colour, they make great feature walls in any space!
'Simple but sophisticated, learning how to panel a wall is a fantastic way to add character to any home – as well as seamlessly fitting in with almost any interior décor. With plenty of styles and colours to choose from, you can panel the perfect wall at home in no time, and we’re here to show you how to panel a wall with this simple step-by-step guide.'
What you'll need:
- MDF cut to size
- No More Nails
- Sander
- Spirit level
- Paint
- Hammer
- Pins
- Tape Measure
- Pencil
Step-by-step
1. Sketch your design
To begin, making a quick sketch of what you want your panel wall to look like is a great way of staying on track throughout the project by knowing how many panels you need. Just make sure you keep it to hand!
2. Measure your wall
Once your sketch is done, the best place to properly start your panel wall is by measuring every inch of it – as it’s crucial to get your measurements right so your panel sizes are even.
Sign up to our newsletter for style inspiration, real homes, project and garden advice and shopping know-how
Just follow our five simple steps to make sure everything’s measured correctly:
- Grab your tape measure and measure the full width and height of the wall you’re panelling.
- Jot down your measurements on your sketch so you don’t forget them.
- Decide how many panels you want your wall to have.
- At this point, you also need to decide what width you want your rails and stiles (the horizontal and vertical MDF pieces used to create your panel shapes) and base rail to be. Mark those measurements down on your sketch too.
- These measurements will all be essential for creating a cutting list.
3. Create a cutting list
Here’s how to make a list of exactly what sizes you need before hitting up your nearest wood cutting shop.
Horizontal rails:
- For your horizontal rails, multiply the chosen width for your pieces (from Step 2) by the number of pieces you need for your columns. If you get stuck, your sketch should help.
- Then, take that total number and subtract that from your wall’s total width.
- Finally, divide your new figure by how many panels you’ve decided on.
- This will leave you with the exact size of your wall panels and your horizontal rails.
Vertical stiles:
- For your vertical stiles, combine the depth of your base rail with the depth of your top rail.
- Then, take that total number and subtract that from your wall’s total height.
- This will leave you with the exact length of your vertical stiles. Now all you need to do is take that cutting list and get your MDF pre-cut.
4. Preparing your wall
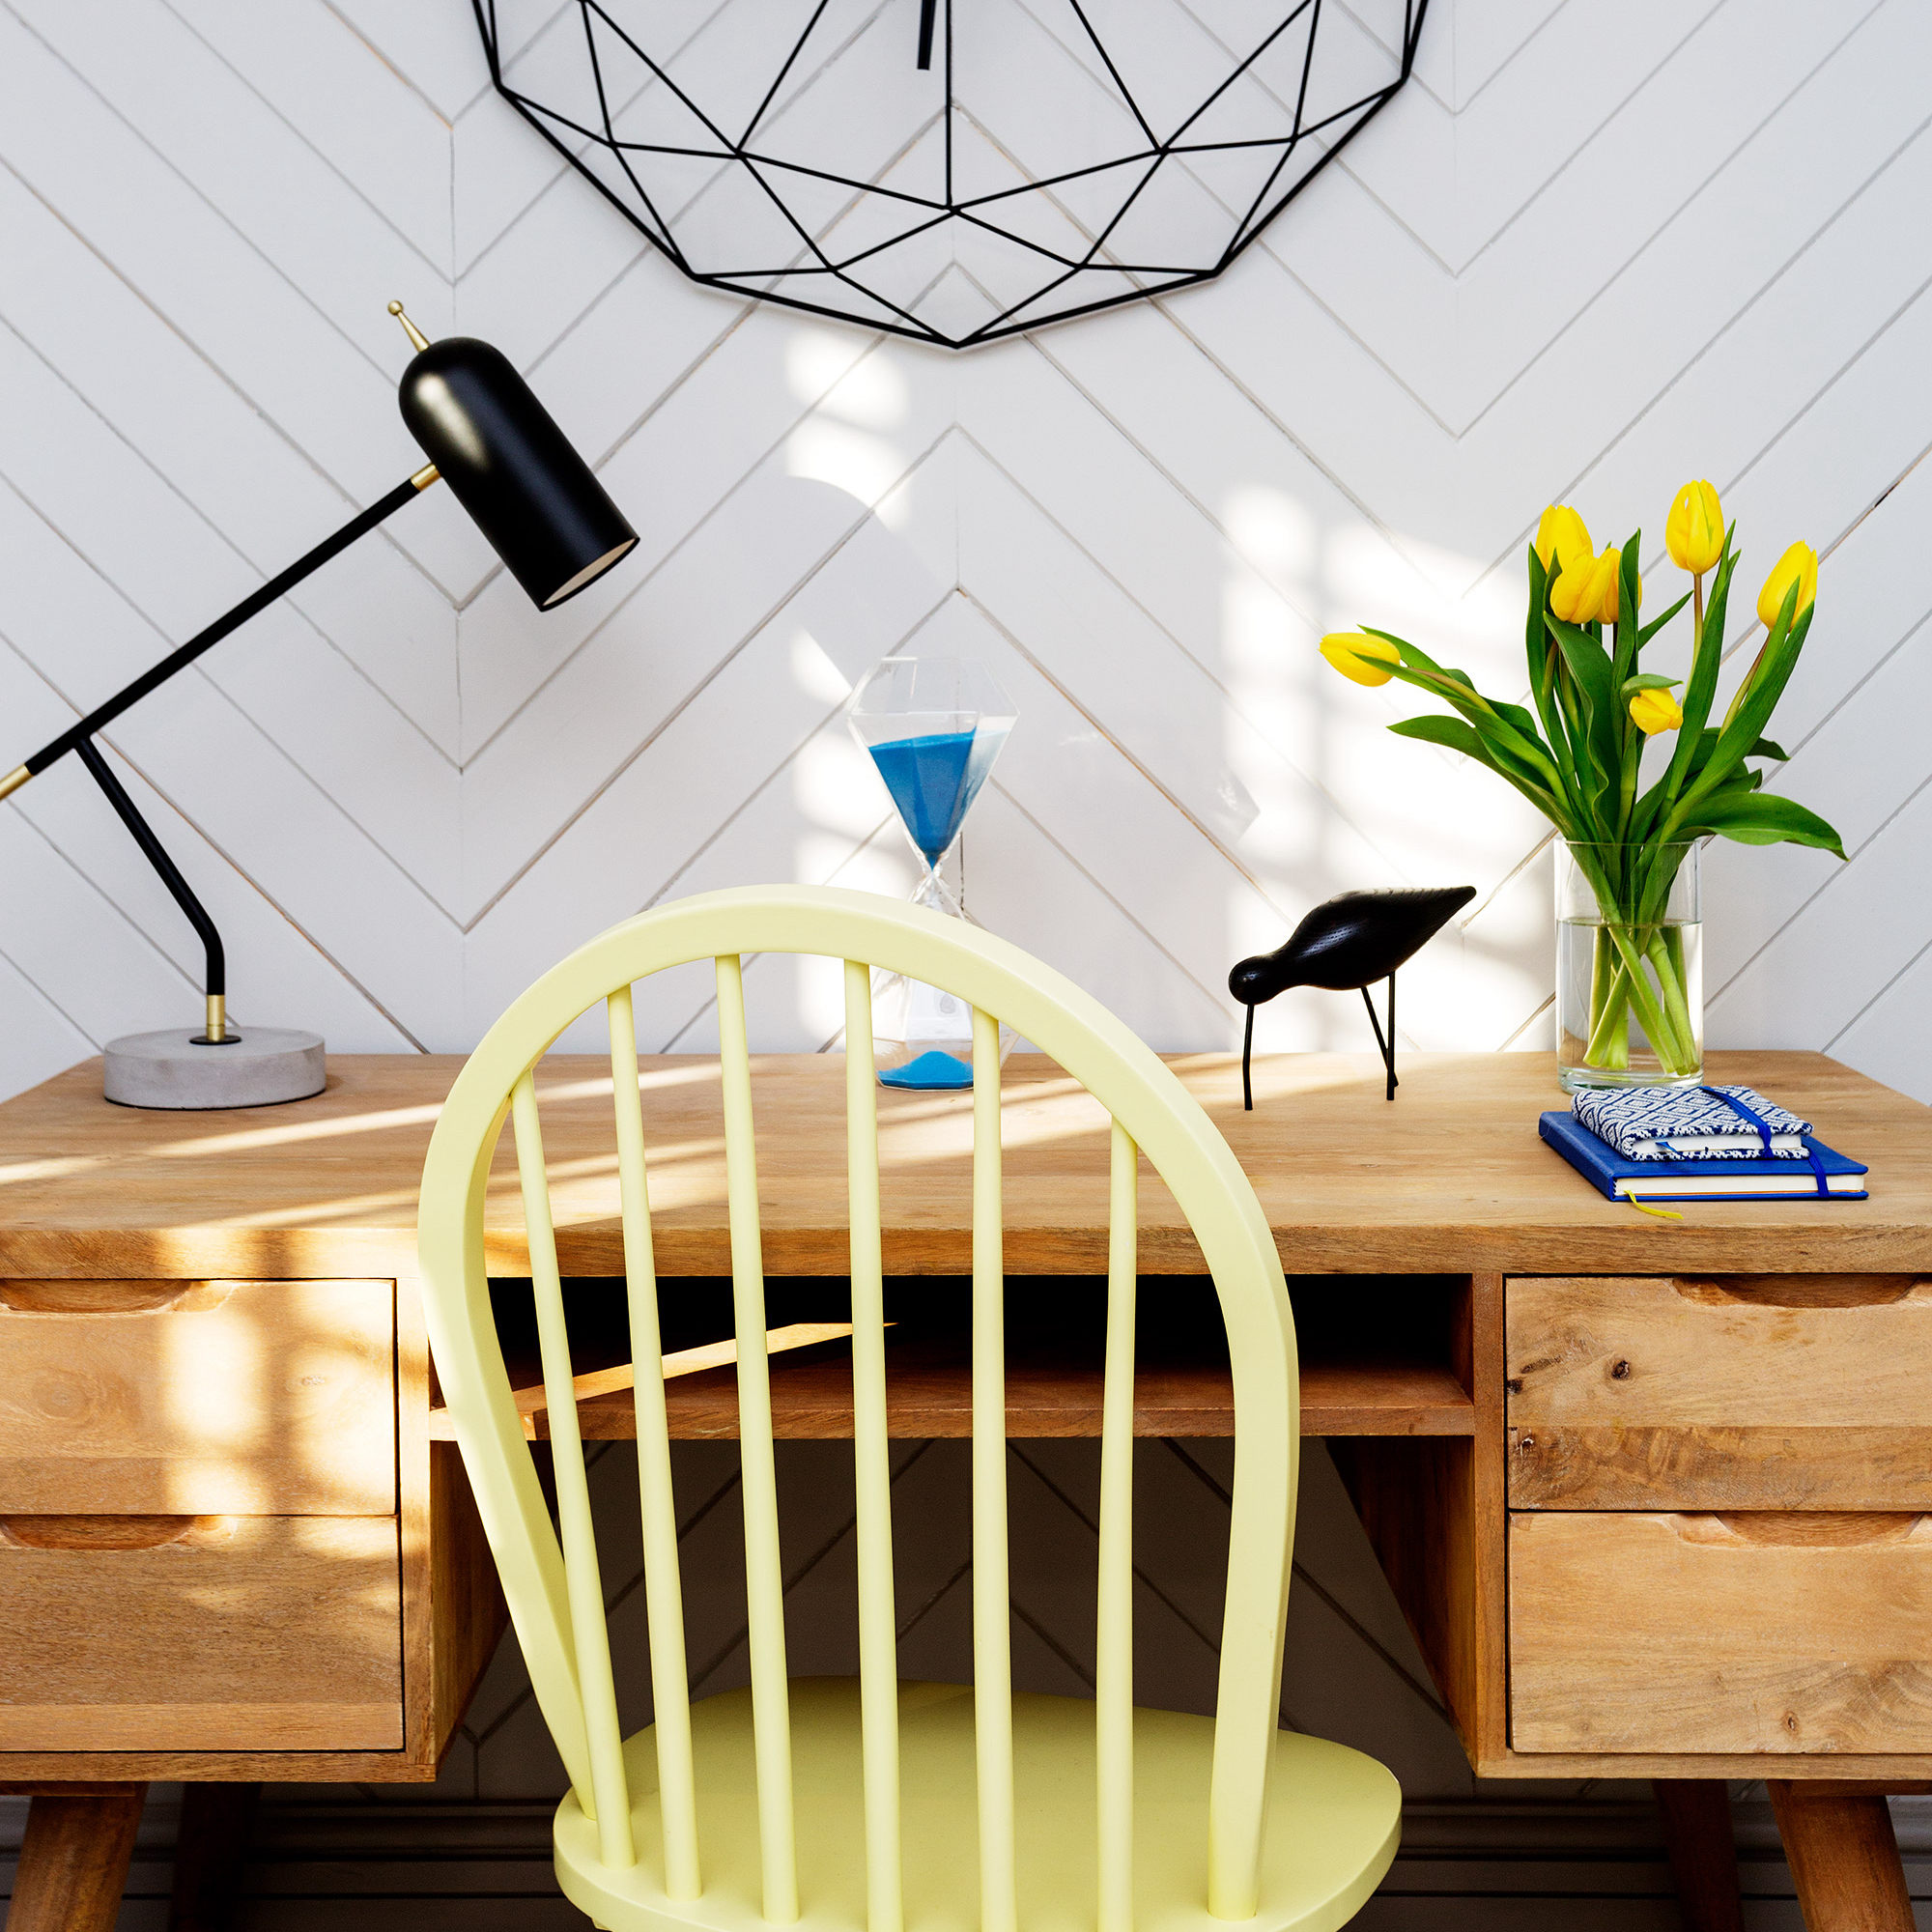
After all your hard work, the last thing you want is for your panel wall to end up uneven or bumpy – so sand your whole wall down before attaching any of your boards. Plus, the sanding will help your adhesive stick better too.
5. Start to stick
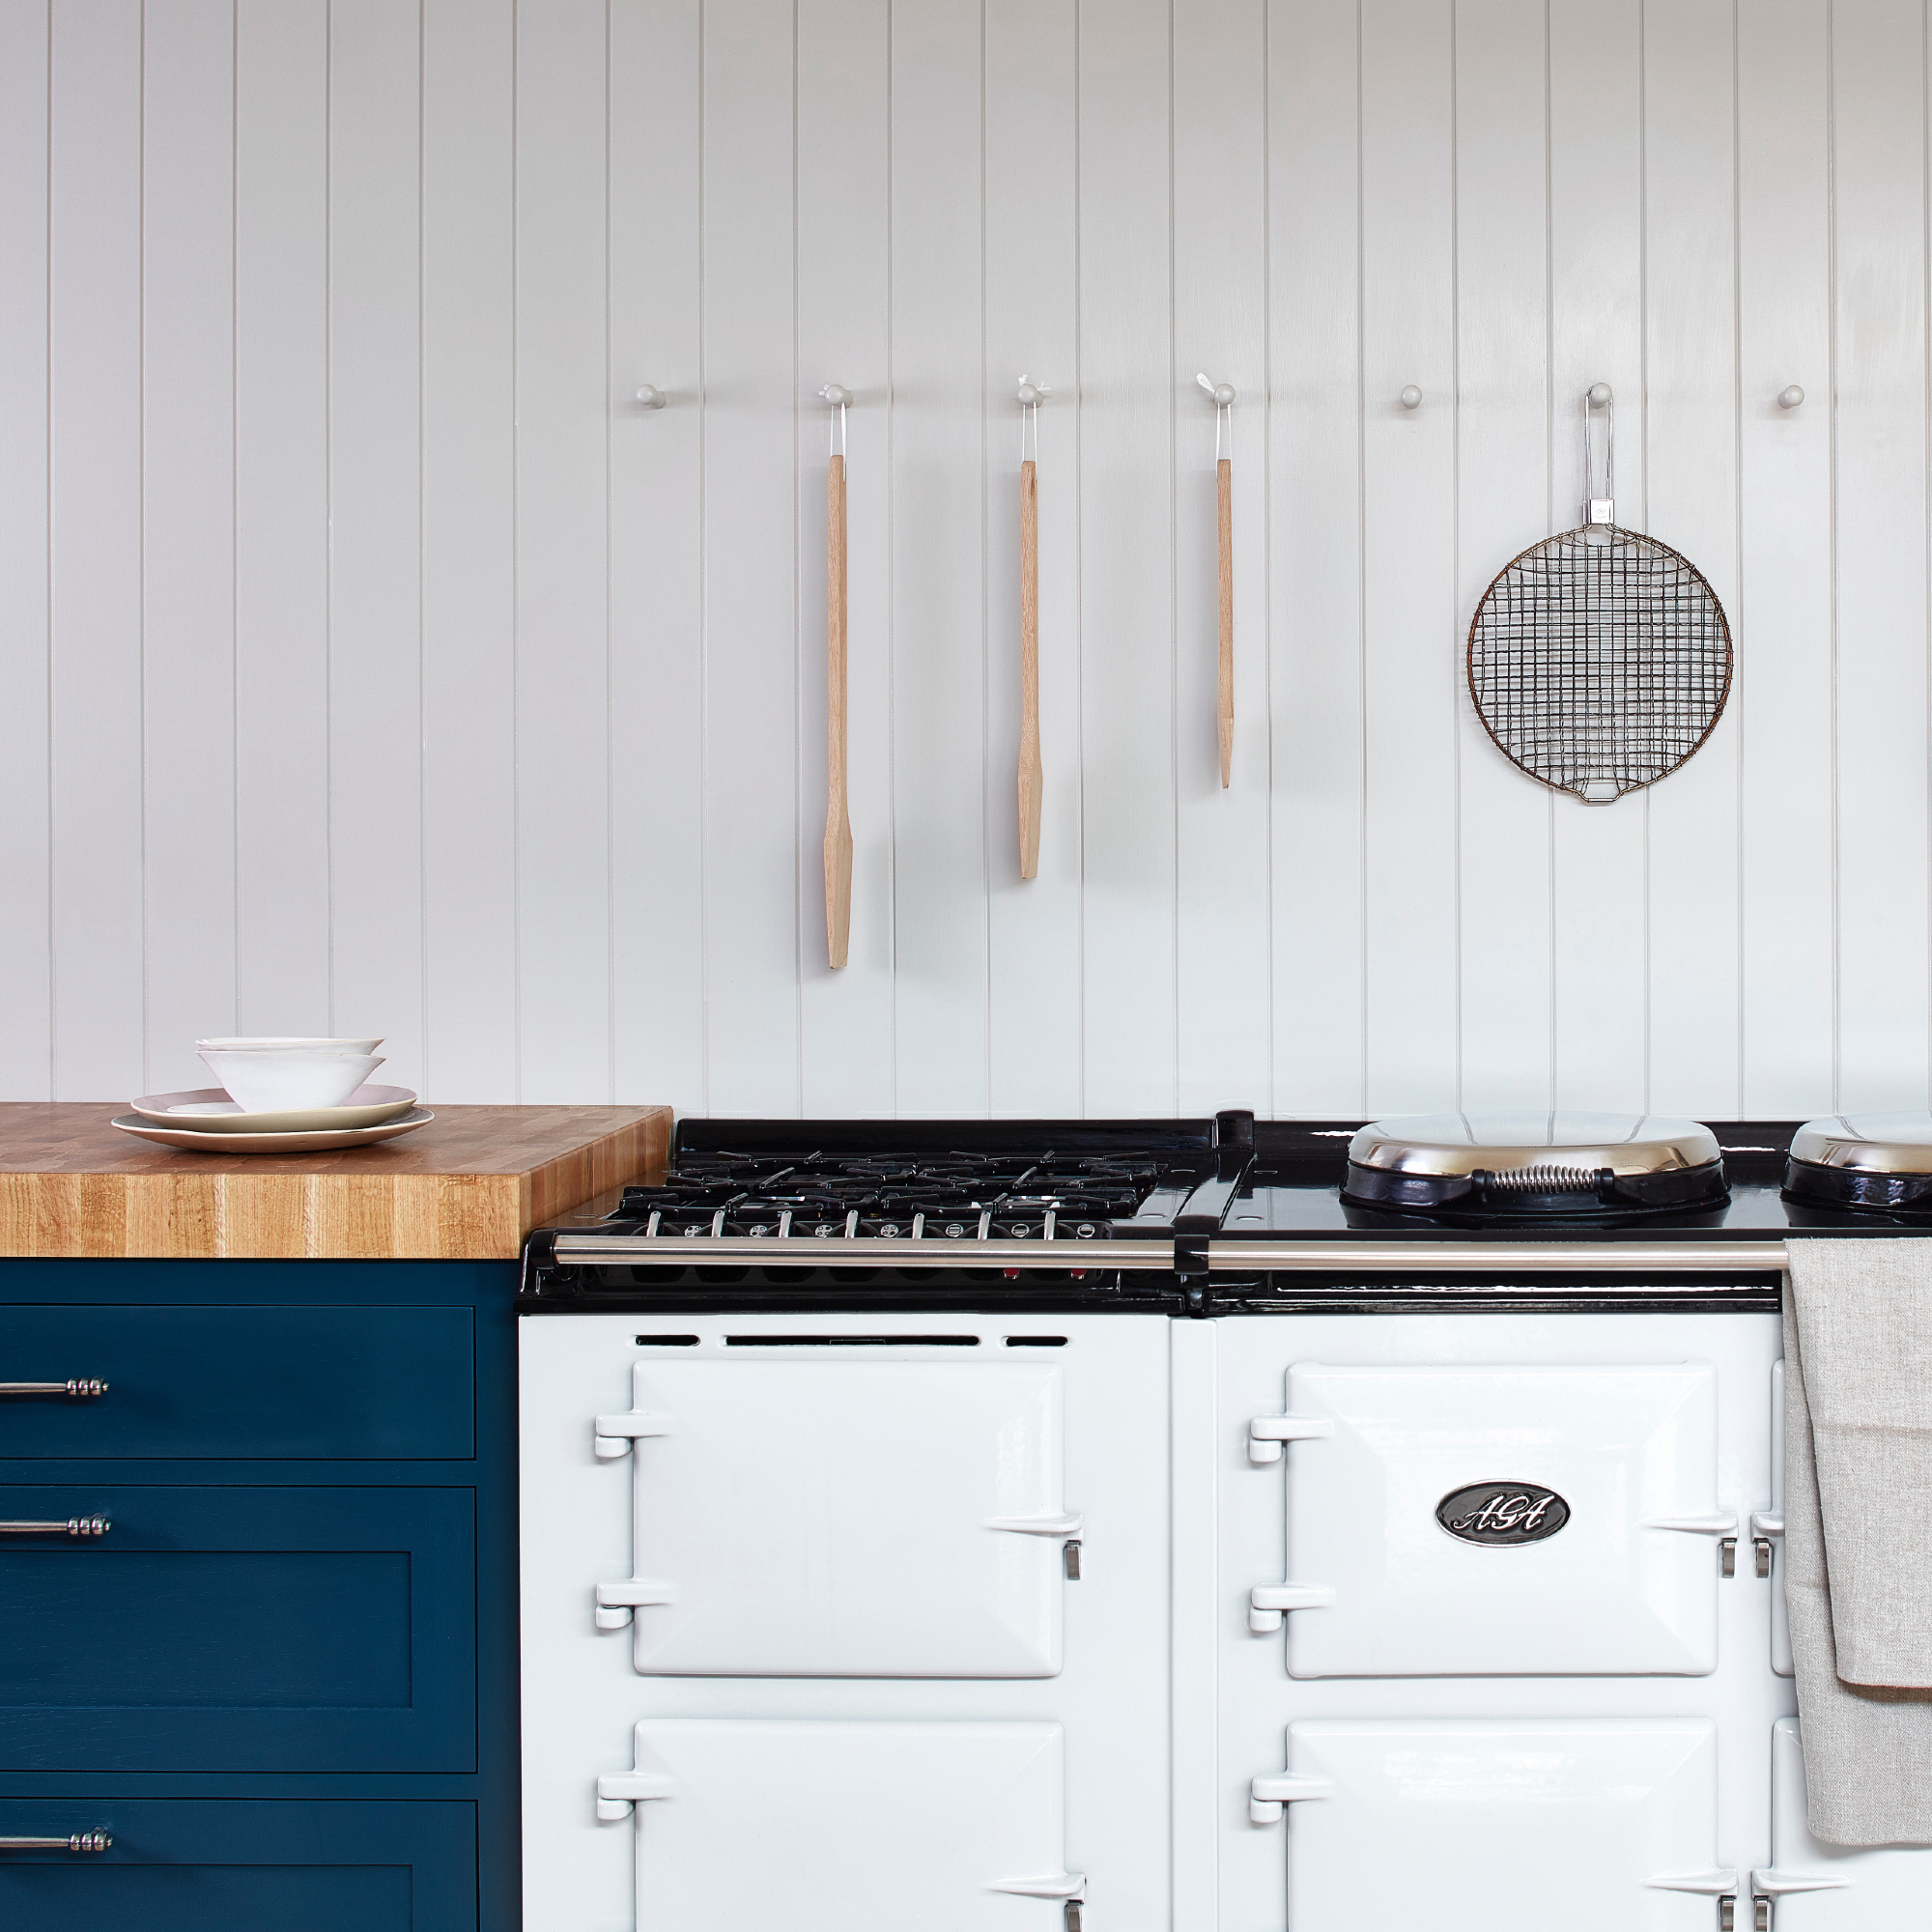
Now your wall is smooth and ready, it’s time to start adding your panels. Using No More Nails, stick the base rail to your wall, pressing down firmly all the way along to make sure it sticks properly – then leaving it to dry.
TOP TIP: To protect your wall from damage, we recommend using No More Nails, available on Amazon instead of real nails – but the choice is yours.
6. Finish your borders
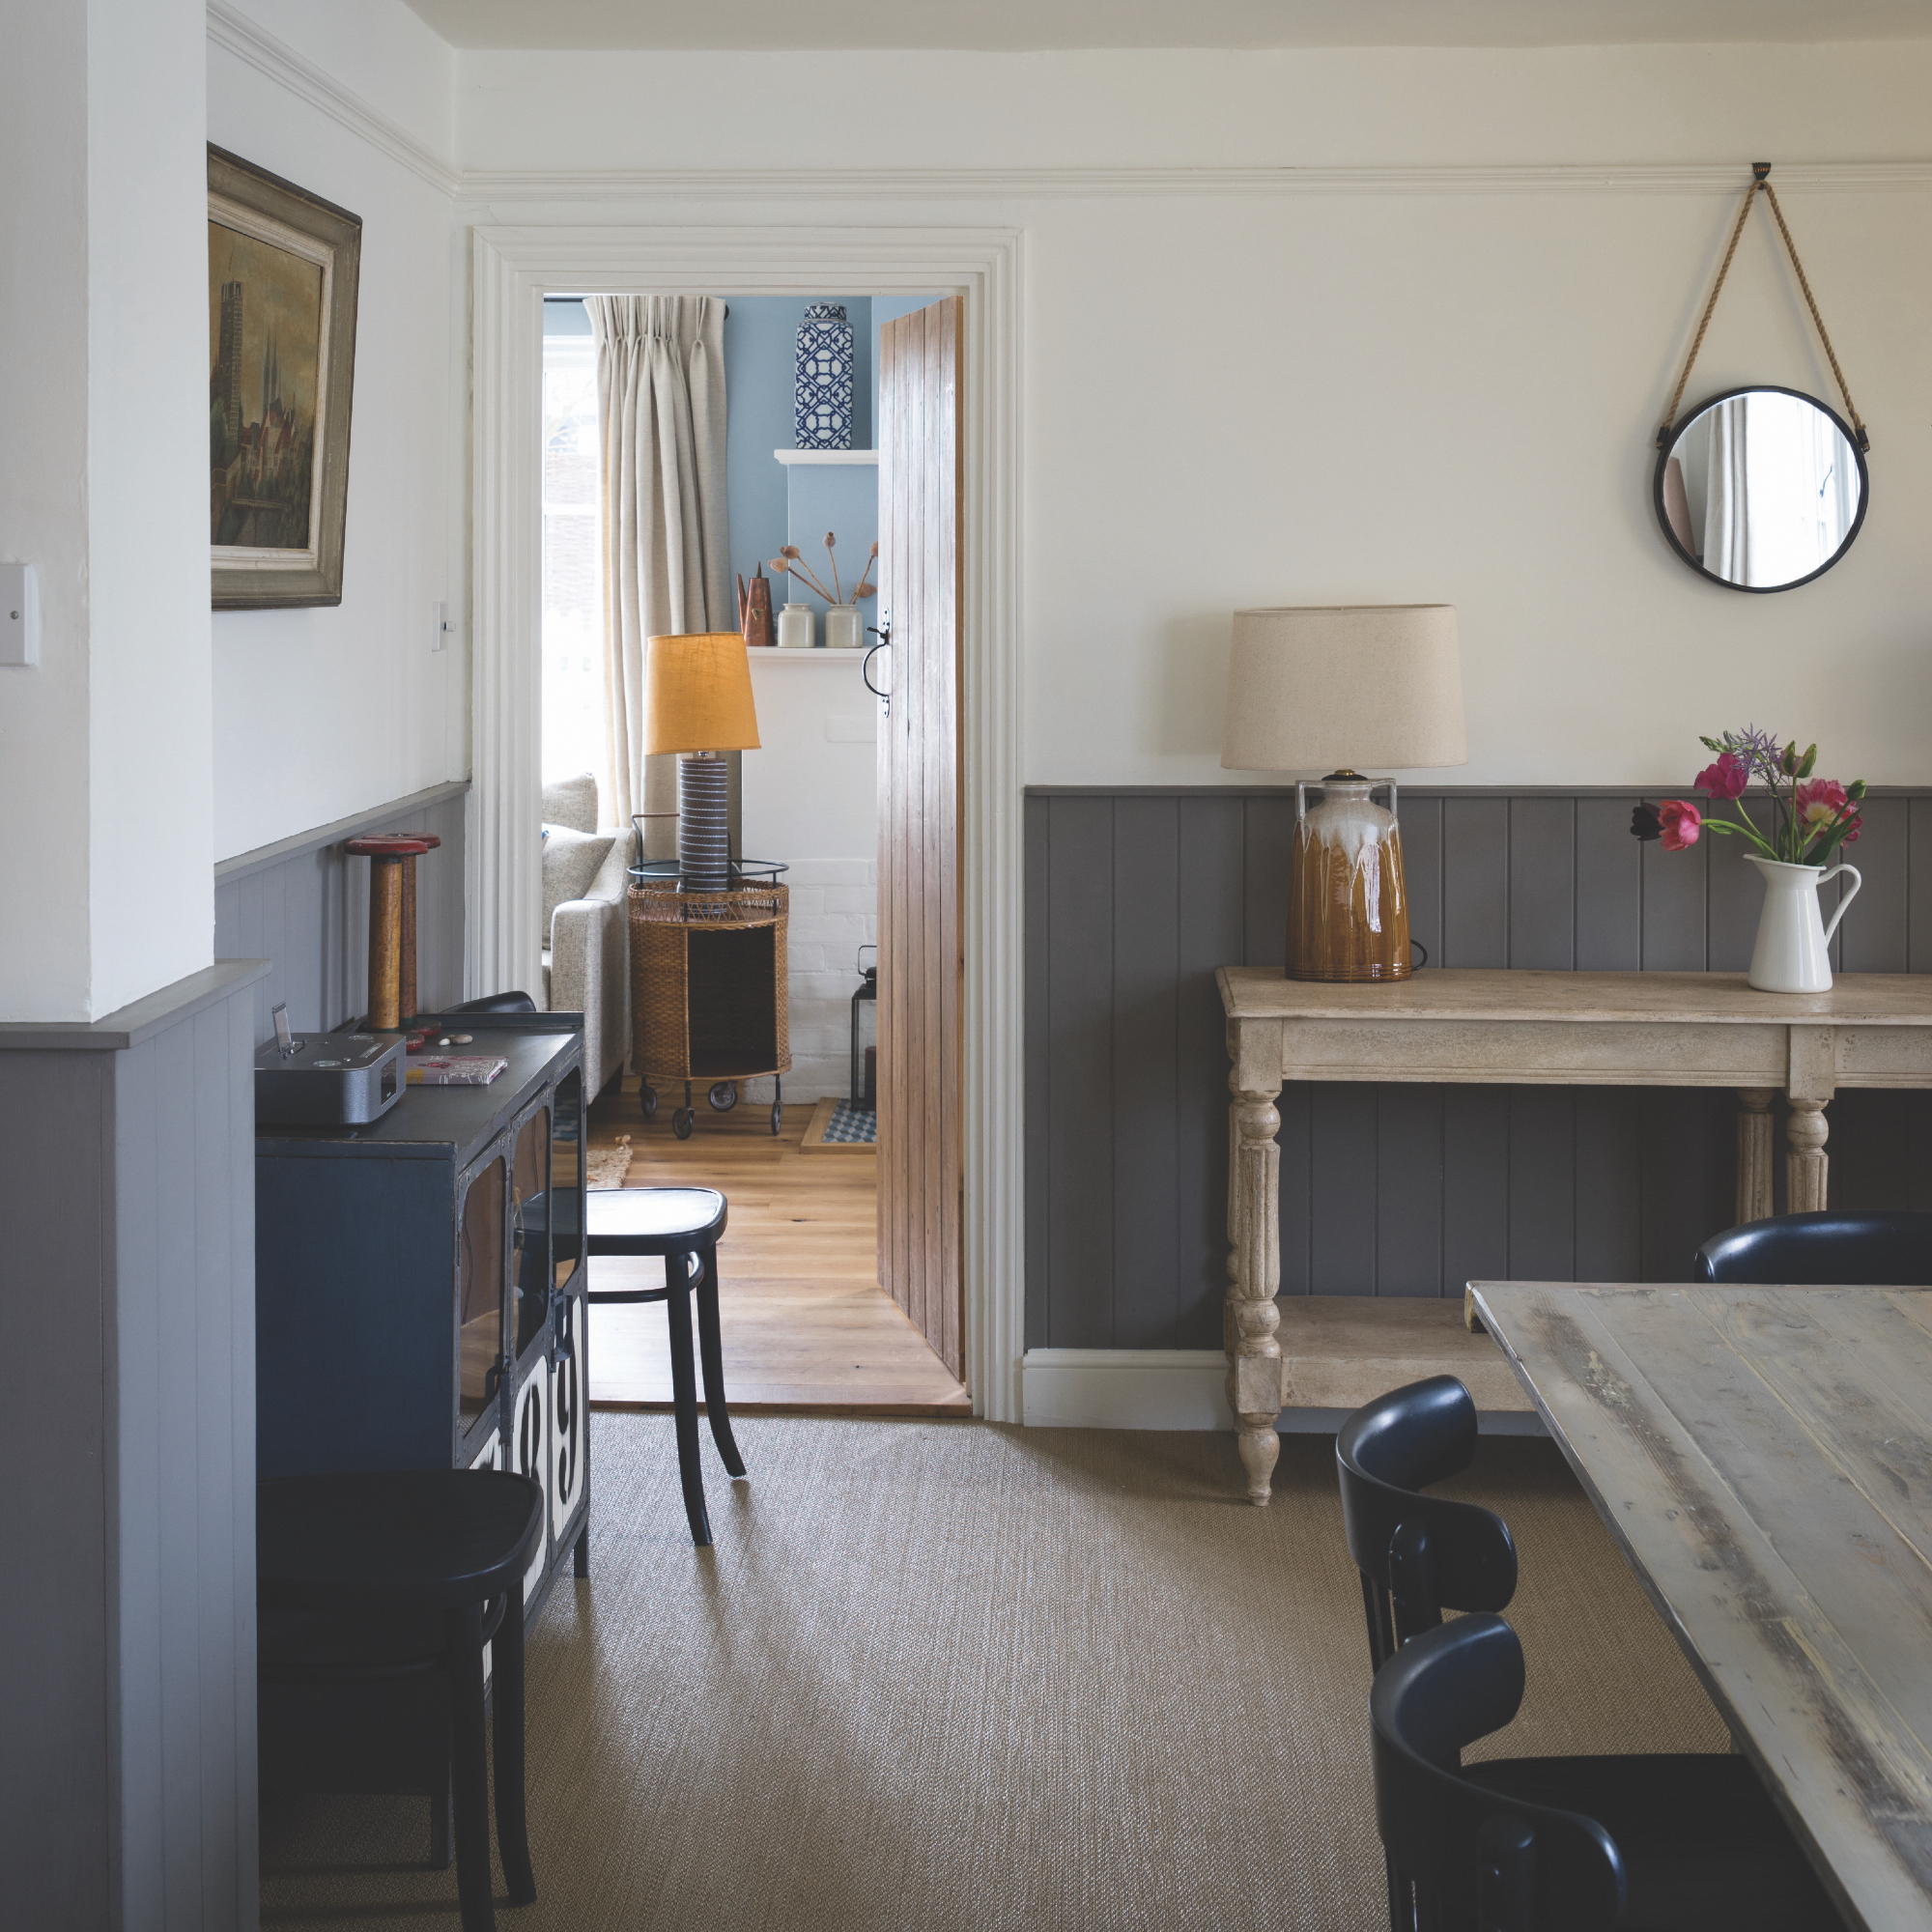
Once the base rail is done, repeat the process with your top rail – again, leaving time to dry. Then you can move onto your pre-cut side stiles, which should fit in neatly between your top and bottom rails. Using a spirit level to make sure they’re straight, stick them down too.
TOP TIP: Tacking a panel pin into your top rail can help fight gravity and keep it safely in place until the adhesive has set.
7. Create your panels
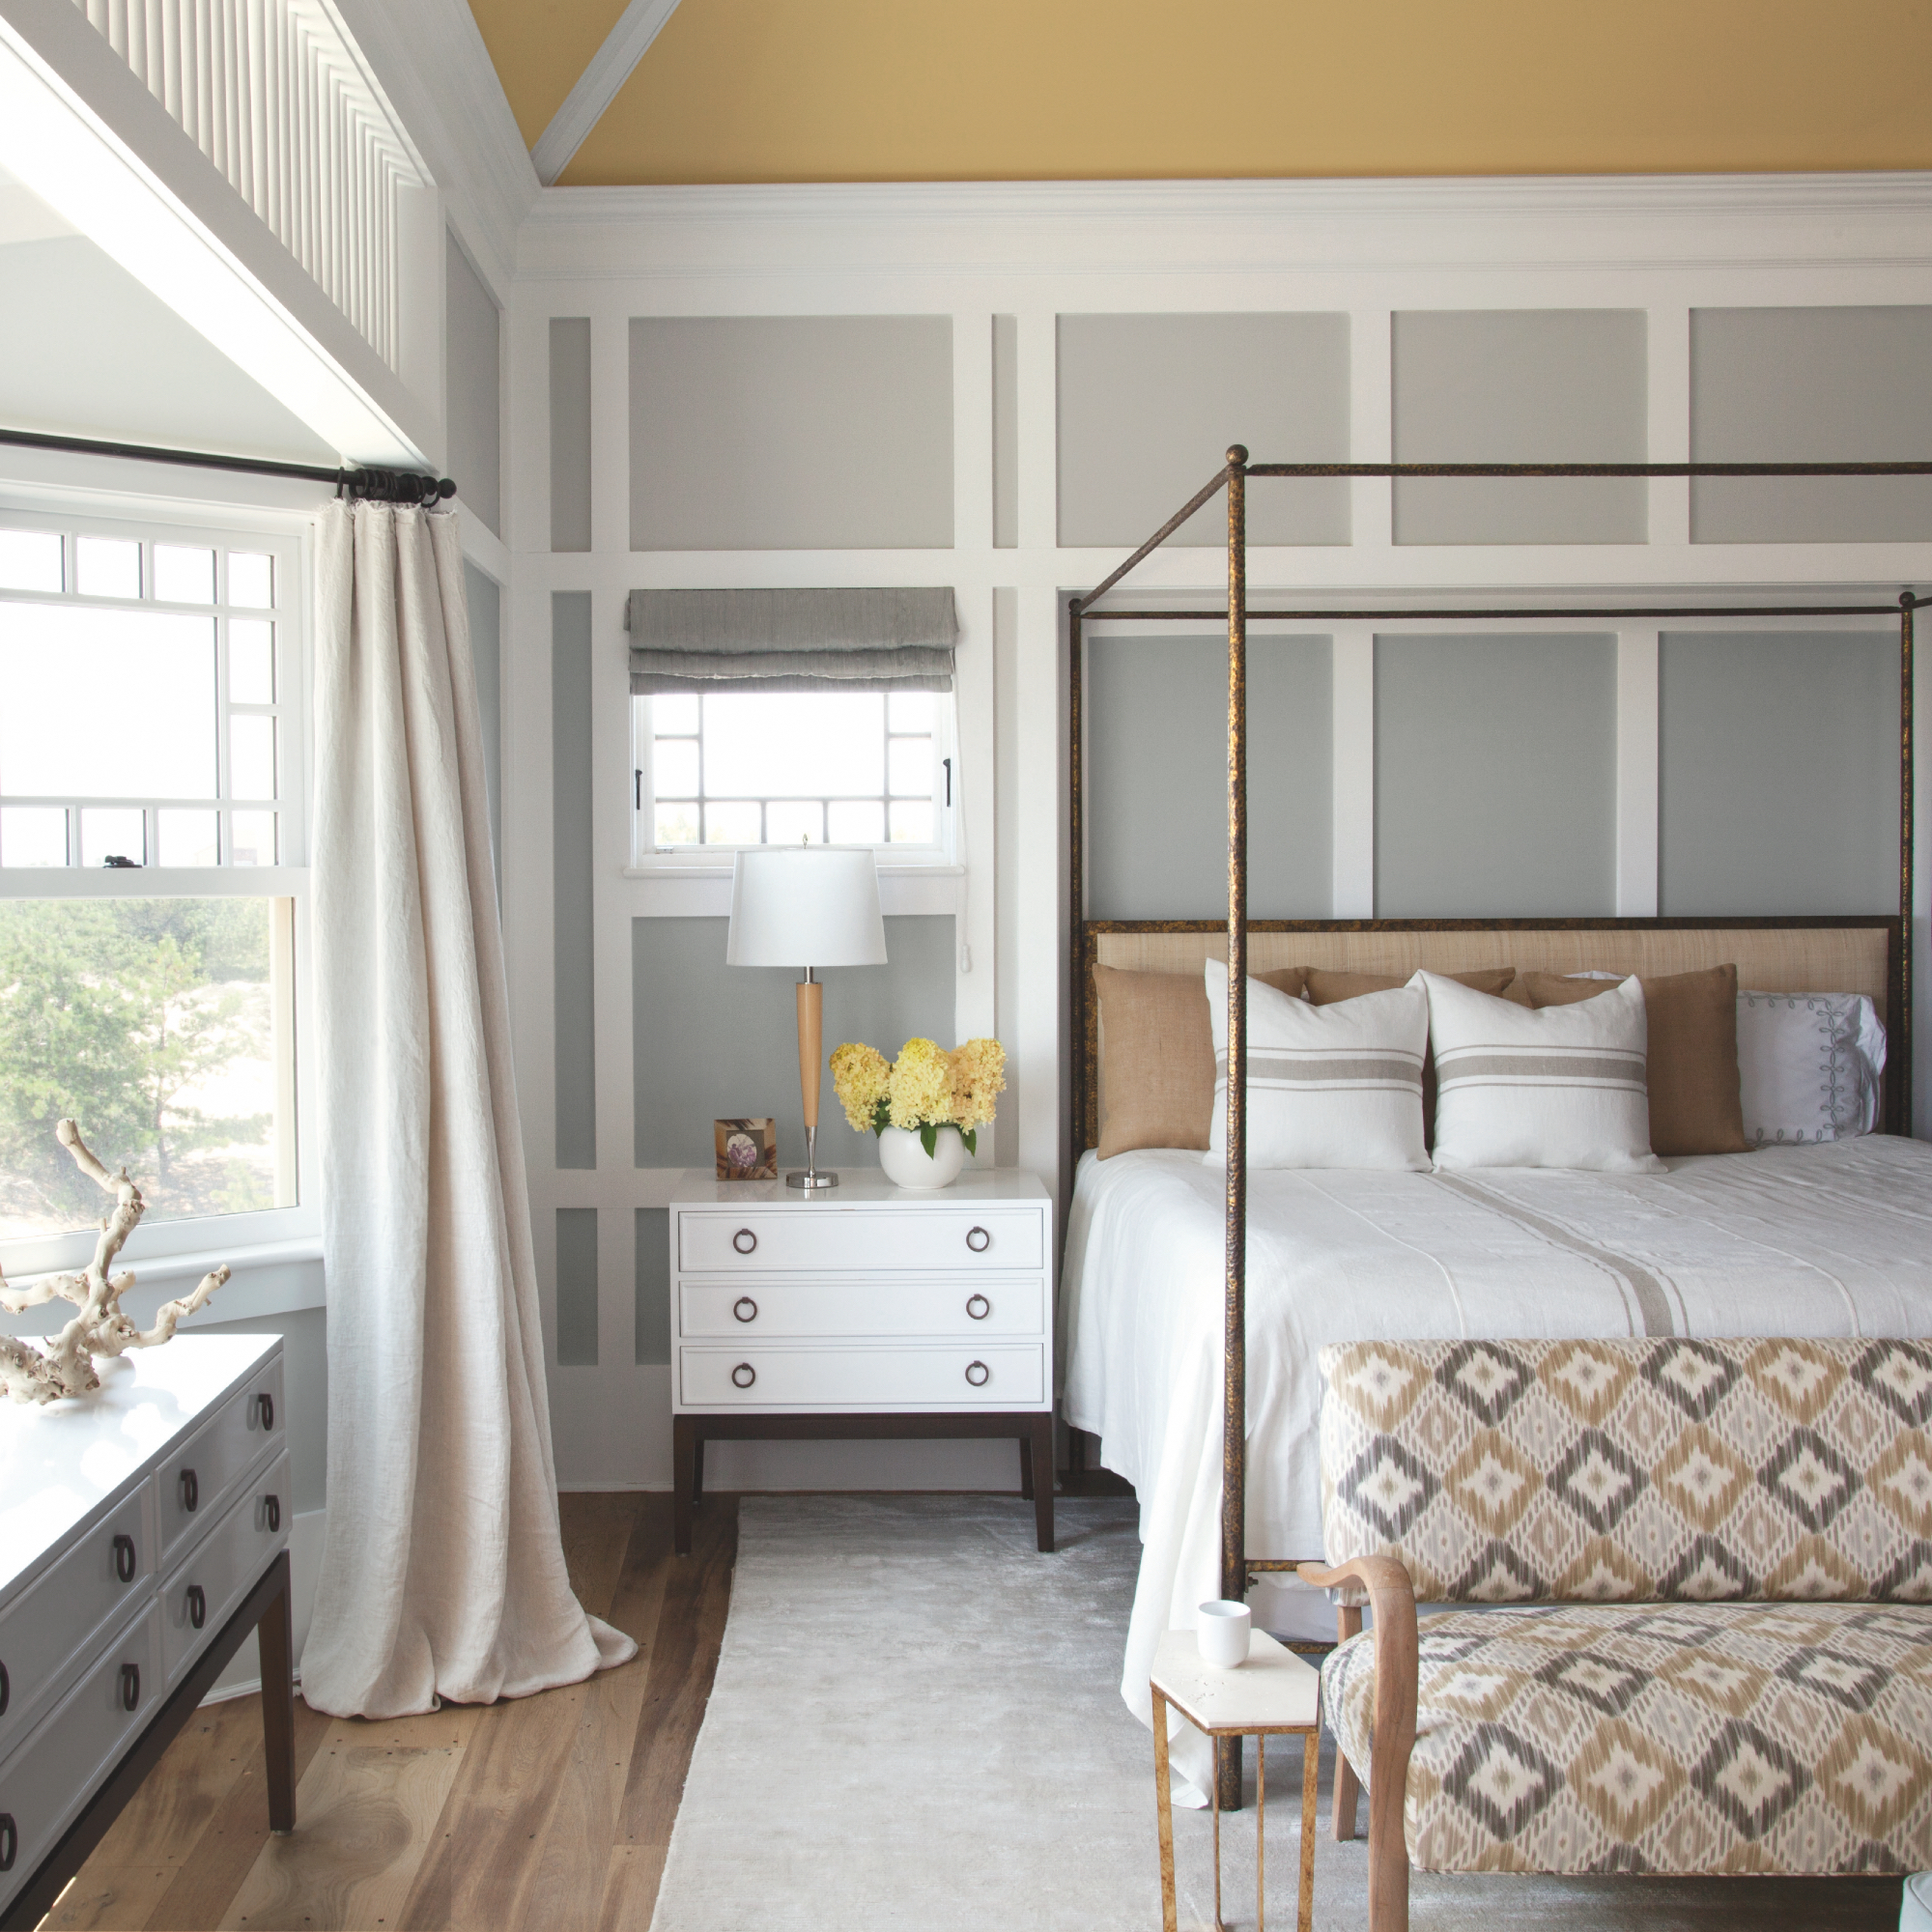
Using your rails as column spacers, as well as the marks you made on the wall – fix the rest of your stiles on the wall one by one, until you’ve got neatly divided columns all the way along.
8. Place your rails
Once your stiles are in place – it’s time to add your horizontal rails in-between, again using adhesive to stick them to the wall. Don’t forget to pin them if you need!
TOP TIP: From evenly spaced vertical squares to a larger middle block with smaller spaces above and below, there are several designs you can create with for your rails – whether matching your room’s style or sticking to your original sketch design.
9. Fill any gaps and paint
Once you’ve finished all your panels, step back and look over the whole wall. If there are any small gaps in between boards – fill them with Polyfilla and sand down the joints to keep it smooth.
Once your adhesive has set, it’s time to get painting!
FAQs
How many different types of panelling are there?
‘There are many options to choose from when looking at introducing panelling into your home,' says Felix Milns, Hux London. 'This is a finish that delivers a real design statement as well as being immensely practical.
In historic properties, opting for a relief of smaller squares, which harks back to the Jacobean period, will create a more traditional feel. Similarly ornate panelling, which is evocative of the Georgian period, adds a classical and timeless finish – the perfect framework for hanging artwork, creating a natural frame that will elevate your favourite pieces.
For a more contemporary look why not opt for a shaker style, similar to the Jacobean look, this type of panelling features squares, yet the shaker style is larger squares which creates a geometric framework. Opting for tongue and groove can help to elongate a space, drawing the eye with its linear finish. For a very modern appeal why not try geometric panelling, this creates a more playful finish and architectural statement.’
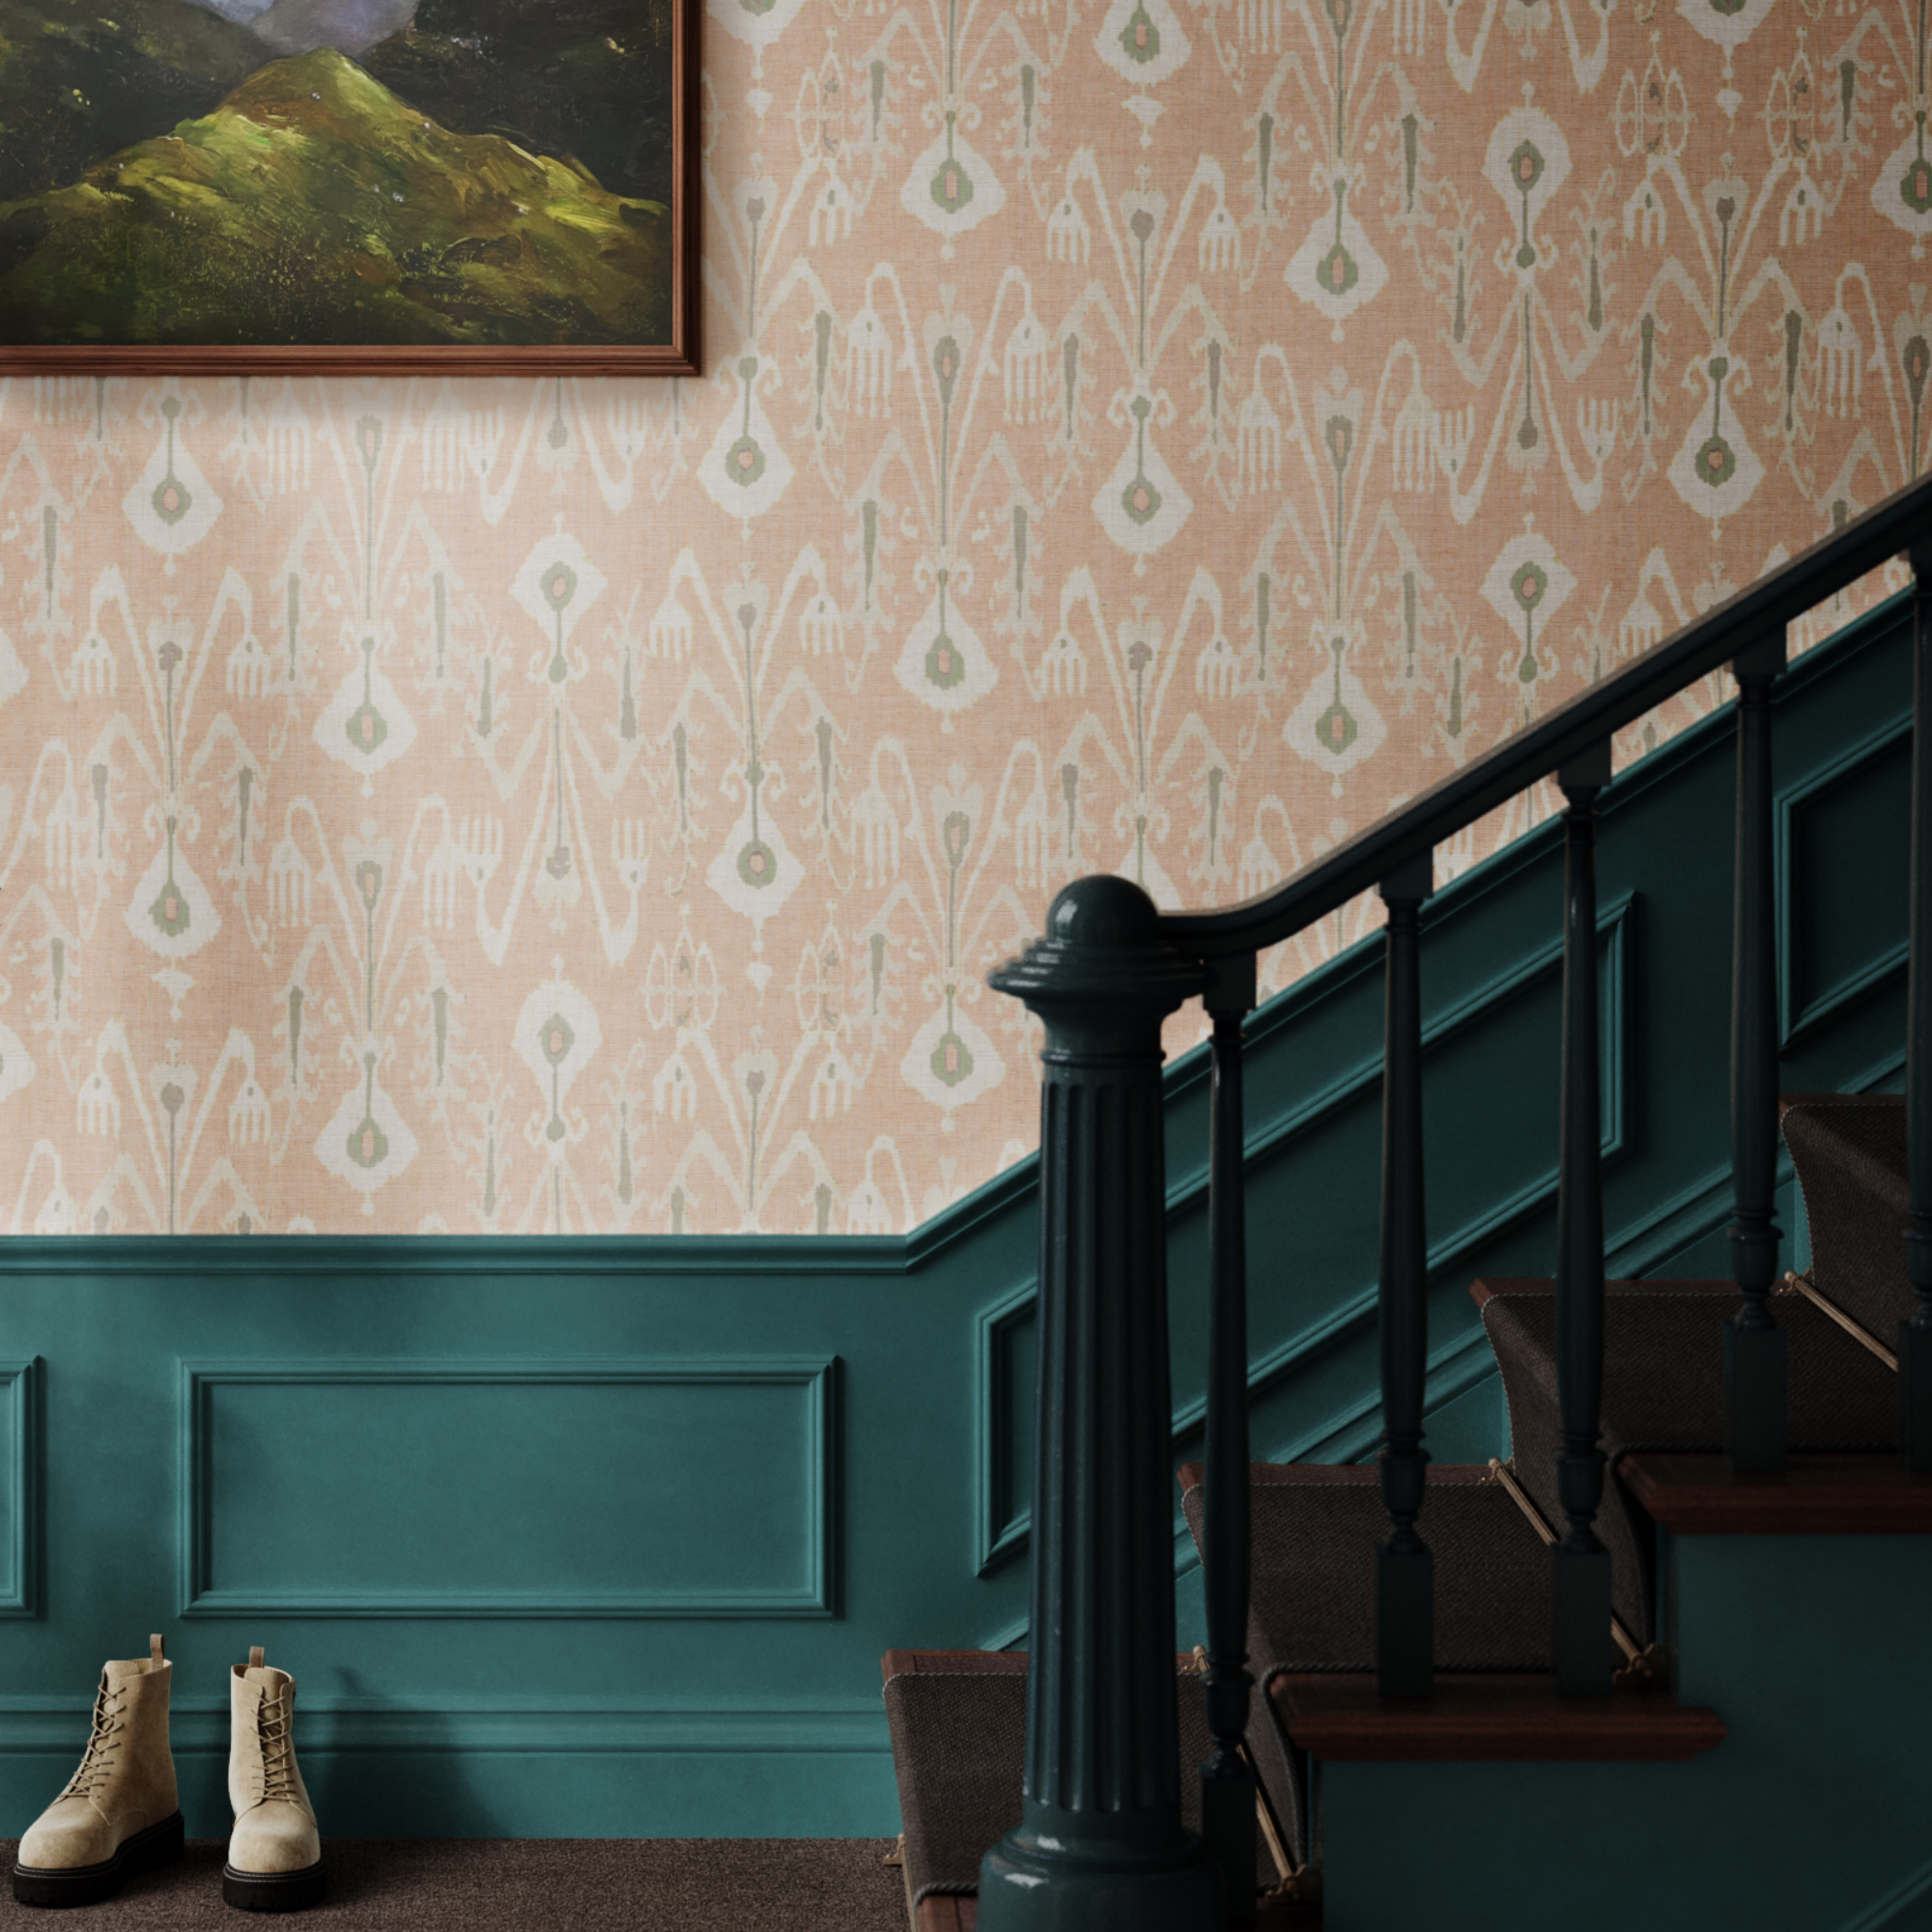
'Combining panelling and wallpaper is a traditional technique often used in hallways,' says Tim Walters, managing director, George Spencer Designs. 'It’s a highly practical solution in high traffic areas and is a great way of adding character and visual interest to a room. It’s a wonderful way of using a striking, feature wallpaper without it being overwhelming.'
What colour should I paint my panelling?
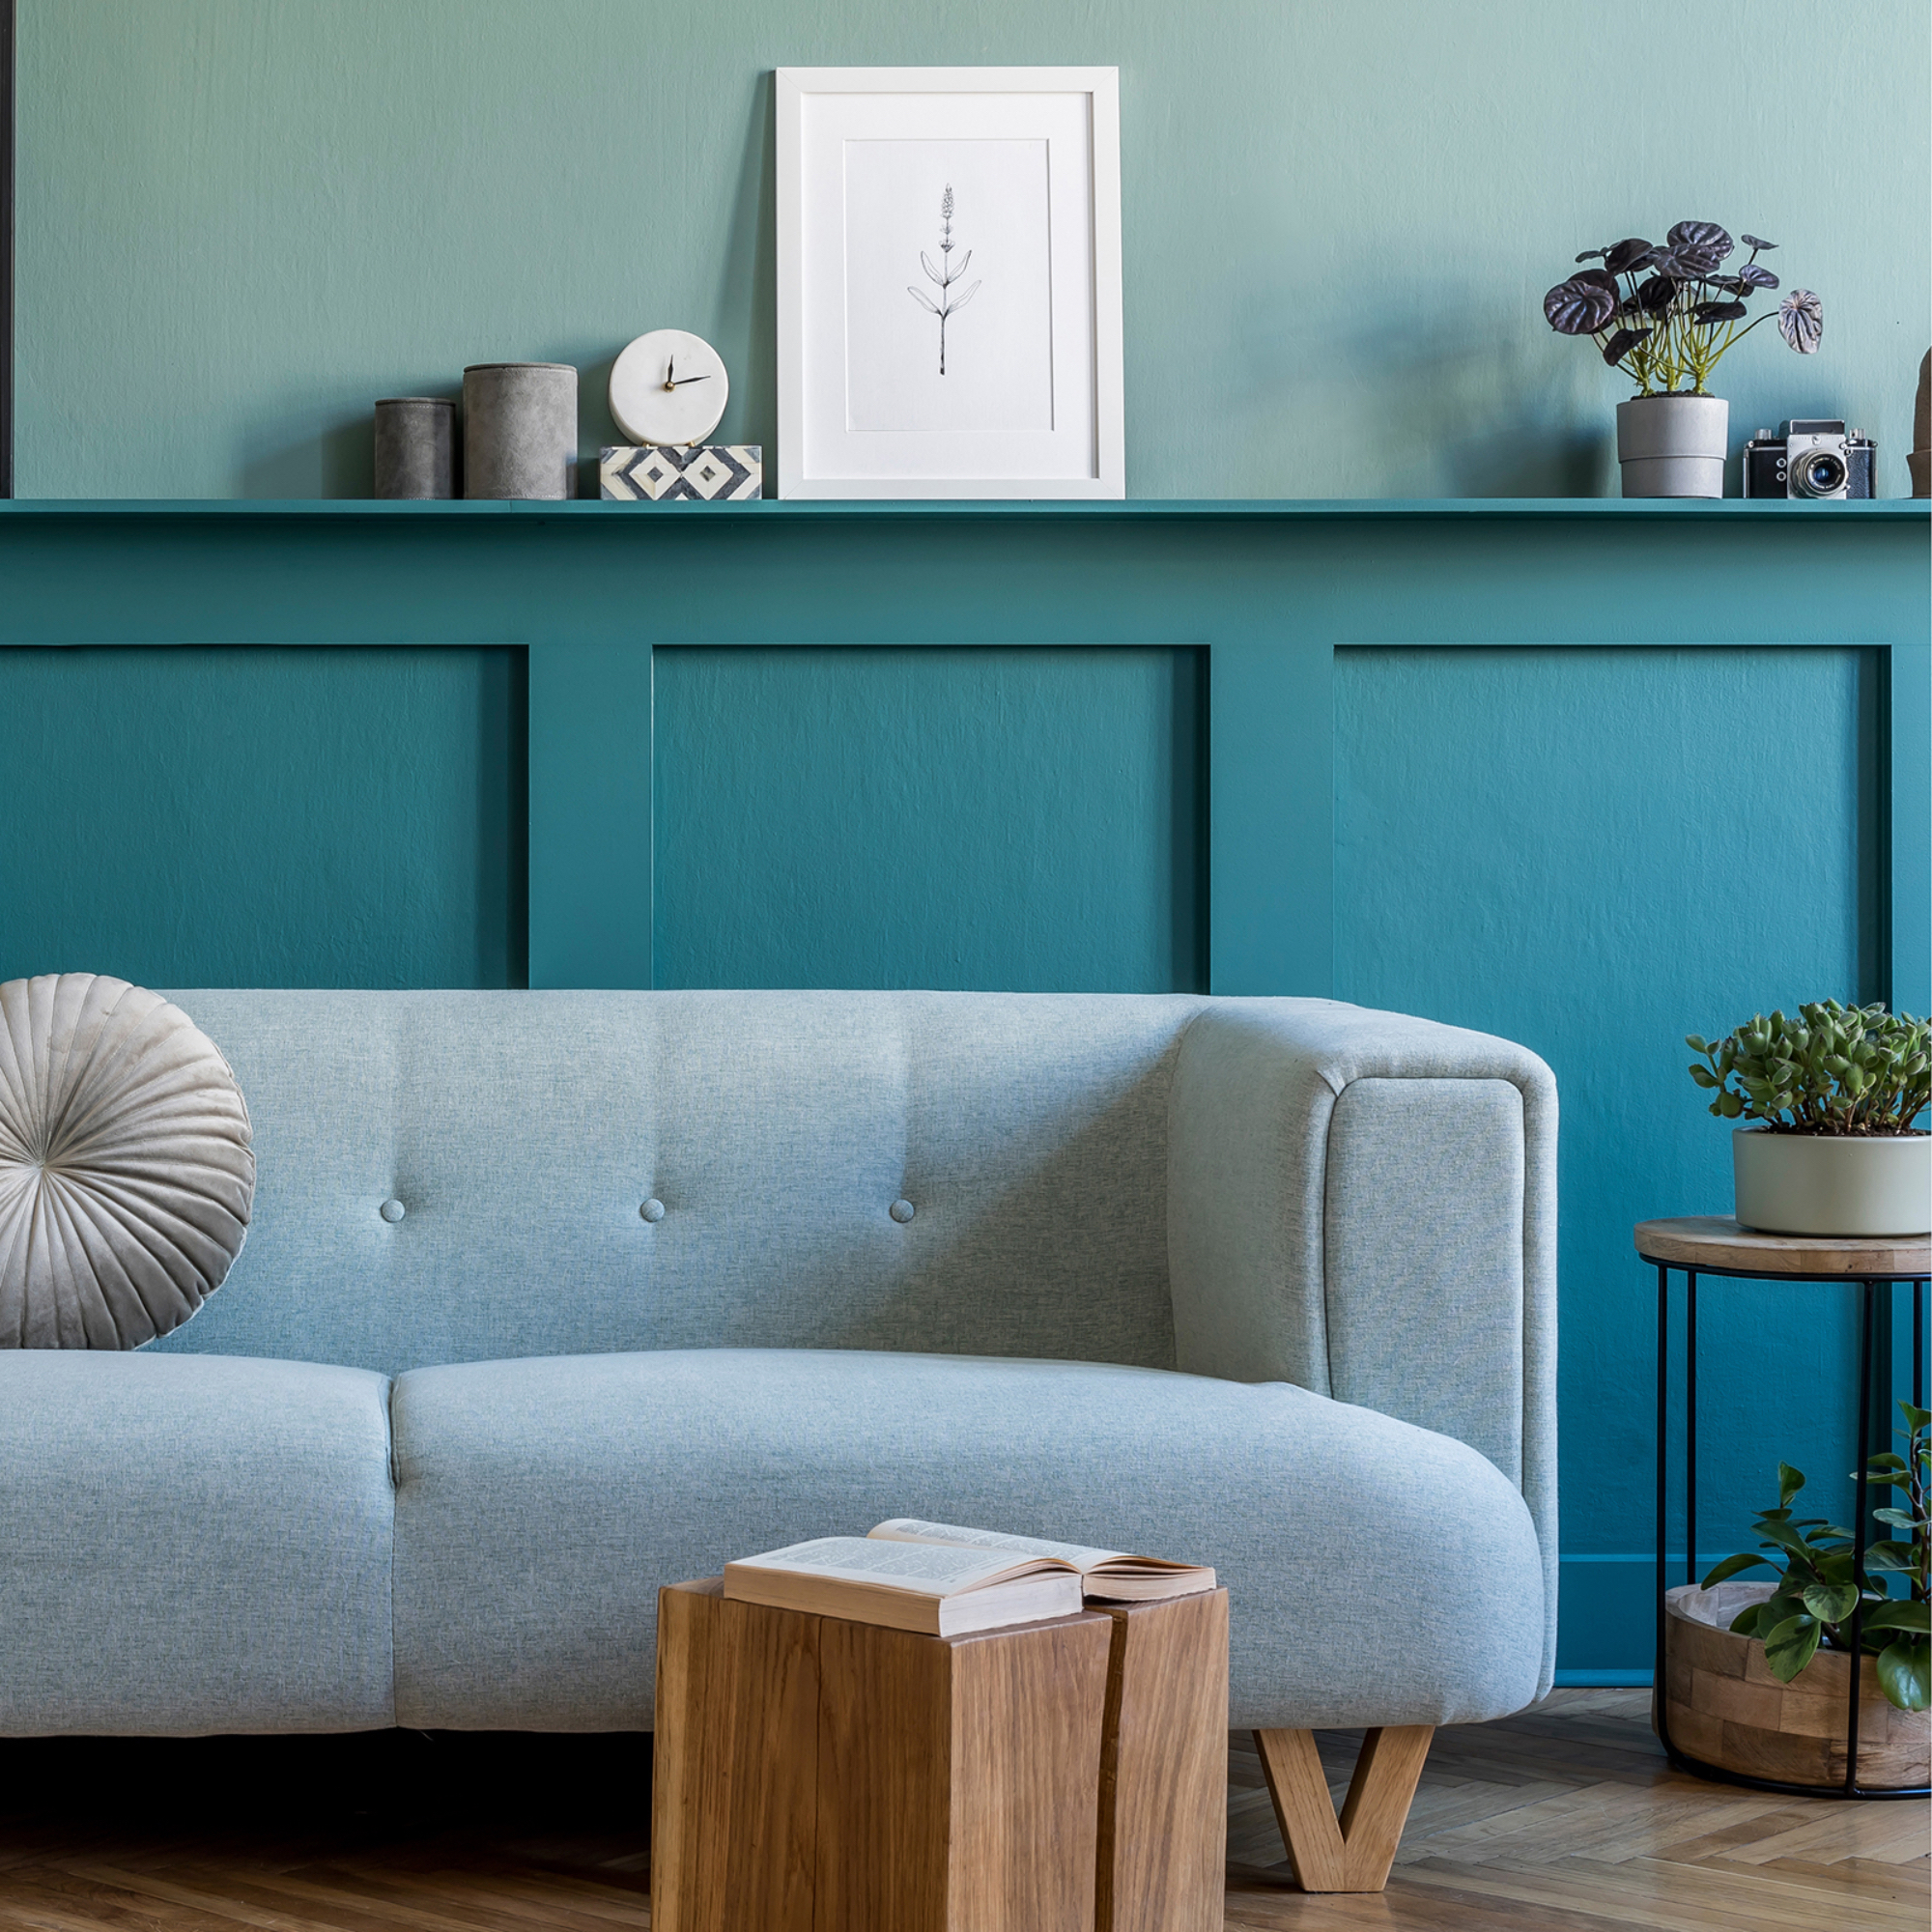
'Picking the right colour is key; if you prefer a subtle and elegant aesthetic consider a tonal scheme by matching both the wall and panelling colour and layering with accessories in similar hues,' advises Helen Shaw, director of marketing, Benjamin Moore.
'To add more impact, pick out the detail in a bold shade and highlighting the design detail. Don’t feel you have to wrap it around the entire room, covering one wall, behind a bed or a sofa for instance, will draw the eye and create a focal point.'
How do you stick panelling to a wall?
The quietest and easiest way is to use adhesive glue if the wall you're applying the panels to is dry, level, sound and clean, but if you want a traditional finish then use pins.
It might be you are panelling over old panels, or on to wallpaper, in this instance adhesive won't be as effective.