How to change a toilet seat – and upgrade your loo in a few minutes
Changing a toilet seat is one of the easier jobs in the bathroom for a quick fix
Knowing how to change a toilet seat is surprisingly handy information. Whether you're suffering a broken or downright nasty toilet seat don't wait for someone else to sort it for you, especially when usually its a job you can easily do yourself.
It’s the busiest seat in the house, so it has to be functioning, fit for purpose and preferably, flawless. Once you know the basic principles, you’ll be a dab hand at this simplest of switches. Whether you want to renew your whole loo, change up your bathroom ideas with a different seat style or upgrade to a silent, soft-close design.
How to change a toilet seat - step-by-step
We have pulled together everything you need to know about how to change a toilet seat. Get to it, and soon you’ll be sitting pretty.

1. Decide if it really needs replacing
You could save yourself money if the seat is useable but just needs an industrial-strength clean or an adjustment. For the former, bleach is the best cleaning product to use. Soak it in dilute bleach for a few minutes before scrubbing, using an old toothbrush dipped in bicarb and vinegar to do the hinges.
For the latter, it might be that the fixing bolts have just become loose, or the hinges have been fitted too far back so the seat won’t stay upright.

2. Clean your work area
Pull on a pair of rubber gloves and scrub every surface you’re going to touch – including the floor around the loo. While you’re at it, a pair of knee pads will make the next steps more comfortable, as you’re going to be spending some time on the floor getting to grips with things.
3. Remove the old seat
You’ll need a few essential tools for this, depending on the fixings. If you can’t see the two bolts at the back of the seat because they’re covered by plastic shields, pop them open with a flathead screwdriver and remove first.
This will reveal two nuts (six-sided fixings) underneath the back of the loo which come off with an adjustable wrench; or wingnuts that can be unscrewed by hand, (or with help from a pair of pliers if they’re stiff or rusted on). Simone Robinson, one of Homeserve's plumbing and heating experts, advises, ‘Spray the nuts with a lubricant like WD-40, holding a cloth behind the nut to avoid coating the entire area, and take a 10-minute break to allow it to do its job.’
Failing this, your only option will be to cut through the bolts with a small hacksaw. Now you can loosen the screw part of the bolts that go right through the ceramic and lift away the seat.
If you have a quick-release seat, remove the seat, prise off the bolt cover plates then unscrew the brackets.
4. Clean the toilet pan thoroughly
The parts covered by fixings might not have seen the light of day for years, so take the opportunity to scrub them while they’re naked.
Dry it before fitting the new seat, to prevent mould from forming underneath. It might be useful to take a photo of the old fixings with your phone before you chuck them, so you can replace the seat with like-for-like fixings you know will fit.
5. Measure up for a new seat
Yes, really. Homeserve's Simone Robinson says, ‘Toilet seats come in three shapes: round-ended, D-shaped and pointed oval. Plus, they come in different sizes.’
Jot down these measurements before you shop: width of the bowl at its widest point, distance between the middle of the fixing holes (if standard, this should be 155mm), plus the distance between the middle of these and the front lip. The safest bet is to buy a replacement from the same brand as your suite, making sure you choose the same shape.
6. Choose the right design for you
The first rule of buying any loo seat is to look for metal rather than plastic fixings. It’ll be more expensive but last far longer.
The next thing to consider is the hinge type. Simone Robinson explains: ‘There are two main types: a bottom-fixing hinge is a more common and traditional type which has two bolts that fit down through your toilet bowl and you tighten from underneath; top-fixing hinges are used when the design of the toilet gives no access to the bottom of the bowl. You can also get quick-release hinges that let you easily lift off the seat and lid and soft-close hinges that have a slow-release system to cut out slamming noises.’
Material is the final thing to consider: plastic, polypropylene and resin are the most durable, although cheaper designs can be flimsy and crack or split easily, and discolour over time, so look for a sturdy, heavyweight product. These mostly come in white, although resin versions are available in fun designs with sparkles or pictures embedded if you want your seat to raise a smile.
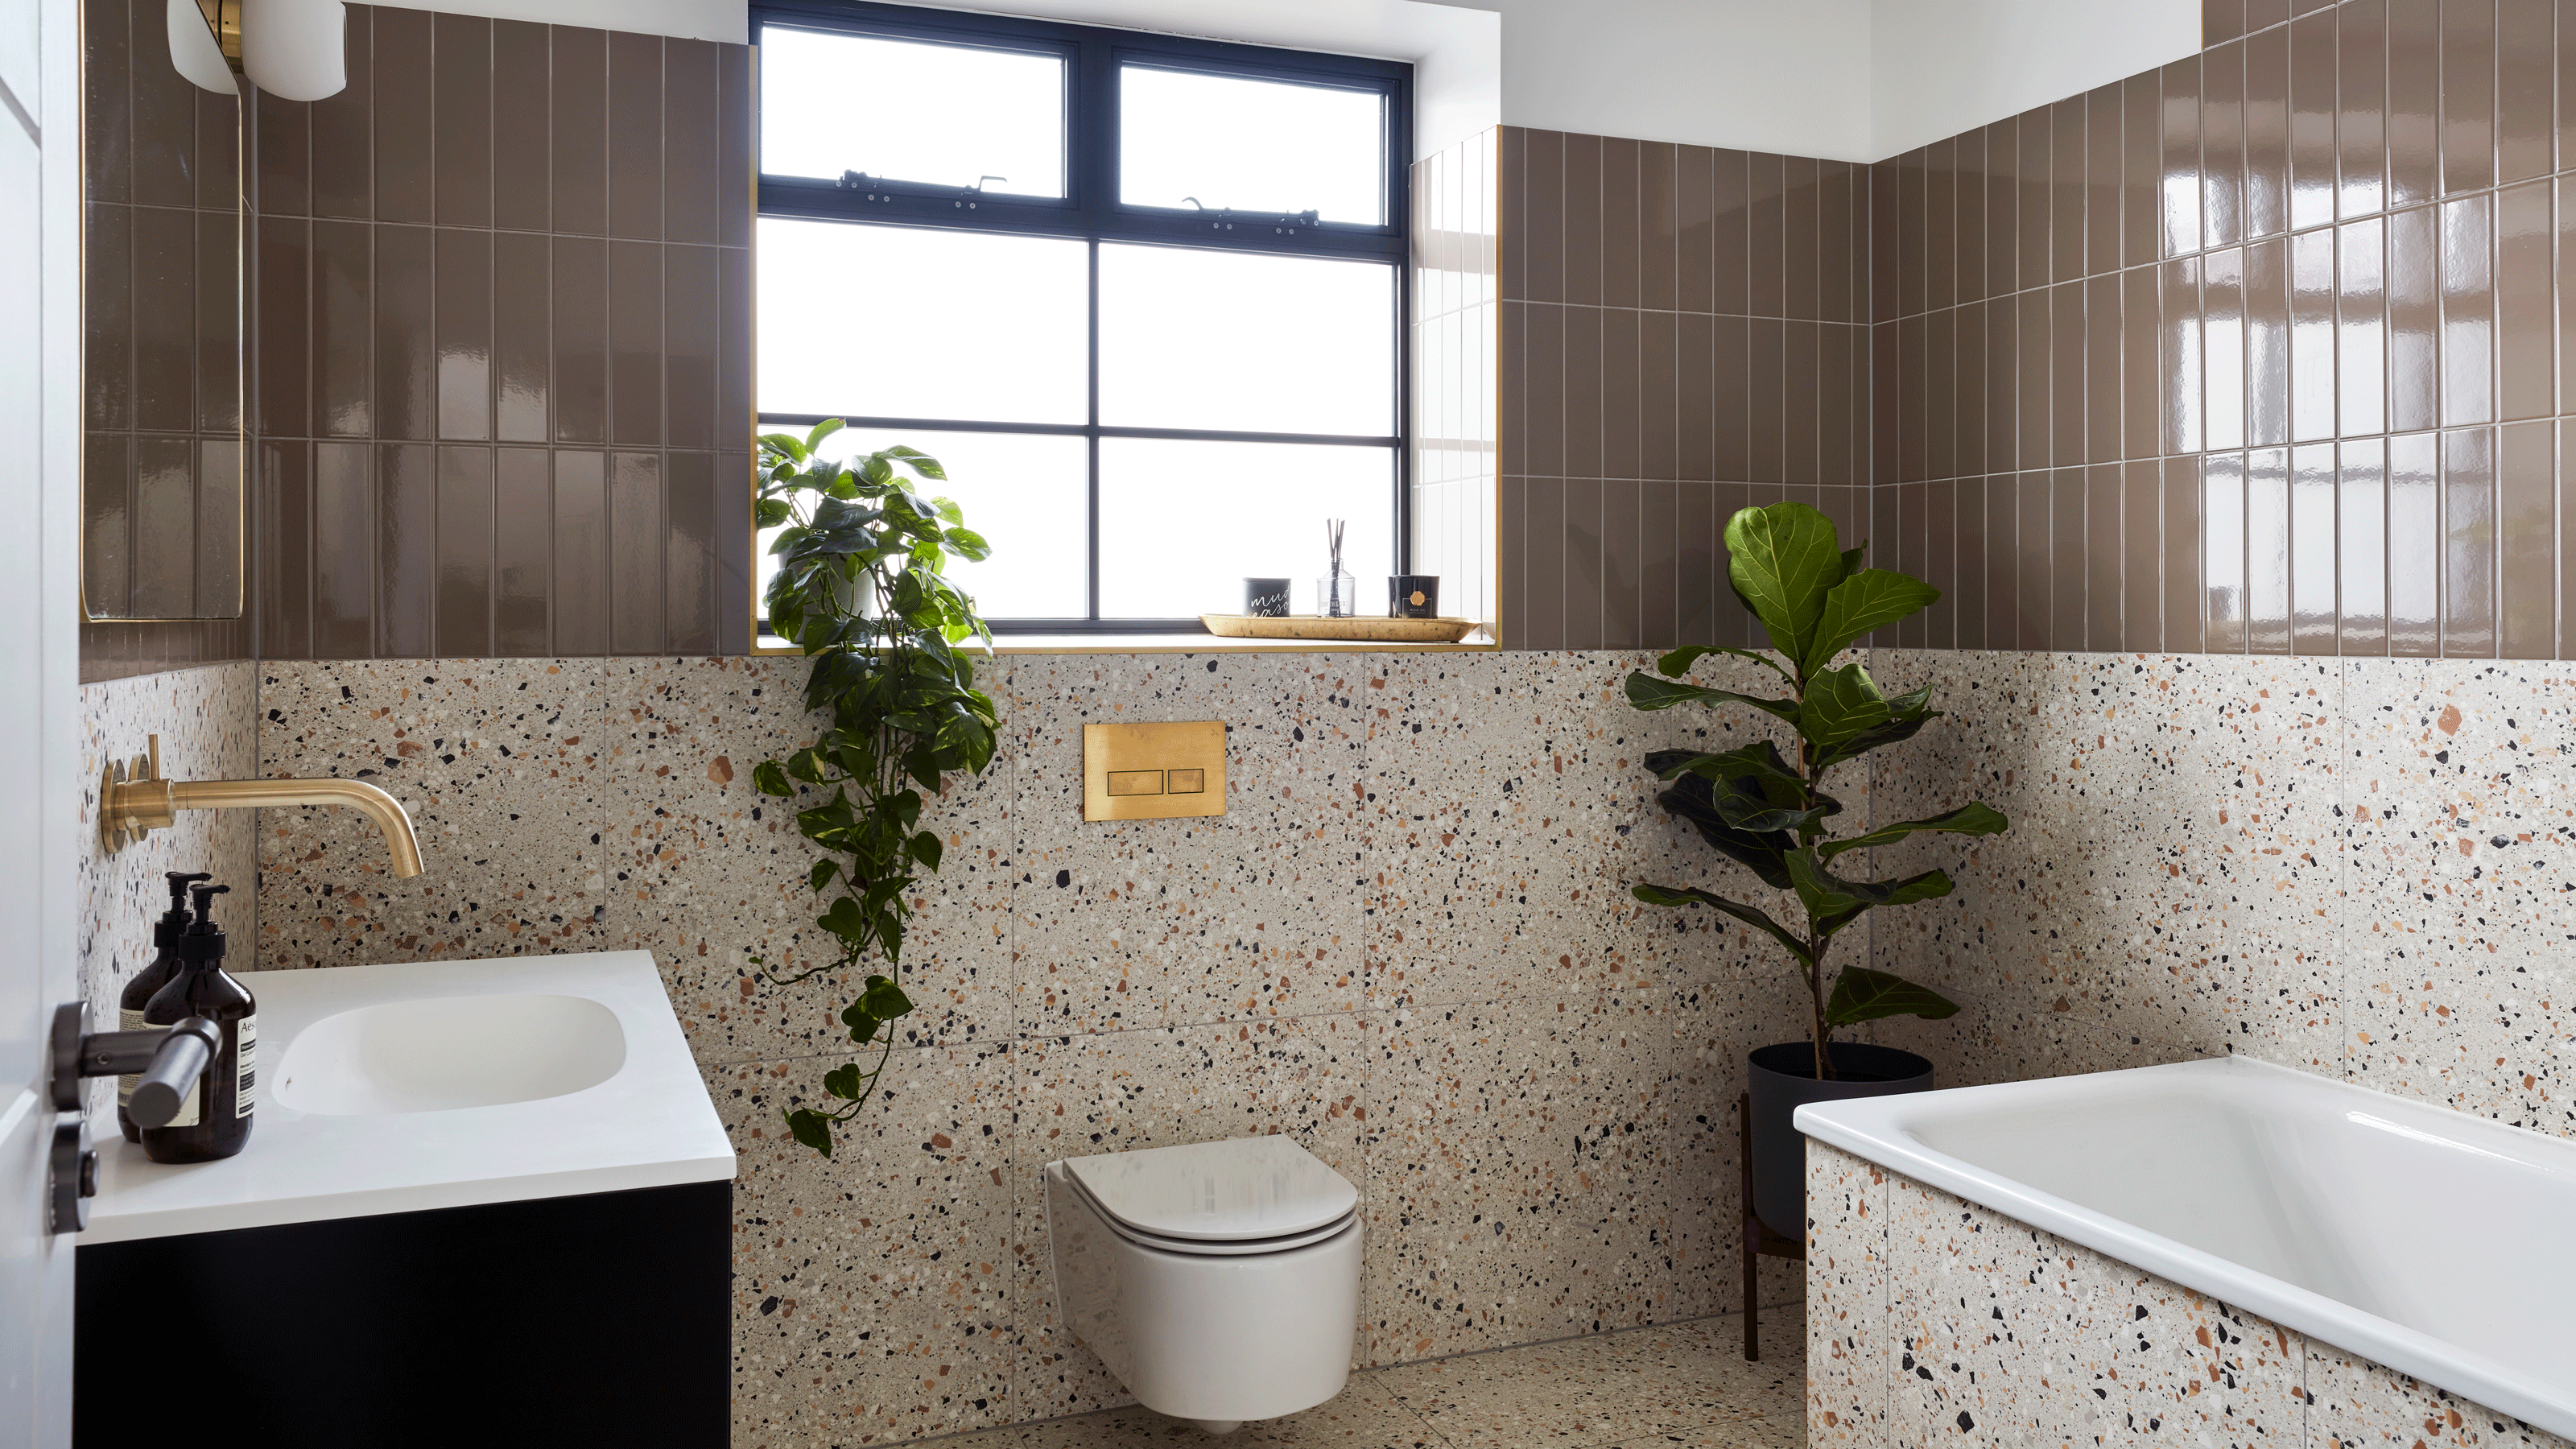
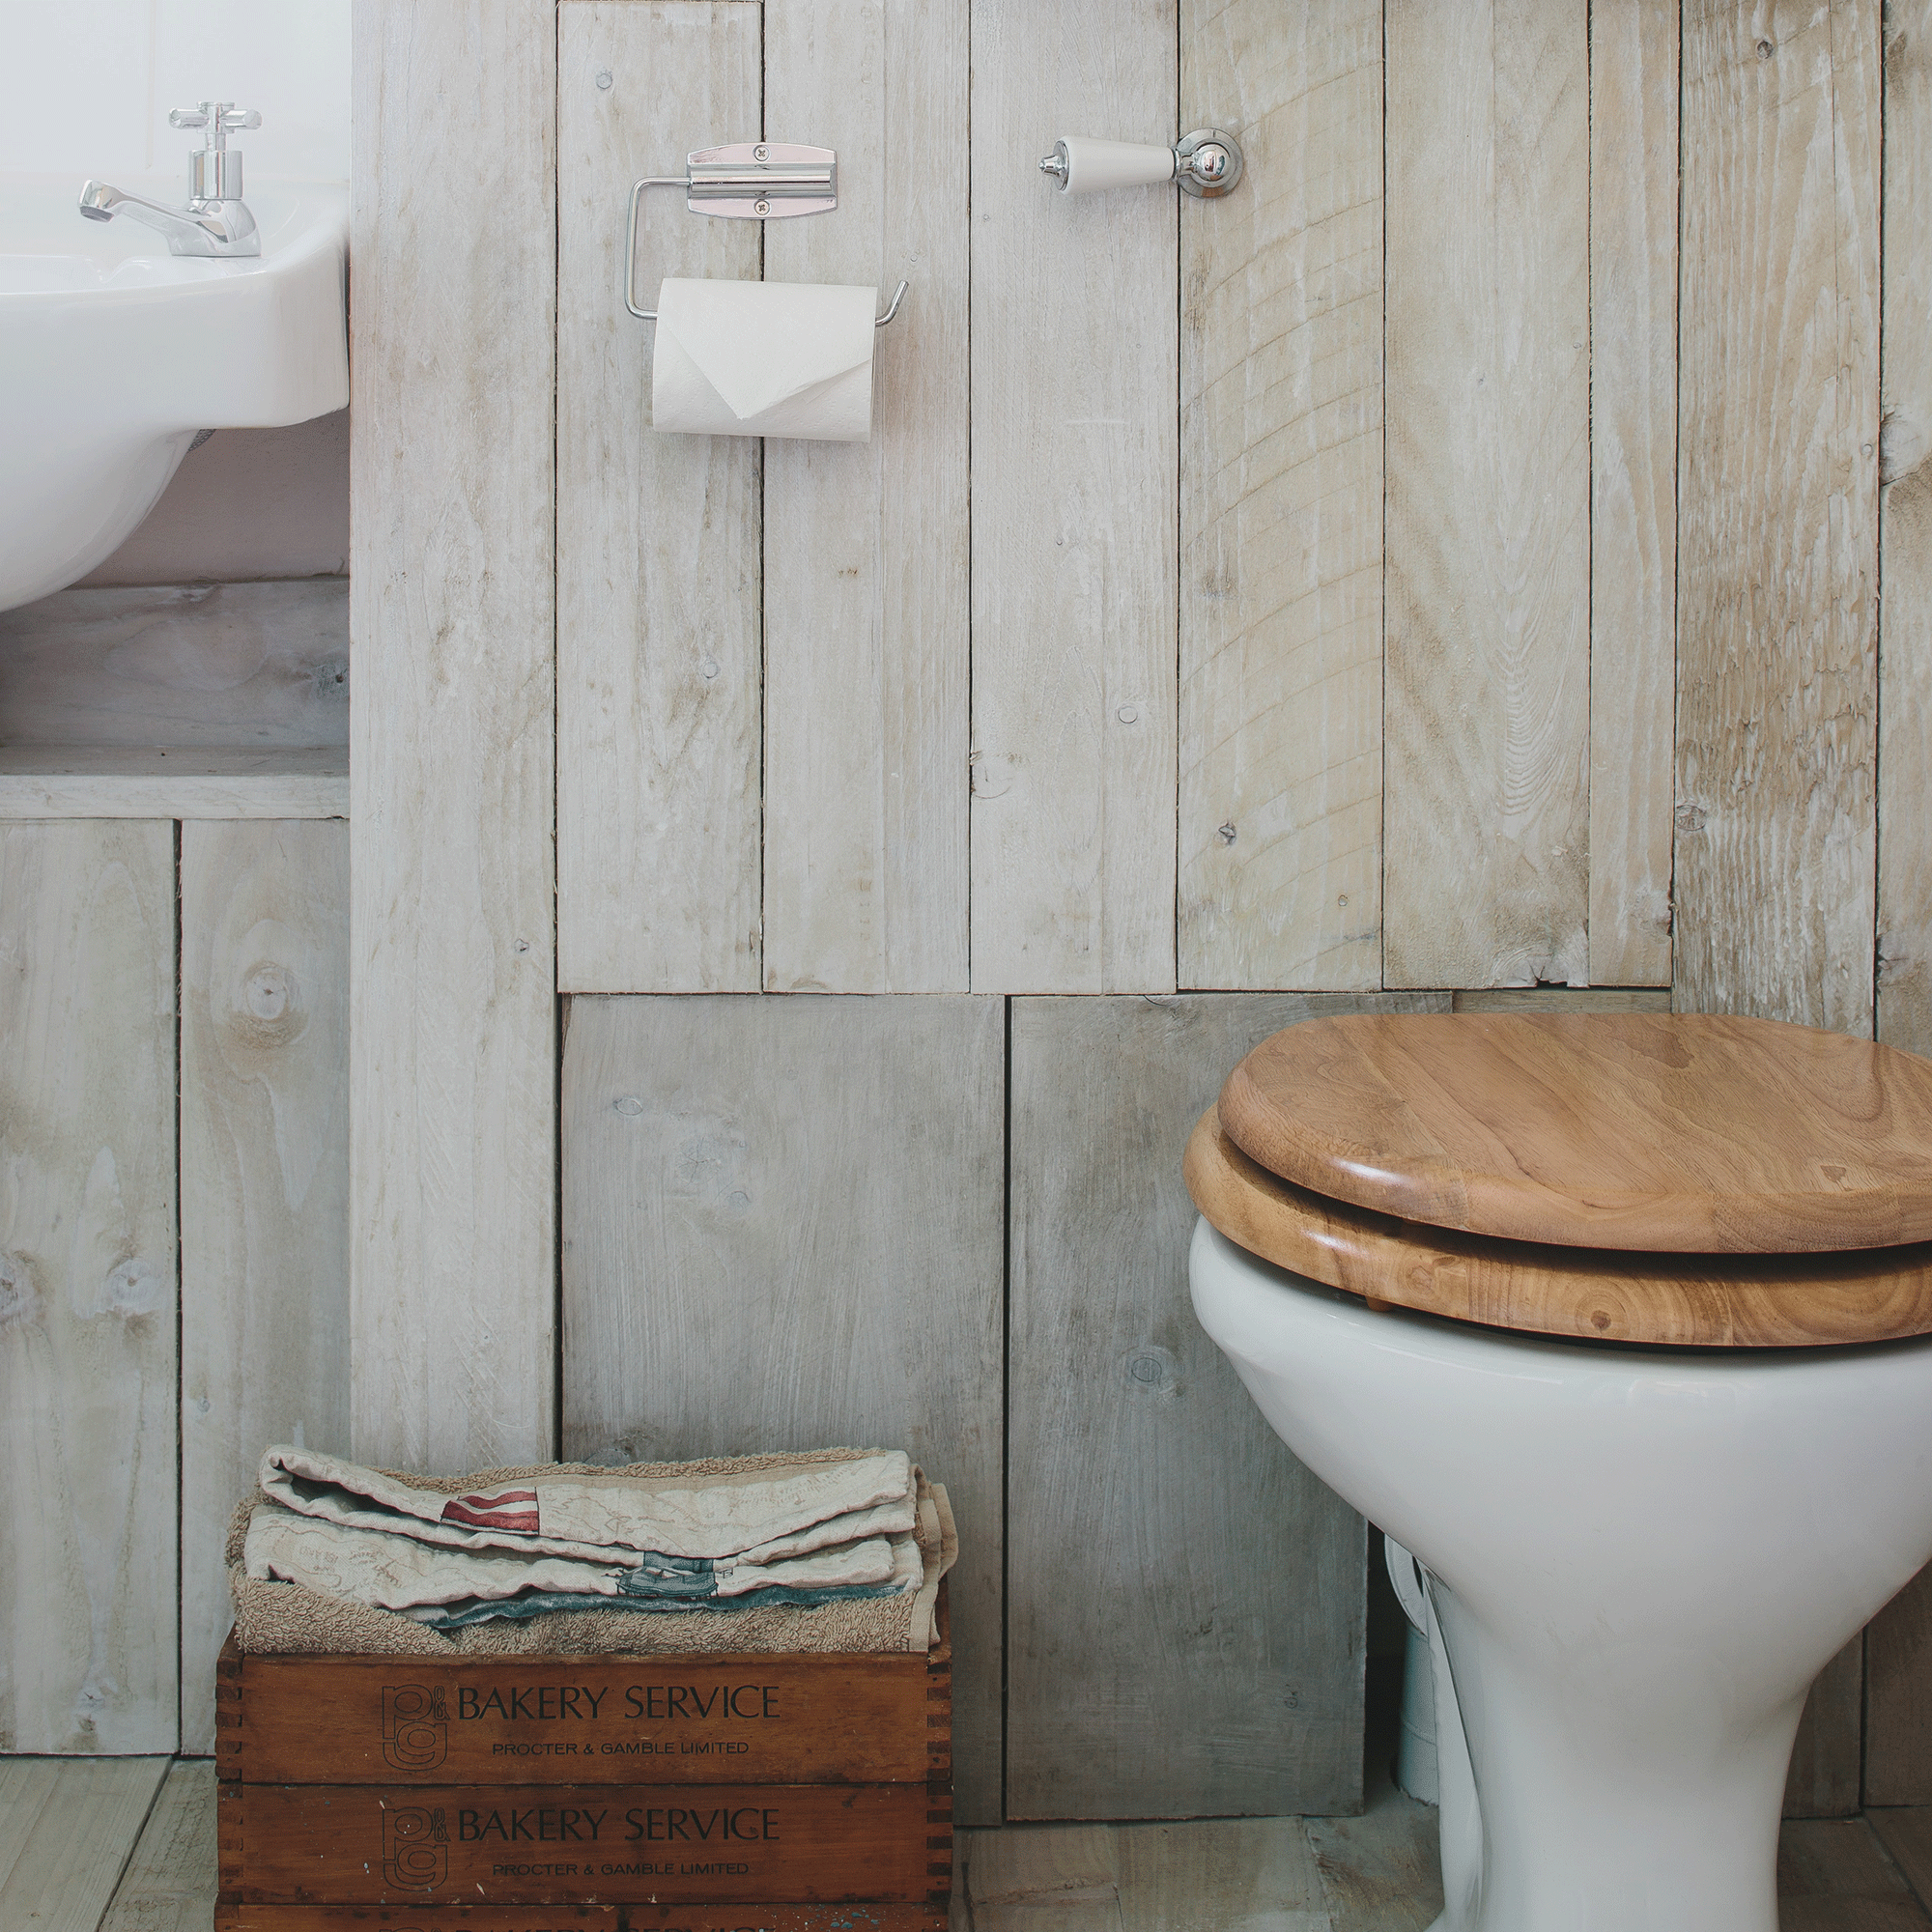
Alternatively, wood or bamboo seats are great for a more traditional look and add a warmer tone to complement modern bathroom ideas in what can be a very clinical-looking space. Laminated MDF gives you the solidity of wood with the hygienic properties of plastic coating.
7. Get the new seat into position
Unpack the seat and check the instructions that came with it. Some designs might need some assembly first. If you’ve bought a soft-close seat, every one is different, so follow the manufacturer’s instructions to the letter and note that the brackets in your kit are left hand and right hand, so make sure you get them the right way round!
Otherwise, rest your seat on the pan with the ring and lid down. This is the tricky bit, so take your time to get it right. Once the new bolts are through the holes in the pan with a washer in place to protect the ceramic from scratches, screw the nuts or wingnuts in place with your fingers but don’t tighten them. First, check that the seat is central, with the support bumps in direct contact with the pan so the seat won’t wobble.
8. Adjust the hinges
If the hinges are too far back, the seat or lid will fall closed instead of resting against the cistern when you want it open. Too far forward, though, and you’ll find yourself sitting uncomfortably too far back on the loo.
There are three ways to do this, depending on how much movement you need. First, you can move the screw that passes through the hinge plate before tightening it. You’ll have to tighten this even if you don’t need to adjust its position. Second, you can rotate the whole hinge plate to make a small adjustment. Third, you can turn the whole hinge plate by 180˚ to stop the seat from overhanging or falling short. When you’re happy, hand tighten the bolts and sit on the seat to double-check the position.
9. Fix it in place
When you’re happy with the position, tighten the bolts – but not too tight because you might want to adjust it later. According to Simone Robinson, ‘Over-tightening can lead to the thread stripping on plastic nuts, which can cause a wobbly toilet seat.’
Finally, if your new seat comes with plastic covers to hide the fixings, push them into place. Then you can enjoy the comfort of your new throne seat!
Can you replace a toilet seat yourself?
Paul Dwyer, managing director at Thomas Crapper says, ‘It does depend on the setup you have. For a regular pan if you’re prepared to get under the pan and wrestle with wingnuts. A back-to-wall pan might need pulling away to access the concealed bolts, but generally, they have modern seats that can simply be lifted away from the top of the pan.’
How do I change the hidden bolts on a toilet seat?
You will need to change the hidden bolts carefully and use a flat-head screwdriver to prise off the plastic caps covering them to reveal the nuts or wingnuts you’ll need to undo to remove the bolts. If they are rusted or perished (in the case of plastic), you can buy a toilet seat fixings kit from Amazonfor about £6 to change them.
Do all toilet seats fit the same?
'No, they don’t,’ says Paul Dwyer, managing director at Thomas Crapper. ‘There are two parts to this: the first is that each pan usually only has one seat that’s designed to fit well. Alternative seats might be OK, but probably won’t be an exact match to the pan.
'The key things to bear in mind are the distance between the fixing holes on the pan and how much adjustment is available to allow the seat to reach the front of the pan comfortably.’
