How to fix peeled paint on a wall in 5 foolproof steps
Peeling paint problems? Don’t worry; we’ve got you covered

Sign up to our newsletter for style inspiration, real homes, project and garden advice and shopping know-how
You are now subscribed
Your newsletter sign-up was successful
Knowing how to fix peeled paint on a wall can really save your bacon. After all, it can happen to anyone. Whether you decided to paint over wallpaper, your house sprung a leak, you painted incorrectly over plaster or you just painted one too many coats on your walls, peeling paint is a problem that most of us will face during our home ownership.
But you’ll be happy to know fixing peeled paint on a wall isn’t a difficult job. You just need a few simple tools and a little bit of time on your hands. And once you’ve completed these 5 foolproof steps, your wall will look as good as new. In fact, it might even look better.
How to fix peeled paint on a wall
Our guide will tell you how to fix peeled paint on a wall in five simple steps. First, here’s what you’ll need to restore your wall back to its former glory.
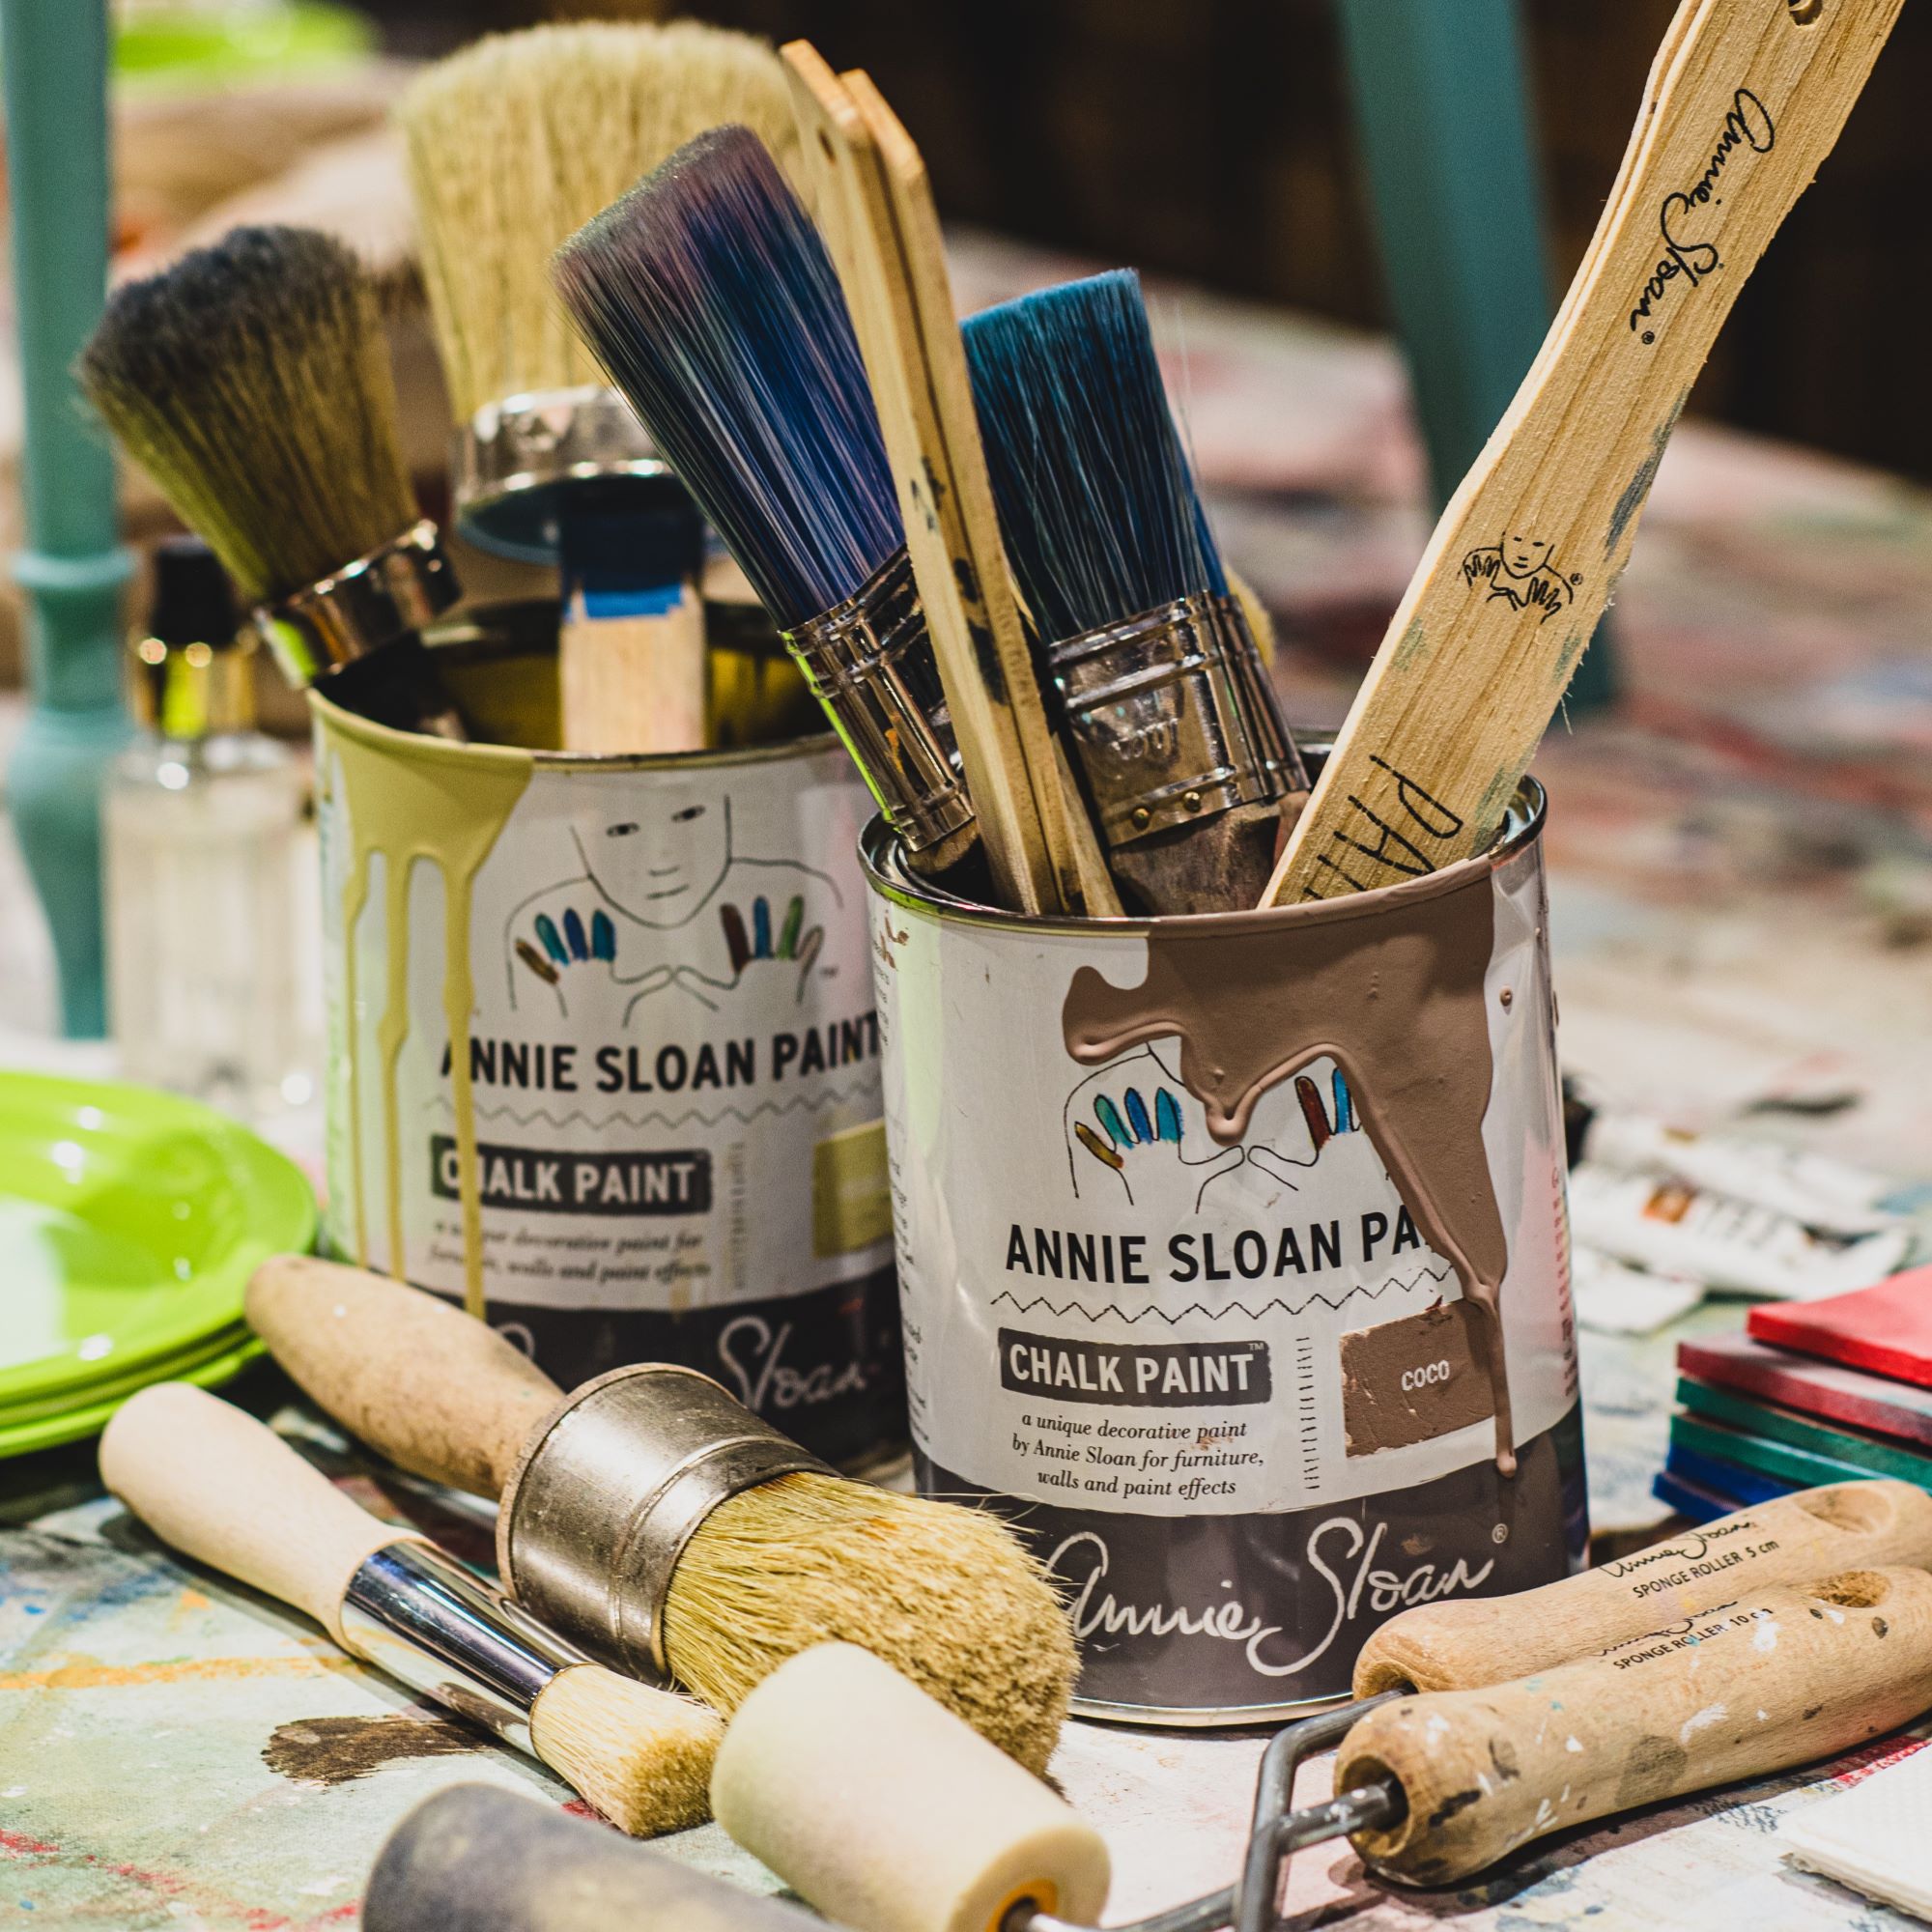
What you’ll need
Step-by-step
1. Assess the wall
Before you start fixing the peeled paint on your wall, you first need to assess the wall, as there might be underlying issues that need to be addressed. It might be that you need to get rid of damp or need to stop drying your washing inside the house.
Sophie Smith from Zhoosh Paints explains, 'Quality paints should last well if applied correctly to the right surface - but there are certain conditions that will speed up the peeling process: direct sunlight, exposure to moisture, heat, and repeated scuffing will have an impact.'
The last thing you want to do is fix the peeled paint on your wall and then face the same problem again in a few months. So, it’s always best to try and understand why your paint started to peel so your painting efforts won’t be in vain. And once you’ve done that, you can move on to the next step.
2. Choose the right paint
Unfortunately, paint isn’t a one-size-fits-all deal. Although a trip to the paint section in B&Q can be overwhelming due to the huge range of options, it’s important to make sure that you choose the right paint to fix your peeling wall. If you’re only painting a small area, you might even be able to get away with just using a tester pot.
Sign up to our newsletter for style inspiration, real homes, project and garden advice and shopping know-how
To choose the right paint, you need to inspect the surface of the wall. Smith says, 'Different surfaces do need different paints, so ensure you are purchasing the correct paint if you are painting wood, metal, or plaster.'
Using the wrong paint to paint your walls, or using low-quality paint, could just cause your paint job to peel again in a few months or even weeks.
3. Prep the area
Although you might be tempted to simply pull off the peeling paint on your wall and fill in the gaps with paint, that’s the worst thing you could do. This will just cause the area around the newly painted wall to peel, and you’ll be faced with an even bigger peeled paint problem later down the line.
'Gently scrape any loose pieces of paint away,' Smith explains. 'Then sand the area to smooth the edges so that the patch will not show up when the light hits it.'
If you want to add an extra step into the mix, Emma Bestley, Creative Director and Co-Founder of YesColours, also suggests using sugar soap to clean any dirt build-up under the peeled area. Or, you could make your own natural alternative using vinegar to clean. 'This can easily be achieved with water, white vinegar and a few drops of essential oils, which adds a beautiful scent, too,' she says.
When you have a smooth and clean surface to work with, the peeled area is almost ready to paint. However, there’s one more step you need to complete before you can open up your paint tin.
4. Apply a primer
Whether you want to spray paint your bathroom taps or fix the peeled paint on your wall, it’s always a good idea to use a primer before painting. In fact, interior expert Anna Elkington from Melody Maison believes that priming is an essential step when painting walls and preventing peeling.
'Often the majority of homeowners skip this step to reduce time or budget, without realising its importance,' she says. 'Primer allows paint to fully adhere to the wall, creating an even surface for a high-quality finish, and it’s this adhesion prevents the paint from peeling. In fact, there are many primers available that specifically target peeling paint, and these are called ‘peel stop’ primers.'
5. Start painting
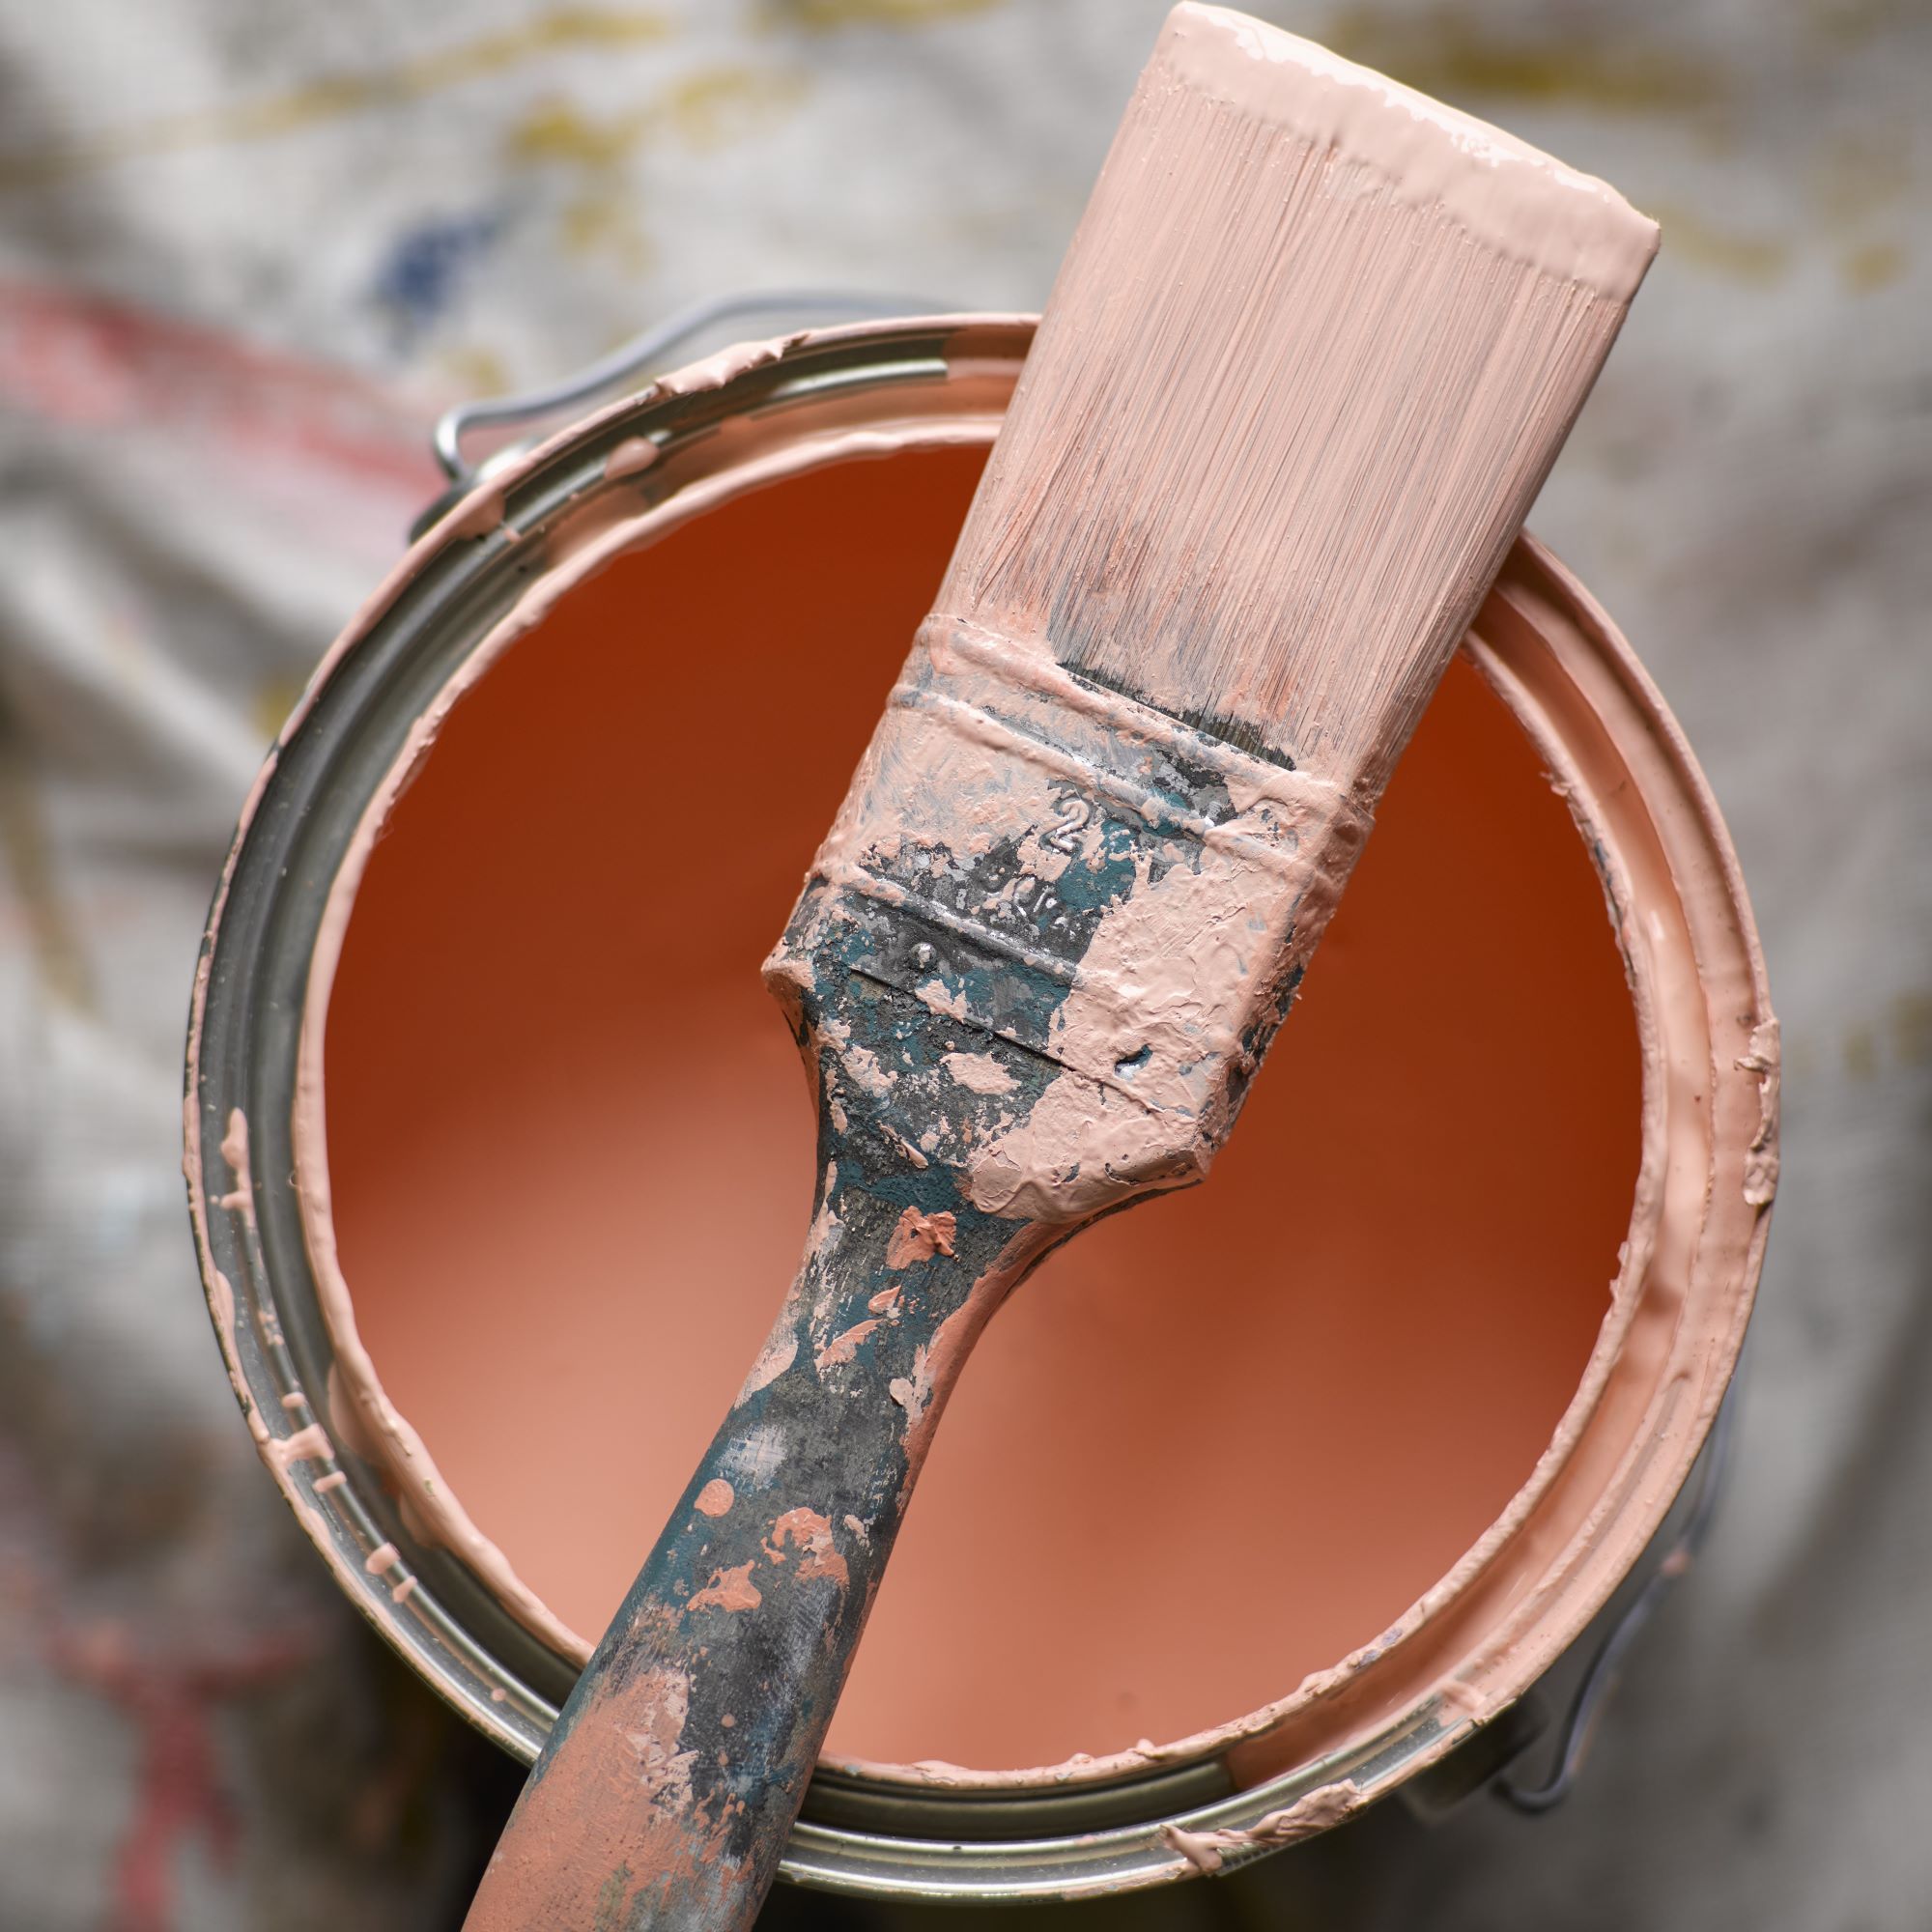
When the formerly peeled area has been prepped and primed, you’re finally ready to paint. You’ll want to fill in the gap, being careful not to stray too far onto the rest of the wall to avoid the paint looking extra thick in those areas - as this could lead to future peeling.
You can use the paintbrush or roller of your choosing for this step, depending on the size of your affected area. And in most cases, two coats of paint will be enough. Just make sure to wait for the first coat to dry before applying the second, and remember to clean your paintbrushes when you have finished.
FAQs
How do you repair peeling paint on walls?
First, you need to carefully scrape off the peeling areas. It’s very important not to pull them off, as this could make the area peel even more. When you’ve done that, sand the area with sandpaper to create a smooth surface before applying a coat of primer. Finally, you can then paint over the affected area in the paint colour of your choosing.
If you skip the preparation when repairing peeling paint on walls, you may find that your efforts are not successful. The paint may continue to peel, which means you’ll have to start all over again.
Can you paint over peeling paint on walls?
In most cases, there’s a reason for peeling paint. This may be excess moisture or mould, or it may be because the surface was not prepped properly before it was painted. Because of this, it’s rarely a good idea to simply paint over the peeling paint on your walls.
It’s best to tackle the problem instead of simply painting over it, which means that you do have to start from scratch. However, peeling paint is rarely a large-scale problem that will affect a whole room, so it shouldn’t take you too long to fix.

Lauren Bradbury has been the Content Editor for the House Manual section since January 2025 but worked with the team as a freelancer for a year and a half before that. She graduated with a Bachelor’s degree in English and Creative Writing from the University of Chichester in 2016. Then, she dipped her toe into the world of content writing, primarily focusing on home content. After years of agency work, she decided to take the plunge and become a full-time freelancer for online publications, including Real Homes and Ideal Home, before taking on this permanent role. Now, she spends her days searching for the best decluttering and cleaning hacks and creating handy how-to guides for homeowners and renters alike, as well as testing vacuums as part of her role as the Ideal Home Certified Expert in Training on Vacuums, having spent over 110 hours testing different vacuum models to date!