How to paint kitchen tiles - revamp splashbacks without spending a fortune
Looking for ways to spruce up tired tiles? Painting kitchen splashbacks is quick, easy and affordable.

Tiles are one of the finishing touches that can make a huge difference to a kitchen, but if you’ve inherited a kitchen with less-than-lovely splashbacks, ripping out dated kitchen tile ideas and replacing them with new, can sometimes work out costly.
For a more affordable and less time-consuming alternative, painting over kitchen tiles is a quick and effective remedy that can be easily tackled over a weekend. Not sure where to start or know how to paint kitchen tiles? We’ve got all the know-how and expert advice you’ll need to walk you through the job.
How to paint kitchen tiles
As long as your existing tiles are in a decent condition, painting over them is an inexpensive way of freshening them up that should last for a good few years. It is a great stop-gap solution if you’re intending to replace tiles further down the line. While pretty durable and long-lasting, areas that are exposed to a lot of water (such as behind kitchen sinks) might flake or peel over time, so do bear this in mind.
Choosing a new colour is your biggest consideration when it comes to how to paint kitchen tiles. Picking a shade that complements your painted kitchen cabinet ideas and wall colour is a must, whether you opt for a toning neutral that blends in or a bold bright that contrasts.
‘Consider the size and style of the kitchen being painted,’ says Rachael Meadowcroft, Product Manager at Ronseal. ‘Do you want to maximise the illusion of space by choosing a lighter colour? Or make walls ‘pop’ with a feature tile colour? You can pair colours with fittings and furniture or pick brighter shades to give a bold effect.’
Preparation and patience are key when it comes to painting kitchen tiles, so set aside plenty of time to do the job and ensure that you have the right tools and equipment before you start.
What you’ll need:
- Dust sheets
- Sponge and scourer
- Cleaning solution
- Sandpaper
- Decorators tape or masking tape
- Good quality brush, roller and paint tray
- Your chosen tile paint and primer (optional)
- Grout pen (optional)
1. Scrub off any grime
Kitchen tiles tend to get quite greasy and grimy, but for paint to adhere to tiles effectively, the surface needs to be completely clean and free of any residue. Start by giving tiles a good clean to get rid of any dirt, grease, grime, mould or limescale. Use a scourer and sugar soap or detergent to get tiles and grout as clean as possible. Wash down with warm, clean water afterwards and once dry give the surface another thorough wipe with a lint-free cloth.
Sign up to our newsletter for style inspiration, real homes, project and garden advice and shopping know-how
2. Prep the surface
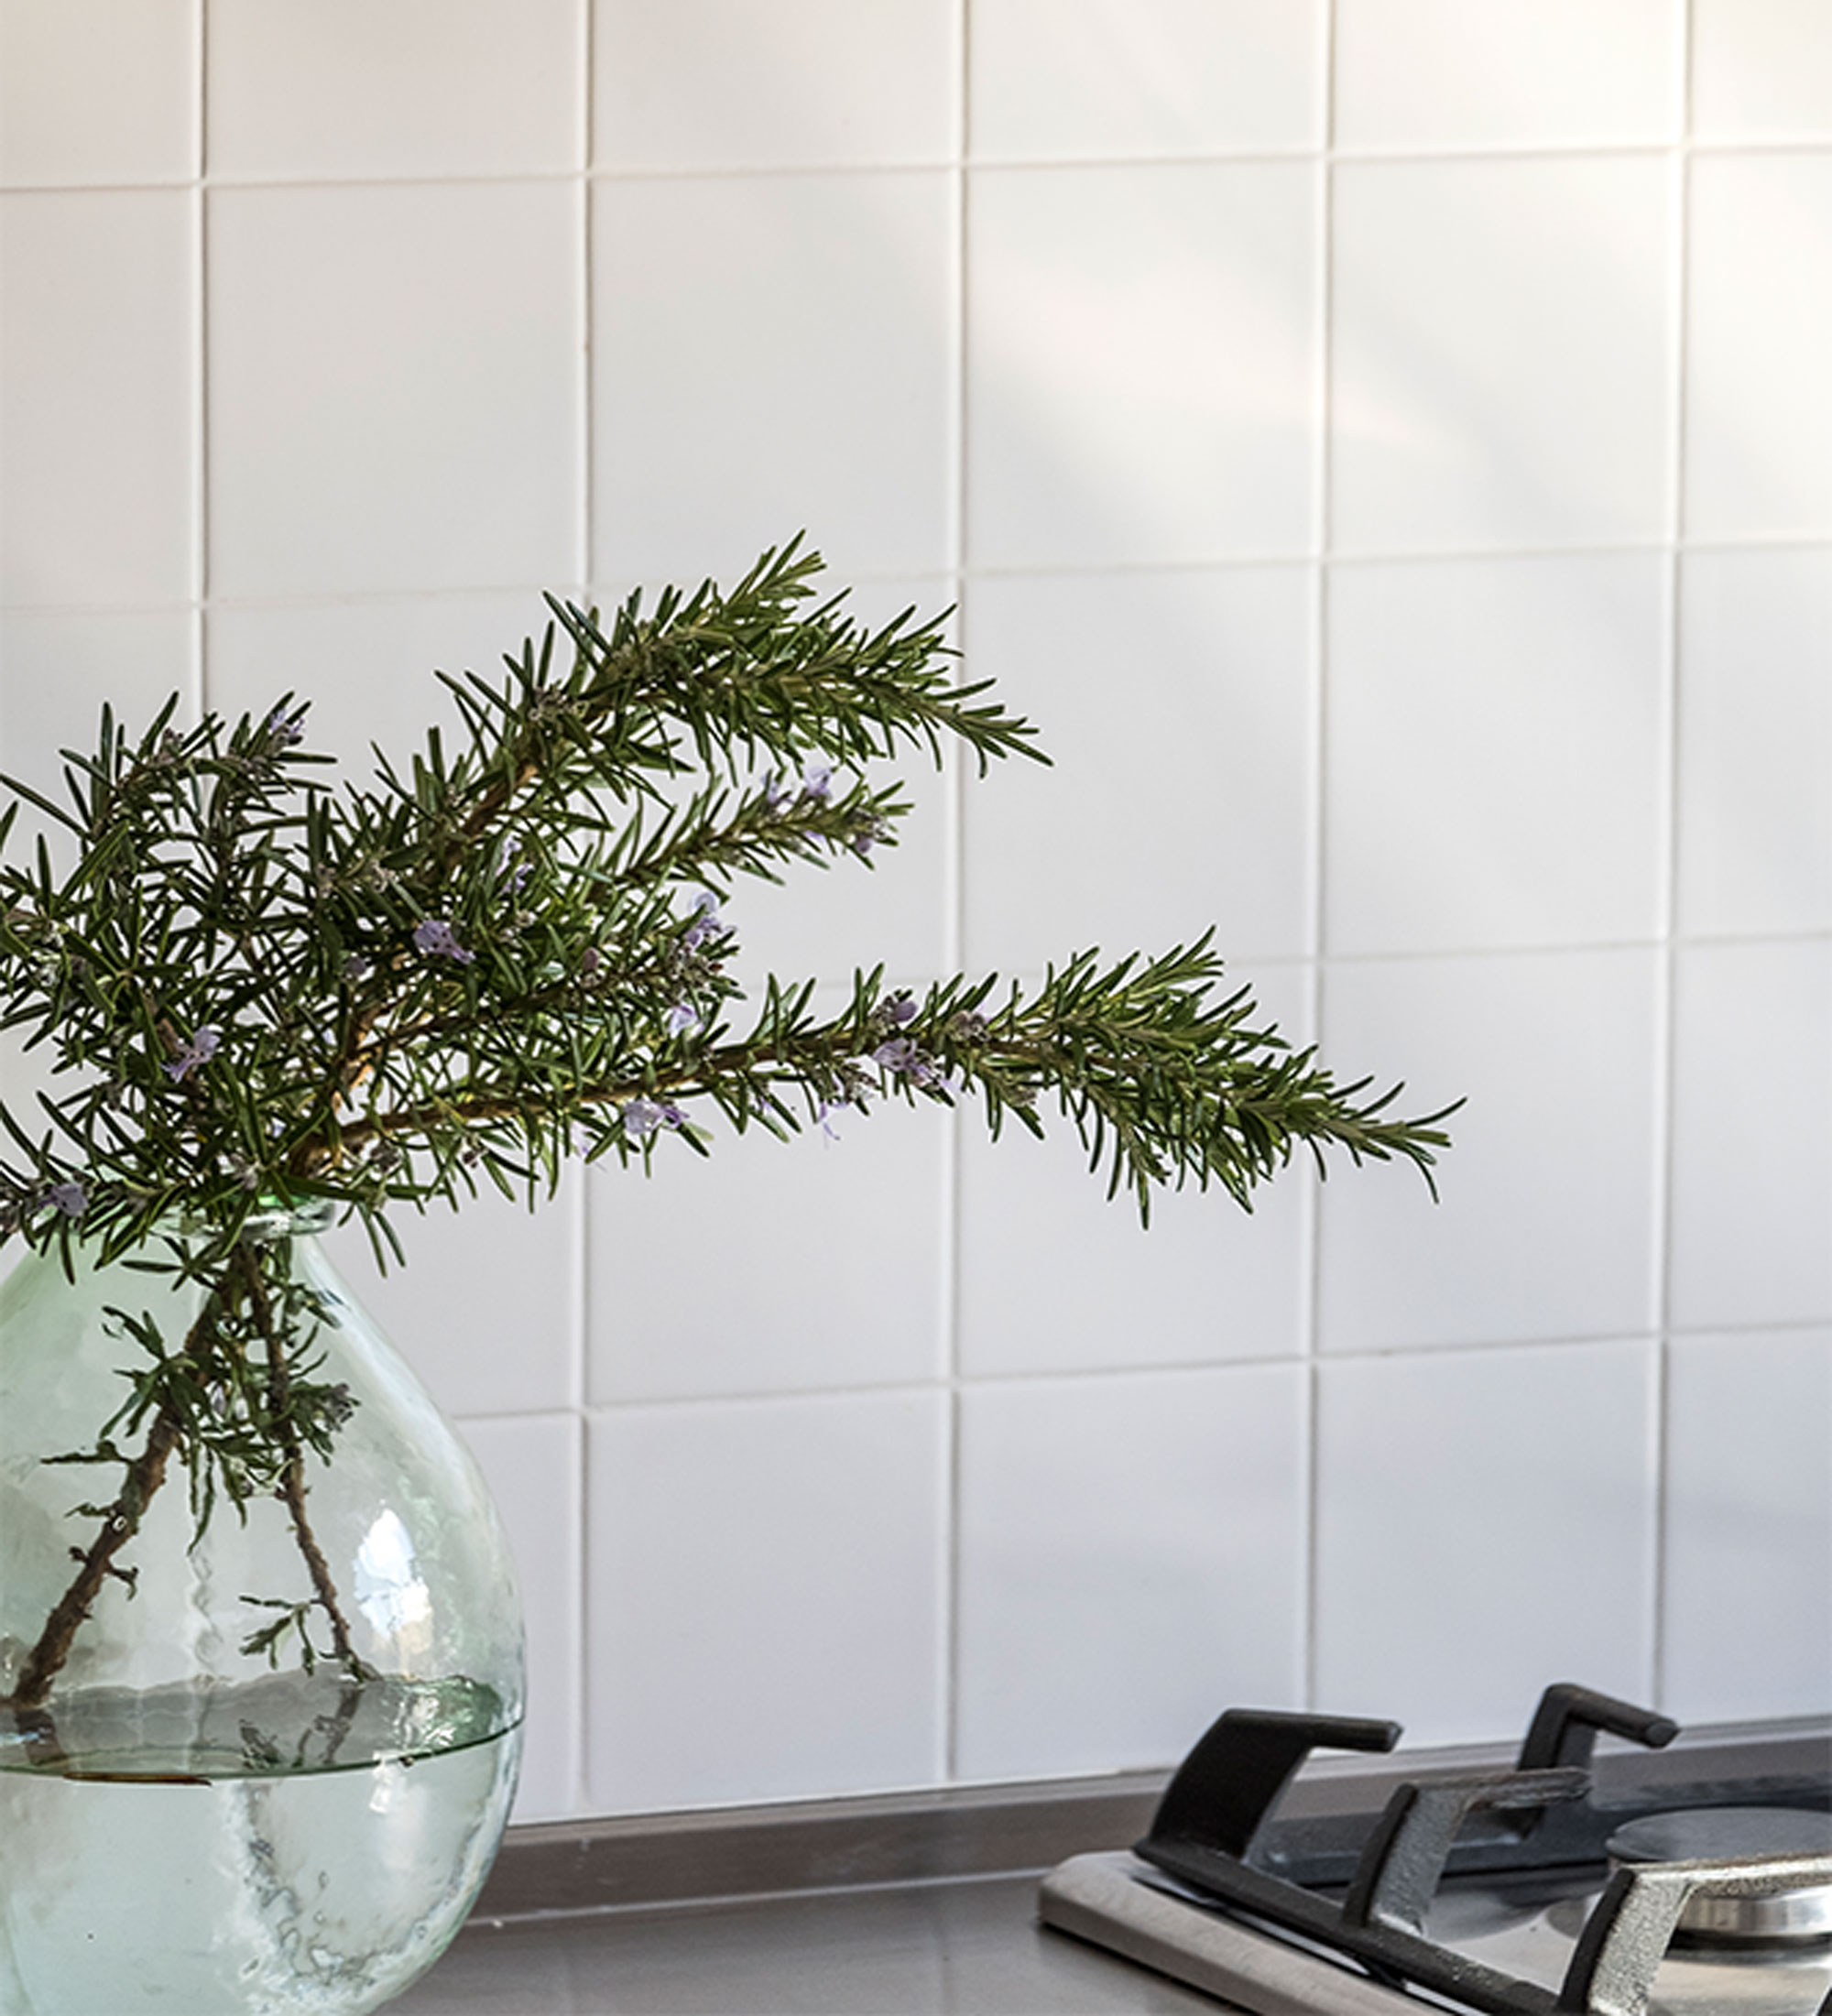
Once tiles are clean, check grout to see if there are any missing bits - then fill with tile grout and wait for it to set. Any tiles with hairline cracks can also be repaired with an epoxy resin, which will need time to dry too.
Glossy tiles won’t hold paint as well as matt finish tiles, but sanding the surface of tiles will help to roughen up the glaze and give better adhesion for the tile paint. Use a 120 grit sandpaper and once you’ve gone over the entire surface, brush down the tiles and vacuum up any dust on worktops, floors and cabinets.
Give the tiles a final wipe-down with a damp lint-free cloth to remove any dust or debris and allow time to dry.
3. Protect surfaces and mask-off edges
Any paint job can get messy, so always make sure that you put down plenty of dust sheets or plastic to cover up floors, worktops and kitchen cabinets before you start painting to prevent them getting splattered.
Use decorators tape or masking tape to protect any surfaces where they meet tiles, such as along worktops, wall area and around kitchen cabinets. Using tape will give a crisp paint line and means you won’t have to be as neat when painting edges, which will speed up the job. Just remove tape carefully once all the painting is finished and fully dry to reveal a neat edge.
4. Apply paint
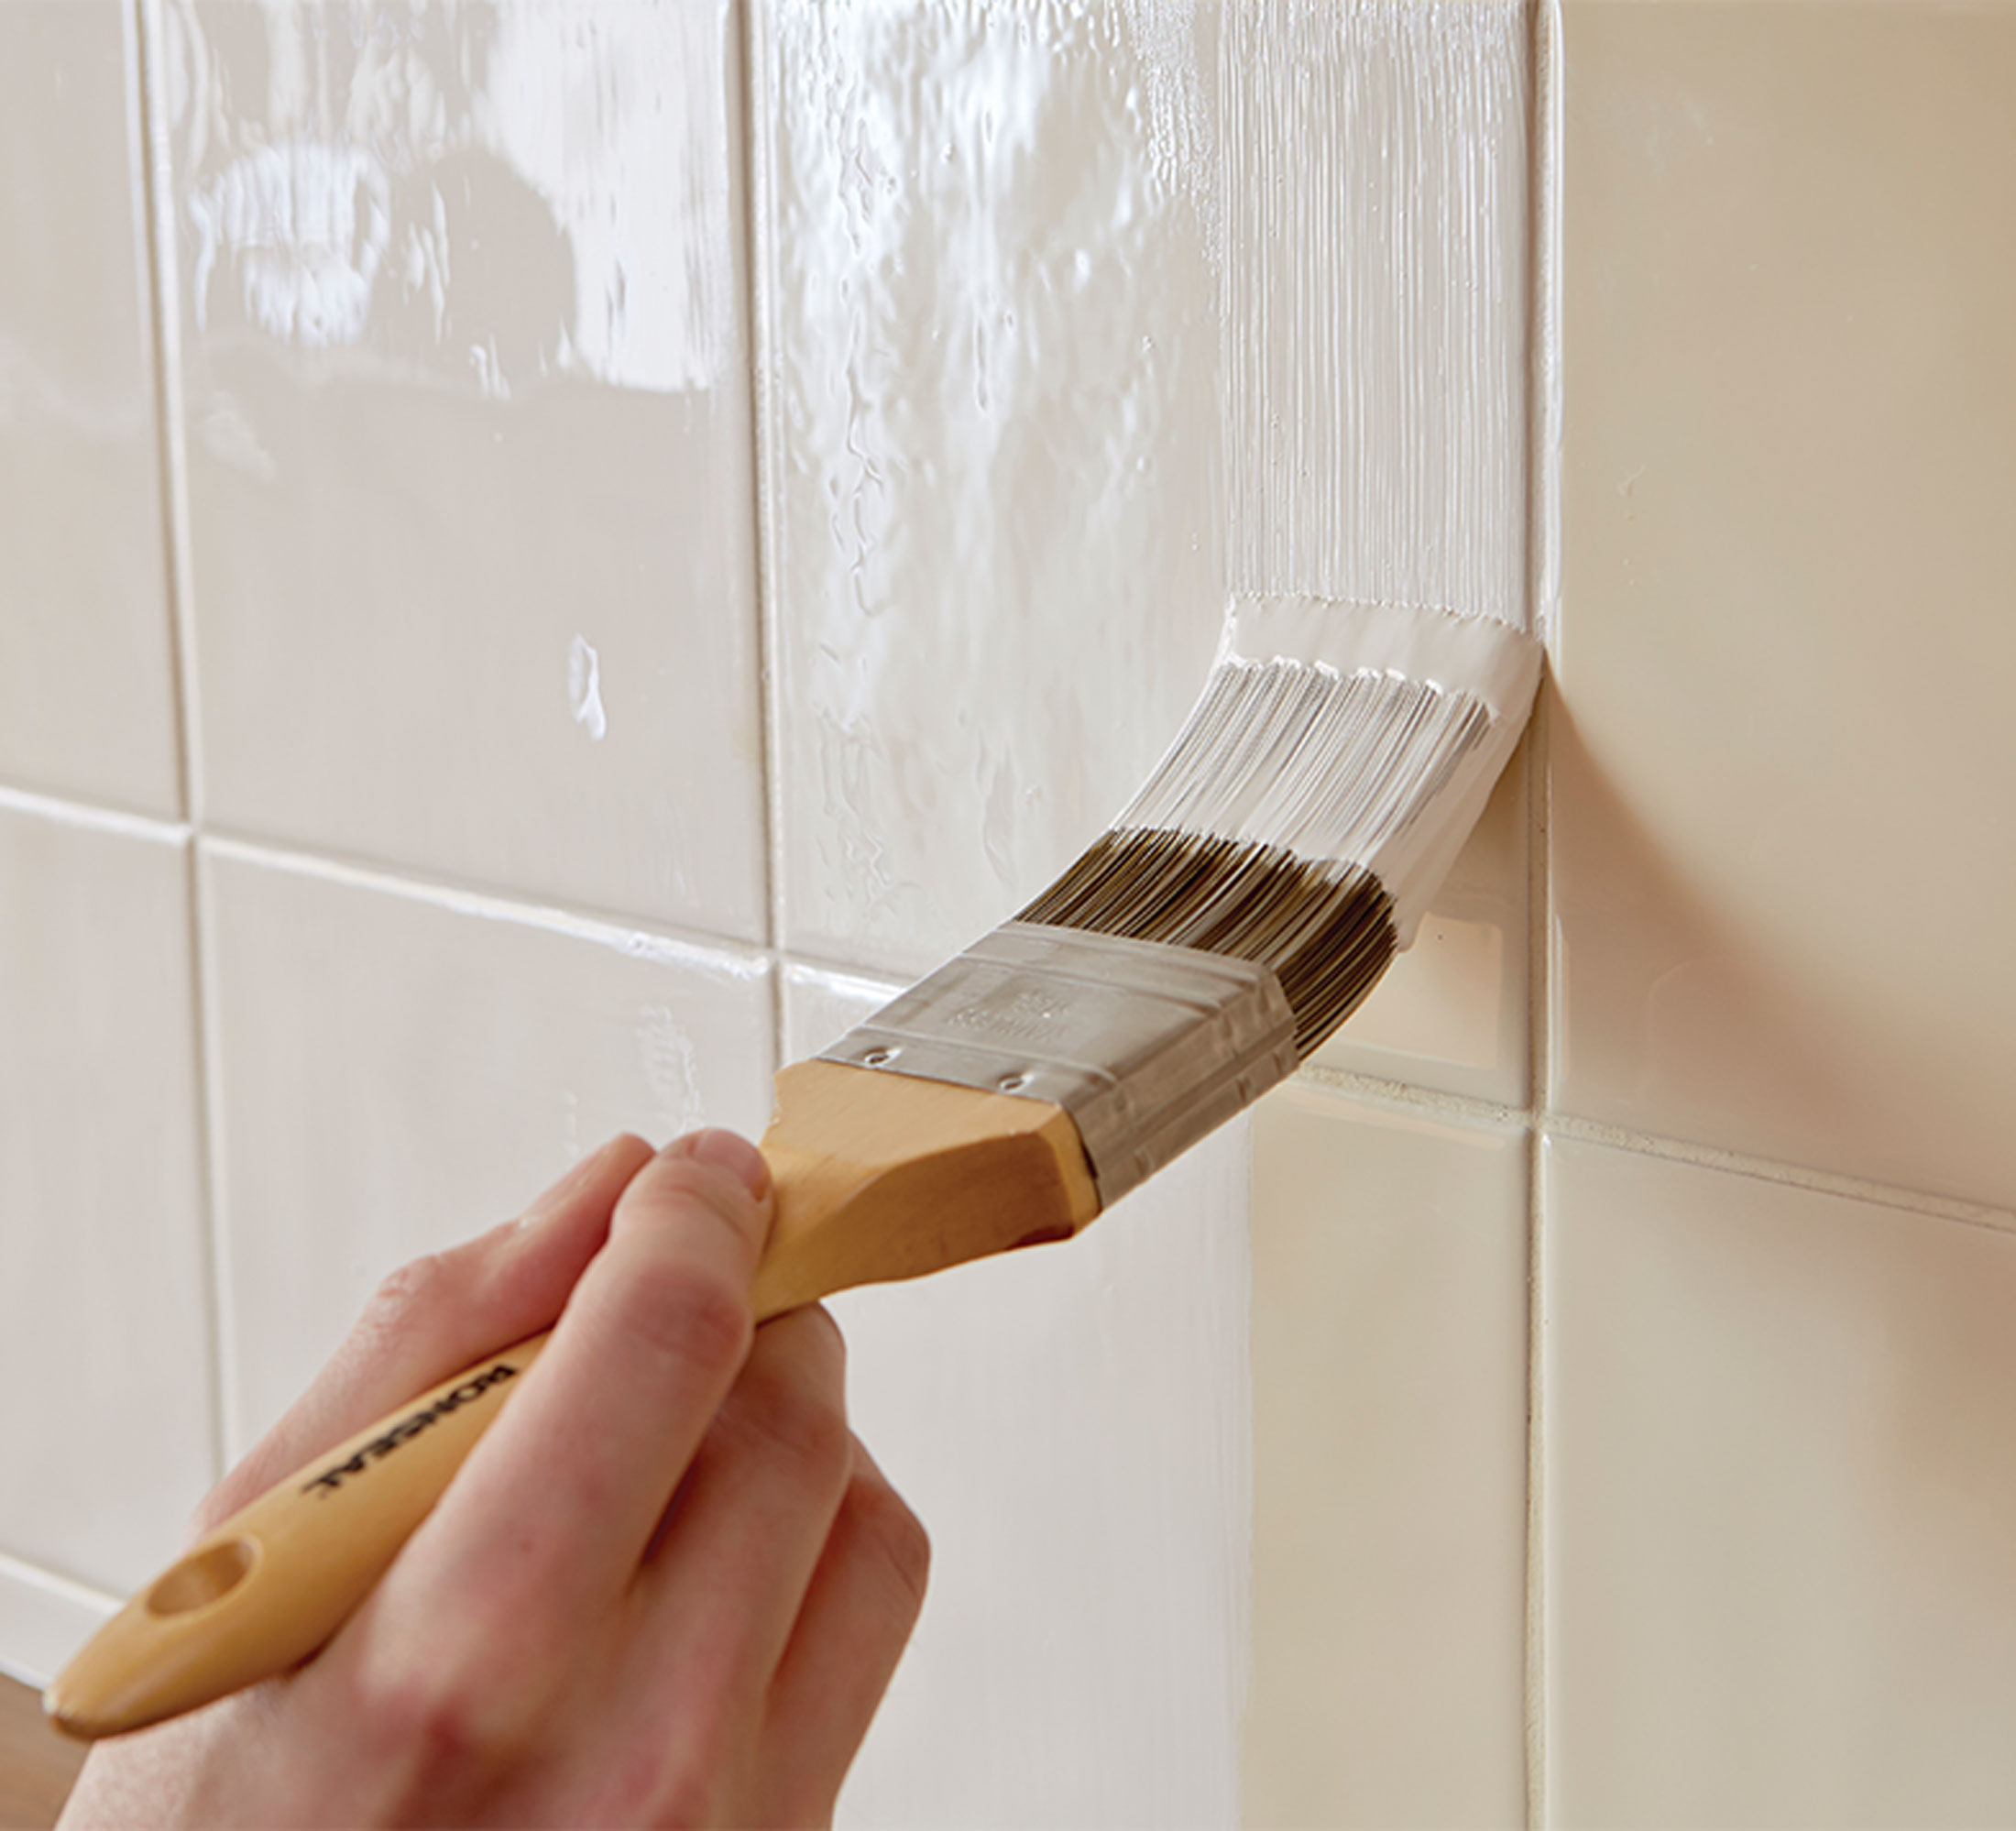
To ensure that paint adheres well to kitchen tiles and gives a durable, long-lasting finish, using a primer before applying paint is always advised, especially on glossy tiles. However some kitchen tile paints are available in one-coat applications, with no primer needed, so this is down to personal preference. A water-based primer will dry quickly, while an oil-based primer will take longer to dry but gives a more durable finish.
When it comes to applying the tile paint, thin layers are key to a smooth surface. Thick layers are liable to look bumpy and are more likely to peel or tear off. Applying several thin coats and allowing drying time between each will give a smoother and longer-lasting finish.
Apply paint initially using a small brush which will allow you to work paint into the grout lines. Continue with a larger brush if you prefer or switch to a short pile or foam roller, which will give a smoother finish and no brush lines.
5. Add grout lines for definition
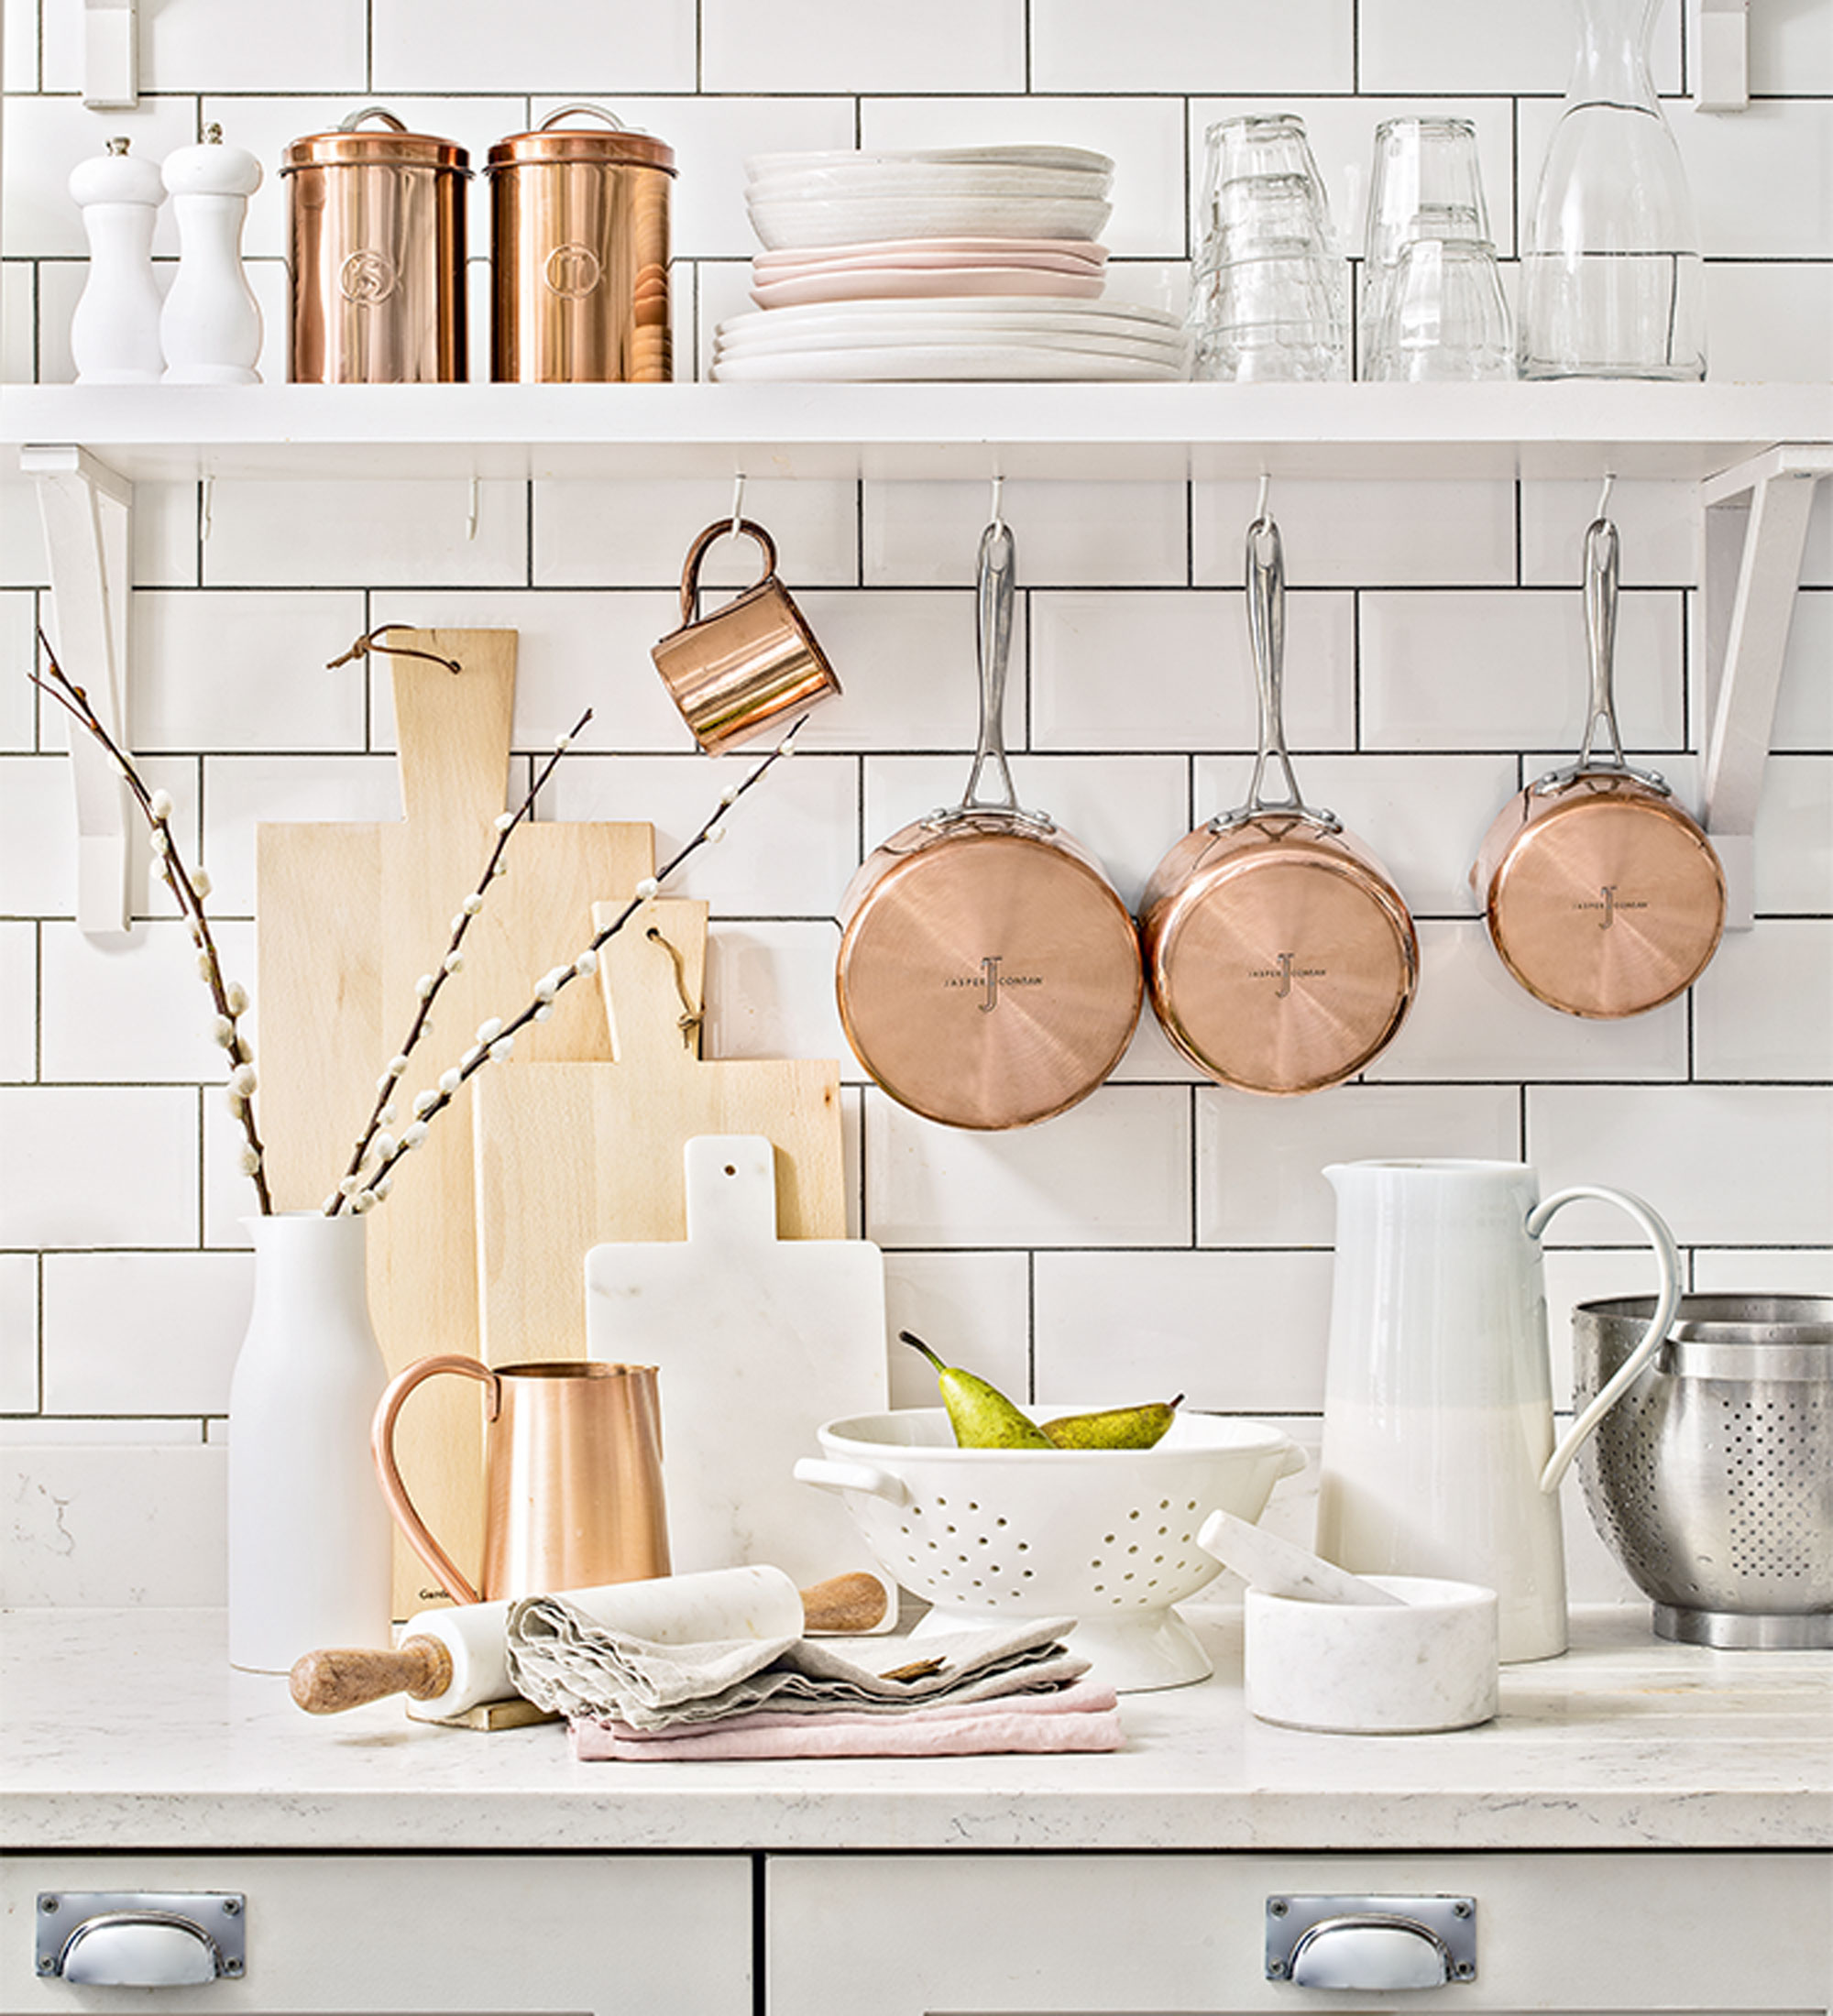
Once painted, tiles and grout will be uniform in colour, though it is possible to add contrast-coloured grout afterwards using a grout pen to give tiles extra definition. Grout pens are available in white or a range of colours, though you will need a steadier hand when applying darker colours.
6. Try adding a pattern
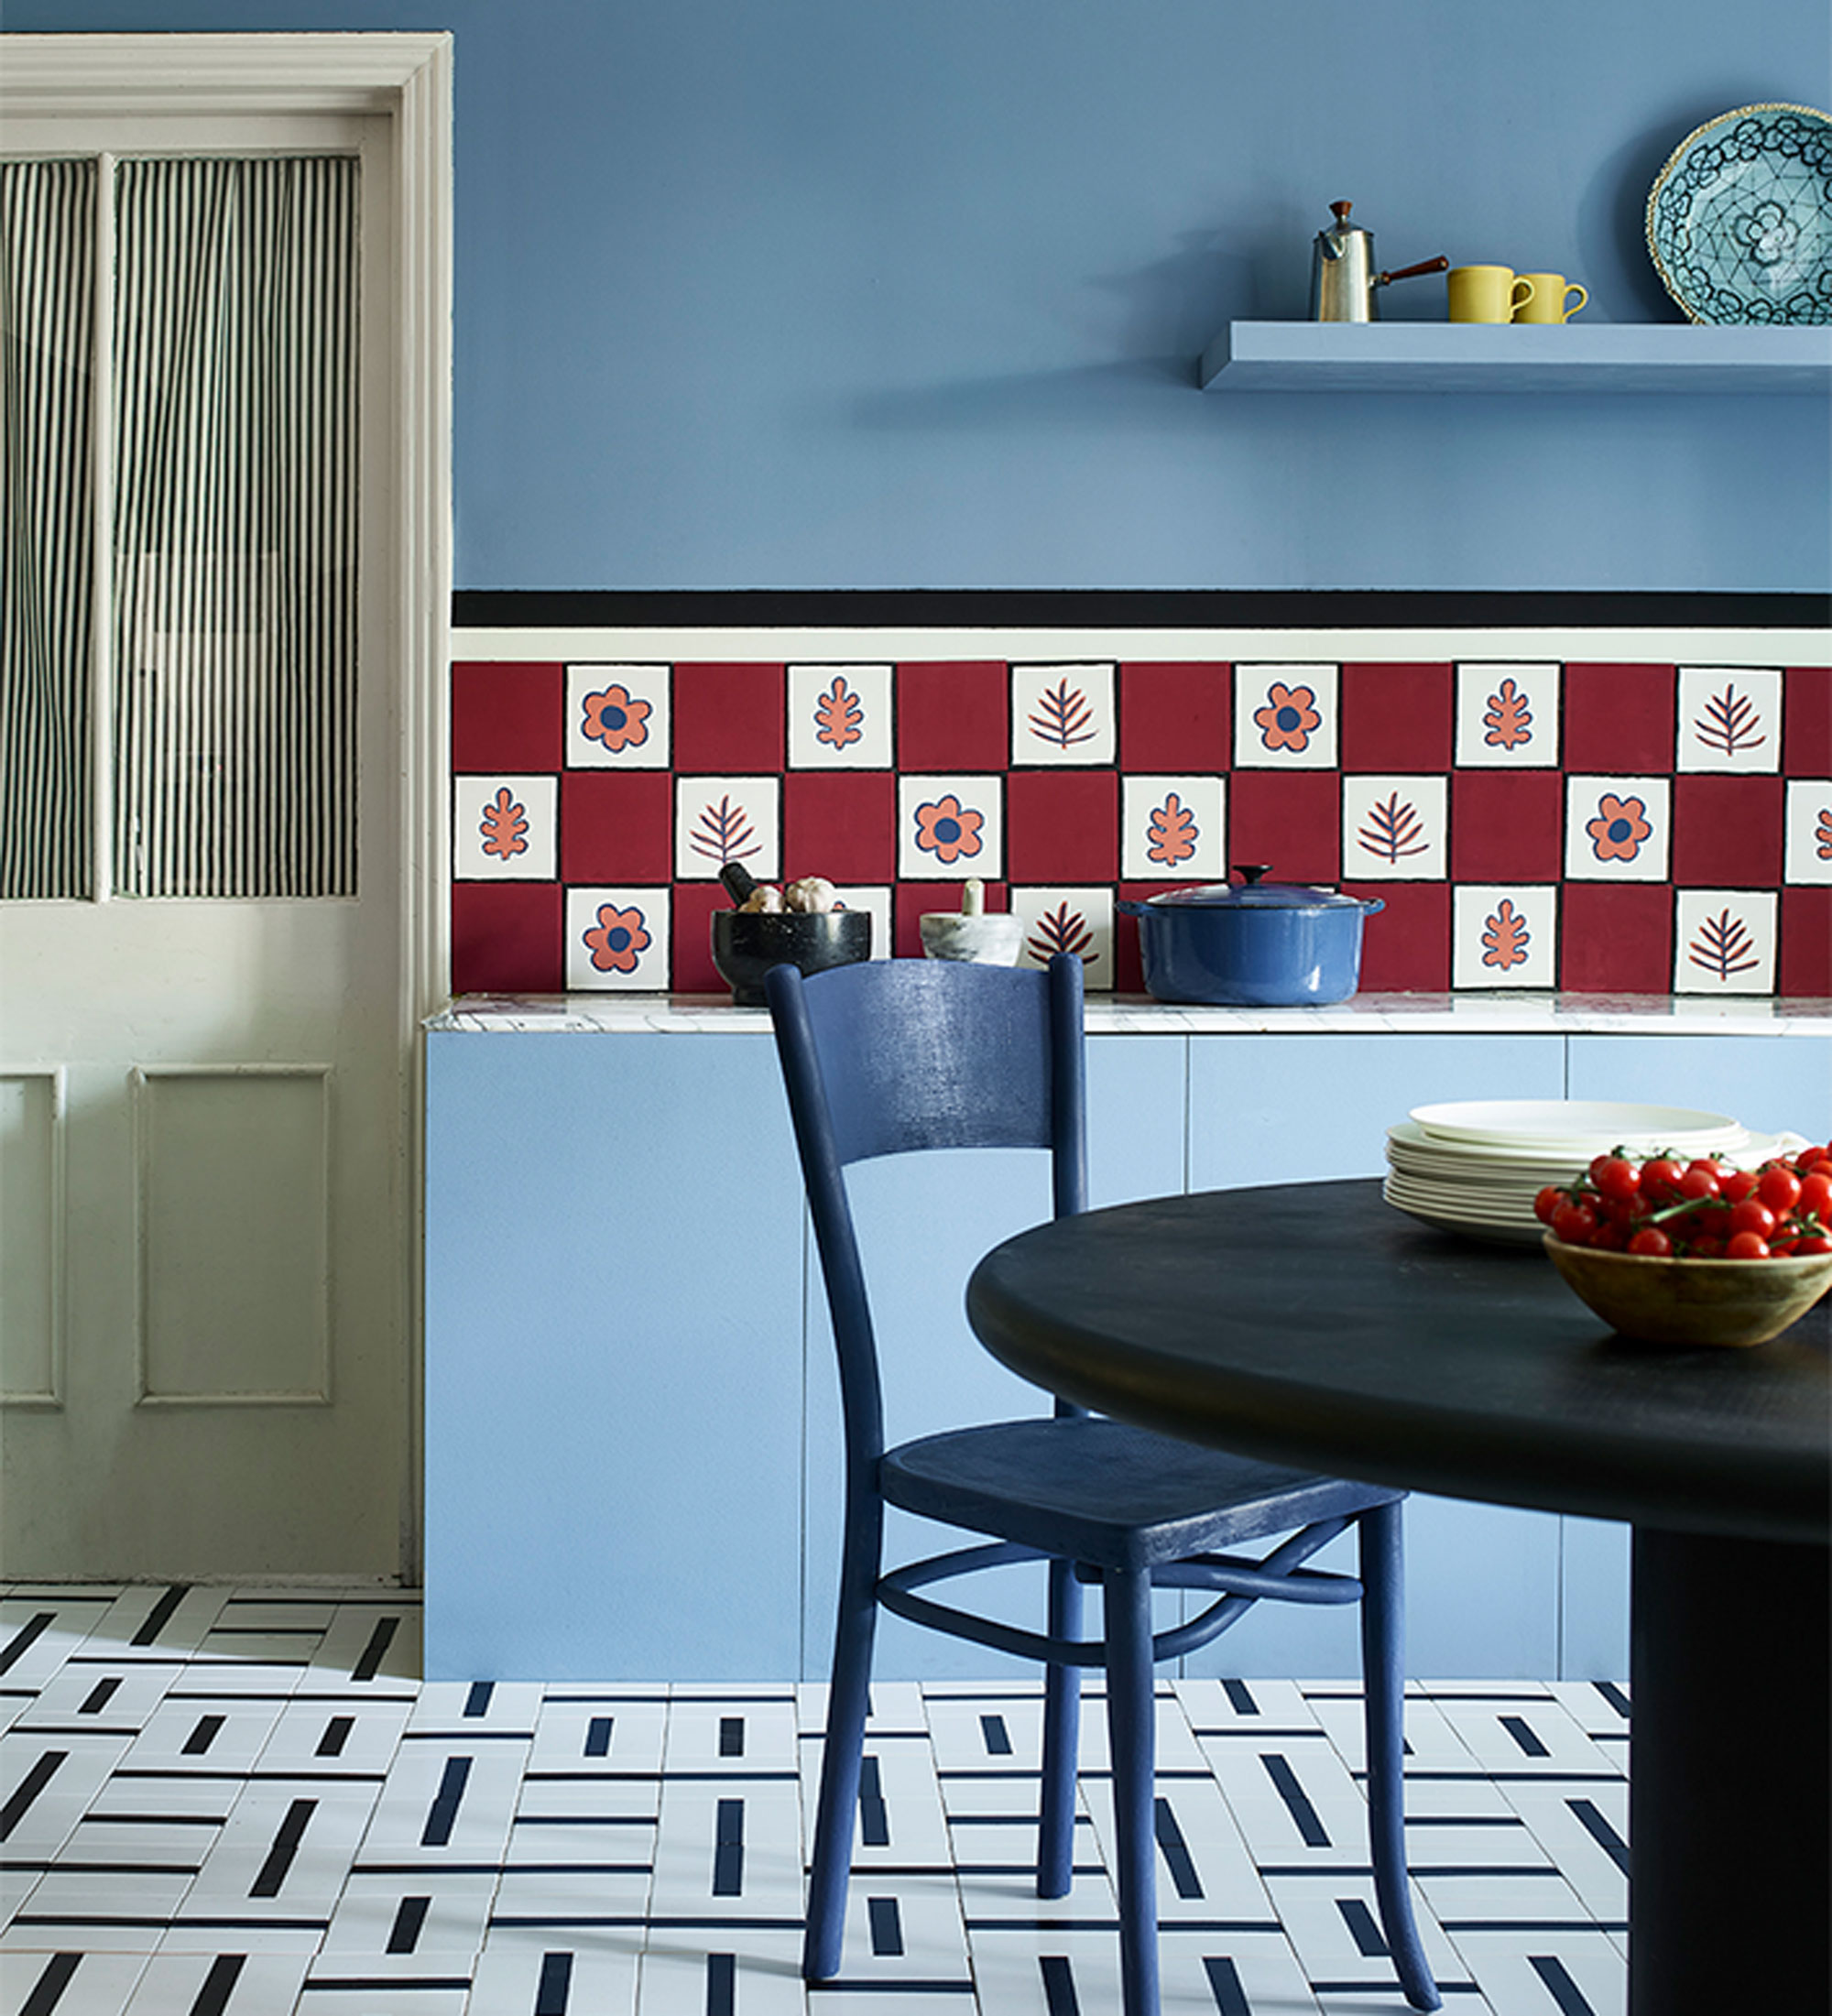
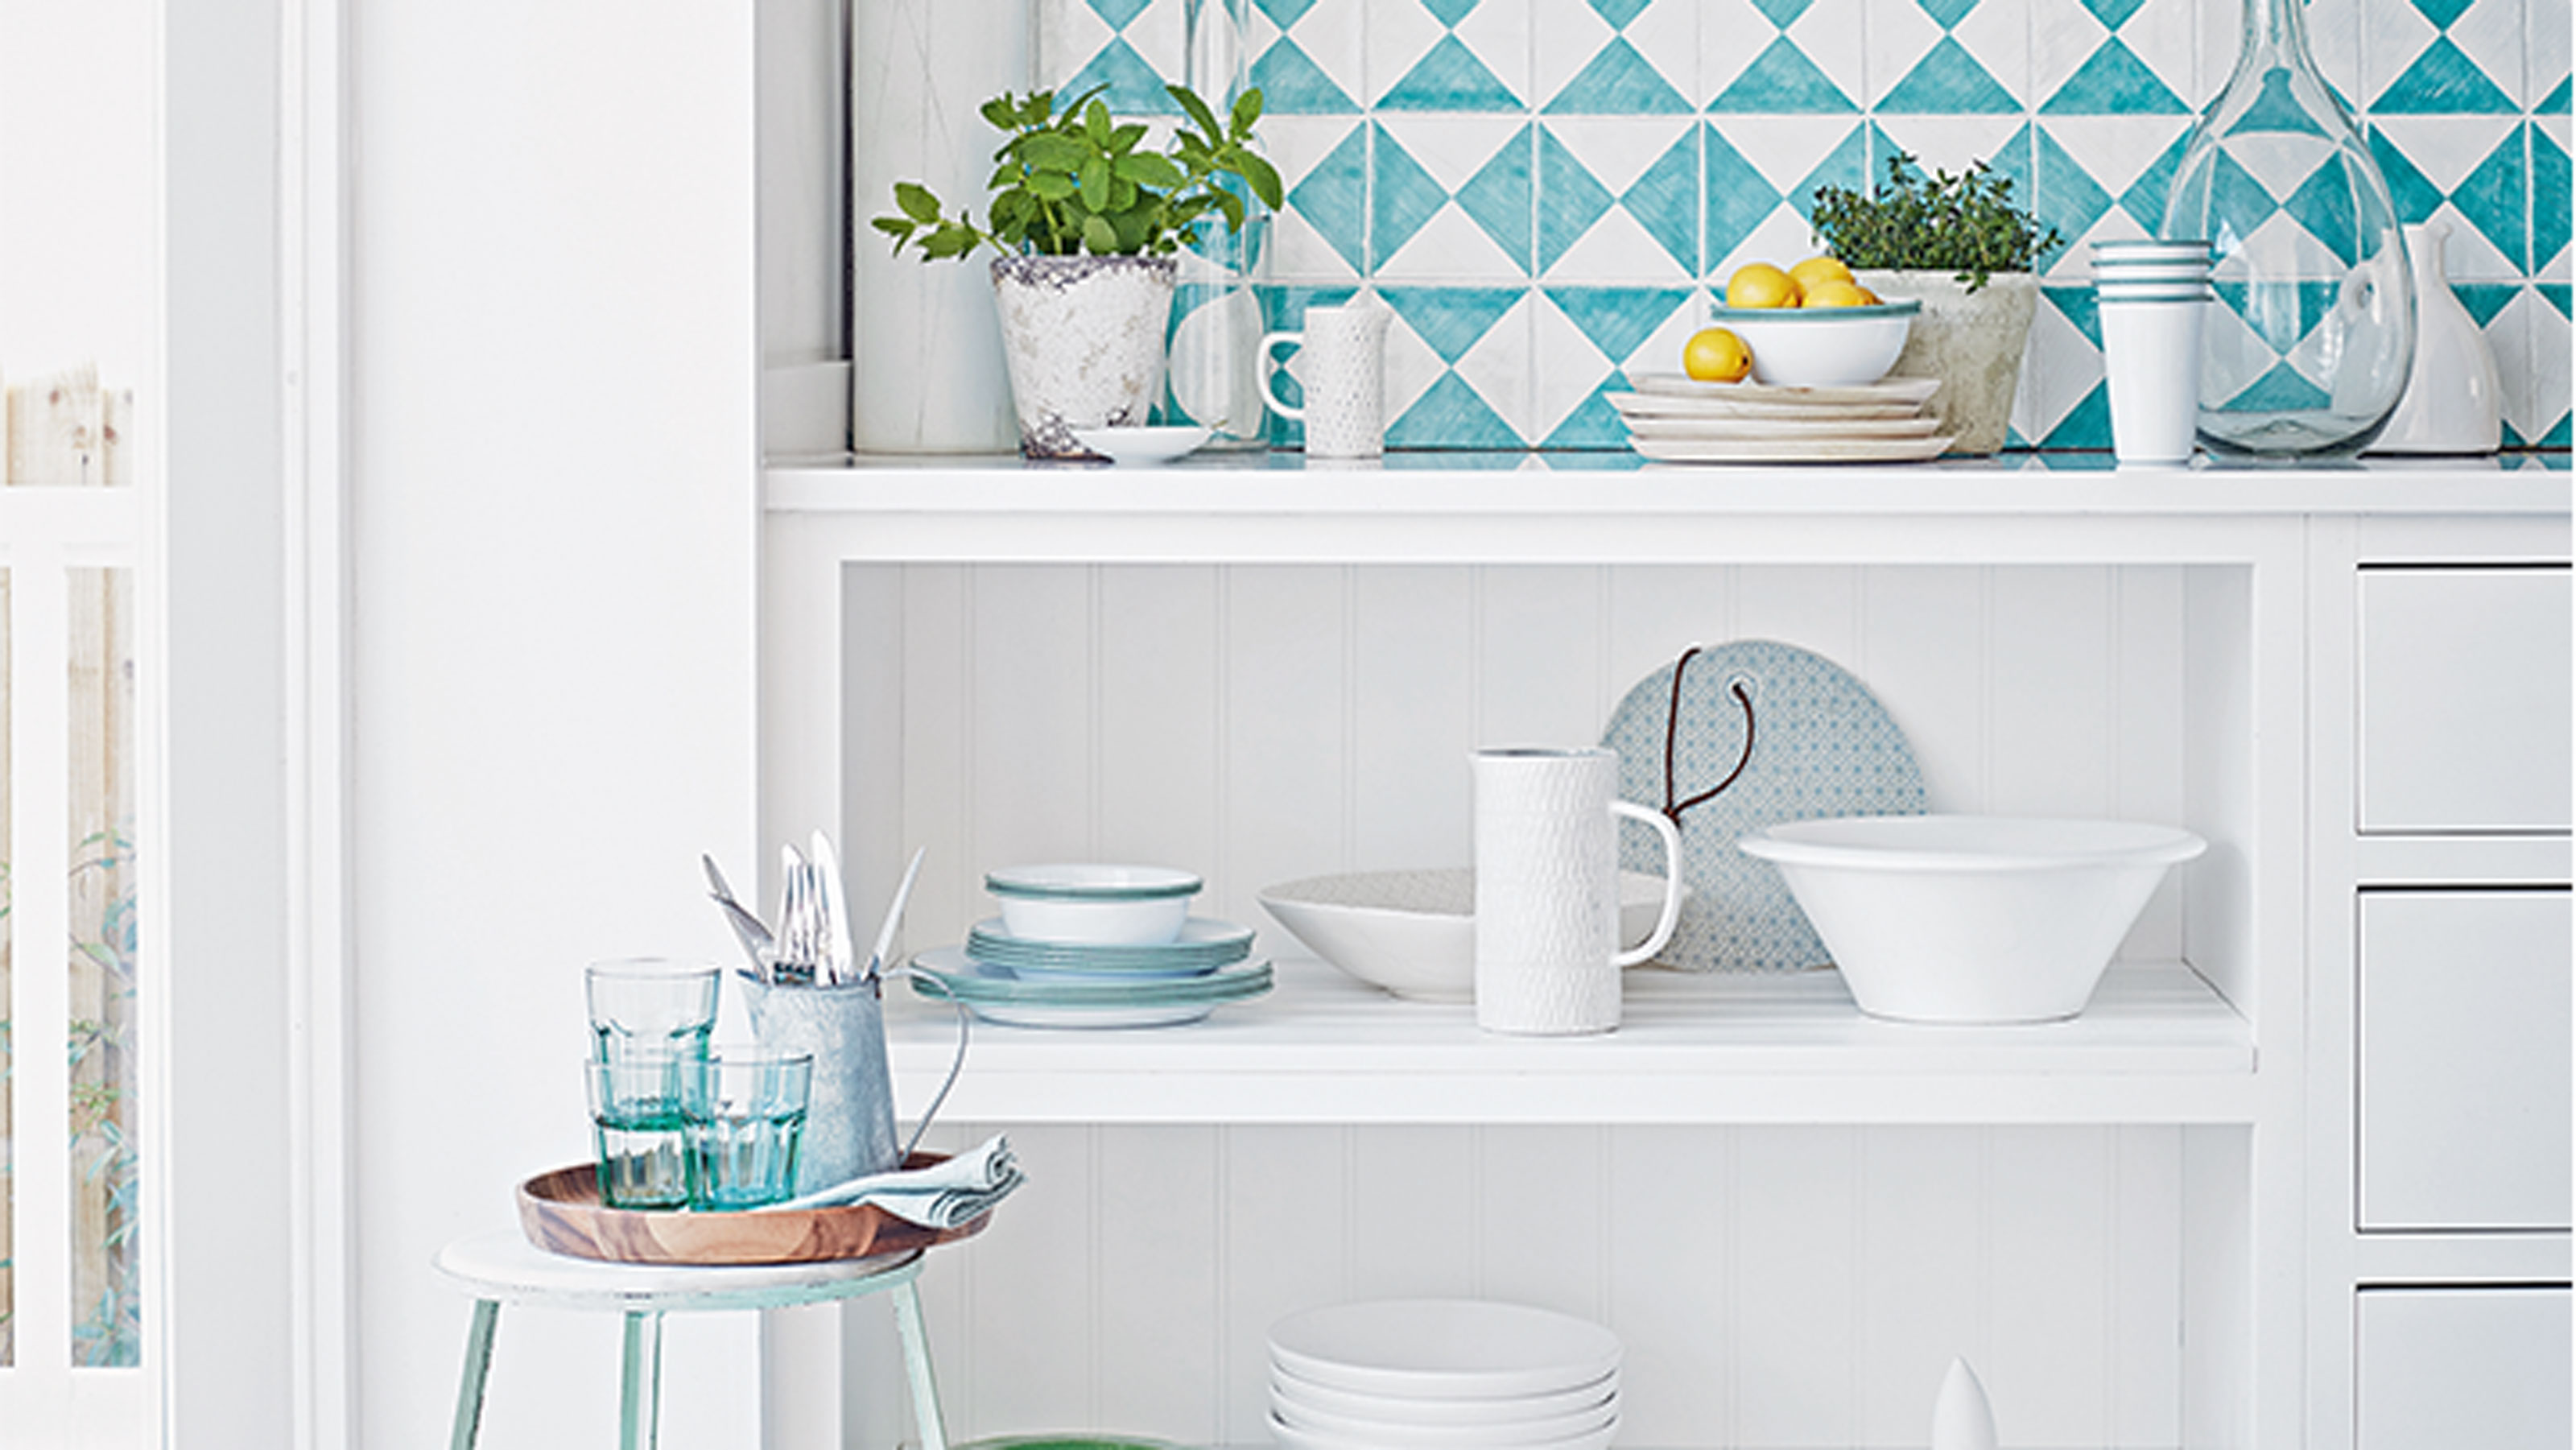
If you’d prefer something more decorative than plain tiles, why not consider adding a pattern or motif to give a plain splashback extra wow. Patterns can be painted on free-hand or for ease, consider using a stencil to create a geometric or repeat uniform pattern. These colourful patterned tiles have been created using chalk paint and then sealed with a coat of lacquer for protection.
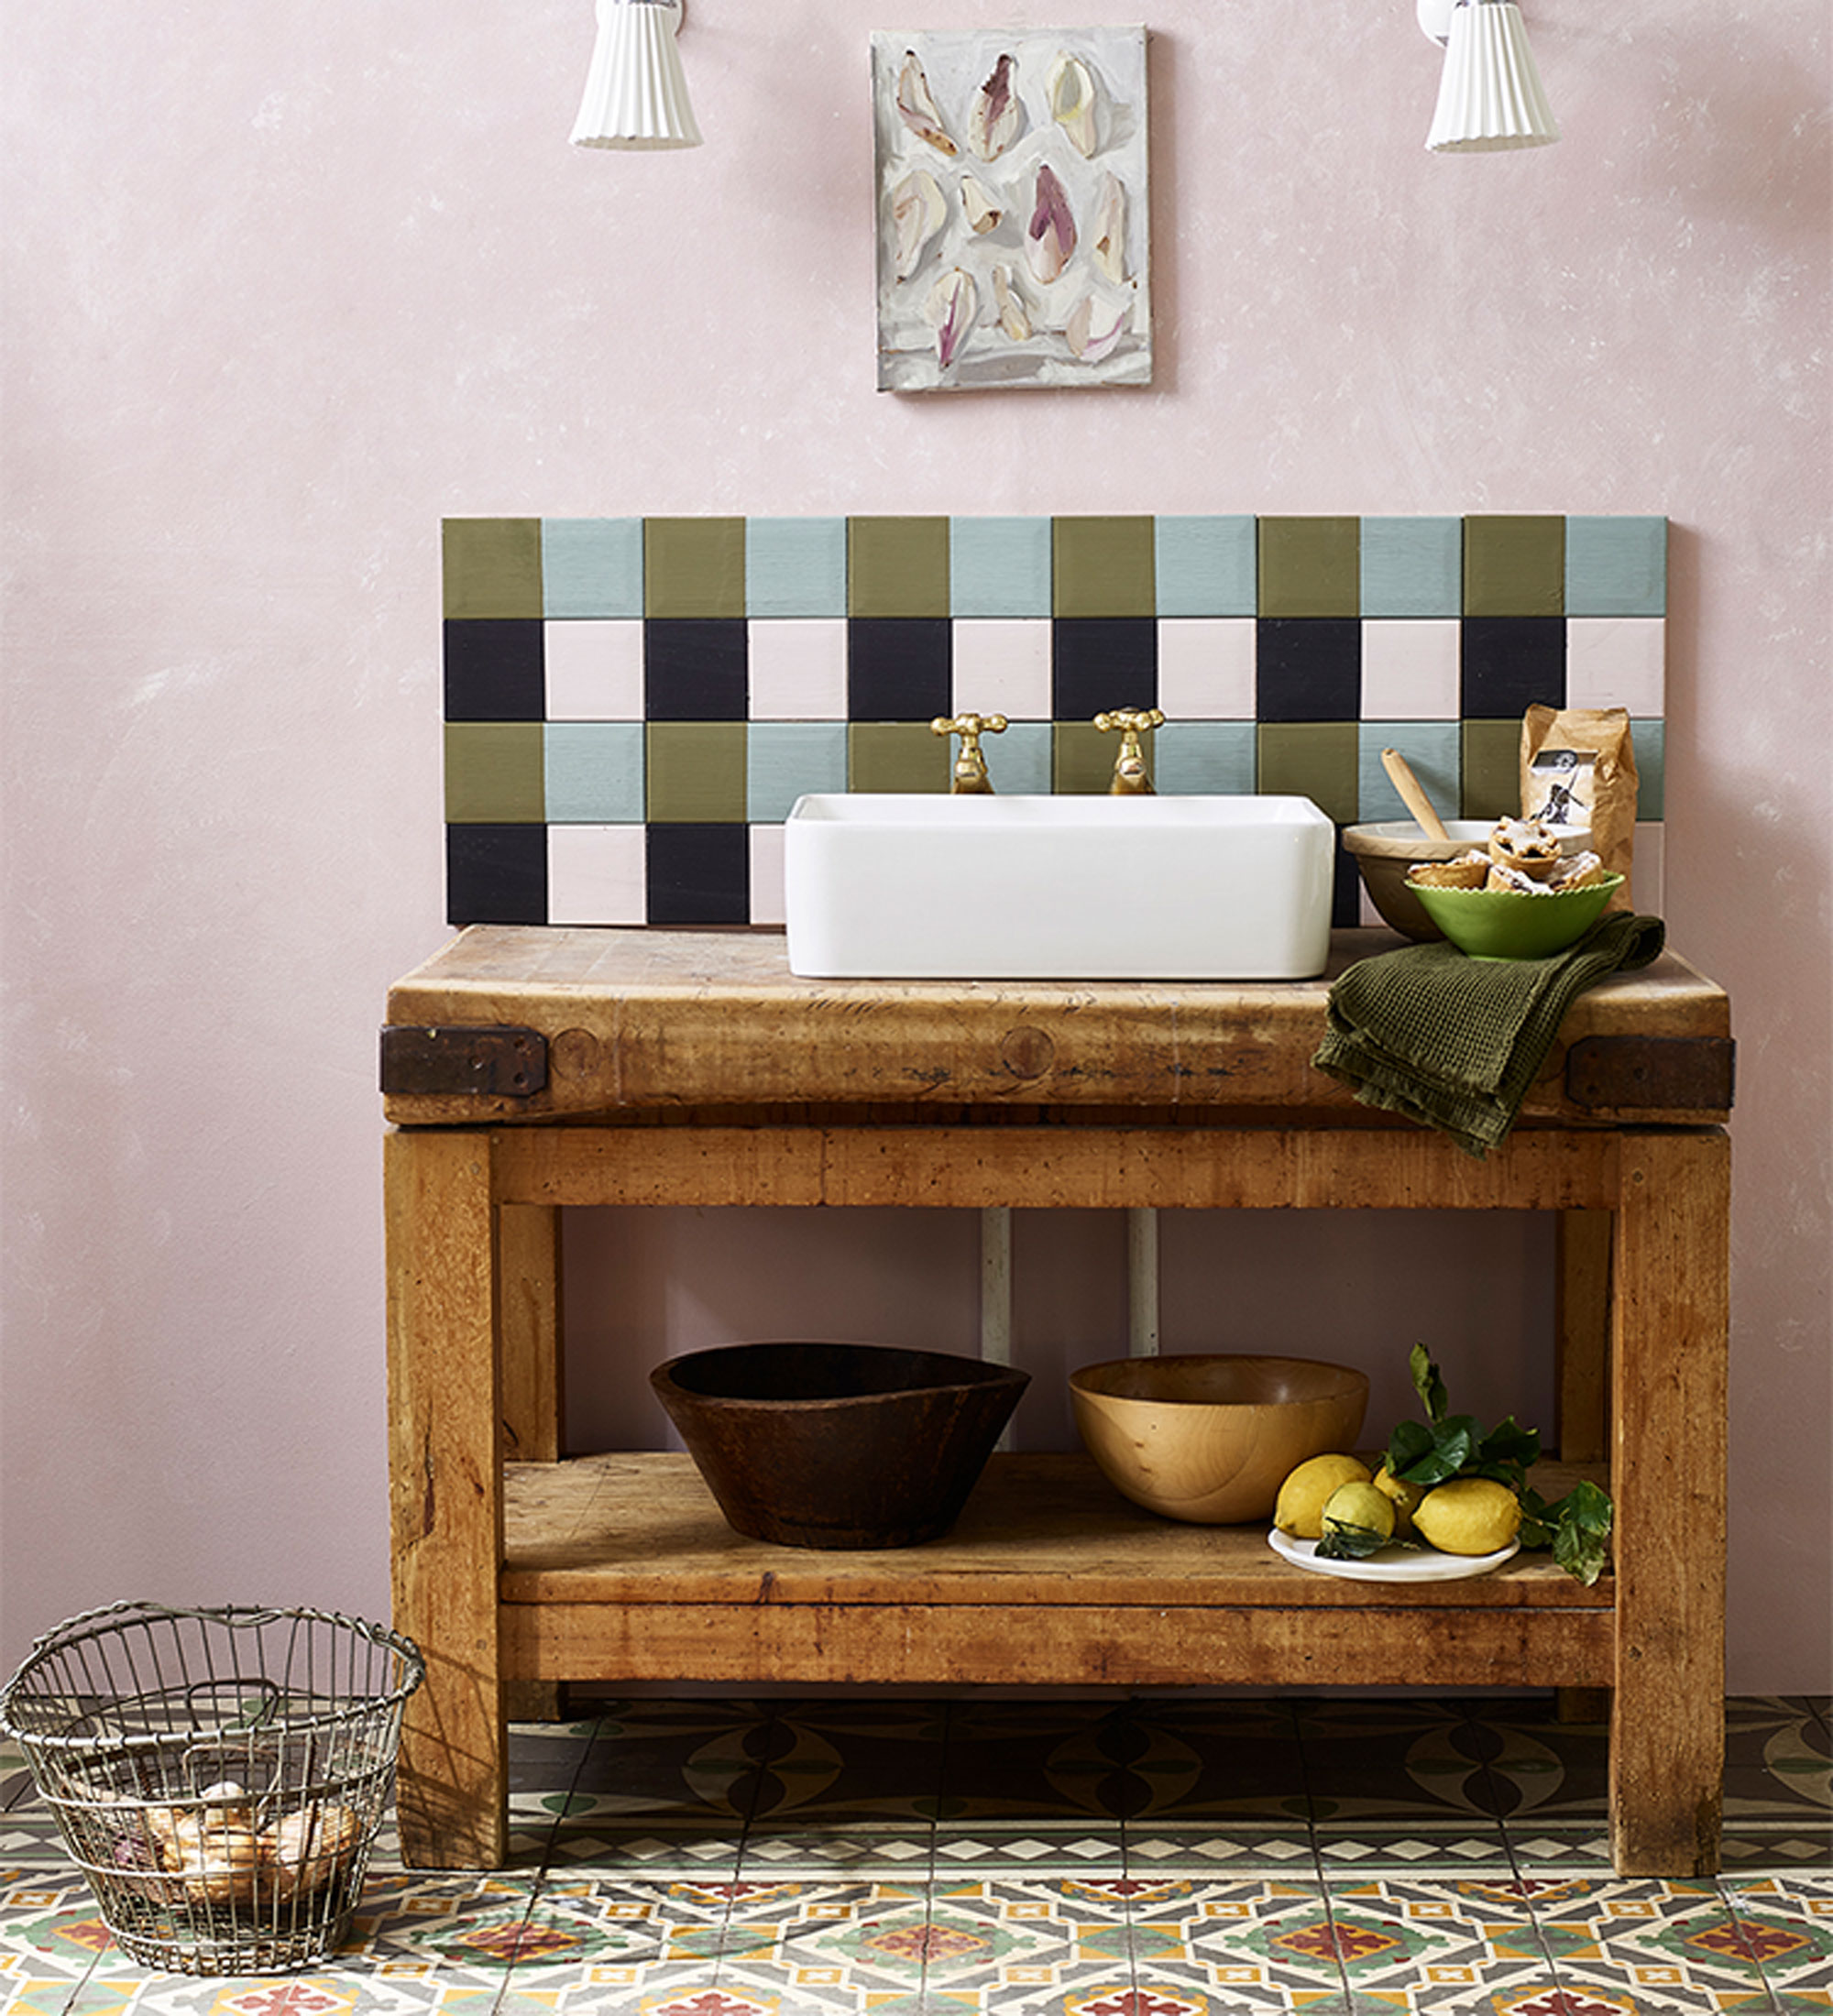
Alternatively, for a more rustic look, try painting tiles in a patchwork of colours. ‘Patience is a tile painter’s best friend,’ says colour and paint expert, Annie Sloan. ‘For a polished look, use thin coats and leave plenty of drying time. If you’re a fan of the rustic aesthetic, leave a little more paint on the brush.’
7. Protect the finish
Leave tile paint to dry fully for a couple of days so that it will cure. For extra protection, you can apply a few coats of a clear top coat or lacquer which will help protect the painted tile from moisture, scratches and other surface damage.
Painted tiles won’t be as durable as glazed tiles, so take care when cleaning and opt for non-abrasive cleaners and a soft cloth or sponge, rather than scourers and strong detergents, which might cause tile paint to start peeling.
Is painting kitchen tiles a good idea?
If you’re on a limited budget, painting kitchen tiles can be a more affordable (and easier) option than ripping out tiles and replacing them completely. And while painting tiles won’t give as durable a finish as glazed tiles, if you’re after a temporary solution before tackling a kitchen makeover at a later date, painting tiles can be a good stopgap solution that will certainly last for a good few years.
What paint should I use for kitchen tiles?
Specialist tile paint is the recommended option, as it will adhere to smooth surfaces and give a harder-wearing finish, unlike standard paints. However, if you use a quality tile primer as your base coat, it is possible to use regular water and oil-based paint on tiles, which will give a bigger range of colour options.
‘A specialist tile paint is a must in order to provide colour, even coverage and protection,’ says Rachael Meadowcroft at Ronseal. 'Our One Coat Tile Paint Range (available on Amazon) is easy-to-use and provides great colour without the need for multiple coats or primers and without leaving messy brush marks. It can be used on old or previously painted tiles so is suitable for most interior tiled surfaces.’
‘To paint kitchen tiles use a special primer such as Crown Trade PX4 (water-based) or Crown Trade PX3 (solvent-based),’ advises Justyna Korczynska, senior designer at Crown. ‘Ensure the tiles are squeaky clean by using a solution of sugar soap, liquid detergent agitating with a nylon scouring pad, rinse the tiles with clean water and allow them to dry, spaying special attention to the joints. Once primed you can use a suitable paint designed for durability. Hand painting tiles should only be done in areas where the tiles are not likely to get wet for prolonged periods by continuous water.’

Lisa is a freelance journalist who has written about interiors for more than 25 years. Previously editor of Style at Home magazine, she has worked on all the major homes titles, including Ideal Home, Country Homes & Interiors, 25 Beautiful Homes and Homes & Gardens. She has covered pretty much every area of the home, from shopping and decorating, crafts and DIY to real homes and makeovers and now regularly writes gardening stories for Ideal Home.