This £6 long-handled bulb planter made light work of planting my spring bulbs for next year – I'll never get down on my hands and knees again
Quick, easy to use and with minimal bending over required, there was no aching back to suffer from afterwards

It’s easy to get carried away buying spring bulbs. I bagged some at my local garden centre, picked up more while grocery shopping at Lidl, and not to mention the bulbs stored away in the shed from this spring. But when it comes to planting them all out, it can be back-breaking work, so I was intrigued when I spotted QVC’s long-handled bulb planter.
While how to plant spring bulbs in containers is pretty straightforward, planting them in the ground in flower beds and borders can be hard work, with lots of bending down that is a strain on the back, especially if you’re planting bulbs en masse (like me). So a tool that promises to be back-friendly and make bulb-planting quicker and easier too…I was definitely up for giving it a go.
September and October are perfect times for planting bulbs for spring, especially with bulbs like daffodils and alliums, which are what I’ve been putting in the ground. But to avoid rookie bulb-planting mistakes, I won’t plant tulips this early, saving them until November to plant out.
Using the Bulb Planter
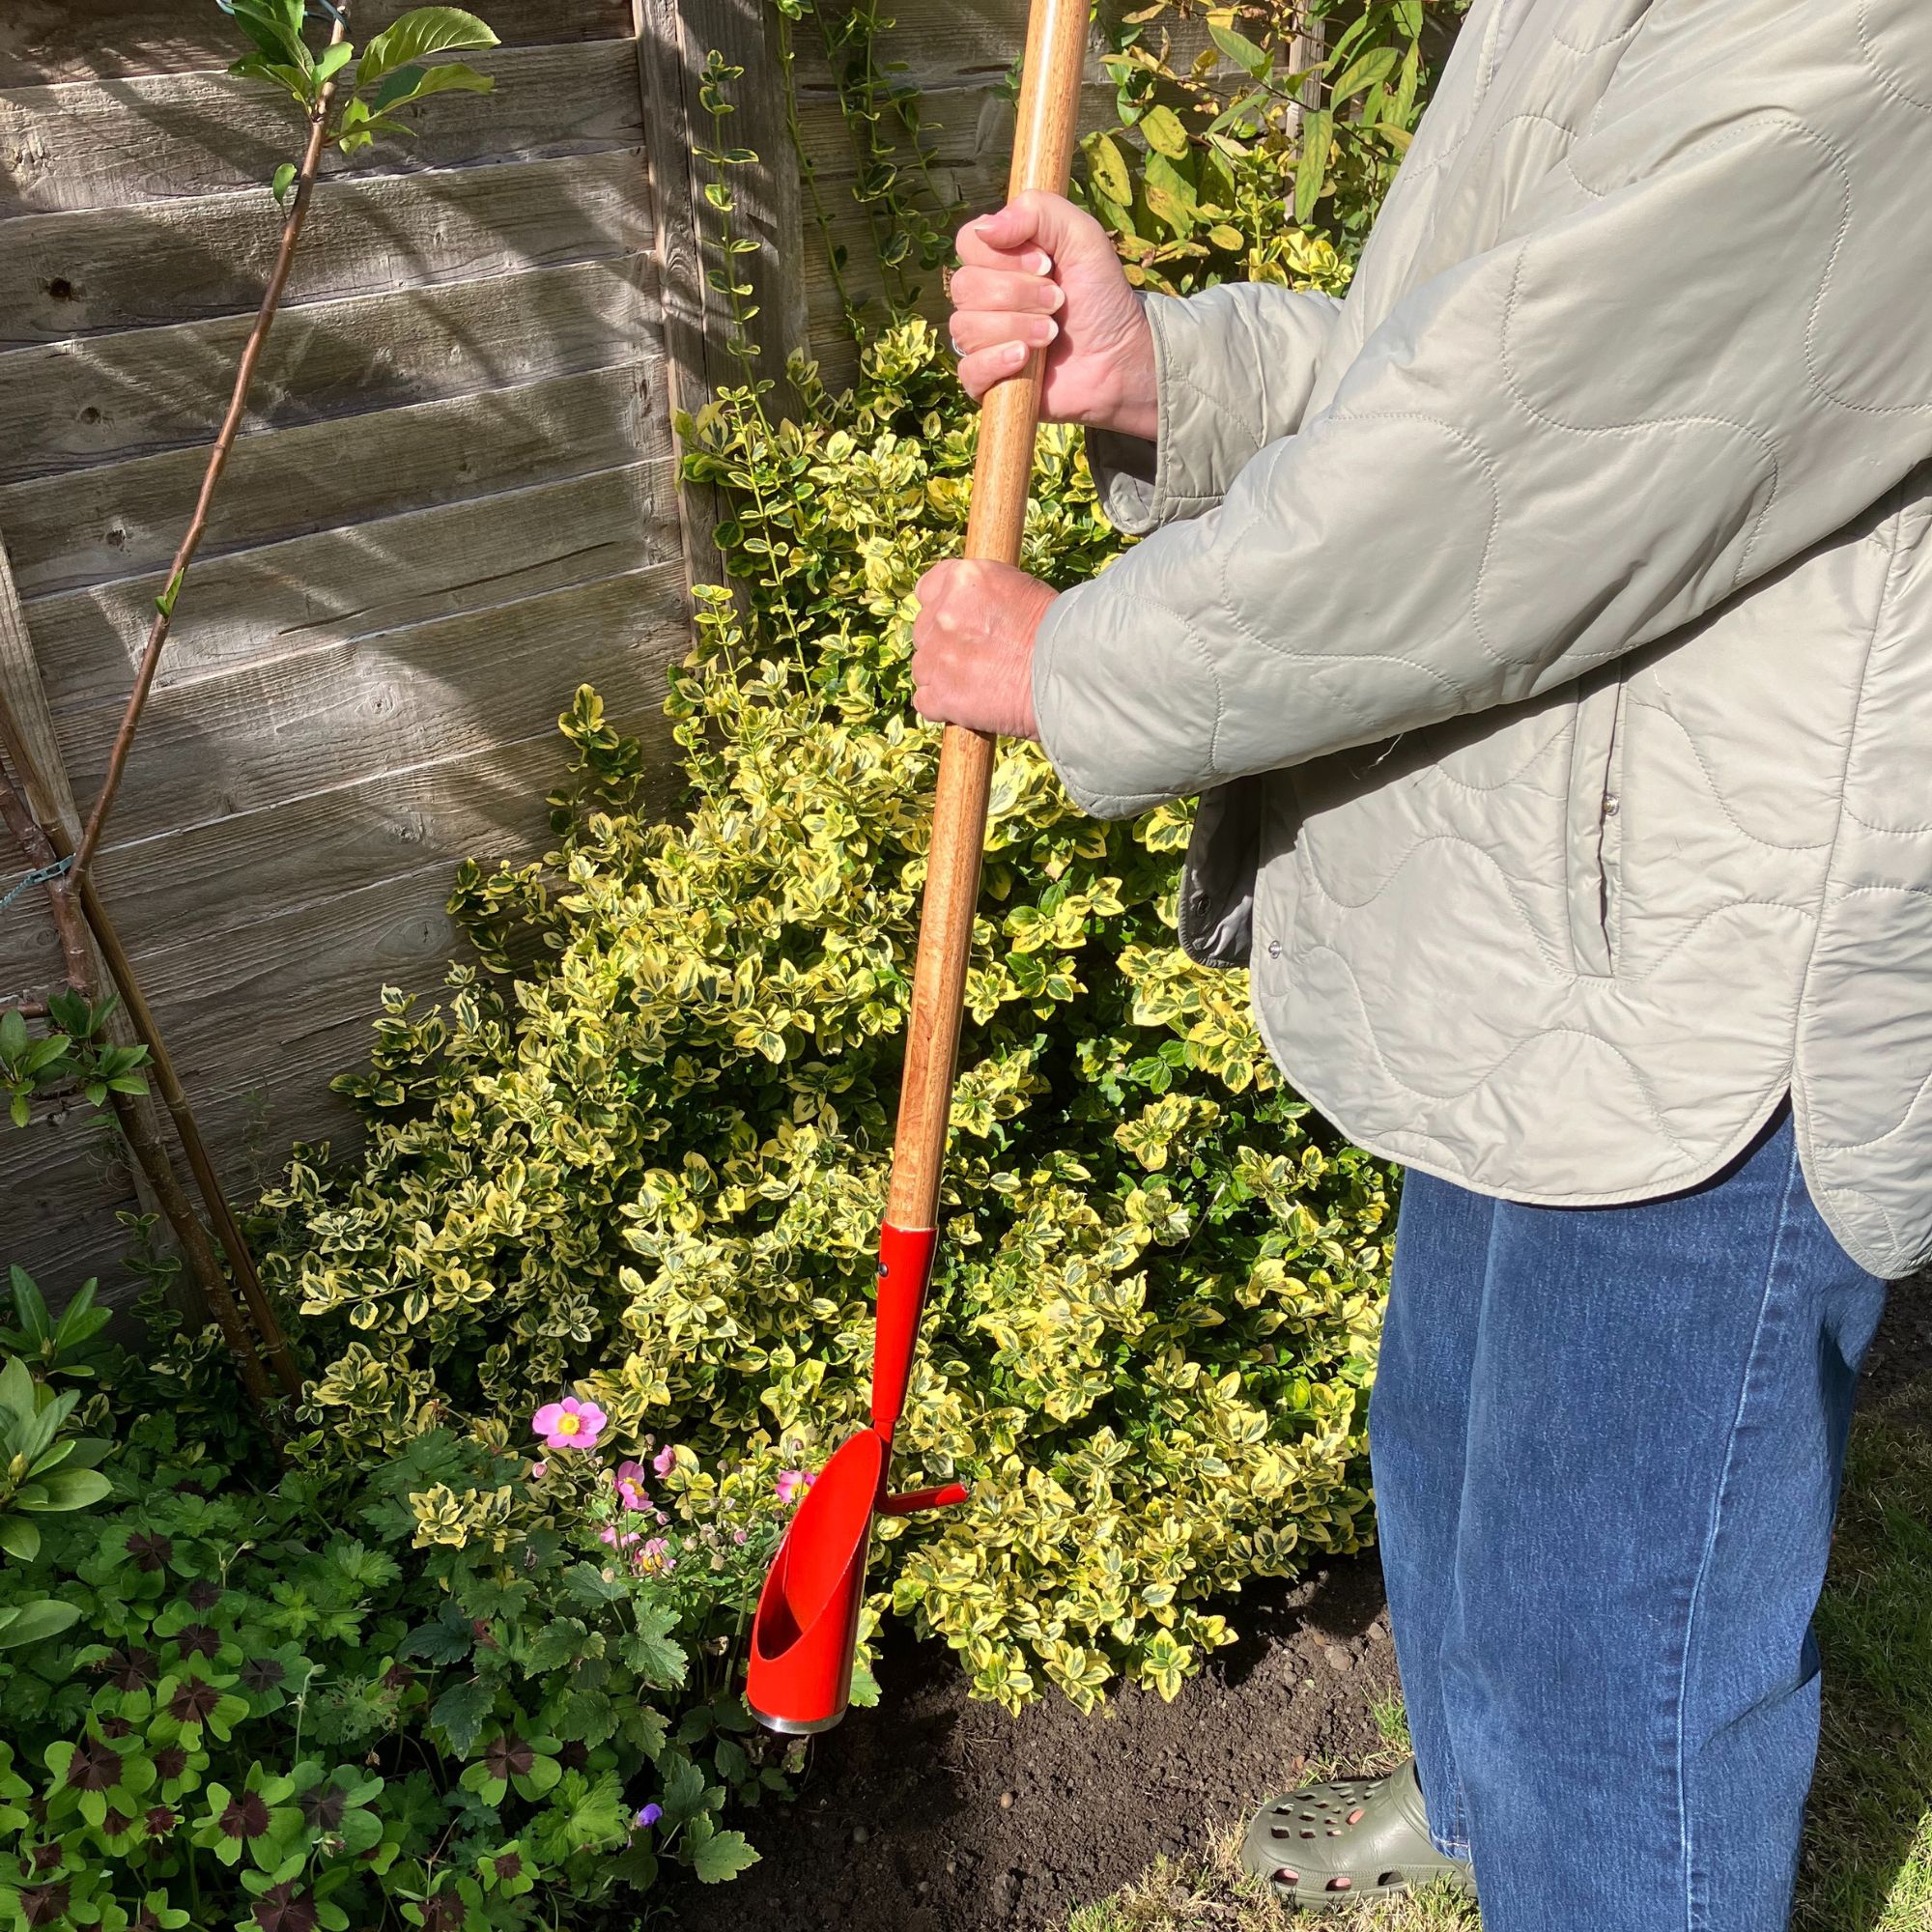
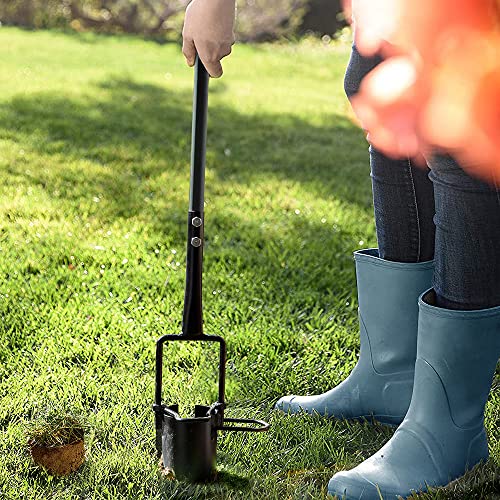
Traditional hand bulb-planters work by being pushed into the ground to the desired depth, twisted to loosen the core of soil, and the soil is then removed, and the bulb is popped into the resulting hole. The plug of soil is then replaced on top. The process is all very hands-on and involves lots of kneeling on the ground and bending down, which can be hard on the knees and the back.
The appeal of the long-handled bulb planter is that it promises to allow you to plant bulbs in garden borders from a standing position, thus reducing the strain on your back and knees.
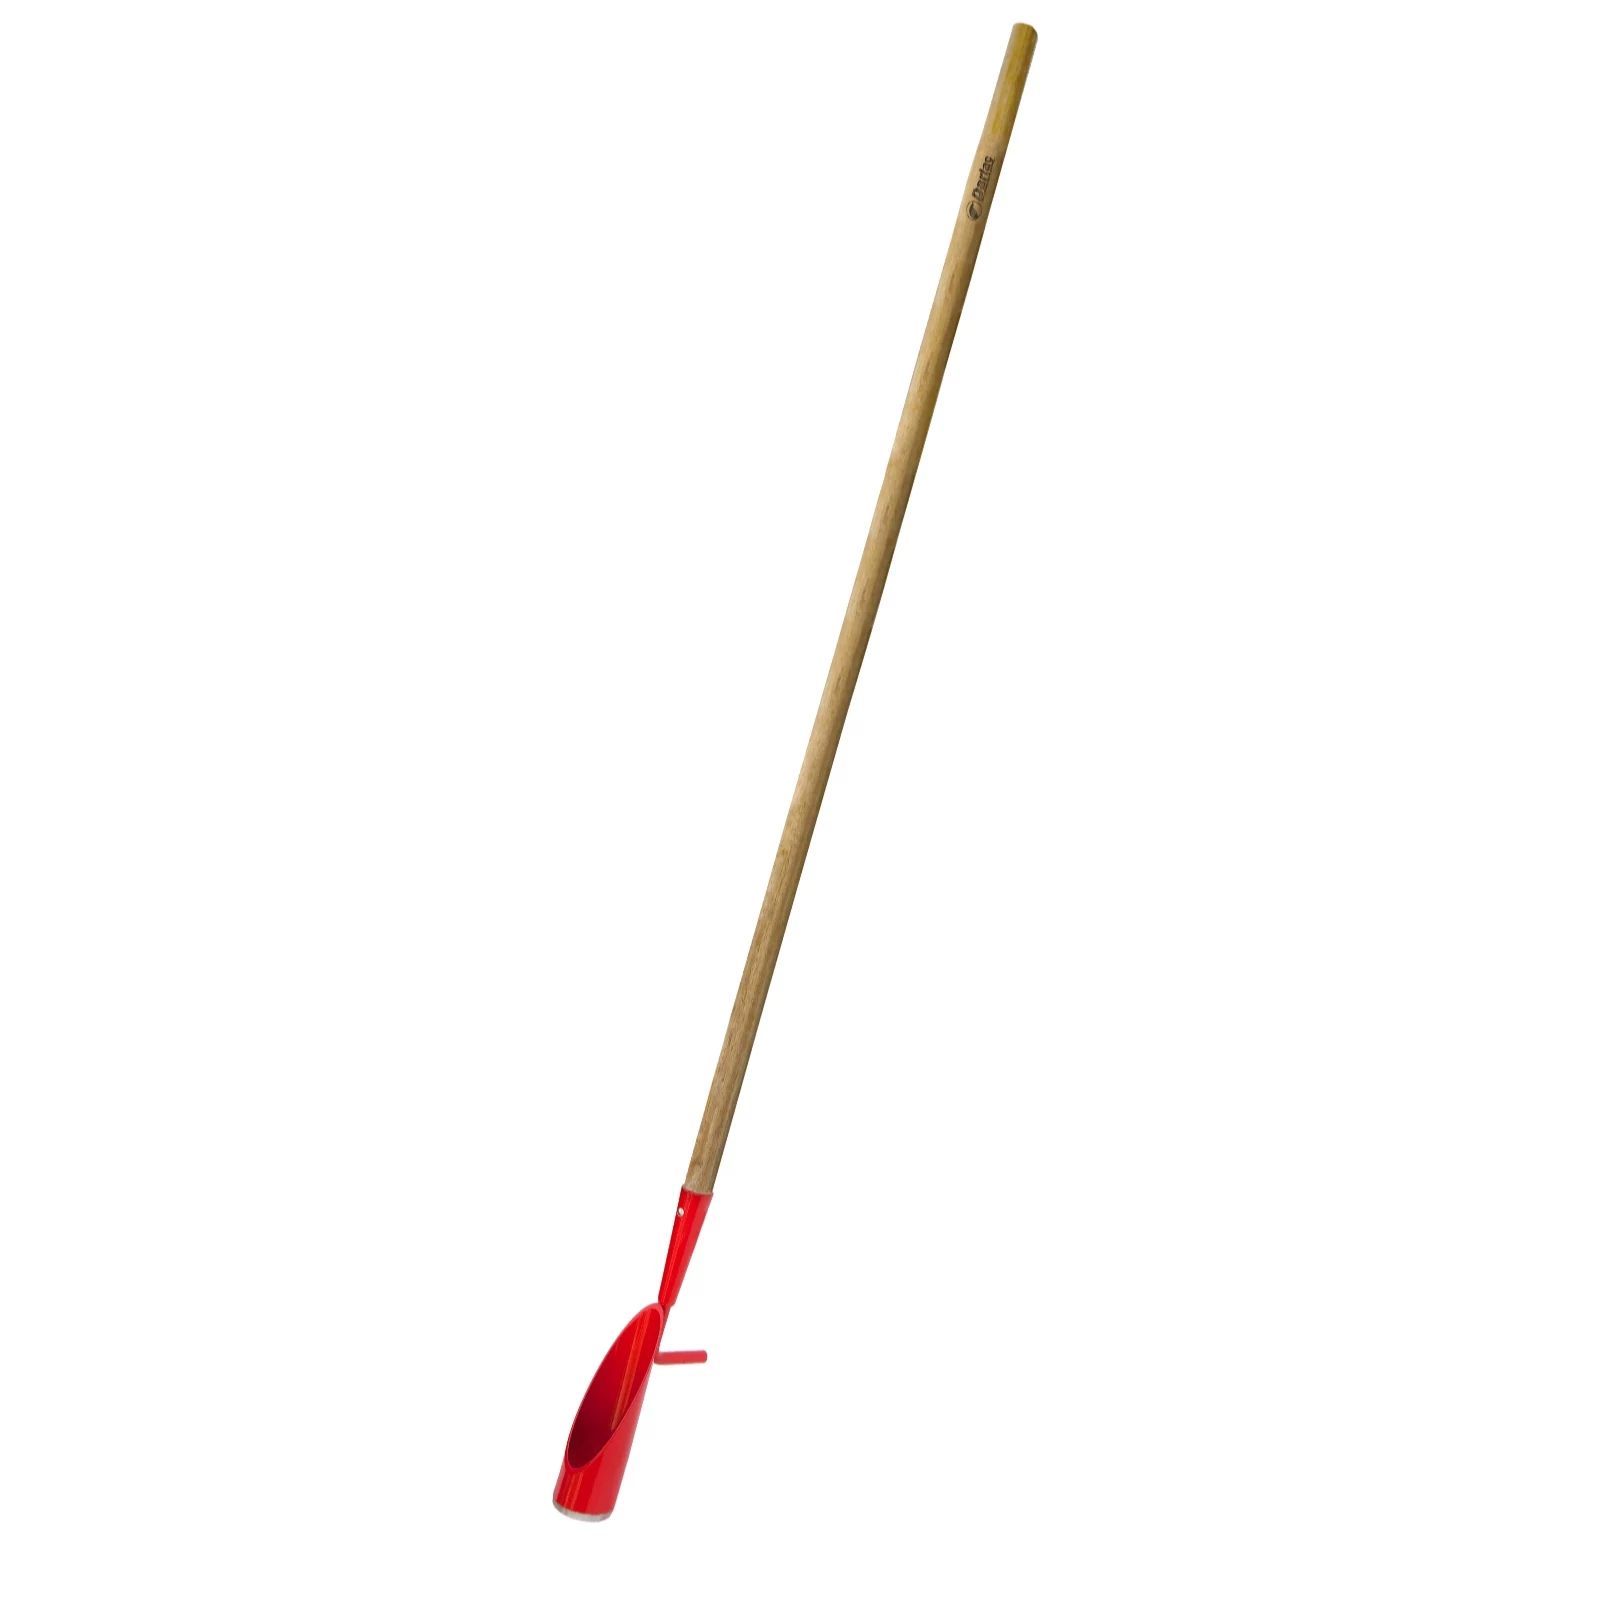
With a handle made from traditional hardwood for durability, it feels solid and fairly comfortable to hold.
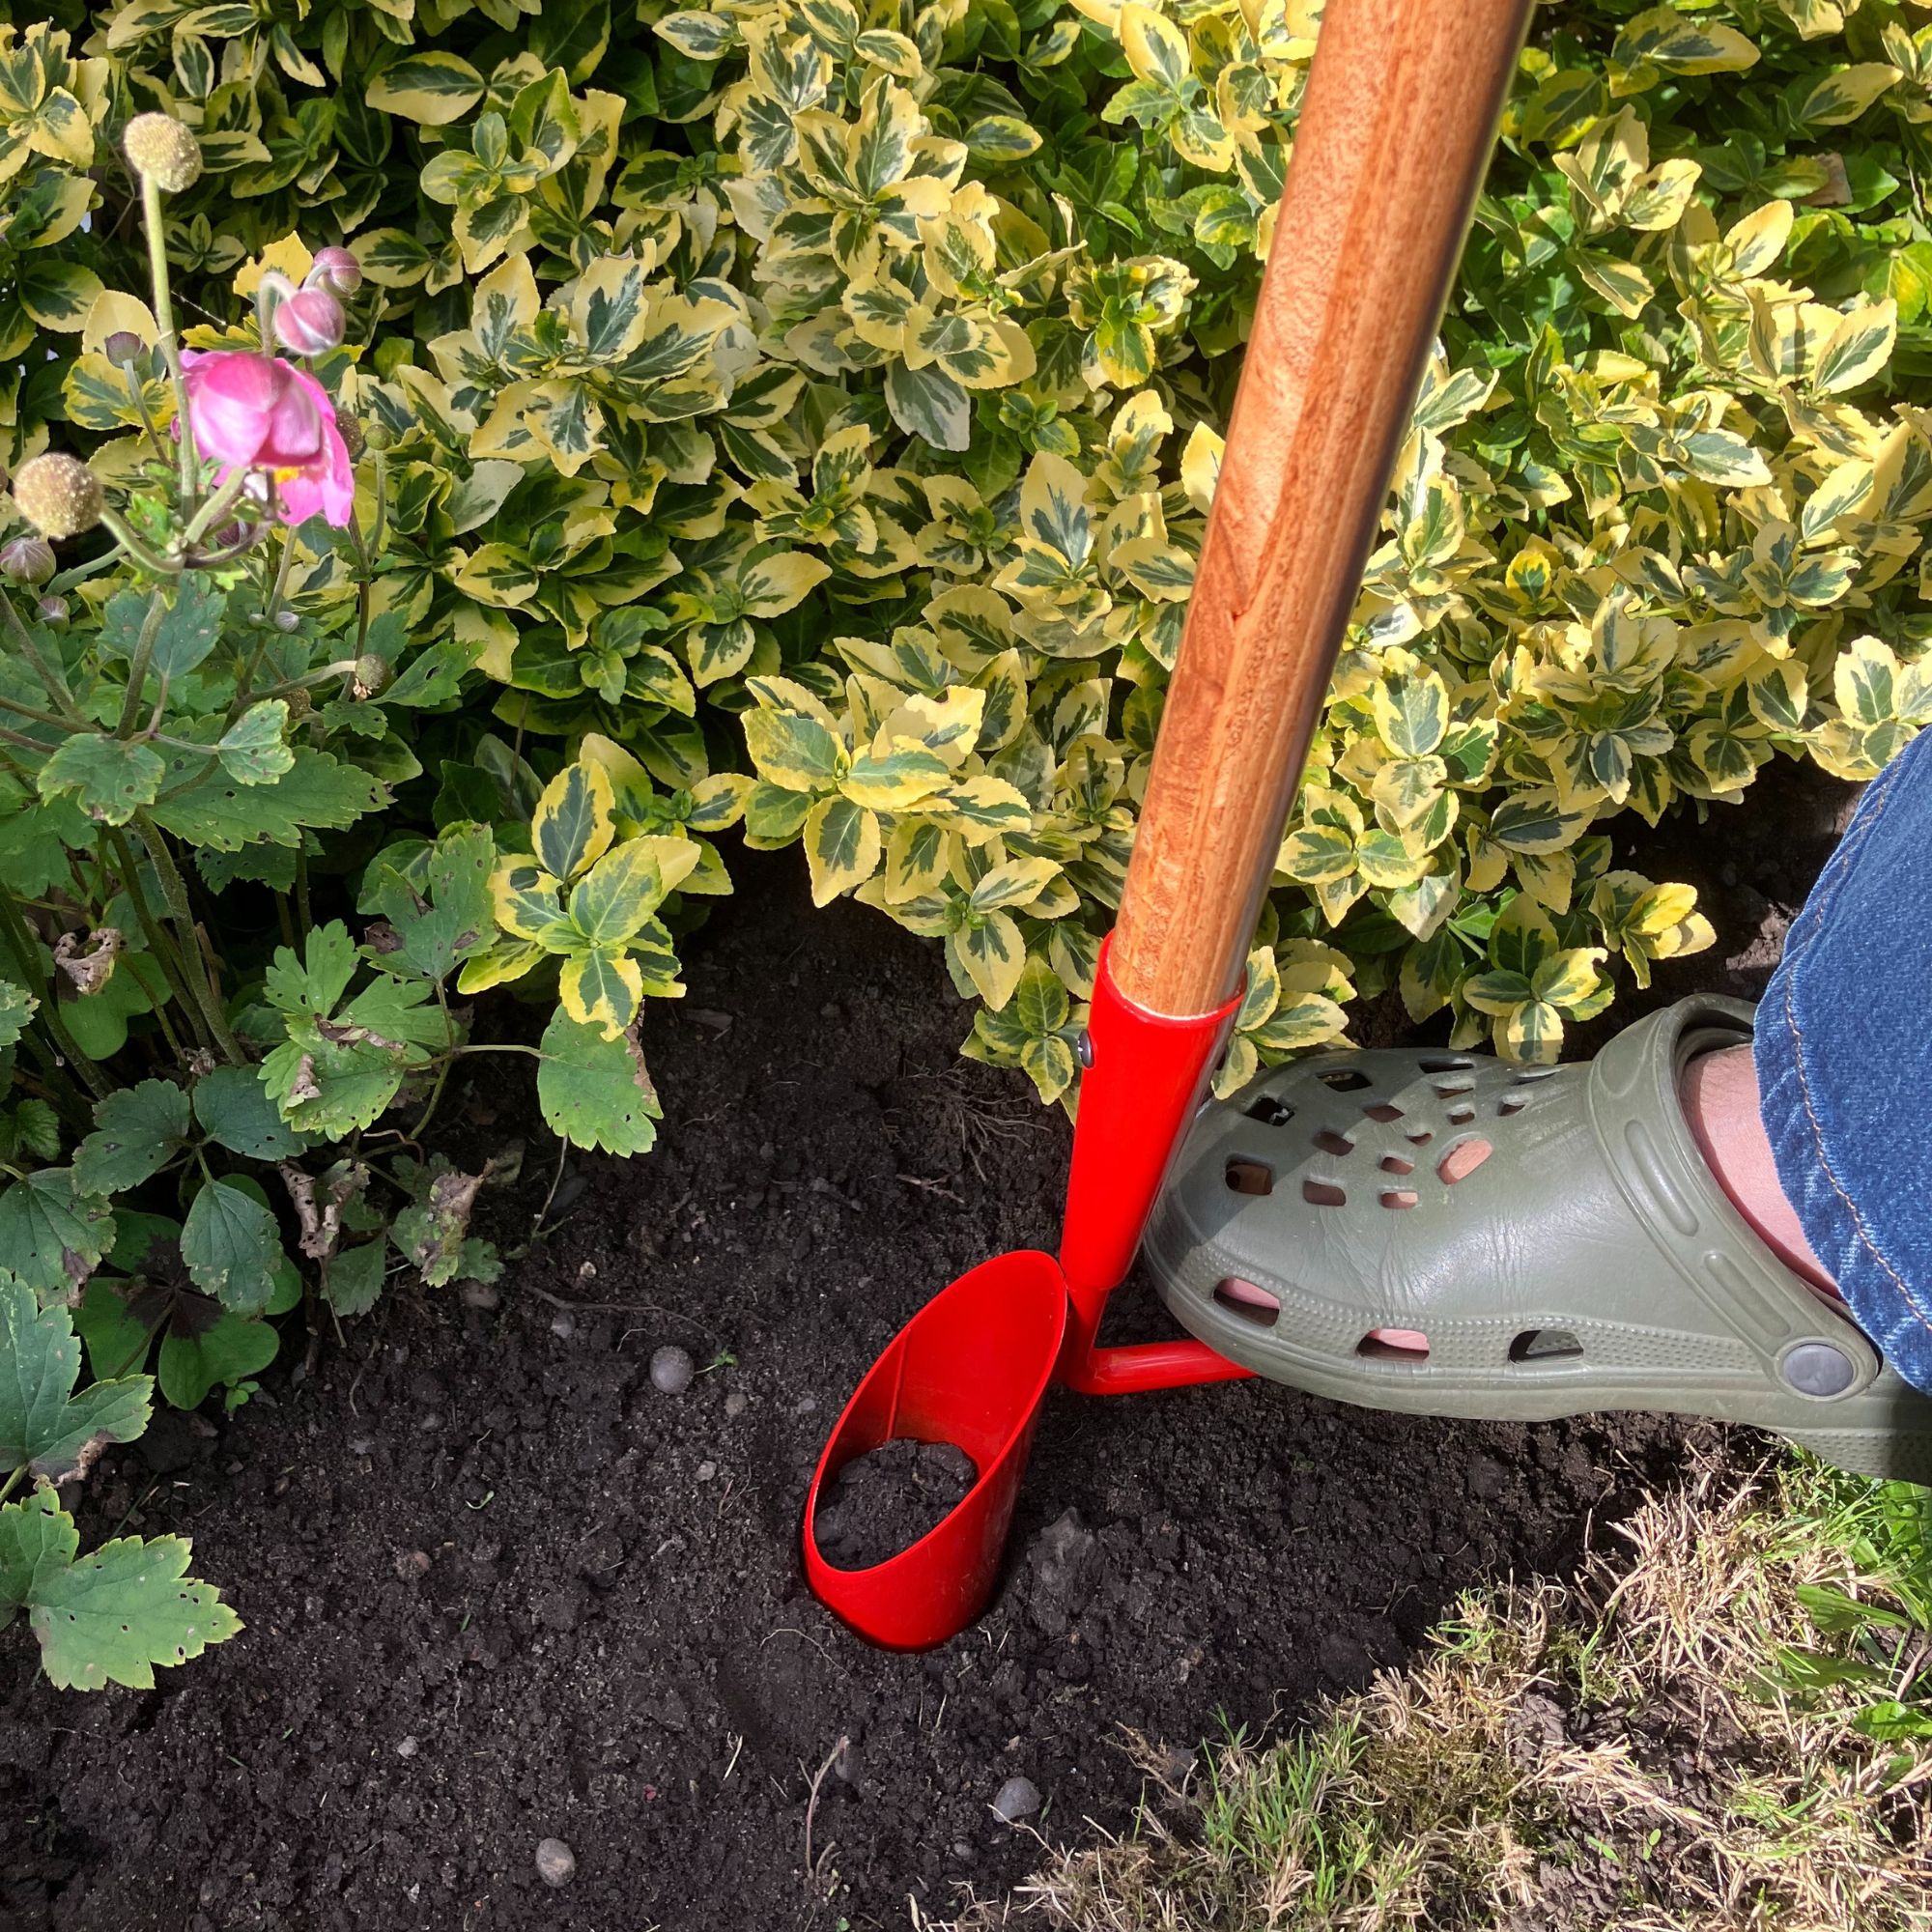
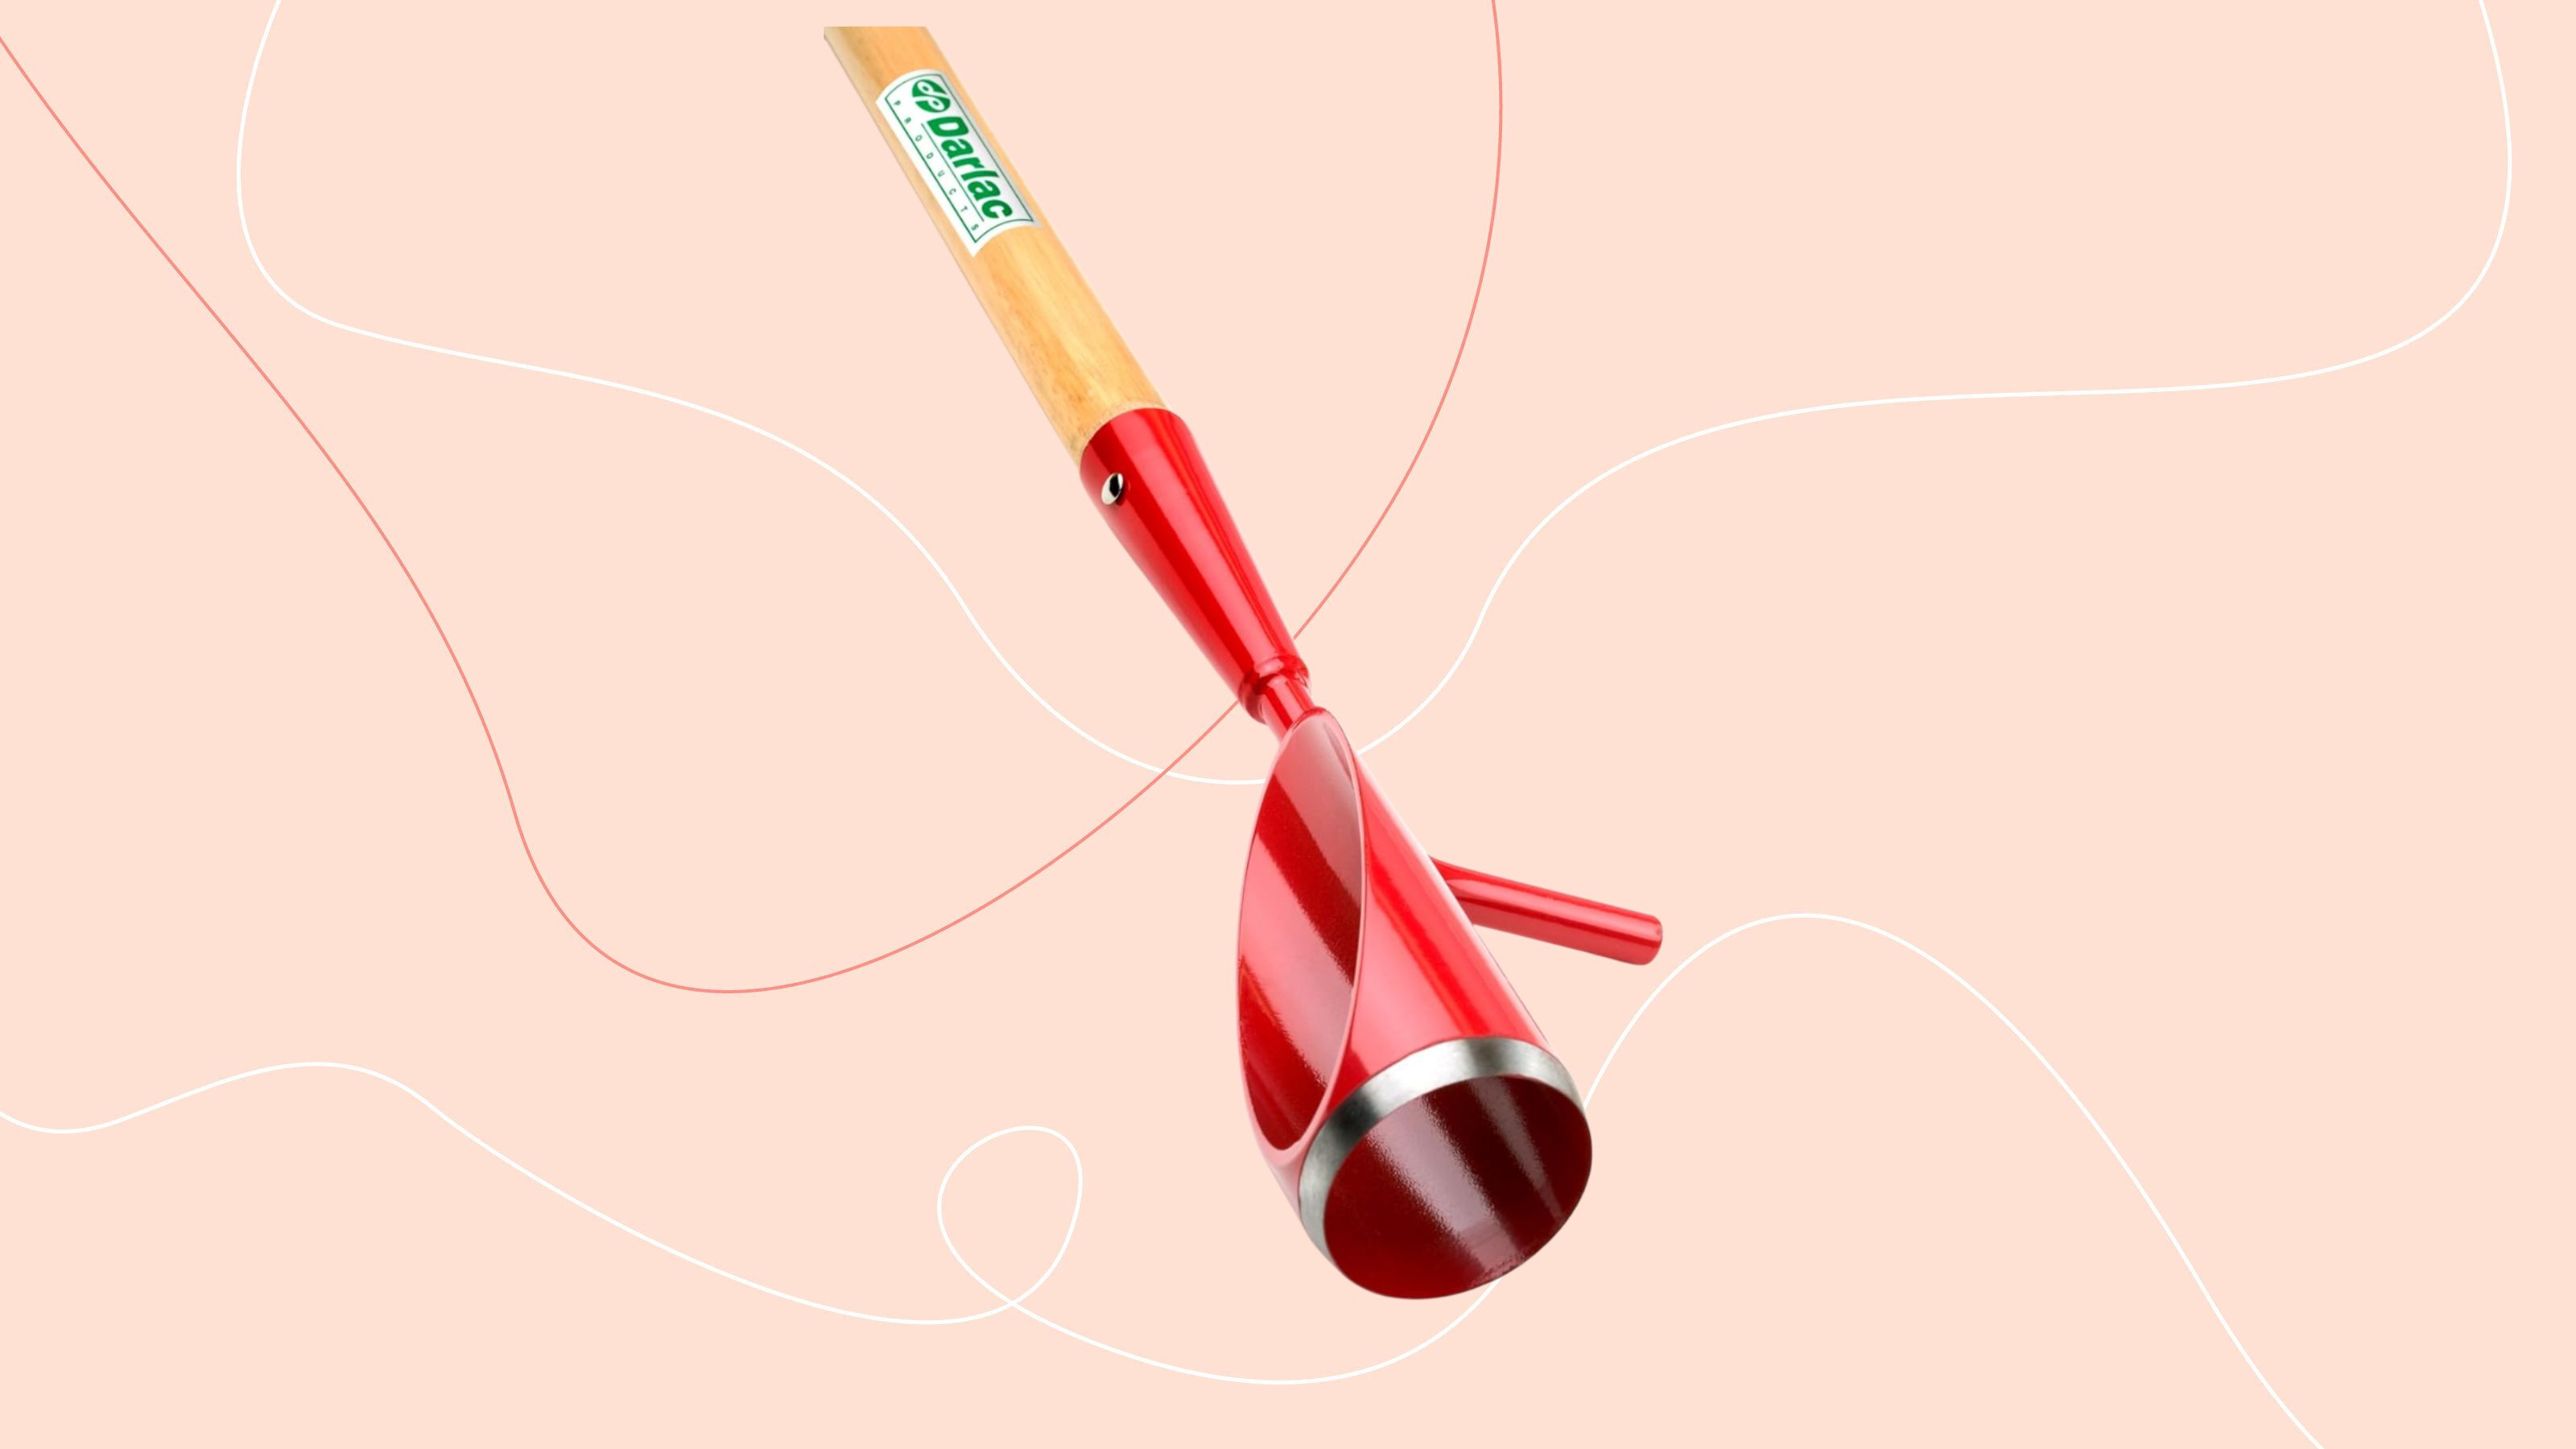
The bulb-planting part of the tool has a cheery red outer coating with a sharp carbon steel cutting head at the bottom that slices through the soil to remove a plug of earth, leaving a 6cm wide x 10cm deep hole.
Sign up to our newsletter for style inspiration, real homes, project and garden advice and shopping know-how
All you have to do is position the circular head where you want your hole to be, pressing down firmly on the back lever with your foot so that the head is pushed deep into the soil (which cuts the hole).
The combination of the long handle to keep you balanced and upright and the foot lever that lets you exert plenty of force pushing the bulb planter in, makes it fairly easy to create the hole (and less strain on the back). The only problems I had were when the cutting head encountered stones in my soil (as it is pretty stony), which made it difficult to push the bulb planter in, but all that was needed was a little wiggling around to avoid the stones. And it was a doddle when I tried it out on softer ground.
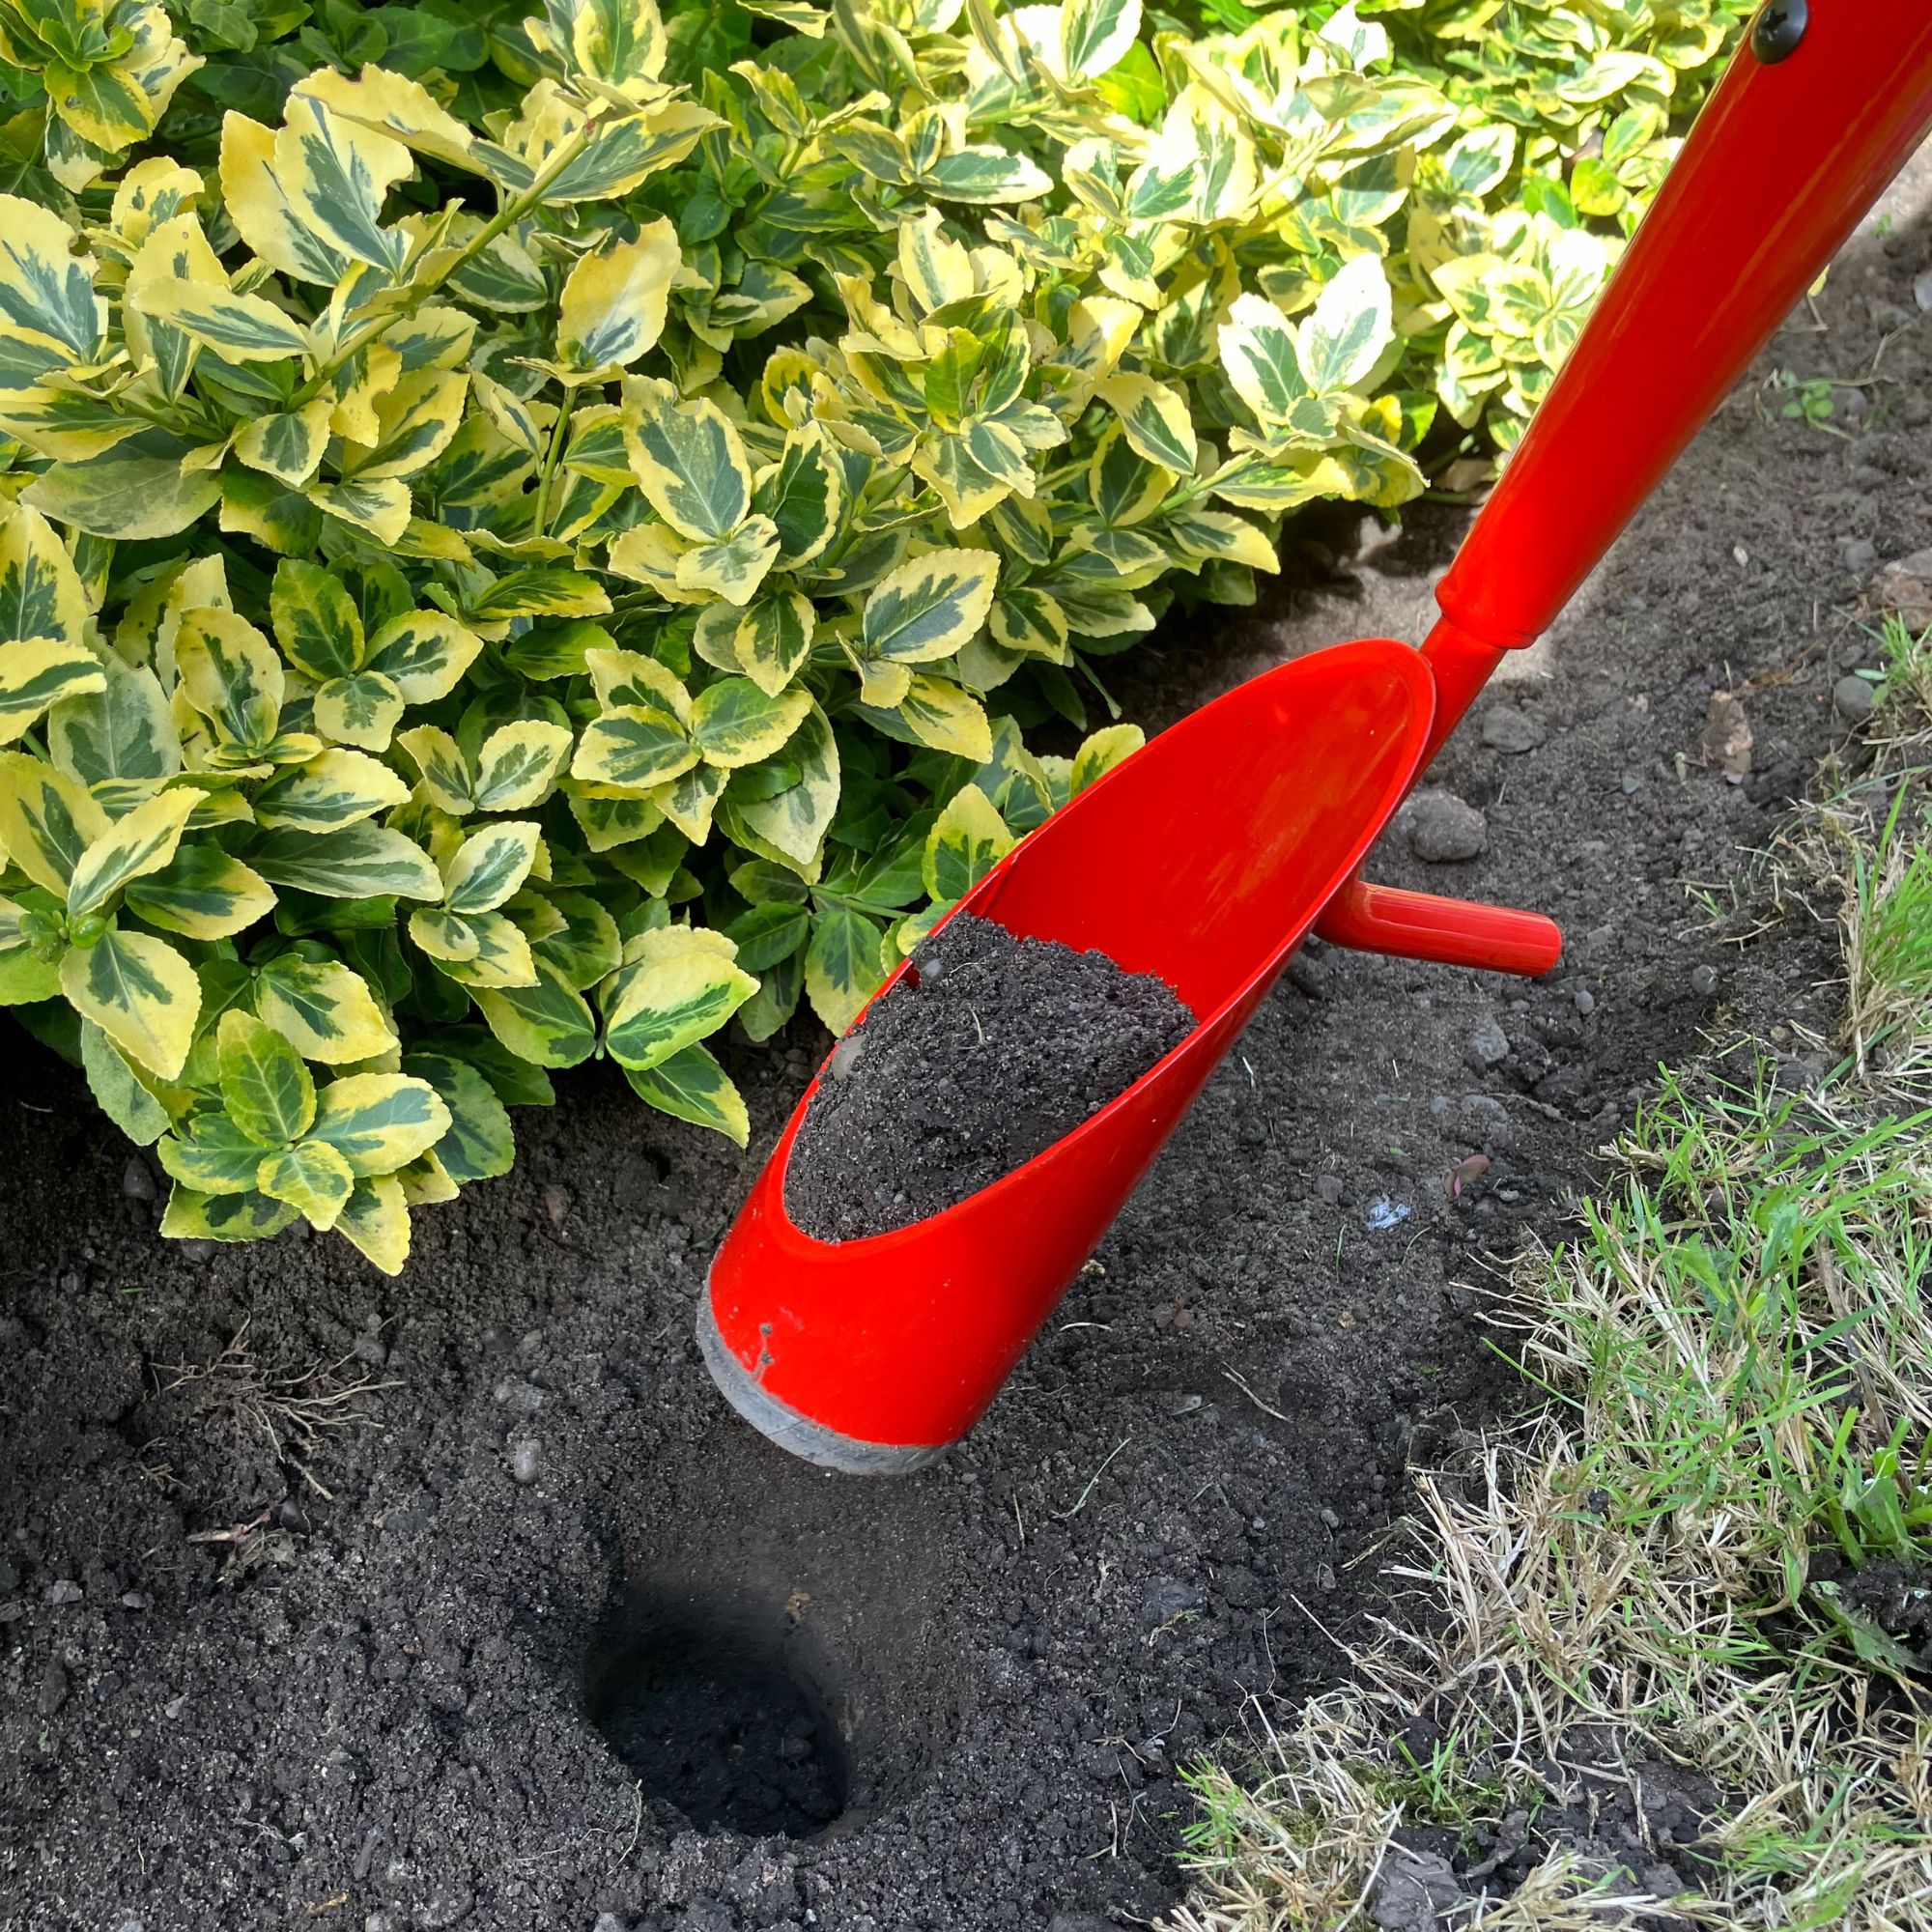
Once you’ve gone in as deep as you require, you simply pull the bulb planter out of the soil using the wooden handle and you are left with a neat hole cut out of the ground (with a plug of soil retained within the cutting head).
I found that it worked better if the soil was slightly damp which gave a cleaner cut. Too dry and the soil is a bit loose and crumbly.
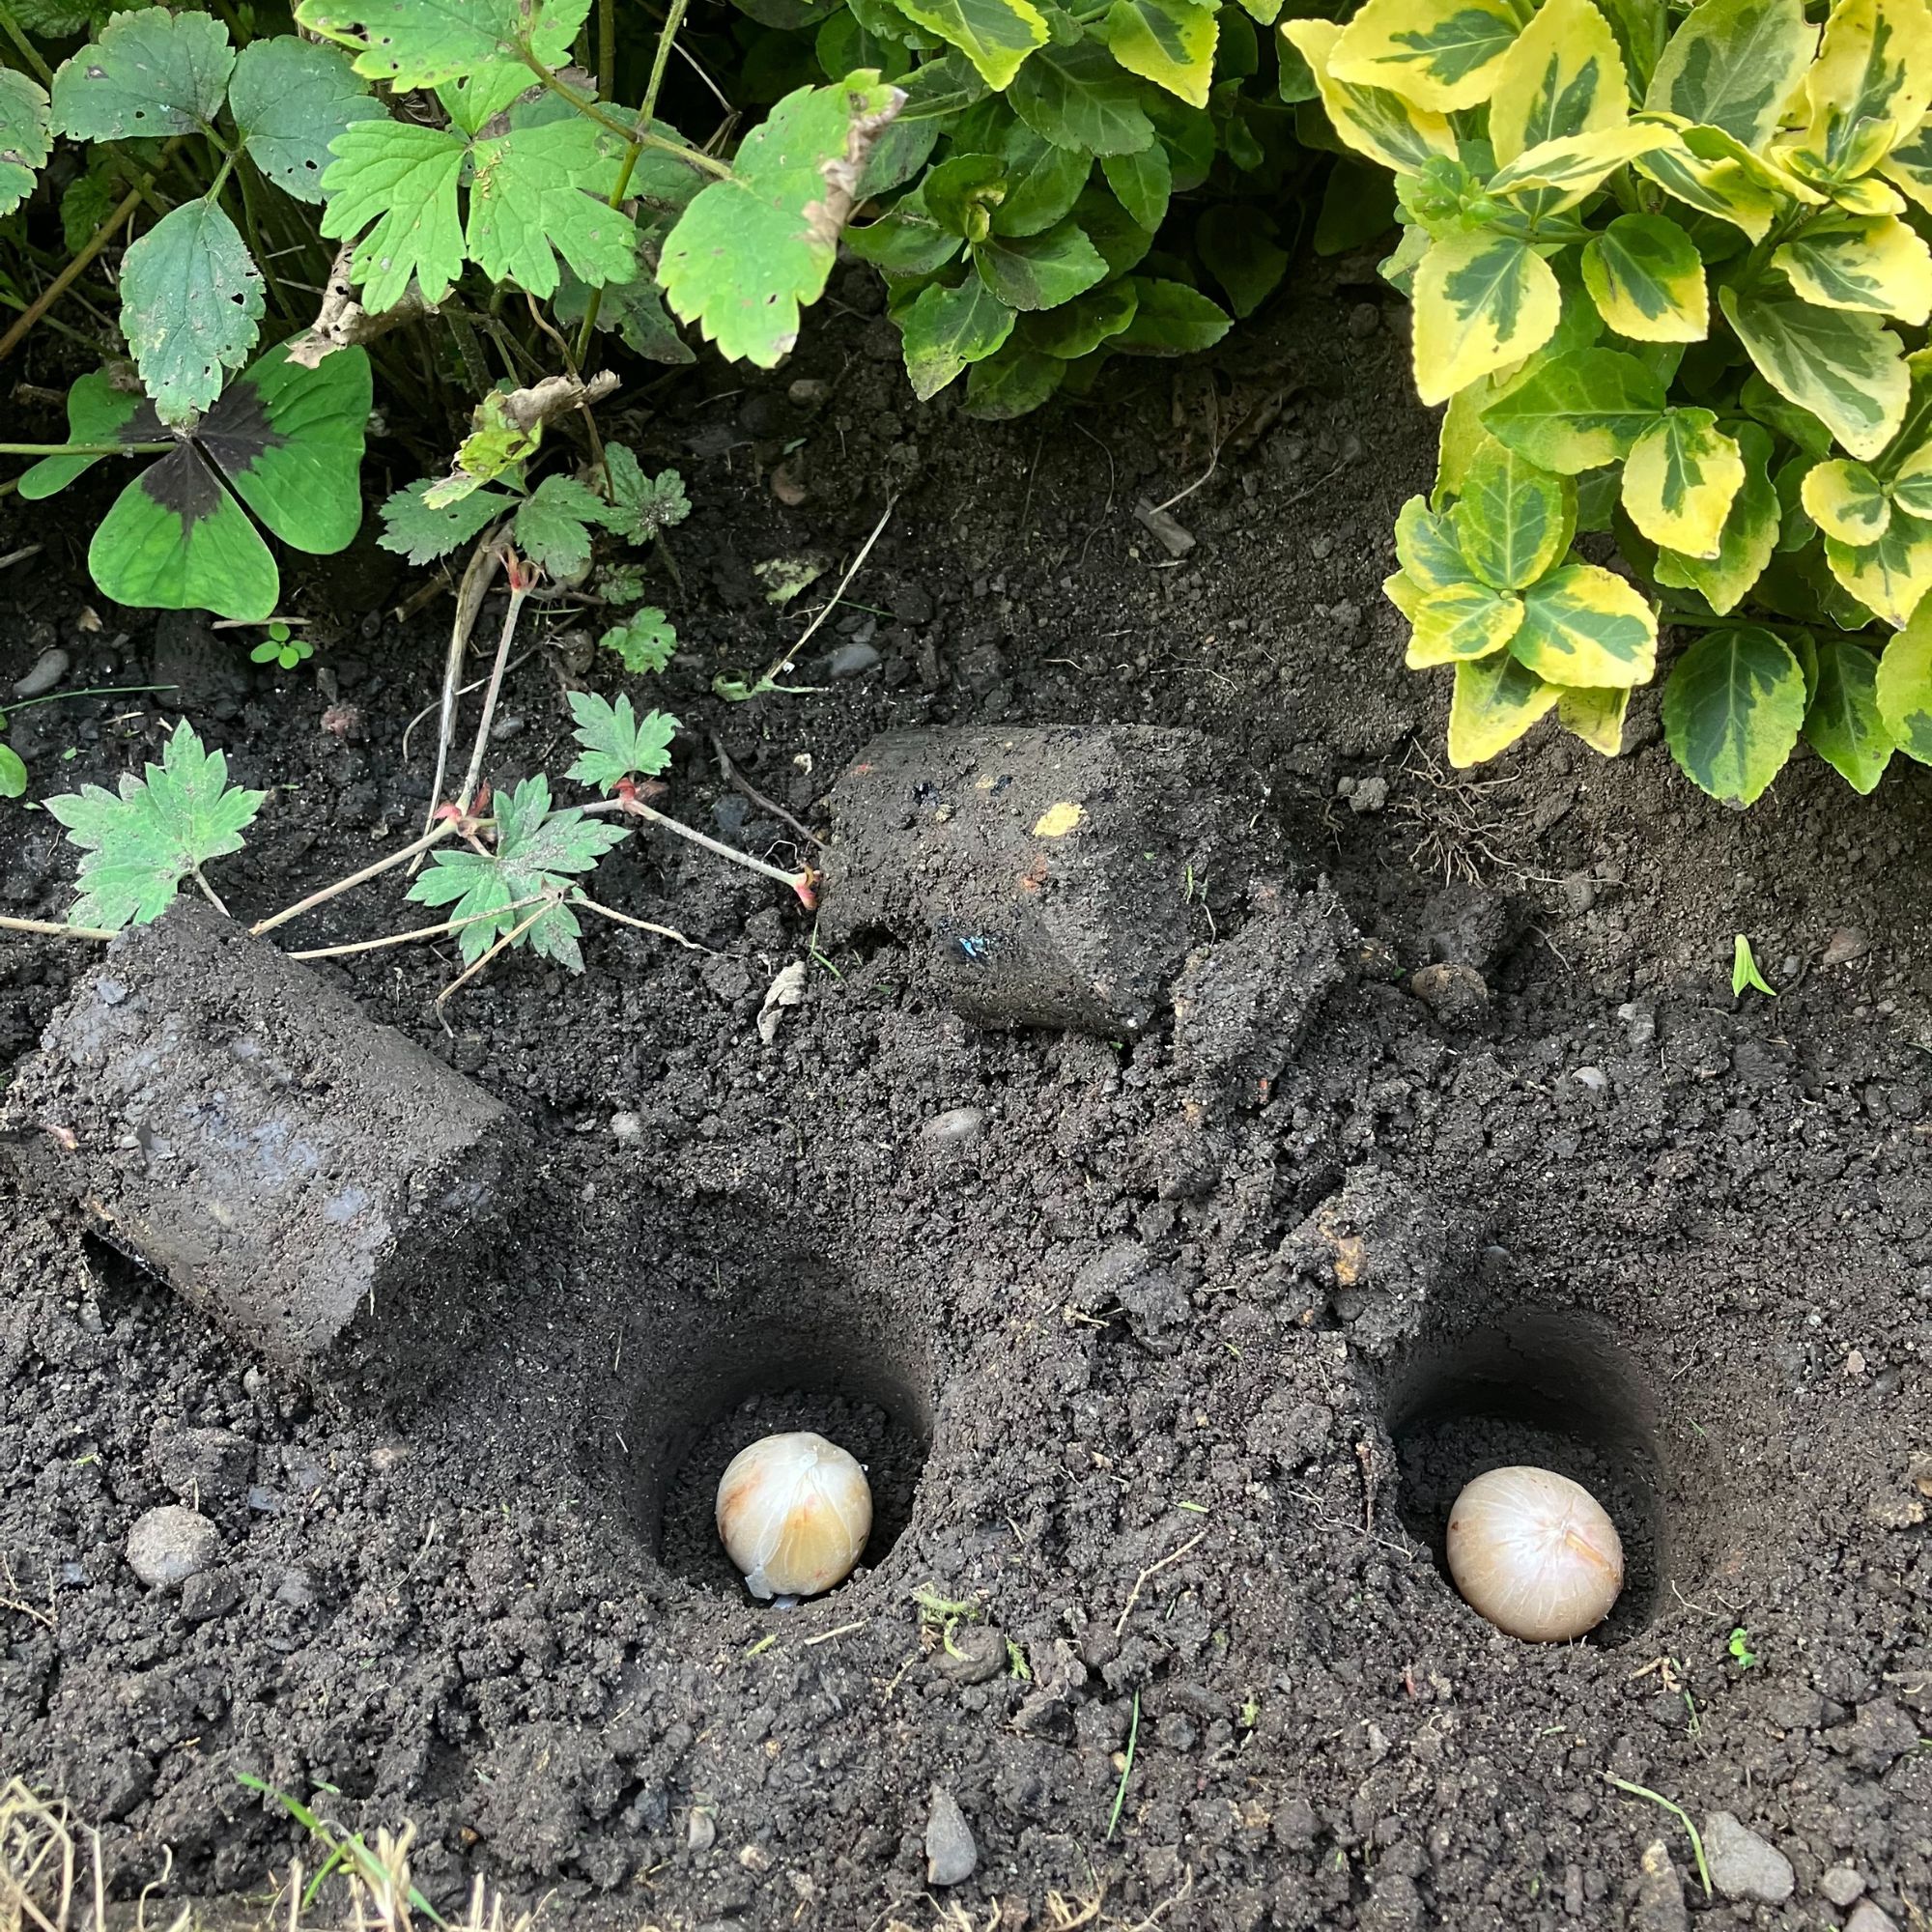
The instructions advise that to help you get into a rhythm and avoid repeated bending, you shouldn’t need to stop and remove the plug of earth each time - the next cut will push it out. The idea is to make as many holes as you need, then simply kneel down to plant the bulbs before replacing the soil.
This was the part of the process that was a little bit tricky, as the plug of earth sometimes needed a bit of help in extracting it from the head of the bulb planter. What worked best for me was having a long stick to hand to push the plug of soil out, and then with the plug deposited on the ground next to the hole, I could move on to the next hole and so on.
Once all the holes have been cut out, it’s then just a matter of popping your bulbs in, which will obviously require a bit of bending down.
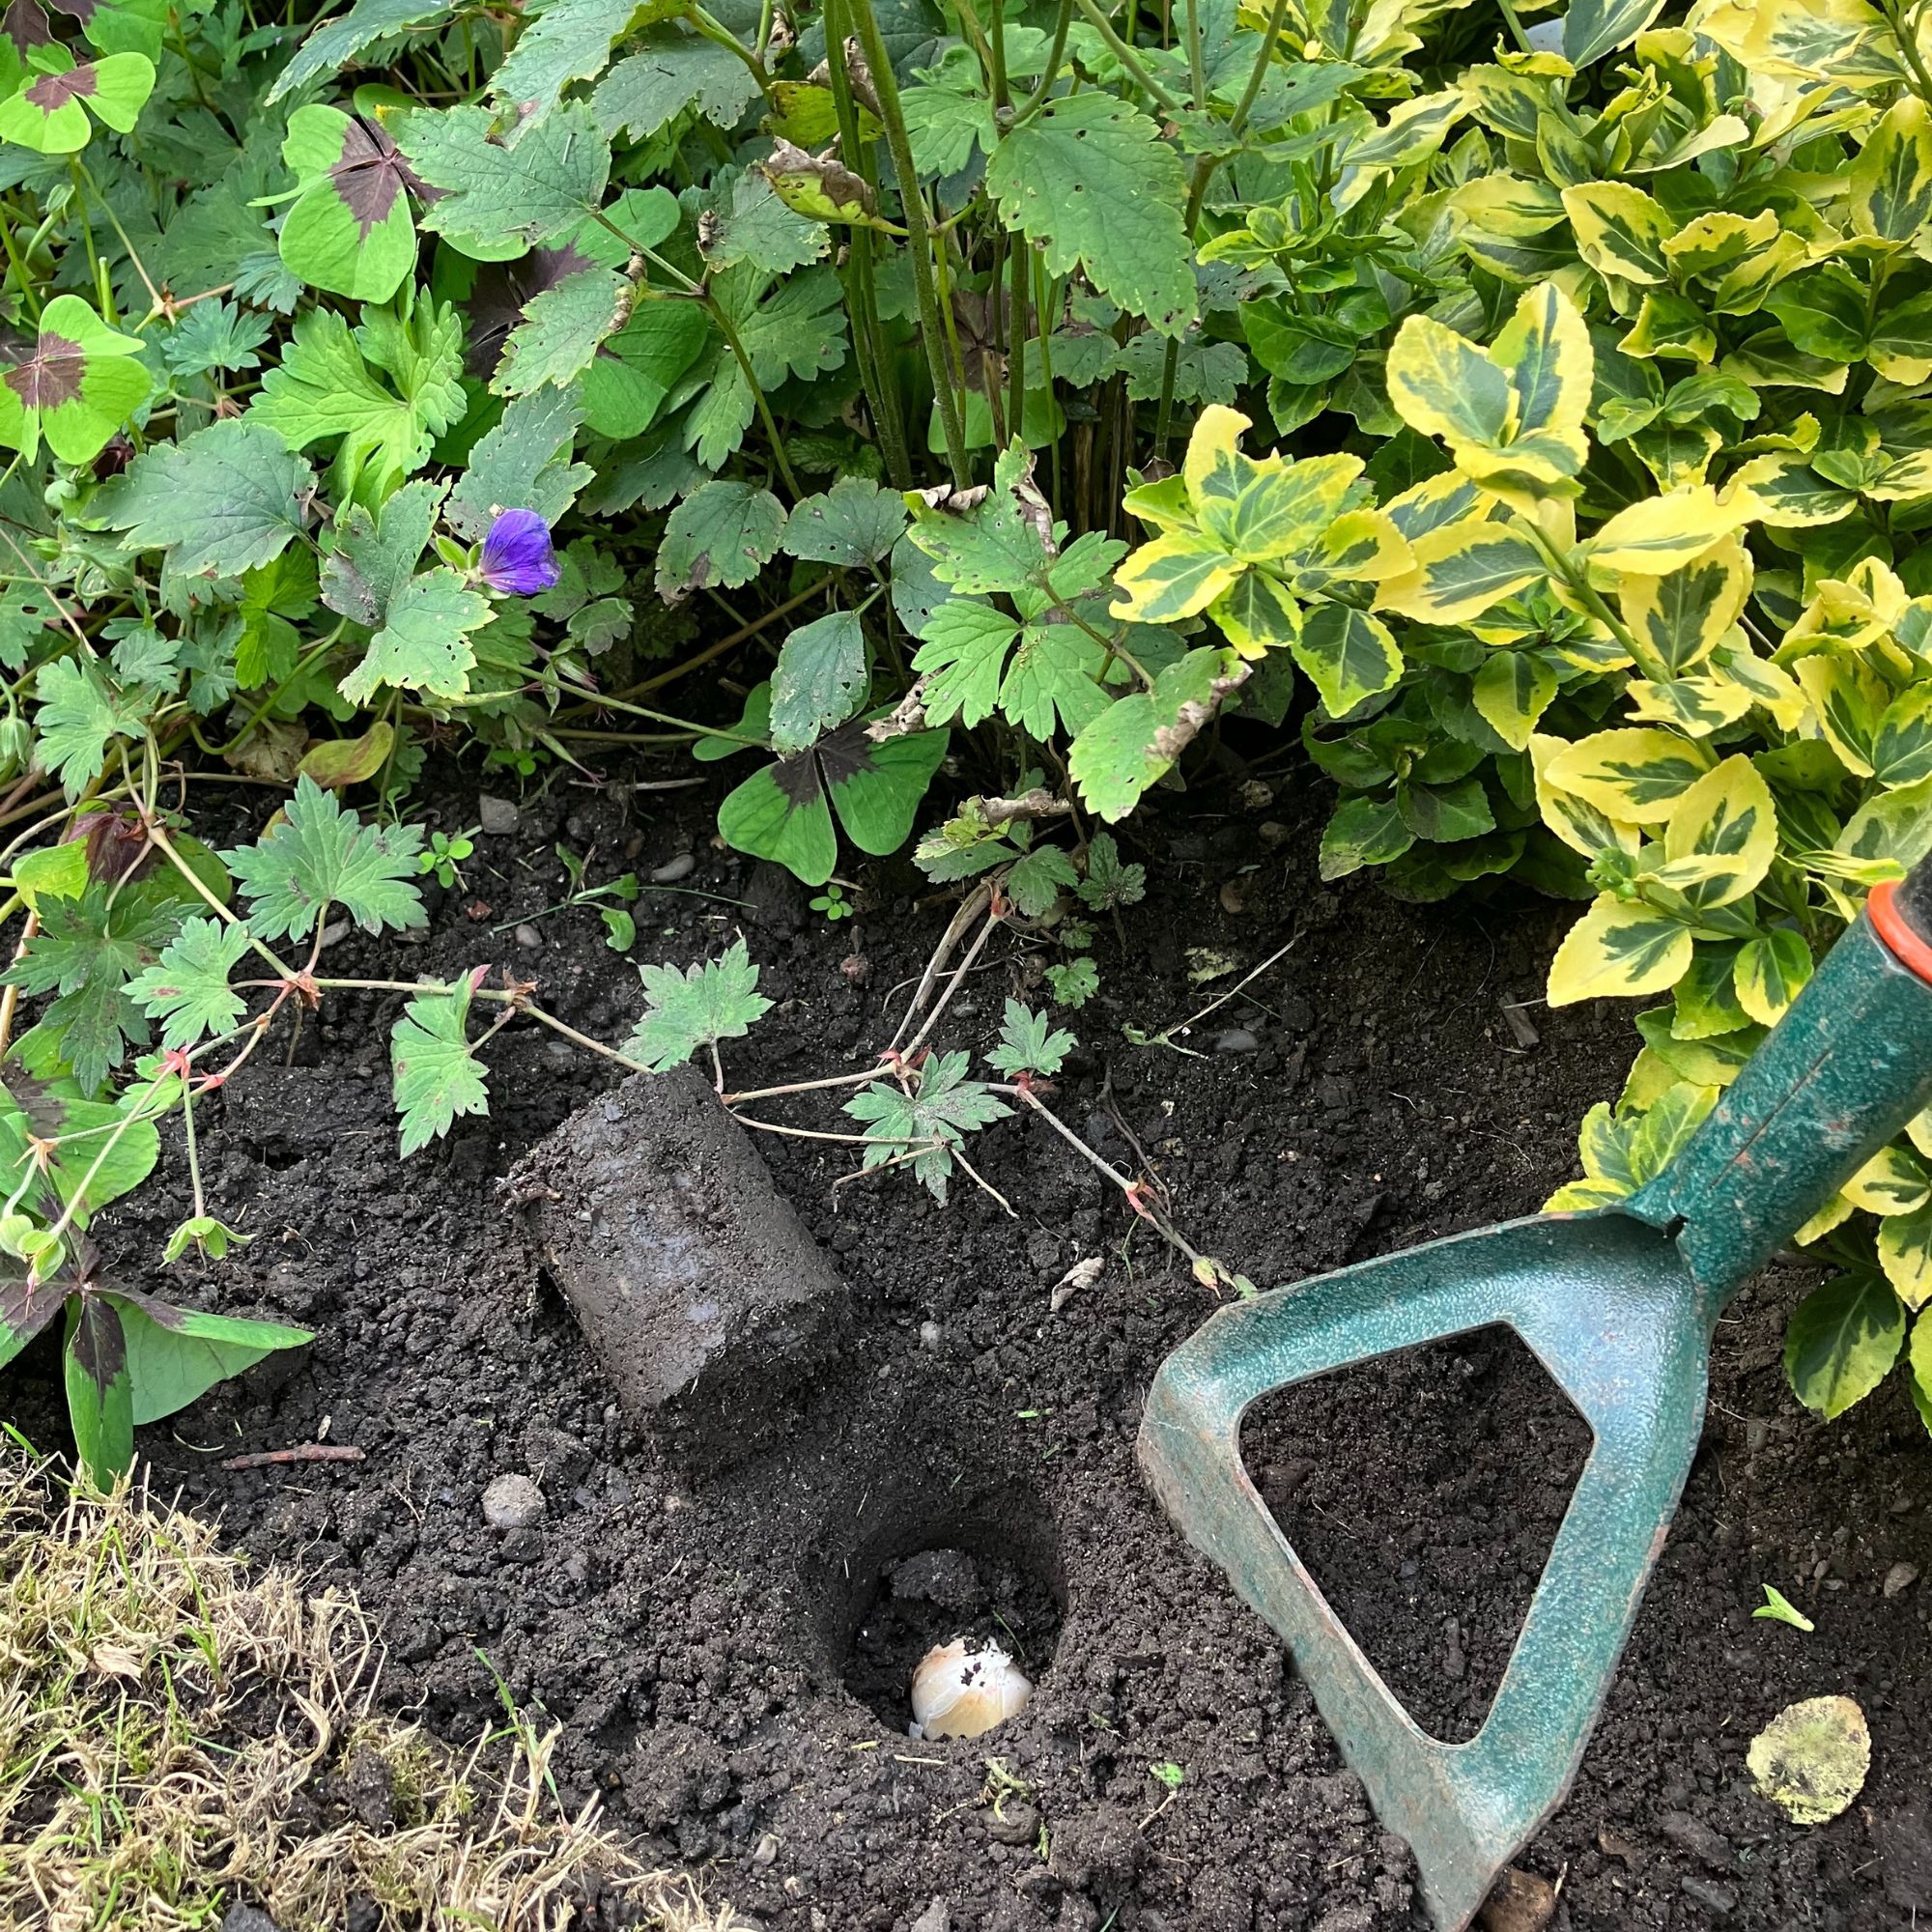
With the bulbs planted in the holes, all that’s needed is to replace the plugs of soil back into the holes to cover up the bulbs. I used a hoe to gently nudge the soil back in place.
The bulb planter can be used to plant to a depth of 11cm, which should be deep enough for most bulb types. While there isn’t a depth gauge on the planter, I found it fairly easy to judge how deep to go, if, for instance, you wanted to vary the depth for how deep to plant tulips or different varieties of bulbs.
The sharp carbon steel cutting head of the planter can be re-sharpened to maintain its efficiency over time.
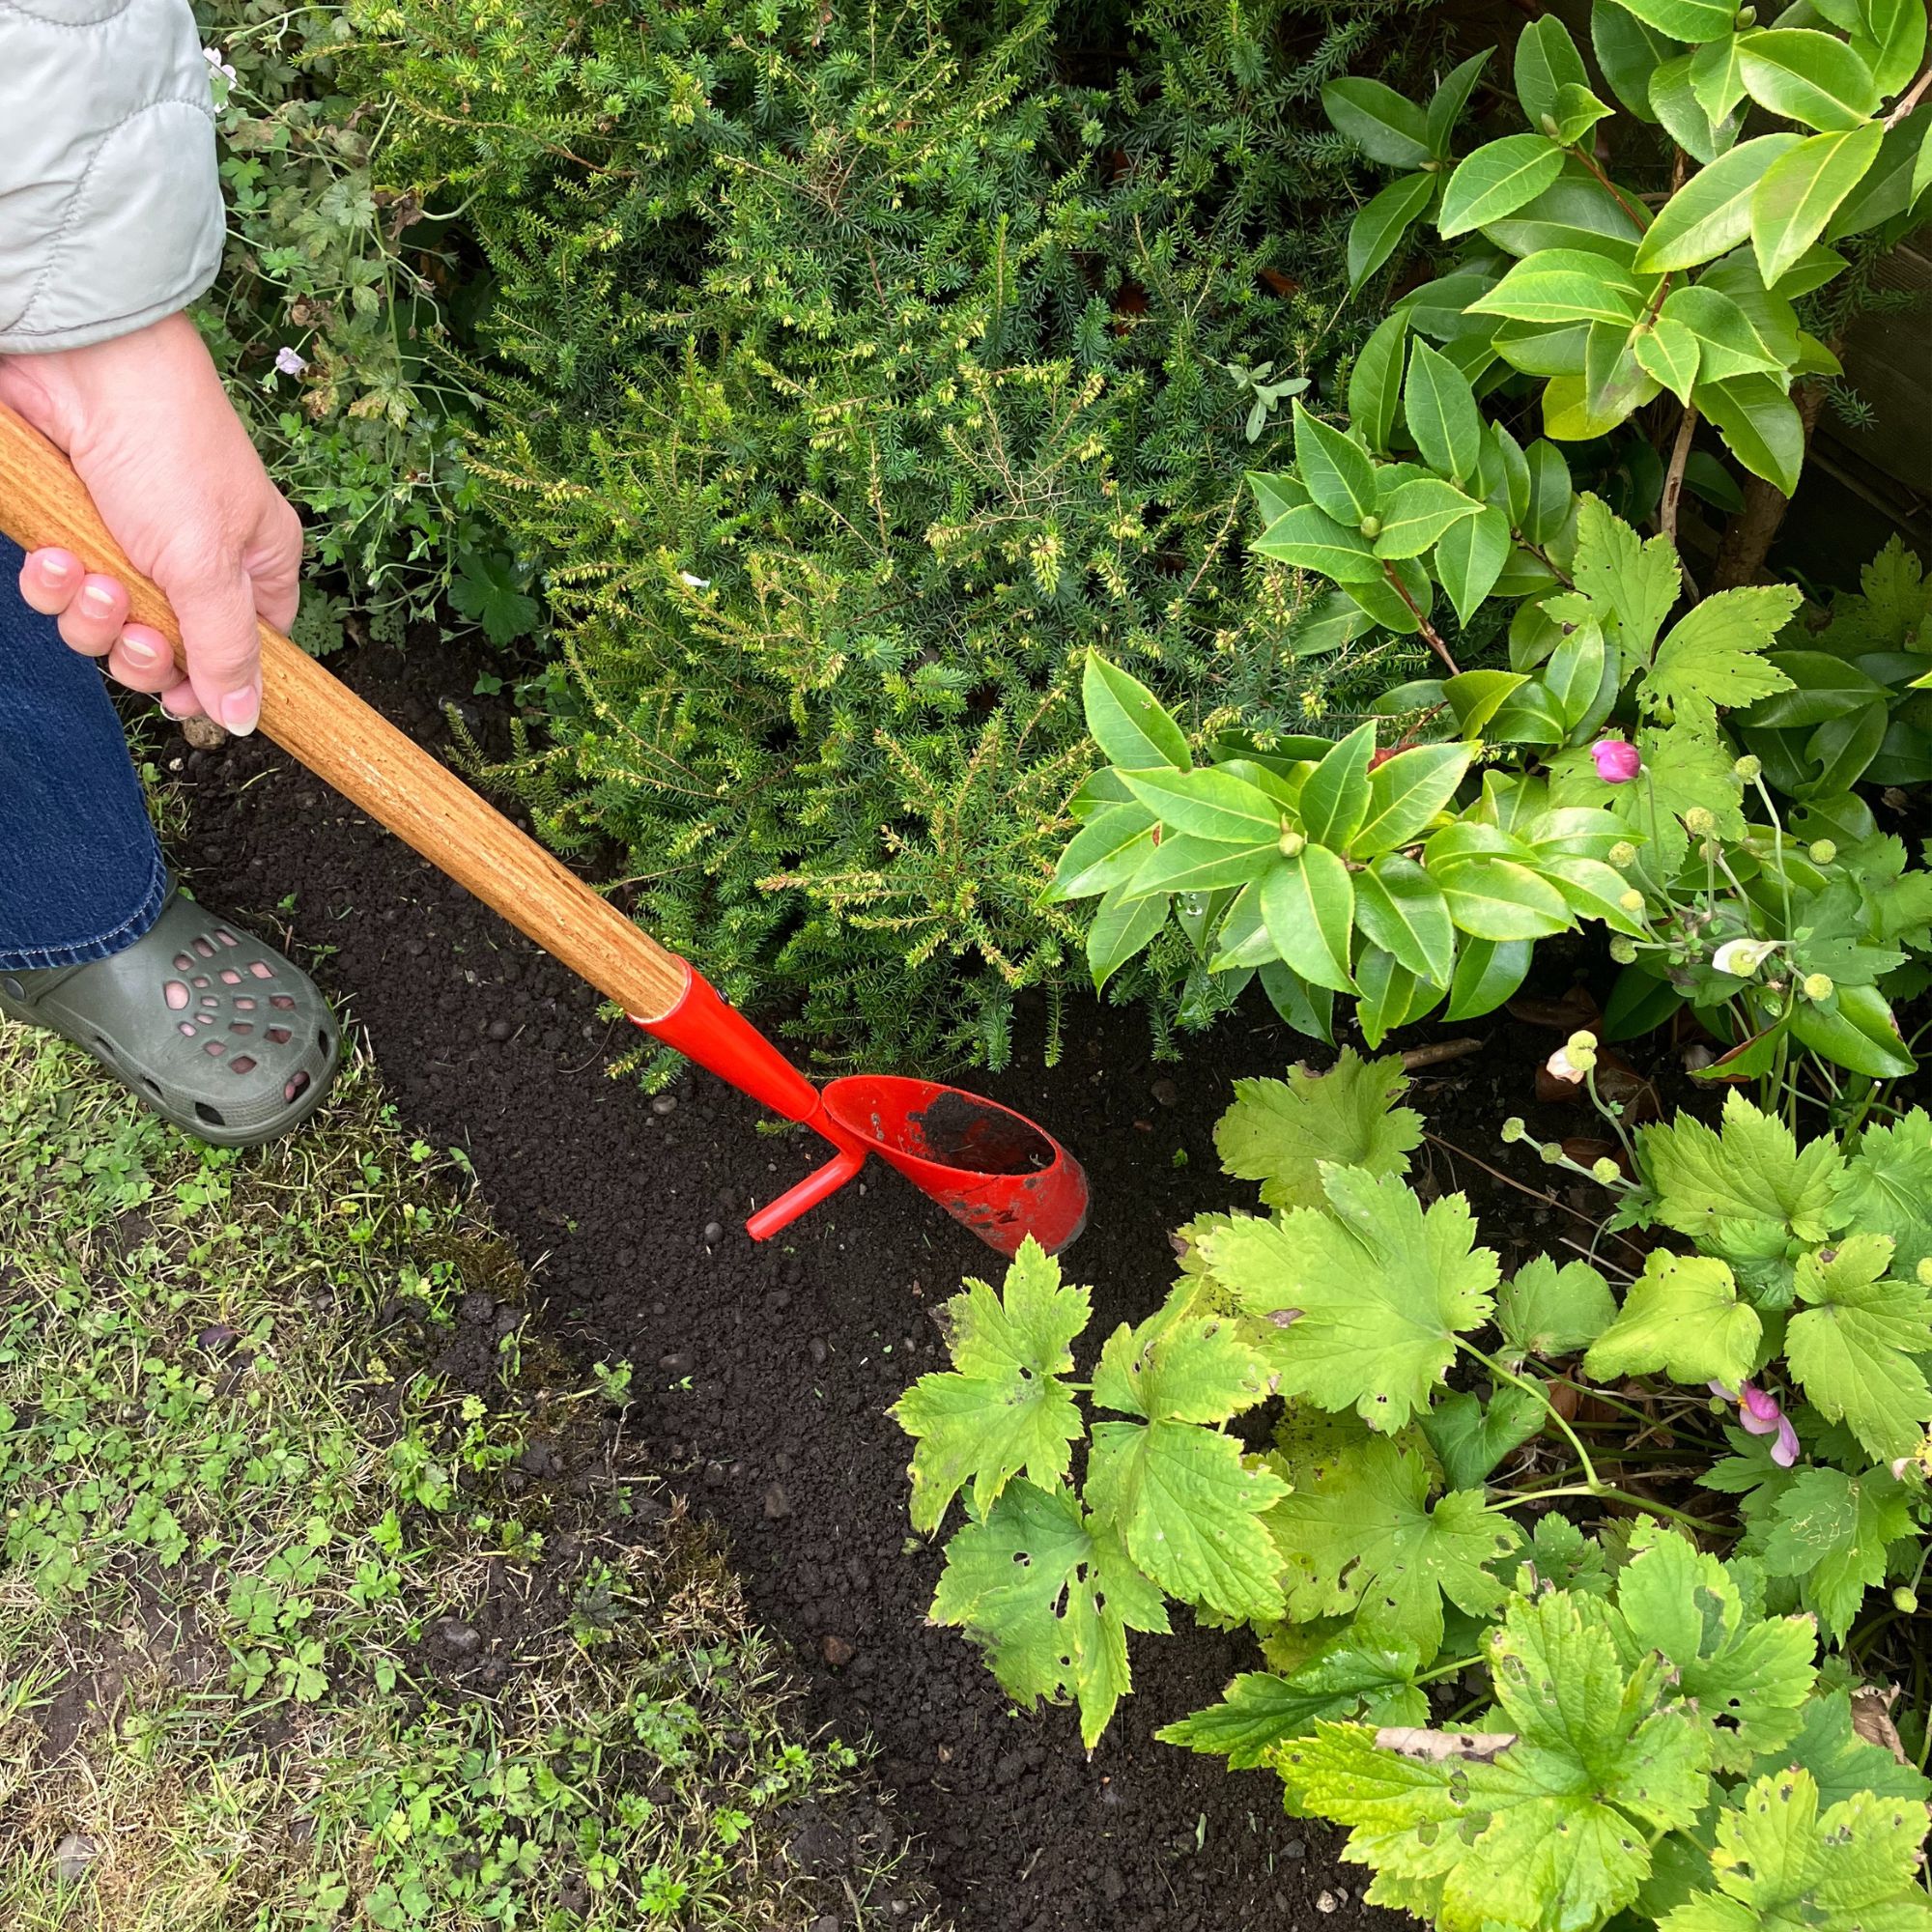
The verdict? I found the bulb-planter a big help for when you have lots of bulbs to plant at the same time in flower beds, or if you want to plant some deeper in amongst the foliage. While getting the plugs of earth out of the planter was a little tricky at first, once you get the knack and into your rhythm, it’s not a problem at all.
Shop these bulb planter alternatives
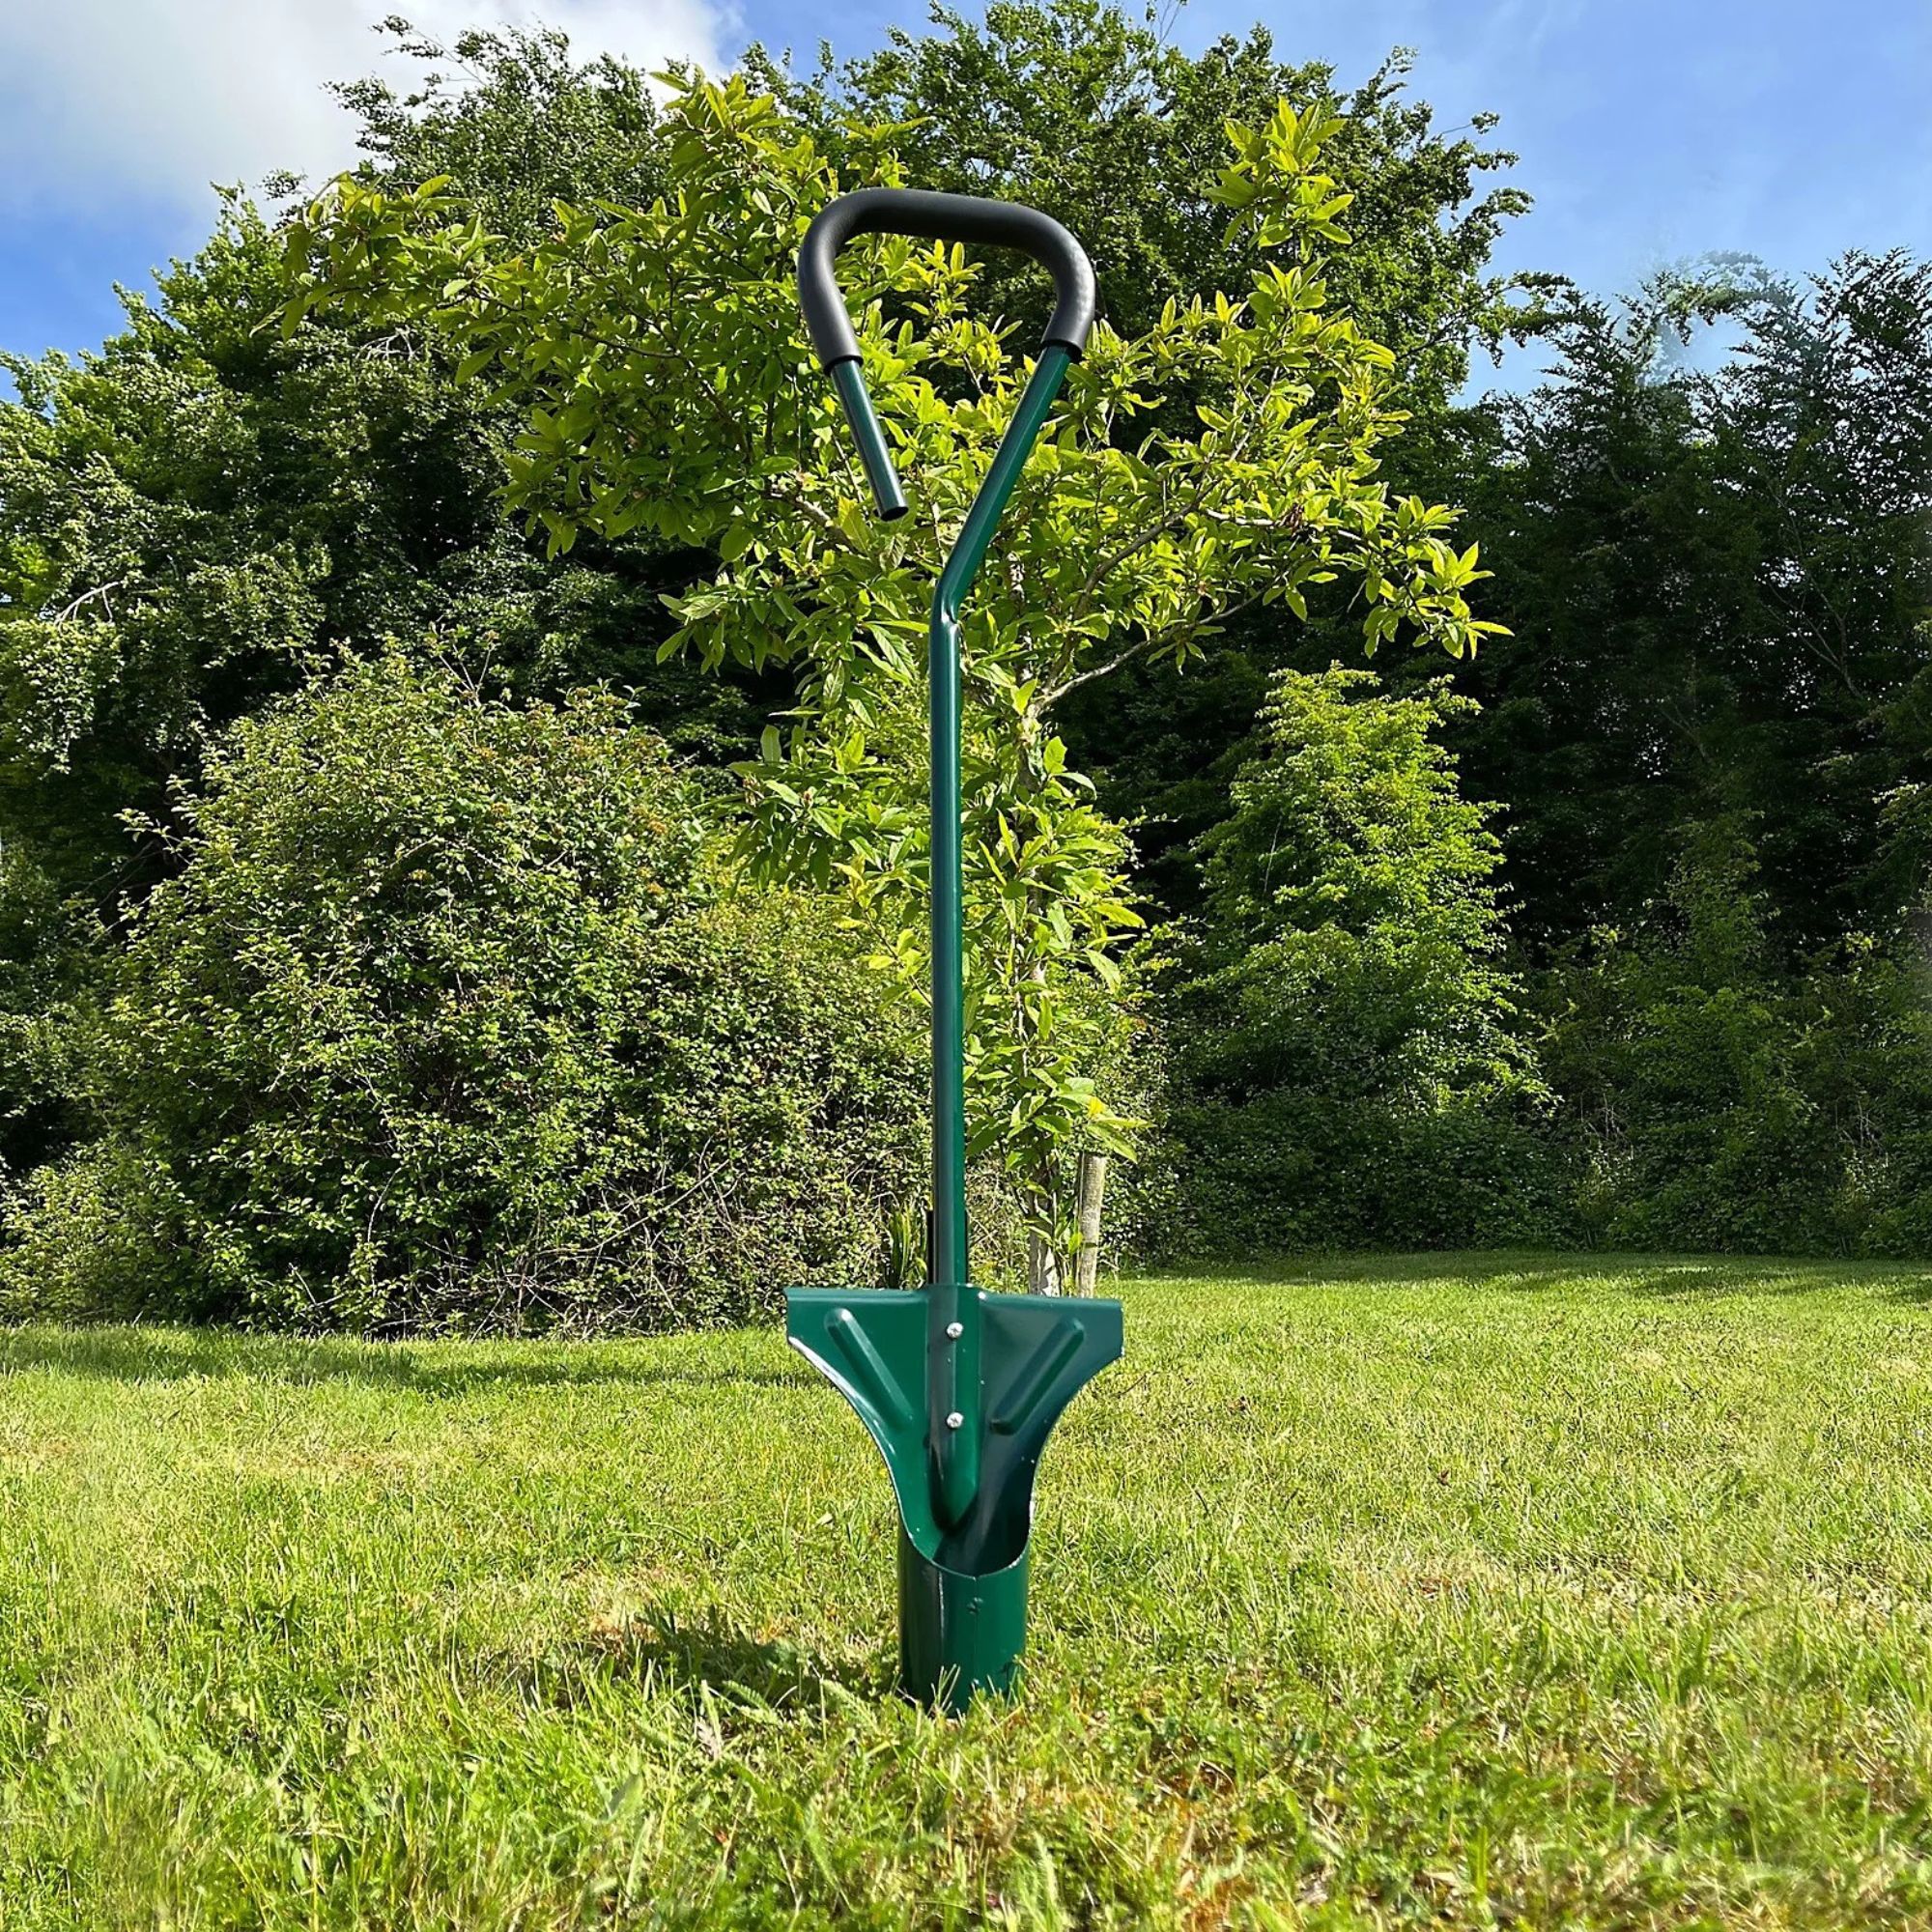
If this long-handled bulb planter isn't quite what you're looking for, we have a few alternatives you can shop instead.
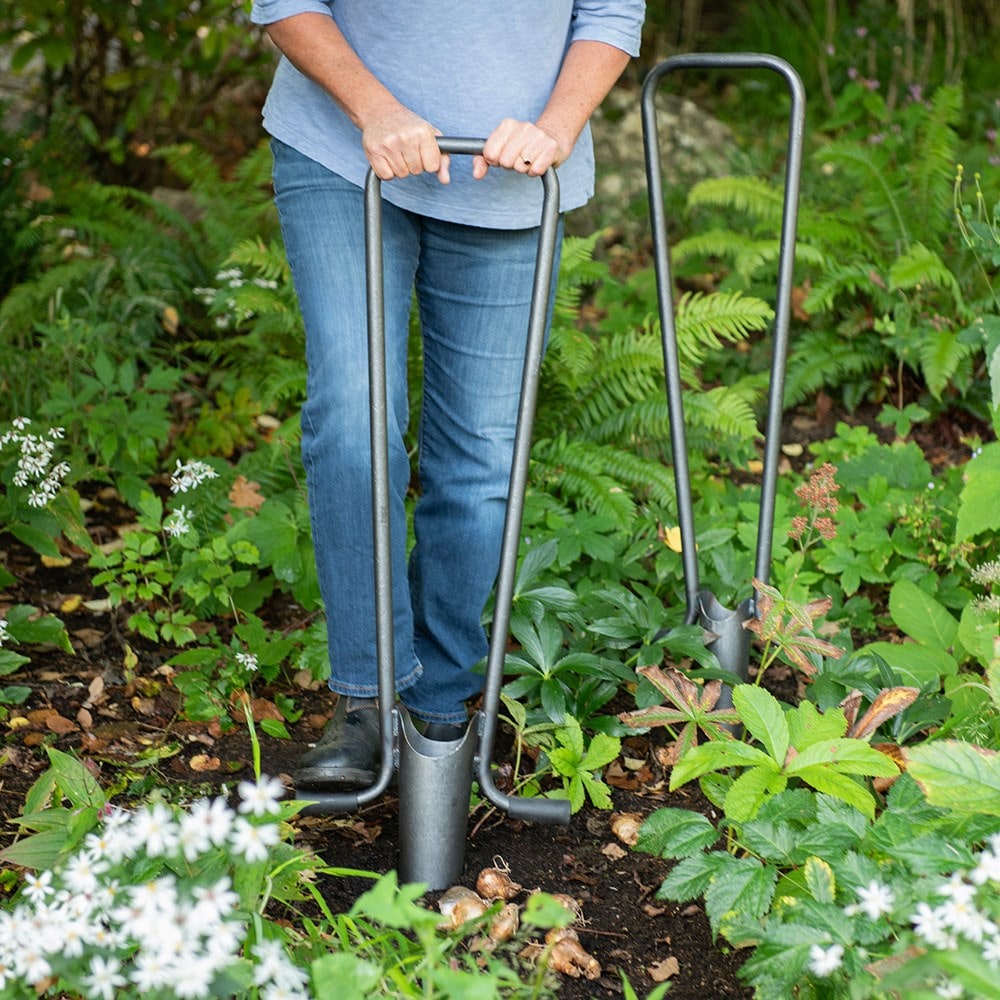
Will you be investing in a long-handled bulb planter? If not, what's your favourite bulb-planging tool? Let us know in the comments!

Lisa is a freelance journalist who has written about interiors for more than 25 years. Previously editor of Style at Home magazine, she has worked on all the major homes titles, including Ideal Home, Country Homes & Interiors, 25 Beautiful Homes and Homes & Gardens. She has covered pretty much every area of the home, from shopping and decorating, crafts and DIY to real homes and makeovers and now regularly writes gardening stories for Ideal Home.
