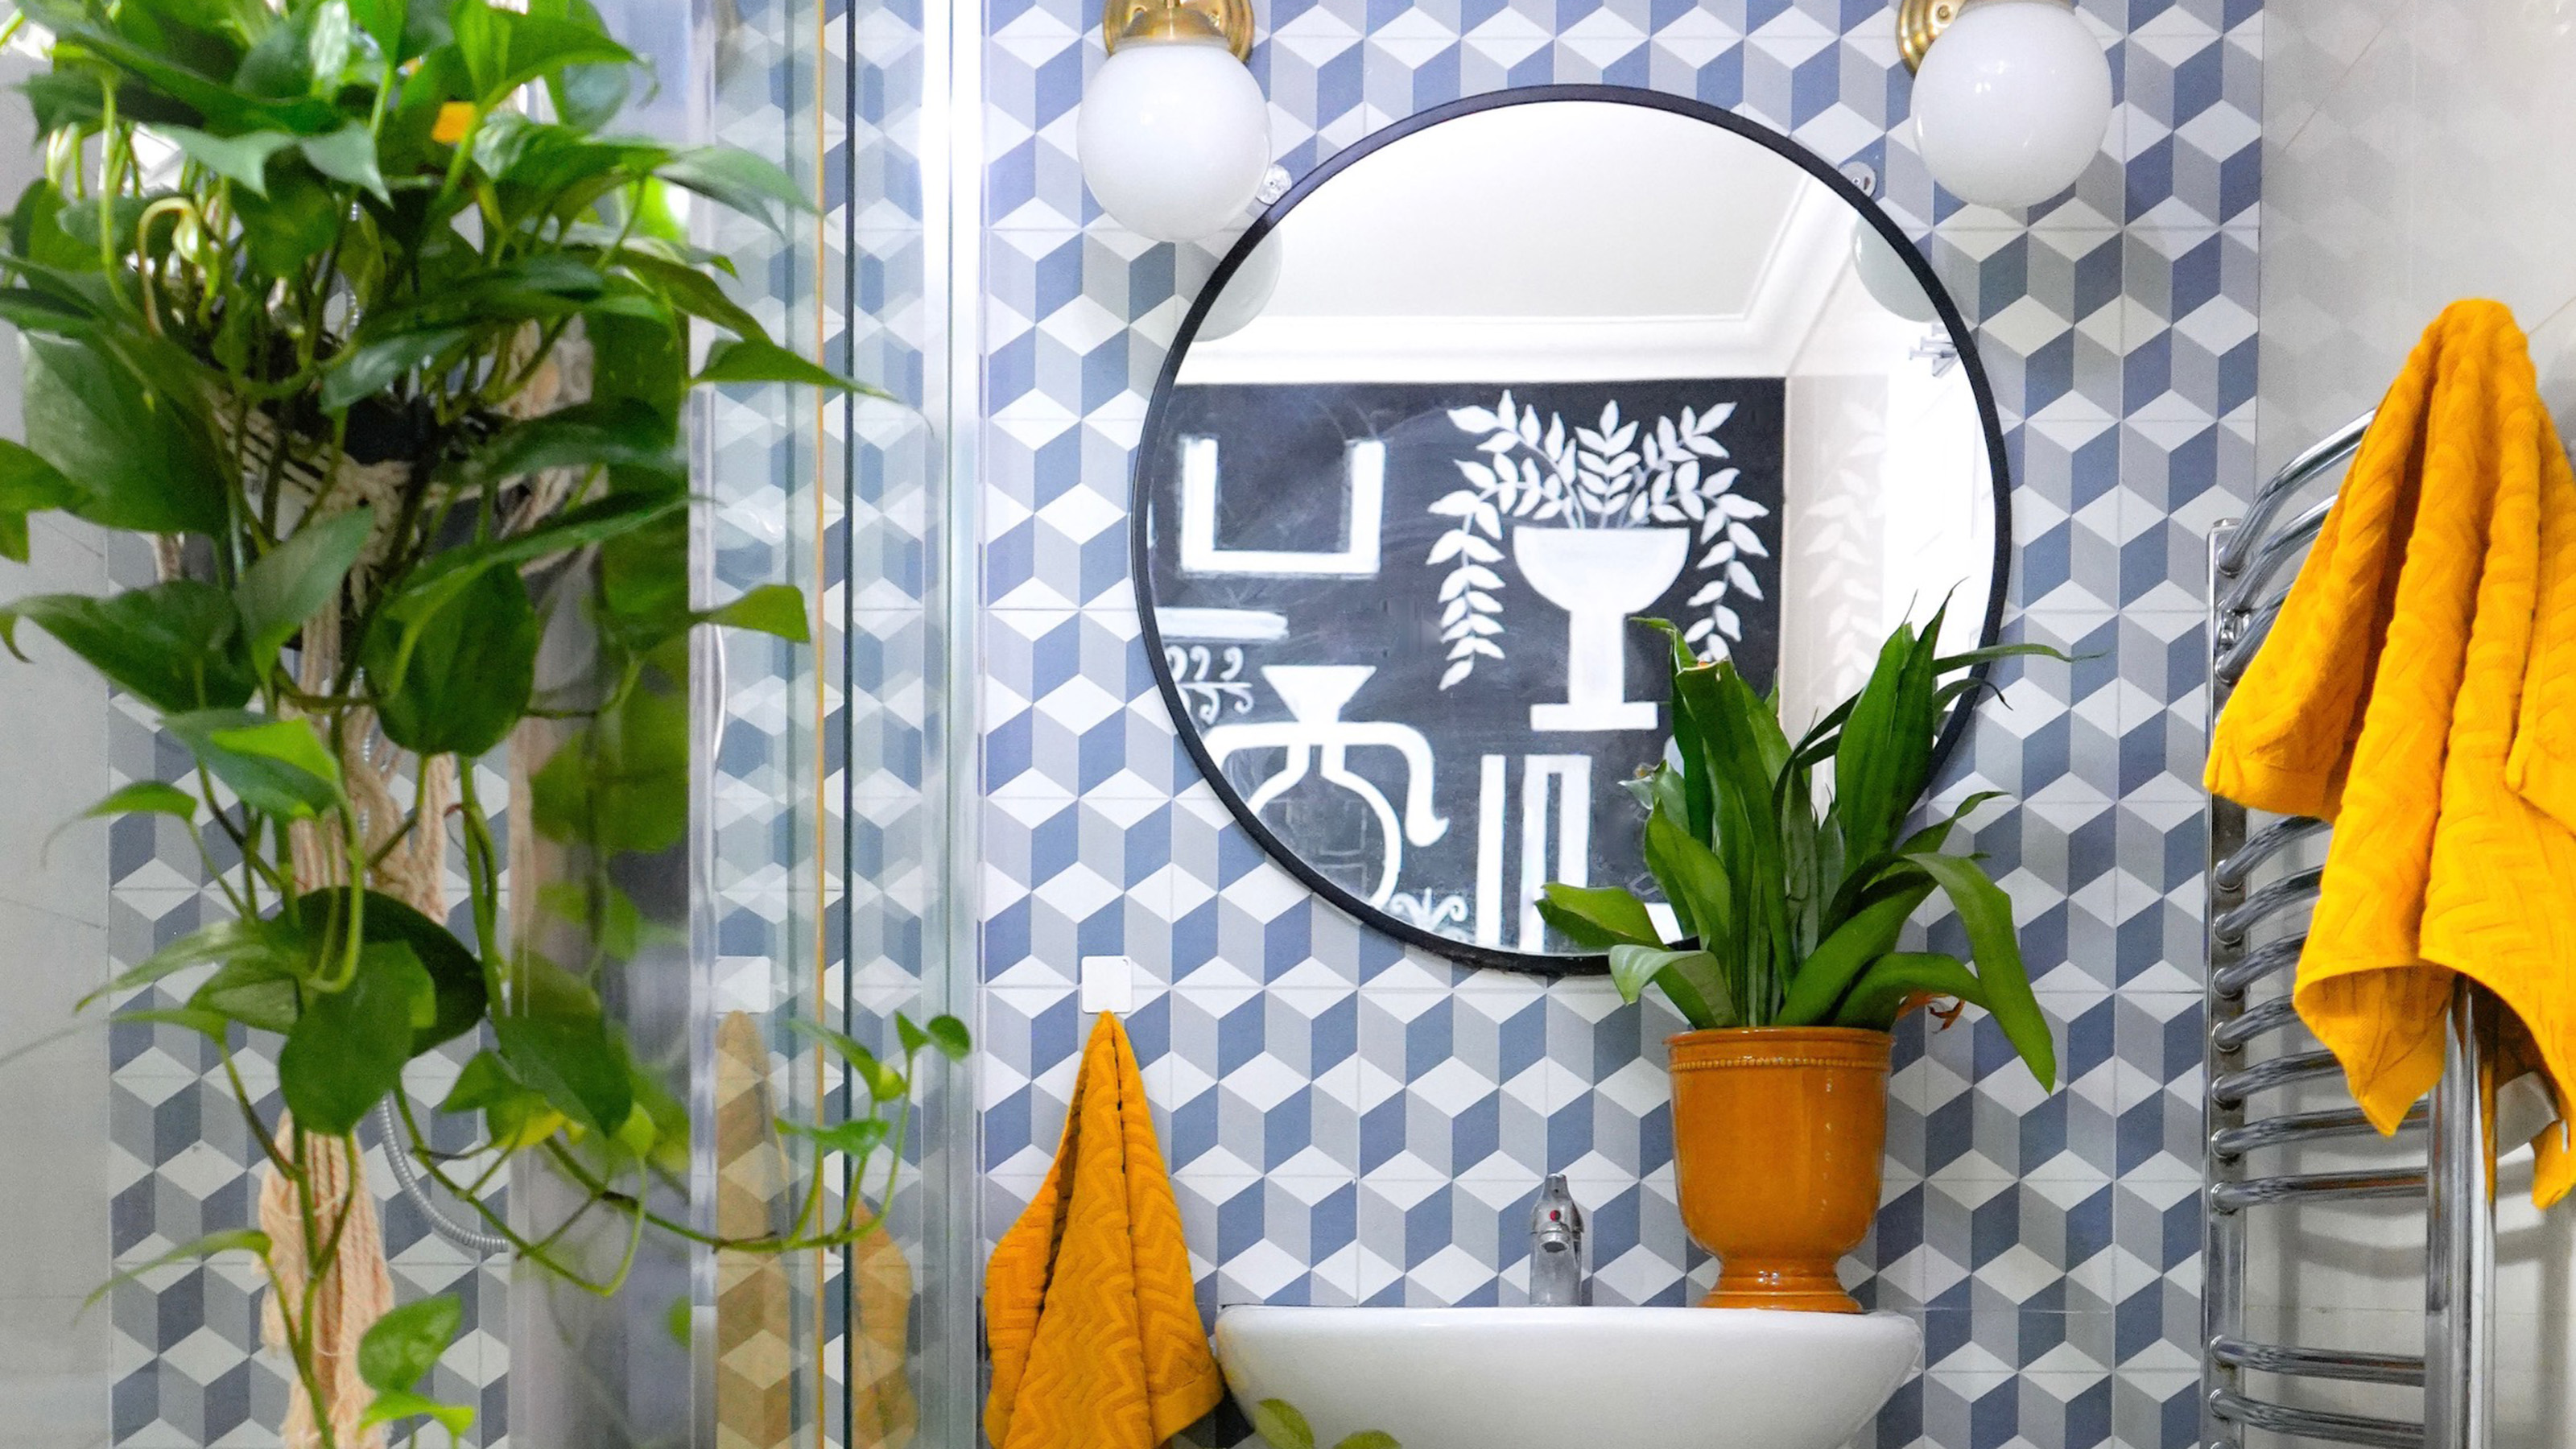
I came up with this easy and cost-effective solution to add more personality to the plain and boring bathroom in my rental home
The renter hack you never knew you needed


Sign up to our newsletter for style inspiration, real homes, project and garden advice and shopping know-how
You are now subscribed
Your newsletter sign-up was successful
Home decorator Ammarah Hasham is one of Ideal Home's new Open House contributors, sharing her thoughts infusing her rental house with plenty of personality. See the rest of her articles here.
There’s a little rebel in every renter, and mine came out strongest with this bathroom makeover. One evening, somewhere between doing my skincare and noticing how discoloured the grout lines around the mirror had become, it hit me: why was I ignoring the one room I start and end my day in? In today’s world of renter hacks and decor options, surely I could find a way to disguise the clinical floor-to-ceiling tiles. Challenge accepted!
If you’ve ever stared at your rental bathroom thinking it’s beyond saving, think again. That’s exactly why I wanted to share this project, to show how even the smallest changes can make a big impact and transform an overlooked space with a clever workaround.
We might get lucky with a functional space but if it lacks warmth, charm, and any trace of personality, a quick upgrade like this will make the morning bathroom queue wait a little more worthwhile.
Peel-and-stick floor tiles with a creative twist
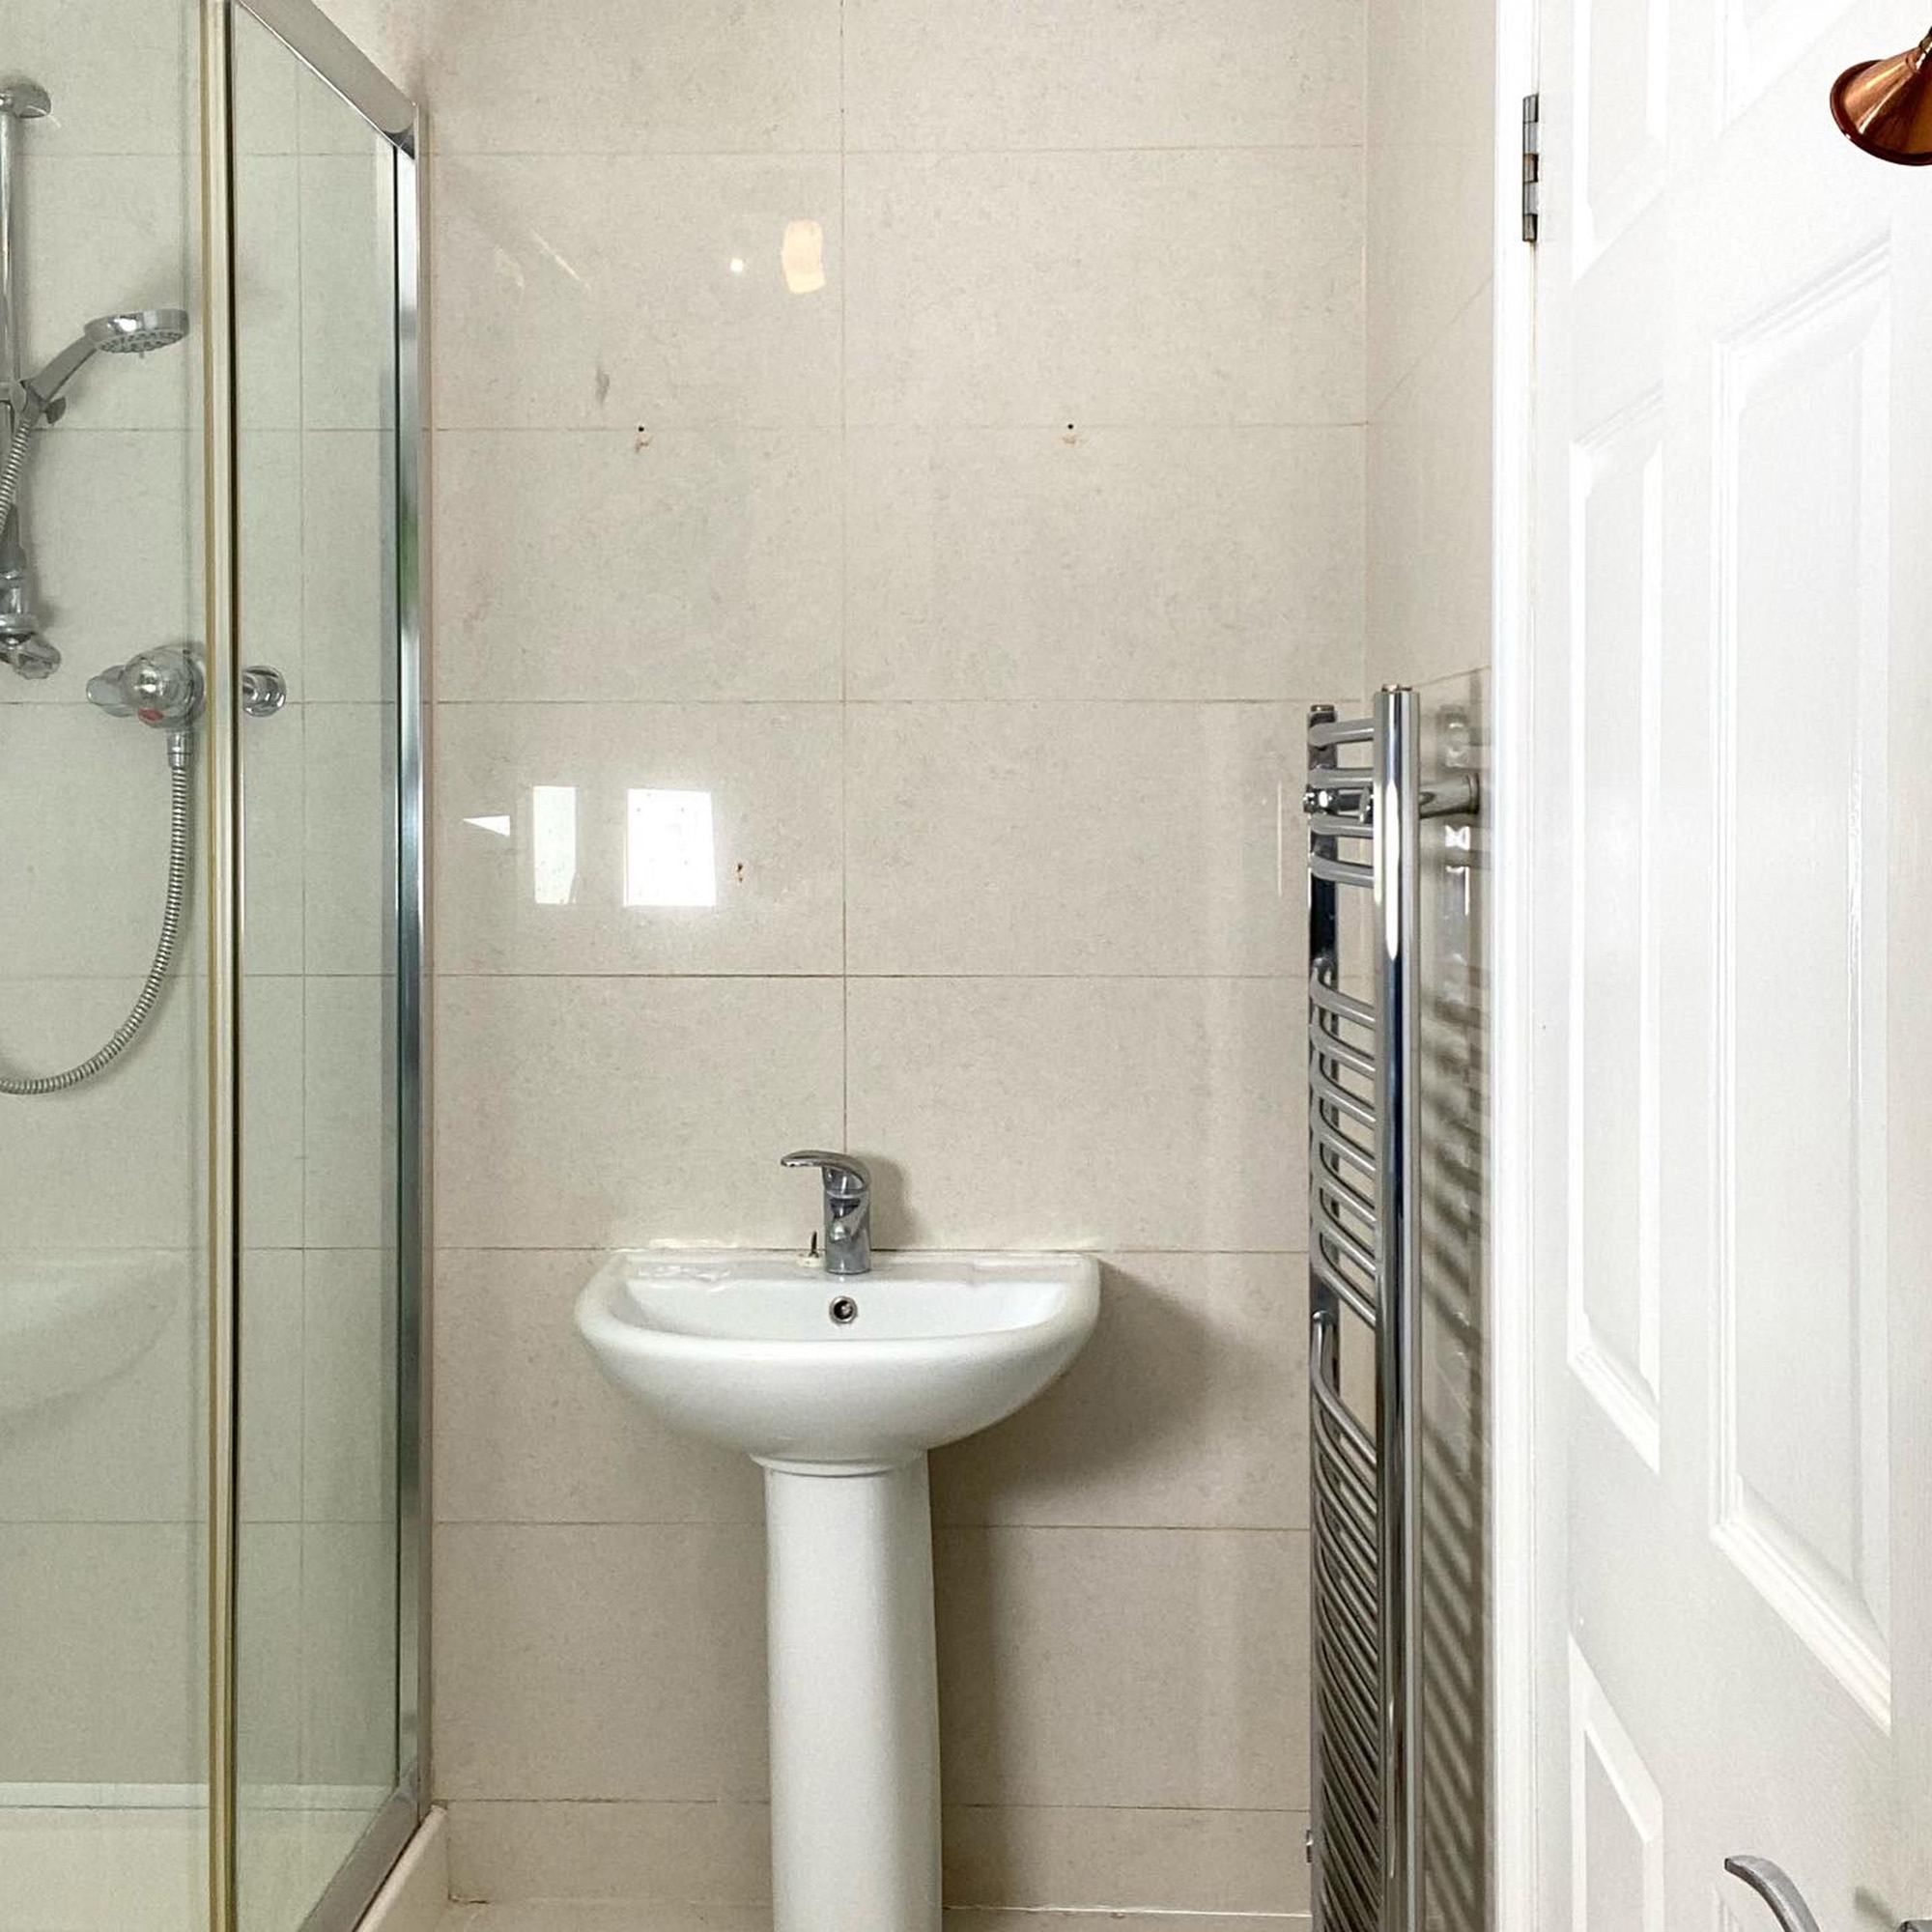
The bathroom before
I’m no stranger to peel-and-stick tiles, and if you’ve followed me for a while, you’ll know my loyalty to self-adhesive materials runs quite deep. As long as I’m renting, they’ll stay my trusty, transformative go-to for adding instant polish without testing the limits of a tenancy agreement.
This time though, I wanted to take them a step further with a little creative twiddling. Since my bathroom walls were already covered in glossy tiles, I decided to turn them into an accent wall using floor tiles on the wall. The B&Q Poprock Geometric Vinyl Tiles had the perfect balance of classic charm and modern edge that my bare bathroom was crying out for. A decision was made.
How I did it
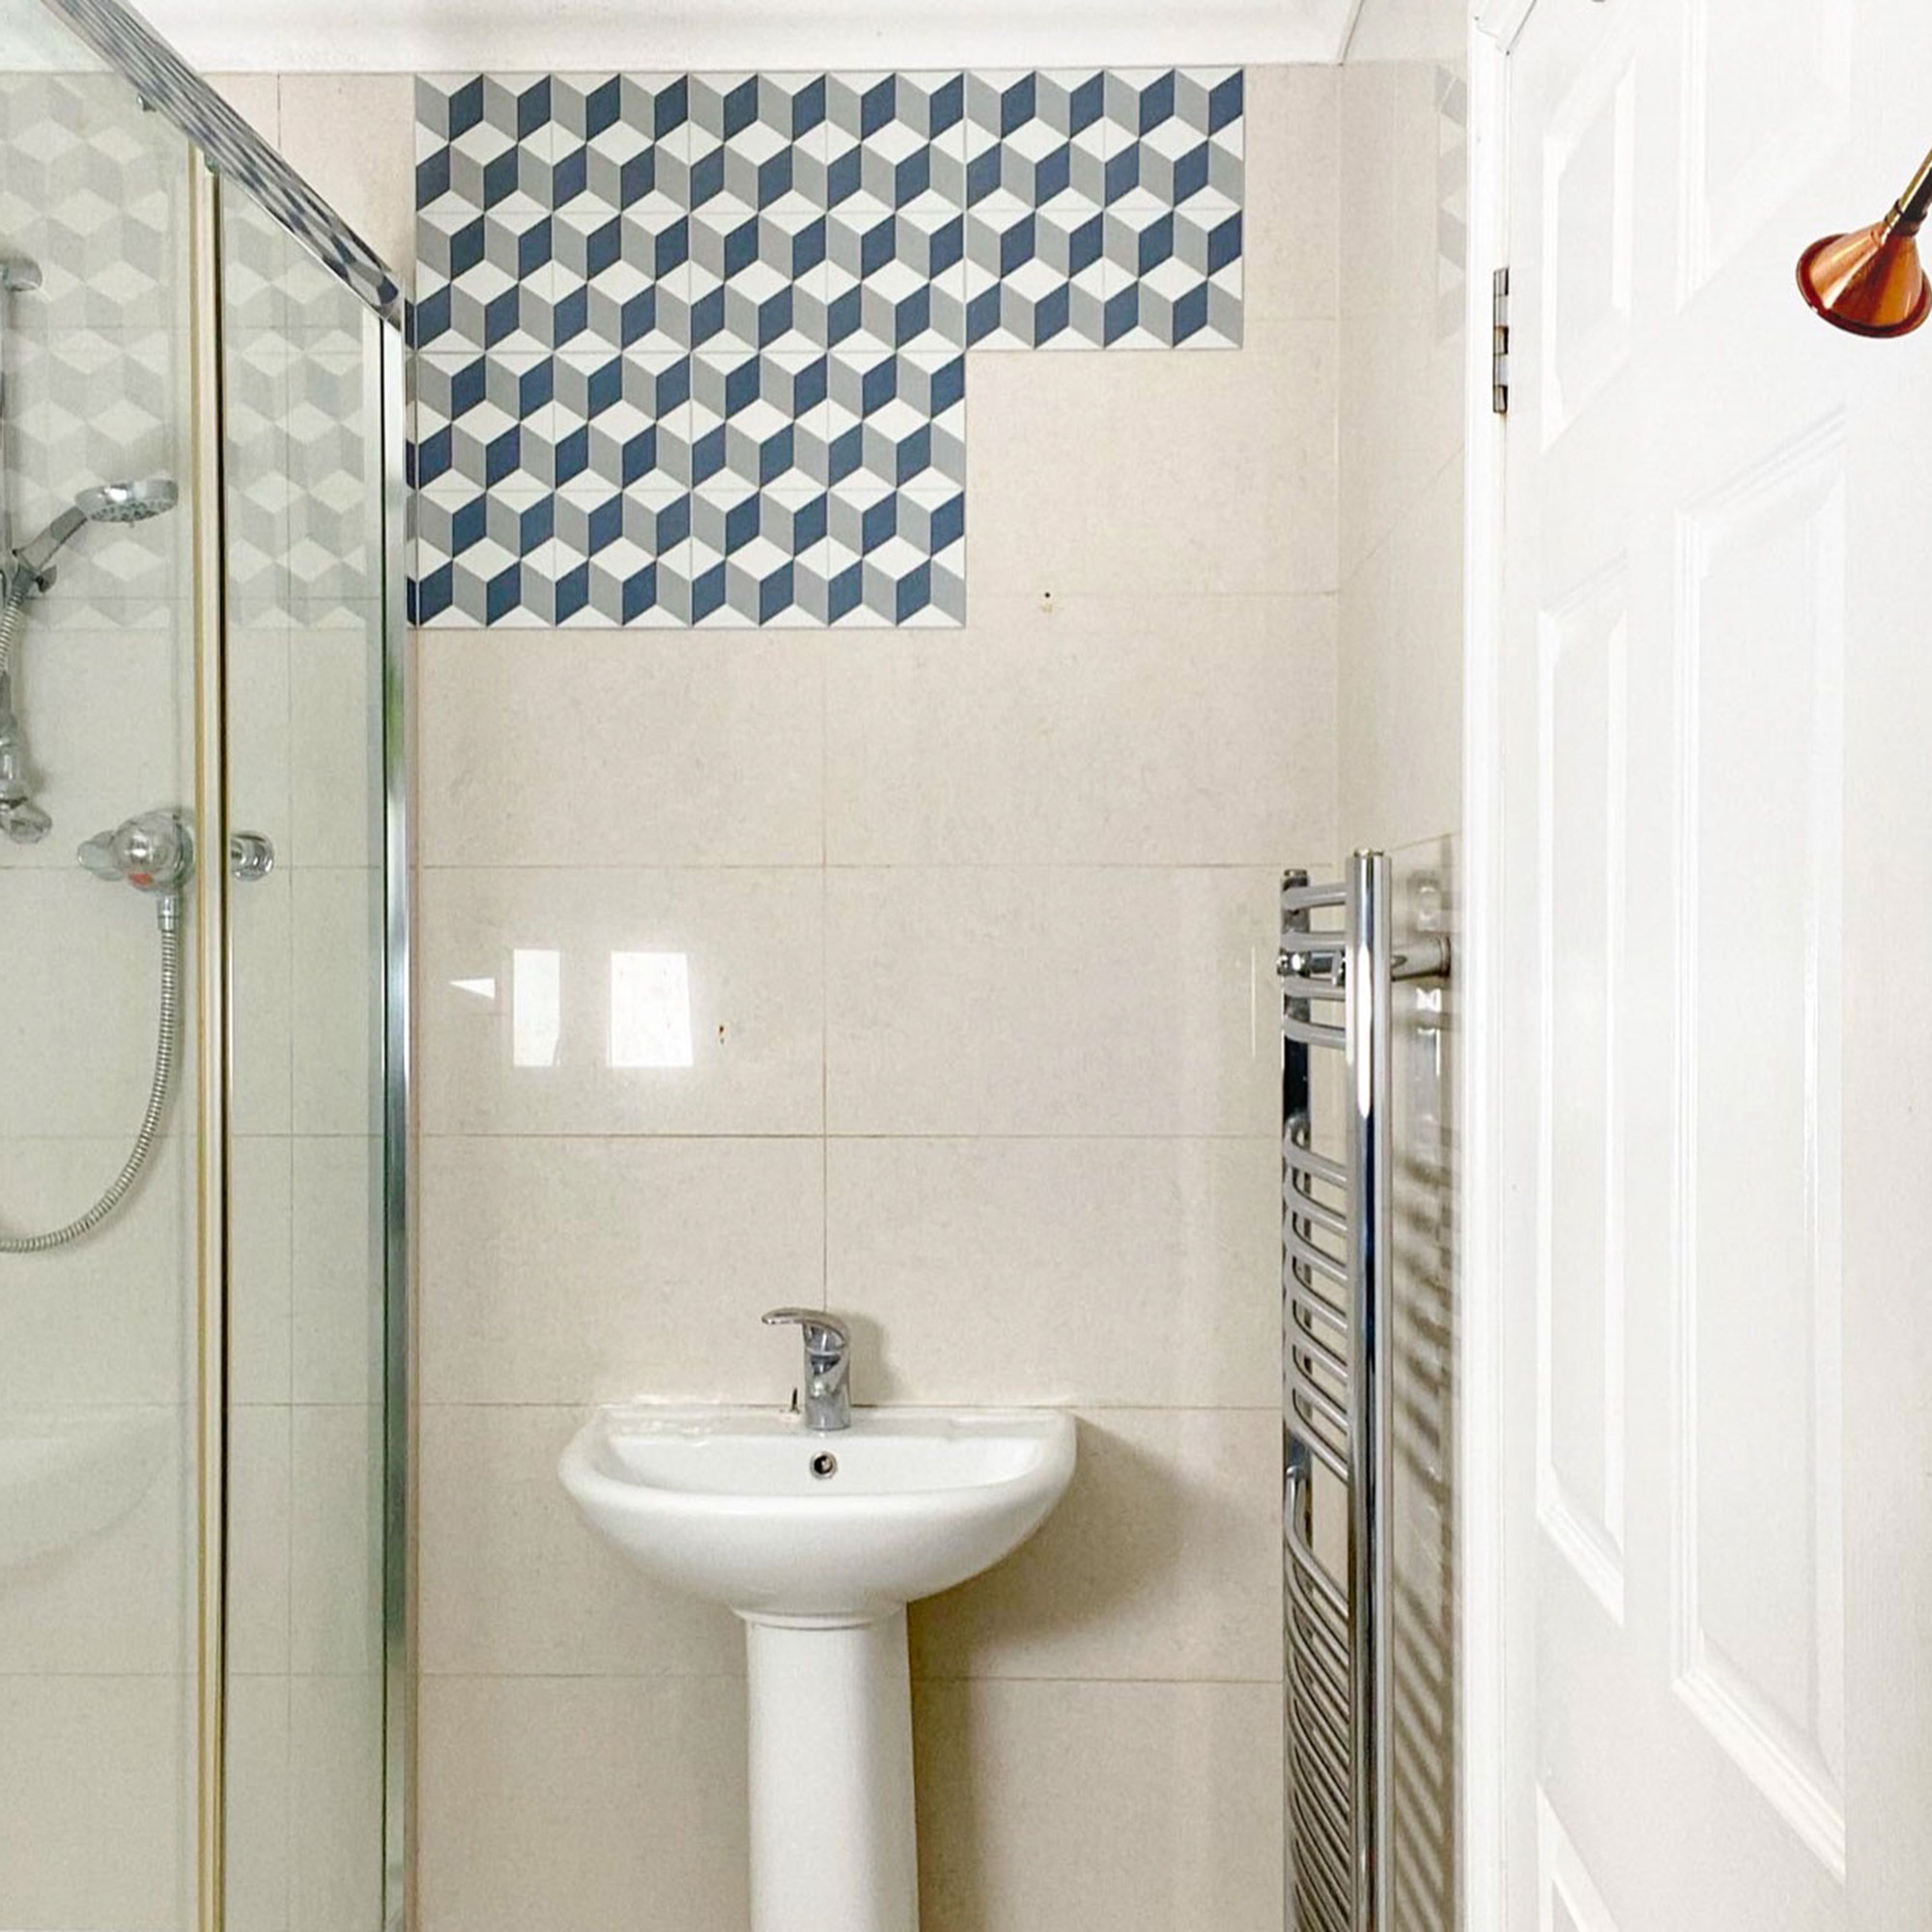
During the transformation
Measure the area - twice: First, I measured the wall I wanted to cover…then measured it again. Getting the measurements right the first time saves a lot of frustration later, especially when working with a fixed number of tiles. I also buy at least 10% more than I think I need for cutting errors or awkward corners. A small extra cost for a huge peace of mind (trust me, learned that one the hard way).
Do the prep work: Next, I gave the surface a thorough wipe-down to remove any grease or dust. The adhesive sticks better when there’s no moisture or residue underneath and bonds effectively with the surface without any lifting later.
Try the dry layout: Here’s my little trick, do a dry layout first without peeling the backing. Instead, I always place the tiles on the floor and play around with the layout. It helps visualise the pattern flow and gives me a better idea of whether I have enough tiles. Since I was sticking mine on the wall rather than the floor, I used small pieces of double-sided tape on the back of each tile to temporarily hold them in place.
The easy install: Once I was happy with the layout, I peeled the backing off and applied the vinyl tiles directly over the existing ones. I pressed each piece firmly so that the adhesive bonded snugly to the wall. Every few rows, I stepped back to check the alignment and pattern flow. It’s a must when working with geometric patterns.
Set with sealant: I ran a thin bead of silicone along the edges especially where the tiles met the sink, bath, and shower taps. It made a light waterproof barrier and helped prevent mould or moisture build-up.
Quick tips
- The template trick: Trace the shape you need (around pipes or awkward edges) on paper or cardboard first, then transfer it to your tile and cut along the line. Saves mistakes and wasted tiles.
- Trim with care: Use a sharp craft knife and a metal ruler for a clean, straight cuts. It keeps the edges neat and the finish professional. Strictly no scissors!
The final touch
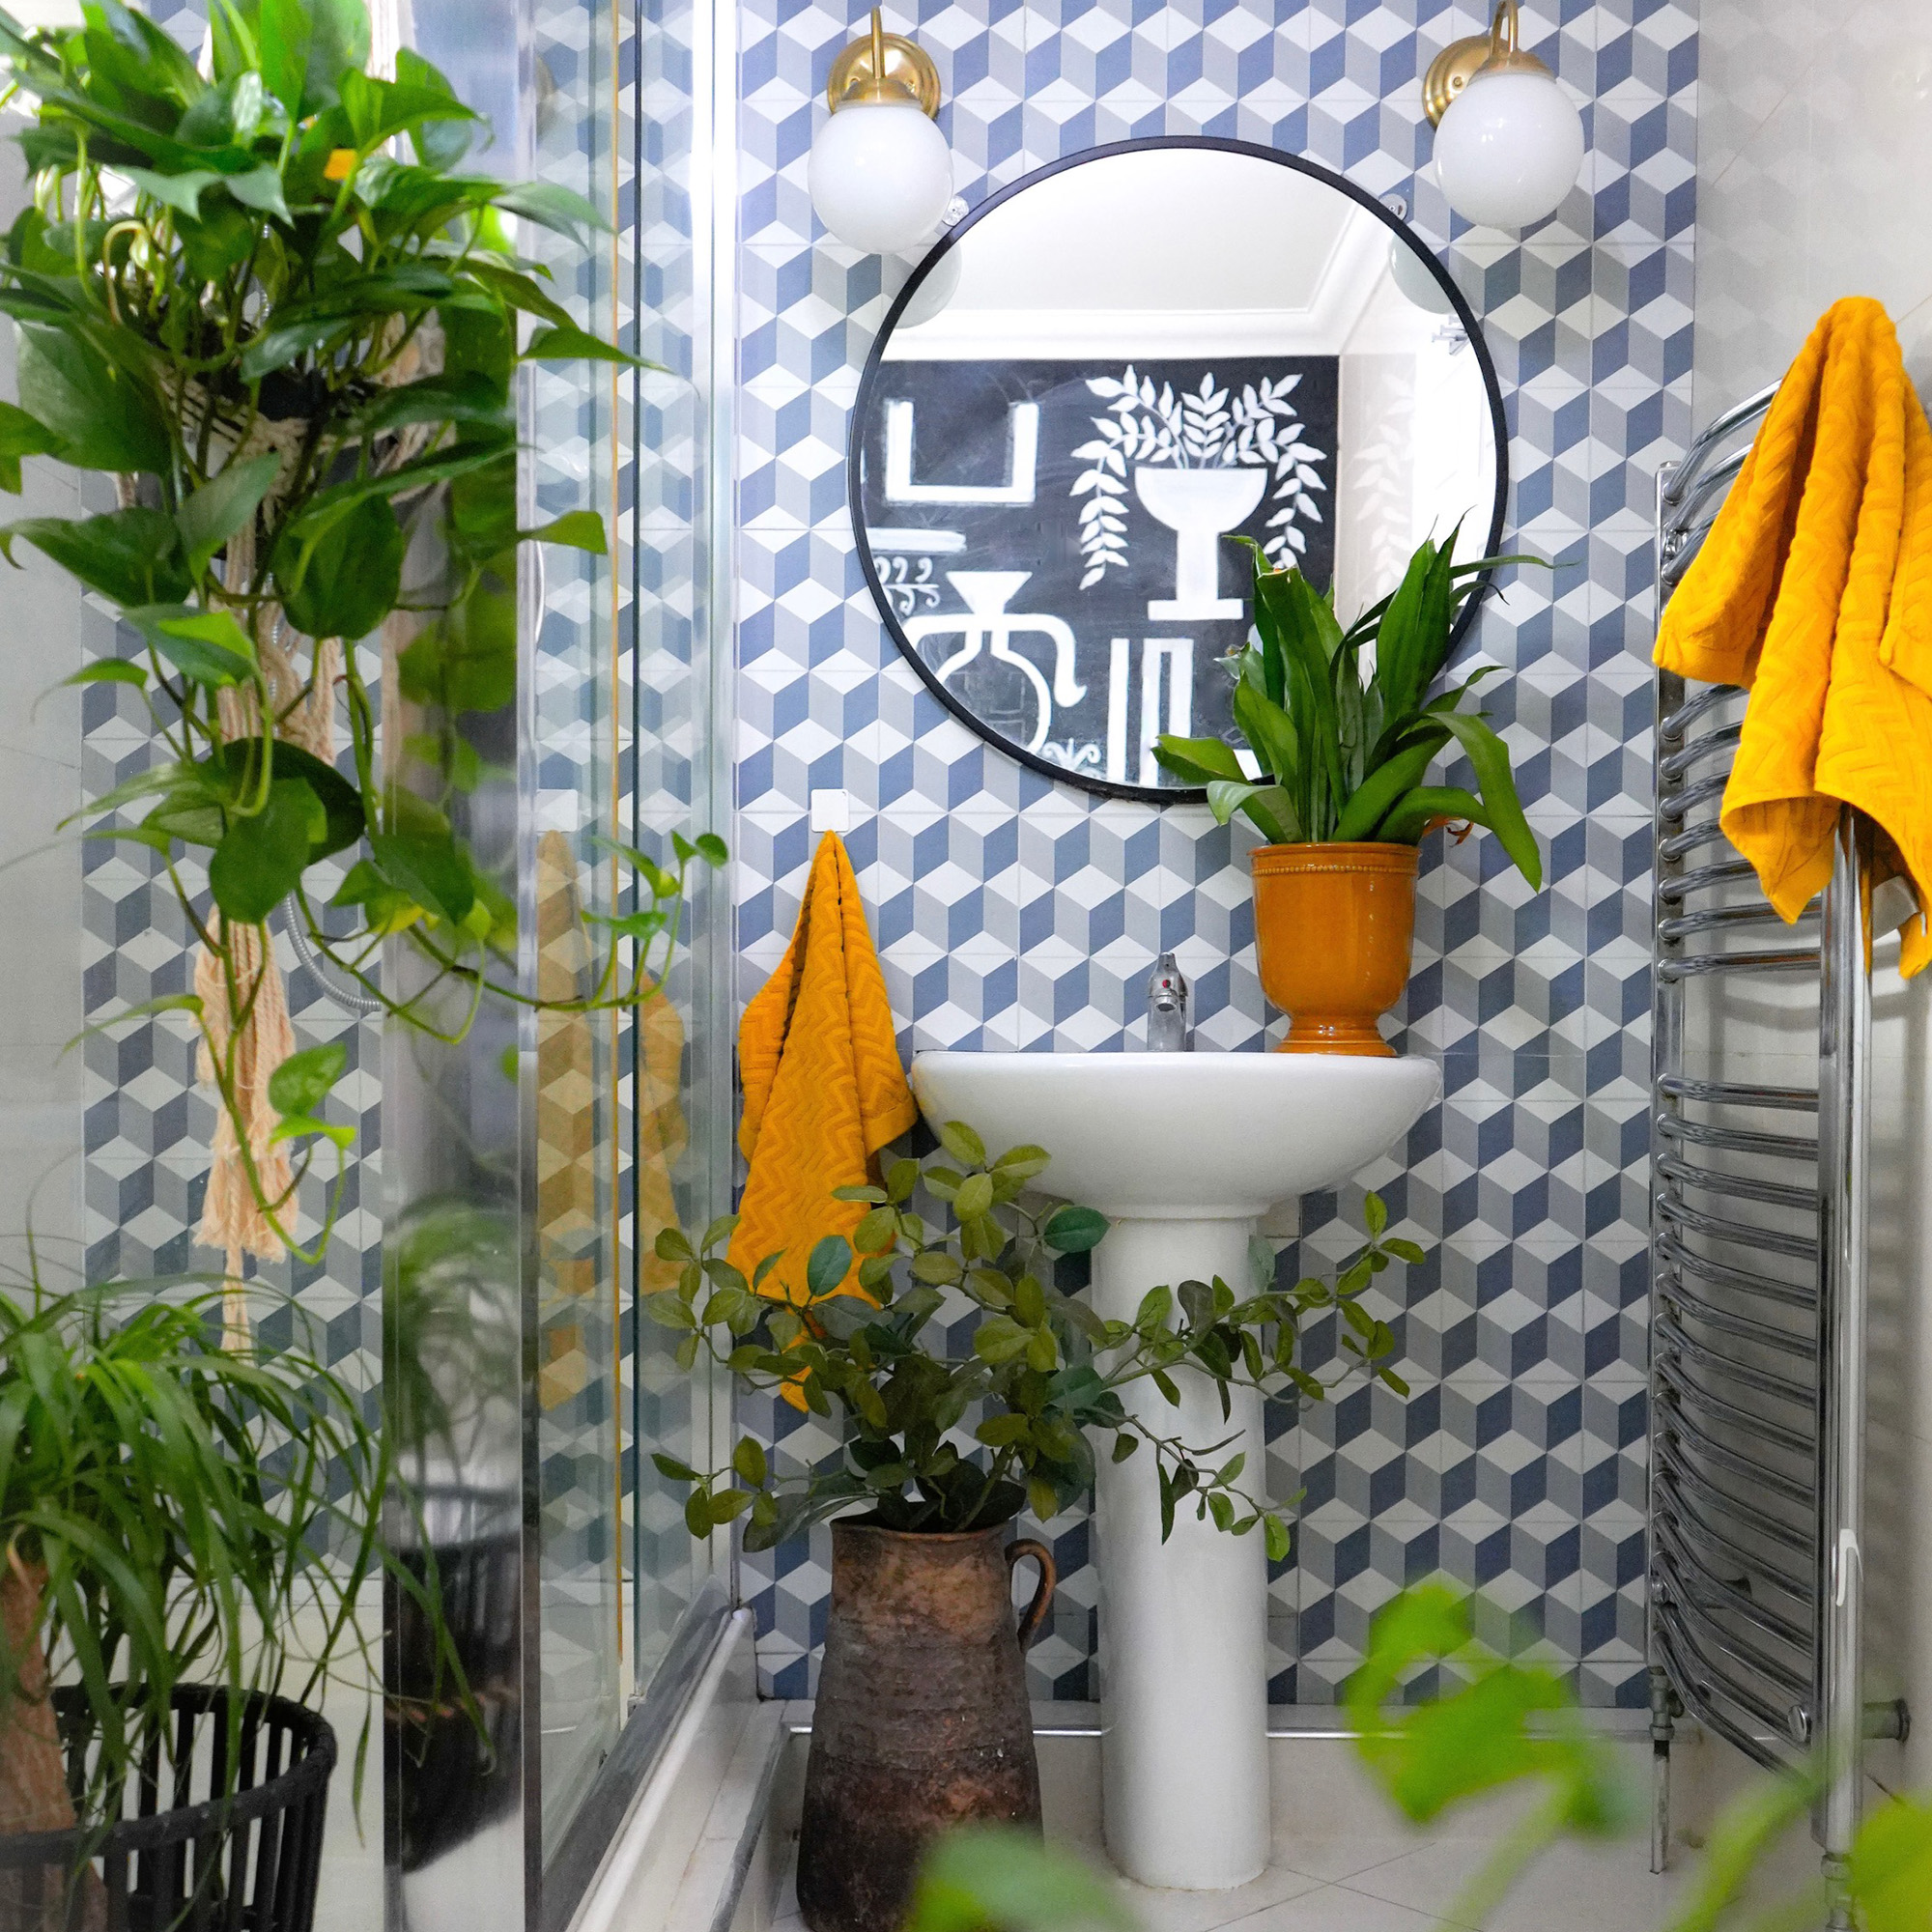
The finished bathroom
For the final look, I added a mirror, installed lights directly onto the tiles (a story I’ll save for another post) and filled the space with a few plants. For now, I’ll just say, those mirror pep talks hit differently when the backdrop is this dramatic and wipeable.
Til next time.
Disclaimer: My DIY projects do not contain any expert advice. I am only sharing the creative process behind the projects in my home. Please be aware of the rules and terms governing your property before you take on any project.
Sign up to our newsletter for style inspiration, real homes, project and garden advice and shopping know-how

Ammarah Hasham is the founder of the Instagram account @ThePajaamaHub, which has nearly 30,000 followers. Her focus is on renter style, and her renter-friendly design ideas have been featured in leading UK and US interiors and lifestyle publications including Grazia, Architectural Digest, Evening Standard, Ideal Home, Style at Home, House & Home, Home Style, Home: The Way We Live Now, and Start With the Art, to name a few.
In 2022, she was honoured to win the Best Makeover category in the Real Homes Awards.