How to make Christmas cards - a step by step guide
Handmade Christmas cards are sure to spread festive cheer, and they're easy with our craft tips

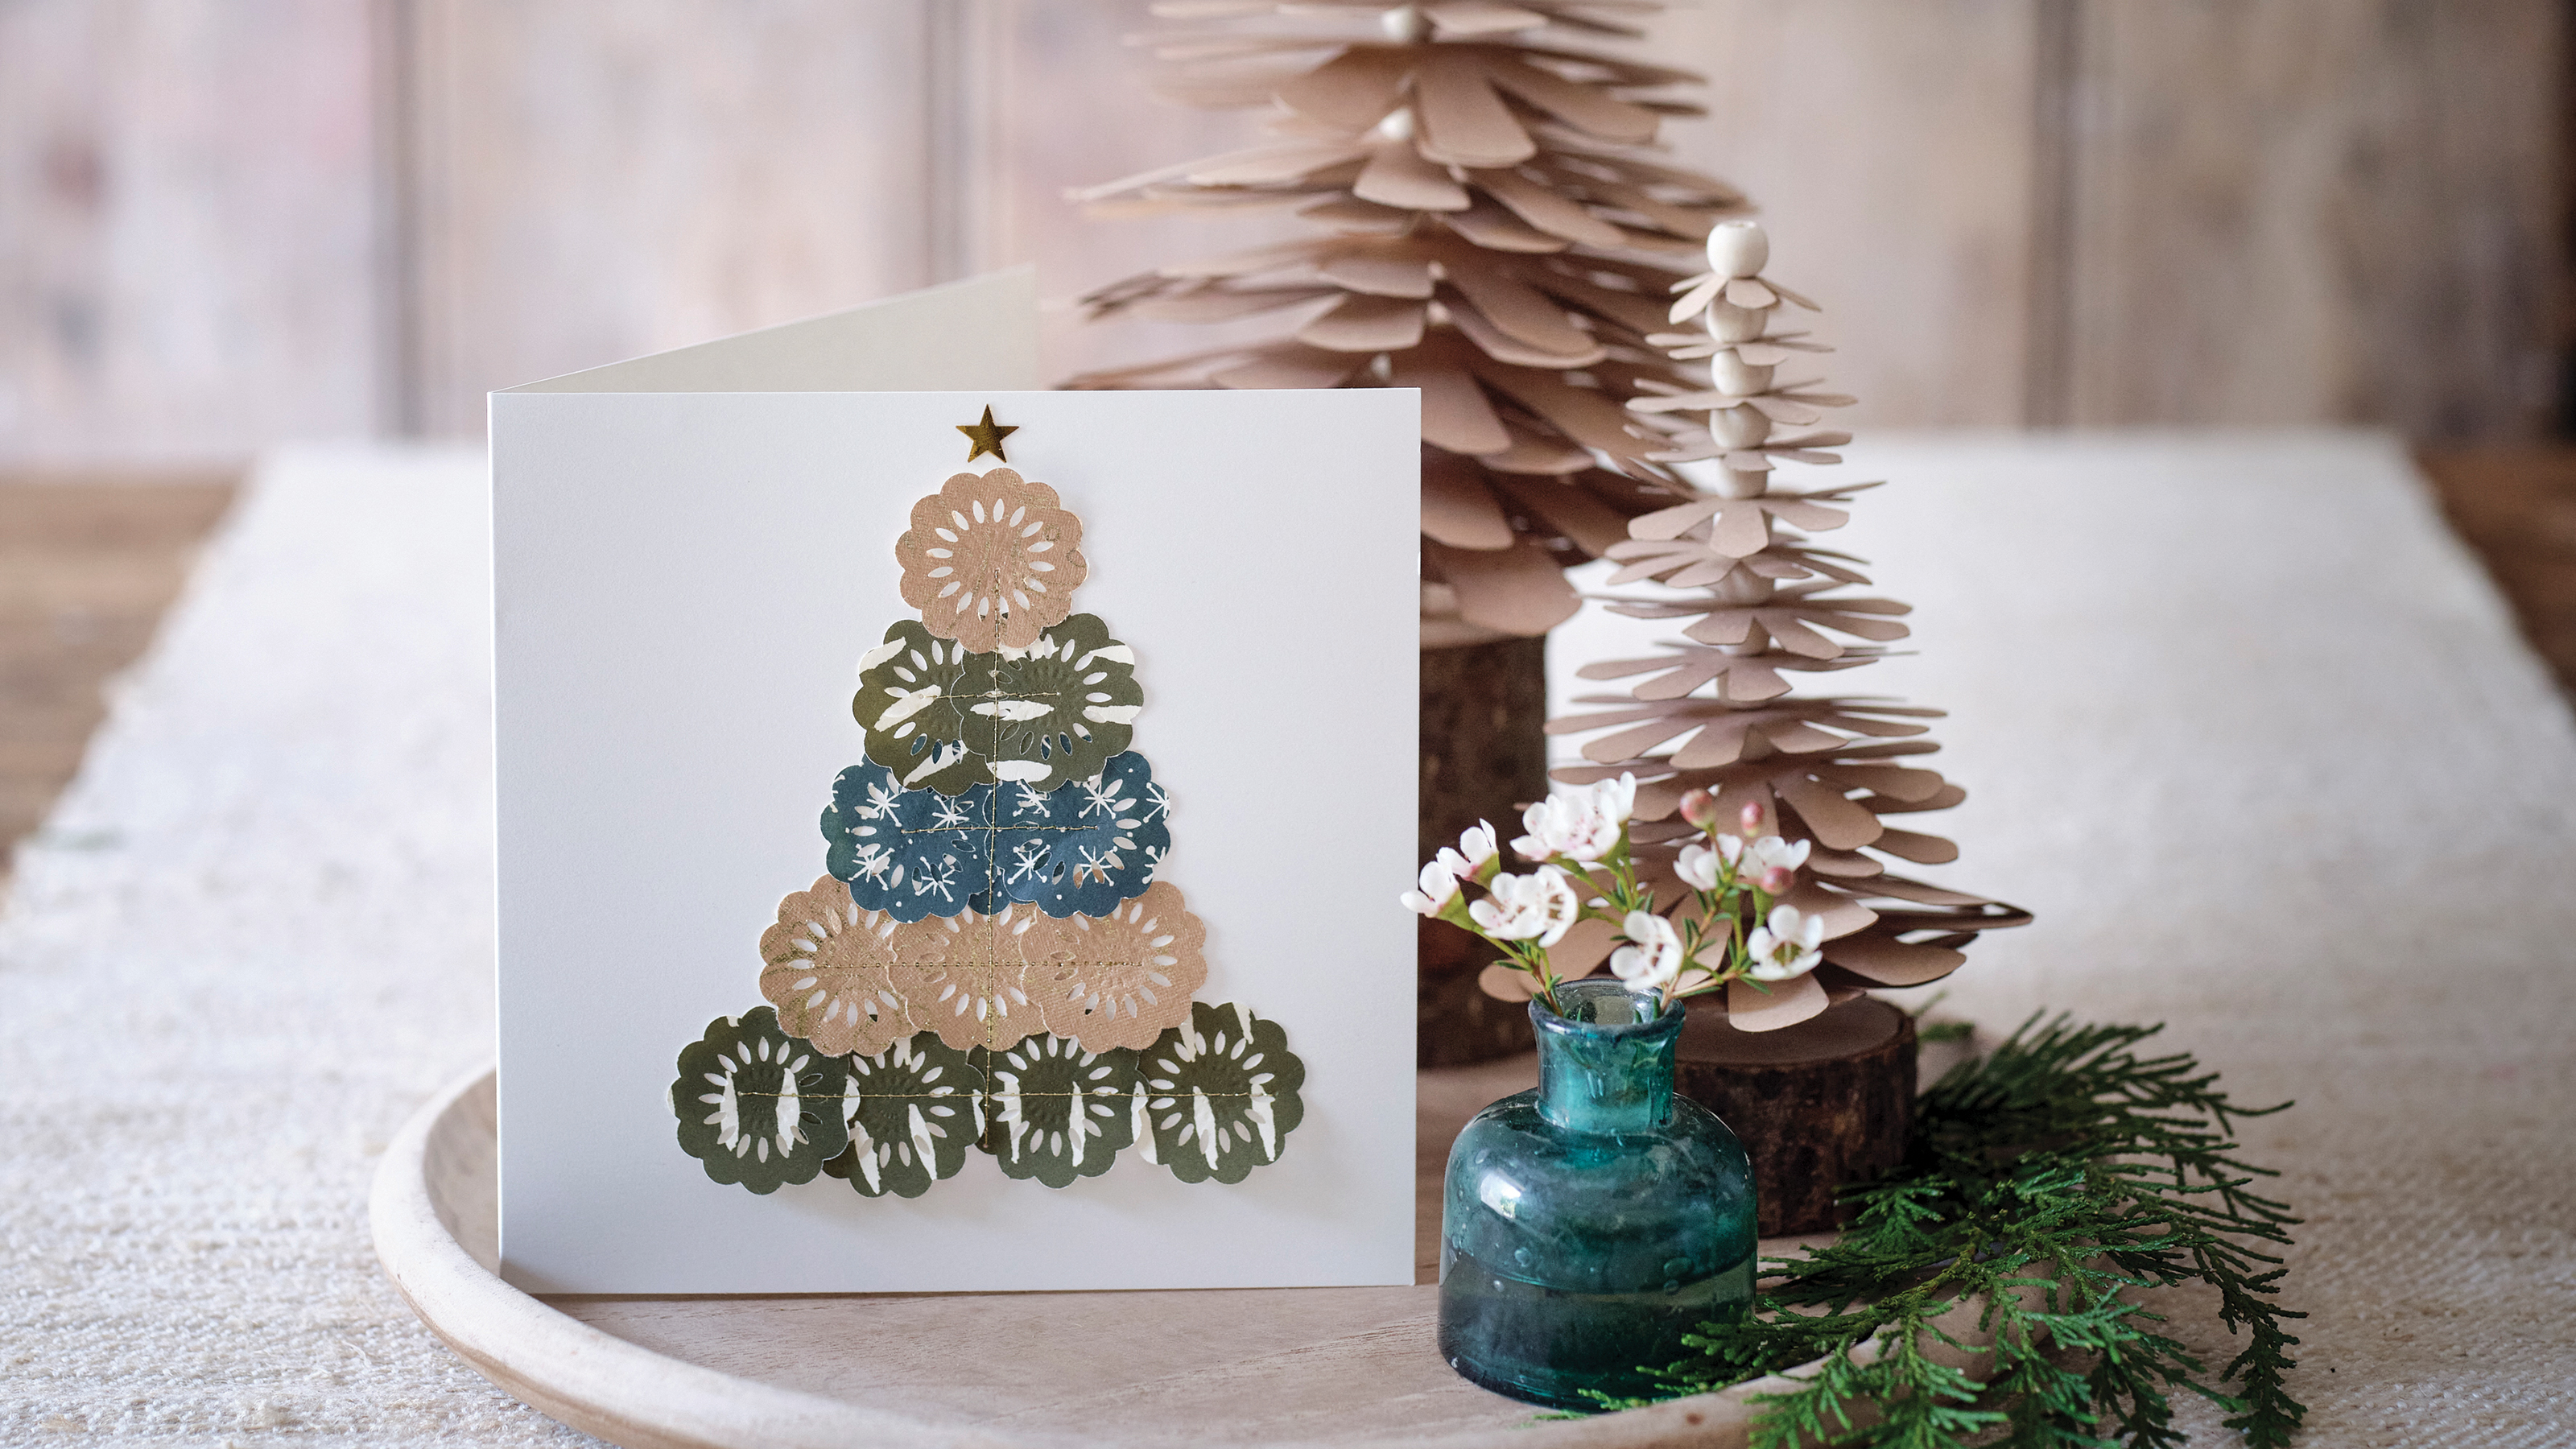
Nothing spreads festive cheer quite as well as unique handcrafted cards and handcrafted items. Learning how to make Christmas cards is not only guaranteed to get you into the festive spirit, but there's the added bonus of making someone's day when they open a beautiful and thoughtful card.
Plus, like all our favourite kinds of DIY Christmas decor, the beauty of making your own is that you can create them exactly how you want - and at a more budget friendly price than pre-made options.
'Making your own Christmas cards can bring so much enjoyment, and it's a lot more personal than just buying them', says Lorraine Dawn, Founder, Lorraine Dawn Wedding Stationery. 'It's worth taking the time to do, and you can add your own personal touch which will make someone feel extra special.'
Our guide will show you how to make Christmas cards step by step, so that you can create a unique and elegant card that is full of festive cheer. It's not a difficult design, but it will require you to set some time aside and dig out the sewing machine. Who doesn't love sticking a Christmas film on and getting crafty on a cold December's day though?
How to make Christmas cards: step by step
So whether this is the first year you've decided to pursue the handcrafted card route, or you're an experienced crafter looking for a new and interesting design idea, you've come to the right place.
Keep reading to learn how to make Christmas cards that are sure to impress all those who receive them.
Shopping list
To make the beautiful cards in our guide, you will need:
Sign up to our newsletter for style inspiration, real homes, project and garden advice and shopping know-how
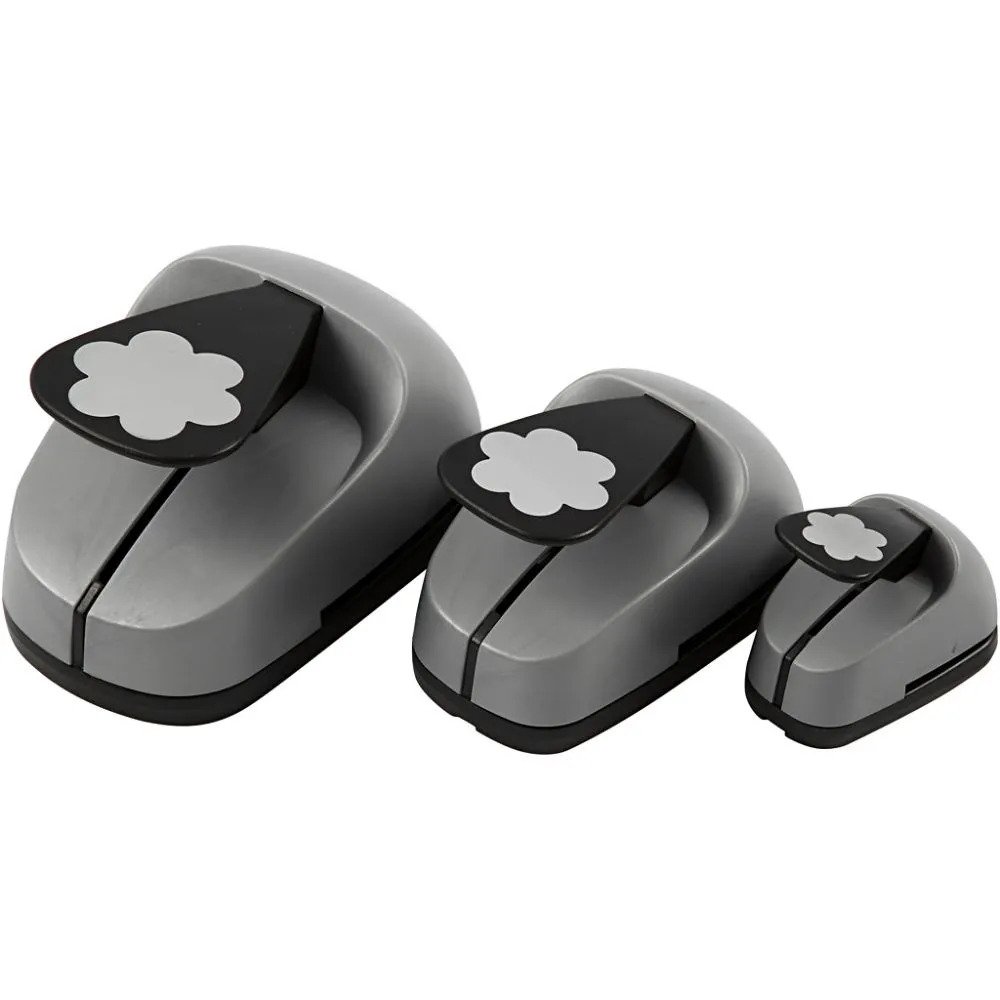
- Large flower punch
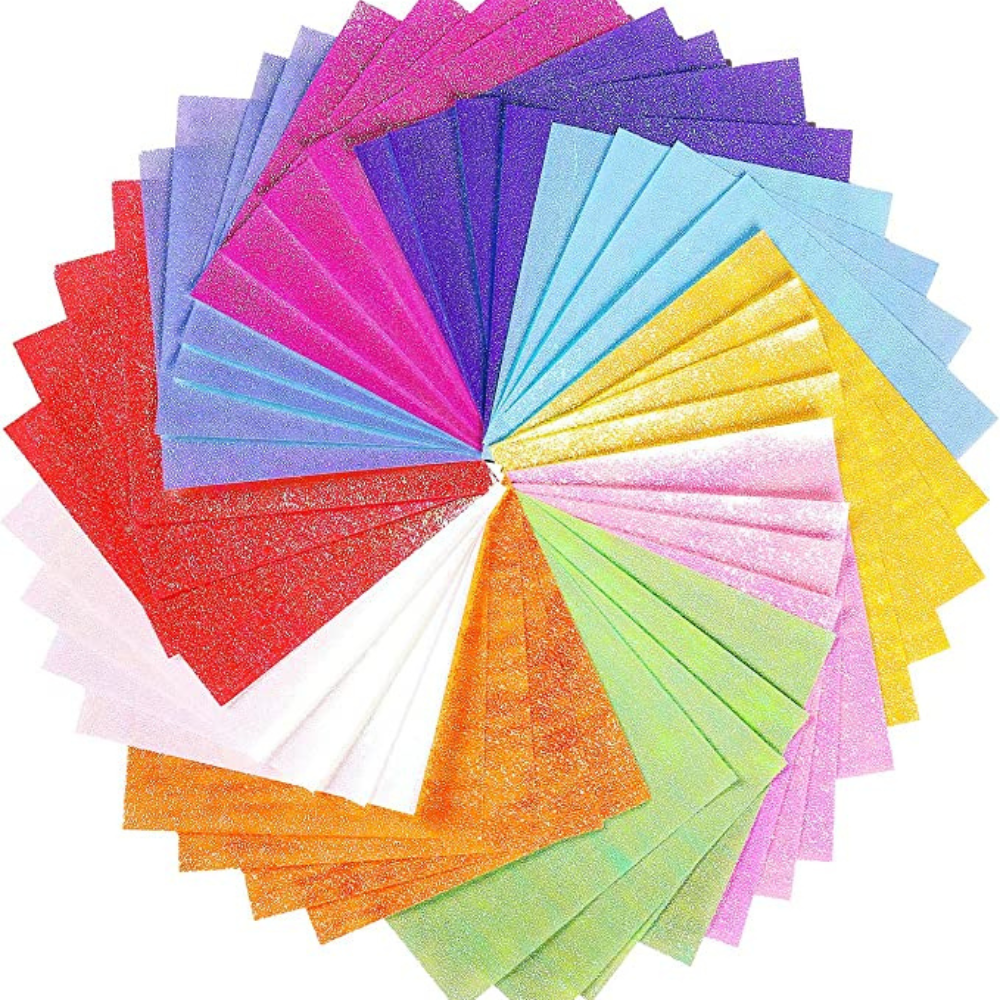
- Assorted scrap paper in variety of colours - £6.99 at Ryman
- Pre-folded blank 150 x 150 mm card (however many you need)
- Envelopes 160 x 160 mm
- Sewing machine - £104 at John Lewis
- Metallic thread - £4.35 at DMC
- Gold adhesive stars
- Scissors
1. Punch out your tree
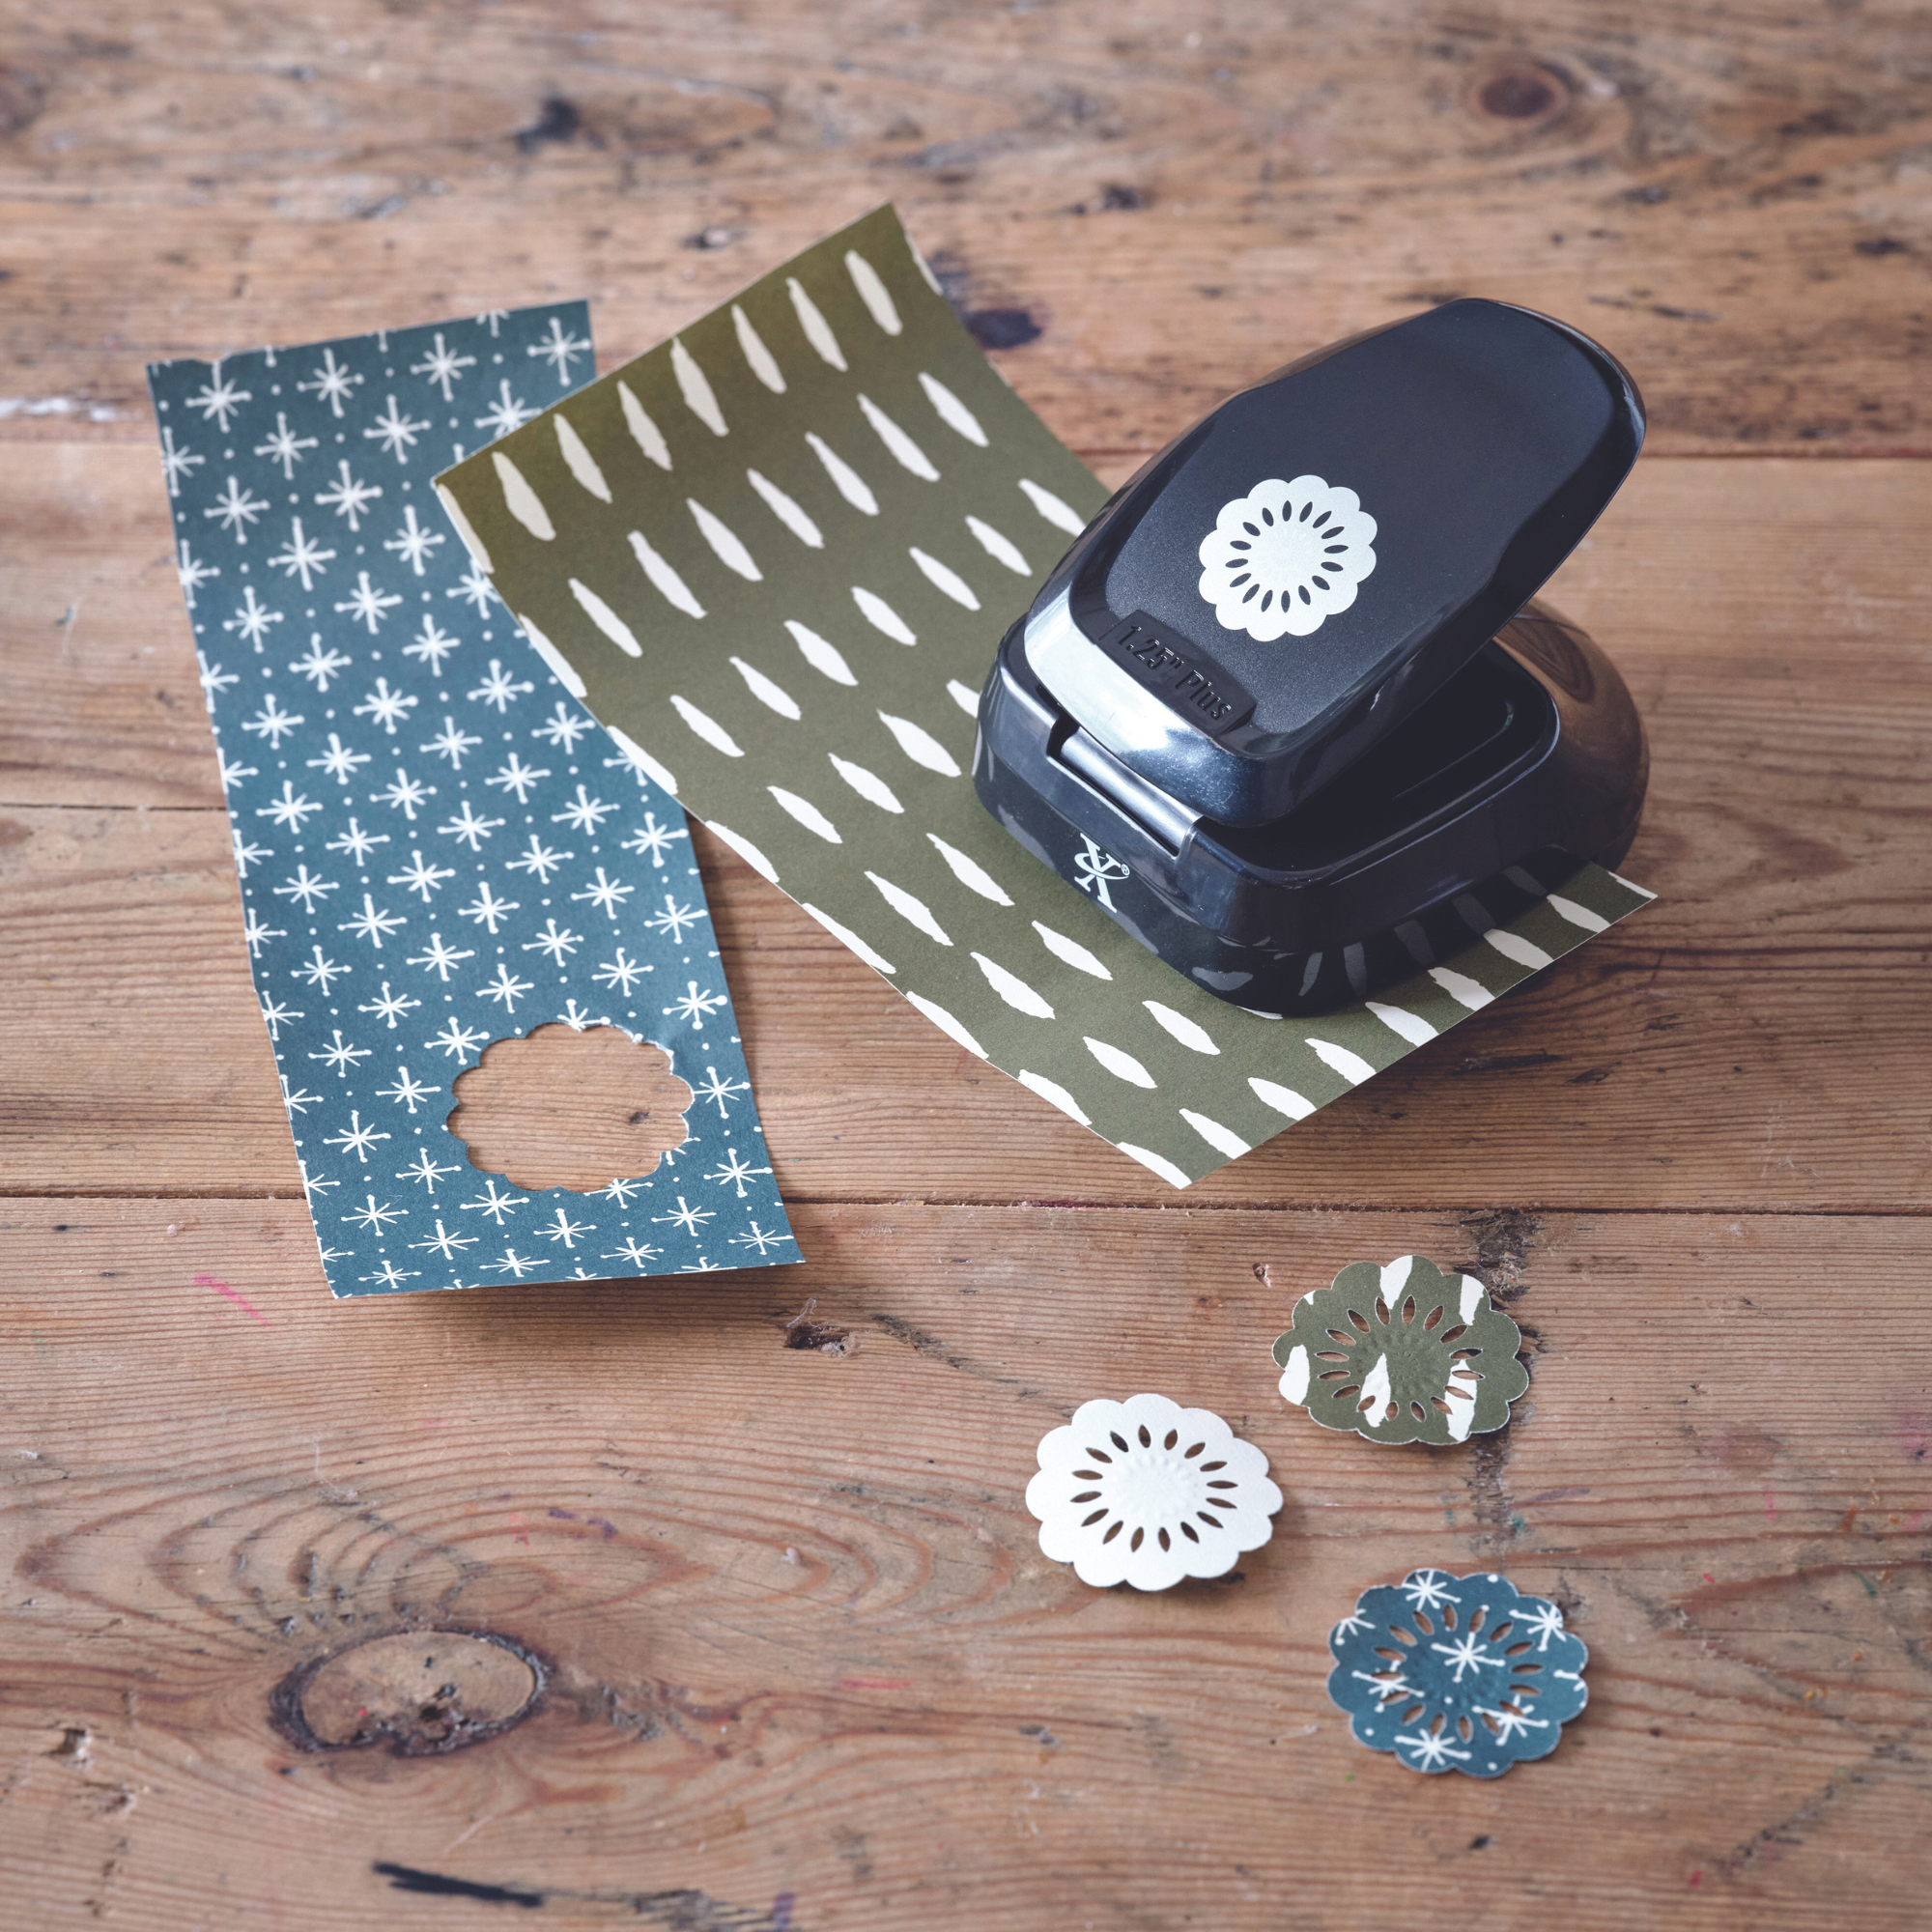
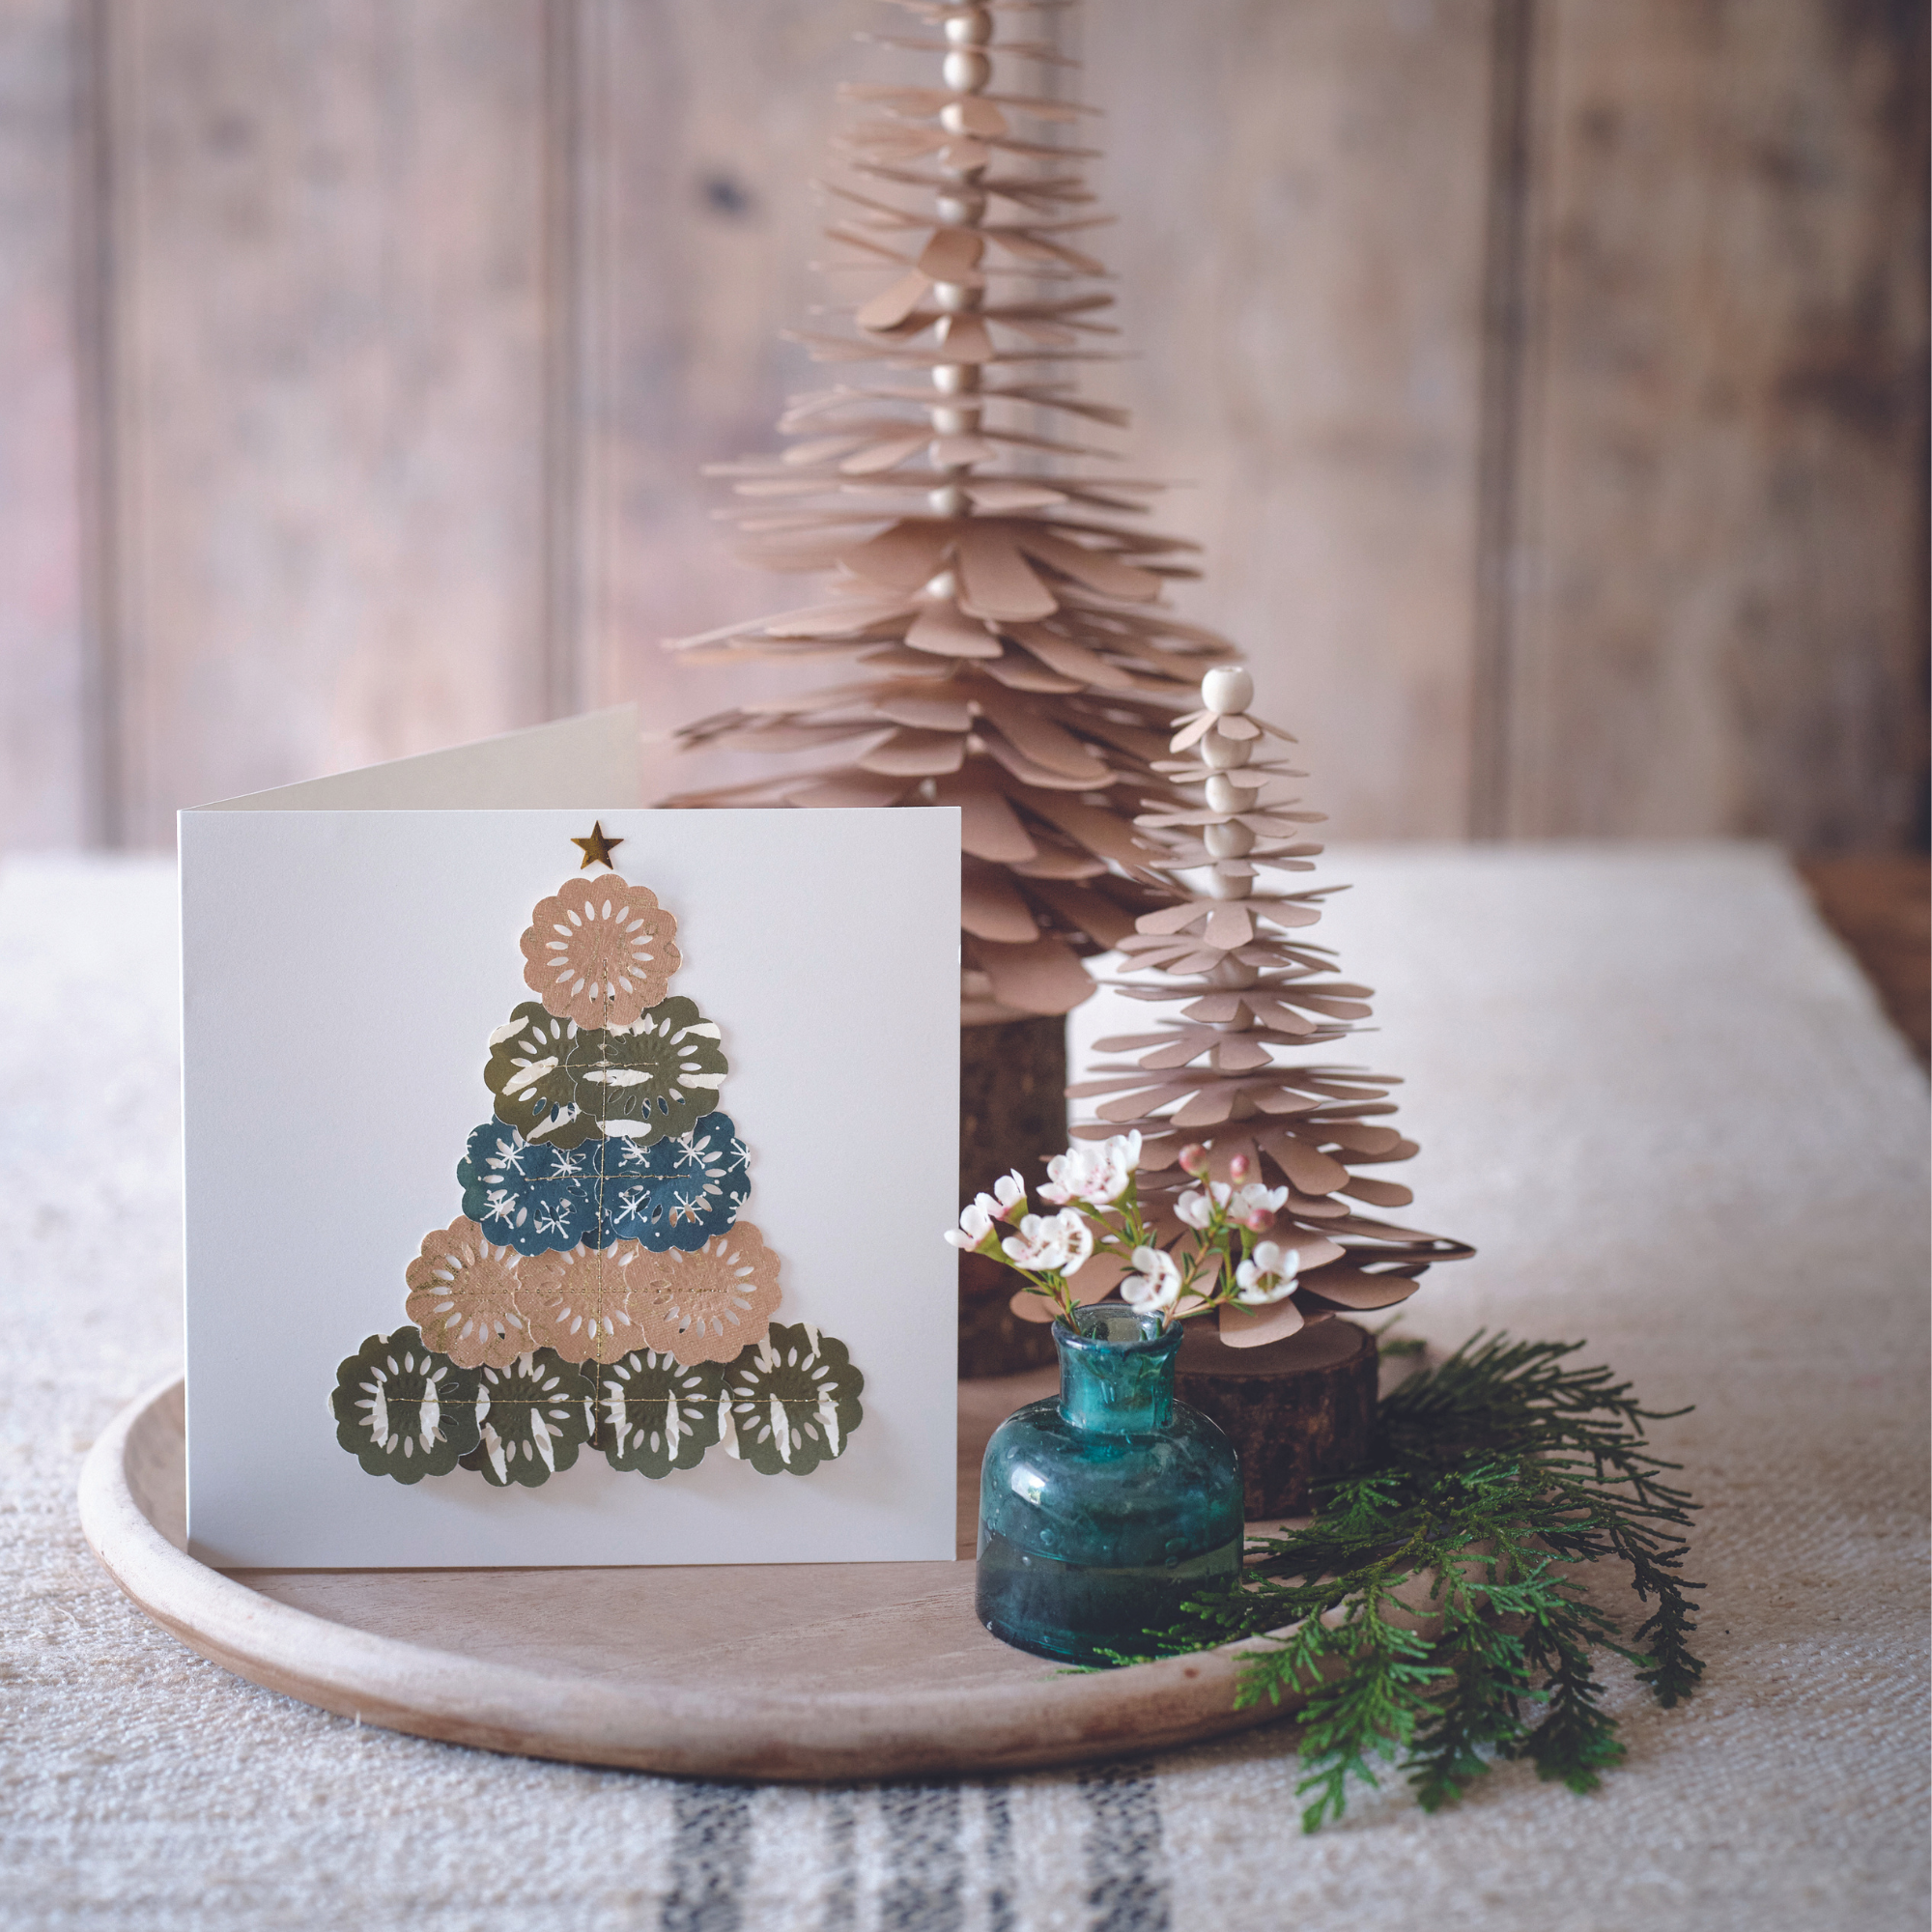
Firstly, use the flower punch to create the elements of the Christmas tree. On our cards, we used three different colours - olive green, blush pink, and soft navy - and alternated between these to create the layers of the tree. You can stick to our scheme or look for paper in other colours, the choice is yours.
For cards that are 150 x 150 mm, cut out four circles for the base of the tree, then three in the next colour, then two lots of two, as these one can be placed at an overlap to create the middle two layers. Cut out an extra circle in the colour that will sit at the top of the tree.
2. Stitch the base of the tree
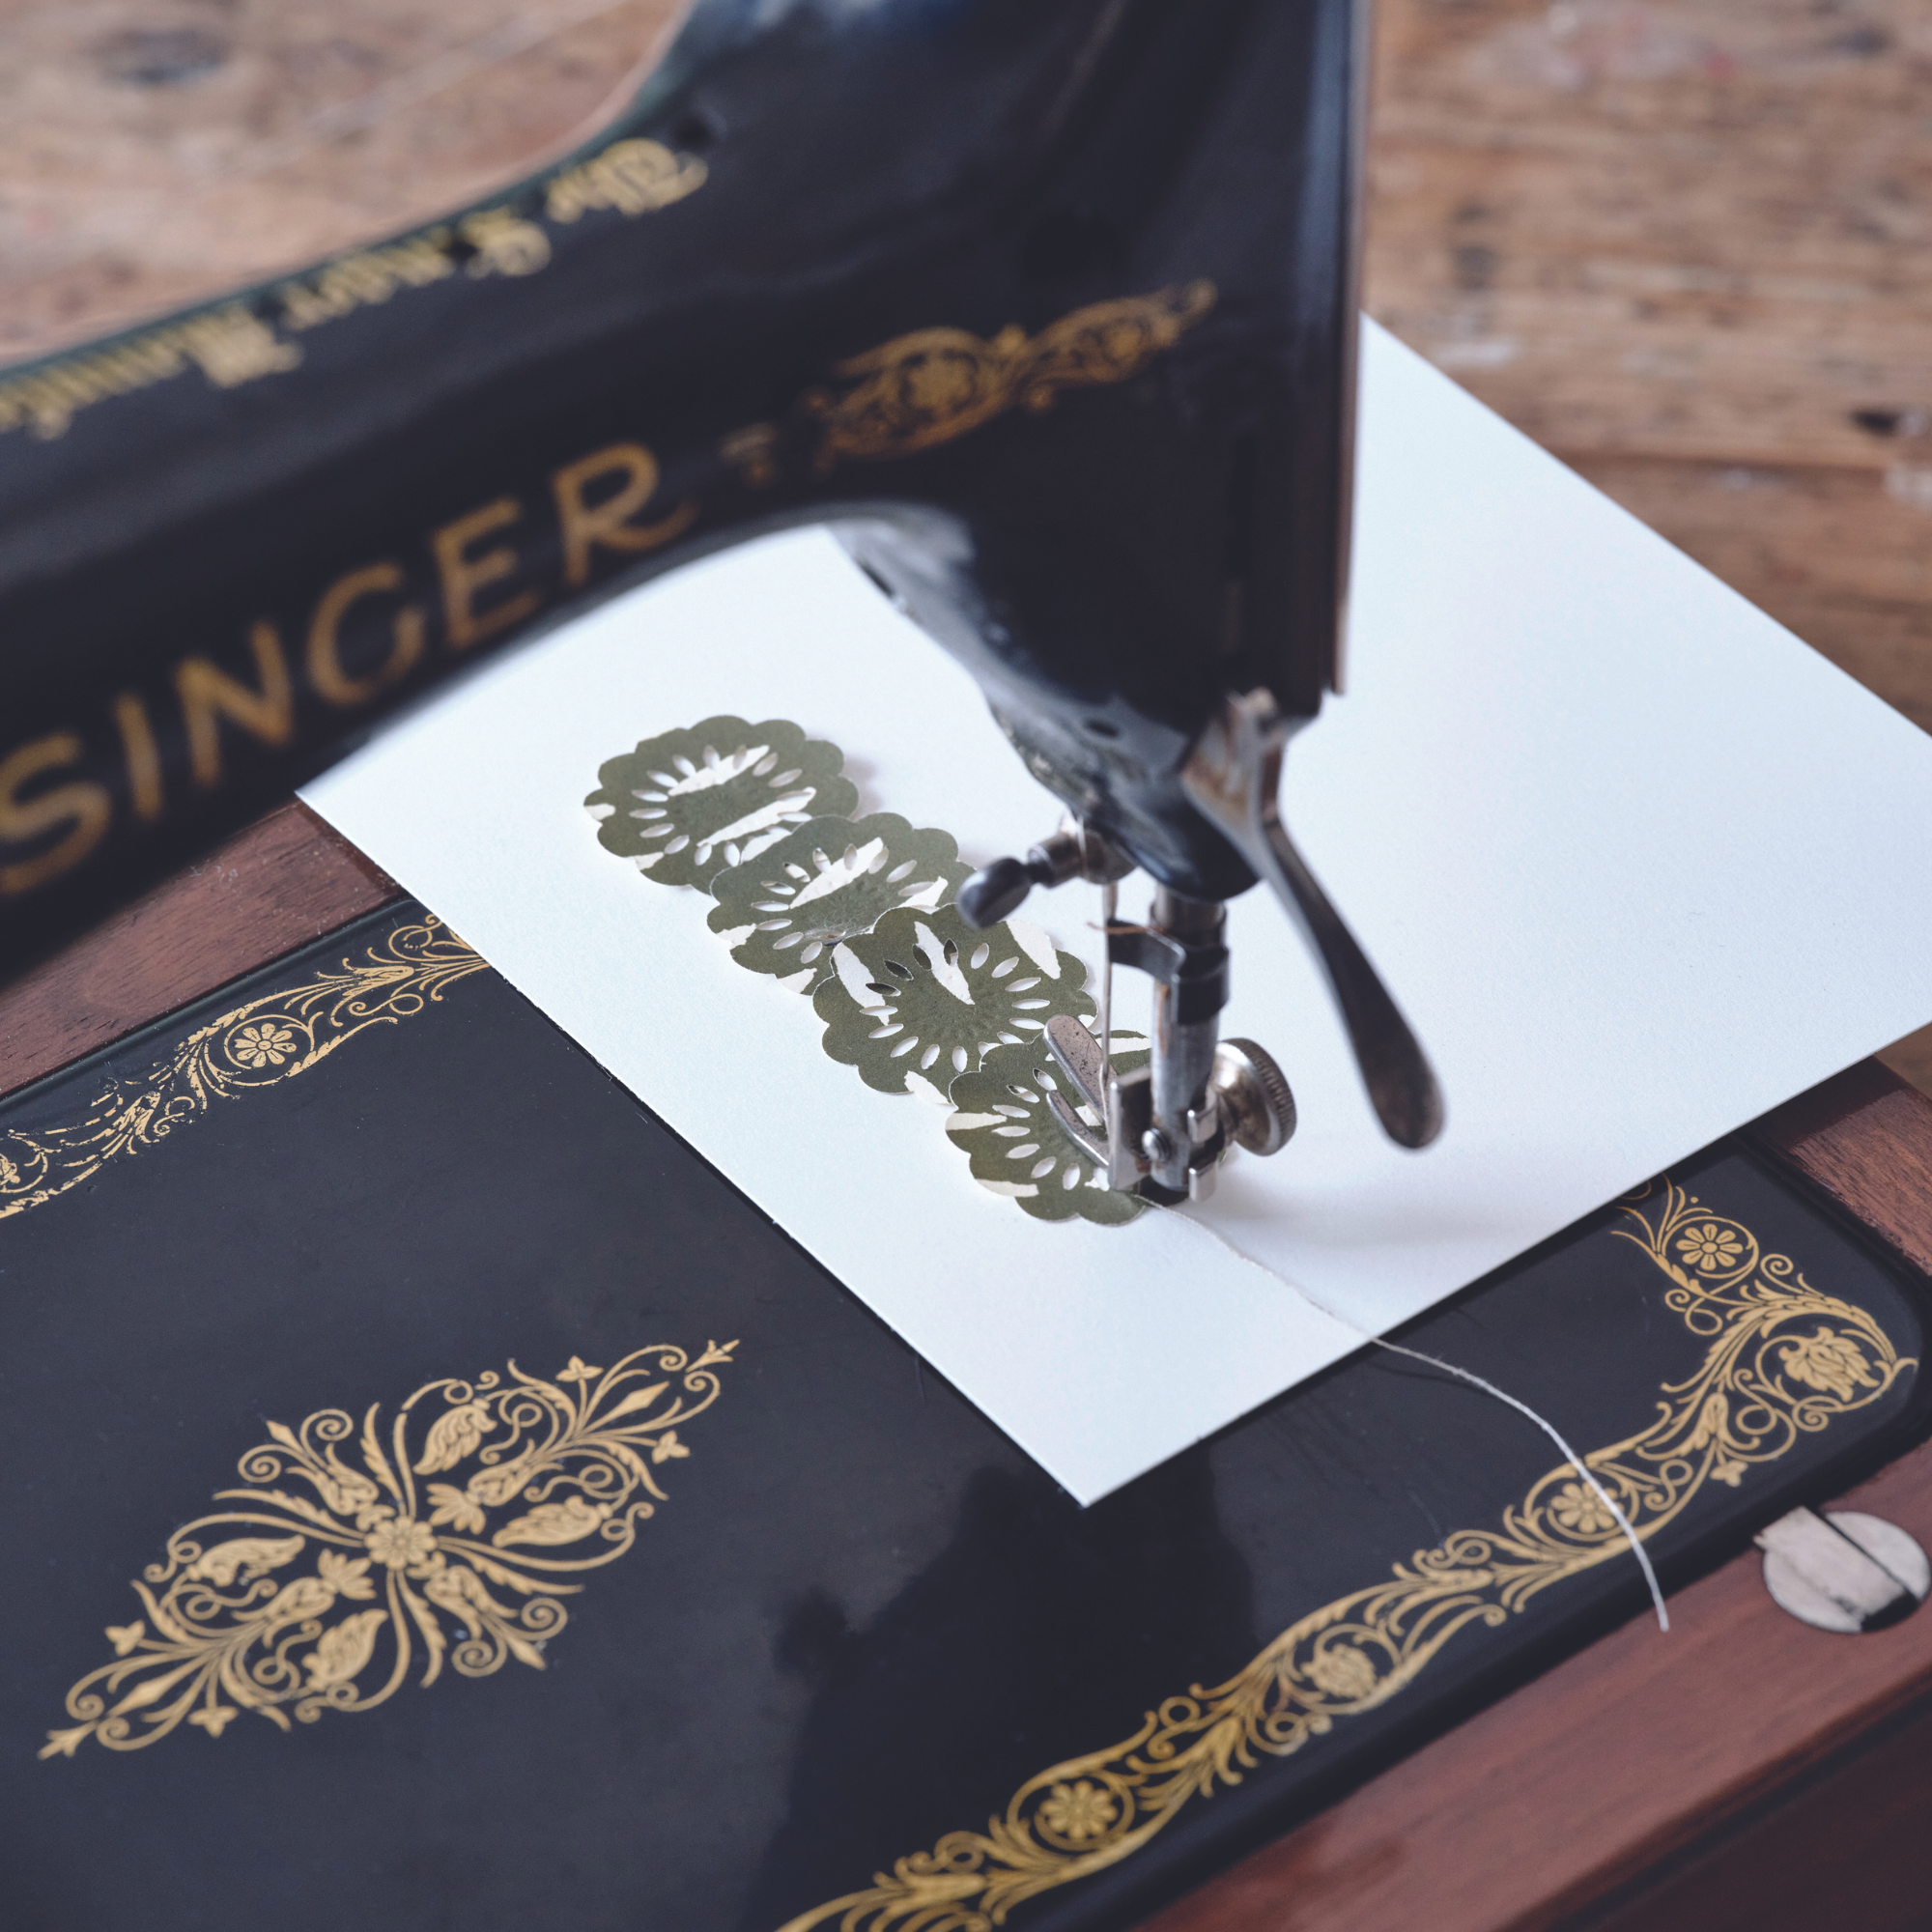
Reach for the sewing machine and working carefully, stitch a horizontal line across the four circles, onto the card where you want the base of the tree to sit.
'I would recommend first trying a used needle as the paper will dull it, but depending on the paper texture and thickness you might need a new one', says Sam Duffy, Founder, Paper Sam. 'Always sew from top to bottom on the card so that the card is moving away from you and definitely do a practice test first on scrap paper so you can get the tension and sewing speed right.'
Metallic thread looks best, and you can either stick to one colour of thread across all rows, or alternate between two. We like gold and silver thread.
3. Add remaining layers
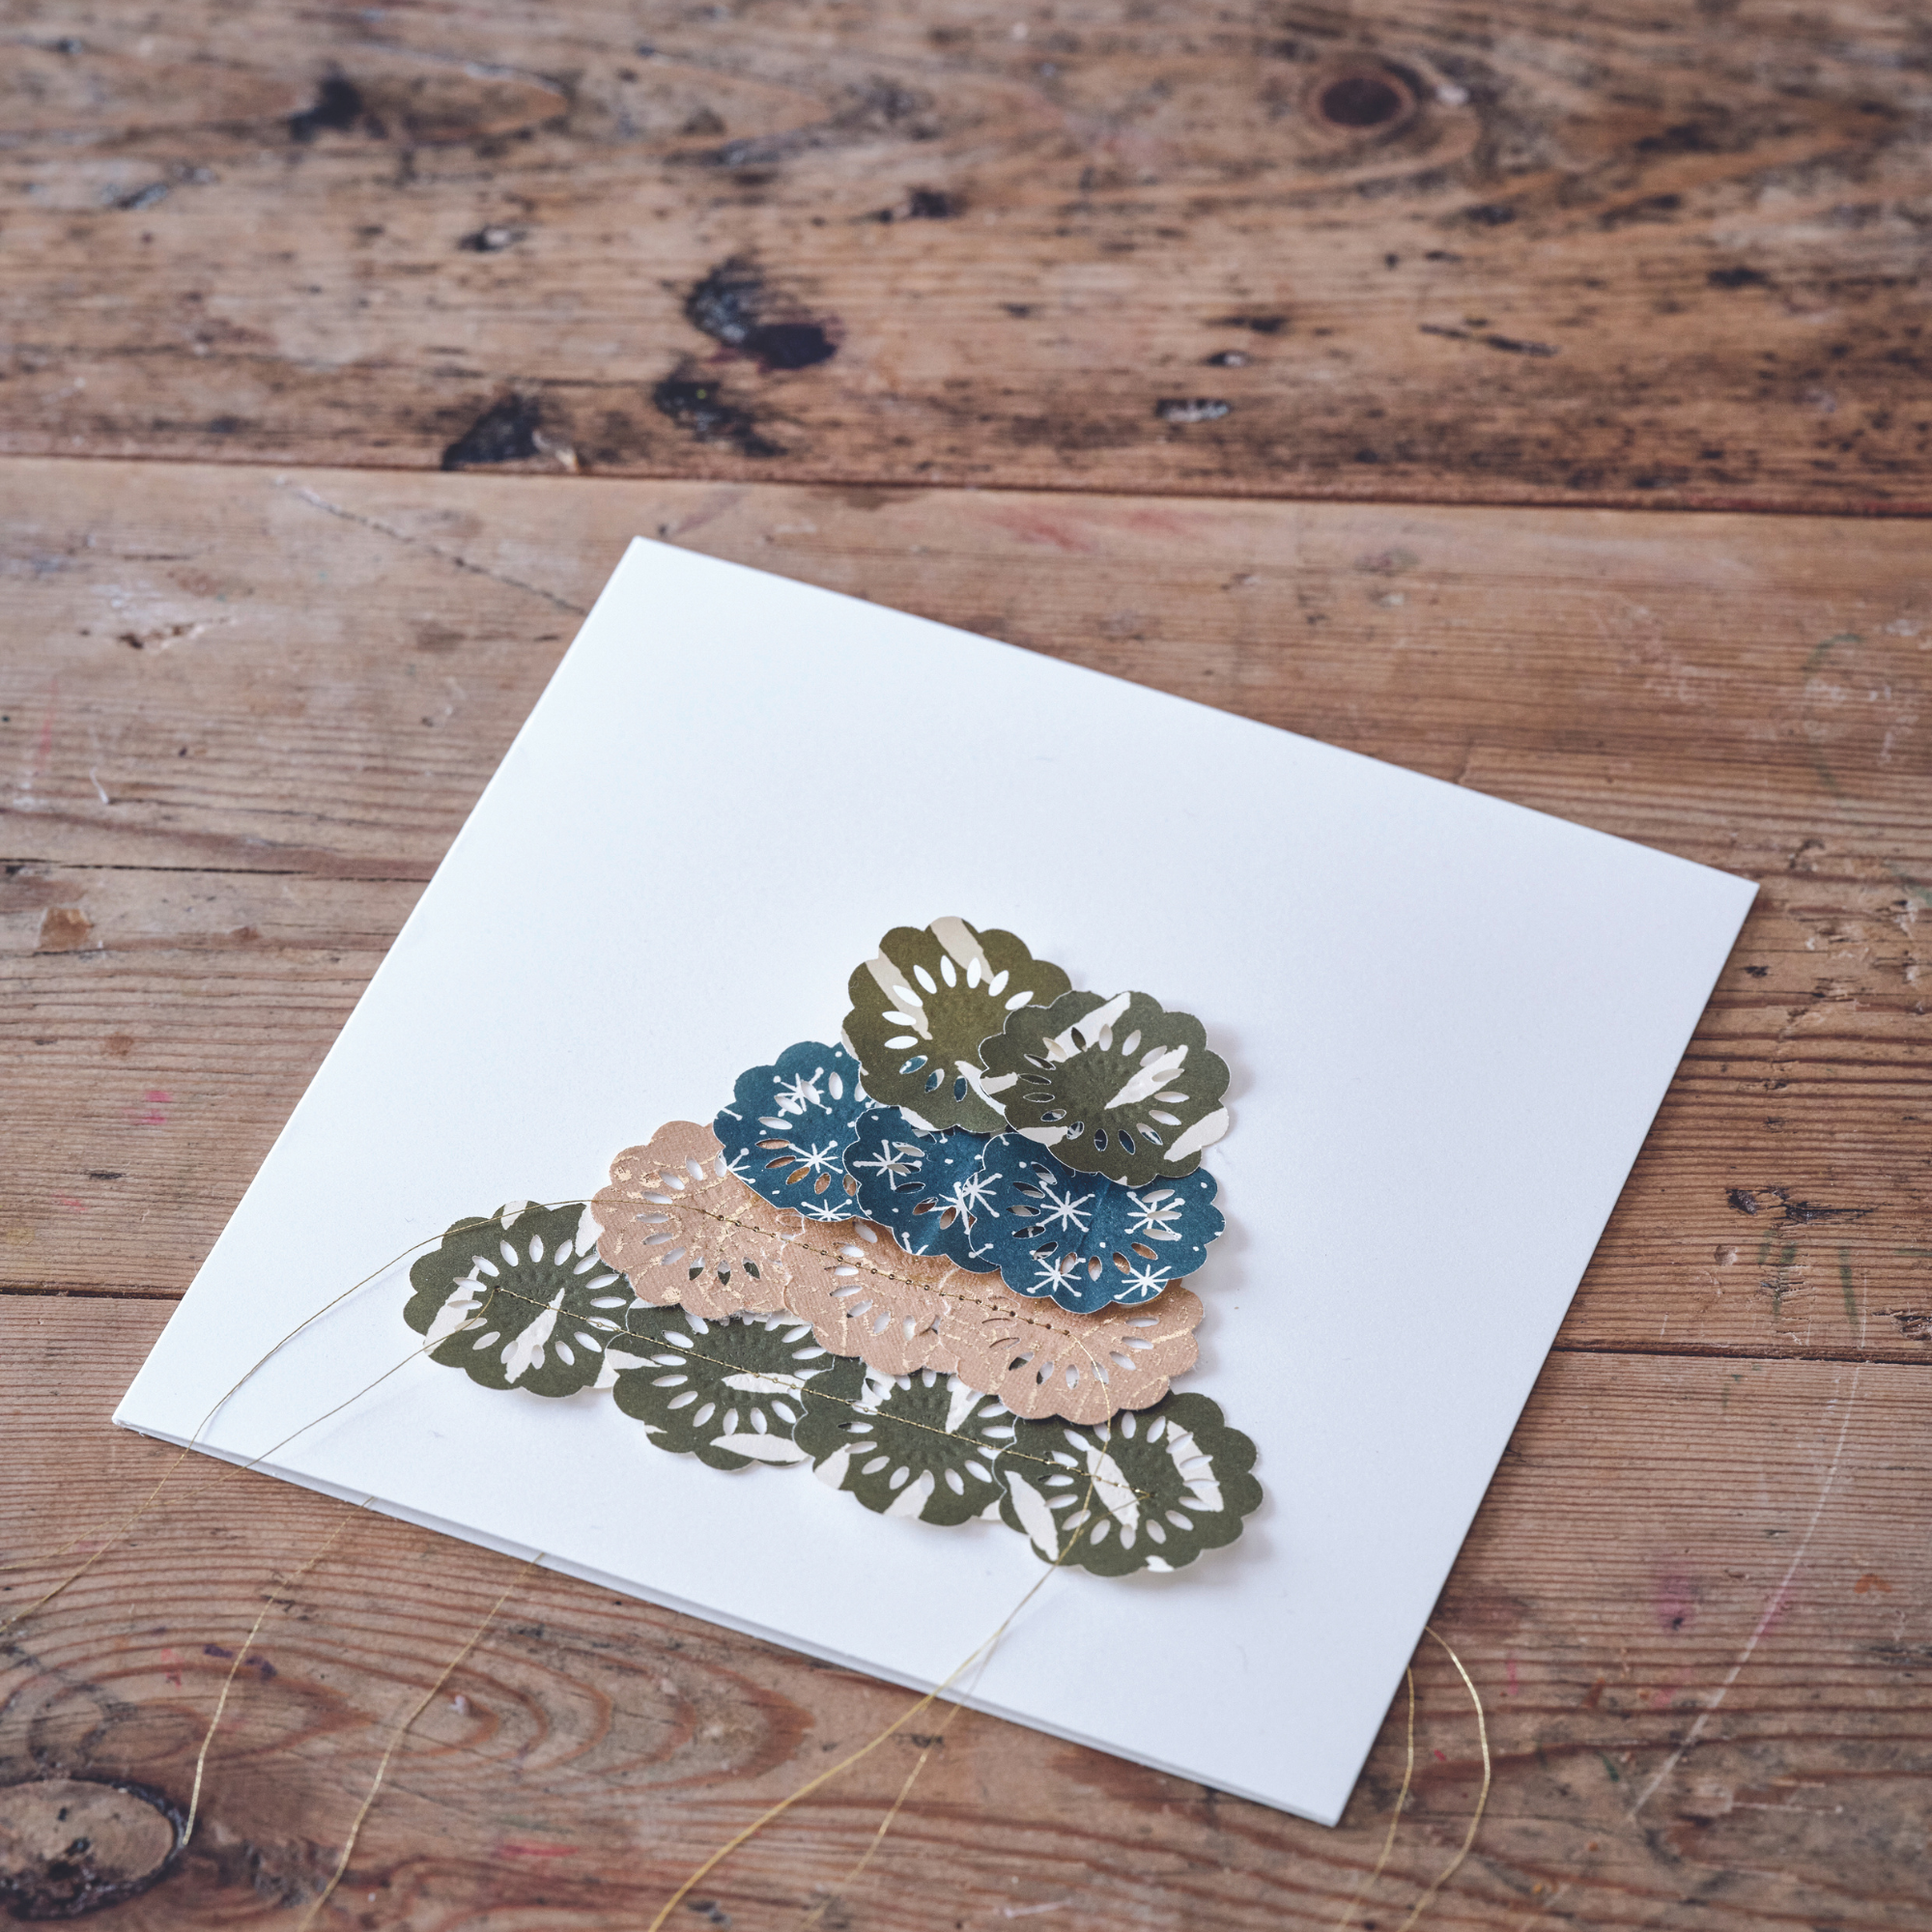
Repeat the last step with the next three layers. You want to arrange the circles so that they gradually taper to create the triangular tree shape, and position each row so that they slightly overlap.
4. Stitch the stem
Once all the rows are stitched in place, finish by stitching a line vertically down the centre of the tree.
5. Tie up loose ends
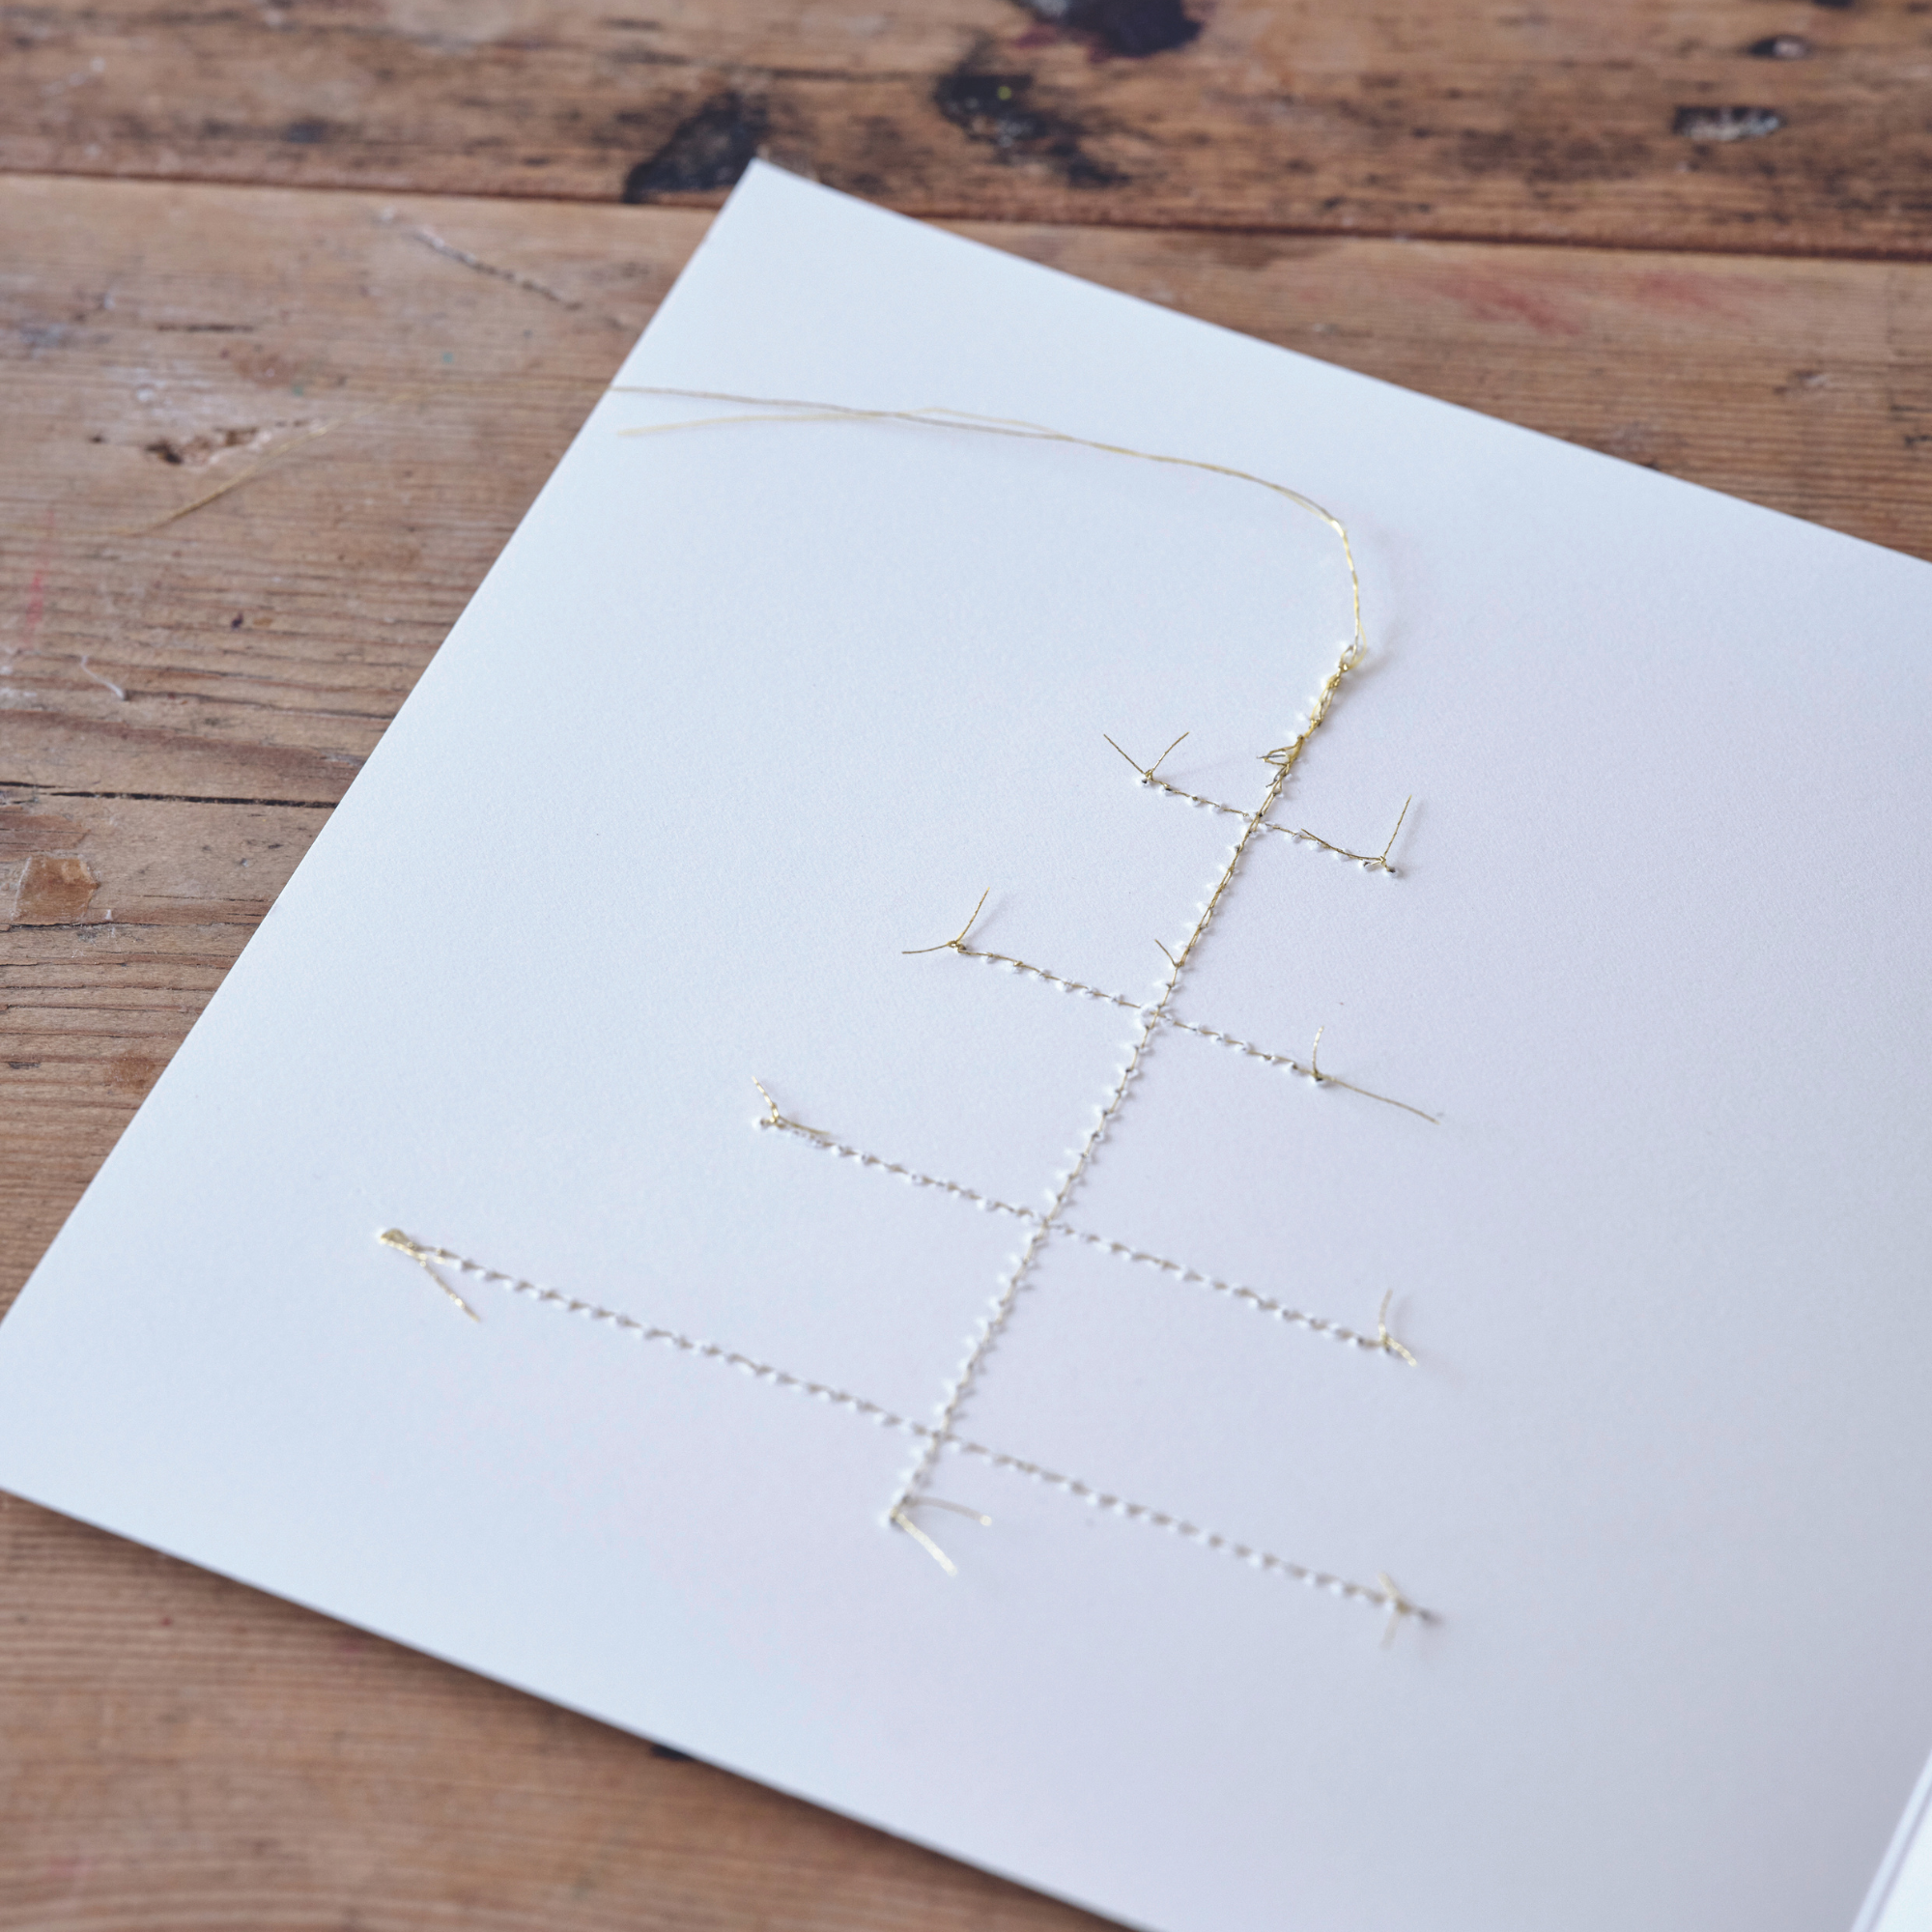
Pull through the ends of all the threads to the reverse of the card and trim with scissors. The back of the card should have a nice outline of your threaded tree, as shown.
6. Top with a star
Add the finishing touch to your tree with an adhesive gold star, or a star cut out from a puncher. If punching your own stars, use glitter card. Or use a snowflake or angel sticker if you prefer.
Repeat all the above steps on as many cards as you like, then write your Christmas wishes and pop into the envelopes.
And that's it! You've learnt how to make Christmas cards that are unique, classy, and sure to be hung in pride of place.
How can I make a Christmas card?
Making your own Christmas is definitely doable, and the design in our guide is just one of many you could go for. The first step is to pick a design you like.
'Whether you’re wanting to recreate a snowman, Christmas tree or the family dog, find your design or theme', says Kate Grimshaw, Founder, QuaintlyKate. 'The internet or your family album are great sources for pictures that you can use to sketch out your design.'
You can use tracing paper to copy your design onto your card. Then add other elements to make the card pop. 'Cut out baubles from coloured card that could sit on a Christmas tree, a colourful carrot nose for a snowman or a bow tie for the family pet', suggest Kate. 'My favourite part is adding tiny delicate embellishments with glitter hearts on pads and a little tiny gem here and there.'
The key with learning how to make Christmas cards is to have fun, trust the process, and not put too much pressure on the result. It's fine if they're not perfect - that's part of the beauty of being handcrafted!
Can you print your own Christmas cards?
'There are loads of companies that will enable you to create a design (or upload a design), and then print it for you', says Hannah Bartlett, Co-founder, Jolly Festive. 'There's Canva, Vistaprint, or Photobox for photo cards. The quality of these can be just as good as store-bought cards in many cases.'
'There are also some great card templates (greeting card printer paper essentially) that you can buy to print out designs on a home computer in small batches as well.'
If you have Microsoft Word on your computer, try playing around with the graphics available. You may be able to create a design you're really happy with, and you can copy and paste in images from the Internet on to the document as well (but only if you're not planning on selling your cards). Stick a big 'Merry Christmas' in a fancy red font, and print out onto card.
'Another option is to make your own personalised cards using charming Christmas-inspired carved wooden blocks and a little bit of paint', says Molly Mahon, Founder, Molly Mahon. 'I never tire of lifting the block and seeing the impression that has been left, to me it brings the paper alive. There is something special about block printing that has stood the test of time, making it perfect for Christmas time, when we crave nostalgia, cherish heirlooms and savour the memories of crafting with our children.'
Molly has created Christmas card printing kits that are ideal for beginners looking to print their own Christmas cards.

Katie has been writing freelance since early 2022, specialising in all things homes and gardens, following achieving a Masters in Media and Journalism. She started out writing e-commerce content for several of Future’s interior titles, including Real Homes, Gardeningetc, Livingetc, and Homes and Gardens. Since then she’s been a regular contributor on Ideal Home’s digital team, covering news topics, how-to guides, and product reviews.
