How to make a comic book chair for your child’s bedroom
Give old furniture a superhero-worthy makeover

Some superheroes save the world by donning an iron suit. Others fight crime by shooting spider webs from their wrists. But we think the ability to transform a plain chair into a cool kids room favourite is just as much of a Marvel (sorry!).
Related: The Batman bedroom this mum created for her son is amazing... and it cost just £66
Furniture Choice has come up with this kick-ass step-by-step on how to use old comic books to give a preloved chair a little more ‘kapow’! It’s a great way to recycle an overflowing comic collection – just make sure you get the owner’s permission first to avoid any Hulk-like tantrums.
How to make a comic book chair
What you’ll need
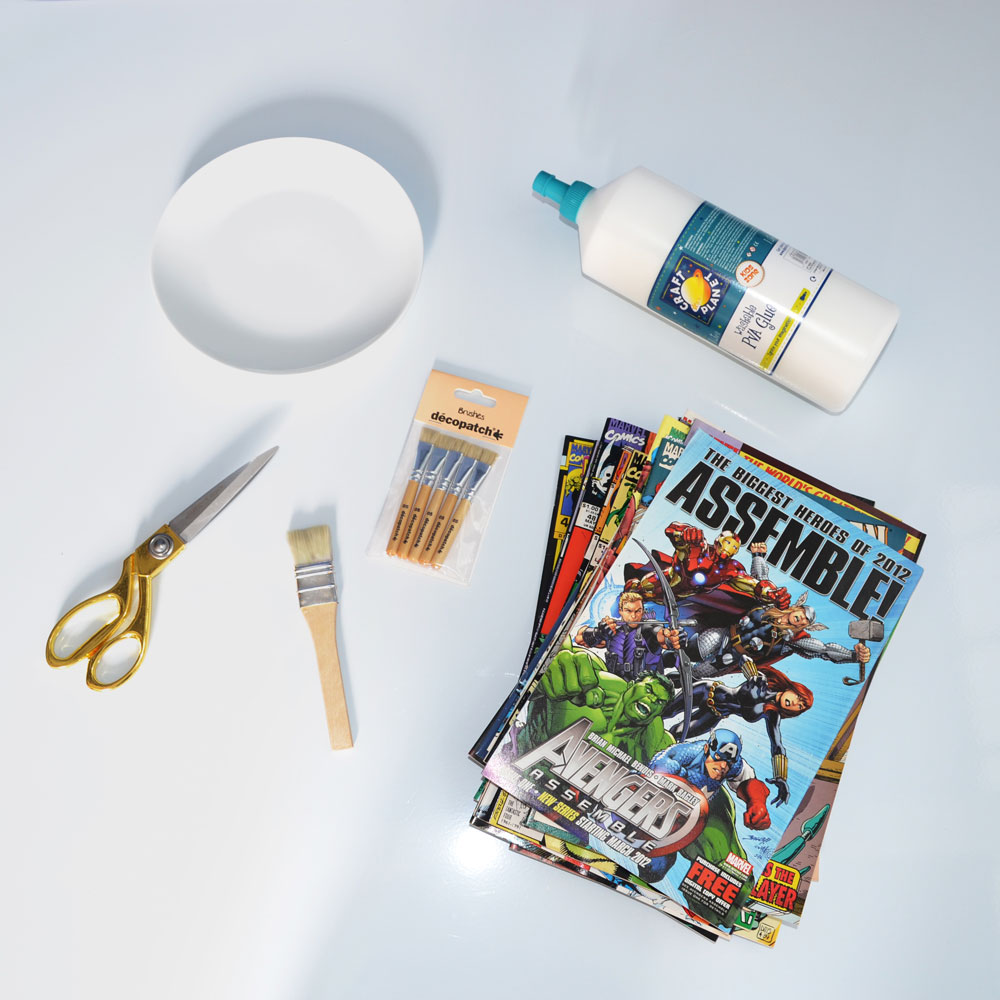
- An old chair
- Old comics
- Scissors
- PVA glue
- Paint brushes
- A container to pour the glue in
1. Cut up the comics
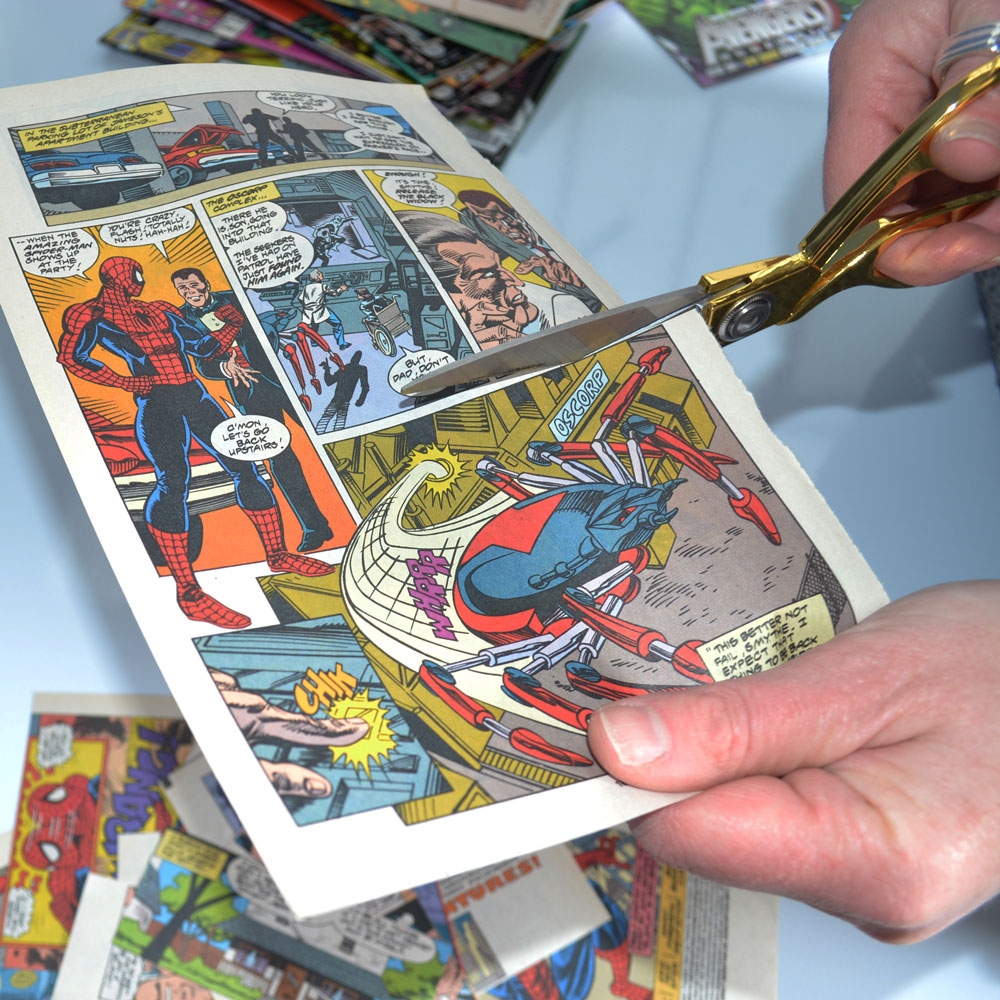
Grab a pile of old comics and cut out a selection of panels using scissors (or cosmic laser beams). They can be any shape or size as the pieces will be overlaid over each other. You’ll need quite a few, so get snipping!
2. Cover the chair with glue
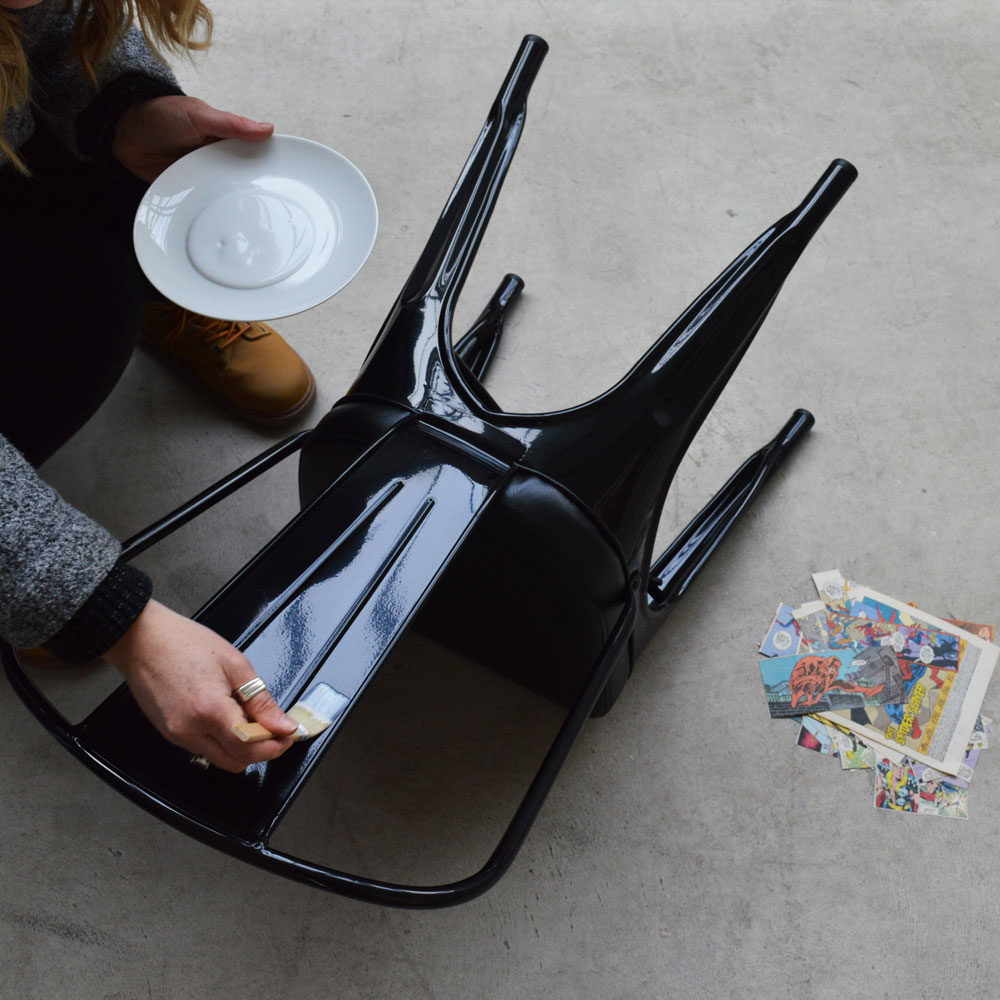
Pour a decent amount of PVA glue into a container – an old plate or bowl is a good choice, as are washed out takeaway cartons. Alternatively, Captain America’s shield would be the right shape!
Using a paintbrush, apply glue to the surface of your chair that you’re planning to cover. This can be done on both metal or wood surfaces. Only cover a small surface to begin with, to avoid the glue drying before you’ve stuck down your pieces.
3. Add the comic pieces
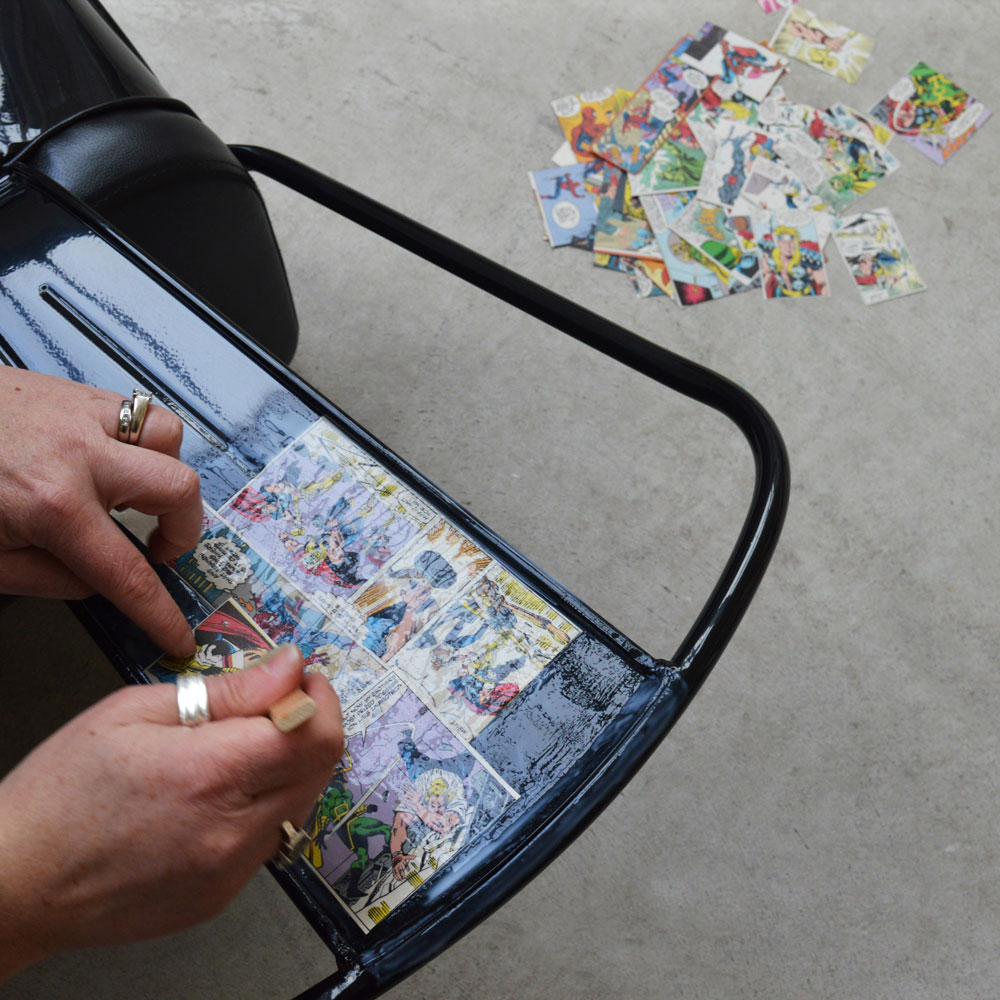
Start sticking the cut out comic pieces onto the surface coated with glue. Smooth them out with your brush as you work, layering the strips so they overlap and don’t leave any chair showing.
Sign up to our newsletter for style inspiration, real homes, project and garden advice and shopping know-how
Continue adding layers of glue and comic book pieces until the entire chair is covered. Remember to take your time when working on non-even surfaces.
4. Protect with varnish
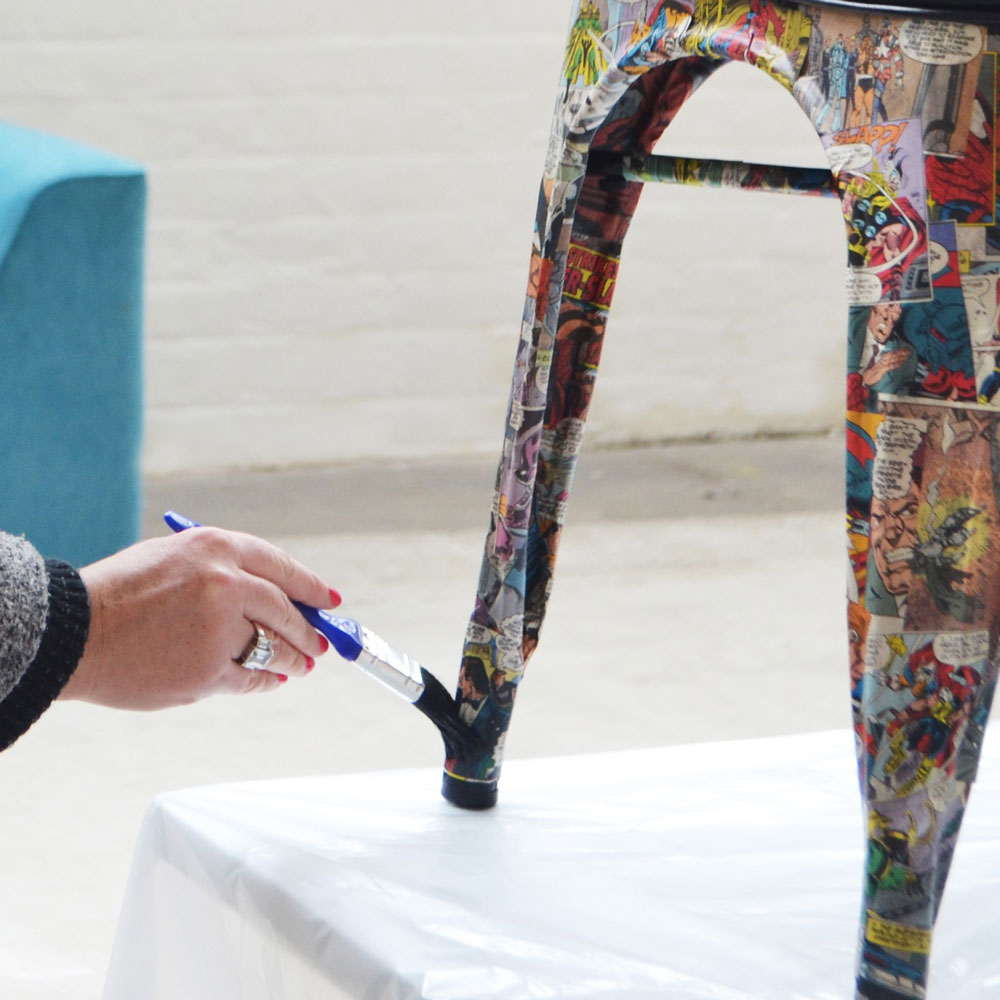
Once all areas are covered with the comics, cover with a thin coat of glue to seal your handiwork. When this is completely dry, protect your new chair from surface damage with a coat of clear varnish.
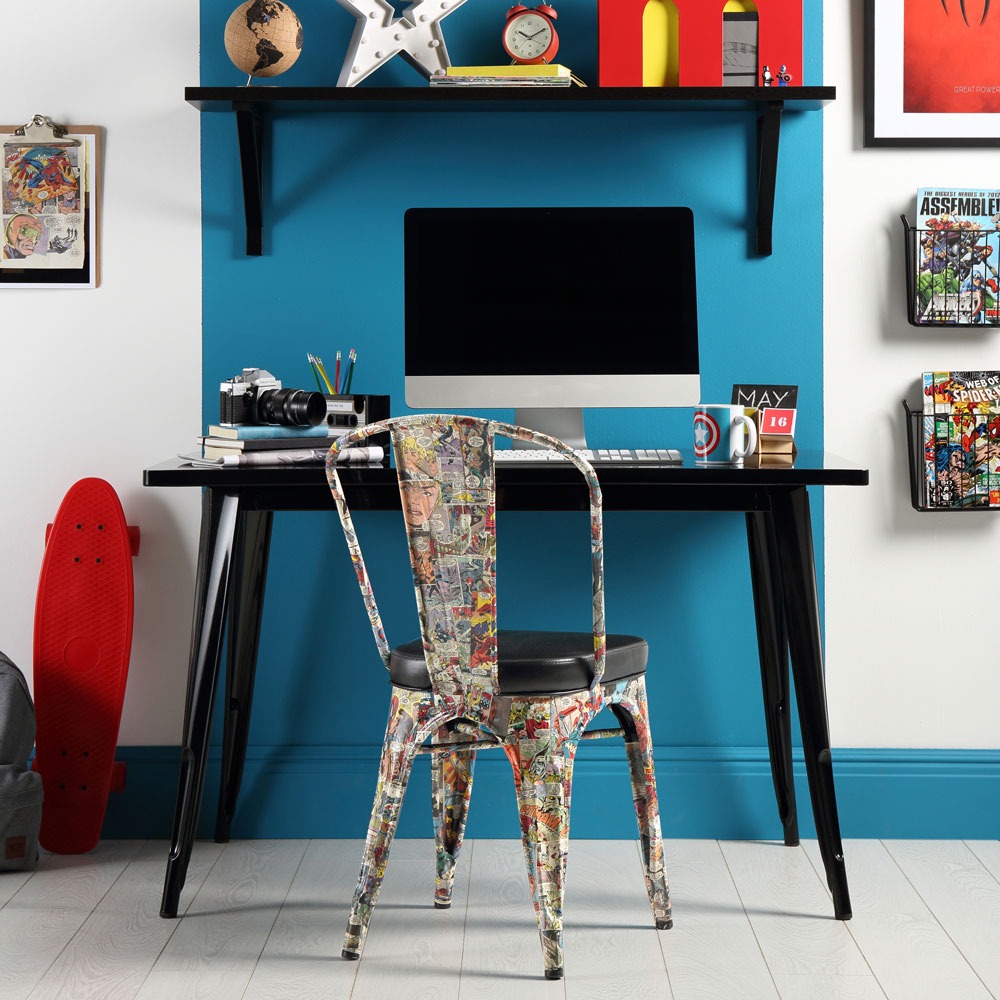
The finished comic book chair
More makes: DIY fan shows how to transform an old plastic playhouse with a tin of paint
You’re finished quicker than Thanos can click his fingers!

Steph Durrant is the Deputy Editor of Ideal Home’s sister magazine, Style at Home. Steph is an experienced journalist with more than 12 years under her belt working across the UK’s leading craft and interiors magazines. She first joined the team back in 2016 writing for both homes brands, specialising in all things craft, upcycling and DIY.